
Baking French Tuiles (Almond Wafers) Made Easy

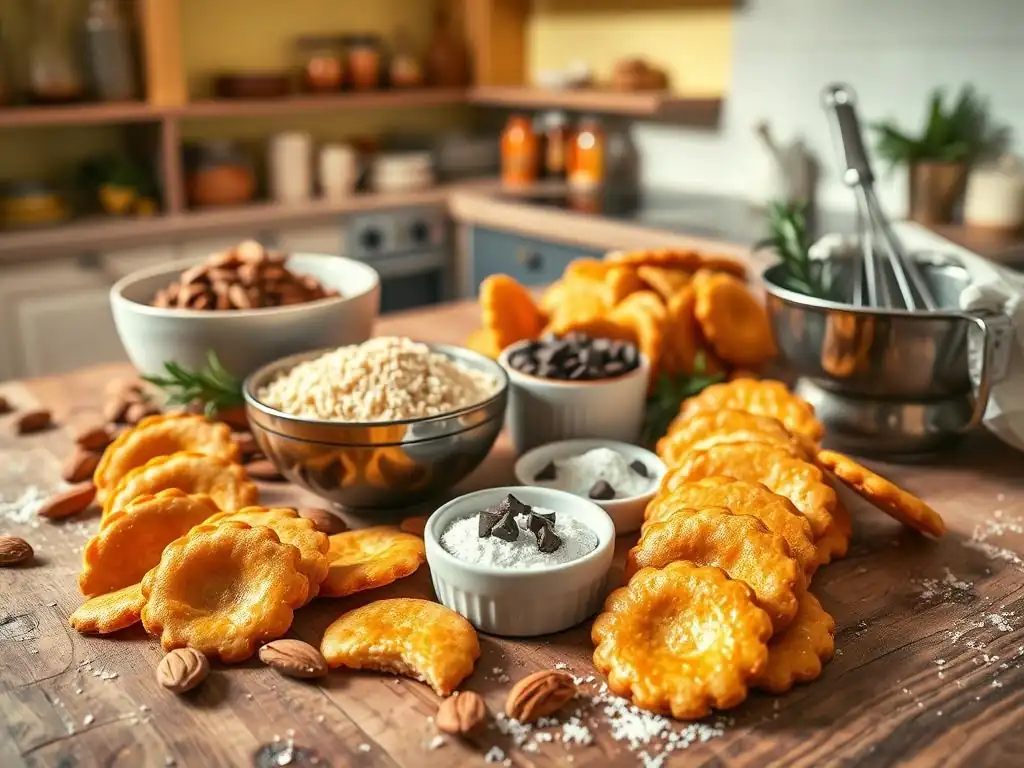
Welcome to BakeWithEase, where we transform baking aspirations into delicious realities! Curious about achieving that delicate crunch of a classic French tuile? You're in the right place. Our easy almond tuile recipe demystifies this elegant treat, offering a simple path to baking success. Discover the secrets behind these delicate almond wafers and unlock a world of regional baking delights. Ready to impress? Let's get started!
- Baking French Tuiles (Almond Wafers) Made Easy | BakeWithEase.com
- Introduction to French Tuiles: A Classic Almond Wafer Recipe
- The Secret to Simple Almond Tuiles: Ingredients & Equipment
- Step-by-Step: The Easy Almond Tuile Recipe Guide
- Tips and Tricks for Perfect French Tuiles
- Variations on the Classic Almond Tuile Recipe
- Storing Your Homemade Almond Tuiles
- Serving Suggestions: Enjoying Your Easy Almond Tuiles
- Conclusion: Mastering the Art of Easy Almond Tuiles
-
Frequently Asked Questions
- What makes this almond tuile recipe "easy" compared to others?
- Can I substitute ingredients in this almond tuile recipe?
- How should I store my baked almond tuiles to keep them crisp?
- What are some common mistakes to avoid when making almond tuiles?
- What other recipes can I find on BakeWithEase.com besides this almond tuile recipe?
- Final Reflection: The Enduring Allure of the Simple Tuile
- Unleash Your Inner Pâtissier: Master the Art of Tuiles!
Baking French Tuiles (Almond Wafers) Made Easy | BakeWithEase.com
Introduction to French Tuiles: A Classic Almond Wafer Recipe
Discover the Delight of Homemade Almond Tuiles
Imagine a delicate, crisp cookie, curved like a roof tile (hence the name "tuile" in French), with a subtle nutty flavor. That's the magic of French tuiles, elegant almond wafers that are surprisingly simple to make at home. These thin, buttery cookies are a staple in French patisseries, often served alongside ice cream, mousses, or coffee, adding a delightful crunch and sophisticated touch to any dessert. Mastering an easy almond tuile recipe opens up a world of possibilities for elevating your homemade treats.
While they look fancy, the basic technique for creating these lovely wafers involves just a few common pantry ingredients and a knack for working quickly while they're still warm. Their inherent simplicity makes them an excellent starting point for anyone looking to explore classic French baking without diving into complex pastries. Plus, the rewarding crispness and delicate almond flavor make them utterly addictive – you might find yourself making batches just for snacking!
Why This Easy Almond Tuile Recipe is Perfect for Beginners
Many aspiring bakers hesitate to try French pastries, fearing complicated techniques or elusive ingredients. However, this easy almond tuile recipe breaks down the process into manageable steps, making it incredibly accessible. Unlike many other French desserts that require precise temperature control for custards or intricate dough handling, tuiles rely on a simple batter and a straightforward baking process that's forgiving enough for newcomers.
Furthermore, the ingredients list is short and common, using items you likely already have in your kitchen: butter, sugar, egg whites, and almond flour. The key skills you'll develop are learning to spread a thin batter and shaping the cookies while they are pliable – skills that are quickly mastered with a little practice. Our approach simplifies these techniques, ensuring that your first attempt at this classic French wafer recipe is a success, building confidence for future baking adventures.
The Secret to Simple Almond Tuiles: Ingredients & Equipment
Essential Ingredients for Your Almond Tuile Recipe
Crafting the perfect, crisp almond tuile requires just a handful of high-quality ingredients. Each plays a crucial role in achieving that signature delicate texture and rich flavor. Using fresh ingredients is always recommended to ensure the best possible outcome for your easy almond tuile recipe.
The core components include butter, sugar, egg whites, flour (specifically almond flour), and often a touch of flavor like vanilla extract. The ratio of these ingredients is what determines the spread and crispness of the final wafer. Typically, a recipe might call for roughly equal parts butter, sugar, and egg whites by weight, with almond flour added for structure and flavor, though variations exist.
Almond Flour: Choosing the Right Type
For light, delicate tuiles, finely ground almond flour is preferred over almond meal. Almond meal often contains almond skins and has a coarser texture, which can result in a less smooth batter and a slightly grainier cookie. Look for blanched, finely sifted almond flour for the smoothest results.
Using a good quality almond flour ensures that the nutty flavor is clean and pronounced, without any bitterness from skins. While you could theoretically grind your own almonds, commercially produced fine almond flour provides the consistency needed for the batter to spread thinly and evenly, which is crucial for crispy tuiles.
Sugar: Granulated vs. Powdered
Most easy almond tuile recipes call for granulated sugar. As the cookie bakes, the sugar melts and caramelizes slightly, contributing to the crisp texture and golden-brown color. Using granulated sugar also helps create tiny pockets of air as it melts, which adds to the wafer's delicate structure.
While powdered sugar might seem appealing for a smoother batter, it contains cornstarch (an anti-caking agent), which can affect the texture and spread of the tuiles. Sticking to granulated sugar, as is traditional for this French wafer recipe, is the best approach for achieving the desired crispness and snap.
Butter: Unsalted for Best Flavor Control
Unsalted butter is the standard in most baking recipes, and this easy almond tuile recipe is no exception. Using unsalted butter allows you to control the exact amount of salt in your cookie, preventing it from becoming too salty or masking the delicate almond and butter flavors. The butter provides richness and helps the cookie spread thinly during baking.
It's important to melt the butter gently and let it cool slightly before incorporating it into the batter. Adding hot butter can start cooking the egg whites prematurely. Using high-quality butter will definitely enhance the overall flavor of your finished tuiles, contributing to that classic buttery richness.
Egg Whites: The Key to Crispy Tuiles
Egg whites are the primary binding agent in almond tuiles and are essential for their characteristic crispness. They provide structure to the thin batter and, as they cook and dry out, they create the delicate, brittle texture that defines a tuile. It's important to use fresh egg whites for the best results.
Unlike some recipes where egg whites are whipped to add air, for tuiles, they are simply whisked lightly to break them up before being combined with other ingredients. You don't want to incorporate too much air, as this can make the tuiles puff up too much and prevent them from spreading into thin wafers. Using room temperature egg whites can sometimes help them incorporate more smoothly.
Required Equipment for Baking Tuiles at Home
You don't need a professional kitchen setup to make delicious almond tuiles. A few standard baking tools are all that's required. Having the right equipment can simplify the process and help you achieve consistently great results with your easy almond tuile recipe.
The most crucial items are baking sheets, something to line them with, and a tool for spreading the batter. While a special tuile template can be helpful for uniformity, it's not strictly necessary, especially when you're just starting out.
Baking Sheets: Choosing the Right Size
Standard half-sheet or quarter-sheet baking pans work well for tuiles. You'll need at least two, as you'll be baking in batches and need a cool pan ready while the other is in the oven. Light-colored, heavy-gauge aluminum baking sheets are ideal because they conduct heat evenly, preventing hot spots that can cause tuiles to brown unevenly or burn.
Avoid dark-colored pans, as they absorb more heat and can lead to the bottoms of your tuiles browning too quickly. Ensure your baking sheets are clean and flat; warped pans can cause the batter to pool unevenly.
Parchment Paper or Silicone Mats: Preventing Sticking
Lining your baking sheet is non-negotiable when making tuiles. The thin batter will stick horribly to an unlined pan. Parchment paper is a great option; it's disposable and provides a non-stick surface. Cut it to fit snugly inside your baking sheet.
Reusable silicone baking mats (like Silpat) are also excellent. They offer a superior non-stick surface and distribute heat very evenly. Whichever you choose, make sure the surface is clean and dry before dropping the batter onto it.
Spatula: For Spreading the Batter Evenly
A small offset spatula or the back of a spoon is essential for spreading the tuile batter into thin, even circles. An offset spatula gives you a bit of leverage and a flat surface to smooth the batter. The goal is to spread it as thinly as possible without creating holes.
Practice makes perfect here. Starting with a small dollop of batter and using a gentle, circular motion outward from the center works well. Aim for circles about 3-4 inches in diameter for classic-sized tuiles.
Template (Optional): Achieving Uniform Shapes
While not strictly necessary for an easy almond tuile recipe, a tuile template can help you create perfectly uniform circles. These are typically thin, flexible plastic or metal stencils with cutouts in the desired tuile shape and size. You place the template on your lined baking sheet, spoon batter into the cutout, and then scrape off the excess with your spatula.
Using a template ensures that all your tuiles are the same size and thickness, which helps them bake more evenly. However, freehand spreading is perfectly fine, especially for a beginner's easy almond tuile recipe – embrace the charmingly rustic look of slightly irregular shapes!
Step-by-Step: The Easy Almond Tuile Recipe Guide
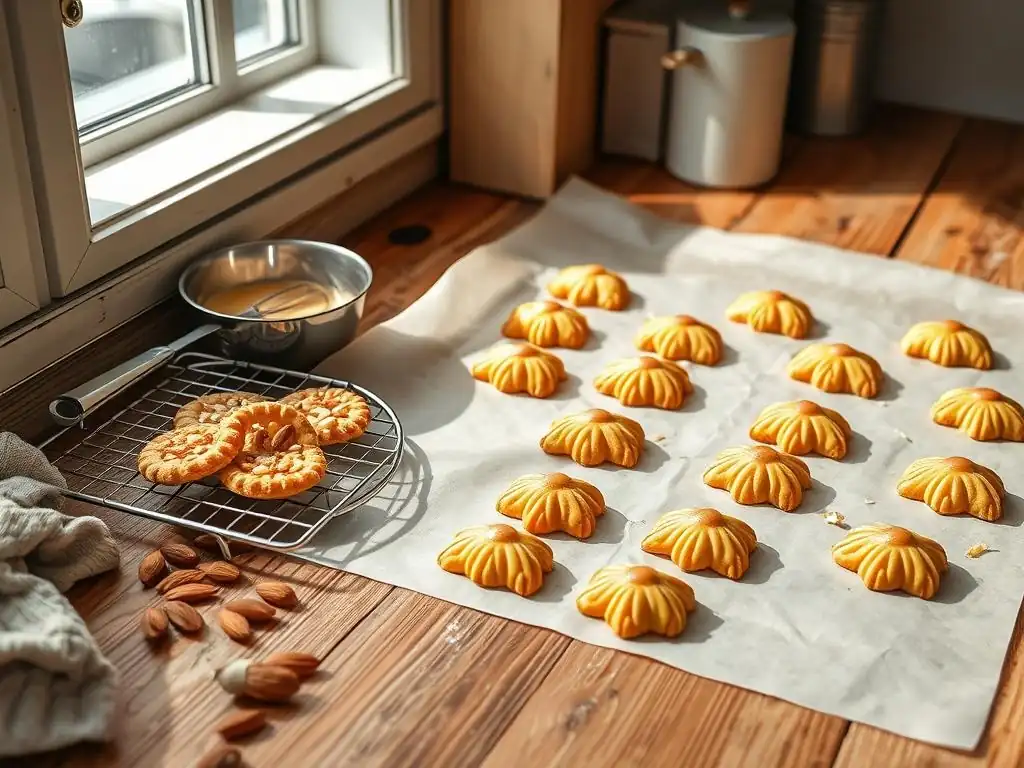
Step 1: Preparing the Almond Tuile Batter
Making the batter for this easy almond tuile recipe is straightforward, requiring minimal effort. The key is to ensure all ingredients are well combined into a smooth, spreadable consistency. This simple process is one reason why tuiles are so approachable for home bakers.
Begin by ensuring your butter is melted and slightly cooled. Room temperature egg whites are also a good idea as they incorporate more easily. Having all your ingredients prepped and measured before you start mixing will make the process even smoother.
Mixing the Dry Ingredients: Almond Flour and Sugar
In a medium bowl, whisk together the finely ground almond flour and granulated sugar. This step helps to distribute the sugar evenly throughout the flour and breaks up any small clumps in the almond flour. A quick whisk with a fork or a small whisk is sufficient.
Some recipes might also call for a pinch of salt or a bit of vanilla powder to be mixed in at this stage. Ensure the mixture is uniform before adding the wet ingredients.
Incorporating the Wet Ingredients: Egg Whites and Melted Butter
Lightly whisk your egg whites in a separate small bowl just enough to break them up and make them pourable – avoid whipping them into a foam. Gradually add the lightly whisked egg whites to the dry ingredients, stirring until a thick paste forms.
Next, slowly pour in the cooled melted butter while stirring continuously. Continue mixing until the batter is completely smooth and homogenous. A rubber spatula works well for this, ensuring you scrape down the sides of the bowl to incorporate everything.
Achieving the Perfect Batter Consistency
The finished batter for an easy almond tuile recipe should be relatively thick but still spreadable, similar in consistency to a thin pancake batter or thick cream. It should not be runny or lumpy. If it seems too thick, you might have used too much almond flour or not enough egg white/butter – double-check your measurements.
If the batter is too thin, the tuiles will spread excessively and become too fragile. The ideal consistency allows you to scoop a small amount and spread it thinly without it running all over the baking sheet on its own. Let the batter rest for about 10-15 minutes before spreading; this allows the flour to hydrate fully and can improve consistency.
Step 2: Shaping the Tuiles for Baking
Properly shaping the tuiles before baking is crucial for achieving their characteristic thinness and crispness. The goal is to create very thin layers of batter on your lined baking sheet. Don't try to bake too many at once, as you'll need time to shape them after they come out of the oven.
Working in batches of 3-4 tuiles at a time is recommended, especially when you are new to this easy almond tuile recipe. This gives you enough time to shape them while they are still warm and pliable, without the others cooling and becoming brittle.
Using a Template for Uniform Tuiles
If you are using a tuile template, place it on your parchment-lined or silicone-lined baking sheet. Spoon about 1-2 teaspoons of batter into one of the cutouts, depending on the template size.
Use an offset spatula or scraper to spread the batter evenly within the cutout, ensuring it fills the space completely. Scrape off any excess batter from the top surface of the template back into the bowl. Carefully lift the template straight up, leaving a perfect circle of batter on the sheet. Repeat for the desired number of tuiles per batch.
Spreading the Batter Thinly on Parchment Paper
If you're shaping freehand without a template, drop a small dollop of batter (about 1-2 teaspoons) onto your lined baking sheet. Using the back of a spoon or an offset spatula, gently spread the batter outwards from the center in a circular motion.
Aim to spread the batter into a thin, almost translucent layer, about 3-4 inches in diameter. Try to make the thickness as uniform as possible across the circle to ensure even baking. Leave ample space (at least 2-3 inches) between each tuile, as they will spread further in the oven.
Creating Freeform Tuiles: Embrace Imperfection
Don't worry if your freehand tuiles aren't perfectly round or uniform in size. Part of the charm of homemade tuiles is their unique, slightly irregular shapes. As long as the batter is spread thinly and evenly within each shape, they will bake up beautifully crisp.
Focus on the thinness rather than the perfect circle. A thickness similar to construction paper or slightly thicker is ideal. If the batter is too thick, the tuiles will be chewy rather than crisp.
Step 3: Baking the Almond Tuiles to Perfection
Baking tuiles is a quick process, and they go from perfectly baked to burnt very fast. It's crucial to preheat your oven accurately and keep a close eye on them as they bake. This step requires your full attention for a successful easy almond tuile recipe.
Oven temperatures can vary, so it's a good idea to know if your oven runs hot or cool. A typical temperature range for tuiles is between 325°F and 350°F (160°C - 175°C). Lower temperatures result in slower baking and less color, while higher temperatures bake faster and result in more browning.
Setting the Oven Temperature and Time
Preheat your oven to 325°F (160°C). While some recipes suggest higher temperatures, starting lower gives you more control and a bit more time to react before they overbake. Place your prepared baking sheet on the middle rack of the preheated oven.
The baking time is relatively short, typically between 8 and 12 minutes, depending on your oven and the thickness of your tuiles. It's vital to stay near the oven and watch them closely, especially during the last few minutes.
Monitoring the Baking Process
Tuiles bake from the edges inward. You'll see the edges start to brown first, then the color will creep towards the center. They should be a uniform golden-brown color across the entire wafer when done. If the centers are still pale while the edges are dark, they are not finished baking.
Rotate your baking sheet halfway through the baking time (around the 4-6 minute mark) to ensure even browning, especially if you know your oven has hot spots. This helps all the tuiles on the sheet bake at a similar rate.
Achieving the Ideal Golden-Brown Color
The perfect tuile is a beautiful golden-brown color. This indicates that the sugars have caramelized sufficiently, resulting in a crisp texture. Pale tuiles tend to be chewy rather than crisp once cooled. Dark brown tuiles, on the other hand, will taste burnt and bitter.
Aim for a color similar to toasted almonds or light caramel. The edges should be slightly darker than the center. Remember, they will continue to crisp up slightly as they cool, but the color is the best indicator of doneness in the oven.
Step 4: Shaping the Tuiles While Warm
This is perhaps the most unique and time-sensitive step in making tuiles. As soon as they come out of the oven, they are pliable, but they become brittle very quickly as they cool. You must shape them while they are still hot. This is why baking in small batches is essential for this easy almond tuile recipe.
Have your shaping tools ready next to the oven before you even put the first batch in. Whether you're using a rolling pin, a bottle, or a muffin tin, have it positioned conveniently for quick action.
The Importance of Working Quickly
Once you remove the baking sheet from the oven, you have a very short window – usually less than a minute – to shape each tuile before it hardens. If a tuile cools and becomes brittle before you shape it, you cannot reheat it to make it pliable again; it will simply break.
Work with one tuile at a time. Use a thin spatula or palette knife to carefully lift a tuile from the baking sheet. If it resists, it might have already cooled too much, or it wasn't spread thinly enough.
Using a Rolling Pin or Muffin Tin for Shaping
The classic tuile shape is a gentle curve, resembling a roof tile. To achieve this, carefully lift a warm tuile off the sheet and immediately drape it over a curved surface. The most common methods are draping it over a rolling pin, a wine bottle, or placing it inside the cup of an inverted muffin tin.
- Rolling Pin/Bottle Method: Lay the warm tuile gently over the curve of the pin or bottle. The edges will hang down, creating the curve. Hold it there for just a few seconds until it sets.
- Muffin Tin Method: Place the warm tuile inside an inverted muffin tin cup, gently pressing it down to conform to the curve. This creates a more bowl-like shape, which can also be used.
Creating Classic Curved Tuiles
To get the most classic, gentle "tile" curve, the rolling pin or bottle method is usually preferred. Ensure the surface you are shaping on is clean and cool. As you lift the tuile, try to handle it minimally to avoid breaking it.
Once shaped, leave the tuile on the rolling pin, bottle, or in the muffin tin cup for about 30 seconds to a minute, or until it holds its shape as it cools. Then, carefully transfer the shaped tuile to a wire rack to cool completely and crisp up. Repeat quickly with the remaining tuiles on that batch.
Tips and Tricks for Perfect French Tuiles
Even with an easy almond tuile recipe, a few insider tips can help you achieve consistently perfect results. Paying attention to small details during the process can make a significant difference in the final texture and appearance of your almond wafers.
- Prep is Key: Have everything ready – ingredients measured, baking sheets lined, oven preheated, and shaping tools at the ready – before you start baking. This minimizes stress during the fast-paced shaping step.
- Don't Overcrowd: Baking too many tuiles at once means some will cool and harden before you can shape them. Stick to the recommended 3-4 per sheet, especially initially.
Achieving Extra Crispy Almond Tuiles
The secret to truly crispy tuiles lies in thinness and proper baking. Ensure your batter is spread as thinly and evenly as possible on the baking sheet. Thicker spots will remain slightly chewy.
Bake them until they are a uniform golden-brown color, not just around the edges. Pale tuiles haven't lost enough moisture and will be soft. If your tuiles are still slightly chewy after cooling, you can try returning them to a low oven (around 250°F / 120°C) for a few minutes to dry out further, watching them carefully.
Preventing Almond Tuiles from Spreading Too Thin
If your tuiles are spreading excessively thin and becoming fragile or creating lacey holes, your batter might be too wet or you might be spreading it too aggressively. Ensure your melted butter has cooled sufficiently before adding it, and double-check your ingredient measurements, particularly the ratio of wet to dry ingredients.
Sometimes, chilling the batter for 15-30 minutes before spreading can help reduce spread. Also, be gentle when spreading; pressing too hard can force the batter too thin.
Troubleshooting Common Tuile Baking Problems
Baking tuiles is a skill that improves with practice. Don't be discouraged if your first few attempts aren't perfect. Here are some common issues and how to address them when using your easy almond tuile recipe.
Baking is like chemistry, but tastier. Sometimes you need to adjust slightly based on humidity, oven quirks, and ingredient specifics.
- A common baker's mantra.
Tuiles Sticking to the Baking Sheet
This is almost always due to insufficient or improper lining. Ensure your parchment paper is flat against the pan or your silicone mat is clean and correctly placed. Never grease the pan directly for tuiles; the batter is buttery enough, and grease can cause them to spread too much or stick differently. Make sure you are lifting them while they are still hot and pliable.
Tuiles Burning Around the Edges
Burning edges while the center is still pale indicates uneven heat or the tuiles are too close together on the sheet. Ensure your oven is properly preheated and consider using an oven thermometer to check the actual temperature. Try rotating the baking sheet halfway through the baking time. Also, make sure you are leaving enough space between the tuiles for air circulation – at least 2-3 inches. Dark-colored pans can also contribute to edges burning faster.
Tuiles Not Holding Their Shape
If your tuiles flatten out after shaping, it means they were not allowed to cool and set sufficiently on the shaping surface (rolling pin, muffin tin, etc.) before being transferred to the cooling rack. They need about 30-60 seconds to firm up enough to hold the curve. Also, ensure you are shaping them immediately after taking them out of the oven, while they are still very hot and pliable. If they cool even slightly, they will become brittle and break instead of bending.
Variations on the Classic Almond Tuile Recipe
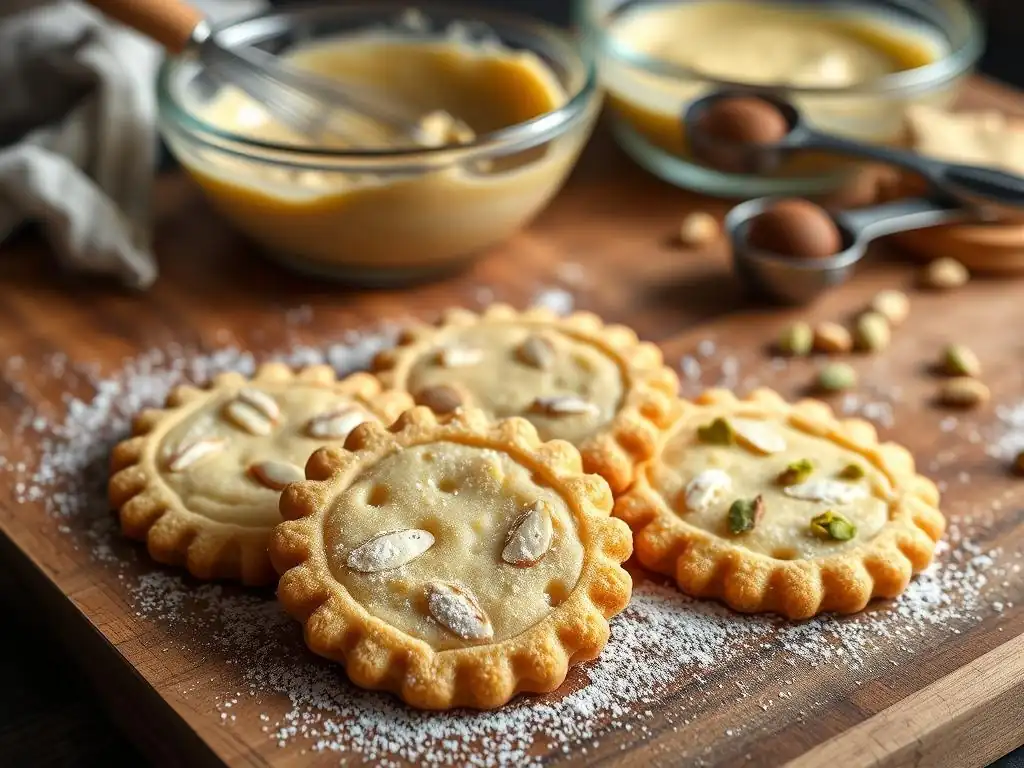
Once you've mastered the basic easy almond tuile recipe, you can start experimenting with different flavors and additions. Tuiles are a versatile base that pairs well with many complementary tastes.
Consider adding extracts, citrus zest, or even cocoa powder to the batter to change things up. Just be mindful that adding dry ingredients might require a slight adjustment to the wet ingredients to maintain the correct batter consistency.
Adding Flavors: Vanilla, Lemon, or Orange Zest
A dash of pure vanilla extract (about 1/2 teaspoon per standard batch) is a classic addition that enhances the overall flavor without overpowering the almond. For a brighter, fresher taste, add the finely grated zest of half a lemon or a whole orange to the dry ingredients.
Ensure the zest is very finely grated to avoid large pieces in the thin wafer. Other extracts like almond extract (use sparingly, it's potent! ), or even a hint of cardamom or cinnamon, can offer interesting flavor profiles. Start with a small amount and adjust in future batches.
Incorporating Chocolate: Drizzling or Dipping
Chocolate and almond are a perfect pairing. Once your tuiles are completely cooled and crisp, you can melt some good quality chocolate (dark, milk, or white) and drizzle it over the curved tuiles using a spoon or a piping bag.
Alternatively, you can dip one end or half of the cooled tuile into the melted chocolate. Place the chocolate-dipped tuiles on parchment paper or a wire rack set over parchment paper until the chocolate hardens. This adds a layer of richness and visual appeal.
Experimenting with Different Nuts: Hazelnuts or Pistachios
While the classic is an easy almond tuile recipe, you can absolutely substitute other finely ground nuts. Finely ground blanched hazelnuts make delicious hazelnut tuiles, pairing wonderfully with chocolate. Finely ground pistachios add a beautiful green hue and a distinct flavor.
Ensure the nuts are very finely ground, ideally to the consistency of flour, for the smoothest batter and thinnest wafers. You might need to adjust quantities slightly depending on the oil content and absorption rate of the different nuts compared to almonds.
Storing Your Homemade Almond Tuiles
Proper storage is key to keeping your delicate almond tuiles crisp. Exposure to humidity is their worst enemy, quickly turning them from brittle wafers into chewy cookies.
Never store tuiles in the refrigerator, as the moist environment will ruin their texture. Always wait until they are completely cooled before storing them.
Keeping Tuiles Crispy and Fresh
The absolute best way to keep tuiles crispy is to store them in an airtight container. The less exposure they have to air and moisture, the longer they will retain their snap. If you live in a humid climate, you might even consider adding a food-safe desiccant packet (like the small silica gel packets found in some food packaging, ensure they are food-safe) to the container, placed away from direct contact with the cookies.
If your tuiles lose their crispness over time, you can sometimes revive them by placing them on a baking sheet and baking them in a low oven (around 250°F / 120°C) for 5-10 minutes, then letting them cool completely on a wire rack. Watch them closely to prevent burning.
Optimal Storage Containers and Conditions
Choose a rigid, airtight container with a tight-fitting lid, such as a plastic food storage container or a cookie tin with a good seal. Avoid using bags, as the delicate tuiles can easily break.
Layer the tuiles carefully in the container, perhaps separating layers with parchment paper if stacking is necessary, though a single layer is best to prevent breakage. Store the container at cool room temperature, away from direct sunlight or sources of humidity like sinks or stovetops. Stored correctly, tuiles can remain crisp for 5-7 days.
Serving Suggestions: Enjoying Your Easy Almond Tuiles
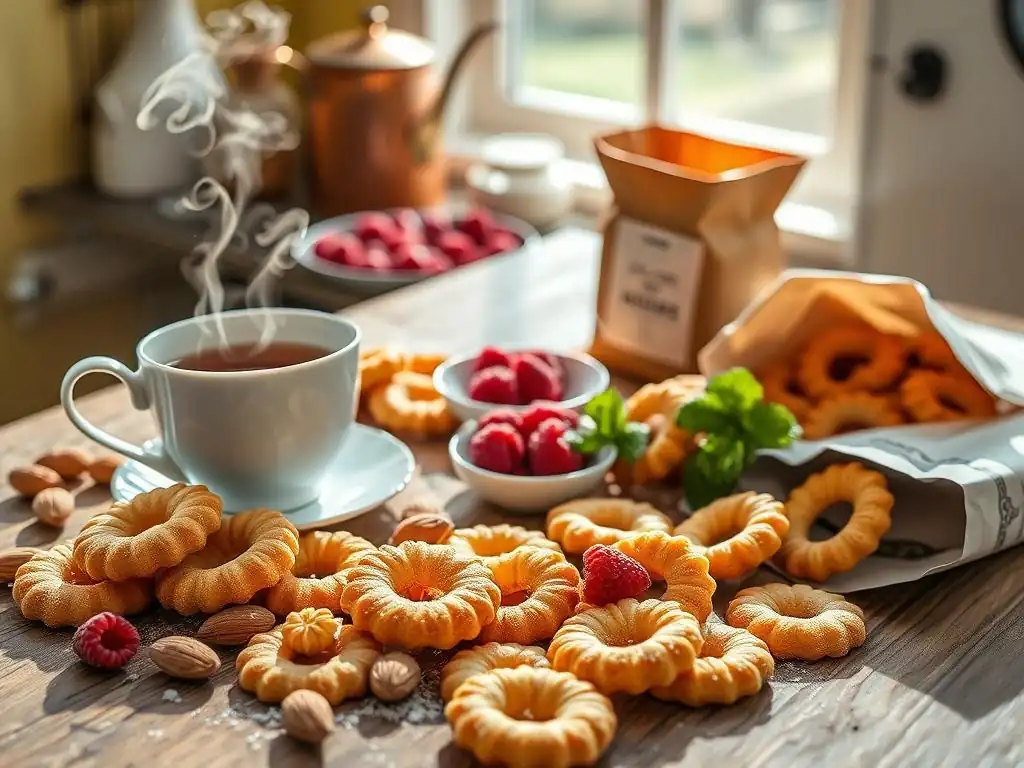
Your beautiful, crisp almond tuiles are ready to be enjoyed! They are delicious simply on their own as a light snack, but they truly shine when paired with other desserts or beverages.
Their elegant shape and delicate texture make them a sophisticated addition to a variety of presentations. Don't hesitate to get creative with how you serve them.
Pairing Tuiles with Desserts and Beverages
Tuiles are the classic accompaniment to many creamy or soft desserts. Serve them standing upright in a scoop of ice cream, alongside a panna cotta, crème brûlée, or chocolate mousse. Their crispness provides a wonderful textural contrast to smooth desserts.
They are also lovely served with coffee, tea, or even a glass of dessert wine. Consider serving them on a small plate next to a cup of espresso for a simple yet elegant treat. A common presentation is to stick one or two into a parfait glass filled with layers of fruit, cream, or yogurt.
Tuiles as a Garnish or Decoration
Beyond simple pairing, tuiles can be used creatively as a garnish or decorative element on larger cakes or plated desserts. Their curved shape makes them perfect for standing around the edge of a cake or along the side of a dessert plate.
Break them into smaller pieces and sprinkle them over the top of a tart or pudding for added crunch. You can also use a flat tuile as a base for a small scoop of sorbet or a dollop of whipped cream. Their delicate beauty elevates the visual appeal of any dessert they accompany.
Conclusion: Mastering the Art of Easy Almond Tuiles
Enjoy the Fruits (or Tuiles!) of Your Labor
Congratulations! By following this easy almond tuile recipe, you've successfully created a batch of elegant, crispy French almond wafers. You've navigated the simple ingredients, the quick baking time, and the crucial shaping step while warm. Take a moment to appreciate their delicate beauty and satisfying crunch. This classic French treat is now within your baking repertoire, proving that sophisticated results can come from simple beginnings.
Whether you enjoy them plain, paired with dessert, or as a beautiful garnish, these homemade tuiles are a testament to your growing baking skills. They are a delightful reward for your efforts and a wonderful way to bring a touch of French patisserie charm into your home.
We love seeing what our community bakes! If you made this easy almond tuile recipe, we encourage you to share your results. Tag us on social media or share your photos and experiences in the comments section on our website. Your successes and even your troubleshooting stories can inspire other bakers on their journey.
Making tuiles is a fantastic step for anyone looking to expand their baking horizons. It's a recipe that builds confidence through practice and delivers delicious, impressive results. Keep baking, keep experimenting, and enjoy the process of creating wonderful treats from your kitchen!
Frequently Asked Questions
What makes this almond tuile recipe "easy" compared to others?
This recipe focuses on simplified techniques and readily available ingredients, eliminating complex steps often found in traditional tuile recipes. It aims for a beginner-friendly approach.
Can I substitute ingredients in this almond tuile recipe?
While BakeWithEase encourages experimentation, substituting ingredients might affect the texture and flavor. We recommend sticking to the recipe for the best results initially, then making small adjustments later.
How should I store my baked almond tuiles to keep them crisp?
Store your cooled tuiles in an airtight container at room temperature. This prevents them from absorbing moisture and becoming soft. They should remain crisp for several days.
What are some common mistakes to avoid when making almond tuiles?
Overbaking can cause the tuiles to become too dark and brittle. Also, ensure the batter is spread thinly and evenly for uniform baking and crispness. Incorrect oven temperature is another common issue.
What other recipes can I find on BakeWithEase.com besides this almond tuile recipe?
BakeWithEase.com offers a variety of baking recipes, including pastries, breads, cakes, and cookies. We provide step-by-step guides and tips for all skill levels.
Final Reflection: The Enduring Allure of the Simple Tuile
The seemingly simple act of baking a French tuile holds a surprising depth, mirroring life's ability to transform humble ingredients into something exquisite. This recipe, designed for ease of access and execution, aims to democratize the joy of creating these delicate almond wafers, proving that culinary artistry doesn't require years of training or a professional kitchen. The ease of the recipe, however, doesn't diminish the satisfaction of the final product.
The enduring appeal of the tuile lies not just in its delicate crunch and nutty flavor, but in its ability to elevate any occasion. From a casual afternoon tea to a sophisticated dessert course, these little cookies add a touch of elegance and whimsy. They represent a connection to a rich culinary history, a testament to the power of simple ingredients transformed by skill and care. The simplest things are often the most beautiful.
– Frank Lloyd Wright. This sentiment perfectly encapsulates the beauty and impact of the seemingly simple tuile.
Now, I invite you to consider the possibilities. Don't be intimidated by the idea of French pastries; embrace the challenge of creating something beautiful and delicious with your own hands. Experiment with different flavor combinations, perhaps adding a hint of citrus zest or a sprinkle of sea salt. Most importantly, share the joy of baking these delicate treats with loved ones, creating memories as sweet and crisp as the tuiles themselves. The kitchen is your canvas; let your creativity flourish.
Unleash Your Inner Pâtissier: Master the Art of Tuiles!
Thanks for joining us on this delicious journey into the world of French tuiles! We hope you’ve gained the confidence to tackle these elegant little almond wafers. Now it’s time to put your newfound skills to the test!
- Bake a batch of your own tuiles: Use the recipe we provided (or your own creative twist!) and impress your friends and family with these delicate treats. Experiment with different flavor extracts or add-ins for unique creations!
- Share your tuile triumphs: Post a picture of your beautiful baked goods on social media and tag us – we'd love to see your results!
- Challenge a friend to a tuile-baking showdown: Make it a friendly competition; who can create the most beautiful (or tastiest!) tuiles?
Ready to transform your kitchen into a Parisian patisserie? What unique flavor combination will you try first?