
Mastering Pate a Choux: The Foundation for Eclairs and Cream Puffs

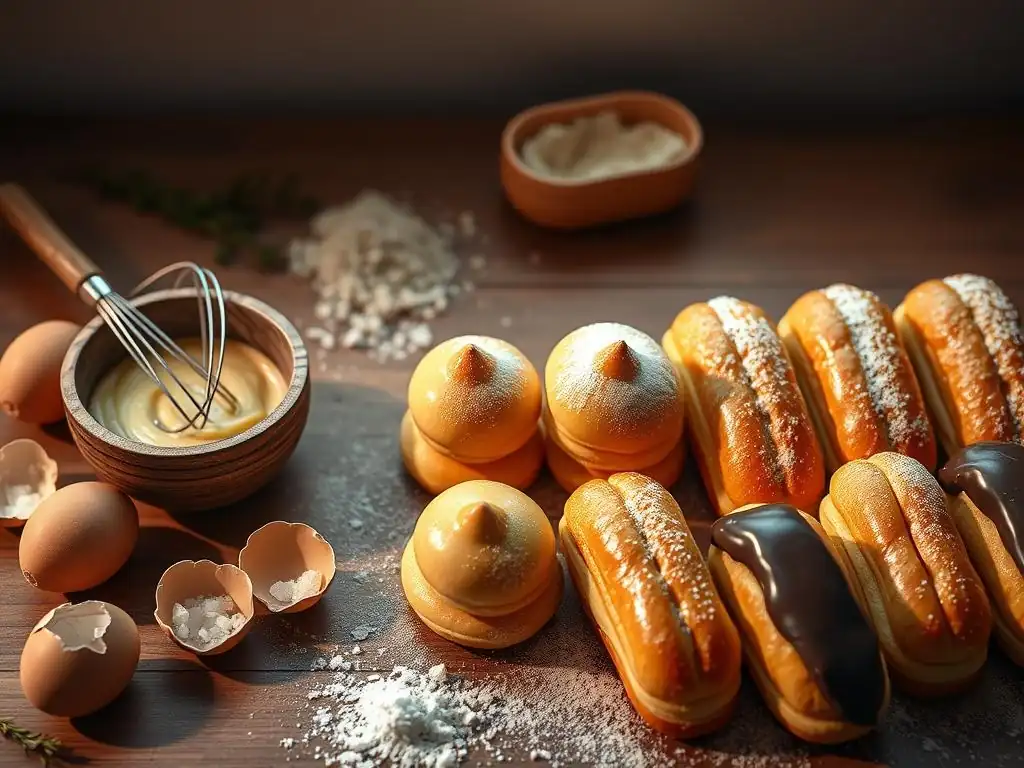
Welcome to BakeWithEase, your kitchen companion for all things baking! Ever dreamt of effortlessly crafting delicate éclairs or airy cream puffs? Then you've landed in the right place. This week, we're diving deep into the secrets of Pate a Choux, the versatile pastry dough that unlocks a world of delicious possibilities. Curious how to achieve that perfect rise and texture? Keep reading for our foolproof, easy Pate a Choux recipe and prepare to impress!
- Introduction to Pate a Choux: The Versatile French Pastry
-
Classic Pate a Choux Recipe: A Step-by-Step Guide
- Ingredients for Perfect Pate a Choux
- Equipment Needed for Making Pate a Choux
- Step 1: Combining Water, Butter, and Salt
- Step 2: Adding the Flour and Creating the Panade
- Step 3: Incorporating the Eggs: Achieving the Right Consistency
- Step 4: Piping the Pate a Choux: Eclairs vs. Cream Puffs
- Step 5: Baking Pate a Choux: Achieving Golden Perfection
- Troubleshooting Common Pate a Choux Problems
- Tips for Baking Perfect Eclairs
- Tips for Baking Perfect Cream Puffs
- Pate a Choux Variations and Flavor Ideas
- Storing Pate a Choux and Baked Goods
- Pate a Choux: Beyond Eclairs and Cream Puffs
- Conclusion: Unleash Your Inner Baker with Pate a Choux
-
Frequently Asked Questions
- What exactly is pâte à choux and why is it important?
- Is making pâte à choux really that difficult, especially for beginners?
- What are the key ingredients needed for an easy pâte à choux recipe?
- What are some common problems encountered when making pâte à choux and how can I avoid them?
- Can I customize the pâte à choux recipe to create different flavors or fillings?
- Final Reflection: The Enduring Allure of Pâté à Choux
- Unleash Your Inner Pâtissier: Perfect Pâté à Choux Awaits!
Introduction to Pate a Choux: The Versatile French Pastry
What is Pate a Choux? Understanding the Basics
Pate a choux, also known as choux pastry, is a light, airy dough used in many French pastries. Its name, meaning "cabbage paste" in French, is said to come from the small, round shape of the baked puffs resembling tiny cabbages. Unlike most doughs that rely on leavening agents like yeast or baking powder, pate a choux puffs up dramatically during baking due to its high moisture content, which turns to steam and creates hollow cavities inside. This unique property makes it perfect for fillings.
The magic of pate a choux lies in its simple base ingredients: water (or milk), butter, flour, and eggs. These are cooked together twice – first on the stovetop to create a thick paste called a panade, and then baked in the oven. This initial cooking step is crucial as it gelatinizes the starch in the flour, allowing the dough to absorb a significant amount of moisture from the eggs added later. Getting this simple pate a choux recipe right is the first step to a world of delicious possibilities.
Why Master Pate a Choux for Eclairs and Cream Puffs?
Mastering the classic pate a choux recipe opens the door to creating iconic and impressive pastries like éclairs and cream puffs right in your own kitchen. While it might seem intimidating at first glance, understanding the fundamental techniques makes preparing this dough quite approachable, even for beginners looking for an easy pate a choux recipe. The sense of accomplishment you'll feel when your first batch of perfectly puffed pastries emerges from the oven is incredibly rewarding.
Beyond the satisfaction, a well-made pate a choux provides the ideal structure for holding generous amounts of decadent fillings, from classic vanilla pastry cream to rich chocolate ganache or simple whipped cream. The crisp exterior and light, airy interior offer a delightful textural contrast. By learning this foundational dough, you gain the skills necessary to bake not just éclairs and cream puffs, but also other impressive treats, making it a truly valuable technique for any aspiring baker.
Classic Pate a Choux Recipe: A Step-by-Step Guide
Ingredients for Perfect Pate a Choux
Creating a successful pate a choux starts with precise measurements of just a few basic ingredients. For a standard batch that yields roughly 12-15 éclairs or 18-20 cream puffs, you'll typically need about 1 cup (240ml) of water or milk, 1/2 cup (115g) of unsalted butter, a pinch of salt (around 1/4 teaspoon), 1 cup (125g) of all-purpose flour, and 4 large eggs. Using unsalted butter allows you to control the salt content precisely, and using large eggs is standard for consistent results in baking recipes.
While these are the core components, the quality and temperature of your ingredients can impact the outcome. Ensure your eggs are at room temperature; this helps them incorporate more smoothly into the warm dough, creating a more homogeneous mixture. Using milk instead of water can result in a slightly richer, softer puff, but water is traditional and yields a wonderfully crisp shell. Precision in weighing your flour is also highly recommended over volume measurements for the most reliable easy pate a choux recipe.
Equipment Needed for Making Pate a Choux
Having the right tools can make the process of making pate a choux smoother and more successful. You'll need a sturdy medium-sized saucepan, preferably non-stick or heavy-bottomed, to cook the dough on the stovetop. A wooden spoon or a heat-resistant spatula is essential for stirring the dough vigorously during the panade stage. For incorporating the eggs, a stand mixer with a paddle attachment is ideal as it provides consistent mixing speed and strength, but you can certainly do it by hand with a strong wooden spoon and some elbow grease.
Other useful items include a kitchen scale for accurate ingredient measurement, especially the flour. Piping bags fitted with appropriate tips (a large round tip for cream puffs and a large star or plain tip for éclairs) are crucial for shaping. Finally, you'll need baking sheets lined with parchment paper or silicone mats; these prevent sticking and help the pastries bake evenly. A reliable oven thermometer is also helpful to ensure your oven is at the correct temperature, which is critical for proper puffing.
Step 1: Combining Water, Butter, and Salt
The first step in making this classic pate a choux recipe involves heating the liquid and fat base. In your saucepan, combine the measured water (or milk), the cubed unsalted butter, and the pinch of salt. Place the saucepan over medium-high heat. Your goal here is to bring the mixture to a rolling boil, ensuring that the butter is completely melted by the time it reaches this temperature. Stir occasionally to help the butter melt evenly and prevent the liquid from evaporating too quickly before the butter is fully incorporated.
It's important to bring the mixture to a strong boil before adding the flour. If the liquid isn't hot enough, the subsequent steps won't work correctly. Once it reaches a vigorous boil, immediately remove the pan from the heat or reduce the heat to low just before adding the flour. This step prepares the liquid to quickly hydrate the flour and begin the cooking process for the panade.
Step 2: Adding the Flour and Creating the Panade
Once your water/butter mixture is at a rolling boil, remove the pan from the heat and add all of the measured flour at once. This might seem counter-intuitive, but adding it all at once allows the flour to quickly absorb the hot liquid evenly. Immediately begin stirring vigorously with your wooden spoon or spatula. The mixture will look lumpy and initially resist combining, but keep stirring firmly.
Continue stirring and pressing the dough against the sides and bottom of the pan. Return the pan to medium-low heat and continue stirring and cooking the dough for 2-3 minutes. This process, known as creating the panade, cooks the flour and dries out the dough slightly. You'll know it's ready when the dough pulls away from the sides of the pan and forms a ball, and a thin film develops on the bottom of the saucepan. This cooking step is vital for developing the starch structure needed for the dough to absorb the eggs and puff properly.
Step 3: Incorporating the Eggs: Achieving the Right Consistency
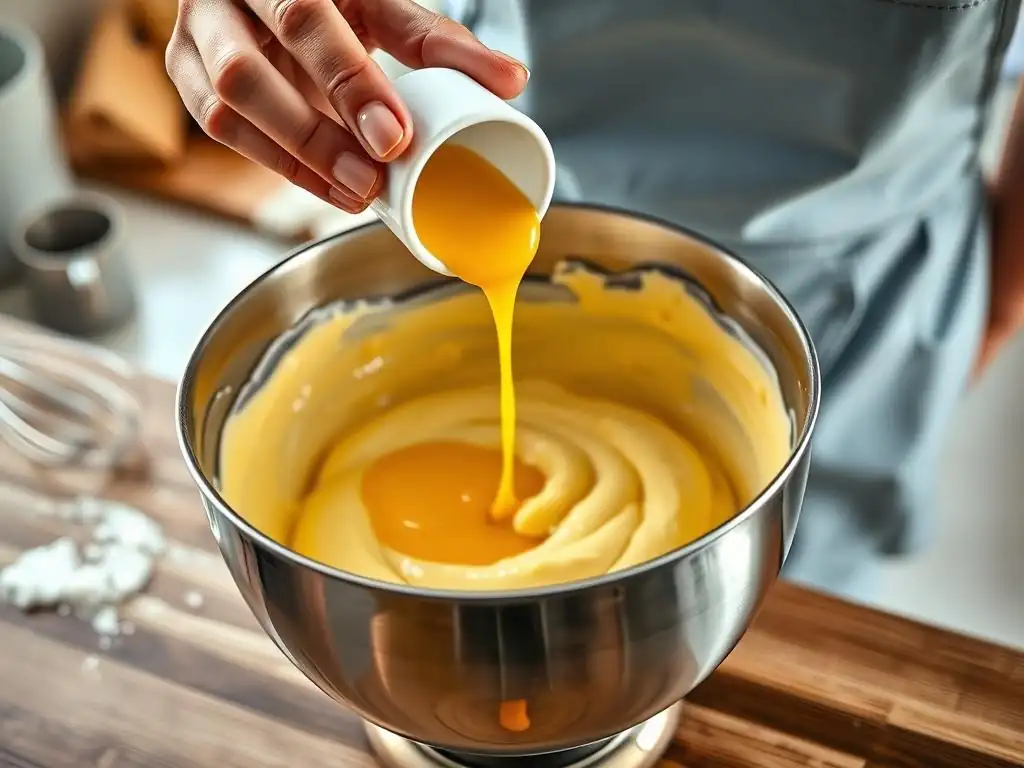
After cooking the panade, transfer the hot dough to a mixing bowl (if using a stand mixer) or let it cool slightly in the saucepan for a few minutes if mixing by hand. The dough needs to cool down enough so the eggs don't scramble when added, but it should still be warm to help incorporate them smoothly. Begin adding the eggs one at a time, mixing thoroughly after each addition. Do not add the next egg until the previous one is fully incorporated into the dough.
Achieving the correct consistency is the most critical part of this easy pate a choux recipe. After adding the final egg, the dough should be smooth, shiny, and thick enough to hold its shape, but soft enough to pipe. A common test is the "ribbon test": when you lift the paddle or spoon, the dough should fall back into the bowl in a thick ribbon or V-shape, and a small amount should cling to the paddle/spoon without breaking cleanly.
You might not need all 4 eggs; sometimes, depending on the flour's absorption and the panade's dryness, you might only need 3 and a half eggs. Add the last egg gradually, mixing and checking the consistency until it's just right.
Step 4: Piping the Pate a Choux: Eclairs vs. Cream Puffs
Once your pate a choux dough has reached the perfect consistency, it's time to shape your pastries. Transfer the dough to a piping bag fitted with your chosen tip. For éclairs, use a large plain or star tip and pipe straight, even lengths of dough onto your prepared baking sheet, leaving about 2 inches between them as they will expand significantly. Aim for lengths of approximately 4-5 inches for standard éclairs.
For cream puffs (choux puffs), use a large round tip and pipe mounds of dough onto the baking sheet, again leaving ample space. You can pipe them in a simple circular motion, starting in the center and spiraling outwards slightly, or just pipe a uniform mound. Aim for a diameter of about 1.5 to 2 inches for medium-sized puffs. If the tops have peaks, you can gently smooth them down with a wet fingertip or the back of a spoon before baking.
Step 5: Baking Pate a Choux: Achieving Golden Perfection
Baking is where the magic truly happens with pate a choux. Preheat your oven to a relatively high temperature, typically around 400°F (200°C). This initial high heat creates a burst of steam from the dough's moisture, causing the pastries to puff up rapidly and form their hollow interior. Bake at this high temperature for about 15-20 minutes, or until the pastries have doubled in size and are starting to turn golden.
After the initial high-heat bake, reduce the oven temperature to a lower setting, around 350°F (180°C), and continue baking for another 15-25 minutes. This lower temperature allows the pastries to dry out and crisp up without burning. They should be deeply golden brown and feel light and hollow when lifted.
Crucially, do not open the oven door during the first 20-25 minutes of baking, especially during the high-heat phase, as this can cause the pastries to collapse. Once baked, turn off the oven, prop the door open slightly (you can use a wooden spoon), and let the pastries cool gradually inside for 10-15 minutes. This slow cooling further helps prevent them from collapsing.
Troubleshooting Common Pate a Choux Problems
Why is My Pate a Choux Batter Too Runny?
A runny pate a choux batter is almost always due to adding too much egg. The dough should be thick enough to hold a distinct shape when piped, not spread out into a puddle. This typically happens when you add the last egg too quickly or add a full fourth egg when the dough only needed a portion to reach the correct consistency. Remember the "ribbon test" described earlier; the dough should fall in a thick V-shape.
Unfortunately, once the dough is too runny, it's difficult to fully correct. You can try adding a tablespoon or two of sifted flour back into the dough and mixing thoroughly, but this often doesn't fully restore the texture and can sometimes make the final product a bit tough. The best approach is prevention: add the last egg very gradually, mixing and checking the consistency after each small addition. If you're unsure, err on the side of slightly too stiff rather than too runny.
Why Didn't My Pate a Choux Puff Up?
Several factors can cause pate a choux to fail to puff properly. One common issue is not cooking the panade long enough on the stovetop in Step 2. The flour needs to be cooked and dried out sufficiently to develop the gluten structure that will trap the steam. If the panade is too wet or hasn't cooked for the necessary 2-3 minutes until a film forms on the pan bottom, the dough won't have the structural integrity to expand.
Another major culprit is the oven temperature or opening the oven door too early. The initial high heat is essential for generating the steam that causes the dramatic puff. If the oven isn't hot enough, or if you open the door during the critical first 20-25 minutes, the temperature drops, the steam escapes prematurely, and the pastries collapse or remain flat. Ensuring your oven is accurately calibrated and resisting the urge to peek are key to achieving that signature puff.
Why are My Eclairs or Cream Puffs Soggy?
Soggy or deflated pate a choux pastries are usually a result of insufficient baking or improper cooling. The second stage of baking at a lower temperature is specifically designed to dry out the pastries' interiors and crisp up the shells. If you shorten this baking time, the inside may still be moist and dense instead of hollow and dry. The pastries might look golden on the outside but still contain too much moisture.
Furthermore, cooling the pastries too quickly or in a humid environment can lead to sogginess. Letting them cool gradually in the propped-open oven helps the steam dissipate slowly, maintaining the crisp structure. Once out of the oven, cool them completely on a wire rack, allowing air circulation all around. Storing them before they are fully cool, especially in an airtight container, will trap steam and make them soggy. For best results, fill them as close to serving time as possible, as the filling's moisture can also soften the shells.
Tips for Baking Perfect Eclairs
Shaping Eclairs for a Professional Look
Achieving uniform and professional-looking éclairs requires a steady hand and a little practice with the piping bag. Use a large piping tip, either a plain round tip for smooth surfaces or a star tip for ridged ones. Hold the piping bag at a consistent angle (usually around 45 degrees) and apply even, steady pressure as you pipe straight lines approximately 4-5 inches long. Aim for a consistent width along the entire length.
To stop piping without creating a messy tail, quickly flick the piping bag upwards and to the side at the end of your line. You can smooth out any small peaks or uneven spots by gently dabbing them with a wet fingertip or the back of a small, damp spoon. Piping onto parchment paper marked with faint lines can help guide you in creating straight, evenly sized éclairs. Leaving enough space between them (at least 2 inches) is also vital, as they will expand significantly during baking.
Baking Eclairs to Prevent Cracking
Cracking on the surface of éclairs is a common issue, often caused by the dough drying out too quickly on the surface before the interior has fully expanded. While some minor cracking is natural, excessive cracking can be prevented by ensuring the baking environment has sufficient moisture during the initial puffing phase. Some bakers achieve this by placing a pan of hot water on the bottom rack of the oven during the first 15-20 minutes of baking.
Another factor contributing to cracking can be the consistency of the dough itself; if it's slightly too stiff, it might crack more easily as it expands. Ensuring your pate a choux recipe has the correct egg consistency is key. Additionally, avoiding drafts and sudden temperature changes is important. Once the éclairs are baked and golden brown, remember the crucial step of cooling them gradually in the propped-open oven to allow them to stabilize and prevent collapse, which can also sometimes lead to cracking.
Filling Eclairs with Pastry Cream or Chocolate Ganache
Éclairs are traditionally filled with pastry cream (crème pâtissière), a rich, cooked custard. To fill baked and cooled éclairs, you typically make two or three small holes on the underside of each éclair using a skewer or a small sharp knife. Transfer your cooled pastry cream (or other filling like chocolate ganache) to a piping bag fitted with a small tip, often a Bismark tip which is long and narrow. Insert the tip into the holes and gently squeeze the filling until the éclair feels full and slightly heavy.
Ensure your filling is completely cool before piping; warm filling can soften the crisp shell. Pipe evenly into each hole to distribute the filling throughout the éclair. For a batch of 12-15 éclairs, you might need about 2-3 cups of pastry cream or ganache. Practice filling a few to get a feel for how much pressure is needed and how to tell when the éclair is adequately filled without bursting.
Glazing Eclairs for a Shiny Finish
The signature shiny finish on éclairs is achieved with a glaze, most commonly chocolate ganache or a simple fondant glaze. For a classic chocolate glaze, melt approximately 4-6 ounces of good quality chocolate (semi-sweet or dark) with about 1/2 cup of heavy cream over a double boiler or in the microwave, stirring until smooth and glossy. Let the ganache cool slightly until it thickens to a dippable consistency – it should coat the back of a spoon but still be liquid.
To glaze the baked and filled éclairs, hold each éclair by the unfilled underside and dip the top surface into the cooled ganache or glaze. Lift it out, letting any excess drip off, and then place it glazed-side up on a wire rack set over parchment paper to catch drips. For a neat finish, avoid swirling or moving the éclair too much once dipped. The glaze will set at room temperature, though chilling can speed this up. A simple fondant glaze can be made by whisking powdered sugar with a little milk or water until smooth and slightly thick.
Tips for Baking Perfect Cream Puffs
Creating Uniform Cream Puff Shapes
Achieving uniform cream puff shapes is key for even baking and presentation. While less precise than éclairs, consistency is still important. Use a piping bag fitted with a large round tip (about 1/2 to 3/4 inch diameter). Hold the bag perpendicular to the baking sheet and pipe mounds of dough. You can pipe a simple circular blob, or for slightly taller puffs, pipe a mound and then release pressure and lift straight up.
Aim for mounds that are roughly the same size, perhaps 1.5 to 2 inches in diameter. Remember they will double or triple in size. If the dough forms a peak when you lift the bag, gently smooth it down with a wet fingertip or the back of a small, damp spoon. This prevents the peak from burning during baking. For very uniform puffs, you could even lightly trace circles on the underside of your parchment paper as guides before piping.
Ensuring Cream Puffs are Hollow Inside
The hallmark of a perfect cream puff is its large, hollow interior, ready to be filled. This hollow cavity is created by the steam generated during baking. To ensure a good hollow, it's crucial that your pate a choux dough has the correct consistency – not too wet or too dry – and that you bake the puffs properly. The initial high heat creates the steam, and the subsequent lower heat dries out and sets the structure.
Baking for the full recommended time, until they are deeply golden brown and feel light when lifted, is essential. If they are removed from the oven too early, the interior might still be damp or dense. Just like with éclairs, cooling the puffs gradually in the turned-off, propped-open oven helps them maintain their structure and ensures the interior dries out completely, resulting in that desirable hollow space perfect for filling.
Filling Cream Puffs with Whipped Cream or Pastry Cream
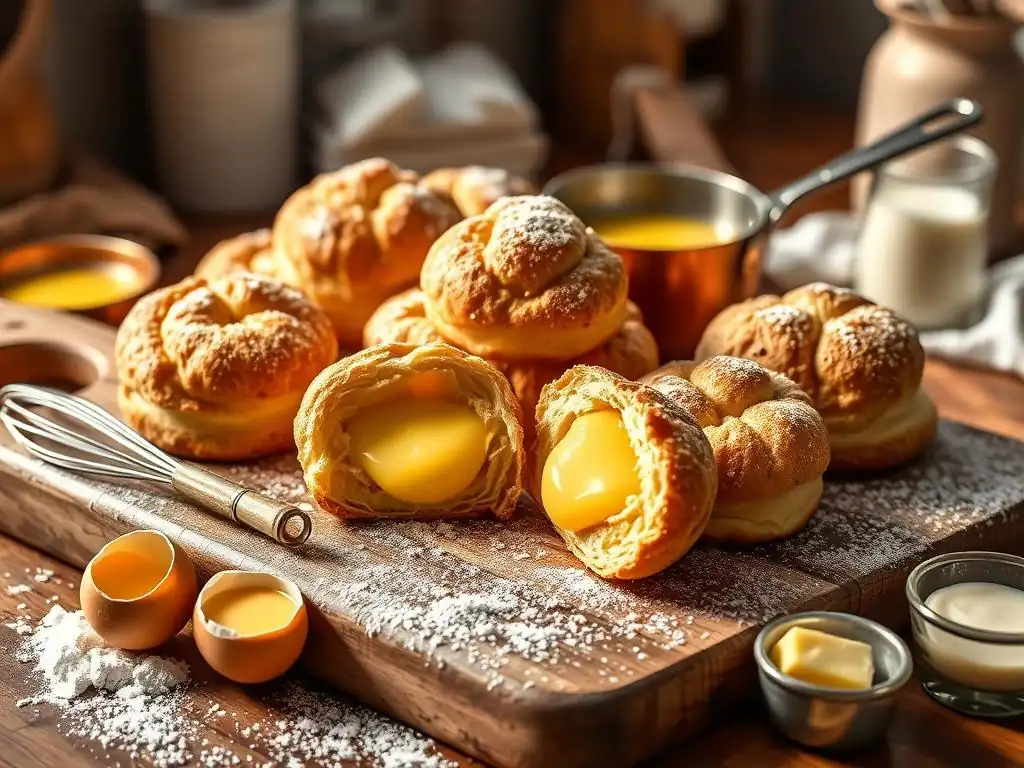
Cream puffs are incredibly versatile and can be filled with a variety of delicious options. The most classic fillings are sweetened whipped cream or rich pastry cream (crème pâtissière). To fill, you can either slice the puff horizontally in half and spoon the filling inside, or make a small hole in the bottom or side using a skewer or small knife and pipe the filling in using a piping bag with a small tip.
For a batch yielding 18-20 cream puffs, you might need about 2-3 cups of whipped cream or pastry cream. Ensure your filling is cold and firm enough to hold its shape. If using whipped cream, whip it to stiff peaks. If using pastry cream, make sure it's thoroughly chilled. Fill the puffs just before serving for the best texture, as the moisture from the filling will eventually soften the crisp shell.
Dusting Cream Puffs with Powdered Sugar
A simple yet elegant finish for cream puffs is a dusting of powdered sugar. This is particularly common when they are filled with whipped cream or fruit. Once the cream puffs are baked, cooled, and filled (if filling by slicing them open), place a small amount of powdered sugar in a fine-mesh sieve or sifter.
Hold the sieve a few inches above the cream puffs and gently tap the side, allowing a fine, even layer of powdered sugar to fall over the tops. For sliced and filled puffs, dust the top half before placing it onto the filled bottom half, or dust the assembled puff. This adds a touch of sweetness and a lovely visual appeal without the fuss of a glaze, highlighting the beautiful golden color of the baked pate a choux.
Pate a Choux Variations and Flavor Ideas
Savory Pate a Choux: Cheese Gougères Recipe
Pate a choux isn't just for sweets; it forms the base for delicious savory pastries like gougères. A classic cheese gougères recipe is a simple variation of the basic pate a choux recipe where grated cheese is folded into the dough after the eggs have been incorporated. Hard cheeses like Gruyère or Parmesan work exceptionally well, adding a wonderful nutty and savory flavor. For a batch using the standard pate a choux recipe ingredients, you might fold in 1 to 1.5 cups (approximately 100-150g) of finely grated cheese.
To make gougères, follow Steps 1-3 of the classic pate a choux recipe. After the eggs are fully mixed in and the dough has the correct consistency, gently fold in the grated cheese until evenly distributed. You can also add a pinch of black pepper or a dash of nutmeg at this stage. Pipe or spoon small mounds (about 1 inch diameter) onto a baking sheet. Bake them similarly to cream puffs, perhaps at 375°F (190°C) for 20-25 minutes, until puffed and golden brown. Gougères are best served warm, perhaps as an appetizer or alongside a soup.
Chocolate Pate a Choux Recipe
Adding cocoa powder transforms the standard pate a choux into a rich chocolate version, perfect for chocolate éclairs or chocolate cream puffs. To adapt the classic pate a choux recipe, you typically replace a small amount of the flour with unsweetened cocoa powder. For instance, using 1 cup (125g) of flour, you might use 115g flour and 10g (about 2 tablespoons) of cocoa powder. Sift the flour and cocoa powder together before adding to the hot liquid in Step 2.
Alternatively, some recipes add melted chocolate or cocoa powder after the panade is formed and before adding the eggs. If adding cocoa powder at this stage, ensure it's mixed in thoroughly. The process for incorporating eggs and baking remains the same. The resulting dough will be a beautiful dark brown, yielding pastries with a subtle or intense chocolate flavor, depending on the amount of cocoa used. These are especially delicious when filled with chocolate pastry cream or a contrasting flavor like raspberry jam.
Adding Herbs and Spices to Pate a Choux
Beyond cheese and chocolate, pate a choux can be flavored with various herbs and spices for both sweet and savory applications. For savory choux, finely chopped fresh herbs like chives, parsley, thyme, or rosemary can be folded into the dough along with or instead of cheese. A tablespoon or two of fresh herbs adds a vibrant flavor. Spices like cayenne pepper or smoked paprika can also be added to the panade stage for a hint of heat or smokiness in gougères.
For sweet applications, a pinch of cinnamon or nutmeg can be added with the flour. For flavored sweet puffs, consider adding citrus zest (like orange or lemon) or a teaspoon of vanilla extract along with the eggs. Be mindful that adding too much liquid flavoring (like extracts) can alter the dough's consistency, so it's often better to infuse the liquid base (water/milk) with spices or zest before making the panade, or add extracts sparingly with the eggs. Experimenting with these additions allows you to customize your easy pate a choux recipe for different occasions.
Storing Pate a Choux and Baked Goods
How to Store Pate a Choux Batter
Properly storing pate a choux batter allows you to prepare it in advance and bake fresh pastries when needed. Once the dough is made and cooled slightly, it can be stored in an airtight container in the refrigerator for up to 2-3 days. Ensure the surface is covered directly with plastic wrap to prevent a skin from forming.
When you're ready to bake, let the dough sit at room temperature for about 15-20 minutes to soften slightly, making it easier to pipe. You may need to give it a quick stir. The batter can also be piped onto a baking sheet and then frozen. Once frozen solid, transfer the piped shapes to a freezer bag or container and store for up to 1-2 months. Bake from frozen, adding a few extra minutes to the baking time and potentially starting at a slightly lower temperature before increasing it.
How to Store Baked Eclairs and Cream Puffs
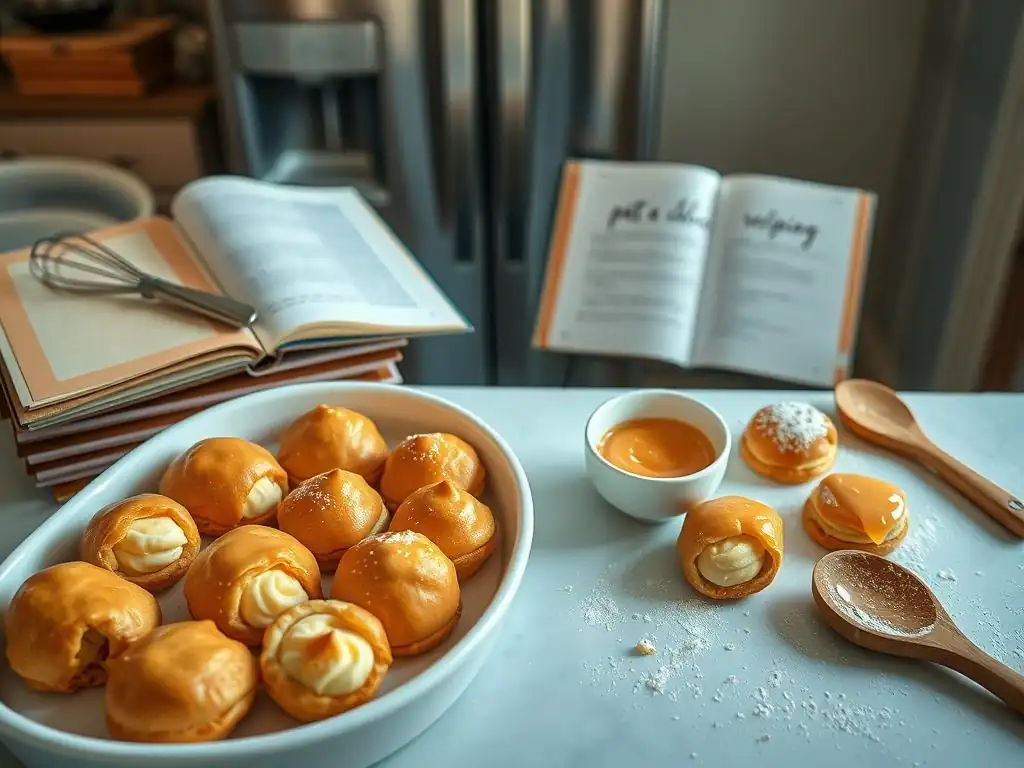
Baked pate a choux pastries, whether éclairs or cream puffs, are best enjoyed the day they are baked for optimal crispness. However, they can be stored if needed. If unfilled, store them in an airtight container at room temperature for 1-2 days. To restore their crispness before filling or serving, you can refresh them in a preheated oven at 350°F (180°C) for 5-10 minutes.
If the pastries are filled, they must be stored in the refrigerator due to the perishable nature of most fillings like pastry cream or whipped cream. Store filled pastries in a single layer in an airtight container. Filled pastries will soften over time as the moisture from the filling seeps into the shell, so they are best consumed within 24-48 hours. They generally do not freeze well once filled.
Pate a Choux: Beyond Eclairs and Cream Puffs
Other Pastries You Can Make with Pate a Choux
The versatility of pate a choux extends far beyond the classic éclairs and cream puffs. It is the foundation for several other delightful pastries. One popular example is the Paris-Brest, a large ring of choux pastry, often topped with sliced almonds, sliced horizontally and filled with a praline-flavored cream. The large ring shape is piped using a similar technique to cream puffs, just in a circular form.
Another impressive creation is the Croquembouche, a towering cone of cream puffs (often filled with pastry cream) held together with spun caramel, frequently seen at French celebrations. Individual small puffs can also be used to make Profiteroles, which are typically filled with ice cream and drizzled with chocolate sauce. Savory applications include small cheese puffs (gougères) or even larger shapes used for savory appetizers or main courses. Mastering the basic easy pate a choux recipe truly unlocks a wide repertoire of baking possibilities.
Exploring the Versatility of this Classic Dough
The adaptability of pate a choux lies in its unique structure and neutral flavor profile, which can be easily adapted to sweet or savory uses. The ability to puff dramatically and create a hollow interior makes it an ideal vehicle for countless fillings, sauces, and glazes. From light and airy whipped cream to rich, decadent chocolate ganache, the contrast between the crisp shell and creamy filling is always a winning combination.
Its neutral base means you can infuse the dough itself with flavors, as seen with cheese gougères or chocolate choux. The relatively simple preparation process, once understood, means that this foundational dough is accessible to home bakers. Learning this classic technique is an investment in your baking skills, providing a base for creativity and allowing you to impress friends and family with a range of beautiful and delicious pastries using essentially the same easy pate a choux recipe.
Conclusion: Unleash Your Inner Baker with Pate a Choux
Mastering the Fundamentals for Baking Success.
Embarking on the journey to master pate a choux is a rewarding step for any home baker. While it might seem daunting at first, understanding the key stages – cooking the panade correctly, achieving the right egg consistency, and baking at the proper temperatures – transforms this seemingly complex dough into an achievable goal. This article has walked you through a classic easy pate a choux recipe, offering detailed steps and troubleshooting tips to help you navigate potential challenges.
By practicing this foundational technique, you gain the confidence and skill needed to create elegant éclairs, delightful cream puffs, savory gougères, and many other impressive pastries. Remember that baking is a skill that improves with practice. Don't be discouraged if your first batch isn't perfect. Each attempt will teach you more about the dough and your oven. With this comprehensive guide, you have the knowledge to successfully make pate a choux and unleash your inner baker, ready to fill your kitchen with the aroma of freshly baked French pastries.
Frequently Asked Questions
What exactly is pâte à choux and why is it important?
Pâte à choux is a classic French pastry dough that's the foundation for eclairs, cream puffs, and other delicious treats. Its importance lies in its versatility and unique cooking method, creating airy, hollow pastries.
Is making pâte à choux really that difficult, especially for beginners?
While it requires attention to detail, our pâte à choux recipe is designed to be easy to follow, even for beginners. The step-by-step instructions and clear explanations help prevent common mistakes.
What are the key ingredients needed for an easy pâte à choux recipe?
The basic ingredients are quite simple: water, butter, flour, eggs, and a pinch of salt. The quality of ingredients and proper measurements are crucial for success.
What are some common problems encountered when making pâte à choux and how can I avoid them?
Common problems include a dough that is too wet or too dry, or pastries that don't puff up properly. Avoiding these issues involves precise measurements and proper cooking temperatures.
Can I customize the pâte à choux recipe to create different flavors or fillings?
Absolutely! Once you master the basic dough, you can experiment with different flavorings like vanilla, citrus zest, or even savory herbs. The versatility allows for endless filling and topping options.
Final Reflection: The Enduring Allure of Pâté à Choux
Mastering the seemingly simple art of pâté à choux unlocks a world of delectable possibilities, far beyond the classic éclair and cream puff. This seemingly straightforward recipe, often perceived as intimidating, is actually a gateway to culinary creativity, demanding precision yet rewarding the baker with incredibly versatile results. The ease of the basic recipe, once understood, allows for endless variations and personal expression.
The enduring appeal of pâté à choux lies not just in its deliciousness, but in its ability to transcend generations and cultures. From the elegant Parisian éclairs to the comforting cream puffs enjoyed worldwide, this humble dough connects us to a rich culinary heritage. The simplest things are often the most beautiful,
a sentiment that perfectly encapsulates the elegance and simplicity of a perfectly executed pâté à choux. Its adaptability, allowing for sweet and savory fillings, further solidifies its position as a cornerstone of baking. I personally find the process incredibly meditative, the careful whisking and precise folding a calming ritual.
Now, I invite you to step into your kitchen, armed with this newfound knowledge and confidence. Don't be afraid to experiment! Try different fillings, glazes, and toppings. Embrace the slight imperfections, for they are often what give your creations unique character. The journey of mastering pâté à choux is a rewarding one, filled with delicious discoveries and the satisfaction of creating something truly special. So, gather your ingredients, preheat your oven, and embark on this culinary adventure. The perfect éclair or cream puff awaits.
Unleash Your Inner Pâtissier: Perfect Pâté à Choux Awaits!
Thanks for joining us on this delicious journey into the world of pâte à choux! You've now unlocked the secrets to creating flawlessly light and airy eclairs and cream puffs. Ready to put your newfound skills to the test?
- Bake your dream eclairs: Try the recipe from the article, adjusting it to your own creative flair – perhaps with a unique filling or glaze! This is your chance to shine.
- Share your creations: Post a picture of your masterpiece on social media using #BakeWithEasePateChoux and inspire others!
- Explore our other pastry recipes: Dive deeper into the world of baking and discover new techniques and delightful treats on BakeWithEase.com (this is fine to include the site here, as requested previously).
What unique twist will you add to your pâte à choux creations to make them truly your own?