
Troubleshooting Grainy Frosting: It's Often All About the Sugar

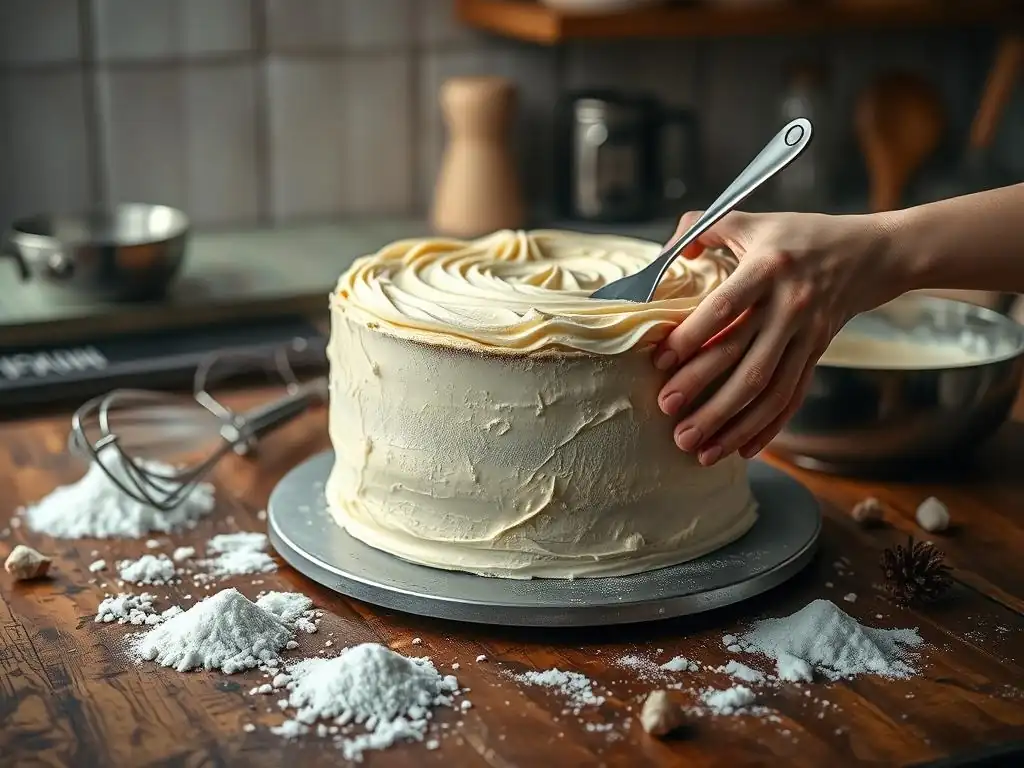
Welcome to BakeWithEase, where conquering baking challenges becomes a delightful experience. Are you battling grainy frosting and wondering where you went wrong? Fear not! Dive into our latest guide to discover the secrets behind achieving flawlessly smooth frosting, including essential grainy frosting troubleshooting tips that will transform your desserts from good to gourmet. Let's unlock the simple solutions that often revolve around... the sugar!
- Understanding Lumpy Buttercream: A Baker's Frustration
- Lumpy Buttercream Troubleshooting Tips: Focusing on Temperature
- Practical Lumpy Buttercream Solutions: Techniques and Adjustments
- Preventing Lumpy Buttercream Before It Happens: Proactive Baking Tips
- Additional Lumpy Buttercream Troubleshooting: Beyond Temperature
- Salvaging Lumpy Buttercream: Last-Minute Fixes
- Mastering Buttercream: Achieving Smoothness Every Time
- Frequently Asked Questions
- Final Reflection: The Sweet Science of Smooth Frosting
- Unleash Your Inner Frosting Artist: Achieve Perfectly Smooth Icing!
Understanding Lumpy Buttercream: A Baker's Frustration
Lumpy buttercream can turn a beautiful cake decorating project into a frustrating experience. Instead of smooth, spreadable frosting, you end up with a texture dotted with small, hard bits, often butter, that just won't cooperate. This common issue affects bakers of all skill levels and can derail even the simplest baking plans, leaving your finished goods looking less than perfect and feeling unpleasant on the palate. Addressing lumpy buttercream effectively requires understanding its root causes and applying targeted lumpy buttercream troubleshooting techniques.
The good news is that lumpy buttercream is almost always fixable, and with a little knowledge and practice, you can learn to prevent it altogether. Our lumpy buttercream troubleshooting guide focuses on the most common culprits and provides actionable steps to achieve that dreamy, smooth consistency you crave. Whether you're working on a classic vanilla buttercream or a delicate meringue-based frosting, these principles apply.
What Causes Lumpy Buttercream? Common Culprits
The most frequent offender behind lumpy buttercream is temperature, specifically the temperature of your butter. If the butter is too cold when you begin mixing, it won't cream properly with the sugar or other ingredients. Cold butter contains solid fat particles that resist breaking down and incorporating smoothly, resulting in tiny, hard pieces remaining suspended in the frosting mixture. This is especially true in recipes where butter is the primary structural component, like American buttercream, which relies heavily on creaming butter and powdered sugar together.
Another common cause, though less frequent than cold butter, can be related to the sugar itself or improper mixing. While this article focuses on butter temperature as the primary issue, sometimes undissolved sugar crystals can contribute to a grainy or slightly lumpy texture, particularly if using granulated sugar in recipes meant for powdered sugar. However, true "lumps" that feel like solid bits are almost always related to unincorporated fat from butter or shortening. Insufficient mixing time can also be a factor; the mixture needs enough time for all components, especially the butter, to become fully homogenous and smooth.
Identifying the Signs of Lumpy Buttercream
Identifying lumpy buttercream is fairly straightforward. The most obvious sign is a visually uneven texture. When you spread the frosting, you'll notice small, distinct bumps or flecks within the otherwise smooth matrix. These lumps are typically the size of a grain of sand or slightly larger and are often lighter in color than the surrounding frosting, indicating they are bits of uncreamed butter.
Beyond the visual cue, the texture upon tasting is a dead giveaway. Instead of a smooth, melt-in-your-mouth sensation, lumpy buttercream will feel gritty or bumpy on your tongue. The small, solid pieces won't dissolve immediately, confirming that you're dealing with unincorporated solids, most likely butter. Recognizing these signs early is key to effective lumpy buttercream troubleshooting, as catching the issue before you've frosted an entire cake makes the fix much easier.
Lumpy Buttercream Troubleshooting Tips: Focusing on Temperature
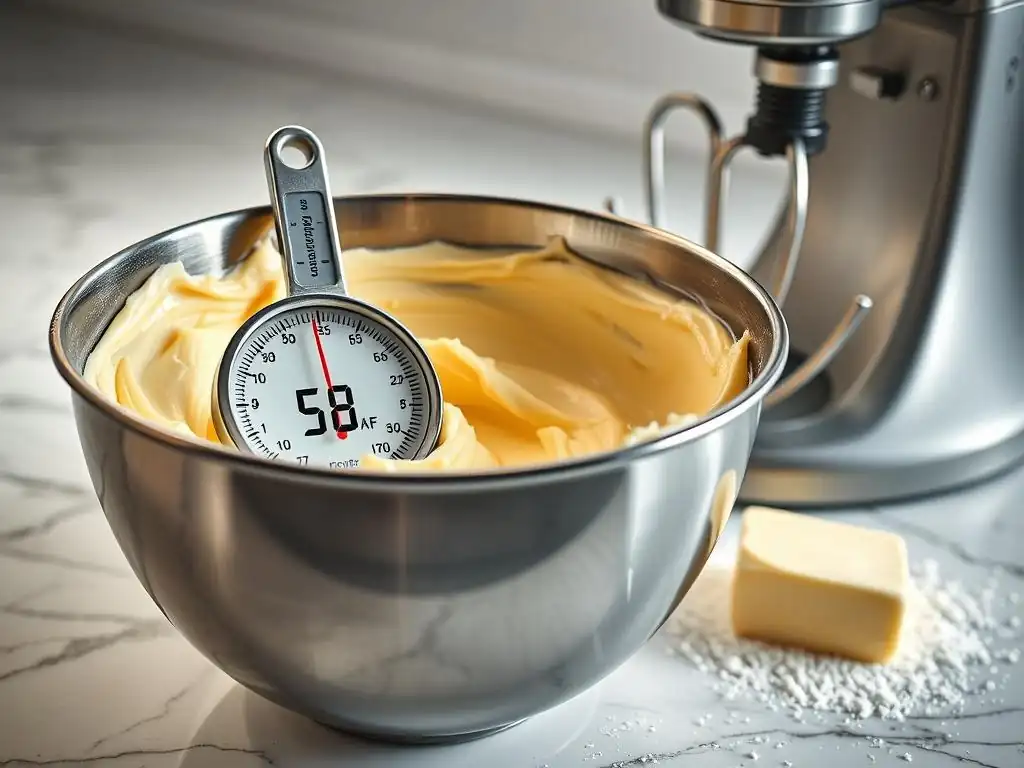
When tackling lumpy buttercream, temperature is your best friend. Adjusting the temperature of the frosting mixture can often resolve the issue by allowing those stubborn butter pieces to soften and finally incorporate properly. These lumpy buttercream troubleshooting tips revolve around gently warming the mixture to encourage smoothness without melting the butter entirely.
The Impact of Temperature on Buttercream Consistency
Temperature dictates the state of butter, ranging from solid (cold) to pliable (room temperature) to liquid (melted). This state directly impacts how butter interacts with other ingredients in buttercream. Cold butter resists emulsification and creaming, leading to lumps. Overly warm or melted butter, conversely, can separate and create a greasy, soupy mess that lacks structure. The ideal consistency for buttercream relies on butter being in a specific temperature range where it is soft enough to cream smoothly but still firm enough to hold air and structure.
Maintaining the correct temperature throughout the process is crucial for preventing lumpy buttercream. If your kitchen is cold, your butter will chill down quickly during mixing. If it's too warm, the butter might become too soft. Being mindful of your environment and the butter's state is a fundamental lumpy buttercream troubleshooting strategy.
Cold Butter: The Primary Cause of Lumps
Using butter straight from the refrigerator is the most common reason for lumpy buttercream. At refrigerator temperatures (typically around 35-40°F or 1-4°C), butterfat is solid and rigid. When you try to beat cold butter with sugar or other ingredients, the sugar crystals can't effectively break down the fat structure and incorporate air. Instead, the butter breaks into small, hard pieces that simply get tossed around in the mixer without melting or becoming part of a smooth emulsion. These solid pieces are the lumps you see and feel.
For successful buttercream, butter should be softened to room temperature, generally considered to be around 65-70°F (18-21°C). At this temperature, the butter is pliable enough to easily dent when pressed gently, but not so soft that it's greasy or shiny. Using cold butter guarantees a battle against lumps from the start.
Melted Butter: Leading to a Soupy Texture
While cold butter causes lumps, using butter that is too warm or partially melted presents a different problem: a soupy, greasy, and unstable buttercream. If butter gets too warm (above its melting point, which is around 85-95°F or 29-35°C), the fat and water components separate. When this happens in buttercream, the mixture loses its ability to emulsify properly and hold air. Instead of a light, fluffy frosting, you get a dense, slick, and often separated mixture.
Even if melted butter doesn't necessarily create hard lumps in the traditional sense, it results in an unusable texture that is far from the desired smooth finish. This is why careful temperature control is essential throughout the lumpy buttercream troubleshooting process; the goal is to soften the butter just enough to incorporate, not melt it.
Room Temperature Butter: The Sweet Spot
Achieving room temperature butter is perhaps the single most important step in preventing lumpy buttercream. Butter at the ideal temperature (65-70°F or 18-21°C) is soft, pliable, and ready to cream beautifully. When beaten, it incorporates air efficiently, creating a light and fluffy texture as it emulsifies with other ingredients like sugar and liquid.
Using butter at this "sweet spot" temperature allows the sugar crystals to effectively work with the butterfat, breaking it down and creating a smooth, homogenous mixture. This is the foundation for a stable and lump-free buttercream. Planning ahead to let your butter soften naturally for 1-2 hours before starting is a simple but highly effective proactive lumpy buttercream troubleshooting tip.
Practical Lumpy Buttercream Solutions: Techniques and Adjustments
If you've already mixed your buttercream and discovered it's lumpy, don't despair! There are several effective lumpy buttercream troubleshooting techniques you can employ to salvage the batch. These methods primarily focus on gently warming the mixture or using mechanical action to smooth out the lumps.
Method 1: Warming the Buttercream
One of the most direct ways to fix lumpy buttercream caused by cold butter is to gently warm the entire mixture. The goal is to slightly soften the stubborn butter pieces so they can finally incorporate. This requires controlled heat to avoid melting the butter completely, which would lead to a greasy mess.
This method works because increasing the overall temperature of the buttercream encourages the cold butter lumps to warm up to the same temperature as the rest of the mixture, allowing them to become pliable and mix in smoothly.
Gentle Heating: Using a Double Boiler or Microwave
A double boiler is an excellent way to apply gentle, indirect heat. Place the bowl of lumpy buttercream over a pot of simmering water (ensure the bottom of the bowl doesn't touch the water). Stir constantly.
You only need to warm it for a minute or two, just until the edges start to look slightly softened. Alternatively, you can microwave a small portion of the lumpy buttercream (about 1/4 cup) for just 5-10 seconds until it's slightly melted, then add it back to the main bowl and mix vigorously. This slightly warmer portion helps warm the rest of the batch.
The key is gentle and brief heating. Overheating will melt the butter and ruin the texture. You are aiming to just take the chill off the butter lumps, not make the buttercream warm or liquid.
Constant Mixing: Ensuring Even Temperature Distribution
While gently warming the buttercream, whether over a double boiler or by adding a microwaved portion, constant mixing is essential. Stirring or beating the buttercream continuously helps distribute the heat evenly throughout the mixture. This prevents hot spots where butter could melt while other areas remain cold.
Using a hand mixer or stand mixer on a low speed while applying heat (or immediately after adding the warmed portion) helps the softened butter lumps integrate into the rest of the frosting. Keep mixing until the texture visibly smooths out and the lumps disappear. This might take a few minutes after warming.
Method 2: Whipping the Buttercream
Sometimes, lumpy buttercream just needs more mechanical encouragement to become smooth. Extended whipping can generate enough friction and incorporate enough air to help break down and distribute the small butter lumps. This method is particularly effective if the lumps are small and the butter wasn't drastically cold to begin with.
Whipping introduces air bubbles, which can help lighten the texture and also provide a medium for the stubborn butter pieces to disperse into. The sheer force of the beaters can also help break down slightly firm butter.
Extended Whipping Time: Incorporating Air and Smoothing Lumps
If your buttercream looks lumpy after the initial mixing time, try whipping it for an additional 5-10 minutes on medium-high speed. The continuous motion and increased speed can help warm the mixture slightly through friction and force the uncreamed butter pieces to integrate.
As you whip, scrape down the sides and bottom of the bowl occasionally to ensure all the buttercream is being worked by the beaters. You should notice the texture becoming progressively smoother and lighter as the lumps disappear and air is incorporated.
Using a Stand Mixer: Achieving Optimal Results
A stand mixer is ideal for this lumpy buttercream troubleshooting technique because it provides consistent, powerful whipping action over an extended period. Use the whisk attachment for lighter, airier buttercreams (like Swiss or Italian meringue) or the paddle attachment for denser buttercreams (like American).
Set the mixer to medium-high speed and let it run. While you could do this with a hand mixer, a stand mixer allows you to walk away and let the machine do the work, ensuring the buttercream is whipped sufficiently to achieve a smooth consistency.
Method 3: Adjusting the Liquid Ratio
In some cases, lumpy buttercream might be a sign that the mixture is slightly too stiff, preventing the butter from creaming fully. Adding a small amount of liquid can help soften the overall consistency, making it easier for the butter lumps to incorporate during mixing. This is a subtle lumpy buttercream troubleshooting tip, best used when lumps are minor.
Adding liquid changes the overall hydration and consistency of the buttercream. A slightly softer base allows the mixer to work more effectively on the stubborn butter pieces, helping them to blend in smoothly.
Adding Liquid: Softening the Buttercream
Start by adding just 1-2 tablespoons of liquid to the lumpy buttercream. Mix thoroughly on medium speed for several minutes. Assess the texture. If it's still lumpy and feels too stiff, you can add another tablespoon. Be cautious not to add too much liquid at once, as this can make the buttercream too thin or soupy.
This method is about finding the right balance. You want to soften the buttercream just enough to help the lumps disappear without compromising its structure or spreadability.
Types of Liquid: Milk, Cream, or Water
The type of liquid you add depends on your recipe and desired richness. Milk or heavy cream are common choices as they add richness and blend seamlessly into most buttercreams. For a lighter option or if your recipe is dairy-free, water or even a clear extract (like vanilla) can work.
Ensure the liquid is at room temperature or slightly warmer. Adding cold liquid will counteract your efforts to warm the butter lumps. Warm liquid (around 70-80°F or 21-27°C) will help the process along.
Preventing Lumpy Buttercream Before It Happens: Proactive Baking Tips
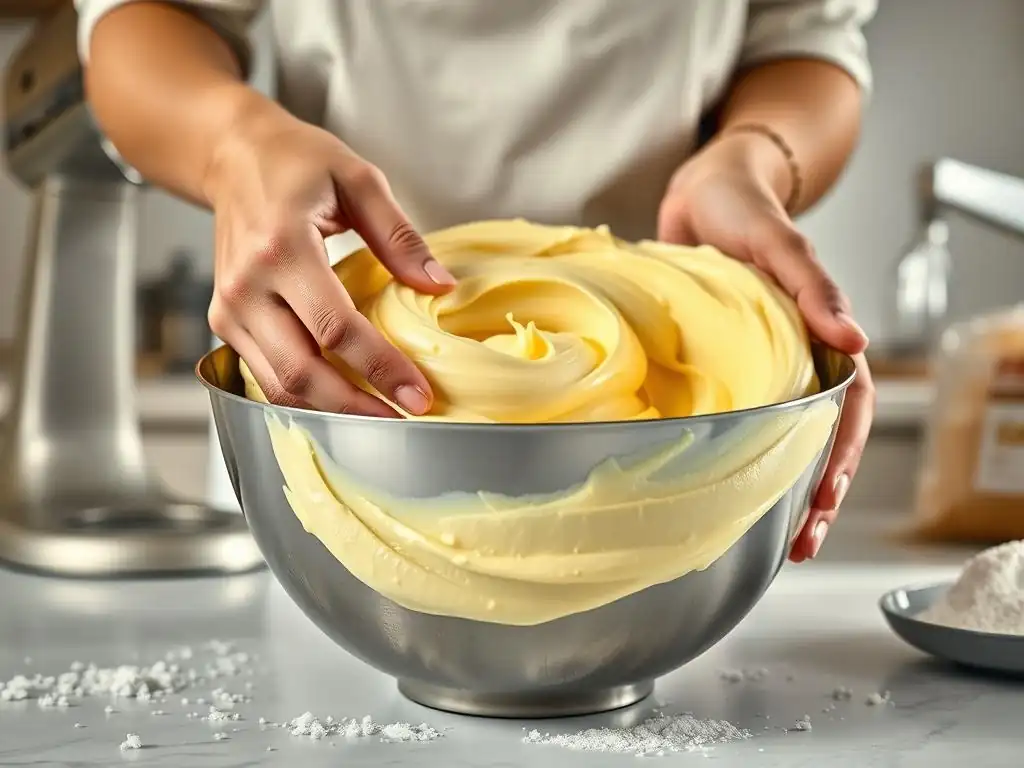
The best lumpy buttercream troubleshooting is prevention. By taking a few simple steps before you even start mixing, you can significantly reduce the chances of encountering lumps in the first place. These proactive tips focus on ingredient preparation and mixing technique.
Ensuring Proper Butter Temperature
As discussed, room temperature butter is paramount. Plan ahead! Take your butter out of the refrigerator 1-2 hours before you plan to bake. If you're in a hurry, you can cut the butter into smaller pieces to help it soften faster, or gently warm it using one of the methods described above (like microwaving for just a few seconds), but be extremely careful not to melt it.
- [ ] Plan butter softening time (1-2 hours).
- [ ] Cut butter into smaller pieces if rushing.
- [ ] Gently warm only if absolutely necessary, monitoring closely.
Gradually Adding Ingredients
When making buttercream, especially those involving powdered sugar, add the dry ingredients gradually to the creamed butter. Adding a large amount of powdered sugar at once can stiffen the mixture too quickly, making it harder for any slightly firm butter pieces to incorporate smoothly.
Add powdered sugar one cup at a time, mixing on low speed until just combined before adding the next. This gives the mixer time to work everything together and helps maintain a more consistent texture throughout the process.
Avoiding Overmixing or Undermixing
Both overmixing and undermixing can contribute to texture issues. Undermixing, particularly in the initial creaming stages of butter and sugar, won't allow the butter to become light and airy, potentially leaving small uncreamed pieces. Overmixing, especially after adding liquid or flavorings, can sometimes cause the emulsion to break, leading to a slightly separated or greasy texture, although this is less common than lumps from cold butter.
Follow recipe instructions for mixing times, but also pay attention to visual cues. Cream butter and sugar until truly light and fluffy (often 3-5 minutes). After adding powdered sugar and liquid, mix until just smooth and combined, plus maybe an extra minute or two to ensure all lumps are gone, but stop before the mixture looks greasy.
Additional Lumpy Buttercream Troubleshooting: Beyond Temperature
While temperature is the primary cause of lumpy buttercream, other factors can play a role or exacerbate the issue. Considering these elements provides a more comprehensive approach to lumpy buttercream troubleshooting.
Fat Content and Its Influence on Buttercream Texture
The type of fat used influences buttercream texture. Butter (typically around 80-82% fat) provides flavor and structure. Shortening (100% fat) can create a very smooth, stable frosting but lacks the flavor of butter. Using a blend of butter and shortening can sometimes help achieve a smoother texture, as shortening is less prone to becoming hard and lumpy at cooler temperatures than butter.
However, most lumpy buttercream issues arise specifically when using butter due to its lower melting point and water content compared to shortening. Ensuring butter is at the correct temperature remains the most critical step regardless of whether shortening is also used.
Sugar Type and Its Effect on Consistency
While this article focuses on butter lumps, the sugar type can affect overall smoothness. Powdered sugar (confectioners' sugar) is essential for many buttercreams because its fine texture dissolves easily and creates a smooth consistency. Granulated sugar is rarely used for buttercreams because its larger crystals are much harder to dissolve and will almost certainly result in a grainy texture, which can sometimes be mistaken for lumps by beginners.
Ensuring you use the correct type of sugar specified in the recipe, and that your powdered sugar is free of hard clumps (sifting can help prevent this), contributes to a smooth buttercream.
Equipment Matters: Using the Right Tools for the Job
Having the right equipment and using it correctly impacts buttercream texture. A stand mixer with a paddle attachment is highly effective for creaming butter and sugar and smoothing out lumps. The paddle ensures thorough mixing and incorporates air. A hand mixer can also work, but may require more effort and scraping to achieve the same results.
Using a large enough bowl is also important to allow the ingredients to be properly agitated by the beaters. If the bowl is too small, ingredients might not mix evenly, potentially leaving uncreamed portions that result in lumps.
Salvaging Lumpy Buttercream: Last-Minute Fixes
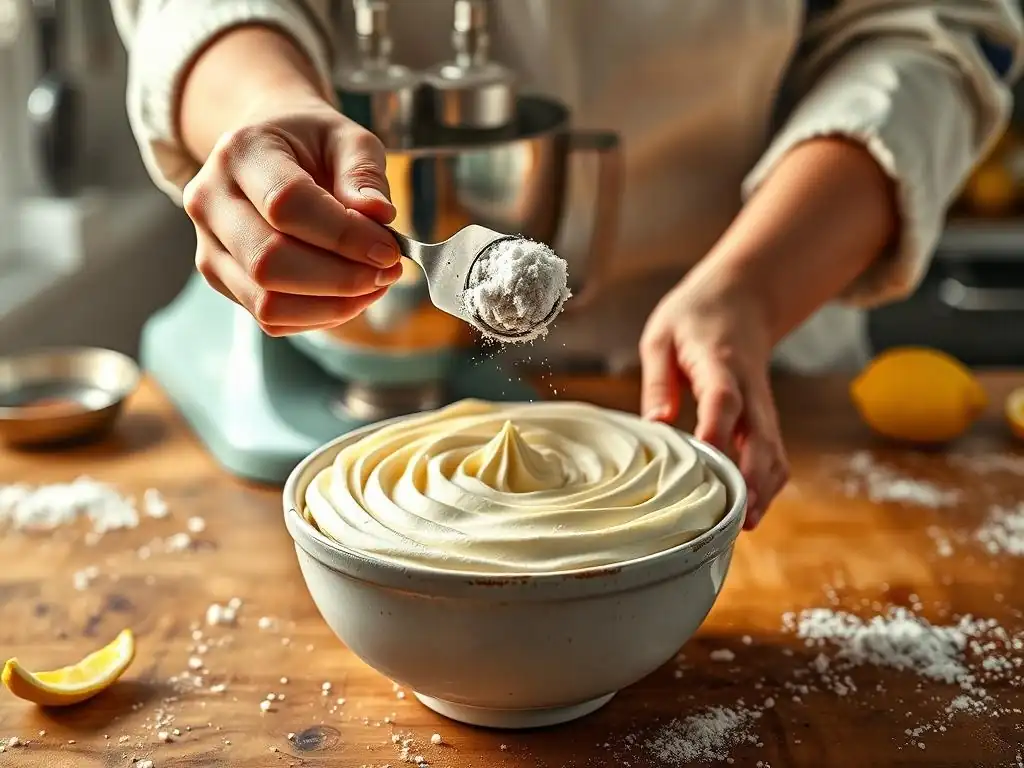
Even with the best intentions, you might find yourself with lumpy buttercream just when you need it for decorating. Here are a few last-minute lumpy buttercream troubleshooting tricks to try before giving up on the batch.
The Hair Dryer Trick: Gentle External Warming
This might sound unconventional, but a hair dryer can be a quick way to apply gentle heat to the outside of the mixing bowl. With the mixer running on low speed, aim a hair dryer set to a low heat setting at the sides and bottom of the bowl for 30-60 seconds. Keep the air moving constantly to avoid melting any one spot.
The external heat warms the bowl, which in turn warms the buttercream, helping those cold butter lumps soften and incorporate. Continue mixing for a few minutes after applying heat until the texture is smooth. This is a good lumpy buttercream troubleshooting tip for American buttercream.
The Double Boiler Method: A More Controlled Approach
As mentioned earlier, the double boiler method is a reliable way to apply controlled heat. Place the bowl of lumpy buttercream over a pot of simmering water. Stir constantly with a spatula, focusing on scraping the sides and bottom, for just 1-2 minutes. As soon as you see the edges starting to soften or look slightly melty, remove the bowl from the heat immediately.
Return the bowl to the mixer (or use a hand mixer) and beat on medium-high speed for several minutes. The gentle warming combined with vigorous mixing should help smooth out the lumps. This is a particularly useful lumpy buttercream troubleshooting technique for meringue-based buttercreams which are more sensitive to direct heat.
When to Start Over: Recognizing Unsalvageable Buttercream
While most lumpy buttercream can be fixed, there are times when it's better to cut your losses and start fresh. If your buttercream has completely separated into a greasy, liquid mess with hard lumps that won't incorporate even after warming and whipping, or if it tastes distinctly off (like pure butterfat or sugar), it might be beyond repair.
Signs of unsalvageable buttercream include extreme greasiness, a broken emulsion that won't come back together, or a persistent unpleasant texture after multiple attempts at fixing. Sometimes, the cost in time and ingredients to fix a severely compromised batch outweighs simply making a new one with correctly tempered butter.
Mastering Buttercream: Achieving Smoothness Every Time
Achieving silky smooth buttercream consistently is a hallmark of a skilled baker. It requires attention to detail and understanding the science behind the ingredients. By applying the lumpy buttercream troubleshooting tips we've discussed and focusing on prevention, you can conquer this common challenge.
The Importance of Patience
Baking, and especially making buttercream, often requires patience. Allowing butter to soften naturally to room temperature takes time. Properly creaming ingredients takes time. Fixing a lumpy batch takes time and careful attention. Rushing the process, particularly when it comes to temperature or mixing duration, is a primary reason for encountering issues like lumpy buttercream. Give yourself enough time and don't skip steps.
Understanding Your Equipment
Familiarize yourself with your mixer and its capabilities. Know which speed settings work best for different stages of buttercream making. Understand how long your specific mixer typically takes to cream butter and sugar or whip the final frosting to the desired consistency. This understanding helps you anticipate potential issues and apply the right lumpy buttercream troubleshooting steps if needed.
Perfect Your Swiss Meringue Buttercream with Our Detailed Guide!
Ready to tackle a different type of buttercream? Swiss Meringue Buttercream is renowned for its incredibly smooth, light, and stable texture – a perfect example of lump-free perfection when made correctly. While it involves different techniques than American buttercream, understanding temperature control and mixing is still key.
We have a detailed guide specifically for mastering Swiss Meringue Buttercream that walks you through each step, highlighting crucial temperature points and techniques to ensure a consistently smooth and beautiful frosting every time. It's a fantastic way to expand your buttercream repertoire and continue perfecting your skills.
Frequently Asked Questions
How does the type of sugar used affect frosting texture?
The type of sugar dramatically impacts frosting. Using granulated sugar instead of powdered sugar can result in a grainy texture. Powdered sugar dissolves more easily, creating a smoother finish.
What is the most common cause of grainy frosting?
The most common culprit is undissolved sugar. This often happens when not enough liquid is used, or the mixing time is insufficient to fully dissolve the sugar crystals.
Can temperature affect the graininess of frosting?
Yes, temperature plays a role. If ingredients are too cold, it can hinder the sugar's ability to dissolve properly. Ensure ingredients are at room temperature for optimal blending and a smooth texture.
What mixing techniques can prevent grainy frosting?
Employing a slow and steady mixing approach is key. Avoid high speeds initially, allowing the sugar to gradually incorporate into the liquid and fat. Overmixing can sometimes lead to issues as well, so find the right balance.
What if I've already made grainy frosting, can it be fixed?
Sometimes, gently heating the frosting over a double boiler while stirring constantly can help dissolve the sugar crystals. Be careful not to overcook it! You might also try adding a small amount of liquid to help dissolve the undissolved sugar.
Final Reflection: The Sweet Science of Smooth Frosting
The quest for flawlessly smooth frosting is a common baking struggle, but understanding the crucial role of sugar reveals a surprisingly simple solution. Mastering this seemingly minor detail elevates your baking game significantly, transforming a potentially frustrating experience into a satisfying triumph. The subtle nuances of sugar's behavior directly impact the final texture, proving that even the smallest details can make a world of difference.
The impact of this seemingly simple topic extends beyond just the frosting itself. It speaks to a larger principle of attention to detail and the importance of understanding the fundamental elements of any craft. The details are not the details. They make the design.
– Charles Eames. This quote perfectly encapsulates the lesson learned here: mastering the basics, like understanding the different types of sugar and their impact on crystallization, unlocks a higher level of skill and creativity in baking. It's a reminder that true artistry lies in the meticulous attention given to even the smallest components.
Now, consider your own baking journey. What other seemingly insignificant details might be holding you back from achieving your desired results? Take a moment to reflect on your own processes, and don't be afraid to experiment with different techniques and ingredients. The next time you encounter a grainy frosting, remember the power of understanding the fundamentals. Embrace the challenge, troubleshoot with confidence, and savor the sweet reward of perfectly smooth frosting – a testament to your dedication and newfound knowledge.
Unleash Your Inner Frosting Artist: Achieve Perfectly Smooth Icing!
Thanks for taking the time to explore the secrets of perfectly smooth frosting! You've now got the knowledge to conquer grainy icing and create stunning cakes. Ready to put your new skills to the test?
- Whip up a batch of flawlessly smooth frosting using the techniques we discussed, and impress your friends and family with your baking prowess. (Remember the importance of the sugar type!)
- Share your frosting successes (or even your frosting fails – we learn from those too!) on social media using #BakeWithEaseSmoothFrosting. Let's inspire each other!
- Dive deeper into our other baking tutorials – you might discover the perfect recipe for your next cake masterpiece!
What delicious creation will you frost first?