
Extend Freshness: The BakeWithEase Guide to Storing & Freezing

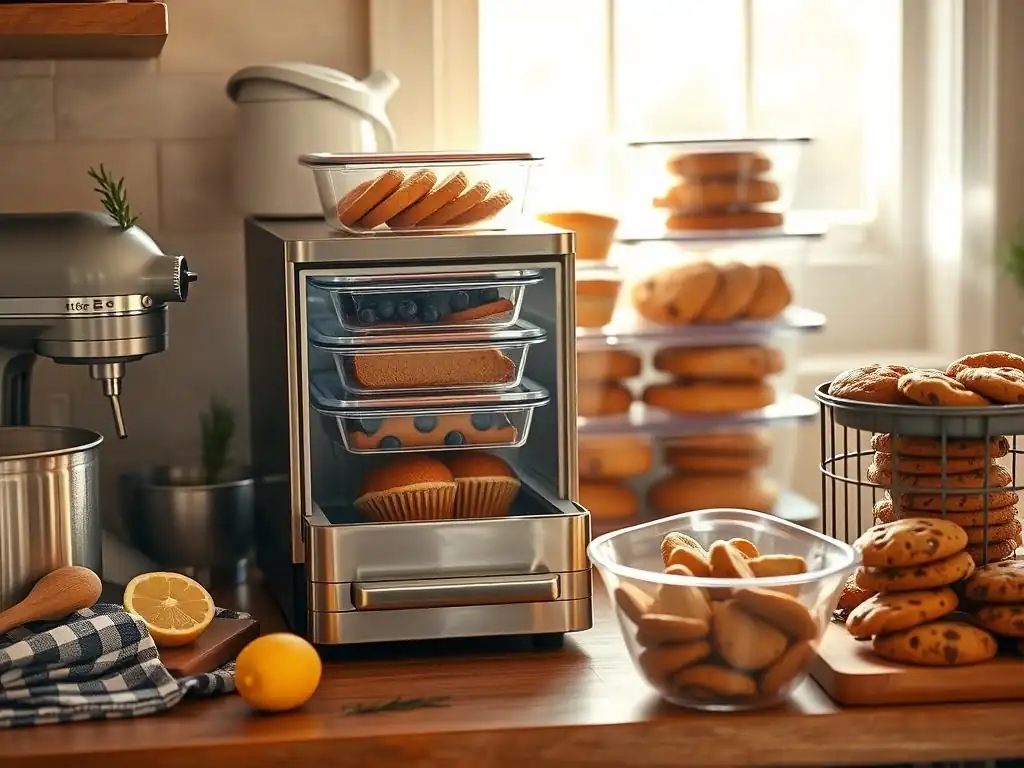
Welcome to BakeWithEase, your trusted guide to baking bliss! Ever wondered if you could freeze your freshly baked creations and still enjoy that just-out-of-the-oven flavor? Unlock the secrets to preserving your hard work with our comprehensive guide. Discover the simple yet crucial steps to freezing baked goods properly, ensuring your delicious treats stay perfect for whenever cravings strike. Ready to become a master of preservation? Let's get baking (and freezing)!
- Extend Freshness: The BakeWithEase Guide to Storing & Freezing Baked Goods
- Introduction: Mastering the Art of Storing and Freezing for Baking Success
- Understanding the Importance of Proper Storage for Baked Goods
- Best Practices for Storing Different Types of Baked Goods
- The BakeWithEase Guide to Freezing Baked Goods Properly
- Thawing Frozen Baked Goods: Restoring Freshness and Flavor
- Troubleshooting Common Storage and Freezing Issues
- Advanced Techniques for Long-Term Storage of Baked Goods
- Conclusion: Enjoying Freshly Baked Goodness, Longer with BakeWithEase
- Frequently Asked Questions
- Final Reflection: Extending the Joy of Baking
- Unlock Your Baking Potential: Extend the Life of Your Creations!
Extend Freshness: The BakeWithEase Guide to Storing & Freezing Baked Goods
Introduction: Mastering the Art of Storing and Freezing for Baking Success
You've just pulled a beautiful cake or a batch of perfect cookies from the oven, filling your kitchen with wonderful aromas. There's nothing quite like the taste of fresh, warm baked goods. But what happens when you have leftovers, or you've baked ahead for a special occasion? Letting your hard work go stale or spoil is a baker's heartbreak! Learning how to properly store and freeze baked goods is just as crucial a skill as mastering the perfect crumb or rise.
Effective storage and freezing techniques are essential for preserving the texture, flavor, and overall quality of your delicious creations. Whether you're a beginner tackling your first loaf or an experienced hand perfecting delicate pastries, understanding how to keep your bakes at their best means you can enjoy them longer and reduce waste. This guide from BakeWithEase will walk you through the best practices, focusing particularly on how to freeze baked goods properly to extend their life significantly.
Understanding the Importance of Proper Storage for Baked Goods
Proper storage isn't just about preventing mold; it's about maintaining the sensory experience of your baking. The difference between a perfectly stored cookie and one left exposed to air is stark – one is a delightful treat, the other a stale disappointment. Mastering storage ensures that every bite delivers the texture and flavor you worked so hard to achieve.
Why Proper Storage Matters for Freshness and Flavor
Baked goods begin to degrade the moment they cool. Staling in bread, for example, isn't just drying out; it's a complex process where starch molecules reorganize, making the bread firm and less palatable. For cookies and cakes, exposure to air causes them to dry out or absorb unwanted moisture, altering their texture from crisp to soft, or soft to hard. Proper storage methods create a barrier against these environmental factors, locking in moisture for soft items and keeping moisture out for crisp ones.
Furthermore, improper storage can lead to flavor degradation. Fats in baked goods can become rancid over time, especially when exposed to air and light. Strong odors from your pantry or refrigerator can also be absorbed. Using airtight containers or appropriate wrapping materials acts as a shield, preserving the intended taste and aroma of your baked goods, whether it's the rich chocolate of a brownie or the subtle tang of sourdough.
Factors Affecting the Shelf Life of Baked Goods
Several key factors influence how long your baked goods will remain fresh. Moisture content is perhaps the most significant; items with high moisture, like fruit pies or creamy cakes, have a shorter shelf life at room temperature than dry cookies or crackers due to increased microbial activity. The ingredients used also play a role; items containing dairy, eggs, or fresh fruit generally require refrigeration sooner than those made primarily of flour, sugar, and fat.
Environmental conditions like temperature, humidity, and air exposure are equally critical. Warm, humid environments accelerate spoilage. Exposure to air leads to staling and oxidation. For instance, a loaf of bread left uncovered on the counter might become noticeably stale within 12-24 hours, while the same loaf stored correctly in a bread box might remain relatively fresh for 3-4 days. Understanding these factors helps you choose the right storage method for each specific bake.
The Role of Freezing in Extending the Life of Your Baking Creations
Freezing is a baker's superpower when it comes to long-term preservation. By lowering the temperature significantly, you halt microbial growth and slow down the chemical processes that lead to staling and spoilage. This means you can enjoy your homemade treats weeks or even months after they were baked, provided you freeze baked goods properly.
Think about that holiday cookie baking marathon in November. You can bake dozens of varieties, freeze them following best practices, and then pull them out in December for a festive platter that tastes just as fresh as the day they were made. Properly freezing baked goods allows you to bake in bulk, prepare for future events, or simply save leftovers for a rainy day, ensuring minimal waste and maximum enjoyment.
Best Practices for Storing Different Types of Baked Goods
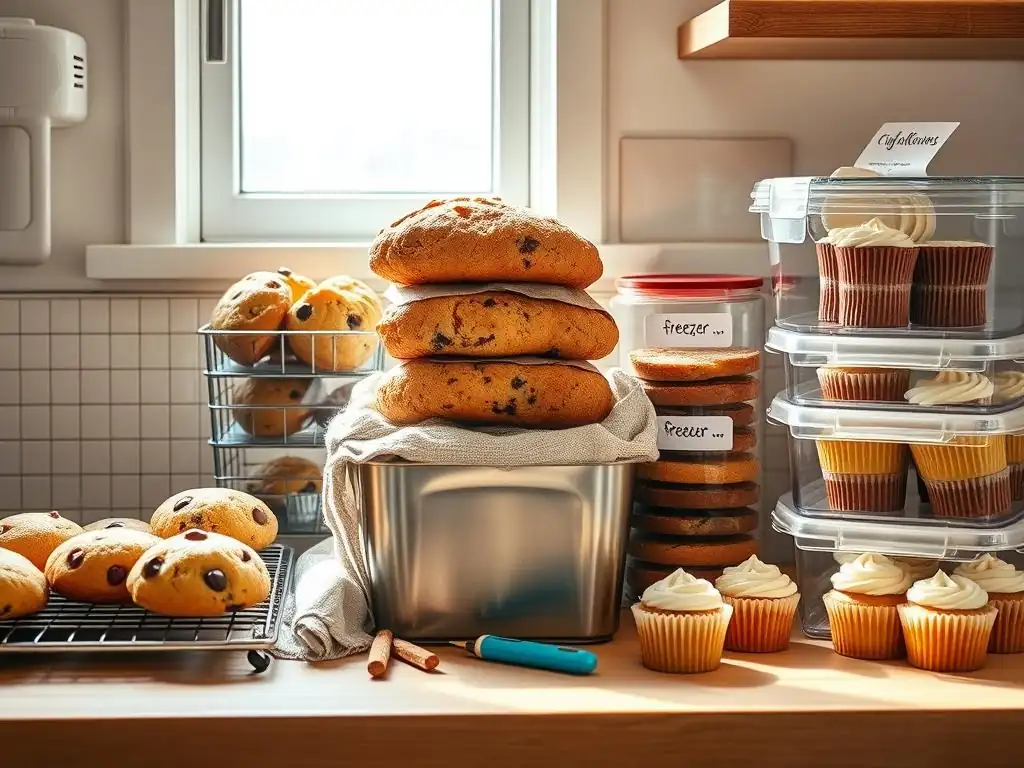
The ideal storage method varies greatly depending on the type of baked good. What keeps a cake moist might make a cookie soggy, and what preserves bread's texture won't work for a delicate pastry. Tailoring your approach is key to success.
Storing Cakes for Optimal Freshness
Cakes require careful handling to maintain their tender crumb and moisture. An unfrosted cake generally stores differently than a frosted one, especially concerning refrigeration.
Storing Frosted Cakes: Tips and Tricks
Cakes frosted with buttercream, cream cheese frosting, or whipped cream often need refrigeration due to the dairy content in the frosting. Before refrigerating, allow the frosting to set slightly at room temperature for about 15-30 minutes. Then, cover the cake loosely with plastic wrap, using toothpicks to prevent the wrap from touching the frosting if necessary, or place it in a cake carrier. Refrigerated frosted cakes typically last 3-4 days.
For longer storage or if the frosting is particularly delicate, consider freezing. First, chill the frosted cake in the refrigerator until the frosting is firm (about 30-60 minutes). Then, wrap the chilled cake tightly in plastic wrap, followed by a layer of aluminum foil or place it in a freezer-safe container. Frozen frosted cakes can maintain quality for 2-3 months. Thaw overnight in the refrigerator before bringing to room temperature for serving.
Storing Unfrosted Cakes: Maintaining Moisture
Unfrosted cakes, like sponges, pound cakes, or loaf cakes, are more susceptible to drying out. Once completely cooled, wrap the cake tightly in plastic wrap. For extra protection, especially if storing for more than a day or two, place the wrapped cake in an airtight container or a resealable plastic bag. Store at room temperature for 2-3 days.
To extend their life further, freezing unfrosted cakes is an excellent option. Ensure the cake is completely cool. Wrap it tightly in plastic wrap, then in aluminum foil, or place it in a freezer-safe bag or container. Unfrosted cakes can be frozen for up to 4-6 months. Thaw at room temperature while still wrapped to help trap condensation and keep the cake moist.
Cookies, with their varying textures from soft and chewy to crisp and crunchy, have specific storage needs to prevent them from going stale too quickly.
Storing Soft Cookies: Preventing Hardening
Soft cookies, like chocolate chip or oatmeal raisin, need to retain their moisture. Store them in an airtight container at room temperature. To keep them extra soft, you can place a slice of bread in the container with the cookies; the cookies will absorb moisture from the bread (replace the bread slice every day or two). Avoid storing soft cookies with crispy cookies, as moisture transfer will make the crispy ones soft.
Soft cookies generally stay fresh at room temperature for 2-3 days. For longer storage, freezing baked cookies is very effective. Once completely cool, place them in a single layer on a baking sheet to freeze briefly until firm (about 30 minutes). Then, transfer them to a freezer-safe airtight container or a heavy-duty freezer bag, separating layers with parchment paper if stacking. Properly frozen soft cookies maintain quality for 6-8 months.
Storing Crispy Cookies: Maintaining Texture
Crispy cookies, such as gingersnaps or shortbread, lose their desirable texture if they absorb moisture. Store them in an airtight container, but do not add a slice of bread. You can add a small amount of dry rice or a sugar cube wrapped in a paper towel to help absorb any excess moisture in the container. Ensure the container is sealed tightly.
Crispy cookies stored correctly at room temperature can last 5-7 days. To preserve their crispness for much longer, freezing is recommended. Follow the same freezing method as for soft cookies: flash freeze on a baking sheet, then transfer to an airtight freezer container or bag. Freezing baked goods properly ensures their texture remains intact upon thawing. Crispy cookies freeze well for 6-8 months. Thaw at room temperature in the sealed container to prevent condensation from making them soggy.
Bread Storage Techniques for Lasting Freshness
Bread stales relatively quickly due to starch retrogradation. The goal of bread storage is often to slow this process down while preventing mold.
Storing Loaf Bread: Preventing Staling
Whole loaves or large pieces of bread are best stored at room temperature. Avoid refrigerating most types of bread, as the cool temperature actually accelerates the staling process compared to room temperature (though it does slow mold growth). Store the bread in a bread box, a paper bag placed inside a plastic bag, or a breathable bread bag (like linen). A simple plastic bag can trap moisture, which is good for preventing drying but can encourage mold.
For optimal freshness, a loaf of homemade bread is usually best eaten within 2-3 days. If you won't finish it within this timeframe, freezing is the superior option for preserving quality. Wrap cooled bread tightly in plastic wrap, then in aluminum foil, or place it in a heavy-duty freezer bag. Frozen bread can last 3-4 months, and freezing baked goods properly like bread ensures you have fresh slices whenever you need them.
Storing Rolls and Buns: Keeping Them Soft
Smaller bread items like rolls and buns also benefit from room temperature storage to prevent staling. Once completely cool, store them in a plastic bag or an airtight container. This helps retain their softness. They are typically best eaten within 1-2 days.
Rolls and buns freeze exceptionally well. Allow them to cool completely. Place them in a freezer-safe bag or container, removing as much air as possible. You can freeze them individually or as a group. Freezing baked goods properly, like rolls, is a great way to have them on hand for meals. They can be frozen for 2-3 months. Thaw at room temperature, and for a 'just baked' feel, you can warm them slightly in a moderate oven (around 300°F or 150°C) for a few minutes.
Pastry Storage: Maintaining Flakiness and Flavor
Pastries, with their delicate layers and often rich fillings, require specific care to maintain their texture and prevent fillings from spoiling.
Many pastries, especially those with fruit, cream, or custard fillings (like tarts, éclairs, or cream puffs), must be refrigerated. Store them in an airtight container to prevent them from drying out and absorbing odors. Refrigerated pastries with dairy or fruit fillings are typically best consumed within 1-2 days.
Pastries without perishable fillings, like croissants or Danishes, can often be stored at room temperature for a day in a paper bag to maintain crispness, or in an airtight container to keep them softer. For longer storage of many pastry types (especially unfilled or fruit-filled ones), freezing is an excellent method. Wrap individual pastries tightly in plastic wrap, then place them in an airtight container or freezer bag. Freezing baked goods properly, including many pastries, helps preserve their delicate structure. They can be frozen for 1-2 months, though delicate flaky layers might suffer slightly compared to other baked goods.
The BakeWithEase Guide to Freezing Baked Goods Properly
Freezing is the most effective way to extend the life of your baking creations, but simply tossing items into the freezer isn't enough. To truly preserve quality, you need to freeze baked goods properly. This involves careful preparation, wrapping, and thawing.
Preparing Baked Goods for Freezing: A Step-by-Step Approach
Proper preparation is the foundation of successful freezing. Skipping these initial steps can lead to freezer burn, altered textures, and diminished flavor.
Cooling Baked Goods Before Freezing
This is perhaps the most critical first step: ensure your baked goods are completely cooled before wrapping them for the freezer. Warm or hot items create condensation inside the wrapping, which can lead to ice crystals forming (causing freezer burn) or making the item soggy. A cake or loaf of bread might need several hours to cool fully on a wire rack, while cookies might cool sufficiently in 30-60 minutes. Test by touching the center; it should feel cool to the touch throughout.
For items like cookies or muffins that you want to freeze individually, it's helpful to 'flash freeze' them first. Place the completely cooled items in a single layer on a baking sheet lined with parchment paper. Put the baking sheet in the freezer for 30-60 minutes, or until the items are firm. This prevents them from sticking together when you transfer them to a larger container or bag, making it easy to grab just one or two later.
Wrapping and Packaging for Freezer Storage: The Key to Preventing Freezer Burn
Freezer burn occurs when air comes into contact with the food's surface, causing dehydration and oxidation, resulting in dry, discolored spots. To prevent this, minimize air exposure by wrapping items tightly. Start with a layer of plastic wrap pressed directly against the surface of the baked good. For extra protection, especially for longer storage (over 1-2 months), add a second layer of aluminum foil or place the wrapped item inside a heavy-duty freezer bag or an airtight freezer-safe container.
When using bags, press out as much air as possible before sealing. For containers, ensure they are specifically designed for freezing and have a tight-fitting lid. Labeling is also crucial! Write the contents and the date on the packaging with a permanent marker. This helps you keep track of what's in your freezer and ensures you use items within their optimal frozen lifespan. For example, a label might read: "Chocolate Chip Cookies - Baked 10/26/23".
Freezing Cakes: A Detailed Guide
Freezing cakes is a fantastic way to save leftovers or bake ahead for celebrations. The method depends slightly on whether the cake is frosted and if you plan to freeze it whole or in slices.
Freezing Whole Cakes vs. Individual Slices
Freezing a whole cake is ideal if you plan to serve it later for an event. Follow the cooling and double-wrapping method described earlier. If the cake is frosted, chill it first to firm the frosting before wrapping. A whole cake, properly wrapped, can be frozen for 2-3 months (frosted) or 4-6 months (unfrosted). Thaw a whole frozen cake slowly in the refrigerator (this can take 24-48 hours) before bringing it to room temperature on the counter, still wrapped, to prevent condensation issues.
Freezing individual slices is perfect for portion control and easy access to a single serving. Once the cake is completely cool (and frosting is set if applicable), cut it into slices. Wrap each slice individually and tightly in plastic wrap, then place the wrapped slices in a freezer-safe container or bag. This allows you to pull out just what you need. Individual slices thaw much faster, often in 30-60 minutes at room temperature, or a few hours in the refrigerator.
Best Types of Cakes for Freezing
Not all cakes freeze equally well. Dense cakes, like pound cake, loaf cakes (banana bread, zucchini bread), and unfrosted sheet cakes or layers, tend to freeze beautifully and retain their moisture and texture upon thawing. Cakes with high fat content often freeze particularly well.
Delicate cakes, such as angel food cake or very light sponges, may be slightly compressed during freezing and thawing. Cakes with fillings or frostings containing meringue, gelatin, or fresh fruit might not freeze as successfully due to changes in texture caused by ice crystals. However, most standard butter-based or oil-based cakes with buttercream or cream cheese frosting freeze very reliably when you freeze baked goods properly.
Cookies are one of the easiest and most satisfying baked goods to freeze. You can freeze baked cookies or even cookie dough, offering flexibility for future baking.
Freezing Cookie Dough vs. Baked Cookies
Freezing cookie dough is incredibly convenient. Prepare your dough as usual, then you have a few options:
- Log: Shape dough into logs, wrap tightly in plastic wrap, then foil. Slice and bake from frozen (add 1-3 minutes to baking time).
- Individual Portions: Scoop dough into individual balls (using a cookie scoop), place on a baking sheet, flash freeze until firm, then transfer to a freezer bag or container. Bake from frozen.
- Sheet: Press dough into a pan or shape it into discs, wrap well. Thaw in the refrigerator before rolling and cutting or pressing.
Frozen cookie dough lasts 3-6 months.
Freezing baked cookies is perfect if you want ready-to-eat treats. As mentioned earlier, ensure they are completely cool, flash freeze on a baking sheet if desired, then transfer to an airtight freezer container or bag, separating layers with parchment paper. Freezing baked goods properly like cookies prevents them from becoming a solid block. Baked cookies can be frozen for 6-8 months. Thaw at room temperature.
Preventing Cookies from Sticking Together in the Freezer
The key to preventing baked cookies or cookie dough balls from sticking together is the flash freezing step. By freezing them individually on a baking sheet first, their surfaces become firm enough that when you transfer them to a bag or container, they won't meld into one giant cookie mass.
Once flash-frozen, you can place the cookies or dough balls into a freezer bag or container. If you're stacking layers of baked cookies in a container, place a sheet of parchment or wax paper between each layer. This ensures you can easily remove just the amount you need without damaging the others. This simple step makes retrieving and thawing your frozen treats much easier.
Freezing Bread: Maintaining Quality and Texture
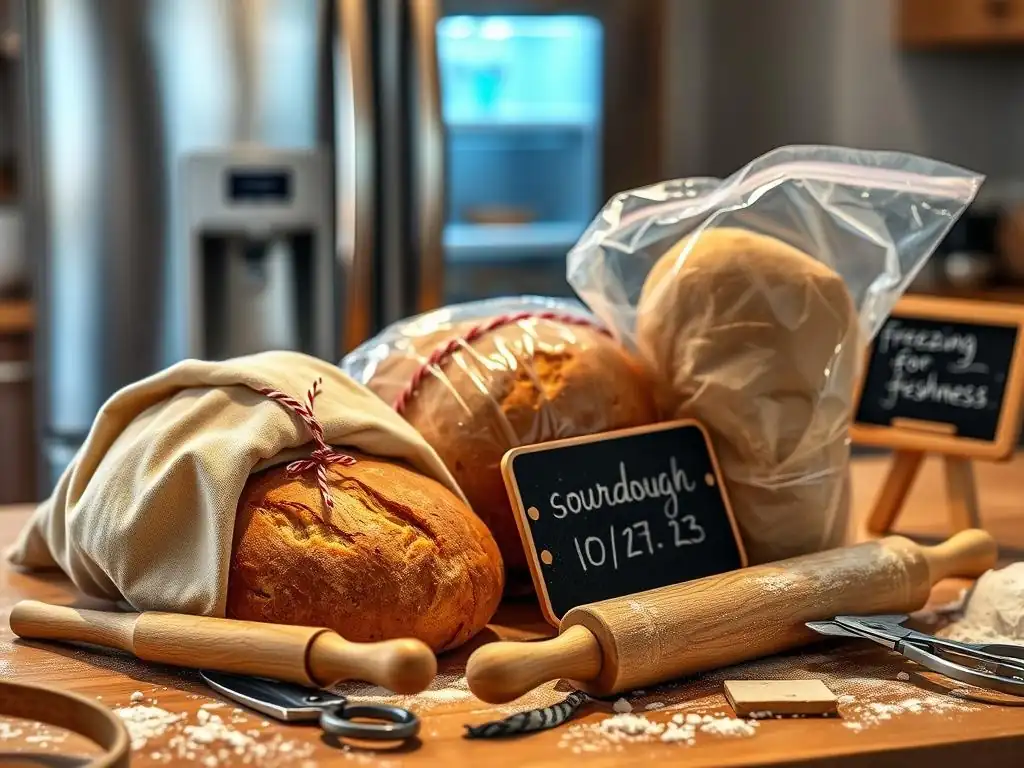
Freezing bread is an excellent strategy to combat staling and have fresh bread on demand. Both baked loaves and dough can be frozen successfully when you freeze baked goods properly.
Freezing Sliced Bread vs. Whole Loaves
Freezing a whole loaf is ideal if you'll use the entire loaf relatively quickly after thawing. Wrap the cooled loaf tightly in plastic wrap, followed by aluminum foil or a freezer bag. Thaw the whole loaf at room temperature for several hours.
Freezing sliced bread is incredibly convenient for daily use. Once the loaf is completely cool, slice it to your desired thickness. Stack the slices back together as a loaf, then wrap the entire stack tightly in plastic wrap and place it in a freezer bag. You can then easily remove individual slices from the bag while the rest remain frozen. This method is perfect for toast or sandwiches. Frozen sliced bread thaws quickly at room temperature, often in just 15-30 minutes per slice, or can be toasted directly from frozen.
Freezing Bread Dough for Later Baking
Freezing bread dough allows you to enjoy warm, freshly baked bread with minimal effort later. Prepare your dough as usual, knead it, and let it complete its first rise (bulk fermentation). Then, punch down the dough gently. You can freeze it as a whole mass, shaped loaves, or individual rolls.
Wrap the dough tightly in plastic wrap, pressing out any air, then wrap in foil or place in a freezer bag. Frozen dough can last 1-3 months. When ready to bake, thaw the dough in the refrigerator overnight or at room temperature for several hours. Once thawed, reshape if necessary, allow it to complete a second rise (which may take longer than usual), and then bake according to your recipe. This method requires a bit more planning but delivers that unparalleled fresh-baked experience.
Freezing Pastries: Protecting Their Delicate Structure
Freezing pastries can be tricky due to their delicate, flaky layers and potential for moisture in fillings. However, many types freeze reasonably well with proper care.
For unfilled pastries like croissants or puff pastry shells, ensure they are completely cool. Flash freeze them individually on a baking sheet until firm, then transfer to an airtight container or freezer bag, separating layers with parchment paper. This protects their shape.
For pastries with fruit fillings (like turnovers or hand pies), bake them first, cool completely, and then freeze using the flash-freeze method before transferring to a container. Cream or custard-filled pastries generally do not freeze well as the filling's texture can become watery or grainy upon thawing. When you freeze baked goods properly, like many pastries, their quality can be maintained for 1-2 months. Thaw frozen pastries in the refrigerator or at room temperature, then consider warming them gently in an oven to help revive their flakiness.
Thawing Frozen Baked Goods: Restoring Freshness and Flavor
Thawing is just as important as freezing baked goods properly. Rushing the process or using the wrong method can ruin the texture you worked so hard to preserve.
The safest and often best method for thawing most baked goods is slowly in the refrigerator. This is especially recommended for items containing dairy or eggs. A whole cake can take 24-48 hours, while smaller items like rolls might only need a few hours.
For items that don't require refrigeration for safety (like most breads and cookies), thawing at room temperature is also effective. Leave the item wrapped while it thaws; this helps trap condensation on the outside of the wrapping rather than on the surface of the baked good, preventing sogginess or freezer burn during the thawing process. Cookies and individual bread slices often thaw within 30-60 minutes.
How to Thaw Frozen Baked Goods Quickly
While slow thawing is preferred, sometimes you need a baked good quickly.
- Bread Slices: Can often be toasted directly from frozen.
- Rolls/Buns: Can be thawed in a microwave on a low setting for 30-60 seconds, though this can sometimes make them slightly chewy. A quick warm-up in a moderate oven (300-350°F / 150-175°C) for 5-10 minutes is often better for texture.
- Cookies: Small cookies thaw quickly at room temperature in 15-30 minutes.
- Cakes (Slices): Can be microwaved for 20-30 seconds, but watch carefully to avoid drying out. Room temperature thawing is usually faster for slices than a whole cake.
Be cautious with microwave thawing, as it can easily lead to uneven heating or toughening of the baked good.
Tips for Reviving Thawed Baked Goods
Once thawed, some baked goods can benefit from a little extra care to bring them back to their peak.
- Bread: To revive a thawed loaf, briefly mist it with water and warm it in a 350°F (175°C) oven for 5-10 minutes. This can help restore a crispy crust and soft interior.
- Cookies: Soft cookies might benefit from a few minutes in a low oven (250°F / 120°C) to warm through. Crispy cookies that have softened slightly can be re-crisped in the same low oven for a few minutes.
- Cakes: Allow thawed cakes to come fully to room temperature before serving for the best flavor and texture. If unfrosted, you can brush them with a simple syrup or glaze to add moisture.
Experiment with small amounts to find the best revival method for your specific baked good.
Troubleshooting Common Storage and Freezing Issues
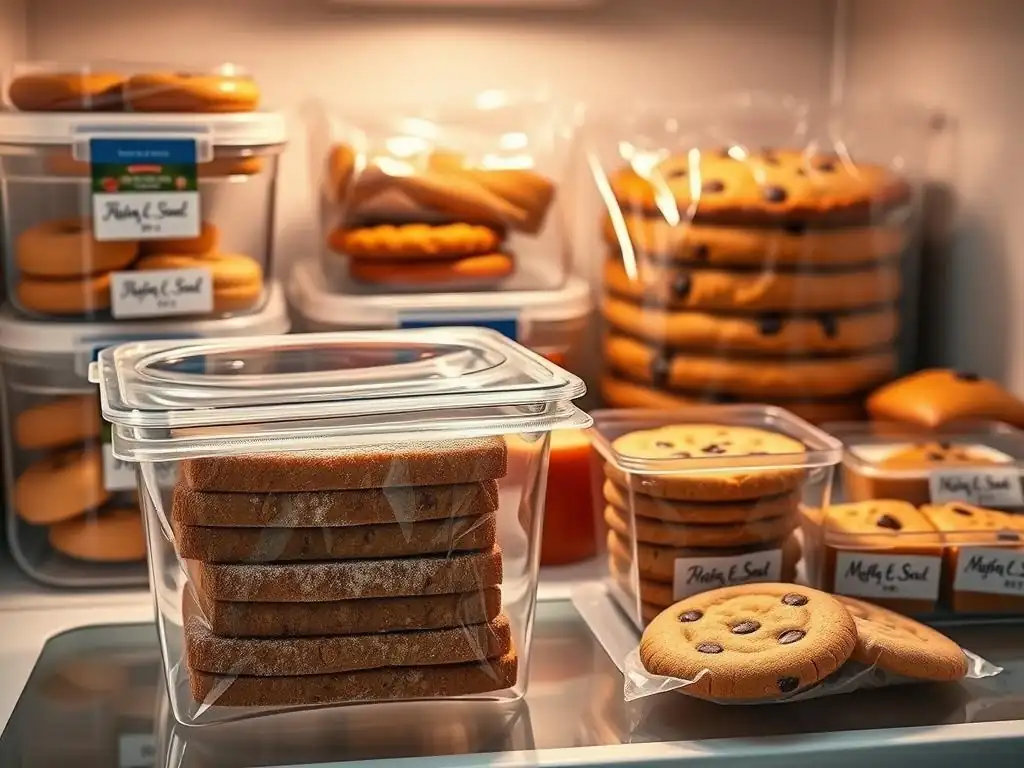
Even when you try to freeze baked goods properly, problems can arise. Knowing how to identify and address them is key to successful long-term storage.
Preventing Freezer Burn on Baked Goods
Freezer burn is the most common issue when freezing. It's caused by dehydration due to improper wrapping allowing air exposure. The best prevention is thorough, airtight wrapping.
- Ensure items are completely cool before wrapping.
- Use high-quality plastic wrap, pressing it directly against the surface.
- Add a second protective layer: aluminum foil (crimped tightly) or a heavy-duty freezer bag/container.
- Remove as much air as possible from bags.
- For longer storage (over 2-3 months), double-wrapping is highly recommended. For example, wrap a loaf of bread tightly in plastic wrap, then place it in a freezer bag and squeeze out the air.
While freezer-burned areas are safe to eat, they will be dry and flavorless. Cutting away severely affected portions might be necessary.
Addressing Moisture Problems in Stored Baked Goods
Moisture issues can go both ways: items becoming too dry (staling, freezer burn) or too wet (sogginess, mold).
- Too Dry: Ensure airtight storage. For soft cookies or some breads stored at room temperature, adding a moisture source like a slice of bread can help. When freezing, proper wrapping is paramount.
- Too Wet/Soggy: This can happen if warm items are wrapped, creating condensation, or if crispy items absorb moisture from the air or other baked goods. Always cool completely. Store crispy items separately from soft ones. Ensure containers are truly airtight. Refrigeration can sometimes help prevent sogginess in certain pastries but can accelerate staling in bread.
Mold is a sign of excessive moisture and often warmth. If you see mold, discard the item entirely, as mold can have invisible roots.
Dealing with Stale Bread After Thawing
Sometimes, despite best efforts, thawed bread might still seem a bit stale, especially if it wasn't wrapped perfectly or was frozen for a very long time (beyond 3-4 months). While you can't fully reverse staling, you can make it more palatable.
Revive slightly stale thawed bread by warming it gently in the oven as described earlier. If it's too stale for serving as is, don't despair! Stale bread is perfect for making breadcrumbs, croutons, French toast, or bread pudding. These applications actually benefit from slightly dry bread, giving it a new life and preventing waste.
Advanced Techniques for Long-Term Storage of Baked Goods
For maximum longevity and quality preservation, especially for sensitive items or very long storage periods, consider advanced techniques beyond standard wrapping.
Vacuum Sealing for Extended Freshness
Vacuum sealing removes almost all air from the packaging, creating a very tight seal. This significantly reduces the risk of freezer burn and oxidation, extending the shelf life compared to traditional methods. Items like cookies, unfrosted cakes, and bread slices can benefit greatly from vacuum sealing before freezing.
A vacuum-sealed baked good can potentially last in the freezer for 6-12 months or even longer, maintaining better quality than conventionally frozen items. However, be mindful of delicate items like flaky pastries, which might be crushed by the vacuum process unless you use a machine with a gentle setting or pre-freeze the item first.
Using Oxygen Absorbers to Preserve Quality
Oxygen absorbers are small packets containing iron powder that chemically react with oxygen, removing it from a sealed container. When used in conjunction with airtight packaging (like Mylar bags or vacuum-sealed bags), they create an environment with virtually no oxygen.
This is particularly useful for preventing oxidation, which can lead to off-flavors (like rancidity in fats) and color changes. While perhaps more common for dry goods, oxygen absorbers can enhance the long-term quality preservation of certain baked goods, especially those with higher fat content like shortbread or nuts, when freezing baked goods properly for very long durations (e.g., 1 year+). They are typically used in conjunction with freezing for maximum effect.
Conclusion: Enjoying Freshly Baked Goodness, Longer with BakeWithEase
Mastering storage and knowing how to freeze baked goods properly is a skill that will elevate your baking practice. It allows you to manage your time better, reduce food waste, and most importantly, enjoy the fruits of your labor at their absolute best, days, weeks, or even months after they've cooled on the rack.
By understanding the specific needs of different types of baked goods and applying the techniques outlined in this BakeWithEase guide, you can confidently store your cakes, cookies, breads, and pastries. Whether you're keeping a loaf fresh for tomorrow's breakfast or freezing a batch of cookies for a future craving, proper storage ensures that delicious homemade taste is always within reach. So go ahead, bake that extra batch, knowing you have the knowledge to keep it fresh!
Frequently Asked Questions
How does freezing baked goods properly extend their shelf life?
Freezing dramatically slows down the processes that cause spoilage, such as mold growth and staling. This allows you to enjoy your baked creations for much longer. It essentially pauses the aging process.
What types of baked goods freeze best?
Most baked goods freeze well, but some are better suited than others. Breads, cookies, and cakes generally freeze very well. Items with delicate fillings or frostings might require extra care.
What is the best way to prepare baked goods for freezing?
Allow baked goods to cool completely before freezing. Wrap them tightly in plastic wrap, then in foil or place them in an airtight container. This prevents freezer burn and maintains quality.
How long can I store baked goods in the freezer?
Most baked goods can be stored in the freezer for 2-3 months without a significant loss in quality. However, some may last longer. Always label and date your frozen items for easy tracking.
How should I thaw frozen baked goods?
The best way is to thaw them slowly in the refrigerator, or at room temperature. This helps retain their moisture and texture. Avoid microwaving unless you need them immediately.
Final Reflection: Extending the Joy of Baking
The art of baking isn't just about creating delicious treats; it's about savoring those treats for as long as possible. Proper storage and freezing techniques are no longer mere kitchen tips; they're essential skills for minimizing food waste and maximizing the enjoyment of homemade baked goods in our increasingly busy lives. This means extending the deliciousness and reducing the guilt of throwing away perfectly good treats.
The impact of readily available, convenient food has undeniably changed our relationship with baking. We bake less frequently, often in larger batches, leading to a need for effective preservation methods. The best things in life are worth preserving,
and this certainly applies to the fruits of our labor in the kitchen. This article has explored not just how to freeze baked goods, but why it's a valuable skill to cultivate, connecting us more deeply with the process of creating and appreciating homemade food. It's about respecting the time and effort invested, and ensuring that every crumb is enjoyed.
Now, consider your own baking habits. Do you find yourself throwing away leftover treats more often than you'd like? This guide provides the tools to change that. Take the time to implement these freezing techniques; you'll not only reduce waste but also rediscover the joy of indulging in your favorite baked goods whenever the craving strikes. Embrace the power of preservation, and extend the freshness – and the happiness – of your baking journey.
Unlock Your Baking Potential: Extend the Life of Your Creations!
Thanks for taking the time to learn how to keep your baked goods fresh and delicious! We hope you now feel empowered to avoid food waste and enjoy your treats for longer. Ready to put your new knowledge into practice?
- Master the art of freezing: Experiment with freezing your favorite baked goods this week – you'll be amazed at how easy it is to preserve their flavor and texture.
- Share your successes (and failures!): Let's build a community of bakers! Tell us about your freezing experiments in the comments below – we’d love to hear your tips and tricks.
- Explore our other resources: Dive deeper into the BakeWithEase archive for more baking tips and recipes.
What's your biggest baking challenge when it comes to storage and freezing? Let's discuss!