
MileHigh Meringue Pie Topping: Get That Perfect Swirl and Golden Finish

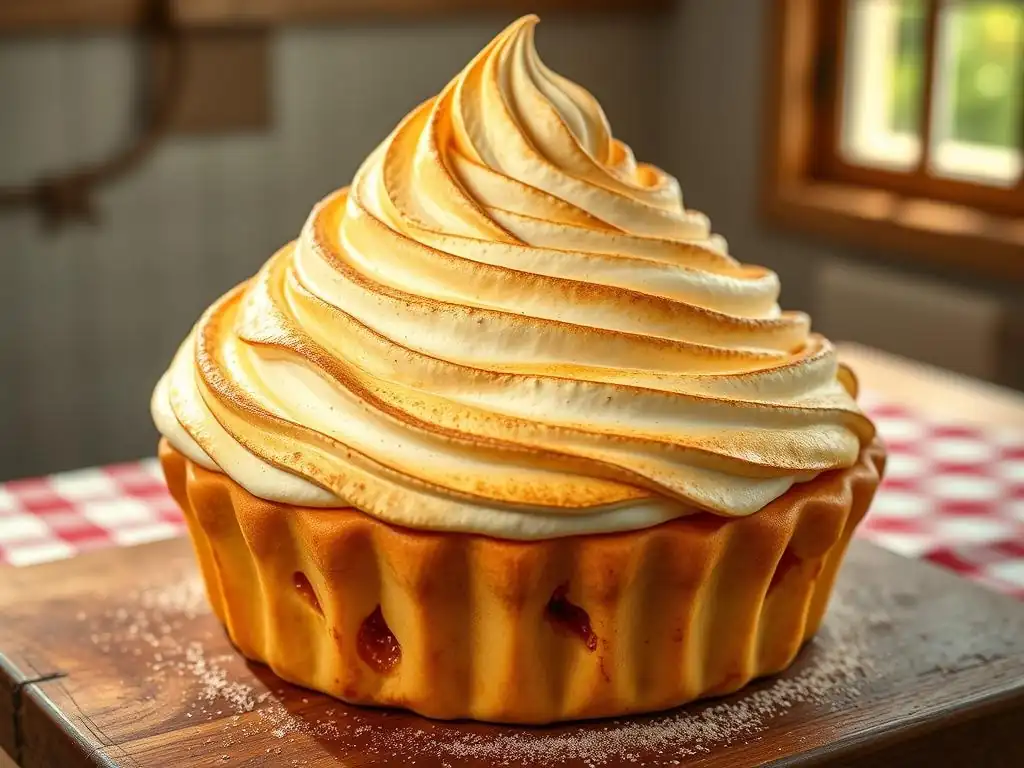
Welcome to BakeWithEase, where mastering the art of baking becomes a delightful journey! Ever wondered how to achieve that breathtaking, perfect meringue pie swirl that graces the covers of baking magazines? It's more attainable than you think! Discover the secrets to a mile-high meringue topping, golden brown perfection, and techniques that will elevate your baking skills. Let's dive into this advanced baking technique and unlock the secrets to a show-stopping dessert. Ready to impress?
- Introduction to Mile-High Meringue Pie Topping Mastery
- Understanding the Science Behind Mile-High Meringue
- Step-by-Step Guide to Creating the Perfect Meringue Pie Swirl
- Troubleshooting Common Meringue Pie Problems
- Tips and Tricks for Meringue Pie Success
- Storing Your Meringue Pie for Optimal Freshness
- Advanced Meringue Techniques for the Aspiring Baker
- Conclusion: Mastering the Art of the Perfect Meringue Pie Swirl
-
Frequently Asked Questions
- How can I achieve a stable meringue for my mile-high meringue pie?
- What's the secret to getting that perfect meringue pie swirl?
- How do I prevent my meringue from weeping or shrinking after baking?
- What temperature and baking time are ideal for achieving a golden brown meringue topping?
- Can I use a stand mixer or hand mixer to make the meringue?
- Final Reflection: Mastering the Mile-High Meringue: A Sweet Success
- Unleash Your Inner Pastry Chef: Master the Mile-High Meringue!
Introduction to Mile-High Meringue Pie Topping Mastery
Why Aim for the Perfect Meringue Pie Swirl?
Achieving a perfect meringue pie swirl isn't just about aesthetics; it's a hallmark of a well-made dessert that promises a delightful texture contrast to the filling below. That towering, cloud-like topping with elegantly formed peaks and valleys catches the eye and signals artisanal care. A beautiful swirl isn't merely decorative; those peaks and dips toast unevenly in the oven, creating a gradient of textures and flavors, from soft, marshmallowy centers to slightly crisp, caramelized tips.
Beyond the visual appeal, a properly formed perfect meringue pie swirl indicates that the meringue itself has been prepared correctly – whipped to the right consistency and applied with skill. This suggests a stable structure less prone to weeping or collapsing. Whether you're making a classic lemon meringue pie or a rich chocolate meringue, the topping is often the star, and mastering its form is key to a truly impressive dessert.
Achieving the Ideal Golden Brown Meringue: What to Expect
The signature look of a perfect meringue pie topping includes not just impressive height and a beautiful swirl, but also a gorgeous golden-brown finish on its peaks. This color is achieved by briefly baking the meringue-topped pie in a moderate oven, typically around 350°F (175°C), or sometimes lower for a longer period, around 300°F (150°C). The heat caramelizes the sugars on the surface of the meringue, creating that desirable toasted look.
The golden hue should ideally be concentrated on the high points of your perfect meringue pie swirl, leaving the valleys lighter or even white. This contrast adds visual depth and flavor complexity. Expect the process to take anywhere from 8 to 15 minutes, depending on your oven and the thickness of your meringue. It's crucial to watch it closely during this stage, as meringue can go from perfectly toasted to burnt very quickly.
Understanding the Science Behind Mile-High Meringue
The Key Ingredients for a Stable Meringue
Creating a stable, mile-high meringue requires understanding the role each ingredient plays. It's a simple mixture, typically just egg whites and sugar, often with a touch of acid, but their interaction is surprisingly complex. Getting the proportions right and handling them correctly is fundamental to achieving that perfect meringue pie swirl that holds its shape.
The magic happens when air is incorporated into egg whites, creating a foam. Sugar is then dissolved into this foam, stabilizing it and adding sweetness. The acid helps strengthen the protein structure, allowing the meringue to reach maximum volume and maintain its lofty height, crucial for a truly mile-high topping.
Egg Whites: The Foundation of Your Meringue
Egg whites are the primary building block of meringue. They are mostly water (around 90%) and protein (around 10%). When you whip egg whites, mechanical action denatures the proteins, causing them to unfold. These unfolded proteins then rearrange themselves around the air bubbles being incorporated, creating a stable foam.
The quality and temperature of your egg whites significantly impact the outcome. Fresh, room-temperature egg whites whip up to a greater volume and more stable foam than cold ones. Using large eggs is standard; a typical pie meringue might use 3 to 5 egg whites, yielding enough volume for a significant topping.
Sugar: Granulated vs. Powdered for Meringue Structure
Sugar plays multiple roles in meringue: it sweetens, stabilizes the foam, and contributes to browning during baking. Granulated sugar is most commonly used for baked meringues like pie toppings. As it dissolves into the whipped egg whites, it forms a syrup that reinforces the protein network, making the foam more stable and less likely to collapse or weep.
Using superfine or caster sugar can help it dissolve more quickly, reducing the risk of a grainy meringue. While powdered sugar contains cornstarch (which adds stability), it's less common for baked meringues as it can sometimes result in a dull finish. For the best structure and shine for your perfect meringue pie swirl, granulated sugar, dissolved slowly and completely, is usually the preferred choice.
Cream of Tartar: Stabilizing the Egg Whites
Cream of tartar, a powdered acid (potassium bitartrate), is a common addition to meringue. A small pinch, often just 1/8 to 1/4 teaspoon per few egg whites, helps to lower the pH of the egg whites. This acidification strengthens the protein network, making the foam more stable and increasing its tolerance for over-whipping.
Using cream of tartar helps the egg whites whip faster, reach greater volume, and maintain stiff peaks that are less likely to collapse before or during baking. While not strictly essential, especially if using a high-quality stand mixer, it acts as an excellent insurance policy for achieving a robust and stable base for your perfect meringue pie swirl. Other acids like lemon juice or white vinegar can be used, but cream of tartar is generally considered the most reliable.
Meringue Types: Which is Best for Pie Topping?
There are several methods for making meringue, each resulting in a slightly different texture and stability. The choice impacts how easy it is to pipe a perfect meringue pie swirl and how well it holds up after baking. Understanding the differences helps you select the best technique for your desired outcome.
The three primary types are French, Italian, and Swiss. Each has its pros and cons regarding ease of preparation, stability, and final texture. For a baked pie topping, stability and the ability to achieve a beautiful, defined swirl are key considerations.
French Meringue: The Simplest Approach
French meringue is the simplest and most common type for home bakers. It involves whipping raw egg whites until foamy, then gradually adding granulated sugar while continuing to whip until stiff, glossy peaks form. It's quick to make and easy to achieve volume, making it simple to build a mile-high topping.
However, French meringue is the least stable of the three types because the sugar is added dry and the egg whites are raw. It's more prone to weeping and must be baked immediately after being applied to the pie. Despite this, its ease of preparation and ability to form dramatic peaks make it a popular choice for achieving that classic perfect meringue pie swirl aesthetic, provided it's handled and baked correctly.
Italian Meringue: Known for Stability and Shine
Italian meringue is made by slowly pouring a hot sugar syrup (heated to the soft-ball stage, around 240°F or 115°C) into whipping egg whites while continuing to beat until the meringue is cool and stiff peaks form. The hot syrup cooks the egg whites, making this meringue safe to eat without further cooking, although it is typically browned for a pie topping.
This method yields the most stable and glossy meringue. It holds its shape exceptionally well, making it ideal for piping intricate designs and achieving a very defined perfect meringue pie swirl. Its stability also makes it less likely to weep. The main challenge is handling the hot sugar syrup, which requires a candy thermometer and careful execution.
Swiss Meringue: Smooth and Silky Texture
Swiss meringue is made by warming egg whites and sugar together over a double boiler (or bain-marie) while whisking constantly until the sugar is dissolved and the mixture reaches about 130-140°F (55-60°C). The mixture is then transferred to a mixer and whipped until stiff, glossy peaks form and the meringue is cool.
This process partially cooks the egg whites, resulting in a meringue that is more stable than French but less so than Italian. It has a wonderfully smooth, silky texture and a beautiful sheen, making it excellent for piping a perfect meringue pie swirl. It's less prone to weeping than French meringue and is a good balance between the ease of French and the stability of Italian.
Step-by-Step Guide to Creating the Perfect Meringue Pie Swirl
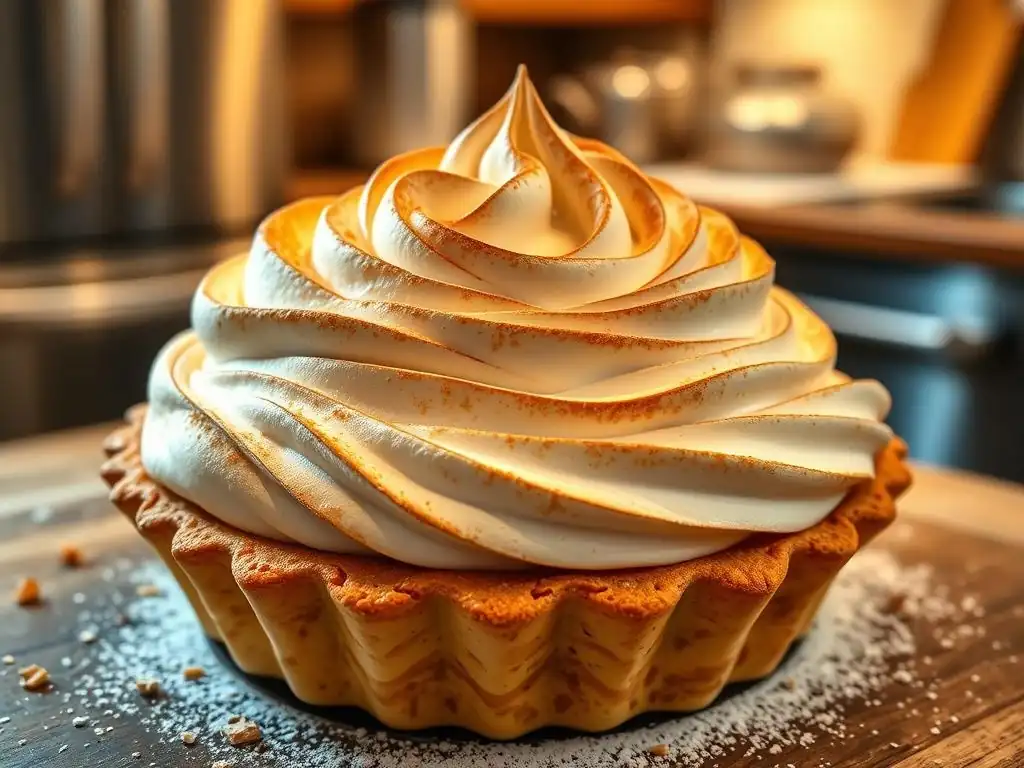
Creating a perfect meringue pie swirl involves careful preparation of the meringue mixture, skillful application to the pie, and precise baking. Each step contributes to the final visual appeal and texture. Following a clear process ensures you get that impressive height and definition.
This guide focuses on techniques applicable to any stable meringue type (French, Italian, or Swiss), emphasizing the steps needed to transform your whipped mixture into a stunning pie topping. Attention to detail at each stage is key to success.
Preparing Your Meringue Mixture
The foundation of a great meringue swirl is a properly prepared meringue base. This involves whipping the egg whites correctly and incorporating the sugar and any flavorings at the right time and in the right way. The goal is a stable, voluminous mixture that holds its shape.
- Separate egg whites carefully, ensuring no yolk or grease.
- Use a clean, dry bowl and whisk.
- Have your sugar measured and ready.
Whipping Egg Whites to Stiff Peaks: A Visual Guide
Start whipping your room-temperature egg whites on low speed until they become foamy, like bath bubbles. At this stage, you might add your acid (like cream of tartar). Increase the speed to medium-high. The foam will become finer and whiter. This is the soft peak stage – when you lift the whisk, the meringue will form peaks that droop over.
Continue whipping. The peaks will become firmer and hold their shape better, but the tips will still curl slightly. This is the medium peak stage. Finally, whip until the peaks stand straight up when the whisk is lifted, and the meringue looks thick, white, and glossy. This is the stiff peak stage, essential for a perfect meringue pie swirl that won't collapse. Be careful not to over-whip, which can cause the proteins to break down.
Incorporating Sugar Gradually for Maximum Volume
Once the egg whites reach the foamy or soft peak stage (depending on the meringue type), begin adding the sugar very slowly, a tablespoon or two at a time. Continue whipping on medium-high speed throughout this process. Adding sugar too quickly can deflate the egg whites or prevent the sugar from dissolving properly, leading to a grainy texture.
Allow each addition of sugar to be mostly incorporated before adding the next. This process can take several minutes. Continue whipping after all the sugar is added until the meringue is glossy and the sugar is completely dissolved. You can test this by rubbing a tiny bit of meringue between your fingers; it should feel smooth, not gritty. Proper sugar incorporation is vital for stability and achieving a smooth, glossy finish for your perfect meringue pie swirl.
Adding Flavor Extracts: Vanilla, Almond, or Lemon
Flavor extracts, such as vanilla, almond, or lemon, add a wonderful aroma and taste to meringue. These should be added towards the end of the whipping process, just after the sugar has been fully incorporated and the meringue is stiff and glossy.
Add extracts sparingly, typically 1/2 to 1 teaspoon per batch made with 3-5 egg whites. Overdoing extracts can sometimes affect the meringue's structure. Whip for just another 30-60 seconds after adding the extract to ensure it's evenly distributed. This final touch enhances the overall flavor profile of your perfect meringue pie swirl, complementing the pie filling.
Achieving Mile-High Status: Building Your Meringue
Once your meringue is perfectly whipped and stable, it's time to apply it to your cooled pie filling. The key to achieving "mile-high" status and that coveted perfect meringue pie swirl is to apply a generous amount and build it up deliberately, covering the filling completely and extending all the way to the edge of the crust to prevent shrinkage and weeping.
Don't be shy with the meringue. A good ratio might be using 3-5 egg whites for a standard 9-inch pie. Ensure the pie filling is cool, as hot filling can cause the meringue to deflate or weep from the bottom.
Using a Piping Bag for Precise Application
While you can spread meringue with a spatula, using a piping bag fitted with a large star tip (like a 1M or 2D) or even just a large round tip is the best way to create a defined and beautiful perfect meringue pie swirl. Fill the piping bag carefully, pushing the meringue down to eliminate air pockets.
Starting from the outer edge of the pie, pipe mounds or continuous swirls, working your way towards the center. Applying the meringue this way allows for more control over the height and shape of your peaks, making it easier to achieve a consistent and visually appealing design across the entire surface.
Creating the Swirl: Techniques for Visual Appeal
The perfect meringue pie swirl is the defining characteristic of this topping. There are several techniques you can use to create different looks, from classic peaks to more elaborate designs. Practice makes perfect, but even simple methods can yield stunning results.
Whether using a piping bag or a spatula, the goal is to create variations in height and texture. These variations not only look appealing but also catch the heat differently in the oven, resulting in that desirable gradient of golden brown.
The Classic Swirl: A Step-by-Step Demonstration
To create the classic perfect meringue pie swirl using a spatula:
- Dollop large mounds of meringue onto the cooled pie filling, covering it completely to the edges.
- Using the back of a large spoon or a spatula, start at the edge of a mound and gently lift and pull the meringue upwards, creating peaks.
- Work your way across the entire surface, creating peaks of varying heights. Ensure the meringue touches the crust all around the edge to seal it.
- For crisper tips after baking, make some peaks quite tall.
If using a piping bag with a star tip:
- Starting at the outer edge, pipe a continuous ring of meringue, touching the crust.
- Pipe concentric rings inwards, or pipe individual mounds close together.
- For the center, pile meringue higher to create a central peak.
- You can then use the tip or a spoon to pull up additional small peaks if desired.
The Rose Swirl: Adding Elegance to Your Pie
The rose swirl creates a series of beautiful, floral-like patterns across the pie surface. This is best achieved using a piping bag with a large open or closed star tip (like a 1M or 2D).
To create a rose swirl for your perfect meringue pie swirl:
- Start at the center of where you want your first "rose."
- Holding the piping bag perpendicular to the pie, pipe a tight spiral outwards, creating a circular pattern that builds upon itself.
- Lift the bag cleanly at the end of the spiral.
- Repeat this process across the entire pie surface, placing the "roses" close together to cover the filling completely. This technique results in lovely, defined swirls that brown beautifully.
The Abstract Swirl: For a Modern Look
For a more modern or rustic perfect meringue pie swirl, an abstract approach works well. This method focuses less on uniform patterns and more on creating dynamic texture and height variations across the surface using a spatula or spoon.
To create an abstract swirl:
- Spread a base layer of meringue over the entire pie filling, ensuring it reaches the crust.
- Using a spatula or the back of a spoon, randomly lift, pull, and swirl the meringue to create peaks, valleys, and waves.
- Aim for a mix of heights and textures across the surface. Don't worry about making it look "perfectly" even; the charm is in the variation. This method is forgiving and allows for great creativity in achieving a visually striking, perfect meringue pie swirl.
Baking Your Meringue Pie to Golden Perfection
Baking the meringue topping is the final step to achieve that beautiful golden finish and set the perfect meringue pie swirl. This process is quick but requires careful monitoring to prevent burning. The goal is to lightly toast the peaks while keeping the interior soft.
Ensure your oven is preheated correctly before placing the pie inside. Placing the pie on a baking sheet can catch any potential drips and make it easier to handle.
Oven Temperature: Finding the Sweet Spot
A moderate oven temperature is best for browning meringue without overcooking the pie filling or drying out the meringue. Many recipes call for baking at 350°F (175°C) for a shorter time (8-15 minutes). Some prefer a lower temperature, like 300°F (150°C), for a slightly longer time (15-20 minutes), which can result in a more evenly cooked meringue and reduce the risk of shrinkage.
The "sweet spot" depends on your specific oven and how quickly it browns. It's advisable to start with a commonly recommended temperature and adjust based on observation. The key is enough heat to caramelize the sugar on the surface quickly.
Baking Time: Monitoring for the Ideal Color
Baking time is critical and should be determined by visual cues rather than a timer alone. Start checking the meringue after about 5-7 minutes if baking at 350°F (175°C). The peaks should begin to turn a light golden brown.
Continue baking, watching closely, until the perfect meringue pie swirl reaches your desired level of goldenness. This typically takes between 8 and 15 minutes at 350°F. If using a lower temperature like 300°F, it might take 15-20 minutes. Remove the pie from the oven as soon as the color is right, as residual heat will continue to cook the meringue slightly.
Preventing Weeping: Tips for a Dry Meringue
Weeping, where liquid beads form between the meringue and the filling, is a common issue. Several factors contribute to this. Ensuring the sugar is fully dissolved in the meringue is crucial, as undissolved sugar can draw moisture. Baking the meringue just until the peaks are lightly browned helps; overbaking can force moisture out.
Applying the meringue to a cooled pie filling is also essential. Hot filling can cause the meringue to cook from the bottom up unevenly, leading to weeping. Finally, sealing the meringue completely to the edges of the crust prevents shrinkage and helps lock moisture in the meringue itself rather than allowing it to migrate to the filling.
Troubleshooting Common Meringue Pie Problems
Even with careful preparation, sometimes things don't go exactly as planned with meringue. Knowing how to identify and address common issues can save your pie and help you achieve a better perfect meringue pie swirl next time.
Here are some of the most frequent problems bakers encounter and potential solutions.
Meringue is Soggy or Weeping
Soggy meringue or weeping is often caused by undissolved sugar, under-baking, or applying meringue to a hot filling. Ensure your sugar is completely dissolved by rubbing a little meringue between your fingers before you stop whipping.
Make sure your pie filling is fully cooled before adding the meringue. When baking, ensure the meringue reaches a light golden color on the peaks; this indicates the surface sugars have caramelized and helped seal the meringue. While you can't fix weeping after it happens, preventing it is possible with careful technique. Some bakers swear by Italian or Swiss meringue for better stability and less weeping.
Meringue is Cracking
Cracking in meringue can happen for a few reasons. One common cause is drying out the meringue too much during baking, often by baking at too low a temperature for too long or by cooling it too quickly. A perfect meringue pie swirl should have a soft, marshmallowy interior.
To prevent cracking, bake at a temperature that browns the surface relatively quickly (like 350°F). Also, avoid placing the hot pie directly into a cold refrigerator immediately after baking; let it cool gradually at room temperature first.
Meringue is Not Golden Brown
If your meringue isn't browning, it could be due to insufficient baking time, too low an oven temperature, or the pie being placed too low in the oven. Ensure your oven is accurately calibrated and preheated to at least 300°F (150°C), preferably 350°F (175°C).
Place the pie on a rack in the upper third of the oven, closer to the heat source. Watch it closely; meringue browns rapidly once it starts. If it still won't brown after adequate time, you might carefully use a kitchen torch to lightly brown the peaks after removing it from the oven (see Advanced Techniques below).
Meringue Deflates After Baking
Meringue deflating after baking is usually a sign that the egg whites were not whipped to sufficiently stiff peaks or that the sugar was not fully incorporated and dissolved. The protein structure needs to be strong enough to support the trapped air bubbles.
Ensure you whip the meringue until it is very stiff, glossy, and holds sharp peaks. Test for dissolved sugar by rubbing a tiny amount between your fingers – it should feel smooth. Applying the meringue immediately after whipping (especially French meringue) and baking promptly also helps maintain volume and the perfect meringue pie swirl.
Tips and Tricks for Meringue Pie Success
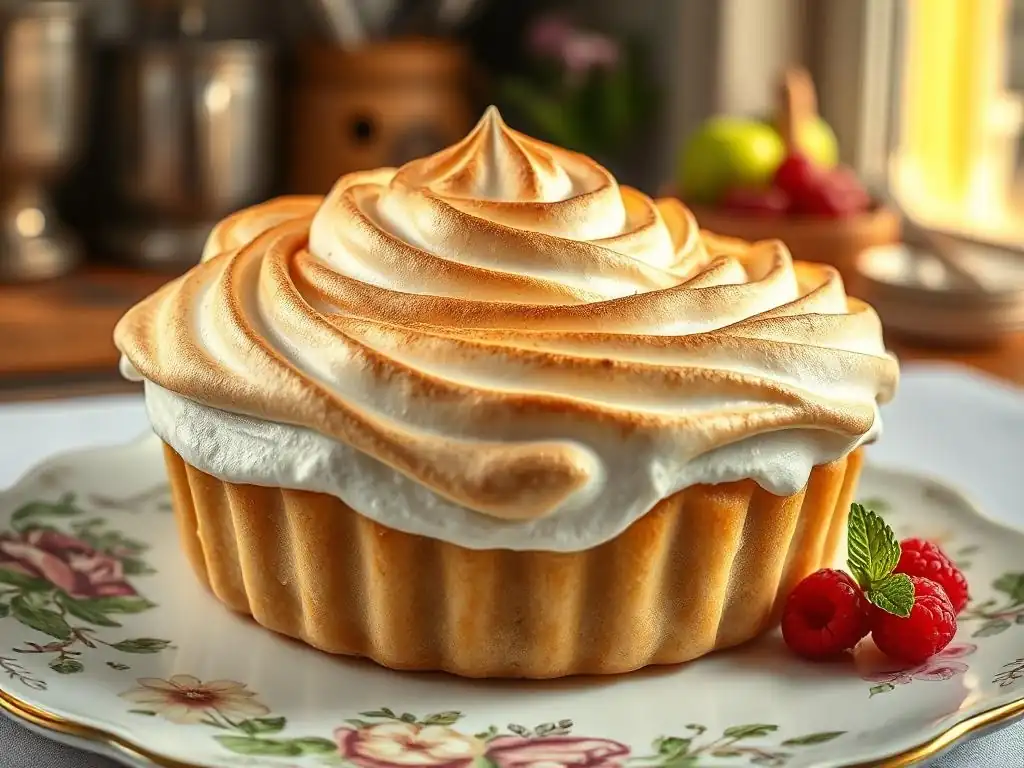
Beyond the basic steps, a few extra tips can elevate your meringue game and consistently help you achieve that beautiful, stable, perfect meringue pie swirl. These small details can make a significant difference in the outcome.
Incorporating these best practices into your routine will improve your chances of meringue success every time you bake a pie requiring this delightful topping.
Using Room Temperature Egg Whites
Using room temperature egg whites is a widely recommended practice for meringue. Cold egg whites are thicker and more difficult to whip to their full potential volume. Egg whites at room temperature (around 68-72°F or 20-22°C) whip up faster, reach higher volume, and form a more stable foam because their proteins are more relaxed and can unfold and rearrange more easily around air bubbles.
To quickly bring eggs to room temperature, place them in a bowl of warm (not hot) water for 10-15 minutes before separating.
Ensuring a Grease-Free Bowl and Whisk
Any trace of fat or grease in your mixing bowl or on your whisk can be detrimental to meringue. Fat interferes with the egg proteins' ability to denature and form a stable foam, preventing the egg whites from whipping up properly. Even a tiny amount of egg yolk can ruin a batch of meringue.
Wash your bowl and whisk thoroughly with hot, soapy water, rinse well, and dry completely before using. Some bakers even wipe down their equipment with lemon juice or vinegar to ensure no residual grease remains, then dry thoroughly. This simple step is critical for a successful, high-volume perfect meringue pie swirl.
Cooling the Pie Properly
Applying meringue to a hot pie filling is a recipe for weeping and deflation. The heat from the filling can "cook" the bottom layer of meringue too quickly and unevenly. The pie filling, especially for lemon meringue or pudding pies, should be cooled completely, ideally to room temperature, before the meringue is added.
Allow the pie to cool on a wire rack for several hours until the filling is set and no longer warm to the touch. This provides a stable, cool base for your perfect meringue pie swirl, reducing the risk of moisture issues and ensuring the meringue holds its shape atop the filling.
Storing Your Meringue Pie for Optimal Freshness
Meringue pie, particularly with a French meringue topping, is best enjoyed the day it's made. However, if you need to store it, proper technique can help preserve its texture and appearance, including that perfect meringue pie swirl, for a limited time.
Storage conditions significantly impact the meringue's texture and tendency to weep.
Refrigeration Guidelines
Meringue pie, especially those with custard or fruit fillings, must be refrigerated for food safety. Cover the pie loosely with plastic wrap or foil, being careful not to touch or flatten the perfect meringue pie swirl. An even better method is to use a cake carrier or large inverted bowl to cover the pie without the covering touching the meringue.
Refrigerate the pie for no more than 1-2 days. The meringue's texture will gradually degrade over time in the refrigerator due to moisture absorption.
Preventing Meringue from Becoming Soggy During Storage
Preventing meringue from becoming soggy or weeping in the refrigerator is challenging due to the humid environment. Using a more stable meringue type (Italian or Swiss) helps. Ensuring the meringue was properly baked to seal the surface also assists.
The best approach is prevention: make the meringue and assemble the pie close to when it will be served. If storing, ensure it is well-covered loosely to prevent condensation from dripping onto the meringue. Accepting that the perfect meringue pie swirl might soften slightly in the fridge is part of storing this type of dessert.
Advanced Meringue Techniques for the Aspiring Baker
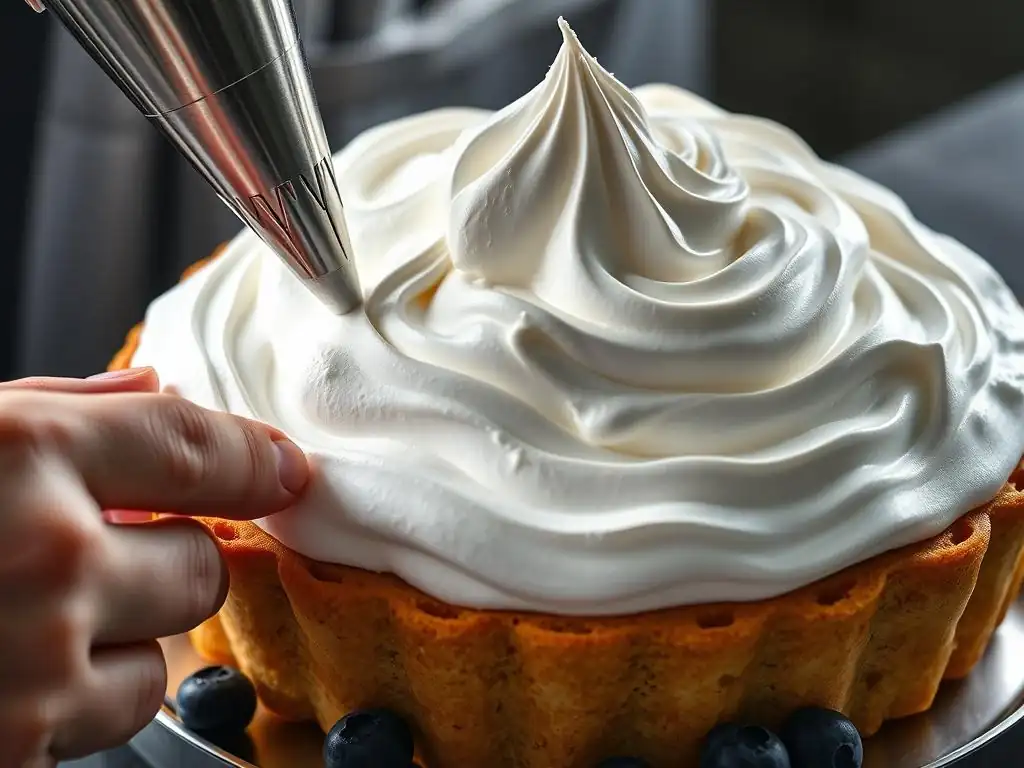
Once you've mastered the basics of creating a perfect meringue pie swirl, you might want to explore more advanced techniques to add extra flair or flavor to your topping. These methods can further enhance the visual appeal and taste of your meringue pie.
These techniques are often used by professional bakers to give their meringue pies a distinctive touch.
Torching Your Meringue for a Smoky Flavor
Instead of or in addition to baking, you can use a kitchen torch to brown the peaks of your perfect meringue pie swirl. This method offers precise control over browning and imparts a subtle smoky flavor that complements many pie fillings, especially lemon or chocolate.
Apply the meringue to your cooled pie, create your swirls, and then use a kitchen torch on medium flame to gently brown the peaks. Keep the torch moving constantly about 2-3 inches away from the meringue to avoid burning. This is a quick process, usually taking only a minute or two for the whole pie, and results in beautifully defined, toasted peaks.
Adding Color to Your Meringue
While classic meringue is white and golden, you can add food coloring for a fun twist, though this is less common for a traditional perfect meringue pie swirl on a pie. If you choose to add color, use gel or powder food coloring, not liquid, as liquid can affect the meringue's consistency.
Add the color towards the end of the whipping process, after the sugar is fully incorporated. Mix on low speed until the color is evenly distributed. Be aware that baking will change the color slightly; typically, colors will deepen or become less vibrant.
Experimenting with Different Meringue Flavors
Beyond standard vanilla or almond extract, you can experiment with other flavorings to complement your pie filling and enhance your perfect meringue pie swirl. Citrus zests (lemon, lime, orange) are fantastic additions, adding a burst of fresh flavor.
Add zest towards the end of whipping, along with any extracts. Other possibilities include a touch of peppermint extract for a chocolate pie, or even finely ground spices like cinnamon or nutmeg for a spiced filling. Always add flavorings sparingly at first and taste a tiny bit of the meringue (if using Italian or Swiss) or a baked sample to test the intensity before committing.
Conclusion: Mastering the Art of the Perfect Meringue Pie Swirl
Achieving a truly perfect meringue pie swirl is a rewarding baking accomplishment. It transforms a simple pie into a stunning centerpiece, demonstrating skill and attention to detail. From selecting the right ingredients and mastering the whipping technique to applying the meringue with flair and baking it to a beautiful golden finish, each step contributes to the final masterpiece.
By understanding the science, practicing your swirling techniques, and troubleshooting common issues, you can consistently create meringue toppings that are not only visually impressive but also deliciously soft and stable.
Recap of Key Techniques and Best Practices
To recap, the path to a perfect meringue pie swirl involves:
- Using room temperature egg whites in a grease-free bowl.
- Whipping egg whites to stiff, glossy peaks.
- Gradually adding and fully dissolving sugar.
- Applying meringue generously to a cooled pie filling, sealing to the crust edge.
- Using a piping bag or spatula to create distinct peaks and swirls.
- Baking at a moderate temperature (like 350°F or 175°C) until peaks are golden brown.
- Cooling the pie gradually.
- Considering Italian or Swiss meringue for increased stability and reduced weeping.
Mastering these techniques will empower you to create mile-high meringue that stands tall and proud on your pies.
Enjoying Your Beautiful and Delicious Meringue Pie
The final step is the most enjoyable: serving and savoring your creation. Present your pie with its magnificent perfect meringue pie swirl, knowing the effort and technique that went into it. Cut generous slices, revealing the contrast between the fluffy meringue and the rich filling.
Share it with friends and family, basking in the compliments on its stunning appearance and delightful texture. Each bite, combining the toasted meringue with the pie filling, is the culmination of mastering the art of the perfect meringue pie swirl. Enjoy your baking success!
Frequently Asked Questions
How can I achieve a stable meringue for my mile-high meringue pie?
A stable meringue relies on properly whipped egg whites and the gradual addition of sugar. It also helps to use cream of tartar to stabilize the egg whites.
What's the secret to getting that perfect meringue pie swirl?
The perfect swirl comes from using a piping bag with a star tip or creating swirls using the back of a spoon. Be sure the meringue is thick and glossy for best results.
How do I prevent my meringue from weeping or shrinking after baking?
Prevent weeping by ensuring the meringue is fully cooked. Also, make sure the meringue is fully sealed to the crust and avoid overbaking.
What temperature and baking time are ideal for achieving a golden brown meringue topping?
Bake the meringue pie at a low temperature (around 325°F/160°C) for about 15-20 minutes. Keep a close eye on it to prevent burning and achieve that golden brown finish.
Can I use a stand mixer or hand mixer to make the meringue?
Yes, both a stand mixer and a hand mixer can be used. Using a stand mixer might be easier, but a hand mixer will also work, especially if you are looking for a stiff peak consistency.
Final Reflection: Mastering the Mile-High Meringue: A Sweet Success
The pursuit of the perfect meringue pie swirl is more than just a culinary quest; it's a testament to the power of patience, precision, and a dash of playful experimentation. This article has explored the techniques needed to achieve that coveted golden-brown peak, from understanding the science behind egg whites to mastering the art of the swirl itself. But the journey to meringue mastery is far from over, and the rewards are far sweeter than the pie itself.
The impact of a perfectly executed meringue extends beyond the simple pleasure of a delicious dessert. It represents a connection to culinary traditions, a celebration of simple ingredients transformed into something extraordinary, and a reminder that even the most seemingly insignificant details can make all the difference. The art of cooking is the art of making something delicious and beautiful from simple ingredients.
- Unknown. This sentiment perfectly encapsulates the spirit of meringue making – a testament to the transformative power of skill and attention to detail.
Now, it's your turn. Don't be afraid to experiment with different swirling techniques, to adjust the oven temperature, to embrace the occasional imperfection. The journey to your perfect meringue swirl is a personal one, filled with learning, laughter, and, of course, delicious results. So, grab your whisk, gather your ingredients, and embark on this sweet adventure. The perfect meringue – and the immense satisfaction that comes with creating it – awaits.
Unleash Your Inner Pastry Chef: Master the Mile-High Meringue!
Thanks for joining us on this meringue-making journey! We hope you now feel confident in creating that perfect, golden-brown, towering meringue topping. Ready to take your baking skills to the next level?
- Whip up your own masterpiece: Try the recipe today – you might be surprised how easy it is to achieve that stunning, glossy finish! Experiment with different flavor extracts or even add a sprinkle of colorful sanding sugar.
- Share your success: Post a picture of your creation on social media using #BakeWithEaseMileHighMeringue and tag us! Let's inspire other bakers.
- Challenge a friend: Dare a fellow baking enthusiast to try this recipe and compare your results. Who will create the most impressive Mile-High Meringue?
So, what flavor adventure will your next meringue take you on?