
Expert Tips for Fixing Cake Baking Disasters

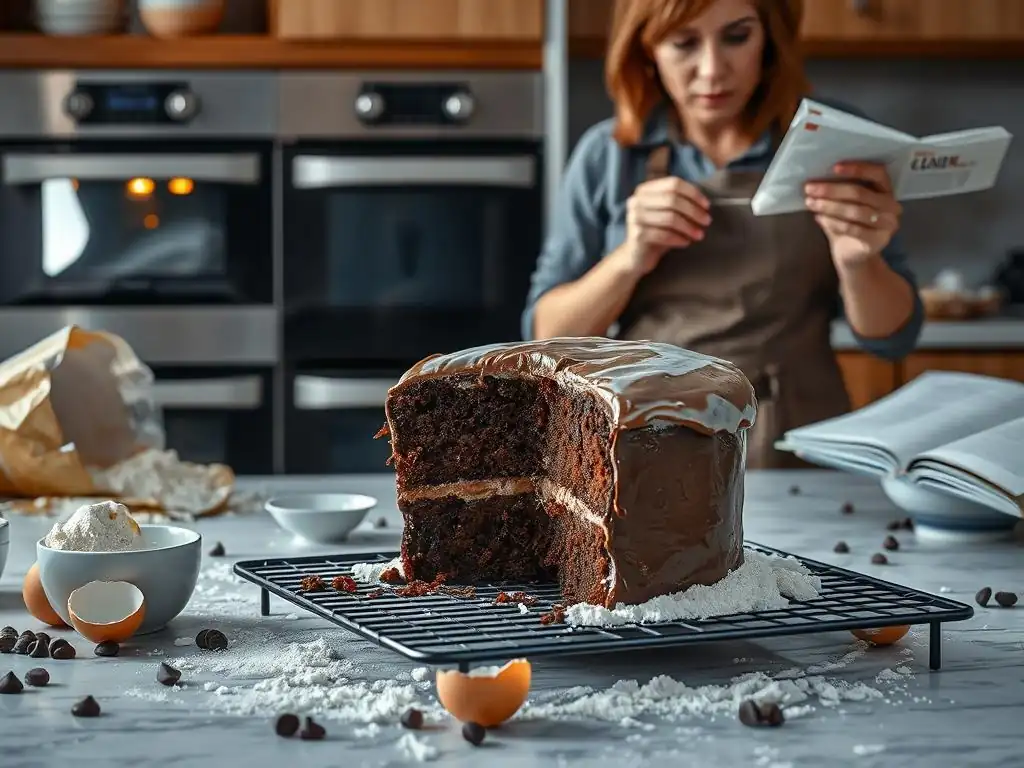
Welcome to BakeWithEase, your sanctuary for stress-free baking! Ever stared at a sunken cake and wondered where you went wrong? Fear not! We're diving deep into cake baking troubleshooting tips to rescue your creations from disaster. Uncover the secrets to perfectly risen, moist, and delicious cakes – let's turn those baking woes into sweet victories! Ready to bake with confidence?
- Cake Baking Troubleshooting: Expert Fixes for Common Baking Problems - BakeItRight
- Understanding Common Cake Baking Issues
-
Cake Baking Troubleshooting: Specific Problems and Solutions
- Troubleshooting Dry Cake: How to Rescue a Moisture-Lacking Cake
- Fixing Sunken Cake: Preventing and Repairing Collapsed Cakes
- Dense and Heavy Cake Troubleshooting: Lightening Up Your Cake
- Cake Doming and Cracking: Achieving a Flat Cake Top
- Uneven Baking: Getting Consistent Results
- Cake Sticking to the Pan: Preventing and Fixing Sticky Situations
- Advanced Cake Baking Troubleshooting: Addressing More Complex Issues
- General Cake Baking Tips for Preventing Disasters
- Conclusion: Bake With Confidence! Mastering Cake Baking Troubleshooting
- Frequently Asked Questions
- Final Reflection: From Crumbling Cakes to Confident Bakers
- Rescue Your Baking: Master the Art of Cake Recovery!
Cake Baking Troubleshooting: Expert Fixes for Common Baking Problems - BakeItRight
Introduction: Don't Despair! Cake Baking Problems Solved
Every baker, from novice to seasoned pro, has faced a moment of cake despair. You pull your beautiful creation from the oven, only to find it's sunken, cracked, or just doesn't look quite right. It's frustrating, but don't worry! Many common cake baking problems have straightforward solutions, both for fixing the immediate issue and preventing it from happening again. Mastering these cake baking troubleshooting tips will empower you to tackle any baking challenge with confidence.
This guide is designed to walk you through the most frequent mishaps in cake making. We'll explore the why behind these problems – understanding the science helps you prevent future issues – and provide practical, easy-to-follow steps to rescue your cake, or at least learn from the experience. Think of this as your friendly guide to turning baking blunders into delicious successes.
Understanding Common Cake Baking Issues
Why Cakes Fail: Identifying the Root Cause of Baking Problems
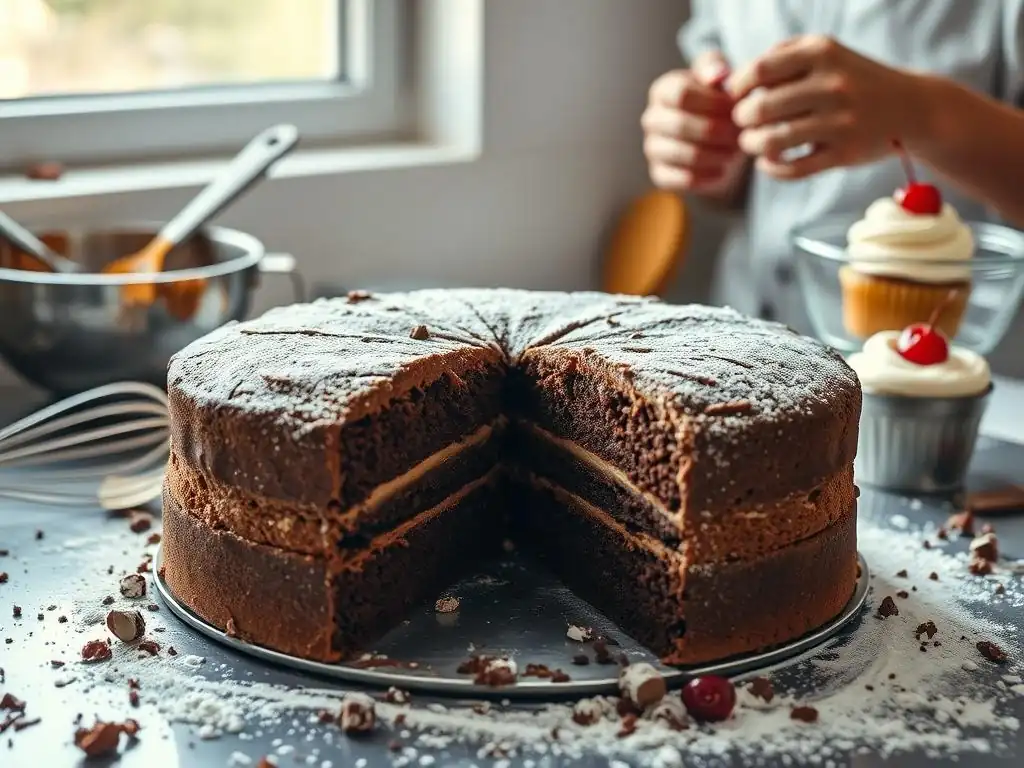
Cakes are a delicate balance of ingredients, temperature, and technique. When something goes wrong, it's often a chain reaction starting with a single misstep. Identifying the root cause is the first and most crucial step in effective cake baking troubleshooting. This involves looking beyond the surface problem (like a sunken center) to understand the underlying issue, whether it's related to ingredients, mixing, or oven conditions.
For instance, a cake that overflows its pan might seem like a simple issue of using too much batter, but the real cause could be using a pan size that's too small for the recipe's yield, or perhaps using an incorrect leavening agent ratio that causes excessive rise. Similarly, a cake that bakes unevenly might point to an issue with your oven's hot spots rather than the batter itself. Developing a detective's eye for these details is key to successful cake baking troubleshooting.
Overmixing: The Silent Cake Killer
Overmixing cake batter is a common culprit behind tough, dry, or rubbery cakes. When you mix flour with liquid, gluten begins to develop. While some gluten is necessary for structure, too much leads to a dense, bread-like texture rather than a tender, crumbly cake. This is especially true after the dry ingredients have been added; mixing vigorously or for too long at this stage activates the gluten proteins excessively.
Consider a standard vanilla cake recipe. Once the flour is added, the mixing should be gentle and brief – often just until no dry streaks remain, which might be as little as 30 to 60 seconds on low speed for a stand mixer. Overmixing for, say, 2-3 minutes after adding flour, can develop significantly more gluten, resulting in a noticeably tougher crumb. This principle is a fundamental aspect of cake baking troubleshooting, particularly for achieving a light texture.
Oven Temperature Issues: Hotspots and Inaccurate Readings
Your oven's temperature is critical to successful cake baking, and inaccuracies are a major cause of frustration. Many home ovens have internal thermostats that can be off by as much as 25-50°F (approx. 14-28°C). Additionally, ovens often have "hot spots" – areas that are significantly hotter or cooler than the rest of the cavity, leading to uneven baking, doming, or burnt edges while the center remains raw.
Using an inexpensive oven thermometer is one of the best investments you can make for cake baking troubleshooting. Place it in the center of your oven to verify the actual temperature. If your oven consistently reads 25°F (14°C) too high, you should set it 25°F lower than the recipe calls for. Identifying and understanding your oven's quirks, like a hot back corner or a cooler front, allows you to adjust your baking process, perhaps by rotating the cake partway through baking.
Ingredient Measurement Mistakes: Precision in Baking
Baking is often described as a science, and precise measurement is its foundation. Unlike cooking, where you can often adjust ingredients by taste, the ratios in baking recipes are carefully balanced. Even small errors in measuring flour, sugar, leavening agents, or fats can significantly impact the final outcome – everything from texture and rise to moisture and flavor.
For example, using too much flour (even just an extra quarter cup, about 30 grams, in a typical cake recipe) is a frequent cause of dry, dense cakes. This often happens when scooping flour directly from the bag with a measuring cup, which can compact the flour significantly. Using a kitchen scale for dry ingredients provides the most accurate measurement. Weighing flour ensures you're using the exact amount specified, eliminating variability and improving your cake baking troubleshooting success rate.
Cake Baking Troubleshooting: Specific Problems and Solutions
Troubleshooting Dry Cake: How to Rescue a Moisture-Lacking Cake
A dry cake is disappointing, but it doesn't have to be a total loss. The key to troubleshooting a dry cake is often adding moisture back in after baking or finding creative ways to repurpose it. While you can't fully restore the original intended texture, you can make it much more palatable and enjoyable.
One popular method for post-baking cake baking troubleshooting for dryness is using a simple syrup or glaze. A basic simple syrup is made by heating equal parts sugar and water until the sugar dissolves. You can then brush or drizzle this warm syrup over the cooled cake, allowing it to soak in. For a richer flavor, try adding a splash of liqueur, vanilla extract, or citrus juice to the syrup. This technique is particularly effective for sponge cakes or layer cakes that will be frosted.
Adding Moisture Back In: Simple Techniques for Hydrating Dry Cakes
Beyond simple syrup, there are other creative cake baking troubleshooting techniques for adding moisture. For a loaf cake or bundt cake, you can poke holes across the top (and sides if visible) using a skewer or toothpick and then pour a glaze or thin icing over it. The glaze will seep into the cake, adding sweetness and moisture. Another approach is to use a moist frosting, like a cream cheese frosting or a ganache, which helps mask dryness and adds richness.
If the cake is severely dry, consider transforming it into a dessert where dryness is less of an issue. Crumble the cake and layer it with pudding, fruit, and whipped cream to make a trifle. Or, mix the crumbled cake with a little frosting or cream cheese to form cake pops or cake balls. These methods effectively salvage a dry cake by incorporating it into a new, moist dessert structure.
Preventing Dry Cakes: Tips for Perfectly Moist Cakes Every Time
Preventing a dry cake starts with the recipe and the baking process itself. First, ensure accurate measurement of ingredients, especially flour and liquids. Using a scale for flour (e.g., 120-130 grams per cup) is highly recommended. Second, avoid overmixing after adding dry ingredients, as this develops gluten which absorbs moisture.
Third, and critically, avoid overbaking. Cakes continue to bake slightly from residual heat after they are removed from the oven. Start checking for doneness at the earliest time specified in the recipe using a toothpick test – it should come out with a few moist crumbs, not completely clean. Baking even 5-10 minutes too long can significantly dry out a cake. Lowering your oven temperature slightly if you suspect it runs hot can also help prevent overbaking and dryness, providing essential cake baking troubleshooting for this common issue.
Fixing Sunken Cake: Preventing and Repairing Collapsed Cakes
A cake that sinks in the middle is a heartbreaker, leaving you with a crater instead of a beautiful rise. Troubleshooting a sunken cake often involves identifying one or more contributing factors. Common causes include opening the oven door too early (especially within the first two-thirds of baking time), underbaking the cake, using too much leavening, or having ingredients that were too cold or not properly mixed.
For example, if you open the oven door to check on your cake too soon, the sudden drop in temperature can cause the structure, which hasn't fully set, to collapse. Similarly, underbaking means the internal structure hasn't cooked enough to support itself outside the oven's heat. An excessive amount of baking powder or soda can cause the cake to rise too quickly and dramatically, leading to a collapse as the structure can't support the rapid expansion.
Understanding Why Cakes Sink: Common Causes of Cake Collapse
Beyond oven temperature fluctuations and underbaking, several other factors contribute to cake sinking. Using ingredients that are too cold, particularly butter and eggs, can hinder proper emulsification and creaming, resulting in a weaker batter structure that's prone to collapse. Overmixing can also paradoxically lead to sinking; while it develops gluten, it can also incorporate too much air which collapses during baking.
Another less common but possible cause in cake baking troubleshooting is baking at too low an altitude without adjusting the recipe. At higher altitudes, leavening agents work more efficiently, causing cakes to rise faster and potentially collapse if the recipe isn't adjusted (often by reducing leavening and sugar, and increasing liquid). Vibration can also cause a cake to sink; banging the oven door or heavily vibrating the counter where the cake is cooling can disrupt the fragile structure before it sets.
Leveling a Sunken Cake: Creative Recovery Methods
While you can't make a sunken cake rise again, you can absolutely rescue it! The simplest fix in cake baking troubleshooting for a sunken middle is to embrace it. Fill the crater with frosting, whipped cream, fruit, or pudding. This transforms the "flaw" into a feature, creating a beautiful and delicious dessert.
Alternatively, you can level the cake. If the edges are baked but the center is significantly lower, carefully slice off the domed edges to create a relatively flat surface. You can then use the cake layers as intended, perhaps stacking them with plenty of frosting in the middle to fill the gap. For a severely sunken cake, repurposing methods like making cake pops, trifles, or bread pudding are excellent ways to salvage the ingredients and effort.
Dense and Heavy Cake Troubleshooting: Lightening Up Your Cake
A dense cake lacks that desirable light, airy texture. This is often due to issues related to leavening, fat, or mixing technique. When facing dense cake baking troubleshooting, consider if your leavening agents are fresh and active, if you've used the correct proportions of wet and dry ingredients, or if you've properly incorporated air into the batter.
For example, if your baking powder or baking soda is old, it won't produce enough carbon dioxide gas to create lift, resulting in a heavy cake. You can test baking powder by adding a teaspoon to hot water – it should fizz vigorously. For baking soda, add a teaspoon to vinegar – it should also fizz strongly. Using the wrong type or amount of fat (e.g., too much melted butter instead of creamed butter) can also contribute to density.
Identifying the Cause of Dense Cake: Incorrect Ratio of Wet to Dry Ingredients
An imbalance in the ratio of wet to dry ingredients is a primary cause of dense cakes. Too much flour relative to liquid and fat creates a stiff batter that doesn't rise well. Too little fat or sugar (which tenderize the cake) can also result in a tougher, denser crumb. Recipes are carefully balanced, and altering ingredient amounts without understanding the science can lead to problems.
Consider a recipe calling for creaming butter and sugar. This step is crucial for incorporating air bubbles into the fat, which expand during baking and contribute to a light texture. If this step is rushed or done with cold butter, insufficient air is incorporated, leading to a denser cake. Similarly, adding liquids too quickly can break the emulsion, resulting in a heavy batter. These details are vital for effective cake baking troubleshooting.
Techniques for a Lighter Cake Texture: Properly Aerating Ingredients
Achieving a light cake texture relies heavily on proper aeration at different stages. The creaming method (beating butter and sugar together until light and fluffy) is a classic way to incorporate air. This process should take several minutes, not just one or two. Sifting dry ingredients (flour, baking powder, baking soda, salt) together before adding them to the wet ingredients helps distribute the leavening evenly and introduces air into the flour, preventing compaction.
Using room temperature ingredients, especially butter and eggs, is also key. Room temperature ingredients emulsify better, creating a smoother, more stable batter that holds air more effectively. The reverse creaming method, where dry ingredients are mixed with fat first before liquids are added, coats the flour particles with fat, inhibiting gluten development and resulting in a very tender crumb, often preferred for delicate cakes. These are valuable cake baking troubleshooting techniques for improving texture.
Cake Doming and Cracking: Achieving a Flat Cake Top
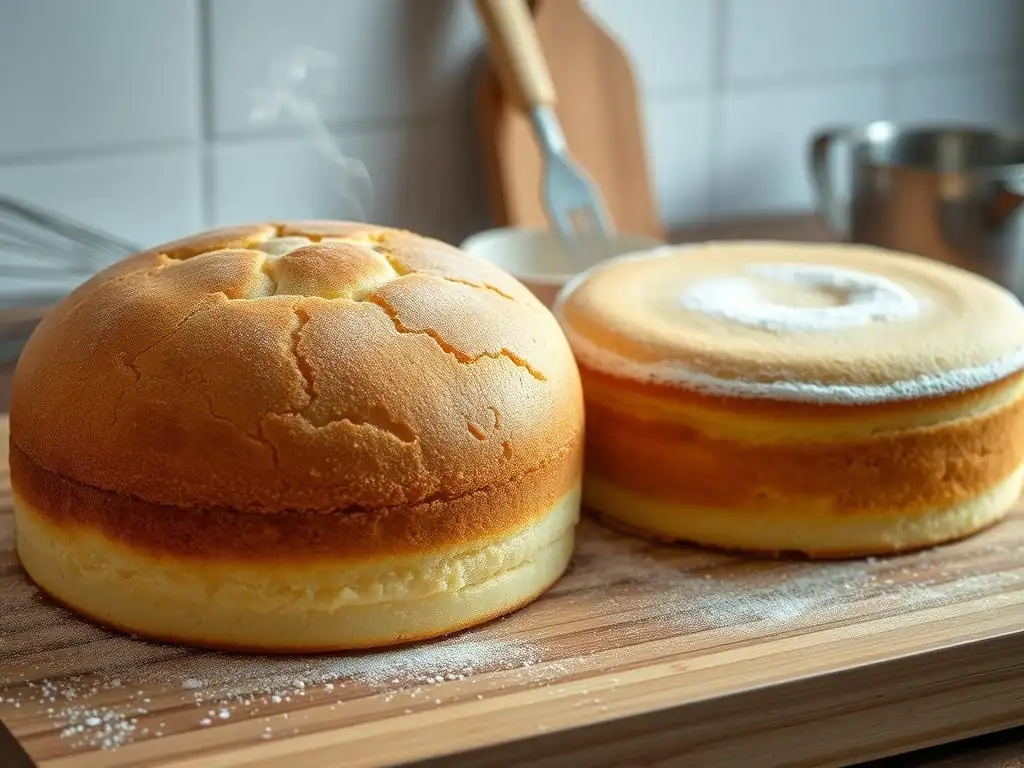
A cake that bakes with a high dome and cracks on top is a common issue, particularly with denser batters or when baking in smaller pans. While not always a disaster (the dome can be trimmed), it suggests the cake baked too quickly on the outside before the center had a chance to catch up and rise evenly. This is often a sign of the oven temperature being too high.
When troubleshooting cake doming and cracking, consider your oven temperature and pan size. Baking at too high a temperature causes the edges and top of the cake to set rapidly while the interior is still rising. As the center continues to expand, it pushes up against the set crust, causing it to crack. Using a pan that is too small for the amount of batter can exacerbate this, as the batter is deeper and takes longer to bake through the center.
Preventing Cake Domes: Baking Techniques and Pan Preparation
To prevent cake domes, try lowering your oven temperature slightly (perhaps by 15-25°F or 8-14°C) and increasing the baking time. This allows the cake to bake more slowly and evenly from edge to center. Another effective technique in cake baking troubleshooting is to use cake baking strips. These fabric strips are soaked in water and wrapped around the outside of the cake pan. The wet strips insulate the sides of the pan, keeping them cooler and allowing the cake to rise more evenly across the surface.
Proper pan preparation also plays a role. While greasing and flouring are essential for preventing sticking, avoid greasing the sides of the pan too heavily if you want a flatter top. The batter needs something to cling to as it rises; if the sides are too slick, the cake can't climb evenly and will tend to push up in the center. Lightly greasing and flouring the bottom only, or using parchment paper on the bottom and light greasing on the sides, can help.
Leveling a Domed Cake: Easy and Effective Methods
If you end up with a domed cake, don't despair – it's easily fixed! The simplest method for cake baking troubleshooting here is to use a serrated knife or a specialized cake leveler to slice off the dome once the cake has cooled completely. Hold the knife parallel to the counter and use a gentle sawing motion to remove the excess cake.
The trimmed-off cake scraps are perfect for snacking, making cake pops, or layering in a trifle. Once leveled, your cake layers will stack beautifully, creating a professional-looking finished cake. This is a standard technique used by professional bakers and is a fundamental part of cake baking troubleshooting for layer cakes.
Uneven Baking: Getting Consistent Results
Uneven baking, where one side of the cake is darker or more set than the other, is almost always an oven issue. Ovens rarely heat perfectly evenly. Hot spots can cause certain areas of your cake to bake faster, resulting in uneven texture, color, and rise. Troubleshooting uneven baking means understanding your oven's specific characteristics.
While you can't eliminate hot spots entirely, you can mitigate their effects. A simple and effective cake baking troubleshooting technique is to rotate your cake pan halfway through the baking time. If the recipe says bake for 30-35 minutes, rotate the pan 180 degrees after about 15-17 minutes. This ensures all sides of the cake spend equal time in different parts of the oven, promoting more even baking.
Oven Rotation Techniques: Ensuring Even Heat Distribution
Rotating your cake isn't just about turning the pan. If you're baking multiple cakes or have multiple racks in use, you might also need to rotate racks or swap pans between racks. Pay attention to how your oven bakes; does the back get hotter than the front? Does the bottom rack bake faster than the top? Observing these patterns helps you develop the best rotation strategy for your specific oven.
For example, if your oven is hotter in the back, turn the cake so the front faces the back halfway through. If the bottom rack bakes faster, consider starting the cake on the top rack and moving it down later, or vice versa, depending on the cake's needs. Consistent rotation is a fundamental cake baking troubleshooting step for achieving uniform results, especially in older or less precise ovens.
Using Baking Strips: Promoting Level Baking
As mentioned earlier for doming, baking strips are also excellent for promoting even baking overall. By insulating the sides of the pan, they slow down the setting of the edges, allowing the center to rise more uniformly with the rest of the cake. This not only helps prevent domes but also reduces the likelihood of edges being overbaked and dry while the center is still cooking.
Cake baking troubleshooting with baking strips is simple: soak them in cold water, wring out the excess, and wrap them snugly around the outside of your cake pan before adding the batter. Secure them with pins if necessary. The steam generated from the wet strips helps regulate the temperature of the pan's sides, leading to a more even bake from edge to edge.
Cake Sticking to the Pan: Preventing and Fixing Sticky Situations
Few things are more frustrating than a beautiful cake that refuses to release from its pan, leaving chunks behind. Cake sticking is almost always a pan preparation issue. Proper greasing and flouring (or using parchment paper) are essential preventative measures in cake baking troubleshooting.
Using the correct type and amount of fat is key. Solid shortening or butter works well; melted butter can sometimes pool and lead to sticking. Applying a thin, even layer of fat to all interior surfaces of the pan, including corners and intricate designs if using a bundt pan, is crucial. Following with a light dusting of flour (tapping out the excess) creates a barrier between the batter and the pan surface.
Proper Pan Preparation: Greasing and Flouring Techniques
For most cakes, the standard cake baking troubleshooting method for pan preparation is to grease the pan thoroughly with softened butter or shortening using a pastry brush or paper towel. Ensure every nook and cranny is covered. Then, add a few tablespoons of flour (use cocoa powder for chocolate cakes to avoid white marks) and tilt and tap the pan to coat the greased surfaces evenly. Invert the pan and tap out any excess flour.
For extra insurance, or for delicate cakes, cut a piece of parchment paper to fit the bottom of the pan and place it over the greased bottom before adding the batter. Some bakers even grease the pan, line the bottom with parchment, and then grease and flour over the parchment and up the sides. Bundt pans require extra attention due to their intricate shapes; using a baking spray specifically designed for baking (containing flour) can be very effective.
Releasing a Stuck Cake: Gentle Methods for Removal
If your cake still sticks despite your best efforts, there are a few cake baking troubleshooting tricks you can try. First, ensure the cake has cooled in the pan for the amount of time specified in the recipe (usually 10-20 minutes). Cooling too long can cause the cake to contract and potentially stick more, while inverting too soon can lead to breakage.
Carefully run a thin, offset spatula or a knife around the edges of the cake to loosen it from the sides of the pan. For bundt cakes, gently wiggle the pan. If it still won't release, you can try placing the bottom of the pan on a damp, cool towel for a few minutes; the slight temperature change can sometimes help release the cake. As a last resort, if only a small section is stuck, you might carefully patch the cake with frosting.
Advanced Cake Baking Troubleshooting: Addressing More Complex Issues
Gluten Development Problems: Understanding Gluten's Role in Cake Structure
Gluten, the protein network formed when flour is mixed with liquid, provides structure to baked goods. In cakes, you want just enough gluten for stability, but not so much that the cake becomes tough or chewy. Understanding how mixing affects gluten is key to advanced cake baking troubleshooting. Different types of flour have varying protein levels; cake flour has lower protein (around 8-10%) than all-purpose flour (around 10-12%), resulting in a more tender crumb, which is why it's often preferred for delicate cakes.
Over-developing gluten is a common issue, leading to tough cakes. This happens when the batter is mixed too vigorously or for too long after the flour is added. The gluten strands become strong and elastic, similar to bread dough, which is undesirable for a tender cake. Under-developed gluten, while less common, can result from insufficient mixing or using extremely low-protein flour without any additional structure support, leading to a cake that is too crumbly and lacks cohesion.
Over-Developed Gluten: Using Cake Flour or Tenderizers
If you consistently find your cakes tough, even with careful mixing, consider the type of flour you're using. Switching from all-purpose flour to cake flour can significantly reduce gluten development due to its lower protein content. Cake flour also has a finer texture and is often chlorinated, which alters the starches to absorb more liquid and fat, further inhibiting gluten formation and promoting tenderness.
Another cake baking troubleshooting technique for over-developed gluten is the use of tenderizing ingredients. Fats (butter, oil, shortening) and sugars interfere with gluten development by coating the flour particles. Using recipes with a higher fat or sugar content, or employing the reverse creaming method (where fat is mixed with dry ingredients first), helps create a more tender cake structure by minimizing gluten formation. Adding ingredients like sour cream, yogurt, or buttermilk, which are acidic, can also help tenderize the cake crumb by breaking down proteins.
Under-Developed Gluten: Adding Vital Wheat Gluten or Allowing Batter to Rest
Under-developed gluten is less frequent in standard cake recipes but can occur if using very low-protein flours or alternative flours without proper recipe adjustments, leading to a cake that is too crumbly and falls apart easily. While you don't want excessive gluten, some structure is necessary. If a recipe seems to consistently produce crumbly cakes despite correct measurements and baking, it might indicate insufficient gluten development for that particular formulation.
In rare cases, if a recipe specifically calls for a sturdier cake structure and you're using a very low-protein flour, a tiny amount of vital wheat gluten might be added (though this is uncommon in standard cake recipes). More often, ensuring the batter is mixed just enough after adding flour until no dry streaks remain ensures sufficient, but not excessive, gluten development. Allowing the batter to rest for 10-15 minutes before baking can also help hydrate the flour evenly, promoting a slightly better structure, a subtle but useful cake baking troubleshooting tip.
Eggs play multiple vital roles in cakes: they provide structure (proteins coagulate when heated), contribute to leavening (whipped eggs incorporate air), add richness and moisture (yolks contain fat), and help emulsify the batter. Using the wrong number or size of eggs, or not preparing them correctly, can lead to significant texture problems, requiring specific cake baking troubleshooting.
For example, a standard large egg weighs approximately 50-57 grams (about 1.75-2 ounces). Recipes are typically balanced around this size. Using extra-large eggs when the recipe calls for large can add too much liquid and protein, affecting the texture. Conversely, using medium eggs can result in insufficient structure and richness. Not using room temperature eggs can also hinder proper emulsification and volume when creaming with butter and sugar or whipping.
Too Many Eggs: Resulting in a Rubbery Texture
Using too many eggs relative to other ingredients, or using eggs that are too large, can result in a cake with a rubbery or overly dense texture. This is because egg proteins, when heated, create a firm network. An excess of these proteins leads to a cake that feels less tender and more chewy or spongy, similar to an overcooked omelet.
If you suspect too many eggs were the cause during cake baking troubleshooting, there isn't a fix after baking. For future attempts, double-check the recipe's egg size and quantity. If the recipe consistently yields a rubbery cake, it might be poorly formulated; consider trying a different recipe or slightly reducing the number of eggs (e.g., using 2 large instead of 3 medium if using large eggs). Ensuring other tenderizing ingredients like fat and sugar are measured accurately also helps balance the structure provided by eggs.
Not Enough Eggs: Resulting in a Crumbly Cake
Conversely, using too few eggs can result in a cake that lacks structure, is too crumbly, or is dry. Eggs provide essential binding properties. Without enough protein to create a supportive network, the cake may struggle to hold together and can fall apart easily when sliced. The fat in the yolks also contributes moisture and richness; too few eggs can lead to a drier crumb.
If you're troubleshooting a crumbly cake and suspect insufficient eggs were the issue, there's no post-baking fix for the structure. For future baking, ensure you're using the correct number and size of eggs as specified. If the recipe seems to require more binding, sometimes adding an extra egg yolk (which adds richness and binding without adding as much protein as a whole egg) can help improve texture and moisture. Always ensure eggs are at room temperature for best results in emulsifying and providing structure.
General Cake Baking Tips for Preventing Disasters
Accurate Ingredient Measurement: The Importance of Precision
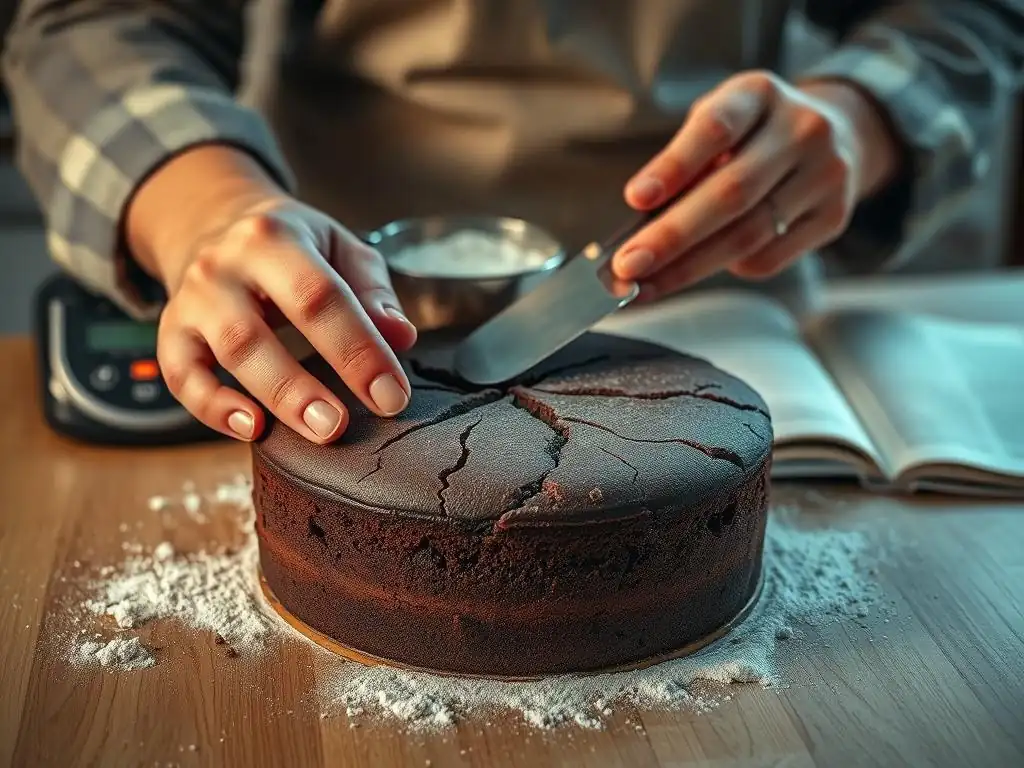
We've touched on this, but it bears repeating: accurate ingredient measurement is the bedrock of successful cake baking and the first line of defense in cake baking troubleshooting. Using measuring cups designed for dry ingredients (leveling off the top) and liquid ingredients (checking at eye level) is a start, but for consistency, especially with flour, a digital kitchen scale is invaluable.
Consider the difference measuring flour by volume versus weight. A cup of all-purpose flour scooped directly from the bag can weigh anywhere from 130 to 150 grams, depending on how packed it is. A cup of flour spooned lightly into the cup and leveled might weigh closer to 120-125 grams. This 10-30 gram difference might seem small, but it can significantly alter the flour-to-liquid ratio in a cake, leading to dryness or density. Investing in a scale eliminates this variability, greatly improving your results.
Using Quality Ingredients: The Impact on Cake Flavor and Texture
The quality and freshness of your ingredients have a direct impact on the flavor, texture, and success of your cake. Using fresh leavening agents (baking powder and soda), good quality butter (not margarine or spread unless specified), fresh eggs, and flavorful extracts makes a noticeable difference. Expired baking powder, for instance, is a frequent cause of cakes that fail to rise, a classic case requiring cake baking troubleshooting.
Ensure your ingredients are at the correct temperature as specified in the recipe (usually room temperature for butter and eggs). Room temperature ingredients emulsify better, leading to a smoother batter and better texture. While budget ingredients can sometimes work, using high-quality butter, pure vanilla extract instead of imitation, and fresh spices will elevate your cake from good to great and reduce the likelihood of ingredient-related baking failures.
Understanding Your Oven: Getting to Know Its Quirks
Every oven is different. They have hot spots, temperature fluctuations, and varying heat distribution patterns. Taking the time to understand your specific oven is a critical, ongoing part of cake baking troubleshooting. Use an oven thermometer to check its accuracy. Bake a simple test cake or even just a tray of cookies to see how evenly they brown.
Does the back right corner always bake faster? Is the bottom element stronger than the top? Note these observations. Adjust your baking practices accordingly – rotate pans, shield edges with foil if they brown too quickly, or adjust baking times and temperatures based on the actual temperature shown on your oven thermometer. This personal knowledge of your equipment is a powerful tool for preventing and solving cake baking problems.
Conclusion: Bake With Confidence! Mastering Cake Baking Troubleshooting
Facing a cake baking disaster can be disheartening, but it's also an incredible learning opportunity. Each failed cake teaches you something new about the delicate science and art of baking. By understanding the common causes behind problems like dryness, sinking, or density, and by equipping yourself with practical cake baking troubleshooting tips, you can approach your next baking project with greater confidence.
Remember to measure accurately, use fresh ingredients, understand your oven, and don't be afraid to troubleshoot when things go wrong. Many "disasters" are salvageable or, at the very least, provide valuable lessons for future baking. With practice and these expert cake baking troubleshooting tips from BakeWithEase, you'll soon be creating perfect cakes consistently, enjoying the process and the delicious results. Happy baking!
Frequently Asked Questions
What are some common reasons why a cake might sink in the middle?
A cake might sink due to several reasons, including overmixing the batter, opening the oven door too early, or not enough leavening agent.
My cake is dry. What could I have done wrong?
A dry cake is often caused by overbaking, using too much flour, or not enough fat. Ensure accurate measurements and baking times.
Why did my cake come out dense and heavy?
A dense cake can result from overmixing, using cold ingredients, or not enough air incorporated into the batter. Always use room-temperature ingredients when possible.
How can I prevent my cake from sticking to the pan?
To prevent sticking, grease and flour the pan thoroughly, or use parchment paper lining the bottom. Ensure even coverage for best results.
What should I do if my cake batter curdles?
Curdling often happens when ingredients are at different temperatures. Try adding a spoonful of flour to help bind the batter and avoid overmixing.
Final Reflection: From Crumbling Cakes to Confident Bakers
The art of baking, specifically cake baking, is more than just following a recipe; it's a journey of learning, adapting, and embracing imperfection. Even with the best intentions and meticulously measured ingredients, baking mishaps are inevitable. This article has explored a range of common cake baking disasters, offering practical solutions and expert tips to transform those frustrating experiences into opportunities for growth.
The impact of mastering cake baking extends far beyond the delicious results. It fosters a sense of accomplishment, encourages creativity, and provides a tangible way to connect with others. The simple act of sharing a perfectly baked cake—or even one salvaged from a near-disaster—can build bridges and create lasting memories. As Julia Child famously said, A party without cake is just a meeting.
This sentiment highlights the social and emotional significance of baking, and the importance of learning to overcome the challenges it presents.
Now, it's your turn. Consider the challenges you've faced in your own baking adventures. Remember the frustration, but also the satisfaction of overcoming those obstacles. Use the troubleshooting tips outlined in this article as a springboard for your own culinary explorations. Don't be afraid to experiment, to learn from your mistakes, and to enjoy the process. The next time you face a baking disaster, remember that it's not a failure, but a valuable lesson in the ongoing journey of becoming a confident and creative baker.
Rescue Your Baking: Master the Art of Cake Recovery!
Thanks for joining us on this baking adventure! You've now got the tools to tackle even the trickiest cake mishaps. Ready to put your new skills to the test?
- Transform your next baking disaster: Try applying one of today's expert tips to a recipe you're already familiar with. See how easily you can rescue a less-than-perfect bake!
- Share your baking triumphs (and disasters!): Tell us about your experience using these tips in the comments section below. Let's build a supportive baking community together!
- Challenge yourself with a new recipe: Pick a cake you’ve always wanted to try, and embrace the journey – knowing you now have the skills to overcome any challenges along the way.
What's your biggest baking fear, and how will you conquer it with your newfound cake-saving expertise?