
Overnight Proofing: Elevate Your Enriched Dough's Flavor

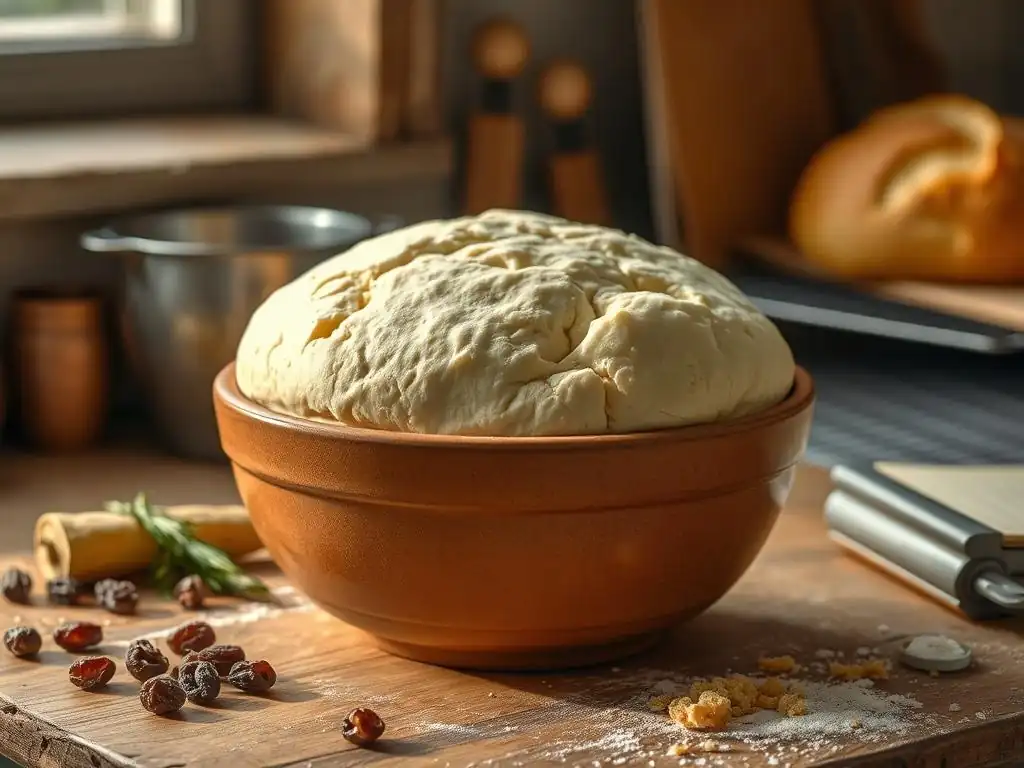
Welcome to BakeWithEase, your kitchen companion for crafting delicious baked goods! Are you ready to unlock the secrets to richer flavor and perfectly textured breads? Dive into the art of overnight sourdough proofing techniques and discover how a little patience can transform your baking. This is where intermediate bakers elevate their game – are you ready to join them?
- Introduction to Overnight Proofing for Enriched Doughs
- The Science Behind Overnight Proofing
- Step-by-Step Guide to Overnight Proofing Enriched Dough
- Troubleshooting Common Issues with Overnight Proofing
- Recipes Perfect for Overnight Proofing
- Tips and Tricks for Perfect Overnight Proofing
- The Impact of Overnight Proofing on Dough Acidity
- Conclusion: Unleash the Flavor Potential of Overnight Proofing
-
Frequently Asked Questions
- How does overnight proofing affect the flavor of enriched doughs?
- What are the ideal temperature conditions for overnight sourdough proofing?
- Can I use overnight proofing for all types of enriched dough?
- What are the signs that my sourdough has been over-proofed overnight?
- How can I adjust my recipe for overnight proofing?
- Final Reflection: The Transformative Power of Patience in Baking
- Unlock Your Dough's Full Potential: Taste the Difference!
Introduction to Overnight Proofing for Enriched Doughs
Overnight proofing, often referred to as cold fermentation, is a technique where dough is allowed to rise slowly in a chilled environment, typically a refrigerator, for an extended period. While commonly associated with lean doughs like those used for artisan bread, this method offers significant advantages when applied to enriched doughs. Enriched doughs, characterized by the addition of fats (like butter), sugar, eggs, and milk, benefit uniquely from this slow process, developing deeper flavors and achieving a superior texture. Applying overnight proofing techniques to doughs like brioche, challah, and cinnamon rolls can transform them from good to truly exceptional.
This slow, cold environment significantly impacts the yeast activity and enzymatic breakdown of starches and proteins within the dough. Instead of a rapid rise at room temperature, the yeast works at a much slower pace, allowing complex flavors to develop gradually. This patient approach not only enhances the taste profile but also contributes to a more manageable dough structure, making it easier to shape and handle after the cold proofing period. For bakers looking to elevate their enriched dough creations, mastering the art of overnight proofing is a crucial step.
Understanding the Benefits of Overnight Proofing for Enriched Doughs
One of the primary benefits of overnight proofing enriched doughs is the dramatic improvement in flavor complexity. The extended, slow fermentation gives enzymes more time to break down complex carbohydrates into simpler sugars, which the yeast then consumes. This process creates a wider range of aromatic compounds than a quick rise would allow.
Think of the difference between a quickly brewed coffee and one steeped slowly – the latter often has a richer, more nuanced flavor. Similarly, an enriched dough that has undergone 12-16 hours of cold fermentation will possess a depth of flavor simply unattainable through a standard 1-2 hour warm proof.
Beyond flavor, overnight proofing also significantly impacts the dough's texture. The slow fermentation process allows the gluten network to relax and develop strength simultaneously without becoming overly tight. This results in a dough that is both supple and strong, leading to a final baked product with a finer, more even crumb structure. For brioche, this means a tender, airy interior, while for challah, it contributes to that signature soft, pull-apart texture. This controlled development is key to achieving professional-quality results in your home baking.
Why Overnight Proofing Enhances Flavor and Texture in Brioche and Similar Doughs
Enriched doughs, with their high sugar and fat content, behave differently from lean doughs. The added ingredients can sometimes inhibit yeast activity and gluten development if proofed too quickly. Overnight proofing counteracts this by providing ample time for the yeast to work through the richness and for the gluten network to strengthen gradually. The cold temperature slows the yeast significantly, preventing it from consuming all the available sugars too quickly and producing off-flavors. This measured pace allows for a more balanced fermentation.
Furthermore, the presence of fats and sugars in enriched doughs can make them prone to drying out or forming a tough crust if exposed to air during a long, warm proof. The cold environment of the refrigerator, especially when the dough is properly covered, helps maintain moisture levels throughout the extended fermentation.
This results in a dough that remains pliable and hydrated, contributing to a softer crust and a more moist interior in the final baked good. This technique is particularly effective for doughs like brioche, which can contain up to 60% butter relative to flour weight, ensuring the fat is well-integrated and the dough develops properly.
The Science Behind Overnight Proofing
The Role of Slow Fermentation in Flavor Development
Slow fermentation, the core principle behind overnight proofing, is a biological process driven by yeast and enzymes. In a warm environment (say, 75-85°F or 24-30°C), yeast is highly active, rapidly producing carbon dioxide (for rise) and ethanol, along with basic flavor compounds.
However, at colder temperatures (typically 38-40°F or 3-4°C), yeast activity is significantly inhibited, slowing down gas production dramatically. This slow pace forces the yeast to work harder and longer, leading to the production of more complex organic acids, esters, and alcohols – the very compounds that contribute to nuanced flavors like nutty, sweet, and slightly tangy notes often desired in high-quality baked goods.
Concurrently, naturally occurring enzymes in the flour, like amylase and protease, are also active during this slow fermentation. Amylase breaks down complex starches into simpler sugars, providing a steady food source for the yeast over time and contributing to crust browning and sweetness. Protease helps to break down proteins, subtly altering the gluten structure. While these processes occur during warm proofing, the extended duration of cold fermentation allows them to proceed more thoroughly, resulting in a richer tapestry of flavors and aromas that are the hallmark of well-proofed enriched dough.
How Overnight Proofing Affects Gluten Development in Enriched Doughs
Gluten development is crucial for the structure of baked goods, and overnight proofing handles this process with finesse in enriched doughs. When dough is mixed, the proteins glutenin and gliadin bond to form gluten, creating a network that traps gases produced by yeast. Warm proofing develops this network relatively quickly, but in rich doughs with high fat content, the fat can sometimes interfere with gluten bonding. A rapid rise can also put stress on a young gluten network, potentially leading to a less even crumb.
Cold fermentation allows for a more gradual and controlled development of the gluten network. As the dough rests and slowly ferments, the gluten strands hydrate more fully and align themselves naturally. This passive development, sometimes called autolysis (when no yeast or salt is involved initially, though the principle of passive development applies here), allows the gluten to strengthen without the mechanical stress of mixing or rapid expansion.
The result is a more relaxed yet robust gluten structure that can support the dough's rise both in the refrigerator and during the final bake, leading to a tender crumb that holds its shape beautifully. This is a key element in mastering overnight sourdough proofing techniques applied to enriched doughs, ensuring a strong yet pliable final product.
Temperature Control: Key to Successful Overnight Proofing
Precise temperature control is paramount for successful overnight proofing of enriched doughs. The ideal temperature range for this slow fermentation is typically between 38°F and 40°F (3°C and 4°C). Temperatures much higher than this can lead to over-proofing, where the yeast becomes too active and consumes all the sugars before the desired flavor compounds can develop. Conversely, temperatures much lower, near freezing, can significantly inhibit yeast activity, resulting in insufficient rise and flavor development.
Maintaining a consistent temperature throughout the proofing period is also vital. Fluctuations can disrupt the slow, steady fermentation process. Using a reliable refrigerator thermometer is recommended to ensure your fridge is holding the correct temperature. Placing the dough towards the back of the refrigerator, away from the door, can help maintain a more stable temperature. This careful management of the cold environment is the silent hero behind the complex flavors and perfect texture achieved through overnight proofing techniques.
Step-by-Step Guide to Overnight Proofing Enriched Dough
Preparing Your Enriched Dough for Overnight Proofing
The preparation phase is crucial to setting your enriched dough up for overnight success. After the initial mixing and kneading (ensure gluten is well-developed, passing the windowpane test is a good indicator), the dough typically undergoes a short initial rise at room temperature. This step, often called the bulk fermentation, can range from 60 to 90 minutes, or until the dough has increased by about 30-50% in volume. The exact time depends on your kitchen temperature and yeast activity. This initial warm period gives the yeast a head start before the cold significantly slows it down.
Following the initial rise, the dough often benefits from a gentle 'punch down' or fold. This redistributes the yeast, evens out the temperature, and strengthens the gluten further. For rich doughs like brioche, this might involve folding the dough onto itself several times. After this, the dough is ready to be placed in its container for the long, cold rest. Ensure the dough is shaped into a relatively uniform ball or log, depending on your final recipe, before placing it in the proofing vessel.
Choosing the Right Container for Overnight Fermentation
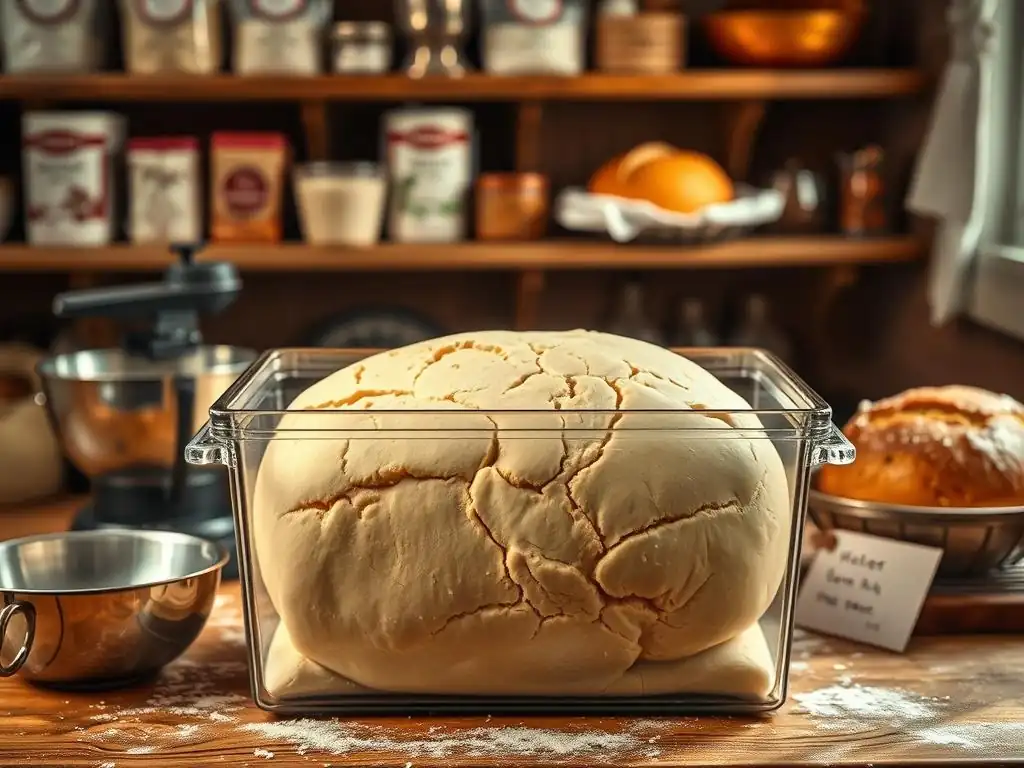
Selecting the appropriate container is essential for preventing your enriched dough from drying out and for allowing it space to expand slowly. An airtight or nearly airtight container is ideal. Plastic or glass bowls with tight-fitting lids are excellent choices. The container should be large enough to accommodate at least a doubling, preferably tripling, of the dough's initial volume, even though the cold proof will result in slower expansion than a warm proof. Overcrowding the container can lead to the dough sticking to the lid or overflowing.
Lightly greasing the inside of the container with a neutral oil or butter prevents the dough from sticking as it expands. Place the prepared dough inside, seam-side down if applicable, and secure the lid tightly. If using a bowl without a lid, cover it snugly with plastic wrap, ensuring a good seal all around the rim to prevent air from reaching the dough surface. Proper containment is key to maintaining the dough's hydration and preventing a tough skin from forming during the long refrigeration period, a vital detail in effective overnight sourdough proofing techniques applied to enriched doughs.
Mastering Overnight Proofing Techniques: A Detailed Walkthrough
Mastering overnight proofing involves understanding the timing and visual cues. After placing the dough in the refrigerator (set to 38-40°F or 3-4°C), it will continue to rise slowly.
The duration of the cold proof can vary significantly depending on the recipe, dough temperature when it went into the fridge, and the exact fridge temperature, but a common range is 8 to 16 hours, sometimes up to 24 hours for very rich doughs. Check the dough towards the end of the recommended range – it should have increased significantly in volume, perhaps 75% to 100% or even slightly more, but it shouldn't look overly gassy or deflated.
Here is a simplified task list for the process:
- [ ] Mix and knead enriched dough until well-developed.
- [ ] Perform initial warm bulk fermentation (e.g., 60-90 minutes).
- [ ] Gently punch down or fold the dough.
- [ ] Shape dough lightly and place in a greased, airtight container.
- [ ] Refrigerate at 38-40°F (3-4°C) for 8-16 hours (or recipe specified time).
- [ ] Monitor dough volume towards the end of the proofing time.
- [ ] Remove dough from fridge and allow to warm up slightly before shaping (this is crucial! ).
After the cold proof, the dough will be firm and cold. It's often necessary to let the dough sit at room temperature for 30-60 minutes before shaping. This makes it more pliable and easier to handle. Once shaped, the dough will require a final proofing step, usually at room temperature, before baking. This final proof might be shorter than a standard warm proof because the dough has already developed significant gas and flavor during the cold fermentation.
Troubleshooting Common Issues with Overnight Proofing
Dough Over-Proofing: Prevention and Solutions
Over-proofing in the refrigerator can occur if the temperature is too warm, the dough was already over-proofed before refrigeration, or the cold proof duration was excessively long. An over-proofed enriched dough might look significantly expanded, possibly starting to collapse slightly, and can smell strongly alcoholic.
When baked, it may lack structure, spread excessively, and have a pale crust due to the yeast having consumed most of the available sugars. Preventing this starts with ensuring your refrigerator is at the correct temperature (38-40°F or 3-4°C) and not putting dough into the fridge that has already doubled or tripled at room temperature.
If you suspect your dough is slightly over-proofed coming out of the fridge, you might be able to salvage it. Gently punch down the dough very lightly to remove some gas, reshape it, and proceed to a shorter final proof. However, severely over-proofed dough that has collapsed significantly is difficult to rescue fully; the best approach is often to prevent it from happening in the first place by monitoring temperature and proofing time, and ensuring the dough isn't too warm when it goes into the fridge.
Dough Not Rising Enough: Identifying and Addressing the Problem
If your enriched dough shows minimal rise after an overnight cold proof, several factors could be at play. The most common culprit is a refrigerator temperature that is too cold, inhibiting yeast activity almost entirely (below 38°F or 3°C can be problematic). Another issue could be inactive or insufficient yeast used in the recipe. Ensure your yeast is fresh and that you used the correct amount specified. Over-mixing the dough initially, leading to a very tight gluten structure, or insufficient initial warm bulk fermentation can also hinder cold proofing.
To address under-proofed dough after refrigeration, you can extend the final proofing time significantly at room temperature. Allow the dough to warm up fully, then let it rise until it has visibly increased in volume and feels airy. This might take several hours. If you suspect the yeast was the issue, you can try dissolving a small amount of fresh yeast in warm liquid (part of the recipe's liquid, warmed) and gently kneading it into the dough, then proceeding with a warm proof. However, ensuring active yeast and correct fridge temperature are the most effective preventative measures.
Achieving Consistent Results with Overnight Enriched Dough Proofing
Consistency in overnight enriched dough proofing comes down to controlling the variables: ingredients, mixing, temperature, and time. Use precise measurements for ingredients, especially flour and yeast. Ensure your mixing develops the gluten properly but doesn't overwork the dough. The most critical factor is maintaining a consistent refrigerator temperature; invest in a thermometer to verify. Note the dough's temperature when it goes into the fridge – colder dough will take longer to become active in the cold environment.
Keeping a baking journal can be incredibly helpful. Note the recipe used, batch size, kitchen temperature during mixing and initial proof, refrigerator temperature, the time the dough went into the fridge, and the time it came out. Record observations about the dough's volume increase and texture before and after cold proofing, and the final baked result. Over time, you'll identify what works best in your specific environment, allowing you to fine-tune proofing times and temperatures for reliably excellent enriched doughs, much like bakers perfect overnight sourdough proofing techniques.
Recipes Perfect for Overnight Proofing
Overnight Brioche Recipe: A Flavorful Delight
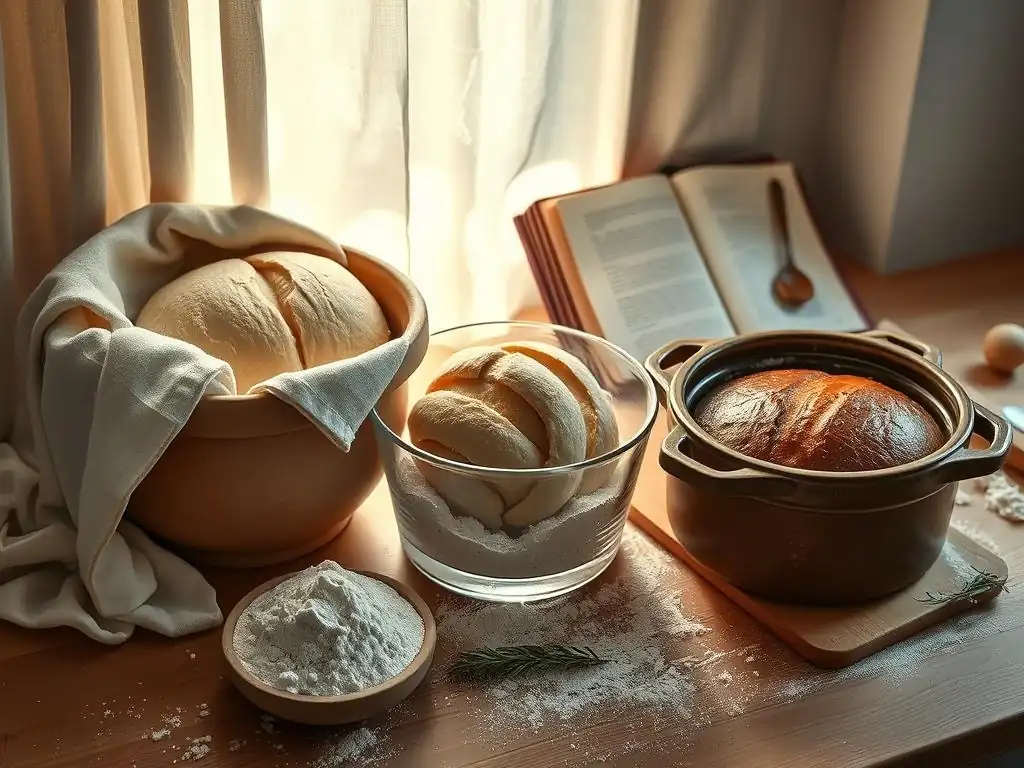
Brioche is arguably the quintessential enriched dough, and overnight proofing elevates its already luxurious profile. A typical brioche recipe involves a high proportion of butter and eggs, often requiring significant kneading or mixing time to develop gluten amidst the richness. After the initial mix and a short warm rest (perhaps 30-60 minutes), the dough is transferred to the refrigerator for a slow fermentation lasting anywhere from 12 to 24 hours. During this time, the flavors meld and deepen, and the high butter content solidifies, making the dough much easier to handle and shape when cold.
When you're ready to bake, the cold brioche dough is shaped (into loaves, buns, or rolls) and then undergoes a final proof at room temperature. This final rise is crucial for achieving the signature light and airy texture. Baking a brioche that has undergone this slow, cold fermentation results in an exceptionally tender crumb, a golden-brown crust, and a complex, slightly sweet, and deeply buttery flavor that is far superior to brioche proofed only at room temperature. It's a prime example of how overnight proofing techniques enhance enriched doughs.
Overnight Challah: Mastering the Technique
Challah, another beautiful enriched dough, benefits immensely from overnight proofing, resulting in a more flavorful and tender loaf. While challah often uses oil instead of butter and typically less sugar and eggs than brioche, it is still rich compared to lean bread doughs. The process involves preparing the dough, allowing a short initial rise, and then refrigerating it for 8-16 hours. This slow fermentation develops a lovely depth of flavor and makes the dough incredibly easy to braid when cold.
After the cold proof, the dough is removed from the fridge, allowed to warm up slightly, and then braided. The braids are then placed on a baking sheet for a final proof at room temperature. This final rise can take 1-2 hours, depending on the ambient temperature. Baking an overnight-proofed challah yields a loaf with a beautiful golden crust, a soft, slightly sweet interior, and a depth of flavor that complements its traditional uses perfectly. It's a technique that truly makes your challah shine.
Overnight Cinnamon Rolls: A Sweet Morning Treat
Overnight proofing is a game-changer for cinnamon rolls, allowing you to prepare them the night before and bake fresh in the morning. The enriched dough for cinnamon rolls typically contains butter, milk, sugar, and eggs. After mixing, the dough is often rolled out, filled with the cinnamon-sugar mixture, and sliced into rolls. These shaped rolls are then placed in their baking pan and refrigerated overnight, usually for 8-12 hours.
The cold environment slows the final proofing process significantly. In the morning, the pan of rolls is taken directly from the refrigerator and allowed to sit at room temperature for 60-90 minutes, or until visibly puffy, before baking. This allows them to finish proofing and warm up. The result is incredibly soft, flavorful cinnamon rolls with a perfect texture, ready to be glazed warm from the oven. This method makes preparing a warm, homemade breakfast treat much more convenient, showcasing the practical benefits of overnight proofing.
Tips and Tricks for Perfect Overnight Proofing
Optimizing Your Refrigerator Temperature for Overnight Proofing
As mentioned earlier, the ideal refrigerator temperature for slow fermentation is a narrow window, typically 38-40°F (3-4°C). Most home refrigerators are set slightly colder, around 35-37°F (1.5-3°C), to keep food safe. You may need to adjust your fridge's thermostat up slightly if possible, or strategically place the dough in a warmer part of the fridge (like the door or front shelves, though consistency is key). Using a dedicated refrigerator thermometer is crucial to know the actual temperature your dough is experiencing. A small variance can significantly impact the proofing time and outcome.
If your fridge runs too cold and isn't adjustable, you can compensate by allowing the dough a slightly longer initial warm bulk fermentation before chilling, or plan for a longer final proof at room temperature after refrigeration. Conversely, if your fridge is consistently warmer, you might need to reduce the cold proofing time. Experimentation and temperature monitoring are your best friends in dialing in the perfect cold proofing environment, much like mastering overnight sourdough proofing techniques requires understanding temperature impacts.
Adjusting Proofing Time Based on Ingredients and Room Temperature
The exact duration of overnight proofing is not a one-size-fits-all number; it's influenced by several factors. Richer doughs with higher fat and sugar content (like brioche) tend to ferment slower than less enriched doughs (like challah) in the cold, and may benefit from longer cold proofs (e.g., 16-24 hours). The amount of yeast used also plays a role – recipes designed for overnight proofing often use slightly less yeast than quick-rise versions.
The temperature of your kitchen during initial mixing and bulk fermentation, and the temperature of the dough when it goes into the fridge, also matters. Warmer dough placed in the fridge will continue to be more active initially than colder dough. Finally, the temperature of your refrigerator is the most significant factor determining the rate of cold fermentation. Always consider these variables and be prepared to adjust the recommended overnight proofing time based on how your dough is behaving and the specific conditions in your kitchen and fridge.
The Importance of Dough Hydration in Overnight Proofing
Dough hydration, the ratio of water (or other liquids like milk) to flour by weight, plays a role in how enriched doughs behave during overnight proofing. Enriched doughs typically have lower hydration levels compared to lean artisan breads, often ranging from 55% to 65% hydration (excluding the liquid contributed by eggs and butter, which behave differently). Lower hydration doughs tend to be stiffer and ferment slightly slower than higher hydration doughs.
While you shouldn't drastically alter a recipe's hydration for overnight proofing, understanding its effect is useful. Properly hydrated dough will feel supple and not dry. During the long cold proof, the liquid continues to hydrate the flour fully, contributing to a smoother texture. Ensuring the dough is well-mixed and properly hydrated before refrigeration is key to preventing dry spots or uneven fermentation during the slow, cold rise.
The Impact of Overnight Proofing on Dough Acidity
Understanding Lactic Acid and Acetic Acid Development
Overnight proofing allows for the significant development of organic acids, primarily lactic acid and acetic acid, produced by the metabolic activity of yeast and, if present, lactic acid bacteria (LAB). While enriched doughs don't typically use a sourdough starter which is rich in LAB, commercial yeast Saccharomyces cerevisiae also produces some lactic acid, and flour itself contains small amounts of bacteria that can contribute to acid production during a long fermentation. Lactic acid contributes a milder, often described as "milky," tang, while acetic acid provides a sharper, vinegary note.
The balance of these acids is influenced by temperature. Colder temperatures, like those used in overnight proofing (38-40°F or 3-4°C), tend to favor the production of acetic acid over lactic acid compared to warmer fermentation temperatures. This slow, cold production results in a subtle, pleasant tang that adds complexity to the rich flavors of the dough, preventing it from being overly sweet or flat. This acidic development is a key component of the flavor enhancement gained from extended cold fermentation, similar to the process in overnight sourdough proofing techniques.
Balancing Acidity in Overnight Proofed Enriched Dough
The development of acidity during overnight proofing is generally desirable for flavor complexity, but it needs to be balanced, especially in enriched doughs which already have sweetness and richness. The natural buffering capacity of milk and eggs in enriched doughs helps to moderate the pH drop caused by acid production compared to lean doughs. This ensures the dough doesn't become excessively sour.
The amount of acid produced is directly related to the duration and temperature of the cold proof. A longer proof will result in more acidity. Bakers can control the level of tang by adjusting the cold proofing time. For instance, a 12-hour cold proof will yield less acidity than a 24-hour proof. Finding the perfect balance involves experimentation to see what level of subtle tang best complements the specific enriched dough recipe and your personal taste preferences. The goal is a pleasant complexity, not an overtly sour taste.
Conclusion: Unleash the Flavor Potential of Overnight Proofing
Recap of Benefits and Best Practices for Overnight Proofing
Overnight proofing is a powerful technique that significantly enhances the flavor and texture of enriched doughs like brioche, challah, and cinnamon rolls. By allowing the dough to ferment slowly in a cold environment (ideally 38-40°F or 3-4°C) for an extended period, typically 8 to 24 hours, bakers can unlock a depth of flavor complexity through the gradual development of organic acids and aromatic compounds. This slow process also leads to a more relaxed yet strong gluten network, resulting in a superior, tender crumb structure.
Key best practices for successful overnight proofing include ensuring your refrigerator temperature is within the optimal range and consistent, preparing the dough properly with a short initial warm rise, using a suitable airtight container to prevent drying, and allowing for a sufficient final proof at room temperature after refrigeration. While overnight sourdough proofing techniques are well-known, applying these slow, cold fermentation principles to enriched doughs yields similarly impressive results, transforming everyday bakes into extraordinary ones.
Elevate Your Baking with Overnight Fermentation Techniques
Incorporating overnight fermentation into your enriched dough recipes is a simple yet impactful way to elevate your baking. The patience required for the long, slow rise is rewarded with baked goods that boast richer flavors, more appealing textures, and often, improved workability of the dough. Whether you're aiming for the ultimate tender brioche, a perfectly soft challah, or convenient morning cinnamon rolls, overnight proofing provides the path to achieving professional-level results in your home kitchen.
Experiment with different cold proofing times to discover the flavor profile you prefer for various enriched doughs. Pay attention to how the dough looks and feels before and after refrigeration, and how it behaves during the final proof and baking. By embracing these overnight proofing techniques, you're not just proofing dough; you're cultivating flavor and mastering a skill that will bring your enriched baking to new heights. Give it a try, and taste the difference that time and temperature can make!
Frequently Asked Questions
How does overnight proofing affect the flavor of enriched doughs?
Overnight proofing allows for a longer fermentation period, developing more complex and nuanced flavors. This prolonged process breaks down starches, resulting in a tangier and more aromatic final product.
What are the ideal temperature conditions for overnight sourdough proofing?
The ideal temperature is typically in the refrigerator (around 4°C or 40°F). This slows down the fermentation process, preventing over-proofing and maintaining flavor development.
Can I use overnight proofing for all types of enriched dough?
While beneficial for most, some very delicate enriched doughs might require careful monitoring. Doughs with a high butter or sugar content may proof faster, even in the refrigerator.
What are the signs that my sourdough has been over-proofed overnight?
Signs of over-proofing include a collapsed or deflated dough, a sour, almost alcoholic smell, and a gummy texture after baking. The dough will also be difficult to handle.
How can I adjust my recipe for overnight proofing?
You may need to slightly reduce the amount of yeast used in your recipe. This is because the longer proofing time allows the yeast to work more slowly and effectively, preventing over-fermentation.
Final Reflection: The Transformative Power of Patience in Baking
Overnight proofing isn't just a technique; it's a revelation. The subtle complexities unlocked within your sourdough through the slow, deliberate process of extended fermentation are truly transformative, elevating the humble loaf to new heights of flavor and texture. This isn't just about convenience; it's about unlocking the full potential of your starter and ingredients.
The impact of this extended fermentation goes beyond the immediate sensory experience. It speaks to a deeper appreciation for the craft of baking, a respect for the natural processes involved, and a willingness to embrace the slow pace of creation. Patience is a virtue, and in baking, it is the key to unlocking the most exquisite flavors.
This quote, though not directly about sourdough, perfectly encapsulates the essence of overnight proofing. It's a testament to the rewards that come from resisting the urge for instant gratification and embracing the journey. The subtle nuances of flavor, the airy crumb, the satisfying chew – these are the gifts of patience, diligently cultivated over the course of a night.
Now, consider your own baking journey. What other areas of your life could benefit from the same deliberate approach? Where can you embrace the slow burn, allowing time and patience to work their magic? I invite you to experiment, not just with overnight proofing, but with the mindful approach it represents. Let the slow rise of your sourdough inspire you to cultivate patience and intention in all that you do, unlocking unexpected rewards along the way.
Unlock Your Dough's Full Potential: Taste the Difference!
Thanks for taking the time to explore the magic of overnight proofing! You've just learned how this simple technique can dramatically enhance the flavor and texture of your enriched doughs. Ready to put your newfound knowledge to the test?
- Bake a masterpiece tonight! Try the overnight proofing method with your favorite enriched dough recipe – you'll be amazed by the results.
- Share your baking journey! Post a picture of your creation on social media and tag us – we'd love to see it!
- Explore our other baking tips and techniques on BakeWithEase.com. Discover even more ways to elevate your baking game.
What delicious enriched dough will you be transforming tonight? Let us know in the comments below!