
Fixing Bread That Spreads Too Much in the Oven

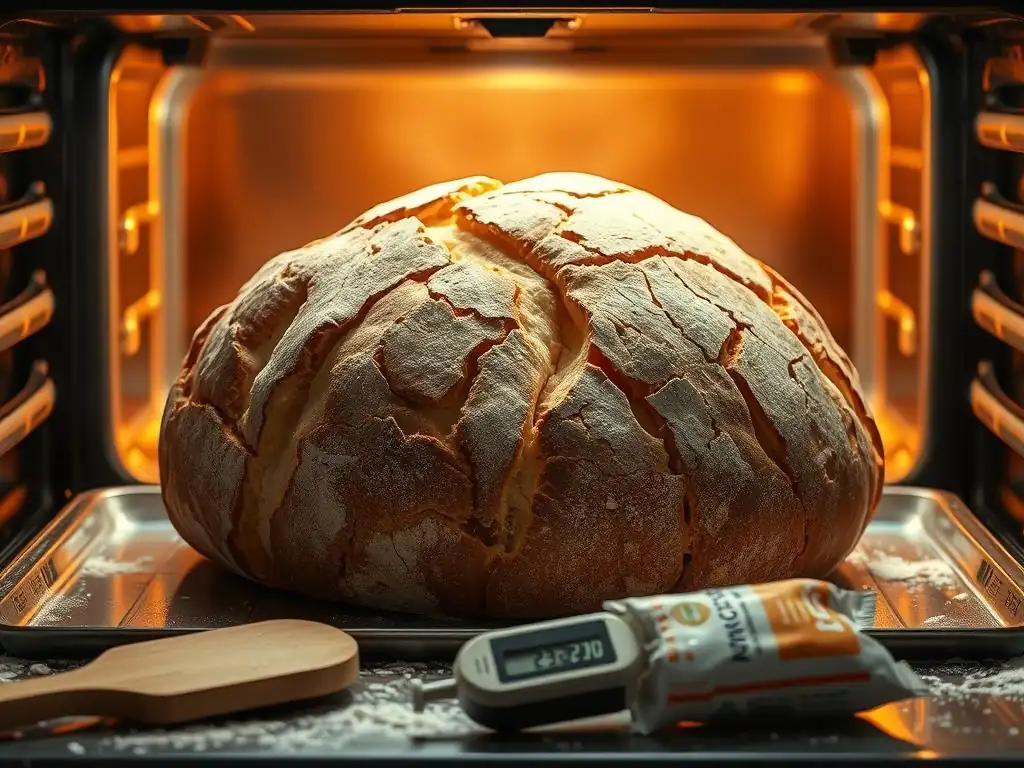
Welcome to BakeWithEase, where we unlock the secrets to baking success! Ever wondered why your bread spreads badly in the oven, leaving you with a flat, disappointing loaf? Don't worry, you're not alone! This guide dives deep into the common culprits behind this baking blunder and provides practical solutions to achieve that perfect rise. Get ready to say goodbye to pancake bread and hello to bakery-worthy results! Let's get baking!
- Fixing Bread That Spreads Too Much in the Oven: A BakeWithEase Guide
- Understanding Why Your Bread Spreads Too Much
- Troubleshooting Bread Spreading Problems: A Baker's Checklist
- Solutions to Prevent Bread From Spreading
- Specific Bread Types and Spreading Issues
- Bake With Ease: Tips for Consistently Perfect Bread
-
Frequently Asked Questions
- Why does my bread spread too much during baking, instead of rising upwards?
- How can I improve gluten development in my dough to prevent spreading?
- Could the type of flour I use be contributing to my bread spreading too much?
- Is there a connection between hydration levels and bread spreading?
- What role does scoring play in preventing bread from spreading uncontrollably?
- Final Reflection: The Humble Loaf and the Art of Restraint
- Conquer Your Spready Bread!
Fixing Bread That Spreads Too Much in the Oven: A BakeWithEase Guide
Understanding Why Your Bread Spreads Too Much
The Dreaded Spread: Identifying Over-Spreading in Bread Dough
When you slide your beautifully shaped loaf into the hot oven, you expect it to spring upwards, developing a lovely dome and crust. However, sometimes, instead of rising vertically, the dough seems to lose its structure and flatten out, spreading wide across your baking surface. This "dreaded spread" is a common and frustrating problem for bakers of all levels.
It results in a loaf that is wider than it is tall, often dense in the center, and lacking the airy crumb structure you were hoping for. Recognizing this issue early, perhaps by noticing excessive spreading before it even goes into the oven or observing the lack of upward spring (oven spring) during the first few minutes of baking, is key to diagnosing and fixing the underlying problems.
Identifying the degree of spread is also important. A slight spreading is natural as the dough relaxes and expands from the heat. But if your loaf looks like a frisbee or pancake rather than a boule or batard, you definitely have an issue with over-spreading.
This often happens with free-form loaves baked directly on a baking sheet or stone, where there's no support from a pan. Observing the dough's behavior during the initial oven spring phase (typically the first 10-15 minutes) provides critical clues. If it spreads aggressively outwards from the moment it hits the heat, it's a clear sign of structural weakness in the dough, prompting you to ask yourself why bread spreads badly in this specific instance.
Why Does Bread Spread Out Instead of Rising Up? Root Causes Explained
The primary reason why bread spreads badly instead of rising is a lack of internal structure strong enough to support the dough's expansion. Bread dough rises due to the carbon dioxide gas produced by yeast fermentation. This gas gets trapped within a network created by gluten proteins.
If this gluten network is weak or compromised, it cannot hold the gas effectively, and the dough collapses under its own weight or expands horizontally rather than vertically when subjected to oven heat. Think of it like trying to inflate a balloon with a hole; the air escapes, and it doesn't inflate properly.
Several factors contribute to this structural weakness. The hydration level of the dough plays a significant role; excessively wet dough can be challenging for the gluten to contain. Poor gluten development, often due to insufficient kneading or using flour with low protein content, is another major culprit.
Furthermore, incorrect proofing – either under-proofing (not enough gas production) or, more commonly, over-proofing (the gluten network is stretched too thin and begins to collapse) – can severely weaken the dough's ability to hold its shape. Finally, issues with oven temperature, particularly a lack of initial high heat, can hinder rapid crust formation needed to set the loaf's shape before it spreads.
Troubleshooting Bread Spreading Problems: A Baker's Checklist
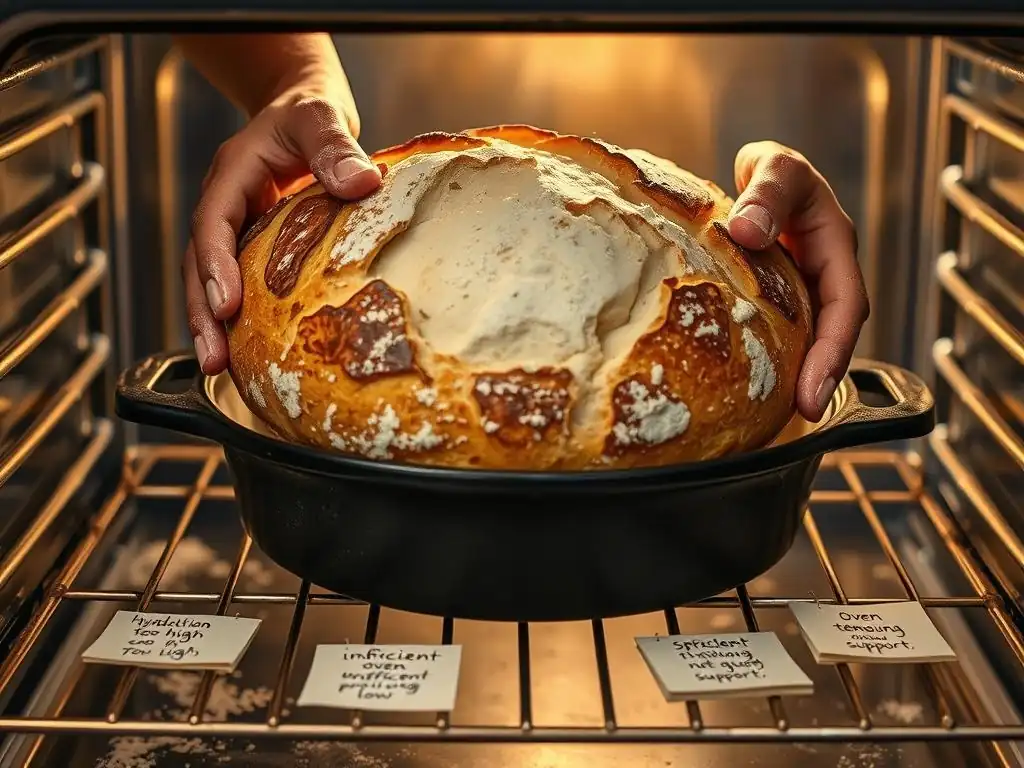
Here is a task list to help you diagnose why your bread might be spreading too much:
- [ ] Did I accurately measure my ingredients, especially water?
- [ ] Did I use the correct type of flour specified in the recipe?
- [ ] Did I knead the dough sufficiently to develop gluten?
- [ ] Did I perform a windowpane test to check gluten development?
- [ ] Was the dough proofed for the correct amount of time and at the right temperature?
- [ ] Did the dough look overly bubbly or deflated after proofing?
- [ ] Was my oven preheated fully to the correct temperature?
- [ ] Did I use steam or a baking stone/Dutch oven for the initial bake?
- [ ] Did I handle the dough gently during shaping and transfer?
Is Your Dough Too Wet? Hydration Levels and Bread Structure
Dough hydration refers to the ratio of water to flour by weight. A higher hydration percentage means more water relative to flour.
While high hydration doughs (say, 75% or more) can yield an incredibly open and airy crumb, they are also more challenging to handle and require very strong gluten development to maintain their structure. If your recipe calls for a hydration level that is too high for the type of flour used or your kneading technique, the gluten network might not be strong enough to support the sheer volume of water, leading to a slack, sticky dough that spreads easily.
For example, a standard white bread recipe might call for a hydration of 60-65%. If you accidentally add water that pushes it to 70% or higher without adjusting kneading time or considering flour strength, you're significantly increasing the difficulty. This extra water makes the dough heavier and puts more stress on the gluten structure trying to contain the fermentation gases. The result is often a dough that feels loose and slack, lacks surface tension after shaping, and inevitably spreads outwards when baked because the internal structure collapses under the outward pressure of steam and gas expansion in the oven.
Weak Gluten Development: The Key to Avoiding Flat Bread
Gluten is the protein network formed when water is combined with flour and then mixed or kneaded. This network is elastic and extensible, capable of trapping the gases produced by yeast, allowing the bread to rise. Weak gluten development means this network is underdeveloped or damaged.
If the gluten is weak, it cannot provide the necessary scaffolding to support the dough's volume. When the dough heats up in the oven, the gases expand rapidly, but the weak gluten structure cannot contain them vertically, causing the dough to spread horizontally instead of rising upwards. This is a primary reason why bread spreads badly.
Insufficient kneading is a common cause of weak gluten. Whether kneading by hand or machine, the process aligns and strengthens the gluten strands. If kneading is stopped too early, the network remains fragile. Alternatively, over-kneading can sometimes break down the gluten structure, although this is less common, especially with hand kneading. Using flour with lower protein content, such as cake flour (typically 7-9% protein) compared to bread flour (typically 12-14% protein), will naturally result in weaker gluten potential, making the dough more prone to spreading unless hydration is significantly reduced or other techniques are employed.
Proofing Problems: Over-Proofing and Under-Proofing Explained
Proofing is the final rise of the dough before baking. It's a critical step where the yeast produces a significant amount of gas, expanding the dough and developing flavor. Getting proofing time wrong is a major factor why bread spreads badly.
Over-proofing occurs when the dough has risen too much and for too long. The yeast has consumed most of the available sugars, and the gluten network, stretched to its limit, begins to break down. You might notice the dough looks overly puffy, feels very light, and might even start to deflate slightly when gently poked. When this over-proofed dough hits the hot oven, the weakened gluten can no longer support the structure, and the dough collapses and spreads outwards rather than achieving good oven spring.
Conversely, under-proofing means the dough hasn't developed enough gas or strength yet. While under-proofed dough usually results in a dense crumb and perhaps bursting on the crust, it typically doesn't cause significant spreading issues; the structure is still too tight to relax and spread excessively. However, getting the proofing just right is crucial for optimal shape and rise.
Oven Temperature Issues: How Heat Affects Bread Shape
The initial burst of high heat in the oven is crucial for "oven spring" – the rapid rise of the loaf during the first few minutes of baking. This heat causes the gases within the dough to expand dramatically and also quickly sets the outer crust. If the oven temperature is too low, or if the oven hasn't been properly preheated, this rapid setting of the crust doesn't happen effectively.
Without that firm outer shell forming quickly, the dough's internal structure, already under pressure from expanding gases, lacks external support. The dough continues to expand, but without the constraint of a setting crust, it spreads outwards across the baking surface rather than being forced upwards. Using an oven thermometer is essential; many home ovens can be off by 25-50°F (around 15-30°C) from the set temperature. Baking on a preheated baking stone or in a Dutch oven helps maintain a consistent high temperature around the loaf, promoting better oven spring and preventing spreading.
Solutions to Prevent Bread From Spreading
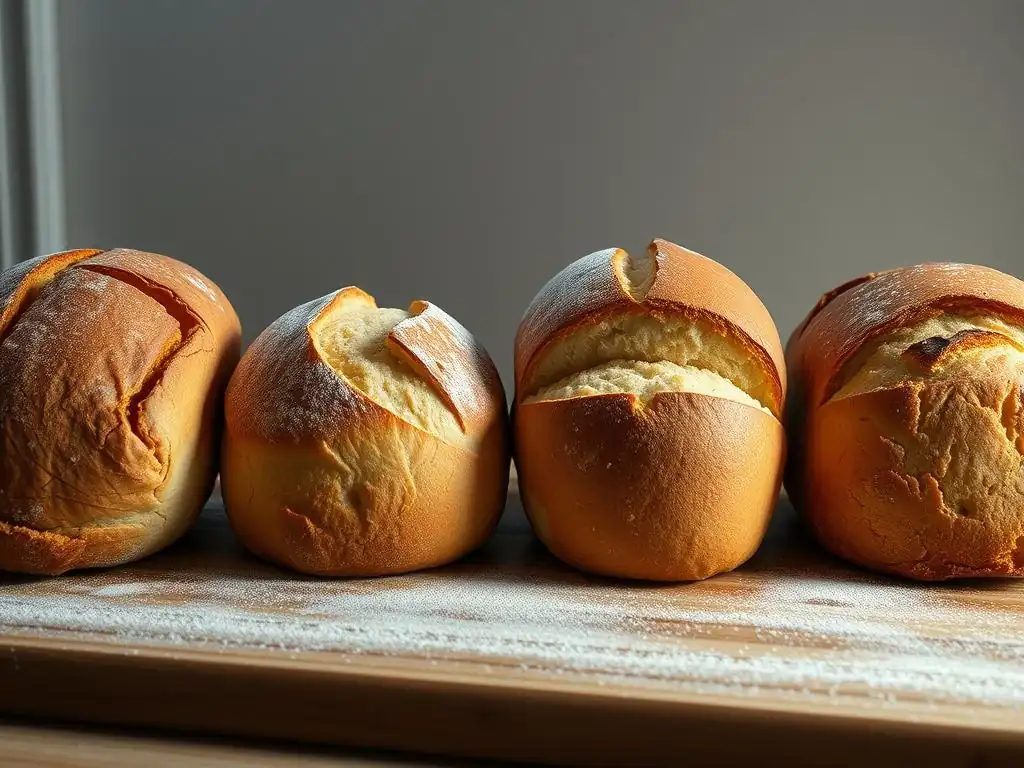
Mastering Dough Hydration for Optimal Bread Structure
Controlling dough hydration is fundamental to managing spread. Understanding the relationship between water, flour, and gluten strength is key. For beginners, sticking to recipes with moderate hydration levels (e.g., 60-68%) is advisable until you gain confidence in handling wetter doughs. Always measure your ingredients carefully, preferably using a kitchen scale, as volume measurements for flour and water can be inaccurate and lead to unintended high hydration.
Reducing Water Content in Your Bread Dough
If you suspect high hydration is why bread spreads badly for you, try slightly reducing the water in your next batch. If a recipe calls for 70% hydration with a standard all-purpose flour, try dropping it to 65%. For every 100g of flour, this means reducing water from 70g to 65g.
This small adjustment can make a significant difference in dough handleability and structure. Alternatively, if a recipe gives a range, start with the lower end of the hydration spectrum. You can always add a tiny bit more water during kneading if the dough feels too stiff, but it's much harder to take water away once added.
Adjusting Flour Type to Control Hydration
The type of flour you use dramatically impacts how much water it can absorb and how strong its gluten structure will be. Bread flour, with its higher protein content (typically 12-14%), can handle higher hydration levels than all-purpose flour (10-12%) or pastry flour (7-9%).
If you're using a recipe developed for bread flour but are substituting with all-purpose, you might need to reduce the water content by 2-5% to achieve a similar dough consistency and prevent spreading. Switching from all-purpose to bread flour for a recipe that consistently spreads can provide the necessary gluten strength to support a moderate hydration level, helping the dough rise up instead of out.
Enhancing Gluten Strength for Better Bread Shape
A strong, well-developed gluten network is the backbone of a well-shaped loaf. It provides the elasticity and structure needed to contain fermentation gases and resist spreading. Focusing on proper kneading and potentially using ingredients that support gluten development are effective strategies.
Kneading Techniques for Stronger Gluten
Kneading, whether by hand, stand mixer, or even using no-knead methods with long fermentation, develops gluten. For traditional kneading, aim for a dough that is smooth, elastic, and passes the windowpane test. This test involves stretching a small piece of dough thinly; if you can stretch it enough to see light through it without tearing, the gluten is well-developed.
Manual kneading might take 10-15 minutes, while a stand mixer could achieve the same result in 6-8 minutes on medium speed. For very wet doughs, techniques like stretch and folds performed over an hour or two help build strength gradually without vigorous kneading.
Using Bread Flour for High Gluten Content
As mentioned earlier, using bread flour is a straightforward way to ensure you have sufficient gluten potential. Its higher protein content means it can form a stronger, more elastic network compared to lower-protein flours. If you've been struggling with spreading using all-purpose flour, simply switching to a good quality bread flour can often resolve the issue, especially if the recipe is moderately hydrated. Look for flours with protein percentages listed on the bag; aiming for 12% or higher is a good start for preventing dough that spreads badly.
Incorporating Gluten Additives (Optional)
For recipes with very low protein flour (like rye or whole wheat, which can interfere with gluten development from wheat flour) or for very high hydration doughs, a small amount of vital wheat gluten can be added. Vital wheat gluten is a concentrated protein extracted from wheat. Adding just 1-2 tablespoons per 500g of flour can significantly boost the dough's strength and elasticity. This can be particularly helpful when trying to bake airy loaves with flours that naturally produce weaker gluten or when pushing hydration limits. However, use sparingly, as too much can make the dough tough.
Perfecting the Proofing Process for Ideal Rise
Proofing is a delicate balance. Under-proofed dough is dense; over-proofed dough collapses. Getting it right is crucial for a loaf that rises beautifully upwards.
Recognizing the Signs of Proper Proofing
The poke test is the most reliable way to tell if your dough is properly proofed. Gently poke the dough with a floured finger.
- If the indentation springs back immediately, the dough is under-proofed.
- If the indentation slowly springs back halfway, the dough is likely perfectly proofed and ready for the oven.
- If the indentation stays completely or mostly put, the dough is over-proofed and its structure is likely compromised, leading to it spreading badly in the oven.
Visually, a properly proofed loaf will have increased significantly in volume (often doubled, though this varies by recipe and dough type) and look nicely rounded and aerated.
Adjusting Proofing Time Based on Temperature
Proofing time is highly dependent on temperature. Dough proofs much faster in a warm environment than in a cool one. A dough that takes 1.5 to 2 hours to proof at a room temperature of 75°F (24°C) might take 3-4 hours at 68°F (20°C).
Conversely, placing dough in a very warm spot (like a proofing box set to 85°F/30°C) could lead to over-proofing in under an hour. Be mindful of your ambient temperature and adjust proofing time accordingly. Recipes often give a time range, but relying on visual cues and the poke test is more accurate than strictly adhering to a clock, especially when troubleshooting why bread spreads badly.
Optimizing Oven Temperature for Perfect Bread Baking
Correct oven temperature and setup are vital for achieving good oven spring and preventing excessive spread. High initial heat helps set the crust quickly, providing structural support for the rising dough.
Ensuring Accurate Oven Temperature
Invest in an inexpensive oven thermometer and place it inside your oven. Preheat your oven for at least 30-45 minutes after it indicates it has reached the target temperature to ensure the walls and racks are fully heated. If your thermometer consistently reads lower than the oven's setting (e.g., it reads 425°F when set to 450°F), adjust your oven's setting upwards to compensate. Baking at the correct high temperature (often 450-500°F or 230-260°C for hearth loaves) is critical for that initial powerful oven spring that prevents spreading.
Using a Baking Stone or Dutch Oven for Even Heat
Baking on a preheated baking stone or steel, or baking inside a preheated Dutch oven or cloche, provides intense, even heat transfer to the dough from below and around. This rapid heat transfer helps set the base and sides of the loaf quickly, encouraging vertical expansion. A Dutch oven also traps steam released by the dough, keeping the crust pliable longer which allows for maximum expansion before the crust fully hardens. This creates a supportive environment that significantly reduces the likelihood of your bread spreading badly compared to baking on a cold baking sheet.
Specific Bread Types and Spreading Issues
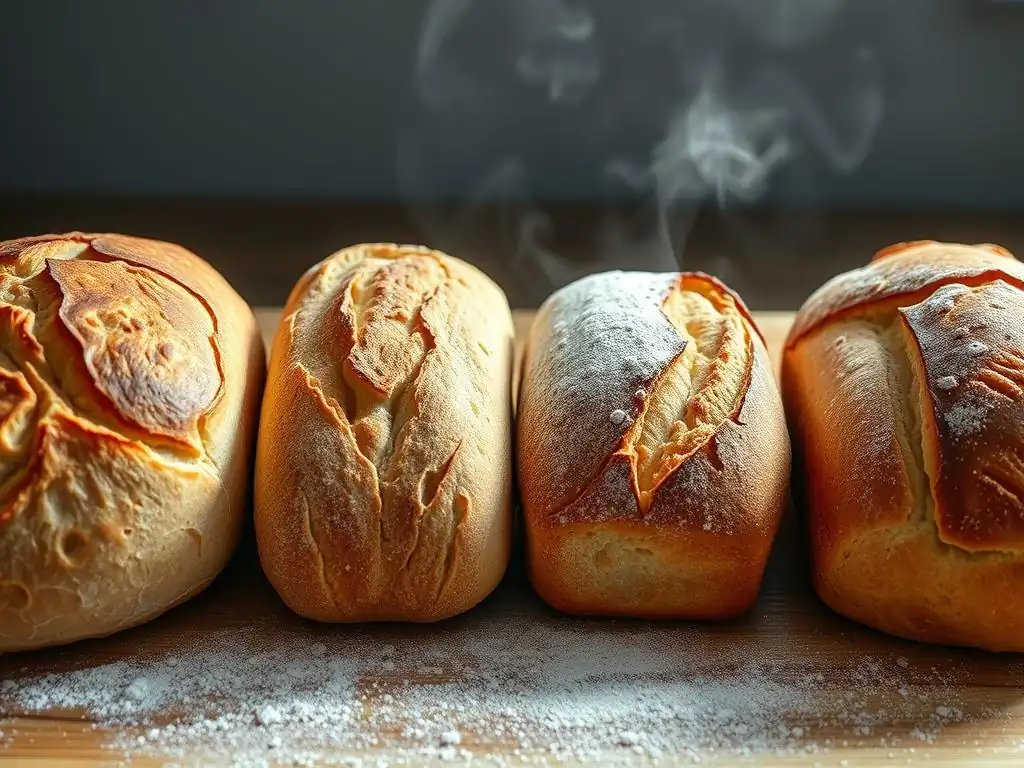
Certain types of bread are inherently more prone to spreading due to their composition or hydration levels.
Addressing Spreading in Sourdough Bread
Sourdough can be particularly susceptible to spreading. This is often because sourdough starters can sometimes lead to faster fermentation and dough that is easier to over-proof. Additionally, many popular sourdough recipes use high hydration levels (75-85%+), which, as discussed, requires excellent gluten development and careful handling. If your sourdough is spreading, evaluate your starter's strength (is it active and bubbly?
), your fermentation timing (are you over-proofing? ), and your shaping technique (are you creating enough surface tension?). Cold proofing in the refrigerator for 8-12 hours or longer can help strengthen the dough structure and make it easier to handle and score before baking, reducing spread.
Preventing Spreading in High-Hydration Breads
Breads with hydration levels above 75% require specific techniques to manage their slack nature. These include:
- Using strong bread flour or adding vital wheat gluten.
- Employing stretch and folds during bulk fermentation to build strength.
- Performing careful, tension-building shaping (like a coil fold or preshape followed by final shaping).
- Proofing the shaped loaf in a well-floured banneton or proofing basket.
- Baking in a very hot Dutch oven or using a baking steel with plenty of steam.
Even with these techniques, high-hydration doughs will naturally spread more than lower hydration doughs, but these steps help ensure they still achieve significant vertical rise rather than completely flattening out.
Controlling Spread in Enriched Doughs (Brioche, Challah)
Enriched doughs, like brioche and challah, contain significant amounts of fat (butter, oil), eggs, and sugar. While these ingredients make the bread wonderfully soft and rich, they can interfere with gluten development. The fat coats gluten strands, inhibiting their ability to form a strong network.
This makes enriched doughs inherently weaker and more prone to spreading if not handled correctly. Ensure thorough kneading (often until the dough is very smooth and elastic despite the enrichment), proper chilling (which firms up the fat and makes shaping easier), and baking in supportive pans (like loaf pans or brioche molds) rather than freeform. Baking freeform enriched loaves requires careful shaping and often a slightly lower hydration than lean doughs.
Bake With Ease: Tips for Consistently Perfect Bread
Recipe Adjustments for Spreading Issues: A Summary
If you're consistently asking yourself why bread spreads badly with a particular recipe, consider these adjustments:
- Reduce hydration by 2-5% (e.g., if it was 70%, try 65-68%).
- Switch from all-purpose to bread flour.
- Increase kneading time or improve your kneading technique.
- Ensure you are not over-proofing (use the poke test! ).
- Verify your oven temperature with a thermometer and preheat thoroughly.
- Bake on a preheated stone/steel or in a Dutch oven.
Start by changing one variable at a time in your next few bakes to isolate the cause of the spreading. For example, if you suspect over-proofing, focus solely on adjusting your proofing time and temperature while keeping everything else the same.
Essential Baking Tools for Controlling Bread Shape
Having the right tools can make a big difference in managing dough structure and preventing spread.
- Digital Scale: For accurate measurement of flour and water, crucial for controlling hydration.
- Oven Thermometer: To verify your oven's true temperature.
- Banneton or Proofing Basket: Provides support to the shaped dough during its final proof, helping it hold its form before baking.
- Baking Stone or Steel: Provides intense, even heat from below for strong oven spring.
- Dutch Oven or Cloche: Creates a steamy environment and provides structure around the loaf during the crucial initial bake phase.
- Bench Scraper: Helps handle and shape wet or sticky dough without adding excessive flour.
Practice Makes Perfect: Refining Your Bread Baking Technique
Ultimately, becoming proficient at baking bread that holds its shape comes down to understanding your ingredients, your environment, and practicing your technique. Each batch of dough is a learning opportunity. Pay attention to how the dough feels at different hydration levels, observe how it behaves during kneading and proofing, and note how different baking methods affect the final loaf shape. Don't be discouraged by a loaf that spreads badly; analyze what might have gone wrong using the checklist above, make a small adjustment next time, and celebrate the progress you make with each bake. Happy baking!
Frequently Asked Questions
Why does my bread spread too much during baking, instead of rising upwards?
Bread that spreads excessively often lacks sufficient gluten development or structure. This can be due to improper kneading, too much hydration, or a weak flour.
How can I improve gluten development in my dough to prevent spreading?
Proper kneading is crucial for gluten development. Ensure you knead the dough for the recommended time, or use the windowpane test to check its elasticity.
Could the type of flour I use be contributing to my bread spreading too much?
Yes, the protein content of the flour plays a significant role. Using bread flour, which has a higher protein content, will help create a stronger gluten network.
Is there a connection between hydration levels and bread spreading?
Absolutely. Excessive hydration can weaken the dough's structure, causing it to spread outward rather than upward during baking. Reduce water slightly.
What role does scoring play in preventing bread from spreading uncontrollably?
Scoring provides a controlled release point for the steam inside the loaf. This directs the expansion upwards, preventing uneven spreading and bursting.
Final Reflection: The Humble Loaf and the Art of Restraint
The seemingly simple act of baking bread reveals a complex interplay of ingredients, technique, and timing, and understanding this interplay is crucial to achieving a perfectly shaped loaf. A misstep in any of these areas can lead to that dreaded, flat, spread-out result, leaving even the most experienced baker feeling frustrated. This article has explored the common culprits behind excessive bread spreading, offering practical solutions to help you conquer this baking challenge.
The quest for the perfect loaf transcends mere culinary skill; it's a reflection of our desire for control and mastery over the natural world. Baking, in its essence, is a controlled fermentation process, and understanding the nuances of yeast activity, gluten development, and oven temperature is paramount. As the old adage goes, Baking is a science, but it's also an art. You need to understand the science to appreciate the art.
This holds especially true when tackling the problem of excessive spreading, requiring a keen eye for detail and a willingness to experiment.
Now, consider your own baking journey. Have you experienced the frustration of a flattened loaf? What adjustments can you make to your recipe or technique based on the insights shared in this article? I encourage you to experiment, to embrace the learning process, and to find joy in the journey of perfecting your bread-baking skills. The satisfaction of achieving a beautifully risen, perfectly shaped loaf is a reward worth striving for, a testament to your patience, dedication, and understanding of the subtle art of baking.
Conquer Your Spready Bread!
Thanks for taking the time to learn how to fix that frustrating bread spread! We hope you now feel empowered to bake loaves that rise beautifully and hold their shape. Ready to put your newfound knowledge to the test?
- Bake a test loaf today! Use your adjusted recipe and technique to bake a small loaf – you'll learn so much from this practice run.
- Share your baking triumph (or even your baking fails!) on our BakeWithEase forum. We love hearing from our community and offering support.
- Experiment with different flours and hydration levels to see how they impact your bread's final structure.
What's your favorite tip for achieving perfect bread rise? Let's discuss!