
How to Cut, Shape, and Bake Puff Pastry Like a Pro

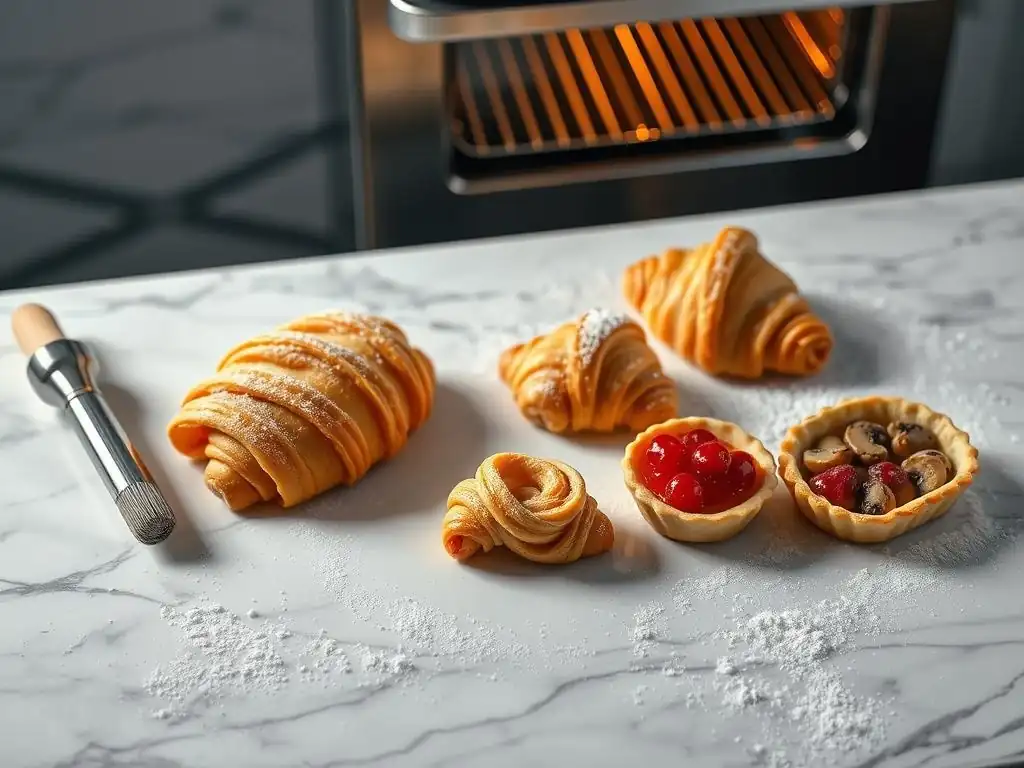
Welcome to BakeWithEase, your trusted guide to conquering the culinary world of baking! Ready to elevate your baking skills to the next level? This article delves into the secrets of perfecting puff pastry technique. Discover how to achieve that coveted flaky, golden-brown perfection, and unlock a world of delectable creations. Curious to know the precise cuts and shaping methods that separate amateur attempts from professional results? Let's get started!
- How to Cut, Shape, and Bake Puff Pastry Like a Pro: BakeWithEase Guide
- Mastering Puff Pastry: An Intermediate Baking Guide
- Preparing for Puff Pastry Perfection: Essential Tools & Ingredients
- Cutting Puff Pastry Dough: Techniques for Clean, Even Shapes
- Shaping Puff Pastry: From Simple to Stunning Creations
- Baking Puff Pastry: Achieving Maximum Rise and Flakiness
- Troubleshooting Common Puff Pastry Problems
- Puff Pastry Recipe Inspiration: Putting Your Skills to the Test
- Tips for Storing Puff Pastry: Freshness and Longevity
- Perfecting Your Puff Pastry Technique: Practice Makes Perfect!
-
Frequently Asked Questions
- What is the most important thing to remember when handling puff pastry?
- How should I cut puff pastry to avoid sealing the edges?
- What temperature is best for baking puff pastry?
- How can I prevent my puff pastry from shrinking during baking?
- What are some common mistakes to avoid when working with puff pastry?
- Final Reflection: Mastering the Flaky Art of Puff Pastry
- Unleash Your Inner Pastry Chef!
How to Cut, Shape, and Bake Puff Pastry Like a Pro: BakeWithEase Guide
Mastering Puff Pastry: An Intermediate Baking Guide
Puff pastry, with its countless layers and ethereal flakiness, stands as a pinnacle of baking achievement for many home cooks. It's the foundation for everything from savory tarts and sausage rolls to sweet palmiers and vol-au-vents. While it might seem intimidating, mastering puff pastry technique is absolutely achievable with patience and attention to detail. This guide from BakeWithEase will walk you through the essential steps – from preparing your workspace to achieving that perfect golden rise in the oven – helping you unlock the secrets to this classic dough.
Perfecting puff pastry technique involves understanding the science behind the layers and applying precise methods for cutting, shaping, and baking. We'll cover the critical role of temperature, the best tools to use, and how to troubleshoot common issues that bakers face. By focusing on these fundamental techniques, you'll build the confidence needed to create stunning and delicious puff pastry creations that will impress everyone.
Preparing for Puff Pastry Perfection: Essential Tools & Ingredients
Gathering Your Puff Pastry Essentials: A Checklist
Before you even touch the dough, having the right tools ready is crucial for perfecting puff pastry technique. These simple items ensure smooth handling and prevent common pitfalls like sticking or uneven rolling. A good quality rolling pin is indispensable, preferably a heavy one that helps apply even pressure without tearing the delicate layers. You'll also need a sharp knife or a pizza wheel for clean cuts – a dull blade will drag the dough and seal the edges, hindering the rise.
Furthermore, parchment paper is non-negotiable. It prevents sticking to your baking sheet and makes transferring delicate shapes much easier. Consider having a pastry brush handy for applying egg wash, and a ruler can be surprisingly useful for cutting precise shapes, which is vital for consistent results. A large, flat surface for rolling, ideally something cool like marble or granite, can also be a significant advantage, though a well-floured counter works too.
Understanding Puff Pastry Ingredients: Flour, Butter, Salt, and Water
At its core, puff pastry is remarkably simple, relying on just four basic ingredients: flour, butter, salt, and water. However, the quality and handling of these ingredients are paramount to perfecting puff pastry technique. High-protein flour, like bread flour or a good all-purpose flour, provides the necessary structure to hold the many layers. The star, of course, is the butter. Using a high-fat butter, typically one with at least 82% butterfat (common in European-style butters), is key. The higher fat content means less water, which helps create distinct, flaky layers when it melts and steams in the hot oven.
The water must be ice cold. This helps keep the butter solid during the rolling and folding process. Salt is included for flavor, balancing the richness of the butter. The magic happens through the lamination process – repeatedly rolling and folding the dough and butter block together. Each fold creates more layers; after just six folds, you have hundreds of potential layers of butter and dough. The success of this process hinges entirely on keeping the butter cold and distinct within the dough layers until baking.
Cutting Puff Pastry Dough: Techniques for Clean, Even Shapes
The Importance of Cold Puff Pastry: Preventing Butter Melt
Maintaining a cold temperature is the single most critical factor when cutting puff pastry. If the dough is warm, the butter within the layers will soften or even melt. When you then try to cut it, the knife will smear the butter and seal the edges of the layers together.
This effectively glues the layers shut, preventing them from separating and puffing up properly in the oven. Working with dough that is firm and cold, straight from the refrigerator after its final rest, ensures that the butter remains solid and distinct, allowing for clean cuts that promote maximum lift during baking.
Think of the butter as thousands of tiny, solid pockets within the dough. When the cold dough hits the hot oven, these butter pockets melt rapidly and release steam. This steam is trapped by the dough layers, forcing them apart and creating the characteristic puff.
If the edges are sealed by warm, smeared butter during cutting, the steam escapes or the layers simply cannot separate, resulting in dense, sad edges or even a flat pastry. Aim to work quickly once the dough is out of the fridge, and don't hesitate to pop it back in for 10-15 minutes if it starts to feel soft or sticky as you work.
Straight Cuts for Puff Pastry: Using a Sharp Knife or Pizza Wheel
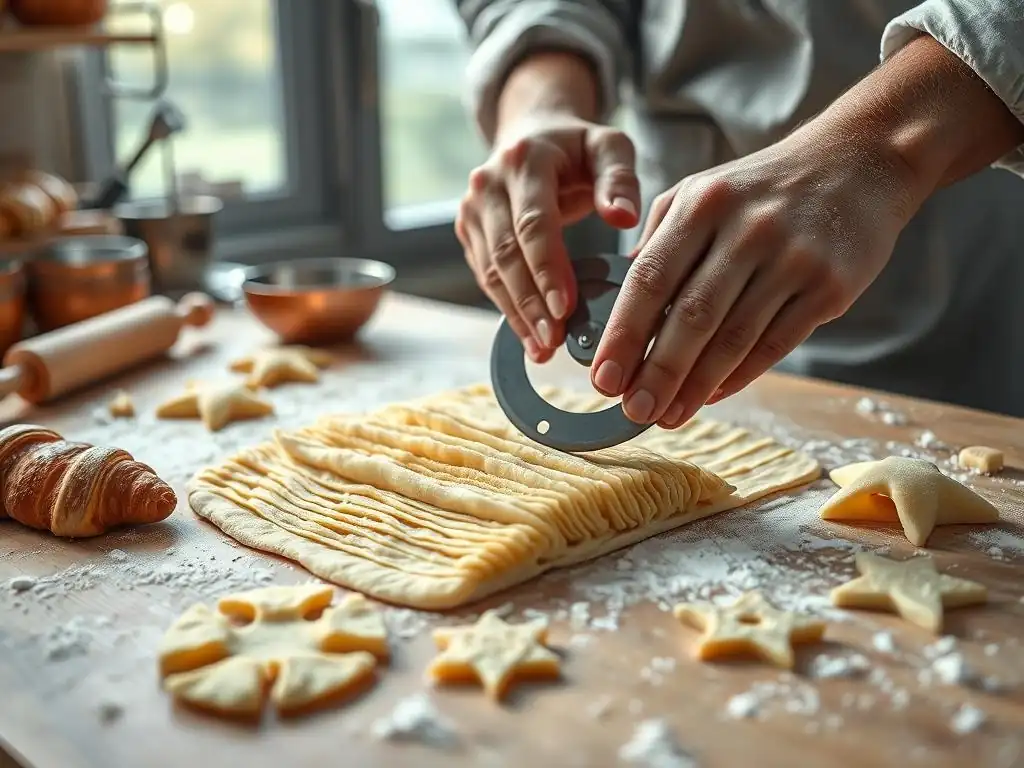
Achieving clean, straight cuts is fundamental for any puff pastry shape, whether you're making simple squares for turnovers or strips for a lattice topping. The tool you use matters significantly. A very sharp chef's knife or a pastry wheel (which looks like a pizza cutter but is often fluted or double-bladed) is ideal. The key is to press down firmly and cut through the layers cleanly in a single motion, rather than sawing back and forth. Sawing creates friction, warms the dough, and can smear the butter, sealing the edges.
When using a knife, ensure the blade is perfectly perpendicular to the dough surface. Press straight down with even pressure. For long strips, a ruler can guide your knife or wheel for consistent widths. A pizza wheel is excellent for speed and long, straight lines, again, pressing down firmly. Practice makes perfect, but focusing on a single, decisive cut will dramatically improve the rise and flakiness of your finished pastry edges, showcasing your perfected puff pastry technique.
Decorative Puff Pastry Cuts: Creating Beautiful Designs
Beyond simple straight lines, puff pastry is wonderfully suited for decorative cuts that elevate the visual appeal of your baked goods. Techniques like scoring the surface, cutting out shapes with cookie cutters, or creating lattice tops add elegance. When scoring, use a sharp knife to make shallow cuts only through the top few layers, avoiding cutting all the way through. This allows steam to escape in a controlled pattern and creates beautiful designs, such as diamond patterns on a large tart.
Using cookie cutters requires a little care. Choose cutters with sharp edges and press down firmly and quickly. For best results, chill your metal cookie cutters before use – this helps keep the dough and butter cold during the cutting process. For lattice tops, cut uniform strips using a ruler and sharp knife or pizza wheel, then arrange them over your filling, trimming and sealing the edges. These decorative touches not only look professional but are part of the joy of perfecting puff pastry technique.
Avoiding Puff Pastry Shrinkage: Tips for Clean Cuts
Puff pastry has a tendency to shrink slightly during baking, especially if the gluten is tense or the dough is not cold enough when cut. One of the best ways to minimize shrinkage and ensure your shapes hold true is to rest the dough after cutting. Once you've cut your desired shapes, arrange them on your parchment-lined baking sheet and place the entire tray back into the refrigerator for at least 15-20 minutes before baking.
This chilling period allows the gluten structure, which may have tightened during rolling and cutting, to relax. It also ensures the butter is thoroughly chilled right before it hits the hot oven. Clean, decisive cuts made with a sharp tool on cold dough, followed by this final chill, work together to prevent the edges from pulling in excessively, ensuring your finished pastries are the size and shape you intended, a key step in perfecting puff pastry technique.
Shaping Puff Pastry: From Simple to Stunning Creations
Basic Puff Pastry Shapes: Squares, Rectangles, and Triangles
Starting with basic shapes is an excellent way to build confidence when shaping puff pastry. The most fundamental shapes are squares, rectangles, and triangles, which are the basis for many classic pastries like turnovers, palmiers (when rolled and sliced), or simple savory bites. To create these, roll your chilled puff pastry sheet to the desired thickness (usually around 1/8 to 1/4 inch or 3-6 mm). Use a ruler and a sharp knife or pizza wheel to cut the sheet into even squares or rectangles.
For triangles, you can cut squares or rectangles and then slice them diagonally in half. Precision in cutting ensures that your pastries bake evenly. For instance, cutting 4-inch squares is perfect for turnovers. Simply place your filling on one half, moisten the edges with water or egg wash, and fold the other half over, pressing firmly to seal. These simple shapes are versatile and a great starting point for perfecting puff pastry technique.
Advanced Puff Pastry Shaping: Vol-au-vents, Palmiers, and Turnovers
Once comfortable with basic cuts, you can explore more intricate shapes that showcase the unique properties of puff pastry. Vol-au-vents, for example, are elegant hollow cases made by cutting two concentric circles from the dough (a larger one for the base and a smaller one to form the ring), stacking the ring on top of the base, and baking. The center ring puffs up, creating a cavity perfect for filling with sweet or savory mixtures.
Palmiers, often called Elephant Ears or French Hearts, are made by coating a rectangle of dough with sugar (or cheese for savory) and rolling both ends towards the center, then slicing the rolled dough into cookies. Turnovers, as mentioned, involve placing filling on a shape (often a square or circle) and folding it over, sealing the edges. Mastering these shapes adds impressive items to your baking repertoire and demonstrates a higher level of perfected puff pastry technique.
Puff Pastry Filling Techniques: Preventing Leaks and Soggy Bottoms
Choosing and applying filling correctly is crucial to prevent leaks during baking and avoid a soggy bottom crust. For sweet fillings, fruit should ideally be cooked down slightly to reduce excess moisture, or tossed with a thickener like cornstarch or flour. Savory fillings, like cooked meat or vegetables, should also be relatively dry. Excess liquid will turn to steam and can burst through the pastry seams or make the bottom layer wet and dense.
When placing filling onto your pastry shape, don't overfill. Leave a clear border (at least 1/2 to 1 inch) around the edges where you plan to seal the pastry. This allows the edges to bond properly. Distribute the filling evenly but avoid piling it too high in one spot. For certain pastries like tarts or quiches using a puff pastry base, consider blind baking the crust partially before adding the filling to ensure a crisp bottom, a smart trick in perfecting puff pastry technique for filled items.
Sealing Puff Pastry: Egg Wash Application for a Golden Finish
Properly sealing the edges of filled puff pastry shapes, like turnovers or hand pies, is essential to keep the filling contained and ensure a clean, professional look. Once the filling is placed, lightly moisten the edges of the bottom piece of dough with water using your finger or a pastry brush. Then, bring the top piece of dough (or the other half of the folded dough) over and align the edges.
Press the edges together gently but firmly with your fingertips. For an extra secure seal and a decorative touch, you can use the tines of a fork to crimp the edges. After sealing, lightly brush the entire surface of the pastry with an egg wash (typically a beaten egg mixed with a tablespoon of water or milk). This wash gives the pastry a beautiful golden-brown color and a slight sheen as it bakes, enhancing the visual appeal and contributing to the overall success of your perfected puff pastry technique.
Baking Puff Pastry: Achieving Maximum Rise and Flakiness
Preheating Your Oven: Crucial for Puff Pastry Success
Baking puff pastry successfully hinges significantly on a properly preheated oven. You need a high initial temperature to create the thermal shock necessary for the layers to separate and puff rapidly. Most recipes call for preheating the oven to a high temperature, often between 400°F and 425°F (200°C to 220°C). It's not enough for the oven light to indicate it's preheated; the walls and racks need to absorb that heat.
Allowing your oven to preheat for at least 20-30 minutes after it signals it's ready is a good practice. Some bakers even recommend using an oven thermometer to verify the actual temperature, as oven thermostats can be inaccurate. Placing your cold, prepared puff pastry into a very hot oven causes the cold butter to melt almost instantly and turn to steam, forcing the multitude of layers apart before the dough structure sets, resulting in that impressive rise characteristic of perfected puff pastry technique.
Baking Temperatures for Puff Pastry: Finding the Sweet Spot
While a high initial temperature is key for the puff, the exact baking temperature and time can vary depending on the size and thickness of your pastry, as well as your specific oven. Many recipes start at a high temperature (400-425°F / 200-220°C) for the first 10-15 minutes to maximize the initial rise. After the pastry has significantly puffed and started to turn golden, some recipes recommend reducing the oven temperature slightly, perhaps to 375°F (190°C), to allow the layers to cook through completely without the outside burning.
The goal is to bake until the pastry is deeply golden brown all over, including the layers visible on the sides, and feels light and hollow when tapped. Under-baked puff pastry will be pale, dense, and potentially soggy inside. Trust the visual cues more than just the clock – a pastry that looks done but feels heavy likely needs more time at a slightly lower temperature to cook the interior layers fully. Finding the sweet spot for your oven is part of perfecting puff pastry technique.
Egg Wash Application for Puff Pastry: Color and Shine
As mentioned earlier, applying an egg wash before baking is a simple step that makes a big difference in the final appearance of your puff pastry. A standard egg wash is made by whisking one large egg with about a tablespoon of water or milk. This mixture is then lightly brushed over the exposed surfaces of the pastry using a pastry brush. Be careful not to let the egg wash drip down the sides and glue the layers together, as this will inhibit the rise.
The protein in the egg wash browns beautifully in the heat of the oven, giving the pastry a rich, appetizing golden color. The wash also provides a subtle sheen, enhancing the flaky texture visually. For a deeper color, you can use just the egg yolk mixed with a little water or milk. For a less intense shine but still some color, use just the egg white. This small step is essential for achieving that classic, professional look when perfecting puff pastry technique.
Baking Sheets and Puff Pastry: Parchment Paper is Key
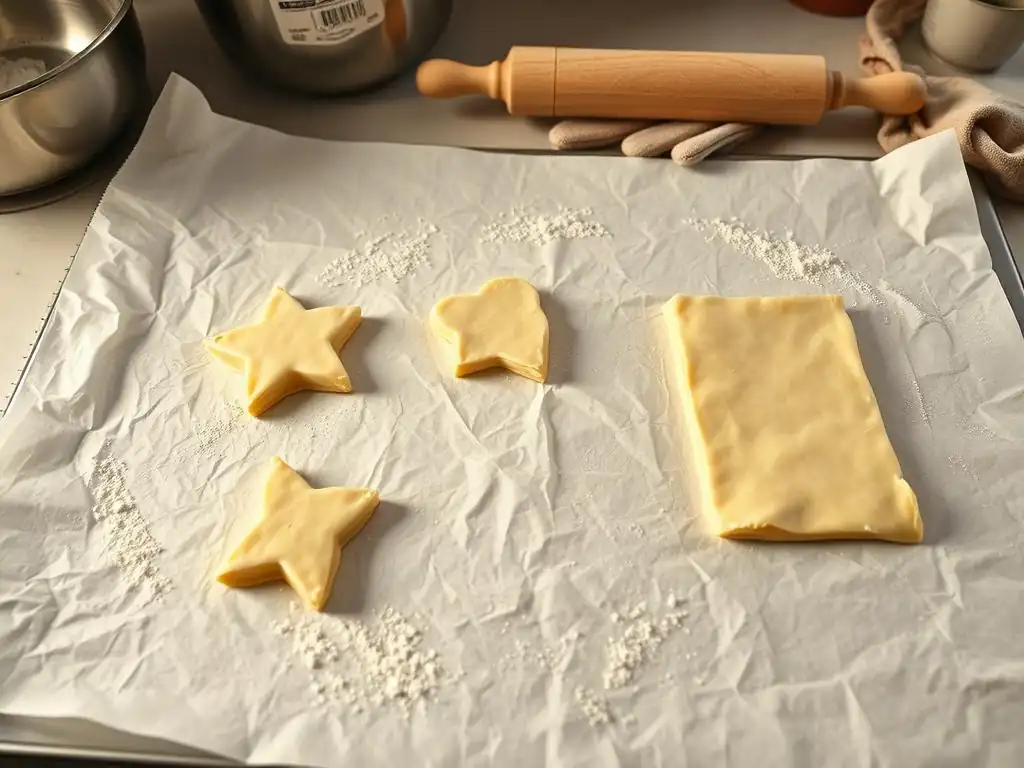
The choice of baking sheet and its preparation is more important than it might seem. Dark-colored baking sheets absorb more heat and can cause the bottom of your pastry to brown too quickly or even burn before the top is fully baked. Light-colored, heavy-gauge aluminum baking sheets are generally preferred as they distribute heat more evenly. Regardless of the sheet type, lining it with parchment paper is highly recommended.
Parchment paper prevents the puff pastry from sticking to the pan, which is crucial because the dough is very buttery. It also helps with even heat distribution and makes cleanup a breeze. Simply cut a piece of parchment paper to fit your baking sheet and arrange your cut and shaped puff pastry pieces on top, leaving some space between them to allow for expansion. This simple lining step contributes significantly to successfully perfecting puff pastry technique by ensuring a clean release and even bake.
Monitoring Puff Pastry Baking: Signs of Doneness
Knowing when puff pastry is perfectly baked requires careful monitoring. It's not just about the clock; look for key visual cues. The pastry should be significantly puffed, often reaching several times its unbaked height. The color should be a uniform, deep golden brown across the top and visible side layers. Pale edges or bottoms indicate under-baking.
Another sign is that the layers should appear separated and flaky, not dense or compressed. If you gently tap the top, it should feel firm and sound somewhat hollow. For larger or thicker pastries, you might need to check the bottom to ensure it's also golden brown and cooked through. If the top is browning too quickly, you can loosely tent the pastry with aluminum foil for the remaining baking time. Removing the pastry from the oven when it has reached these signs of doneness is the final step in perfecting puff pastry technique for baking.
Troubleshooting Common Puff Pastry Problems
Soggy Puff Pastry: Causes and Solutions
Soggy puff pastry is a frustrating outcome, often resulting in a dense, unappetizing texture instead of light flakiness. One primary cause is under-baking; the layers haven't had enough time or heat to fully cook and dry out. Another major culprit is excess moisture, either from the filling being too wet or from steam trapped under the pastry if it's baked directly on a sheet without parchment. Using too little butter or butter with too much water content can also contribute.
To prevent sogginess, ensure your filling is relatively dry or thickened. Blind bake pastry shells if using a wet filling like quiche. Always bake on parchment paper. Make sure your oven is fully preheated to a high temperature and bake until the pastry is a deep golden brown and feels light. If the top is browning too fast, tent with foil and continue baking at a slightly lower temperature to ensure the inside layers cook through. These adjustments are vital for perfecting puff pastry technique.
Uneven Puff Pastry Baking: Tips for Consistent Results
Uneven baking can lead to some parts of your pastry being perfectly golden and flaky while others are pale or even burnt. This is often due to hot spots in your oven or uneven heat distribution. To combat this, rotate your baking sheet halfway through the baking time. If your oven has a significant hot spot, you might need to adjust the position of the baking sheet during baking.
Ensuring your puff pastry pieces are cut to a uniform size and thickness is also crucial. Thicker or larger pieces will take longer to bake than thinner or smaller ones. Arrange pieces on the baking sheet with adequate space between them to allow hot air to circulate freely around each one. Using a light-colored, heavy-gauge baking sheet and parchment paper also promotes more even heat transfer. Consistent shaping and vigilant monitoring are key aspects of perfecting puff pastry technique.
Puff Pastry Not Rising: Addressing Common Issues
A lack of significant rise is one of the most disappointing puff pastry failures. The primary reason puff pastry doesn't rise is that the layers have become sealed, preventing the steam from separating them. This sealing can happen if the butter melted during the rolling/folding process (dough wasn't kept cold enough), if the dough was rolled too thin, or if the edges were smeared or pressed too hard when cutting or shaping.
Other causes include an oven that wasn't hot enough to create sufficient steam, or using butter with too low a fat content. To ensure a good rise, always keep the dough cold throughout the process, work quickly, use a sharp tool for cutting with a clean, decisive motion, and ensure your oven is fully preheated to the correct high temperature. Resting the dough after rolling and cutting also helps. Addressing these issues is fundamental to perfecting puff pastry technique and achieving that desired lift.
Burnt Puff Pastry: Prevention and Recovery
Burning typically occurs when the oven temperature is too high, the pastry is baked for too long, or it's placed too close to a heating element. The thin layers of puff pastry can brown very quickly, especially the tips and edges. Prevention is key: always preheat your oven correctly and use an oven thermometer if necessary to ensure the temperature isn't too high.
If the top of your puff pastry starts to brown too quickly but the inside doesn't seem done, loosely tent the pastry with aluminum foil. This shields the top from direct heat while allowing the rest of the pastry to continue baking. If only the very edges are slightly overdone, sometimes they can be trimmed off after baking. However, prevention through careful temperature control and monitoring is the best approach for perfecting puff pastry technique without ending up with burnt edges.
Puff Pastry Recipe Inspiration: Putting Your Skills to the Test
Classic Puff Pastry Recipes: Apple Turnovers
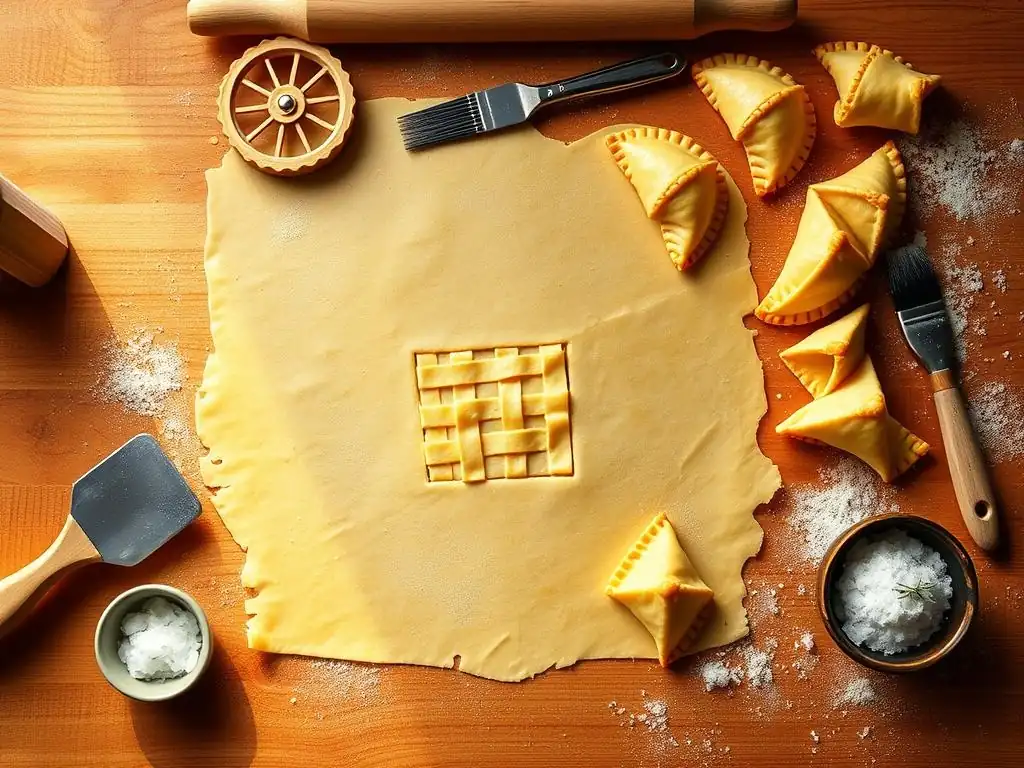
Once you've practiced cutting, shaping, and baking, try applying your perfected puff pastry technique to classic recipes. Apple turnovers are a beloved example. They typically involve filling squares of puff pastry with a simple cooked apple mixture, folding them into triangles, sealing the edges, and baking until golden and flaky.
Making your own apple filling allows you to control the sweetness and moisture content, ensuring it's not too wet. A good filling often includes diced apples cooked with sugar, cinnamon, and a touch of cornstarch or flour to thicken. Brushing the finished turnovers with egg wash and sprinkling with sugar before baking adds extra flavor and a beautiful finish.
Creative Puff Pastry Ideas: Asparagus and Gruyere Tart
Puff pastry is incredibly versatile and lends itself beautifully to creative applications, both sweet and savory. An Asparagus and Gruyere Tart is a simple yet elegant example. Roll out a rectangle of puff pastry, score a border about an inch from the edge (don't cut all the way through), and prick the inner area with a fork.
Spread a layer of cheese (like Gruyere, goat cheese, or cream cheese) within the scored border, arrange fresh asparagus spears on top, drizzle with olive oil, season with salt and pepper, and bake until the pastry is puffed and golden and the asparagus is tender-crisp. This showcases how easily puff pastry can transform simple ingredients into an impressive dish, highlighting your perfected puff pastry technique.
Savory Puff Pastry Applications: Sausage Rolls
Savory applications of puff pastry are incredibly popular. Sausage rolls are a prime example, perfect for snacks, appetizers, or light meals. They are made by wrapping seasoned sausage meat (or a vegetarian alternative) in strips of puff pastry and baking until the pastry is golden and the filling is cooked through.
The key to great sausage rolls is flavorful filling and ensuring the pastry is wrapped snugly but not so tightly that it prevents puffing. Cutting the log into individual rolls and brushing with egg wash before baking gives them a lovely color. This simple application demonstrates how well puff pastry pairs with savory ingredients, adding a delightful flaky texture to classic flavors.
Tips for Storing Puff Pastry: Freshness and Longevity
Storing Unbaked Puff Pastry: Maintaining Quality
Proper storage is essential whether you've made your own puff pastry from scratch or are using store-bought sheets. Unbaked puff pastry should always be wrapped very tightly to prevent it from drying out and to protect it from absorbing odors from the refrigerator. Use plastic wrap, ensuring no part of the dough is exposed.
Store unbaked dough in the refrigerator for up to 2-3 days. For longer storage, it freezes beautifully. Wrap the well-wrapped dough again in aluminum foil or place it in a freezer-safe bag. Frozen puff pastry can last for several months (check package instructions for store-bought). Thaw frozen dough slowly in the refrigerator overnight before use; do not thaw at room temperature, as this can cause the butter layers to melt prematurely, hindering your perfected puff pastry technique.
Storing Baked Puff Pastry: Preventing Softening
Baked puff pastry is best enjoyed fresh, when its flakiness is at its peak. However, if you have leftovers, proper storage can help maintain some of its texture. Allow baked pastries to cool completely on a wire rack before storing. Storing warm pastries will trap steam and make them soggy.
Once cool, store baked puff pastry in an airtight container at room temperature for 1-2 days. For items with moist fillings, they might soften more quickly. Avoid stacking them if possible, as this can crush the delicate layers. Reheating baked puff pastry in a warm oven (around 350°F or 175°C) for a few minutes can help crisp it up again, bringing back some of that desired flakiness.
Perfecting Your Puff Pastry Technique: Practice Makes Perfect!
Mastering puff pastry technique is a journey, not a destination. Each time you work with the dough, you'll learn something new about its behavior and how your environment (like kitchen temperature and humidity) affects it. Don't be discouraged by initial attempts that might not be perfectly sky-high or uniformly golden.
- Keep your ingredients and dough cold.
- Use sharp tools for clean cuts.
- Rest the dough when needed.
- Ensure your oven is properly preheated.
- Monitor baking closely.
By consistently applying the techniques outlined in this guide and practicing regularly, you will undoubtedly improve. Whether you're aiming for towering vol-au-vents or simply the flakiest turnover you've ever tasted, dedicating time to perfecting puff pastry technique is a rewarding endeavor that will elevate your baking skills significantly. Happy baking!
Frequently Asked Questions
What is the most important thing to remember when handling puff pastry?
The most important thing is to keep the puff pastry cold. This prevents the butter from melting and ensures a flaky texture.
How should I cut puff pastry to avoid sealing the edges?
Use a sharp knife or a pizza cutter to make clean cuts. Avoid pressing down too hard, as this can seal the layers and prevent proper rising.
What temperature is best for baking puff pastry?
Bake puff pastry at a high temperature, typically between 400-425°F (200-220°C). This creates steam quickly, causing the layers to puff up beautifully.
How can I prevent my puff pastry from shrinking during baking?
Avoid overworking the dough and ensure your oven is preheated properly. Also, docking the pastry (pricking it with a fork) can help release steam and minimize shrinkage.
What are some common mistakes to avoid when working with puff pastry?
Common mistakes include: using warm dough, overfilling the pastry, and opening the oven door too frequently during baking. These can negatively impact the final result.
Final Reflection: Mastering the Flaky Art of Puff Pastry
The pursuit of the perfect puff pastry transcends mere culinary skill; it's a testament to patience, precision, and the transformative power of butter. From the initial chilling of the dough to the final golden-brown bake, each step in the process reveals a deeper understanding of texture, temperature, and the delicate balance required to achieve those coveted layers. This isn't just about making a delicious dessert; it's about mastering a technique that has captivated bakers for centuries.
The enduring appeal of puff pastry lies not only in its exquisite taste but also in its symbolic representation of transformation. The humble ingredients, through careful manipulation and precise timing, are elevated into something truly magnificent. It's a process that mirrors life itself – requiring dedication and attention to detail, yet rewarding the effort with something beautiful and satisfying. The most beautiful things in the world cannot be seen or even touched - they must be felt with the heart.
This quote, while not directly about pastry, perfectly encapsulates the emotional connection one can forge with this challenging yet rewarding craft.
Now, I invite you to take what you've learned and embark on your own puff pastry journey. Don't be afraid to experiment, to embrace the occasional imperfection, and to savor the satisfaction of creating something truly special. The journey to perfecting your puff pastry technique is a continuous one, filled with learning, growth, and the undeniable joy of sharing your creations with others. So, gather your ingredients, embrace the challenge, and let the flaky layers unfold.
Unleash Your Inner Pastry Chef!
Thanks for taking the time to explore the wonderful world of puff pastry! You've now got the skills to create truly impressive baked goods. Ready to put your newfound knowledge into practice?
- Bake your masterpiece today! Try out one of the recipes we discussed, or experiment with your own creative twists on classic puff pastry creations. Let your imagination run wild!
- Share your puff pastry triumphs! Show off your skills on social media using #BakeWithEasePuffPastry and inspire others.
- Consider exploring other BakeWithEase articles for more amazing baking techniques and recipes.
What incredible puff pastry creation will you bake first?