
Yeast Not Rising? Troubleshooting Enriched Dough Problems

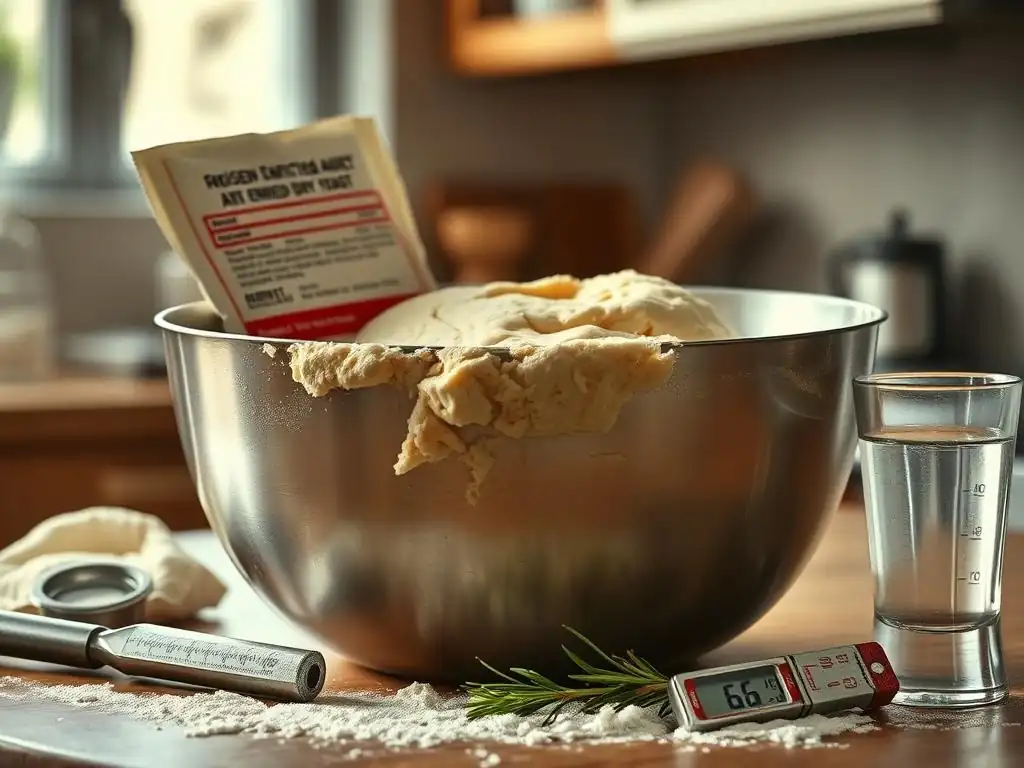
Welcome to BakeWithEase, your kitchen companion on the journey to baking brilliance! Ever stared in dismay as your dough stubbornly refuses to rise? Dive into our latest article, " Yeast Not Rising? Troubleshooting Enriched Dough Problems," where we unlock the secrets to revitalizing your dough and achieving that perfect bake. Discover the common culprits and simple solutions to conquer this frustrating hurdle, and let's get your enriched dough rising like a pro!
- Yeast Not Rising? Troubleshooting Enriched Dough Problems: BakeWithEase Guide
- Understanding Enriched Dough and Yeast Activity
- Common Reasons Why Your Yeast Isn't Rising in Enriched Dough
- Troubleshooting Yeast Problems in Enriched Dough
- Solutions for Stalled Enriched Dough Rise
- Preventing Future Yeast Problems in Enriched Dough
- Enriched Dough Baking Tips for Consistent Yeast Performance
- Delicious Enriched Dough Recipes to Put Your Skills to the Test
-
Frequently Asked Questions
- What are the most common reasons why yeast doesn't rise in enriched dough?
- How can I check if my yeast is still active before starting my enriched dough recipe?
- What temperature should my liquids be when activating yeast for enriched dough?
- What can I do if my enriched dough isn't rising even after several hours?
- Can too much fat or sugar in enriched dough inhibit yeast activity?
- Final Reflection: The Humble Yeast and the Baker's Perseverance
- Unleash Your Inner Baker: Perfecting Enriched Doughs
Yeast Not Rising? Troubleshooting Enriched Dough Problems: BakeWithEase Guide
Understanding Enriched Dough and Yeast Activity
What is Enriched Dough and Why is it Different?
Enriched dough stands apart from basic bread dough due to the addition of ingredients like eggs, butter, milk, and sugar. These components contribute to a richer flavor, softer texture, and often a more tender crumb compared to lean doughs made primarily from flour, water, yeast, and salt. Think of a classic brioche compared to a rustic baguette; the brioche's luxurious feel comes directly from its enriching ingredients. These additions, while delicious, fundamentally change the dough's structure and can impact yeast activity, making troubleshooting yeast not rising issues slightly different than with lean doughs.
The higher fat and sugar content in enriched doughs can pose unique challenges for yeast. Fat can coat yeast cells, potentially slowing down fermentation, while high sugar concentrations can create an osmotic pressure that draws water out of yeast cells, inhibiting their activity. Eggs and milk also add proteins and fats that alter gluten development and dough hydration, which in turn affects how the yeast works within the dough matrix. Understanding these differences is the first step toward successfully troubleshooting why your yeast isn't rising in these rich doughs.
The Role of Yeast in Enriched Dough Baking
Yeast is the living organism responsible for fermentation in dough, converting sugars into carbon dioxide gas and alcohol. This gas gets trapped within the gluten network of the dough, causing it to rise. In enriched doughs, yeast performs the same fundamental function, but it faces a more complex environment. It still needs adequate food (sugar, naturally present in flour or added), moisture (from milk, eggs, or water), and a suitable temperature to thrive and produce gas effectively.
Beyond just leavening, yeast also contributes significantly to the flavor profile of baked goods through the production of various metabolic byproducts. The slow, steady fermentation often desired for enriched doughs, particularly those with high fat content like brioche, allows for complex flavors to develop. When yeast isn't rising, you're not just missing out on volume; you're also missing the crucial flavor development that fermentation provides. Addressing yeast not rising solutions is key to achieving both the desired texture and taste.
Key Ingredients Affecting Yeast Performance in Enriched Doughs
Several ingredients specific to enriched doughs significantly influence yeast activity. Sugar, often present in higher amounts than in lean doughs, serves as food for yeast but in excess (typically above 5-10% of the flour weight), it can slow fermentation. Fat, especially butter incorporated through creaming or lamination, can impede gluten development and physically surround yeast cells, hindering their access to nutrients and moisture. A dough with 25-50% butter (relative to flour weight), like a rich brioche, presents a much different challenge to yeast than a lean dough with no added fat.
Eggs add protein and fat, which contribute richness and structure but can also make the dough heavier and slower to rise. Milk, often used instead of water, contains lactose (a sugar yeast can ferment, though slowly) and fat, both of which affect the dough's consistency and the yeast's environment. Even ingredients like honey or other liquid sweeteners can behave differently than granulated sugar, potentially affecting yeast activity more quickly or slowly depending on their composition. Understanding how these ingredients interact with yeast is crucial for effective yeast not rising solutions.
Common Reasons Why Your Yeast Isn't Rising in Enriched Dough
Expired or Inactive Yeast: Checking Yeast Vitality
One of the most frequent culprits behind yeast not rising is using yeast that is no longer active. Yeast is a living organism with a shelf life. If your yeast is old, stored improperly, or exposed to heat or moisture, it can die or become dormant. Using expired dry yeast, perhaps from a packet that's been open for months in the pantry, is a prime example. Even fresh yeast can lose vitality if not kept refrigerated.
Checking the expiration date on the package is a good start, but it's not a guarantee, especially for opened packages. A simple vitality test, often called "proofing" the yeast, is the most reliable way to confirm if your yeast is ready to work. If the yeast doesn't show signs of life after this test, no amount of perfect technique will make your dough rise, and you'll need fresh yeast to find yeast not rising solutions.
Incorrect Yeast Activation: Temperature Matters
Yeast requires specific temperature conditions to become active and begin fermentation. For active dry yeast, this typically means dissolving it in warm liquid (usually water or milk) within a temperature range of about 105°F to 115°F (40°C to 46°C). If the liquid is too cold, the yeast will remain dormant or activate very slowly. If the liquid is too hot, say above 130°F (54°C), it can kill the yeast outright.
Instant yeast is more forgiving and can often be mixed directly with dry ingredients, relying on the warmth of the dough during mixing and kneading to activate. However, even with instant yeast, extremely cold ingredients or a cold mixing environment can significantly slow down or prevent activation. Getting the temperature right for your specific type of yeast is a fundamental step in effective yeast not rising solutions.
Too Much Salt: Salt's Impact on Yeast Fermentation
Salt is essential for flavor and controlling fermentation speed in dough, but too much can be detrimental to yeast activity. Salt works by drawing water out of yeast cells through osmosis, which dehydrates them and inhibits their ability to reproduce and produce gas. A typical bread recipe might use salt at around 1.8% to 2% of the flour weight. Going significantly above this, perhaps due to inaccurate measurement or a recipe error, can severely slow down or even stop the rise.
It's also crucial to avoid direct contact between salt and yeast when initially combining ingredients, especially when using active dry yeast that is proofed in liquid. While the salt will eventually disperse throughout the dough during kneading, a high concentration of salt in the immediate vicinity of the yeast can damage it before fermentation even begins. Proper ingredient incorporation is part of preventing yeast not rising problems.
High Sugar Content: Sugar's Effect on Yeast Activity

While yeast feeds on sugar, excessive amounts can paradoxically hinder fermentation, particularly in enriched doughs like brioche or challah which often contain 10% to 20% sugar or more relative to the flour weight. High sugar concentrations create an osmotic effect, similar to salt, pulling water out of the yeast cells and slowing down their metabolic processes. Think of preserving fruit in sugar syrup; the sugar inhibits microbial growth.
Yeast strains used in baking, particularly osmotolerant strains often found in instant yeast designed for sweet doughs, are more resistant to high sugar environments. However, even these can struggle with extremely high sugar levels. If your enriched dough recipe calls for a substantial amount of sugar and your yeast isn't rising, the sugar content is a likely factor. Balancing sugar levels or using the correct type of yeast is key to yeast not rising solutions in sweet doughs.
Excessive Fat: Fat's Influence on Dough Structure and Yeast
Enriched doughs are known for their generous amounts of fat, often in the form of butter, which provides tenderness and richness. However, fat can interfere with both gluten development and yeast activity. Fat coats flour particles, potentially hindering gluten formation, which is necessary to trap the gas produced by the yeast. More directly, fat can surround yeast cells, creating a barrier that limits their access to the water and sugars they need to ferment effectively.
In recipes where fat is incorporated late or in large amounts, like laminated doughs for croissants or Danish pastries, the sheer quantity of fat can weigh down the dough and physically impede expansion. While yeast will still produce gas, the dough structure might not be able to support a vigorous rise, or the fat barrier might slow fermentation considerably. Managing fat incorporation techniques and allowing sufficient proofing time are important yeast not rising solutions for these rich doughs.
Troubleshooting Yeast Problems in Enriched Dough
Step 1: Testing Your Yeast for Activity
When facing a yeast not rising dilemma, the first step should always be to verify your yeast's viability. This is particularly important if you suspect the yeast is old or wasn't stored correctly.
How to Perform a Simple Yeast Proofing Test
To test active dry yeast: Measure 1/2 cup of warm liquid (water or milk) between 105°F and 115°F (40°C to 46°C). Stir in 1 teaspoon of sugar (yeast food!) and then sprinkle 2 1/4 teaspoons (one standard packet) of active dry yeast over the top. Do not stir the yeast in immediately; let it sit on the surface for 5-10 minutes.
After this time, gently stir it in. Within 10-15 minutes, the mixture should become foamy and bubbly, showing a clear increase in volume. If it doesn't foam, or only produces a few weak bubbles, your yeast is likely inactive, and you'll need fresh yeast to proceed with finding yeast not rising solutions.
For instant yeast, while it can be mixed directly into flour, you can still test its vitality. Mix 2 1/4 teaspoons of instant yeast with 1/2 cup of warm liquid (120°F-130°F or 49°C-54°C is often recommended for instant yeast for testing) and 1 teaspoon of sugar. It should become frothy within 5-10 minutes. Instant yeast foams more vigorously than active dry yeast. If your yeast fails this simple test, it's time to replace it.
Step 2: Adjusting Liquid Temperature for Optimal Yeast Performance
The temperature of the liquid used to activate yeast is paramount. Too hot kills it, too cold makes it sluggish. For active dry yeast, the sweet spot is typically between 105°F and 115°F (40°C to 46°C). This range is warm enough to wake up the dormant yeast cells without being so hot as to damage them. Using a thermometer is highly recommended for accuracy.
Finding the Right Temperature for Yeast Activation
Different types of yeast have slightly different ideal temperature ranges. As mentioned, active dry yeast prefers 105-115°F. Instant yeast is more tolerant and can activate at cooler temperatures, but performs well in doughs that reach 120-130°F. Fresh yeast (cake yeast) prefers cooler temperatures, around 80-90°F (27°C-32°C). Always check the yeast package instructions if unsure. If your initial liquid temperature was off, gently warming or cooling your dough (if it's already mixed) might help, but starting with the correct temperature is one of the most effective yeast not rising solutions.
Using milk instead of water in enriched doughs also affects temperature. Milk contains fat which can buffer temperature changes, but it still needs to be heated to the appropriate range for yeast activation. Ensure your milk is warmed correctly before adding yeast or mixing into dry ingredients.
Step 3: Re-Evaluating Salt and Sugar Ratios in Your Recipe
Imbalances in salt and sugar are common causes of a slow or stalled rise in enriched doughs. If your dough isn't rising, double-check the recipe measurements for these ingredients. A slight mismeasurement, especially of salt, can have a significant impact on yeast activity.
Achieving the Right Balance for Yeast Health
For most bread recipes, salt should be around 1.8% to 2% of the flour weight. In enriched doughs, sugar can range from a few percent up to 20% or more. If your recipe has a very high sugar content (e.g., over 15-20% of flour weight), consider if you are using a yeast suitable for sweet doughs (often labeled as "instant yeast for sweet dough"). These strains are more osmotolerant.
If using standard yeast in a very sweet dough that isn't rising, the sugar is likely the issue. Unfortunately, once mixed, it's difficult to adjust these ratios significantly, but understanding this helps in future baking and provides yeast not rising solutions for subsequent attempts. Ensure salt and yeast aren't placed directly on top of each other during initial mixing.
Step 4: Managing Fat Content for Better Yeast Rise
High fat content is characteristic of enriched doughs, but it can impede rise. While you can't remove fat once it's in the dough, understanding its effect helps in troubleshooting and prevention. Fat coats gluten strands and yeast cells, slowing fermentation and gas trapping.
Techniques for Incorporating Fat Without Inhibiting Yeast
In many enriched doughs like brioche, butter is added gradually after some initial gluten development has occurred. This allows the gluten network to start forming before being coated by fat. Softening the butter correctly (room temperature, not melted) also helps it incorporate smoothly without excessively chilling the dough or creating large pockets that inhibit rise.
If your dough is struggling to rise and contains a high percentage of fat (say, over 20% of flour weight), recognize that it will naturally rise slower and may require a longer proofing time or a warmer proofing environment compared to a lean dough. Patience and proper fat incorporation techniques are key yeast not rising solutions here.
Solutions for Stalled Enriched Dough Rise
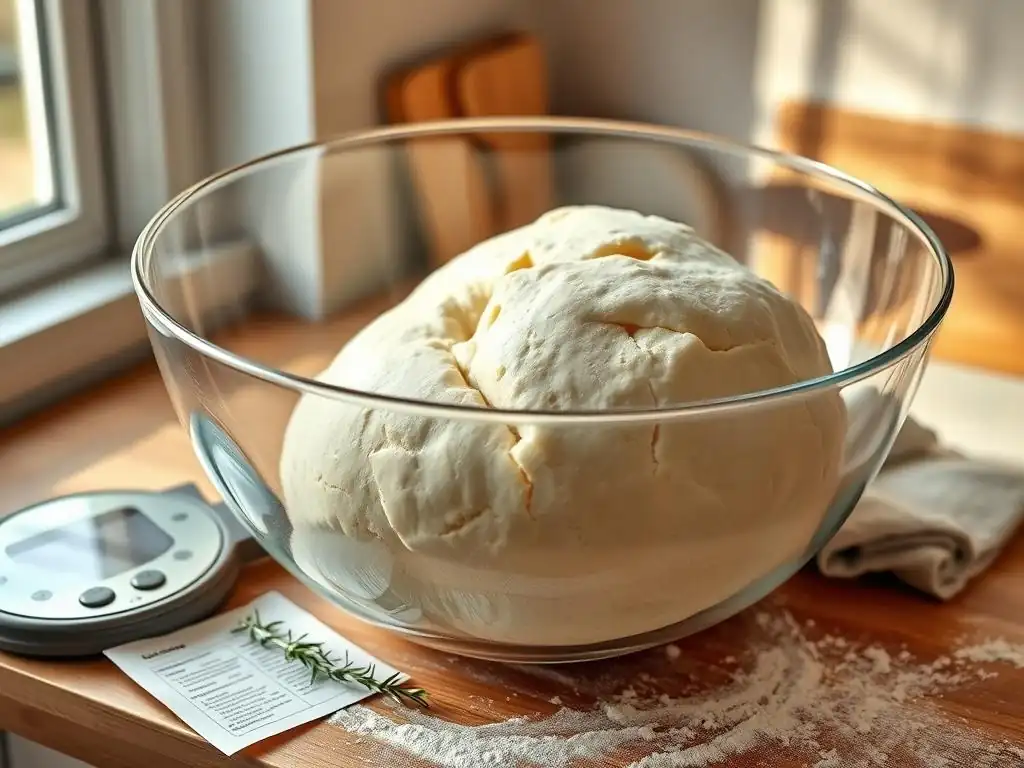
Reviving a Slow-Rising Enriched Dough: Gentle Warming Techniques
If your enriched dough is rising very slowly or seems stalled, increasing its temperature can often help wake up sluggish yeast. Yeast fermentation activity significantly increases with temperature, peaking around 80-85°F (27-29°C) for optimal rise speed, though flavor develops better at slightly cooler temperatures.
Gentle warming is key; you don't want to overheat the dough and risk killing the yeast. Avoid placing the dough in a hot oven. Instead, try placing the covered dough in a slightly warm spot, like inside a turned-off oven with just the light on (which typically raises the temperature to a suitable range, often around 80-90°F). Another method is to place the dough in a warm, draft-free spot in your kitchen.
You can also create a warm, humid environment by placing the dough in a bowl inside a larger container or oven with a pan of hot water on the rack below. Aim for a dough temperature around 75-85°F (24-29°C). This gentle warmth can often kickstart fermentation and offer yeast not rising solutions.
Adding More Yeast: When and How to Supplement
In some cases, if you're certain the initial yeast was inactive or insufficient for the recipe's ingredients (especially high sugar/fat), you might be able to supplement. This is a measure of last resort and doesn't always work perfectly, as incorporating new yeast into an already mixed dough can be tricky.
If you suspect inactive yeast was the primary issue, you could try proofing a fresh batch of yeast (say, 1 teaspoon of active dry or instant yeast with 1/4 cup warm water and a pinch of sugar). Once actively bubbling, gently knead this mixture into your stalled dough. This will reintroduce active yeast cells.
Be prepared for the dough consistency to change slightly. This technique is more likely to succeed early in the fermentation process rather than hours into a stalled rise. While not a guaranteed fix, adding more active yeast is a potential yeast not rising solution when the original yeast failed.
Adjusting Proofing Time: Patience is Key
Enriched doughs, with their higher fat and sugar content, often rise more slowly than lean doughs. If your dough isn't rising as quickly as a recipe might suggest for a lean dough, it might just need more time. Standard first rises for enriched doughs can easily take 1.5 to 3 hours, and sometimes longer depending on the recipe, room temperature, and the amount of enrichment.
Rather than strictly adhering to a recipe's time estimate, learn to judge the rise by the dough's appearance. For the first rise, the dough should typically double in size. For the second rise (proofing), it might increase by 50% to 80%, depending on the desired final texture. If your dough hasn't reached the target volume but shows some signs of rising (even slowly), simply give it more time in a warm, consistent environment. Patience is often the simplest of yeast not rising solutions.
Improving Dough Structure: Gluten Development and Kneading
Proper gluten development is essential for trapping the carbon dioxide gas produced by yeast. Enriched doughs can sometimes be more challenging to knead effectively due to the presence of fat and sugar, which can interfere with gluten formation. If your dough feels slack, tears easily, and isn't holding its shape, insufficient kneading might be contributing to the poor rise.
Kneading develops the gluten network, making the dough elastic and strong enough to expand without collapsing. If your dough hasn't risen well, you might try gently kneading it again for a few minutes. Be careful not to overwork it, especially if it contains a lot of butter.
This secondary kneading can sometimes help realign the gluten structure and redistribute the yeast cells, potentially aiding a stalled rise. Proper initial kneading, however, is a preventative yeast not rising solution. Look for a dough that is smooth, elastic, and passes the "windowpane test" (where a small piece can be stretched thinly without tearing) before the first rise.
Preventing Future Yeast Problems in Enriched Dough
Properly Storing Yeast for Long-Term Freshness
Proper storage is critical for maintaining yeast viability and preventing future instances of yeast not rising. Active dry and instant yeast should be stored in an airtight container in a cool, dry place. The refrigerator or freezer is ideal for long-term storage after opening.
An opened packet of active dry yeast stored at room temperature might only remain fully active for a few weeks, while refrigeration extends this to 3-4 months, and freezing for a year or more. Instant yeast is slightly more robust but benefits greatly from cold storage. Always seal the package tightly or transfer it to a small, airtight container. Fresh yeast is highly perishable and must be stored in the refrigerator and used within the date on the package, typically just a couple of weeks. Implementing good storage habits is a proactive yeast not rising solution.
Accurate Measuring: Ensuring Correct Ingredient Proportions
Baking is a science, and accurate measurement of ingredients is fundamental, especially when dealing with sensitive components like yeast, salt, and sugar in enriched doughs. Small errors in measuring salt or sugar can significantly impact yeast activity.
Using a kitchen scale to weigh your ingredients, especially flour, sugar, and salt, is far more accurate than using volume measures (cups). For example, a cup of flour can vary in weight by as much as 20% depending on how it's scooped. Weighing ensures you have the precise ratio of ingredients specified in the recipe, which is designed to support optimal yeast performance. This precision is a vital preventative yeast not rising solution.
Mastering the Art of Kneading Enriched Dough
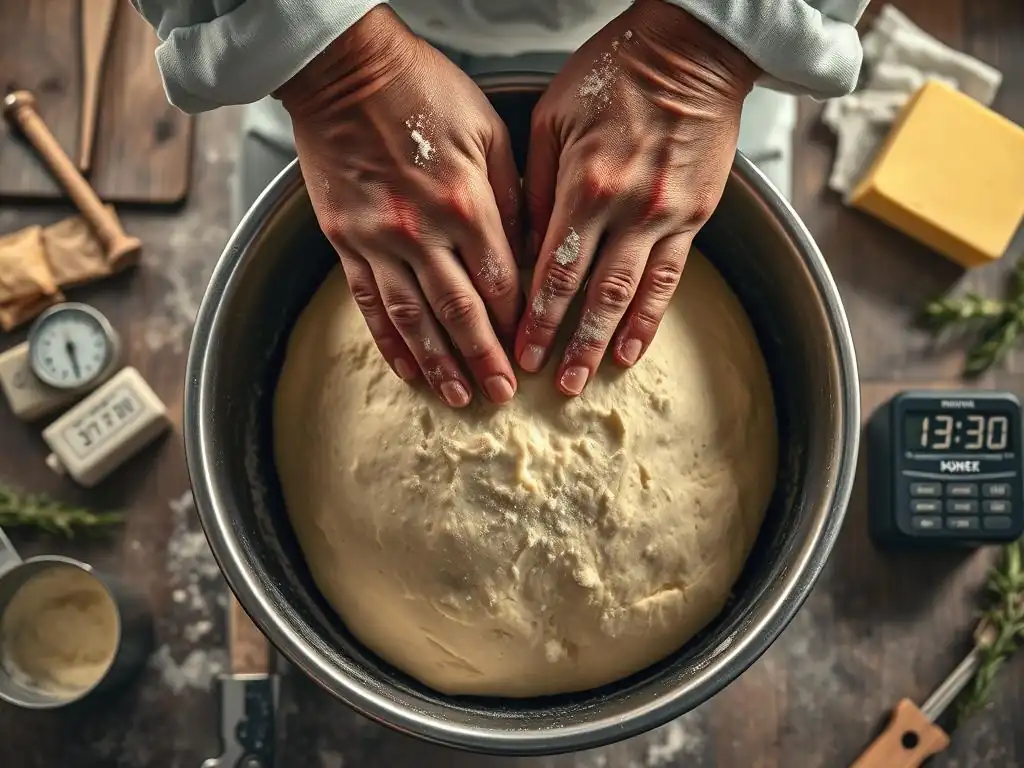
Effective kneading develops the gluten network necessary for a good rise. Enriched doughs, especially those high in fat, require careful kneading. The fat can make the dough feel slippery and resistant to forming gluten initially.
Knead until the dough is smooth, elastic, and tacky but not sticky. It should be able to hold its shape and stretch without tearing easily. This might take longer than kneading a lean dough, especially by hand. Using a stand mixer can make this process easier, allowing for thorough development. Proper kneading ensures the dough has the structure needed to trap the gas produced by the yeast, directly contributing to a successful rise and preventing yeast not rising issues.
Creating the Ideal Proofing Environment: Temperature and Humidity Control
Yeast fermentation is highly sensitive to temperature. A consistent, warm, draft-free environment is crucial for optimal rising. The ideal temperature range for proofing enriched doughs is typically between 75°F and 85°F (24°C to 29°C). Temperatures much below this will result in a significantly slower rise, while temperatures much above can cause the yeast to ferment too quickly, potentially leading to off-flavors or a dough that over-proofs rapidly.
Humidity also plays a role; covering the dough loosely with plastic wrap or a damp cloth prevents the surface from drying out and forming a skin, which can restrict rise. Using a proofing box, a warm oven with the light on, or a microwave with hot water inside are effective ways to create a controlled environment. Controlling temperature and humidity during proofing is a key yeast not rising solution for consistent results.
Enriched Dough Baking Tips for Consistent Yeast Performance
Choosing the Right Type of Yeast for Your Recipe
Not all yeast is created equal, and selecting the appropriate type for your enriched dough recipe can make a difference. Active dry yeast requires activation in warm liquid before being added to dry ingredients. Instant yeast can be mixed directly with dry ingredients and is often preferred for its convenience and slightly faster action.
For very sweet doughs (high sugar content), using an osmotolerant instant yeast (sometimes labeled for "sweet dough" or "bread machine yeast") is highly recommended. These strains are specifically bred to perform better in high-sugar environments where standard yeast might struggle. Ensuring you use the yeast type specified by the recipe, or understanding how to substitute them correctly, is a fundamental yeast not rising solution. (Note: Generally, use 25% less instant yeast than active dry, or about double the amount of fresh yeast compared to active dry).
Understanding the Impact of Different Flours on Yeast Activity
The type of flour used in your enriched dough can also influence yeast activity and the dough's rise. All-purpose flour is common, but bread flour, with its higher protein content, develops a stronger gluten network, which can better trap gas and support the weight of enriching ingredients.
Whole wheat flour, sometimes used in enriched doughs for added flavor and nutrition, contains bran and germ that can interfere with gluten development and contain enzymes that affect fermentation. Using a higher percentage of whole wheat flour might require slightly more yeast, longer kneading, or a longer proofing time. Adapting your technique based on the flour type is part of mastering enriched doughs and contributes to successful yeast not rising solutions.
Adapting Recipes for Altitude: Adjusting Yeast and Proofing
Altitude affects baking significantly due to lower atmospheric pressure and drier air. At higher altitudes, dough tends to rise faster because there's less air pressure pushing down on it. This can lead to over-proofing before the dough structure is strong enough to support the rise, potentially resulting in collapse.
Bakers at high altitude often need to make adjustments. This might include slightly reducing the amount of yeast, using cooler liquids, reducing proofing time, or incorporating more liquid into the dough to compensate for dryness. While not a direct yeast not rising issue in the sense of inactive yeast, adapting for altitude prevents issues related to uncontrolled or excessive initial rising followed by collapse, which can be mistaken for a yeast problem. Consulting resources for high-altitude baking adaptations is recommended.
Developing a Baker's Intuition for Yeast Fermentation
Beyond following recipes precisely, developing an intuition for how yeast behaves is invaluable. Learn to recognize the look, feel, and even smell of a properly proofed dough. A dough ready for baking will look significantly larger, feel airy and light, and often smell pleasantly fermented (slightly alcoholic or yeasty).
Under-proofed dough will be dense and won't expand much in the oven. Over-proofed dough might look puffy but feel fragile and could collapse when handled or during baking. Pay attention to how your dough behaves in your specific kitchen environment. Temperature, humidity, and even drafts can impact proofing time. This intuition, gained through practice and observation, is one of the best long-term yeast not rising solutions, allowing you to make informed adjustments on the fly.
Delicious Enriched Dough Recipes to Put Your Skills to the Test
Classic Brioche Recipe
Brioche is the quintessential enriched dough, featuring high amounts of butter and eggs. Mastering brioche is a significant step in a baker's journey. A typical brioche recipe might use around 50% butter and 30-40% eggs relative to the flour weight, plus milk and sugar. This richness makes proper kneading and temperature control during proofing absolutely critical for a successful rise.
Traditional Challah Bread Recipe
Challah, a traditional Jewish braided bread, is enriched with eggs and oil (or sometimes butter) and often contains sugar. It's less rich than brioche but still requires careful handling due to the eggs and fat. The braiding technique adds another layer of skill. Challah dough typically has a beautiful golden color from the egg yolks and a tender crumb.
Festive Holiday Panettone Recipe
Panettone, the Italian Christmas bread, is a highly enriched dough containing butter, eggs, sugar, and often candied fruit and zest. It's known for its tall, airy structure, which relies on a strong gluten network and often uses a natural sourdough starter in addition to commercial yeast, or a specific strong yeast strain. Baking panettone is a challenging but rewarding project that truly tests your understanding of enriched dough and yeast activity.
Frequently Asked Questions
What are the most common reasons why yeast doesn't rise in enriched dough?
The most common reasons are expired yeast, incorrect liquid temperature (too hot or too cold), and too much salt or sugar which can inhibit yeast activity.
How can I check if my yeast is still active before starting my enriched dough recipe?
You can perform a proof test by mixing a small amount of yeast with warm water and sugar. If it bubbles and foams within 5-10 minutes, the yeast is active.
What temperature should my liquids be when activating yeast for enriched dough?
Liquids should be warm, but not hot, ideally between 105-115°F (40-46°C). Temperatures that are too high will kill the yeast.
What can I do if my enriched dough isn't rising even after several hours?
First, ensure the dough is in a warm, draft-free environment. If it still isn't rising, you may need to restart with fresh yeast and carefully measure ingredients.
Can too much fat or sugar in enriched dough inhibit yeast activity?
Yes, while fat and sugar are essential for flavor and texture, excessive amounts can slow down yeast activity. Be sure to follow the recipe closely for optimal results.
Final Reflection: The Humble Yeast and the Baker's Perseverance
The seemingly simple act of bread-making, reliant on the unseen power of yeast, reveals a profound truth about problem-solving and resilience. A failure to rise isn't just a culinary setback; it's a potent lesson in attention to detail and the iterative process of refinement. Understanding the nuances of yeast activity, from temperature sensitivity to ingredient interactions, is crucial for baking success, and indeed, for tackling any challenge that requires careful observation and adjustment.
The journey of baking, much like life itself, is filled with unexpected leavening failures and triumphs. The frustration of a dough that refuses to rise mirrors the setbacks we face in our personal and professional lives. Yet, just as a baker learns to troubleshoot a sluggish rise, we too can learn to adapt and overcome obstacles. The only way to do great work is to love what you do.
- Steve Jobs. This applies not only to the artistry of baking but also to the perseverance required to master any skill, facing failures with the determination to learn and improve.
So, the next time your yeast fails to rise, don't despair. Instead, consider it an opportunity. Take a moment to reflect on the process, examine the variables, and adjust your approach. Remember the lessons learned, the patience required, and the ultimate satisfaction of a perfectly risen loaf. You, like the yeast, have the power to rise above challenges, to learn from setbacks, and to create something truly remarkable.
Unleash Your Inner Baker: Perfecting Enriched Doughs
Thanks for taking the time to explore the world of enriched doughs with us! We hope you gained valuable insights into troubleshooting those frustrating rising issues. Now it's time to put your newfound knowledge into action.
- Master your next enriched dough: Try baking the recipe that challenged you most – this time, armed with your new troubleshooting skills! Pay close attention to the details and see the difference.
- Share your baking triumphs (and challenges!): Post a photo of your creation on social media and tag us – we’d love to see your results! Use #BakeWithEaseEnrichedDoughs
- Explore new enriched dough recipes: Expand your baking horizons by trying a new enriched dough recipe – maybe a croissant or a brioche? The possibilities are endless!
Ready to transform your baking game? What enriched dough masterpiece will you conquer next?