
NonStick Spray vs ButterandFlour: Which Method Prevents Sticking Best?

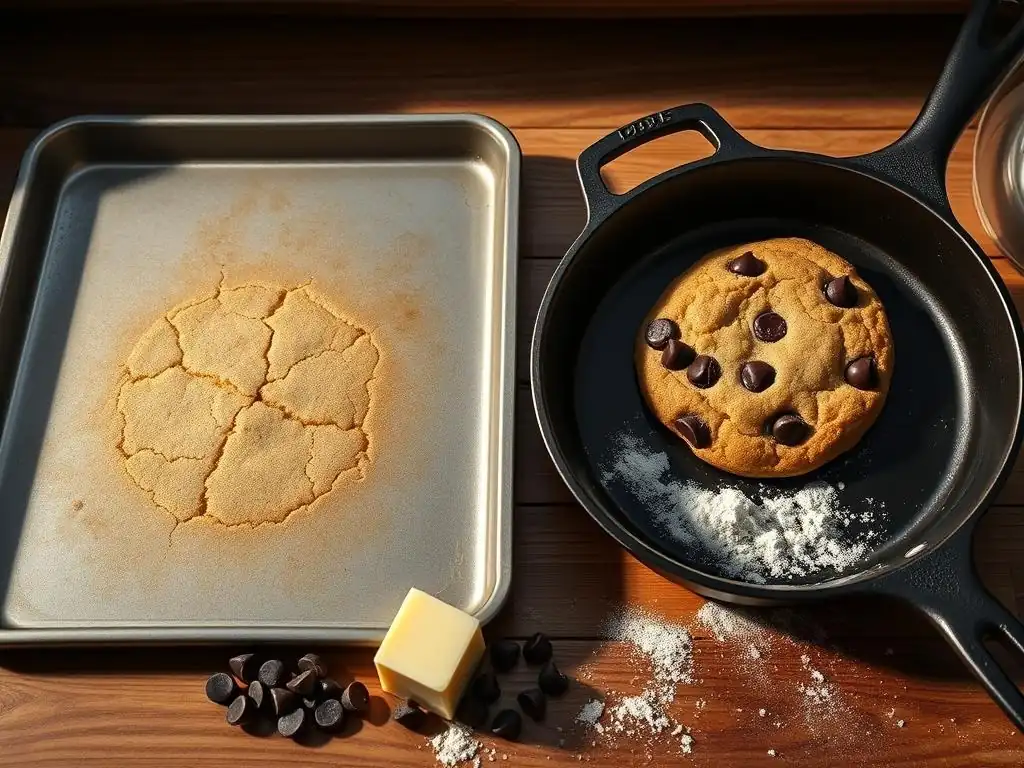
Welcome to BakeWithEase, where mastering baking is made simple! Ever wondered if your go-to nonstick spray is truly the best weapon against sticky situations in the kitchen, or if the classic butter-and-flour method still reigns supreme? Dive into our latest Baking Tip & Hack to discover which technique actually prevents sticking the best, and unlock a whole new level of baking confidence!
- Comparing Cake Release Methods: Which Prevents Sticking Best?
- Introduction: Achieving Clean Cake Release for Perfect Cakes
- Method 1: The Convenience of Cake Release Spray
- Method 2: The Traditional Approach - Butter and Flour
- Cake Release Spray vs Butter & Flour: A Detailed Comparison
- Alternative Methods for Preventing Sticking in Cake Baking
- Choosing the Right Method for Your Cake Baking Needs
- Tips and Tricks for Optimizing Non-Stick Performance
- Conclusion: Mastering Cake Release for BakeWithEase.com Readers
-
Frequently Asked Questions
- How does nonstick spray work to prevent cake sticking?
- What are the benefits of using the butter and flour method?
- When is nonstick spray a better choice than butter and flour?
- Can I use both nonstick spray and butter and flour together?
- Does the type of flour used in the butter and flour method matter?
- Final Reflection: The Timeless Battle Against Baking Stickage
- Unlock Baking Success: Choose Your Best Non-Stick Method!
Comparing Cake Release Methods: Which Prevents Sticking Best?
Introduction: Achieving Clean Cake Release for Perfect Cakes
One of the most frustrating moments in baking is when your beautifully baked cake refuses to release cleanly from the pan, leaving behind crumbled edges or even entire sections stuck. Achieving a perfect, intact cake requires careful preparation of your baking pans. This crucial step ensures that all your hard work with ingredients and technique doesn't go to waste when it comes time to unmold. Mastering the art of cake release is fundamental for any baker aiming for consistently professional results, whether you're making a simple loaf cake or an elaborate layer cake.
There are several popular methods bakers use to prevent cakes from sticking. Two of the most common and widely debated techniques are using a commercial cake release spray and the classic approach of greasing with butter and then dusting with flour. Both promise a non-stick surface, but they differ significantly in application, effectiveness, and potential impact on your finished bake. Understanding the nuances of each method is key to choosing the best approach for your specific baking project and achieving that coveted clean release every time.
Why Preventing Sticking Matters in Cake Baking
Preventing your cake from sticking to the pan is paramount for both aesthetics and structural integrity. A cake that sticks can tear or break upon removal, ruining its appearance and making it difficult to frost or decorate. Imagine baking a delicate chiffon cake only for half of it to remain stubbornly glued to the pan – it's a heartbreaking experience for any baker.
Beyond just looking good, a clean release also ensures the cake holds its intended shape. This is particularly important for structured cakes like Bundt cakes with intricate designs or multi-layer cakes that need precise edges. A sticky situation compromises the very foundation of your bake, impacting everything from presentation to how well the cake slices and serves. Effective nonstick spray butterflour baking preparation is the silent hero behind many successful bakes.
Overview: Cake Release Spray and Butter & Flour - Two Common Methods
Cake release spray, often a combination of oil, flour, and propellant, offers a quick and easy way to coat pans, promising a non-stick surface with minimal effort. It's a modern convenience favored by many for its speed, especially when tackling multiple pans or complex shapes.
The traditional butter and flour method involves coating the inside of the pan with softened butter (or shortening), ensuring complete coverage, and then dusting the buttered surface with flour, tapping out the excess. This technique has been a staple in baking for generations, passed down as a reliable way to ensure cakes don't adhere to the pan. Both methods aim for the same outcome – a perfectly released cake – but they achieve it through different means, each with its own set of pros and cons.
Method 1: The Convenience of Cake Release Spray
What is Cake Release Spray?
Cake release spray is a commercial product designed specifically to prevent baked goods from sticking to pans. While often simply called "nonstick spray," dedicated cake release sprays typically contain a mixture of vegetable oil, flour, and a propellant. This combination creates a barrier that is more robust than plain oil spray, specifically formulated to handle the moist batter and sugars found in cakes.
Unlike general cooking sprays which might only contain oil and a propellant, the addition of flour in cake release sprays mimics the traditional butter-and-flour method in a convenient aerosol form. The oil creates a slick surface, while the fine particles of flour provide a solid barrier that helps the cake edges separate cleanly from the metal surface during the cooling process. This blend aims to offer the reliability of the classic technique with the speed and ease of a spray.
Advantages of Using Cake Release Spray in Cake Baking
One of the primary advantages of using cake release spray is its unparalleled convenience and speed. A quick, even mist covers the entire surface of the pan in seconds, making it ideal for busy bakers or when preparing multiple pans. This speed is particularly beneficial for complex pan shapes, such as intricate Bundt pans or decorative molds, where getting into every nook and cranny with butter and flour can be time-consuming and challenging.
Another significant benefit is the consistent coverage it provides, especially in hard-to-reach areas. The spray form ensures that the nonstick barrier reaches into detailed patterns and tight corners that might be missed when applying butter and flour by hand. This can lead to a more reliable release, reducing the risk of small sections of the cake sticking. For achieving quick and reliable nonstick spray butterflour baking results, the spray is often the go-to for many.
Despite its convenience, cake release spray has potential drawbacks. A common issue is the buildup of a sticky residue on baking pans over time, particularly around the edges and rim. This residue can be difficult to remove and may require vigorous scrubbing or specialized cleaners, which can be inconvenient and potentially damaging to certain pan finishes.
Another consideration is the potential impact on the cake's crust. Some users report that using cake release spray can result in a slightly tougher or darker crust around the edges compared to the butter and flour method. While often subtle, this can be a factor for delicate cakes where a tender crust is desired. Additionally, for bakers mindful of ingredients, commercial sprays contain propellants and emulsifiers that are not present in simple butter and flour.
Best Practices for Applying Cake Release Spray to Cake Pans
To maximize the effectiveness of cake release spray and minimize residue buildup, proper application is key. Hold the can upright, about 6-8 inches away from the pan surface. Use a sweeping motion to apply a thin, even coat, ensuring all interior surfaces, including the bottom and sides, are covered. Avoid overspraying, as excess spray contributes significantly to residue buildup and can pool in the bottom of the pan.
After spraying, it's often helpful to use a pastry brush to ensure the spray is evenly distributed, especially in detailed pans, and to wipe away any obvious excess drips or pools. Some bakers also recommend letting the sprayed pan sit for a moment before adding the batter, although the immediate release properties are usually effective regardless. For optimal nonstick spray butterflour baking performance with the spray, a light, even coat is always better than a heavy one.
Method 2: The Traditional Approach - Butter and Flour
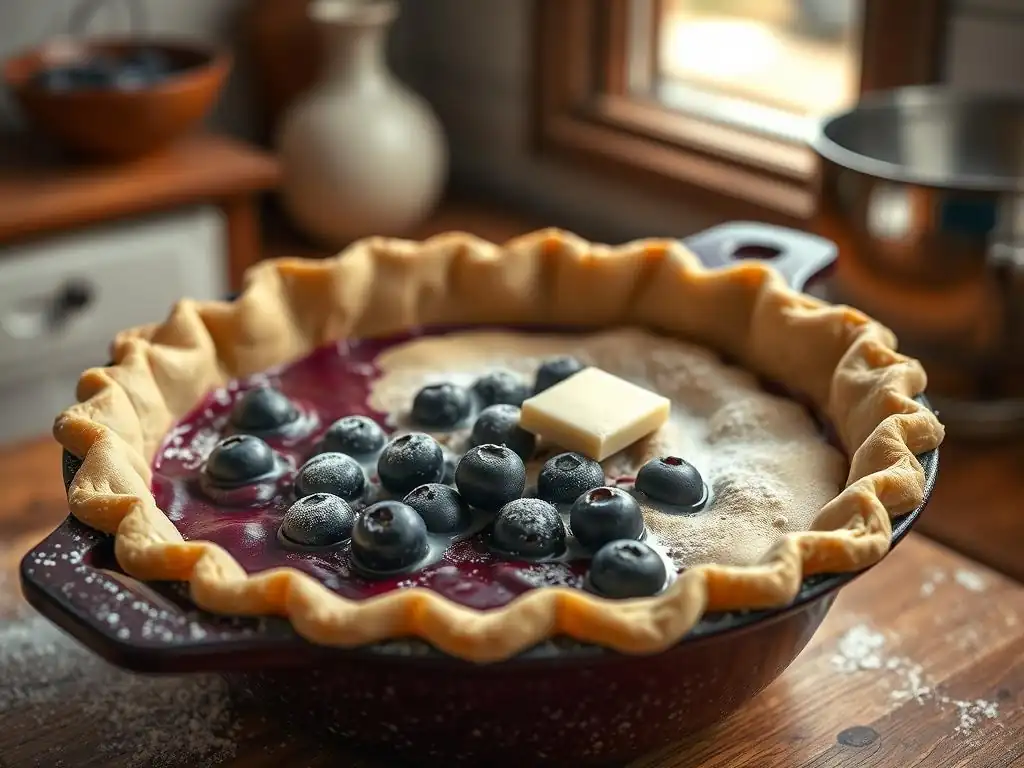
What is the Butter and Flour Method for Greasing Cake Pans?
The butter and flour method is a time-honored technique for preparing cake pans. It involves two main steps: first, thoroughly greasing the interior of the pan with a solid fat, typically softened butter or shortening, and second, dusting the greased surface with flour. The fat provides a slick layer that prevents the batter from directly adhering to the pan's surface, while the fine particles of flour create a physical barrier, essentially providing a nonstick coating that separates the cake from the pan.
This method is favored by many traditional bakers for its perceived reliability and the control it offers over the coating process. Every inch of the pan is manually coated with fat, ensuring no spots are missed, before the flour is added and evenly distributed. The excess flour is then tapped out, leaving a thin, even coating ready to receive the cake batter.
Advantages of Using Butter and Flour in Cake Baking
One of the key advantages of the butter and flour method is its proven reliability over centuries of baking. When done correctly, it creates a robust barrier that consistently prevents cakes from sticking, even those prone to adhesion like rich chocolate cakes or dense pound cakes. The solid fat adheres well to the pan, and the flour provides a distinct separation layer.
Furthermore, some bakers find that the butter and flour method contributes positively to the cake's crust. The butter helps create a slightly crisp, golden-brown crust around the edges that many find desirable. Unlike some sprays, there's no risk of propellant or other additives affecting the bake, offering a purer approach to nonstick spray butterflour baking preparation using simple, common kitchen ingredients.
Despite its reliability, the butter and flour method can be more time-consuming and messier than using a spray. Applying the fat evenly by hand or with a brush takes more effort, and dusting with flour can create a cloud of flour dust. Ensuring complete coverage, especially in pans with corners or designs, requires careful attention to detail and can be tedious.
Another potential disadvantage is the possibility of leaving a thin, visible layer of flour on the finished cake crust, particularly on lighter-colored cakes. While usually minimal and easily brushed off, it can affect the appearance. For complex pans, ensuring the flour reaches into every crevice can also be challenging, potentially leading to sticking in missed spots. This manual process is a key difference when comparing nonstick spray vs butter and flour for baking efficiency.
Step-by-Step Guide: How to Properly Butter and Flour a Cake Pan
Preparing a cake pan using the butter and flour method is straightforward but requires attention to detail for optimal results. Here's a simple guide:
- Gather your materials: You'll need softened butter (or shortening), all-purpose flour, and your clean, dry cake pan.
- Apply the fat: Using your fingers, a piece of parchment paper, or a pastry brush, generously coat the entire interior surface of the pan with softened butter or shortening. Ensure you get into all corners, up the sides, and around any central tubes or designs if using a Bundt pan. Don't be shy with the fat; complete coverage is essential.
- Add the flour: Spoon a few tablespoons of flour into the greased pan.
- Distribute the flour: Tilt and rotate the pan, tapping it gently, to make the flour adhere to the greased surfaces. Continue until the entire greased interior is coated with a thin layer of flour.
- Remove excess flour: Invert the pan over a sink or trash can and tap out any loose, excess flour. You should be left with a thin, even coating of flour sticking to the buttered surface.
- Inspect: Visually check the pan to ensure there are no bare spots. If you find any, re-grease and re-flour that area.
- Using this method ensures a robust barrier for your nonstick spray butterflour baking needs.
Cake Release Spray vs Butter & Flour: A Detailed Comparison
When deciding between nonstick spray and butter and flour for baking, several factors come into play beyond just effectiveness. Let's break down the key differences.
Effectiveness in Preventing Sticking: Which Method Works Better?
Both cake release spray and the butter and flour method are generally highly effective at preventing cakes from sticking when applied correctly. For standard round or square pans, both methods typically yield excellent results. However, in pans with intricate details, such as elaborate Bundt designs, cake release spray can sometimes offer superior coverage simply due to its ability to reach into small crevices that are difficult to coat manually with butter and flour.
Conversely, some bakers find the butter and flour method more reliable for very delicate or moist cakes, where the solid fat and flour barrier might provide a slightly stronger separation. Anecdotally, some professional bakers swear by butter and flour for critical bakes where failure is not an option, citing its consistent performance over decades. Ultimately, the effectiveness often depends more on the thoroughness of the application than the method itself.
Impact on Taste and Texture of Cakes
Generally, neither method should significantly impact the overall taste or texture of the cake if applied correctly. The amount of fat and flour left on the cake surface is minimal. However, if too much flour is used in the butter and flour method and not tapped out, it can leave a slightly powdery or dry residue on the crust.
Similarly, excessive use of cake release spray can potentially lead to a slightly greasy or darker crust, particularly on the bottom of the cake where excess spray might pool. Some sensitive palates might detect a faint, almost chemical taste from the spray if used in excess, though this is rare with proper application. For most home baking, the difference in taste and texture between nonstick spray vs butter and flour baking is negligible.
Ease of Use and Application
This is where cake release spray typically shines. Its aerosol format allows for extremely fast and easy application. A few seconds of spraying is all it takes to coat a pan, making it the clear winner for speed and convenience, especially when baking multiple batches or using complex pans. It requires minimal cleanup during the preparation phase.
The butter and flour method, while not difficult, requires more manual effort and time. Softening the butter, applying it thoroughly, adding flour, swirling, and tapping out the excess is a multi-step process. It can also be messier, with flour potentially dusting surfaces. For sheer ease and speed in nonstick spray butterflour baking prep, the spray is often preferred by those prioritizing convenience.
Cost Comparison: Cake Release Spray vs Butter and Flour
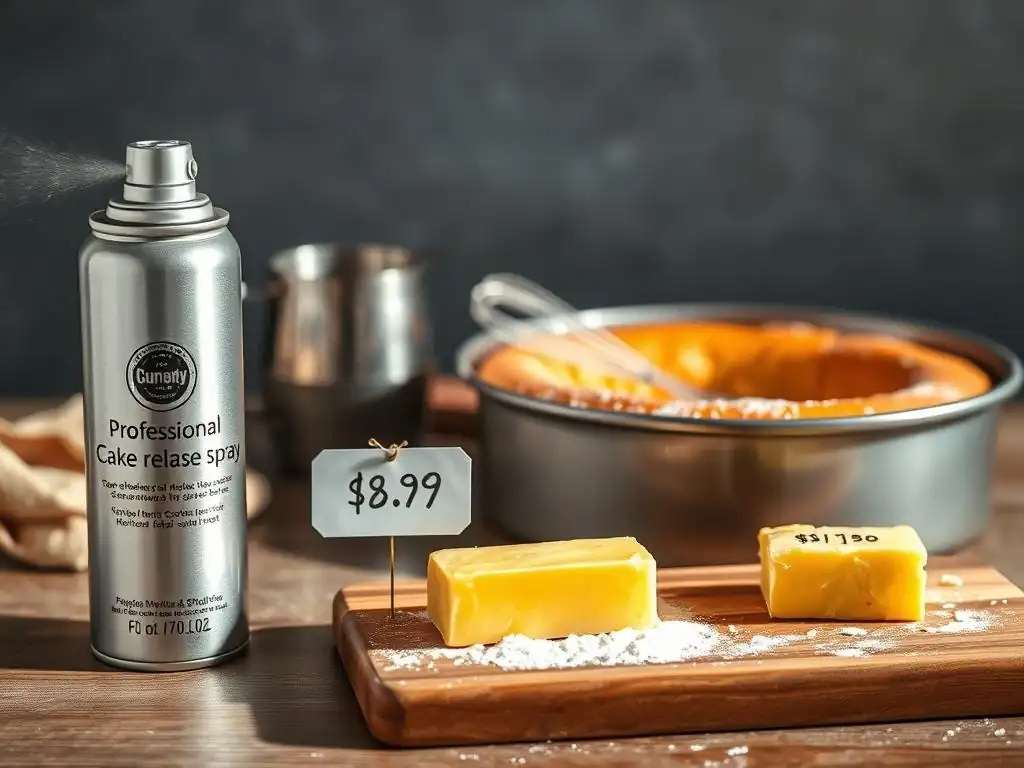
Comparing the cost can be tricky as it depends on the price of butter, flour, and spray in your location, as well as how frequently you bake. A can of cake release spray might seem more expensive upfront than a stick of butter and a bag of flour. However, a single can of spray can last for many baking sessions, especially if used sparingly.
Butter and flour are kitchen staples often bought in bulk, making their per-use cost potentially lower, assuming you're not wasting large amounts. If you bake very frequently, the cumulative cost of spray might add up over time compared to using ingredients you already have on hand. For occasional bakers, the convenience of a spray might justify the cost. It's a trade-off between the upfront cost and convenience of nonstick spray vs butter and flour's potentially lower long-term ingredient cost.
Considerations for Different Types of Cake Pans
The type of pan can influence which method is more suitable.
- Standard Round/Square Metal Pans: Both methods work very well. Butter and flour is traditional and reliable; spray is faster.
- Bundt Pans & Intricate Molds: Cake release spray is often easier and more effective at coating all the detailed surfaces and crevices, minimizing the risk of sticking in hard-to-reach areas. However, careful buttering and flouring can also be very effective with patience.
- Dark Metal Pans: These pans absorb more heat and can sometimes cause sticking. Thorough greasing, whether with spray or butter/flour, is crucial. Some find that the butter and flour method provides a slightly better barrier on dark pans.
- Nonstick Pans: While nonstick pans are designed to prevent sticking, using some form of grease (a light spray or butter/flour) is still highly recommended for cakes, especially intricate ones, to guarantee a clean release and protect the pan's finish. Overuse of certain sprays on nonstick surfaces can sometimes degrade the coating over time.
Alternative Methods for Preventing Sticking in Cake Baking
While nonstick spray vs butter and flour are primary methods, other techniques also offer reliable ways to prevent cakes from sticking.
Parchment Paper Circles: A Reliable Option
Using parchment paper is an excellent and often foolproof method, especially for flat-bottomed pans like standard rounds or squares. The process involves greasing the bottom of the pan, placing a cut-to-size circle or square of parchment paper on top of the grease, and then greasing the parchment paper itself and the sides of the pan.
- Benefits: Provides a guaranteed non-stick surface on the bottom of the cake. Easy cleanup. Minimal residue on the pan.
- Drawbacks: Doesn't help with the sides unless the sides are also lined (which is more complex). Not suitable for Bundt pans or intricate shapes. Requires cutting the paper to fit the pan.
Baking Strips: Promoting Even Baking and Clean Release
Baking strips (or cake strips) are fabric bands soaked in water and wrapped around the outside of the cake pan. While their primary function is to insulate the pan walls and promote more even baking by preventing the sides from cooking faster than the center, they also indirectly aid in clean release.
- Benefits: Helps cakes bake flatter with less doming. Reduces the chance of the sides overcooking and sticking. Contributes to a tender crust.
- Drawbacks: Requires soaking and securing the strips. Doesn't replace the need to grease and flour (or spray) the inside of the pan. An additional step in the process.
Silicone Cake Pans: Another Non-Stick Solution
Silicone baking pans are inherently non-stick and often require minimal or no greasing, depending on the recipe and the pan quality. Their flexibility makes unmolding cakes particularly easy.
- Benefits: Excellent non-stick properties. Easy to unmold cakes by peeling away the silicone. Often dishwasher safe and easy to clean.
- Drawbacks: Can be floppy and require placement on a baking sheet for stability. Some users report different baking times or browning compared to metal pans. Quality varies; some cheaper silicone might still require greasing.
Choosing the Right Method for Your Cake Baking Needs
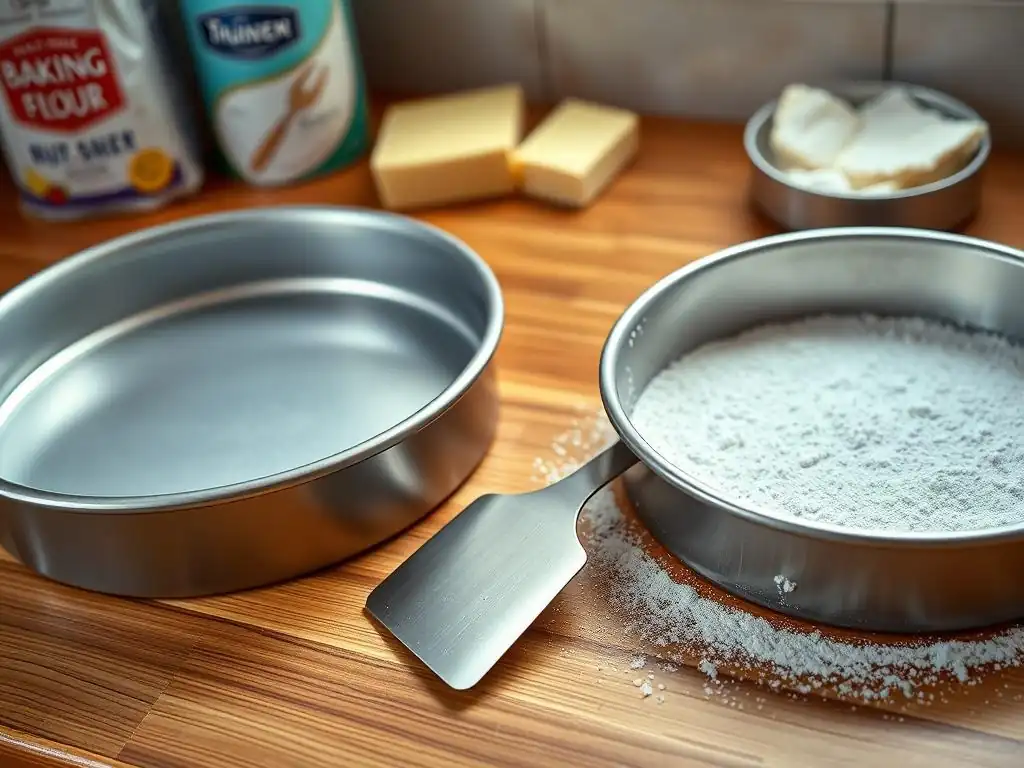
Selecting the best way to prepare your pan involves considering your priorities, the cake you're baking, and the pan you're using. There's no single "right" answer for all situations.
Factors to Consider When Selecting a Non-Stick Method
When deciding between nonstick spray vs butter and flour for baking, or considering alternatives, ask yourself:
- What type of cake am I baking? Is it delicate, moist, or dense? Is it likely to stick?
- What kind of pan am I using? Is it a simple shape or intricate? Is it metal, nonstick, or silicone?
- How much time do I have? Am I in a rush, or do I have time for a more manual process?
- How important is cleanup? Am I willing to deal with potential residue?
- Are ingredients a major concern? Do I prefer using simple, traditional ingredients?
Considering these points will help guide your decision towards the most effective and convenient method for your specific baking project.
Recommendations Based on Different Cake Types [e.g., Bundt Cakes, Layer Cakes, Cheesecakes]
- Standard Layer Cakes (Vanilla, Chocolate, etc.): Both butter and flour or cake release spray work well for round pans. Adding parchment paper circles to the bottom is an extra layer of security for a guaranteed clean bottom release.
- Bundt Cakes: Cake release spray is often the easiest and most effective way to ensure all the intricate details are coated. However, a very thorough buttering and flouring can also work.
- Dense Cakes (Pound Cake, Fruitcake): These cakes are less prone to sticking than lighter ones, but still benefit from thorough greasing. Butter and flour is a traditional choice that works well.
- Delicate Cakes (Chiffon, Angel Food - Note: Angel Food cakes should NOT be greased): For cakes like Chiffon (baked in a tube pan), a thorough coating is crucial. Butter and flour is often preferred for its reliability, ensuring the cake can climb the sides properly before inverting.
- Cheesecakes: Typically baked in a springform pan, the bottom is often lined with parchment paper, and the sides are sometimes lightly greased or left ungreased depending on the recipe. The bottom is the main concern for sticking.
Tips and Tricks for Optimizing Non-Stick Performance
Regardless of the method you choose for your nonstick spray butterflour baking, a few extra tips can significantly improve your chances of a perfect release every time.
Preparing Your Cake Pans Properly
Start with clean, dry pans. Any residual grease or batter from previous uses can hinder the non-stick coating's effectiveness. Ensure the pan is completely dry, as water can cause the fat to bead up rather than coat evenly. Apply your chosen method – whether nonstick spray vs butter and flour – thoroughly and evenly, making sure no spots are missed. For butter and flour, tap out all the excess flour; for spray, use a light, even coat and avoid pooling.
Cooling Cakes Correctly for Easy Removal
Allowing your cake to cool properly in the pan is critical for a clean release. Typically, cakes need to cool in the pan on a wire rack for 10-20 minutes (depending on size and type) before attempting to invert them. This allows the cake structure to firm up slightly and pull away from the pan edges as it cools and contracts. Trying to remove a cake too soon is a common cause of sticking and tearing.
Troubleshooting Common Sticking Problems
If your cake still sticks, despite your best efforts, don't despair! Sometimes, gently running a thin offset spatula or knife around the edges can help loosen it. For Bundt cakes, sometimes giving the pan a firm tap on the counter can help dislodge it. If a cake is really stuck, sometimes allowing it to cool completely can make it easier to remove, although this is less ideal for cakes meant to be inverted while warm. Ensuring thorough pan preparation, whether using nonstick spray butterflour baking techniques or traditional methods, is your best defense against sticking.
Conclusion: Mastering Cake Release for BakeWithEase.com Readers
Achieving a clean cake release is a fundamental skill in baking, turning potential frustration into consistent success. Whether you opt for the speed and convenience of cake release spray or the reliable tradition of the butter and flour method, both can be highly effective tools in your baking arsenal. The choice between nonstick spray vs butter and flour often comes down to personal preference, the type of pan, and the specific cake being baked.
The Verdict: Which Method Reigns Supreme? [Concluding Statement]
There is no single "supreme" method; the best approach for nonstick spray butterflour baking is the one that works most reliably for you given the circumstances. Cake release spray offers unmatched convenience for complex pans, while the butter and flour method provides traditional reliability and control. Experiment with both to see which you prefer for different types of cakes and pans. Mastering either technique, applied thoroughly and correctly, will drastically improve your cake release success rate and help you bake with ease!
Further Resources for Cake Baking Techniques and Recipes on BakeWithEase.com
Explore more tips, techniques, and delicious cake recipes right here on BakeWithEase.com. From perfect pound cakes to stunning layer cakes, we have guides to help you master every step of the baking process, ensuring your cakes are not only delicious but also beautifully presented.
Frequently Asked Questions
How does nonstick spray work to prevent cake sticking?
Nonstick spray contains oil and a propellant, creating a barrier between the batter and the pan. This barrier prevents the batter from directly adhering to the metal, allowing for easy release.
What are the benefits of using the butter and flour method?
The butter and flour method creates a protective coating that's especially useful for intricate cake pan designs. It provides a slightly thicker barrier than spray, and the flour helps absorb excess moisture.
When is nonstick spray a better choice than butter and flour?
Nonstick spray is convenient and ideal for smooth, simple cake pans where a thin, even coating is sufficient. It's also a good option for low-fat baking where you want to minimize added fat.
Can I use both nonstick spray and butter and flour together?
While possible, it's generally not recommended. Using both can lead to a greasy build-up and uneven baking. Choose the method that best suits your pan and recipe.
Does the type of flour used in the butter and flour method matter?
Generally, all-purpose flour is sufficient. However, for darker cakes, consider using cocoa powder instead of flour to avoid a white residue on the finished cake.
Final Reflection: The Timeless Battle Against Baking Stickage
The quest for perfectly released baked goods is a universal struggle, and the choice between nonstick spray and the classic butter-flour method remains a hotly debated topic in kitchens worldwide. This seemingly simple decision profoundly impacts the success – and the frustration levels – of countless bakers, from novice to expert. The results of our investigation, detailed above, highlight the nuances of each approach, revealing that the "best" method is often dependent on the specific recipe and desired outcome.
This exploration into the age-old battle against sticking has underscored for me the enduring power of tradition alongside the allure of modern convenience. The butter-flour method, passed down through generations, represents a connection to the past, a testament to the ingenuity of bakers who relied on simple ingredients to achieve remarkable results. Yet, the ease and speed of nonstick spray undeniably hold appeal in our fast-paced world. The best recipes are those that tell a story,
a wise baker once told me, and this comparison tells a story of adaptation and innovation in the culinary arts.
Consider, then, the implications of your next baking project. Will you embrace the comforting familiarity of butter and flour, patiently preparing your pans for a flawless release? Or will you opt for the swift efficiency of nonstick spray, trusting in its modern promise? The choice, ultimately, is yours. But remember the lessons learned here: understanding the strengths and weaknesses of each method empowers you to make informed decisions and, ultimately, to achieve baking success. Let the battle against sticking inspire you to experiment, to learn, and to find the perfect technique for your own culinary journey.
Unlock Baking Success: Choose Your Best Non-Stick Method!
Thanks for exploring the world of non-stick baking with us! You've now armed yourself with the knowledge to conquer sticky situations and create perfectly baked goods every time. Ready to put your newfound expertise to the test?
- Try the winning method: Immediately head to your kitchen and bake your favorite recipe using the technique you found most effective – remember to note the differences!
- Share your results: Tell us about your baking experience in the comments below! Did you notice a significant difference? What recipe are you tackling first?
- Experiment and innovate: Try both methods on different recipes to see how they perform with various ingredients and baking styles.
Which non-stick approach will become your new baking secret weapon? Let's discuss!