
GlutenFree Cookie Disasters? Restore Structure and Delight

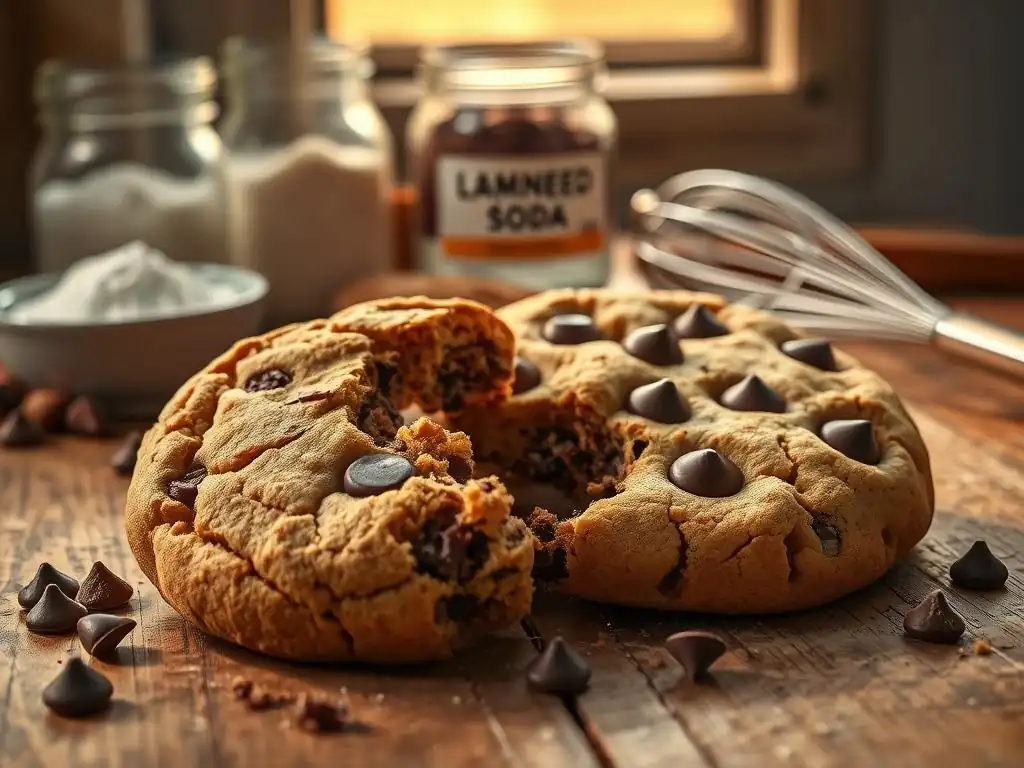
Welcome to BakeWithEase, your haven for baking brilliance! Tired of gluten-free cookie recipes that crumble before they conquer? You're not alone! This article dives deep into the secrets of restoring structure and achieving delightful textures in your gluten-free cookies. Discover practical tips and tricks to transform your baking from frustrating failures to flawless successes. Intrigued? Let's unlock the secrets to perfect gluten-free cookies, one delicious bite at a time.
- Introduction: Saving Your Gluten-Free Cookie Dreams
- Common Gluten-Free Cookie Problems and Solutions
- Essential Gluten-Free Cookie Recipe Tips for Success
- Beyond the Basics: Advanced Gluten-Free Cookie Techniques
- Conclusion: Enjoying Perfect Gluten-Free Cookies, Every Time!
-
Frequently Asked Questions
- What are some common problems encountered when baking gluten-free cookies?
- What are the key ingredients to consider when adapting a traditional cookie recipe to be gluten-free?
- How can I prevent my gluten-free cookies from spreading too thin during baking?
- What are some alternatives to traditional butter that might work better in gluten-free cookies?
- How can I improve the overall texture and taste of my gluten-free cookies?
- Final Reflection: Beyond the Crumble: Mastering Gluten-Free Baking
- Unleash Your Inner Gluten-Free Baking Genius!
Baking gluten-free cookies can feel like navigating a minefield. The primary challenge stems from the absence of gluten, the protein network found in wheat flour that provides structure and elasticity. Without this natural binder, doughs often lack cohesion, leading to common problems like excessive spreading, crumbling, or tough textures.
Ingredients like rice flour, tapioca starch, and almond flour behave differently than wheat, absorbing liquids at varying rates and requiring careful balancing. This means that simply swapping wheat flour for a gluten-free blend in a traditional recipe often won't yield the desired results, requiring specific adjustments and specialized glutenfree cookie recipe tips.
Understanding these unique properties is the first step towards gluten-free cookie success. Many standard recipes rely on gluten's ability to hold shape during baking and provide that satisfying chewiness. When gluten is removed, alternative binders are needed, and hydration levels become critically important. Factors like flour particle size, starch content, and the type of fat used can dramatically impact the final texture and structure. Mastering these nuances is key to transforming potential cookie disasters into delightful treats that everyone can enjoy.
Welcome to BakeWithEase, where we believe everyone can master the art of baking, including the sometimes-challenging world of gluten-free treats. This guide is designed to equip you with practical glutenfree cookie recipe tips and troubleshooting techniques to tackle the most common issues. We'll walk you through understanding the science behind gluten-free baking and provide actionable steps to correct problems like flat, crumbly, gummy, or tough cookies.
Whether you're new to gluten-free baking or looking to perfect your existing recipes, these insights will help you achieve consistent, delicious results. We'll delve into ingredient functions, mixing methods, and essential baking adjustments tailored specifically for gluten-free doughs. Get ready to turn those frustrating baking moments into triumphs and confidently bake perfect glutenfree cookies every time.
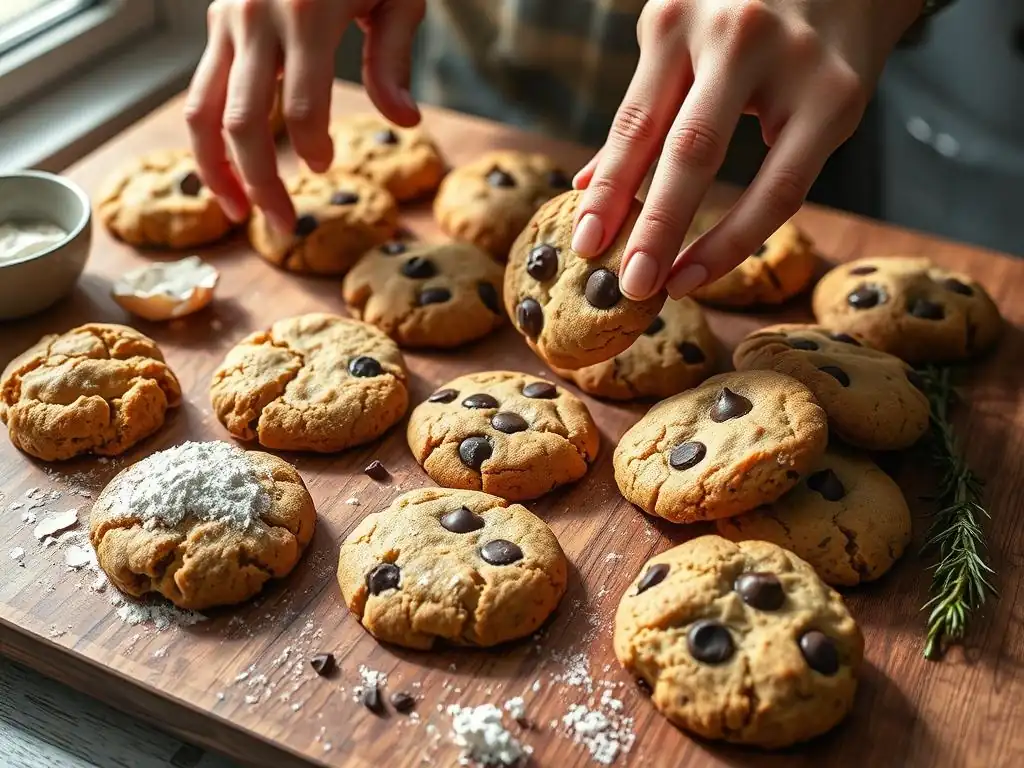
One of the most frequent complaints in gluten-free baking is cookies spreading into thin, uniform disks rather than holding a pleasant shape. This happens because the dough lacks the structural integrity provided by gluten, allowing it to relax and spread rapidly when exposed to oven heat. Several factors contribute to this, including the type of flour blend, butter temperature, and even the baking environment.
Successfully combating excessive spread involves a multi-pronged approach focusing on strengthening the dough's structure before it hits the heat and managing the baking process itself. Simple adjustments to your glutenfree cookie recipe tips, like chilling the dough or tweaking oven temperature, can make a significant difference. Understanding how each component influences spread allows you to diagnose and fix the problem effectively.
Understanding Gluten's Role in Cookie Structure
In traditional wheat-based cookies, gluten proteins form a viscoelastic network when flour is hydrated and mixed. This network traps air bubbles created during creaming and provides a framework that helps the cookie hold its shape as it bakes. It acts like a scaffold, preventing the cookie from collapsing and spreading too much before the starches and proteins set.
Without gluten, this natural scaffolding is absent. Gluten-free flours, often composed of starches (like tapioca, potato) and various grain or nut flours (like rice, almond), do not form such a cohesive network on their own. This inherent lack of structure means the dough is more prone to spreading outwards as the butter melts in the oven, resulting in thin, flat cookies unless alternative binding agents and techniques are employed.
Gluten-Free Flour Blend Adjustments for Less Spread
The composition of your gluten-free flour blend significantly impacts cookie spread. Blends that are very high in starch (like pure tapioca or potato starch) tend to spread more because starches don't provide much structural support. To reduce spread, opt for blends that include a good proportion of protein-rich flours like almond flour, sorghum flour, or oat flour (certified gluten-free). These flours absorb moisture differently and contribute more "body" to the dough.
Additionally, incorporating a binder like xanthan gum or psyllium husk is crucial in glutenfree cookie recipe tips. For most cookie recipes using a standard GF blend, adding about 1/4 teaspoon of xanthan gum per cup of flour blend helps mimic the elasticity and binding properties of gluten, providing much-needed structure to resist spread. Ensure the binder is evenly distributed by whisking it into the dry ingredients.
Chilling the Dough: A Crucial Step for Stability
Chilling gluten-free cookie dough is arguably one of the most effective glutenfree cookie recipe tips for preventing excessive spread. When dough is chilled, the fats within it (like butter or shortening) solidify. This makes the dough firmer and slower to spread when it enters the hot oven. The cold also gives the flour particles more time to hydrate evenly, leading to a better texture.
Aim to chill your dough for at least 30 minutes, though 1-2 hours is often better, especially for very soft doughs. For slice-and-bake cookies, chilling for several hours or even overnight makes slicing much easier and improves shape retention. Baking cold dough directly from the refrigerator or freezer (adding a minute or two to the bake time) can dramatically improve the height and chewiness of your gluten-free cookies.
Oven Temperature Tweaks to Prevent Excessive Spreading
Oven temperature plays a critical role in how quickly cookies set. If the oven is too cool, the butter in the dough will melt and spread before the structure has a chance to solidify. Baking at a slightly higher temperature can help the edges and structure of the cookie set faster, limiting spread.
Many glutenfree cookie recipe tips suggest baking cookies at 350°F (175°C), but for doughs prone to spreading, increasing the temperature to 375°F (190°C) for the first few minutes can help. Always ensure your oven temperature is accurate using an oven thermometer, as oven thermostats can be off by as much as 25-50 degrees. Placing the baking sheet in the upper-middle position of the oven also helps ensure even heat distribution.
Another common issue with gluten-free cookies is a dry, crumbly texture that falls apart easily. This often results from a lack of sufficient moisture or binding agents to hold the ingredients together in the absence of gluten's cohesive network. Over-baking can also strip away essential moisture, leaving cookies brittle.
Addressing crumbliness requires focusing on the hydration levels in the dough and ensuring there are adequate binders to create a stable structure. Adjusting liquid amounts, using the right type and quantity of binders, and careful monitoring during the baking process are key strategies to achieve cookies that hold together beautifully.
Hydration is Key: Adding Moisture Back into Your Recipe
Gluten-free flours, particularly starches and some high-fiber flours, can absorb more liquid than wheat flour. If your recipe doesn't account for this, the dough can end up too dry. Ensure your glutenfree cookie recipe tips call for sufficient liquid, whether it's from butter, eggs, milk, or a liquid binder like maple syrup or honey.
If you find a standard recipe is yielding dry results with a gluten-free swap, consider increasing the liquid slightly, perhaps adding an extra tablespoon of milk, plant-based milk, or even water, until the dough comes together without being overly sticky or crumbly. The dough should feel pliable and easy to scoop or roll, not dry and sandy.
The Importance of Binders: Eggs, Flaxseed Meal, and More
Binders are essential in gluten-free baking to replace the structural role of gluten. Eggs are excellent natural binders, providing moisture and protein that help hold the cookie together. If your recipe yields crumbly cookies, check if the egg quantity seems appropriate for the amount of dry ingredients.
For egg-free glutenfree cookie recipe tips, alternative binders like flaxseed meal (mixed with water to form a gel, roughly 1 tablespoon flax meal + 3 tablespoons water per egg), psyllium husk powder (used sparingly, typically 1/2 to 1 teaspoon per cup of flour), or commercial egg replacers can be effective. Ensure these binders are properly hydrated before mixing into the dough to activate their binding properties.
Avoiding Over-Baking: Watch Closely and Test for Doneness
Over-baking is a primary culprit behind dry and brittle cookies, whether gluten-free or not. Gluten-free cookies can go from perfectly baked to overdone very quickly because they often lack the browning cues of wheat-based cookies. Pay close attention to the edges, which should look lightly golden or set, while the center may still appear slightly soft or underbaked.
Remove gluten-free cookies from the oven when they look almost done. They will continue to set on the hot baking sheet for a few minutes after removal. For many glutenfree cookie recipe tips, a baking time of 8-12 minutes at 350°F (175°C) is typical for standard-sized cookies. Test doneness by gently pressing the edge of a cookie; it should feel firm but not hard.
Gluten-Free Flour Ratios: Balancing Starches and Gums
The ratio of starches to protein flours in a gluten-free blend affects texture. While starches like tapioca and cornstarch contribute to crispness and browning, relying too heavily on them without enough protein flours (like sorghum, brown rice, or almond) can lead to a fragile, crumbly structure. Good glutenfree cookie recipe tips often use a balanced blend.
Ensure your blend isn't too high in starches. A common balanced ratio for a homemade blend might be around 40% whole grain GF flour (brown rice, sorghum), 30% starch (tapioca, potato), and 30% lighter flour (white rice, oat), plus a binder. If using a pre-made blend, ensure it's designed for baking and contains a mix of flour types rather than being primarily starch-based.
Sometimes, instead of being dry or crumbly, gluten-free cookies turn out unpleasantly gummy or dense. This texture issue often arises from an imbalance in the flour blend, improper mixing, or incorrect baking. Too much starch, particularly tapioca or potato starch, can contribute to a gummy mouthfeel when not balanced with other flours.
Fixing gummy texture involves adjusting the flour composition, ensuring ingredients are properly incorporated, and optimizing baking time and temperature to allow the cookie to cook through without becoming dense or sticky.
Understanding Starch Content: Adjusting Flour Blends
As mentioned, starches are key components of gluten-free blends, providing tenderness and aiding in browning. However, an excess of high-starch flours like tapioca starch or potato starch can lead to a gummy or chewy-in-a-bad-way texture, especially if the cookie is slightly underbaked. These starches gelatinize when heated, and if there's too much or they don't cook through properly, they can create a sticky, gummy center.
Review your glutenfree cookie recipe tips and the flour blend being used. If it seems heavily reliant on just one or two types of starch, try using a more balanced blend that includes a higher proportion of non-starchy flours like almond, sorghum, or brown rice flour. This helps distribute the starch content and provides better overall structure.
Adding Crunch: Tips for Achieving a Crisper Texture
For those who prefer a crisper gluten-free cookie, several techniques can help counteract gumminess and promote a satisfying snap. Using a higher ratio of white sugar to brown sugar can result in crispier cookies, as white sugar melts and spreads more, then recrystallizes upon cooling.
Baking the cookies slightly longer at a lower temperature can also help dry them out slightly and achieve a crispier texture without burning. Some glutenfree cookie recipe tips for crisp cookies might suggest baking at 325°F (160°C) for a longer duration compared to a chewier cookie baked at 350°F (175°C). Using melted butter instead of creamed butter can also lead to a flatter, crispier cookie profile.
Baking Time and Temperature: Optimizing for Doneness
Underbaking is a major cause of gummy gluten-free cookies. If the internal temperature doesn't reach a point where starches fully cook and set, the center can remain dense and sticky. Ensure your oven is accurately calibrated and that you are baking the cookies for the full recommended time, or until they show clear signs of being done.
Look for edges that are set and lightly golden. The center should no longer look wet or raw. If you're unsure, sacrifice one cookie from the center of the batch to test for doneness. It's better to slightly overbake one cookie than have a whole batch turn out gummy. Many glutenfree cookie recipe tips emphasize visual cues over strict adherence to time, as ovens vary.
While crumbling is a common problem, sometimes gluten-free cookies can turn out tough or hard. This isn't usually due to gluten development (since there isn't any), but rather can be caused by issues like overmixing the dough, using too much binder, or an imbalance of wet and dry ingredients.
Achieving a tender gluten-free cookie involves understanding how different ingredients contribute to texture and using gentle mixing techniques. Balancing fats, sugars, and liquids is key to preventing a hard, dense result.
The Role of Fats: Butter, Oil, and Shortening
Fats are crucial for tenderness in cookies. They coat the flour particles, preventing them from forming a dense structure and contributing to a melt-in-your-mouth texture. Different fats yield different results. Butter provides flavor and helps with browning, and when creamed, it incorporates air for lift. However, using too little fat can result in tough cookies.
Melted butter often leads to chewier or crispier cookies but can still provide tenderness. Shortening, being 100% fat, is excellent at tenderizing and creating a soft interior, though it lacks the flavor of butter. Many successful glutenfree cookie recipe tips use a combination of butter and shortening for both flavor and texture. Ensure your recipe has an adequate fat-to-flour ratio.
Sugar Selection: Brown Sugar vs. White Sugar
The type of sugar used impacts texture significantly. White granulated sugar contributes to crispness and spread because it melts and recrystallizes cleanly. Brown sugar, on the other hand, contains molasses, which adds moisture and acidity. This moisture helps keep cookies soft and chewy after baking.
If your gluten-free cookies are consistently tough, consider increasing the proportion of brown sugar relative to white sugar in your recipe. This extra moisture from the molasses can help counteract dryness and promote a softer interior texture. This is a classic glutenfree cookie recipe tip for chewiness and tenderness.
Kneading and Mixing: Avoid Overworking the Dough
Even without gluten, overmixing gluten-free dough can negatively impact texture. While you don't need to worry about developing gluten, overworking the dough can lead to the starches and binders becoming too developed or gummy, resulting in a tougher cookie.
Mix your gluten-free cookie dough only until the ingredients are just combined. Stop mixing as soon as you no longer see streaks of dry flour. If adding inclusions like chocolate chips or nuts, fold them in gently by hand rather than using the mixer. Gentle handling is a vital glutenfree cookie recipe tip for achieving tender results.

Choosing the Right Gluten-Free Flour Blend: A Comprehensive Guide
Selecting the appropriate gluten-free flour blend is arguably the most critical factor in successful gluten-free cookie baking. Not all blends are created equal, and their composition directly impacts the final texture, spread, and flavor of your cookies. The blend needs to mimic the properties of wheat flour as closely as possible, providing structure, tenderness, and absorption.
Understanding the characteristics of individual gluten-free flours and how they work together in a blend is essential. Whether you choose a convenient pre-made mix or decide to create your own, making an informed choice based on the desired cookie outcome is fundamental to applying effective glutenfree cookie recipe tips.
Understanding Different Gluten-Free Flours (Rice, Tapioca, Almond)
- Rice Flour (White and Brown): White rice flour is fine and relatively neutral in flavor, often used as a base. Brown rice flour is coarser and more nutritious, adding a slight chewiness and nutty flavor. Both provide structure but can lead to grittiness if not finely ground or properly hydrated.
- Tapioca Starch/Flour: Derived from the cassava root, tapioca starch is a light, fine starch that adds crispness and chewiness (think mochi-like). It's a good binder but too much can lead to a gummy texture. It helps with browning.
- Almond Flour: Made from ground almonds, this flour adds moisture, richness, and a pleasant nutty flavor. It contributes protein and fat, leading to a tender cookie. It's heavier than rice flour and doesn't absorb as much liquid initially, requiring recipe adjustments.
- Sorghum Flour: A whole-grain flour with a slightly sweet, mild flavor. It adds tenderness and is a good source of fiber and protein, contributing positively to structure in blends.
- Oat Flour (Certified Gluten-Free): Adds a lovely flavor and tenderness. It absorbs a fair amount of liquid. Ensure it is certified gluten-free to avoid cross-contamination.
Pre-Made vs. Homemade Blends: Which is Right for You?
Pre-made gluten-free flour blends offer convenience and consistency. Reputable brands like Bob's Red Mill 1-to-1 Baking Flour, King Arthur Measure for Measure Gluten-Free Flour, or Cup4Cup Multipurpose Gluten-Free Flour are formulated to be used as a direct substitution for wheat flour in many standard recipes, simplifying the process. They typically contain a balanced mix of flours and starches, often with added xanthan gum.
Creating your own homemade blend gives you complete control over the ingredients and ratios, allowing you to tailor the blend to specific types of baking (e.g., a blend optimized for cookies vs. bread). This requires more understanding of flour properties but can be cost-effective and allows for customization based on dietary needs or preferences. Many glutenfree cookie recipe tips will specify which type of blend works best.
Adjusting Flour Ratios for Different Cookie Types
The ideal gluten-free flour blend ratio can vary depending on whether you want a crispy, chewy, or soft cookie. For crisp cookies, a blend with a slightly higher proportion of white rice flour and tapioca starch might work well. For chewy cookies, a blend with more brown rice flour, sorghum, or oat flour, balanced with starches, is often preferred.
Soft cookies benefit from flours like almond flour or a blend with a good amount of starch. While using a standard all-purpose GF blend is a great starting point for most glutenfree cookie recipe tips, don't be afraid to experiment slightly with ratios or try blends specifically marketed for cookies if you're aiming for a particular texture.
Handling gluten-free cookie dough requires slightly different techniques compared to wheat dough. Because it lacks gluten's elasticity, it can sometimes feel more crumbly or sticky. However, with a few specific glutenfree cookie recipe tips and tricks, you can create a dough that is easy to work with and bakes into perfect cookies.
Paying attention to mixing methods, allowing the dough to rest, and using proper shaping techniques are all crucial steps. These steps help ensure ingredients are properly hydrated, flavors develop, and cookies bake evenly with consistent results.
Mixing Methods: Creaming, Melting, and More
The mixing method significantly impacts the final cookie texture. The creaming method, where softened butter and sugar are beaten together until light and fluffy, incorporates air into the dough. This air helps the cookies rise and contributes to a lighter, more tender texture. This is a common method in glutenfree cookie recipe tips for drop cookies.
Using melted butter results in a denser, often chewier or crispier cookie because less air is incorporated. For gluten-free doughs, it's essential not to overmix after adding the dry ingredients, regardless of the method used. Mix just until everything is combined to avoid developing a tough texture from overworking the binders.
Resting the Dough: Allowing Hydration and Flavor Development
Resting gluten-free cookie dough is a highly recommended step in glutenfree cookie recipe tips that is often overlooked. During rest, the liquid ingredients have time to fully hydrate the gluten-free flours and starches. This is particularly important for coarser flours like brown rice flour or sorghum, which absorb moisture more slowly.
Resting for at least 30 minutes in the refrigerator improves the dough's texture, making it less crumbly and easier to handle. Longer rests, even overnight, can further enhance hydration and allow flavors to meld, resulting in a better-tasting cookie. This also chills the dough, which helps prevent excessive spread during baking.
Shaping and Baking: Achieving Uniform Cookies
For consistent baking results, aim for uniform cookie size and thickness. Using a cookie scoop (e.g., a 1.5 tablespoon scoop for standard cookies) is an excellent way to ensure each cookie is roughly the same size, meaning they will bake evenly and finish at the same time.
Place dough balls on a parchment-lined baking sheet, spaced a couple of inches apart to allow for spreading. For thicker cookies, you can gently flatten the tops slightly with the palm of your hand or the bottom of a glass. Follow your glutenfree cookie recipe tips regarding baking time and temperature, rotating the pan halfway through for even baking.
The Secret Ingredient: Xanthan Gum and Its Role in Gluten-Free Baking
Xanthan gum is a hydrocolloid, a substance that creates a gel-like texture when hydrated. In gluten-free baking, it acts as a binder and stabilizer, mimicking some of the functions of gluten. It helps hold the dough together, provides elasticity, and prevents crumbling. For many glutenfree cookie recipe tips, especially those adapting traditional recipes, xanthan gum is a key ingredient.
While incredibly useful, using the correct amount of xanthan gum is crucial. Too little can result in crumbly cookies, while too much can lead to a gummy, unpleasant texture. Most pre-made GF flour blends already contain xanthan gum or a similar binder, so check the ingredient list before adding more.
Understanding Xanthan Gum's Function
Xanthan gum works by thickening liquids and providing structure to the dough. It creates a network that traps gasses released by leavening agents (like baking soda or powder), helping the cookies rise and hold their shape. It also prevents ingredients from separating and gives the dough a more cohesive feel, making it easier to scoop or roll.
Essentially, xanthan gum helps provide the "stretch" and "stickiness" that gluten would naturally provide. This is why it's a staple in many glutenfree cookie recipe tips and blends, enabling textures closer to their wheat-based counterparts.
How Much Xanthan Gum to Use: Avoiding Excess
The appropriate amount of xanthan gum depends on the recipe and the type of gluten-free flour blend used. A general guideline for cookies when using a blend without added gum is about 1/4 teaspoon of xanthan gum per cup of gluten-free flour blend. Using more than this can quickly result in a gummy texture.
If your pre-made blend already contains xanthan gum (often listed as "xanthan gum" or "guar gum"), you typically do not need to add any extra. Adding more to a blend that already contains gum will almost certainly lead to a gummy or even slimy texture. Always check your blend's ingredients and the specific glutenfree cookie recipe tips you are following.
Alternatives to Xanthan Gum: Chia Seeds, Psyllium Husk
For those who prefer not to use xanthan gum or have sensitivities, several alternatives can provide similar binding properties. Ground chia seeds mixed with water form a gel that can act as a binder, though they can add small flecks to the cookie. Psyllium husk powder is another effective binder that creates a gel when hydrated.
When using alternatives like psyllium husk, start with a small amount, generally 1/2 to 1 teaspoon per cup of flour blend in cookie recipes, as it is very absorbent. It's best to mix these alternatives with the liquid in the recipe first to allow them to hydrate before combining with the dry ingredients. Many glutenfree cookie recipe tips will specify which binder to use.
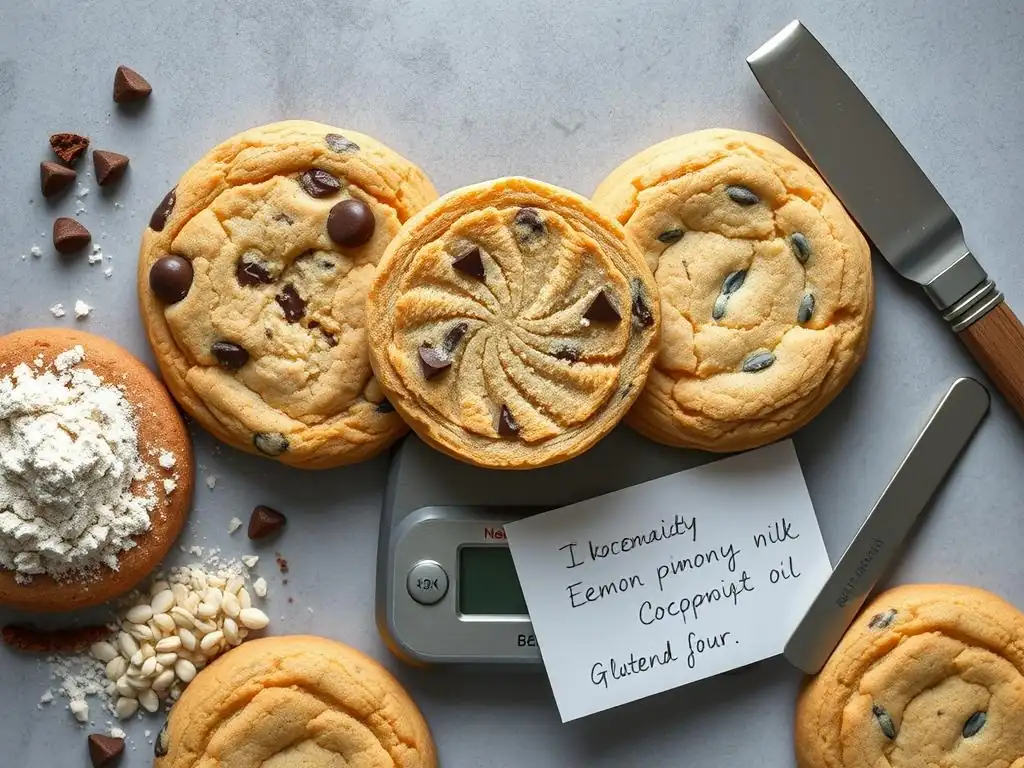
Adding Flavor and Texture: Nuts, Chocolate, and Spices
Elevating your gluten-free cookies goes beyond just fixing structural issues; it's also about enhancing flavor and texture with delicious additions. Incorporating ingredients like nuts, chocolate chips, dried fruit, or spices can turn a simple cookie into a truly memorable treat.
The key is to integrate these add-ins correctly to ensure they are evenly distributed without negatively impacting the dough's structure or causing issues during baking. These are crucial elements in crafting exceptional glutenfree cookie recipe tips.
Incorporating Add-Ins Correctly
Additions like chocolate chips, nuts, or dried fruit should typically be folded into the dough during the final stages of mixing, after the wet and dry ingredients have been just combined. Avoid using an electric mixer for this step; gently fold them in by hand with a spatula or wooden spoon.
Overmixing after adding these ingredients can break them down or toughen the dough. For delicate add-ins like freeze-dried fruit or certain types of chocolate, folding them in very gently ensures they retain their shape and texture during baking. This simple glutenfree cookie recipe tip helps maintain the integrity of both the dough and the add-ins.
Toasting Nuts for Enhanced Flavor
Toasting nuts before adding them to your cookie dough is a simple step that dramatically enhances their flavor. Toasting brings out the natural oils and deepens the nutty taste, adding another layer of complexity to your cookies. This works well for pecans, walnuts, almonds, or hazelnuts.
Spread nuts in a single layer on a baking sheet and toast in a preheated oven at around 350°F (175°C) for 8-10 minutes, stirring halfway through, until fragrant and lightly golden. Allow them to cool completely before chopping and adding to the dough. This small extra step is a fantastic glutenfree cookie recipe tip for boosting flavor.
Using High-Quality Chocolate for Best Results
The quality of your chocolate makes a significant difference in the final taste and texture of chocolate chip or chocolate chunk cookies. High-quality chocolate, whether chips, chunks, or chopped bars, contains more cocoa butter, which melts smoothly and provides a richer flavor.
Look for chocolate with a cocoa content you enjoy (e.g., 60% cacao or higher for a richer flavor) and made with good quality ingredients. Using chopped chocolate bars instead of chips can also create lovely puddles of melted chocolate in the baked cookie. This is a simple yet impactful glutenfree cookie recipe tip for chocolate lovers.
Proper storage is essential to maintain the texture and freshness of your gluten-free cookies. Because they can sometimes be prone to drying out or becoming stale more quickly than wheat-based cookies, knowing how to store them correctly ensures your hard work pays off with delicious results for days to come.
From airtight containers to freezing options, these storage glutenfree cookie recipe tips will help you keep your cookies tasting their best.
Proper Storage Containers and Methods
Once completely cooled on a wire rack, store gluten-free cookies in an airtight container at room temperature. A plastic container with a tight-fitting lid or a cookie tin with a sealed lid works well. Ensure the cookies are fully cooled before storing to prevent condensation, which can make them soggy.
If storing different types of cookies together, consider separating them by flavor, as strong flavors can transfer. For particularly soft or chewy cookies, placing a slice of plain bread in the container can help keep them moist by transferring its moisture to the cookies. This is a classic glutenfree cookie recipe tip for maintaining softness.
Freezing Gluten-Free Cookie Dough for Later
Freezing cookie dough is a fantastic way to have fresh-baked gluten-free cookies on demand. Simply scoop the dough into balls (using a cookie scoop for uniformity), place them on a baking sheet lined with parchment paper, and freeze until solid (about 1-2 hours).
Once frozen, transfer the dough balls to a freezer-safe airtight bag or container. Label with the date and baking instructions. Frozen dough can be stored for up to 3 months. To bake, place frozen dough balls on a baking sheet and bake directly from frozen, adding 1-3 minutes to the original baking time, depending on size. This is a convenient glutenfree cookie recipe tip for busy bakers.
Reviving Stale Gluten-Free Cookies
If your gluten-free cookies have gone a bit stale or hard, you can often revive them. One simple method is to place them in an airtight container with a slice of soft bread or a piece of apple overnight. The cookies will absorb moisture from the bread or apple slice, softening them up.
Alternatively, you can briefly warm stale cookies in a microwave for 5-10 seconds or in a low oven (around 250°F / 120°C) for a few minutes until just warm. Be careful not to overheat, as this can make them even harder once they cool. These easy glutenfree cookie recipe tips can save a batch that's lost its initial freshness.
Navigating the world of gluten-free cookie baking doesn't have to be daunting. By understanding the unique properties of gluten-free ingredients and applying specific glutenfree cookie recipe tips and techniques, you can overcome common challenges like spreading, crumbling, gumminess, and toughness.
Remember that success in gluten-free baking often comes down to choosing the right flour blend, using appropriate binders like xanthan gum, paying attention to hydration, chilling your dough, and baking correctly. Don't be discouraged by initial setbacks; baking is a science and an art that improves with practice. With the knowledge and glutenfree cookie recipe tips from BakeWithEase, you are well-equipped to troubleshoot issues and consistently bake delicious, perfectly textured gluten-free cookies that everyone will love. Happy Baking!
Frequently Asked Questions
Many bakers struggle with crumbly textures, cookies that spread too thin, or cookies that are too dry. These issues often stem from the lack of gluten's binding properties in the dough.
Focus on using a high-quality gluten-free flour blend that contains a mix of starches and gums. Also, consider adding binders like xanthan gum to improve the cookie's structure.
Chilling the dough before baking helps to solidify the fats, preventing excessive spreading. Also, ensure you're using the correct ratio of wet to dry ingredients in your recipe.
Consider using shortening or coconut oil, which can provide a different texture and prevent spreading. Just remember to adjust the recipe slightly as needed.
Experiment with adding ingredients like almond flour or oat flour for a richer flavor and chewier texture. Don't be afraid to adjust sweetness levels and add spices to enhance the taste.
Final Reflection: Beyond the Crumble: Mastering Gluten-Free Baking
The quest for the perfect gluten-free cookie remains a surprisingly relevant challenge in today's increasingly health-conscious world. Millions grapple with dietary restrictions, and the desire for delicious, reliably textured treats transcends simple preference; it's about inclusivity and enjoying life's simple pleasures. The frustration of a collapsed cookie is more than just a baking mishap; it's a barrier to connection and enjoyment.
This journey into the world of gluten-free baking has highlighted not only the technical challenges but also the emotional investment we place in food. The perfect cookie, whether gluten-filled or not, represents comfort, celebration, and shared experiences. Food is symbolic of love when words are inadequate.
This quote perfectly encapsulates the deeper meaning behind our pursuit of the ideal gluten-free cookie. It's about more than just a recipe; it's about creating moments of joy and connection, regardless of dietary needs.
Now, it's your turn. Don't let the fear of a collapsed cookie deter you from exploring the world of gluten-free baking. Experiment with the tips and techniques outlined in this article, embrace the learning process, and remember that even the most disastrous attempts can lead to delicious discoveries. The perfect gluten-free cookie awaits – dare to bake your way to success!
Unleash Your Inner Gluten-Free Baking Genius!
Thanks for joining us on this delicious journey into the world of gluten-free baking! We hope you've gained valuable insights and newfound confidence in tackling those tricky gluten-free recipes. Now it's time to put your knowledge to the test!
- Bake your dream gluten-free cookie: Don't just read about it – make it! Try out one of the recipes we discussed, or experiment with your own creation, focusing on the techniques we explored.
- Share your baking triumph (or adventure!): Snap a picture of your masterpiece (or even your happy little fail!) and share it on social media using #BakeWithEaseGlutenFree. We’d love to see what you create!
- Join our baking community: Head over to our forums (link would go here on the actual site) and connect with other passionate bakers. Ask questions, share tips, and let’s build a supportive community of gluten-free baking enthusiasts!
What exciting gluten-free creation will you bake first?