
Fixing Pale Crust on NoKnead Bread

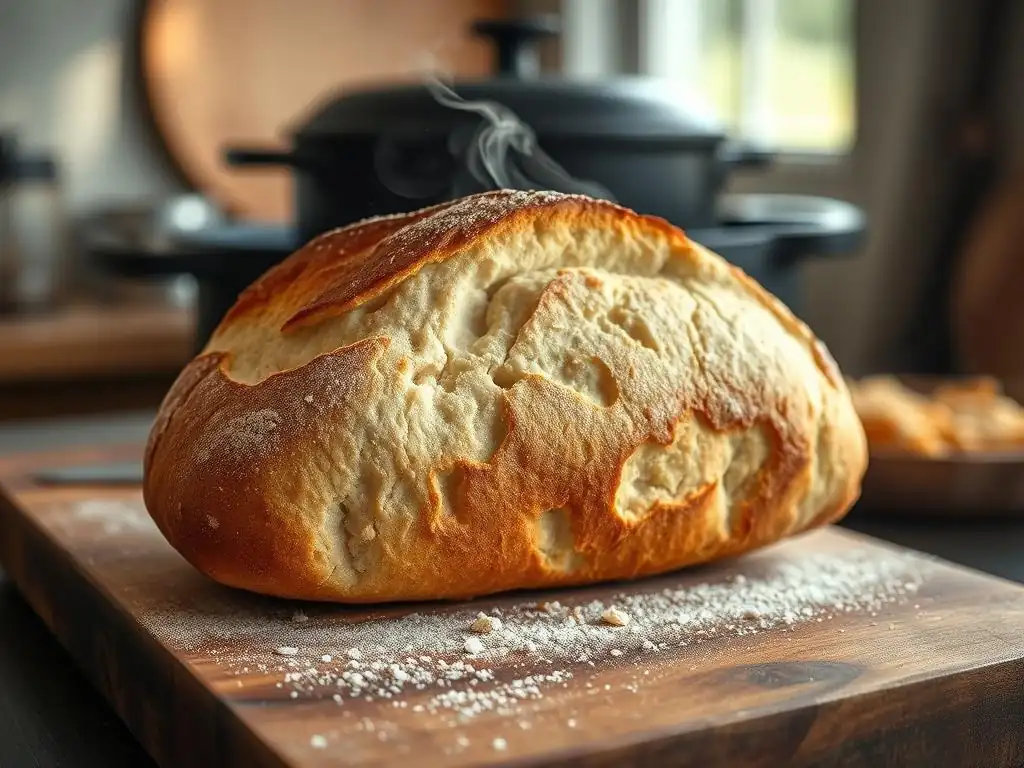
Welcome to BakeWithEase, your friendly guide to conquering the world of baking! Ever wondered why your no-knead bread consistently emerges with a disappointingly pale crust? You're not alone! This article dives deep into the secrets behind achieving that golden-brown perfection. Discover the simple tweaks and clever hacks that will transform your loaf, leaving you with a crust that's as satisfying to look at as it is to eat. Intrigued? Let's get baking!
- Achieving a Golden Crust on No-Knead Bread
- Understanding Crust Development in No-Knead Bread
- Troubleshooting Pale Crust: Proven Solutions
- Advanced Techniques for Enhanced Crust Color
- Best Practices for Consistent Crust Quality
- Mastering the Art of No-Knead Bread Crust
-
Frequently Asked Questions
- How can I get a darker crust on my no-knead bread?
- My no-knead bread is browning on the bottom but still pale on top. What should I do?
- I'm already baking at a high temperature. Why is my no-knead bread still pale?
- Can the type of flour affect the crust color of my no-knead bread?
- How long should I bake my no-knead bread with the lid off to achieve a darker crust?
- Final Reflection: Beyond the Crust: Unveiling the Heart of No-Knead Baking
- Unlock Your Crust's Golden Potential!
Achieving a Golden Crust on No-Knead Bread
Understanding Crust Development in No-Knead Bread
Factors Affecting Crust Color: A Guide
Achieving that coveted deep golden-brown crust on your no-knead bread is a key indicator of a successful bake and contributes significantly to both texture and flavor. Several factors play a crucial role in this process. Primarily, high temperature baking is essential. The intense heat triggers the Maillard reaction and caramelization on the surface of the dough, complex chemical processes that produce hundreds of flavor compounds and the rich brown color we associate with delicious bread crust. Without sufficient heat, these reactions simply won't occur effectively, leading to a pale crust.
Beyond temperature, the presence of sugars and proteins on the dough's surface, the duration of baking, and the environment within the oven (particularly humidity) all influence crust development. Even a small amount of sugar, whether inherent in the flour or added, provides fuel for caramelization. Proteins contribute to the Maillard reaction.
Proper baking time ensures these reactions have long enough to develop fully. Steam in the initial phase of baking keeps the crust pliable, allowing for maximum oven spring, and when removed, allows the now-expanded surface to dry out and crisp up rapidly under high heat. A no knead bread pale crust often points to a deficiency in one or more of these fundamental elements.
Identifying Undercooked vs. Properly Browned Crust
Visually distinguishing between an undercooked crust and a properly browned one goes beyond just color. A properly baked crust on no-knead bread should be a rich, uniform golden-brown to reddish-brown across most of the surface, especially on the top and sides. It should feel firm and crispy to the touch, often producing a hollow sound when tapped on the bottom. The surface might have blisters or bubbles, particularly common with high-hydration doughs baked at high temperatures with steam. This indicates good heat transfer and proper crust formation.
In contrast, a pale crust on no-knead bread is typically light tan or yellowish-white, lacking the deeper hues. It might feel soft or leathery rather than crisp. While the internal temperature of the loaf might reach the target 200-210°F (93-99°C) indicating the crumb is cooked, a pale crust signifies that the surface hasn't undergone the necessary browning reactions.
This often results in a less flavorful crust and can sometimes suggest slightly insufficient overall baking time, even if the center is technically done. Fixing a no knead bread pale crust is about optimizing the surface conditions for browning after the interior is set.
Troubleshooting Pale Crust: Proven Solutions
Solution 1: Optimize Baking Temperature
Recommended Temperature Ranges for No-Knead Bread
No-knead bread is traditionally baked at very high temperatures to achieve its characteristic crispy crust and airy crumb. A common range is between 450°F and 500°F (230°C and 260°C). The initial high heat is critical for oven spring and setting the crust quickly while still pliable due to steam.
For example, many popular no-knead recipes call for preheating the oven and Dutch oven to 450°F (230°C), baking covered for 30 minutes, and then uncovering and increasing the temperature slightly to 475°F (245°C) for the final 15-20 minutes to encourage deep browning. Baking consistently below this range, say at 375°F (190°C), will almost certainly result in a no knead bread pale crust, as the Maillard reaction and caramelization require intense heat to proceed effectively in the typical baking timeframe.
Maintaining this high temperature throughout the browning phase is key. If your oven temperature drops significantly when you open the door to uncover the bread, it can hinder the final browning. Using a reliable oven thermometer is crucial to ensure your oven is actually reaching and holding the target temperature. Some bakers even push the temperature towards the upper end of the range, like 500°F (260°C), especially during the uncovered portion, to maximize crust development, though this requires careful monitoring to prevent burning.
Calibrating Your Oven for Consistent Results
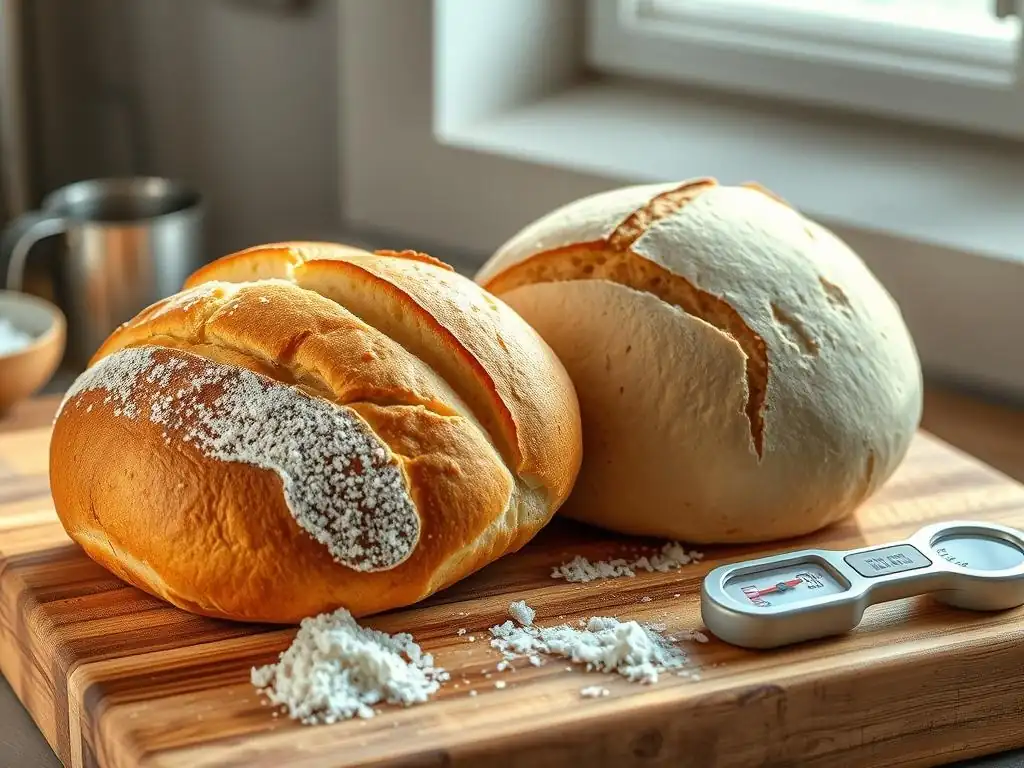
One of the most common reasons for a no knead bread pale crust, even when following a recipe precisely, is an inaccurate oven thermostat. Many home ovens can be off by as much as 25-50°F (15-30°C) or more. This means you might set your oven to 450°F, but it's actually only reaching 425°F, which is enough to cook the bread but insufficient for optimal crust browning. Investing in a simple, inexpensive oven thermometer placed inside your oven is the first step to diagnosing this potential issue.
Once you know how your oven's thermostat compares to the actual temperature, you can adjust accordingly. If your oven runs 25°F cool, you can set it 25°F higher than the recipe calls for to hit the target temperature. For significant discrepancies or uneven heating, professional calibration might be necessary, but often simply knowing the difference allows you to compensate. Consistent and accurate temperature is foundational to fixing a no knead bread pale crust and achieving reliable baking results overall.
Solution 2: Adjust Baking Time for Desired Color
Determining Optimal Baking Time by Observation
While recipes provide guideline baking times, the exact duration needed to achieve a golden crust can vary based on your oven, the bread's size, and desired level of browning. After the initial covered baking period (typically 30 minutes), which focuses on oven spring and internal cooking, the uncovered phase (typically 15-25 minutes) is where the crust color develops. During this second phase, you should actively observe the bread. Don't rely solely on the timer. Look for the transition from pale to a rich golden-brown or even darker hue, depending on your preference.
If your no-knead bread has a pale crust after the recommended time, simply extend the uncovered baking time in 5-10 minute increments. Keep a close eye on it to prevent burning. The bread is likely already cooked internally at this point, so the extended time is purely for crust development. A loaf baked for 45 minutes total might have a pale crust, while the same loaf baked for 55 minutes total, with the last 25 minutes uncovered at high heat, could develop a beautiful, deep golden-brown.
The Role of Internal Temperature in Crust Formation
It's important to understand that while internal temperature confirms the bread is cooked through (usually 200-210°F or 93-99°C), it doesn't dictate crust color. You can have a loaf with a perfectly cooked interior but a frustratingly no knead bread pale crust if the surface conditions (heat, time) weren't optimal for browning reactions. The internal temperature measurement tells you when it's safe to remove the bread from a doneness perspective, but you might need additional time at high heat to achieve the desired crust color and texture.
Think of it this way: the heat needs to penetrate the dough to cook the inside, but it also needs to intensely heat the surface to trigger the Maillard reaction and caramelization. If you pull the bread as soon as the interior hits 200°F, but the crust is still pale, it simply hasn't spent enough time at the high surface temperatures required for browning. Using a probe thermometer is excellent for checking internal doneness, but visual cues and tapping the bottom for a hollow sound are better indicators of crust development.
Solution 3: Harnessing the Power of Steam
Effective Steam Generation Techniques for Home Ovens
Steam is a baker's best friend for achieving a thin, crisp crust and maximizing oven spring in the initial phase of baking. In a professional deck oven, steam is injected. At home, the most effective method for no-knead bread is using a Dutch oven with a lid. The sealed environment traps the moisture released by the dough as it bakes, creating a steamy microclimate around the loaf. Baking covered for the first 25-30 minutes is crucial for this steam effect.
If you're not using a Dutch oven, or want to supplement, other techniques include placing a metal pan on the bottom rack of your oven while preheating and carefully pouring a cup of hot water or ice cubes into it just as you load the bread. This creates a burst of steam. Another method is baking the loaf on a baking stone or steel and covering it with a large metal bowl or roasting pan for the initial covered period.
The goal is to surround the dough with moisture during the critical first half of baking. This steam prevents the crust from setting too early, allowing the loaf to expand fully before the surface dries out and browns.
Impact of Steam on Crust Crispness and Shine
The presence of steam during the initial phase of baking has a profound impact on the final crust quality. By keeping the surface of the dough moist and pliable, steam allows the loaf to achieve maximum oven spring – the final burst of expansion in the hot oven. A crust that sets too early in a dry environment will restrict this growth, resulting in a denser loaf and a thicker, potentially tougher crust. Steam delays this setting, promoting a thinner, more delicate crust.
Once the lid is removed from the Dutch oven, or the steam pan is taken out, the now-expanded, moist surface is exposed to the high, dry heat. This rapid drying and continued exposure to high temperatures triggers intense browning reactions and caramelization. The result is a crust that is not only a beautiful golden-brown but also wonderfully thin, shatteringly crisp, and often possesses a lovely sheen. Without adequate steam, a no knead bread pale crust is more likely, and it may also be thicker and less crisp.
Solution 4: Utilizing Natural Sugars for Enhanced Browning
Exploring Sugar Sources: Honey, Molasses, and Malt
While traditional no-knead bread recipes often contain only flour, water, salt, and yeast, adding a small amount of sugar can significantly enhance crust browning through the Maillard reaction. These sugars can be simple table sugar, but more often, bakers use natural sources like honey, molasses, or diastatic malt powder. Even a small addition, perhaps 1-2 teaspoons per standard loaf, provides readily available carbohydrates on the surface of the dough to participate in the browning process when exposed to high heat.
Diastatic malt powder is particularly effective as it contains enzymes that break down starches in the flour into fermentable sugars, boosting both fermentation and browning. Honey and molasses contribute simple sugars directly. Adding a teaspoon of honey to your no-knead dough mixture can make a noticeable difference in achieving a richer, deeper color on a no knead bread pale crust. These additions work in conjunction with high heat and proper baking time to ensure that the surface has plenty of fuel for the desired browning reactions.
Impact of Sugar on Flavor and Crust Texture
The addition of sugar, even in small amounts, can subtly impact the flavor of the bread, adding a hint of sweetness that complements the savory notes developed during fermentation. Honey and molasses, in particular, also introduce their own distinct flavor profiles. Beyond flavor and browning, sugar can also influence crust texture. While primarily aiding in achieving a beautiful golden color, the presence of sugar can sometimes lead to a slightly more tender crust compared to a sugar-free dough baked under the same conditions.
However, the primary benefit when troubleshooting a no knead bread pale crust is the enhanced browning capability. The sugars on the surface caramelize, contributing to the desired color and creating complex flavor compounds unique to caramelized sugars. Used judiciously, a touch of sugar can be a simple yet effective tool in your baking arsenal to ensure your no-knead loaf boasts a crust that is as visually appealing as it is delicious and crisp.
Solution 5: Maximizing Dutch Oven Performance
Optimizing Dutch Oven Preheating for Best Results
Using a Dutch oven is arguably the most popular and effective method for baking no-knead bread at home, largely because it mimics the environment of a professional oven. Critical to its success is proper preheating. The Dutch oven, including its lid, must be preheated with the oven for at least 30-60 minutes at the target high temperature (e.g., 450-500°F or 230-260°C). This ensures the heavy cast iron is saturated with heat.
When the dough is carefully lowered into the blazing hot Dutch oven, the intense radiant heat immediately begins working on the crust. This initial burst of heat is vital for developing structure and contributing to oven spring. If the Dutch oven isn't fully preheated, the dough sits in a less hot environment for too long, delaying crust formation and potentially contributing to a no knead bread pale crust. The stored heat in the cast iron provides consistent, powerful energy transfer to the loaf throughout the baking process.
Choosing the Right Dutch Oven Material for Crust Development
While various materials can be used for baking bread, heavy cast iron, whether enameled or bare, is superior for achieving the ideal no-knead bread crust. Cast iron has exceptional heat retention and distribution properties. It gets incredibly hot and stays hot, providing consistent heat from all sides (bottom, top, and sides via radiant heat from the walls). This even, intense heat is perfect for promoting uniform browning and crisping.
Lighter materials, such as thin metal pots or ceramic bakers that aren't designed for extreme temperatures, may not retain or distribute heat as effectively. This can result in uneven baking and contribute to a no knead bread pale crust on sections of the loaf. A 5-7 quart heavy-duty cast iron Dutch oven is the standard recommendation for baking a typical no-knead loaf (around 1-1.5 lbs of flour) precisely because of its ability to create the optimal high-heat, steamy environment needed for a fantastic crust.
Advanced Techniques for Enhanced Crust Color
The Benefits of a Milk Wash
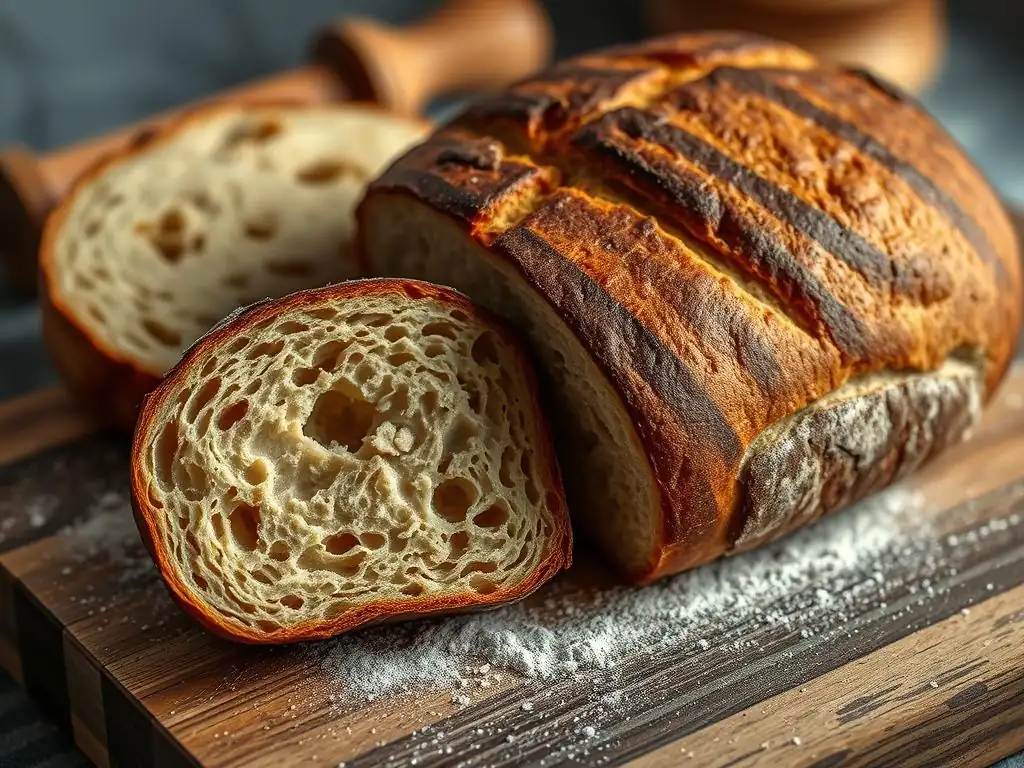
For bakers seeking an extra boost in crust color and a slightly softer finish than a super-crisp, bare crust, a milk wash can be a useful technique. A milk wash involves lightly brushing the surface of the dough with milk (whole milk is often preferred for its fat and sugar content) just before placing it in the oven or halfway through the uncovered baking period. The lactose (milk sugar) and proteins in the milk contribute significantly to the Maillard reaction when exposed to high heat.
Applying a milk wash helps create a beautiful, even golden-brown hue across the entire surface of the loaf. It adds a subtle sweetness and richness to the crust compared to a plain water wash or no wash at all. While it won't achieve the deep color and shine of an egg wash, it provides a noticeable improvement over a no knead bread pale crust without adding too much richness or changing the texture dramatically. It's a simple step that can yield impressive visual results.
Scoring Patterns for Even Crust Development
Scoring, or making deliberate cuts on the surface of the dough before baking, is not just for aesthetics; it's a functional technique that significantly impacts how the loaf expands in the oven and, consequently, how the crust develops. As the bread bakes and expands (oven spring), the scores provide weak points where the dough can tear in a controlled manner. Without scoring, the crust will likely tear randomly along the weakest point, which can result in uneven expansion and irregular crust thickness and color.
By creating scores, you guide the expansion, ensuring that the crust separates cleanly along the cuts. This allows for maximum, even oven spring and exposes more surface area to the direct heat, promoting better browning along the edges of the scores. Different scoring patterns (a single long slash, multiple parallel slashes, a crosshatch, etc.) will affect the final shape and the pattern of the browned crust, but the principle remains the same: controlled tearing leads to predictable expansion and more uniform crust development, helping to prevent a no knead bread pale crust in unpredictable patches.
Best Practices for Consistent Crust Quality
Hydration Levels and Their Influence on Crust
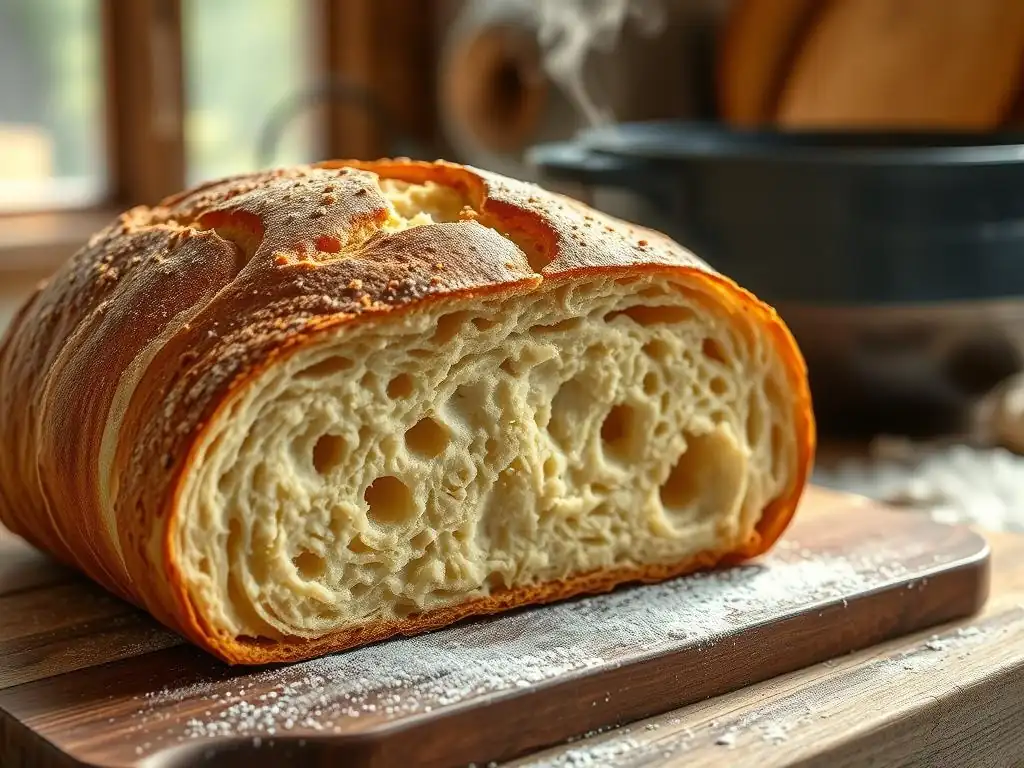
The hydration level of your no-knead dough (the ratio of water to flour) plays a role in the final crust characteristics. Higher hydration doughs, typically ranging from 75% to 85%, generally result in a thinner, more open crumb and can contribute to a thinner, crispier crust. The higher water content allows for more steam generation from within the dough itself during baking, supplementing external steam sources and helping to keep the crust pliable longer.
Lower hydration doughs, say 60-70%, are easier to handle but tend to produce a denser crumb and potentially a thicker crust. While still capable of developing a good crust, they might require slightly different baking strategies to avoid a no knead bread pale crust, perhaps emphasizing external steam more or ensuring adequate baking time at high heat after uncovering. Understanding how hydration affects your dough is key to troubleshooting and consistently achieving your desired crust texture and color.
The Importance of Proper Fermentation
Proper fermentation is fundamental to developing flavor and structure in no-knead bread, and it indirectly impacts crust quality. During the long fermentation period (often 12-18 hours at room temperature), yeast produces carbon dioxide gas, which creates the airy structure, and enzymes break down complex carbohydrates and proteins. This enzymatic activity makes nutrients available for the yeast and contributes to the development of compounds that enhance flavor and browning.
An under-fermented dough may not have sufficient sugars developed for optimal browning, potentially contributing to a no knead bread pale crust. It also won't have the strength or gas production for good oven spring, resulting in a denser loaf and a different crust texture. Conversely, an over-fermented dough can lose its structure, collapse in the oven, and may also struggle to achieve a robust crust. Observing your dough for signs of proper fermentation – like significant volume increase (often doubling), a bubbly surface, and a pleasant, slightly tangy aroma – is crucial for overall loaf quality, including the crust.
Storage Solutions for Maintaining Crust Freshness
Once you've achieved that perfect golden, crispy crust on your no-knead bread, you want to keep it that way for as long as possible. The enemy of a crispy crust is moisture. As the bread cools, moisture from the interior crumb migrates to the crust, causing it to soften. Storing the hot loaf immediately in an airtight container or plastic bag will trap this moisture and quickly turn your beautiful crust soft and rubbery.
The best way to maintain a crispy crust is to allow the loaf to cool completely on a wire rack before storing. Once cool, store the bread at room temperature in a paper bag or a bread box. These methods allow some air circulation, which helps the crust stay crispier for longer, typically for a day or two. While the crust will inevitably soften over time, proper cooling and storage significantly delay the process and help preserve the results of your efforts to avoid a no knead bread pale crust.
Mastering the Art of No-Knead Bread Crust
Key Considerations for a Perfectly Golden Loaf
Achieving a consistently golden, crispy crust on your no-knead bread boils down to mastering a few key variables. High baking temperature, typically 450-500°F (230-260°C), is non-negotiable for triggering the necessary browning reactions. Adequate steam in the initial phase, most effectively achieved using a preheated Dutch oven with a lid, ensures proper oven spring and a thinner, crispier crust. Sufficient baking time, especially in the uncovered phase, allows the crust color to develop fully – don't be afraid to extend baking based on visual cues, even if the internal temperature is reached.
Addressing a no knead bread pale crust often requires troubleshooting these core areas. Are you sure your oven is hot enough? Are you using enough steam, and is the Dutch oven properly preheated? Are you baking long enough after removing the lid? Incorporating minor adjustments like adding a touch of sugar or using a milk wash can provide an extra edge. By systematically addressing these factors, you can reliably transform a pale crust into a beautifully browned masterpiece.
Resources for Further Exploration and Refinement
Mastering the no-knead bread crust is a journey of practice and observation. While this guide covers the essential techniques to fix a no knead bread pale crust, continued learning will refine your skills. Consider exploring different no-knead recipes, paying close attention to variations in hydration levels, fermentation times, and specific baking instructions. Experiment with slightly different baking temperatures or durations in the uncovered phase to see how they impact your crust color and texture.
Keeping a simple baking journal where you note the temperature, time, techniques used (like steam method or any washes), and the resulting crust appearance can be incredibly helpful. This allows you to track what works best in your specific oven and environment. Engaging with online baking communities or consulting comprehensive baking books can provide additional insights, troubleshooting tips from other bakers, and inspiration for further experimentation with techniques aimed at achieving the perfect golden crust on your no-knead loaves.
Frequently Asked Questions
How can I get a darker crust on my no-knead bread?
A pale crust on no-knead bread often indicates insufficient heat or moisture. Try increasing your oven temperature by 25-50 degrees Fahrenheit and ensure you're baking with a covered Dutch oven for at least part of the baking time.
My no-knead bread is browning on the bottom but still pale on top. What should I do?
This suggests the bottom of your Dutch oven is getting too hot. Place a baking sheet on the rack below your Dutch oven to deflect some of the heat. Also, make sure to remove the lid during the last portion of the baking time.
I'm already baking at a high temperature. Why is my no-knead bread still pale?
Even with high heat, steam is crucial for crust development. Make sure your Dutch oven lid seals tightly or add a few ice cubes to the bottom of the oven (carefully!) when you first place the bread inside to create extra steam.
Can the type of flour affect the crust color of my no-knead bread?
Yes, the type of flour matters. Using bread flour with a higher protein content will help develop a darker and chewier crust. Lower protein flours like all-purpose flour can result in a paler crust.
How long should I bake my no-knead bread with the lid off to achieve a darker crust?
This varies depending on your oven, but generally, baking the no-knead bread with the lid off for the final 15-20 minutes is sufficient to achieve a nicely browned crust. Keep a close eye on it to prevent burning.
Final Reflection: Beyond the Crust: Unveiling the Heart of No-Knead Baking
The quest for a perfectly browned crust on no-knead bread is more than just aesthetics; it's a gateway to understanding the fundamental principles of baking. A pale crust often signals underlying issues, from oven temperature inconsistencies to hydration levels, highlighting the delicate balance required in this seemingly simple baking method. Mastering this seemingly small detail unlocks a deeper appreciation for the entire process.
The journey to a deeply golden crust has been a fascinating exploration of texture, temperature, and timing. It's a testament to the power of observation and iterative improvement, mirroring life's own lessons in refinement. The best bread is made with love, patience, and a little bit of experimentation.
This quote, though not directly about crust color, perfectly encapsulates the spirit of no-knead baking and the rewarding journey of perfecting it. The subtle nuances in crust color reflect the larger story of our relationship with food, its preparation, and the satisfaction of creating something beautiful and delicious.
Now, consider your own baking journey. Have you experienced the frustration of a pale crust? What adjustments did you make? More importantly, what did you learn from the process? Don't be discouraged by imperfections; embrace them as opportunities for growth and deeper understanding. The next time you bake your no-knead loaf, remember the lessons learned here, and strive not just for a perfect crust, but for a richer, more rewarding baking experience. The journey, as they say, is often more fulfilling than the destination.
Unlock Your Crust's Golden Potential!
Thanks for taking the time to explore the secrets to a perfectly crisp crust! We hope you learned valuable techniques to banish pale bread forever. Ready to put your new knowledge to the test?
- Bake your best loaf yet: Try implementing the crust-enhancing tips from the article, and note the changes in your baking process. Did you find one method particularly effective?
- Share your baking triumph (or even your challenges!): Snap a photo of your golden-brown masterpiece and share it on social media using #BakeWithEaseCrust. We'd love to see your results!
- Explore our other resources: Dive deeper into bread baking techniques by browsing our recipe archives on BakeWithEase.com.
What small tweak will you make to your next no-knead bread recipe to achieve that perfect crust?