
Cookies Swap: Converting Gas Oven Times to Electric Oven Cheatsheet

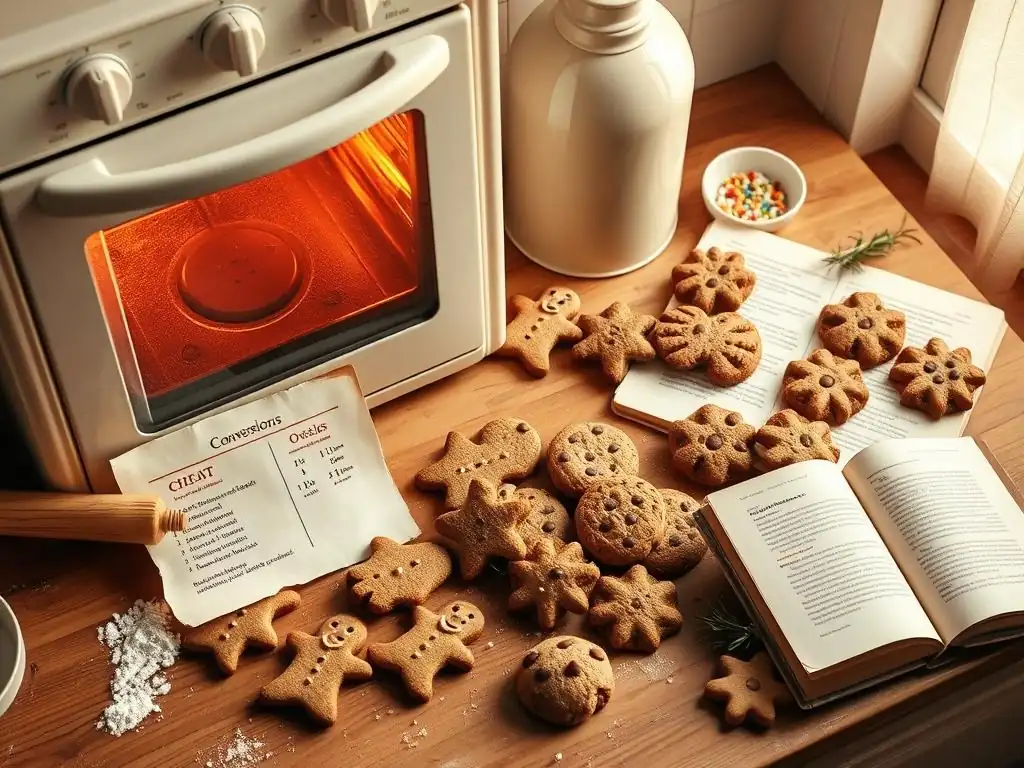
Welcome to BakeWithEase, your trusted guide to the delightful world of baking! Ever wrestled with your electric oven, wondering how to perfectly replicate those gas oven cookie recipes? You're not alone! Discover the secrets to seamless baking with our guide to electric oven conversion baking times, unlocking consistently delicious results every time. Curious to bake the perfect batch? Read on and say goodbye to unevenly baked cookies forever!
- Cookie Swap: Converting Gas Oven Times to Electric Oven Cheatsheet for BakeWithEase
- Understanding Gas vs. Electric Ovens for Cookie Baking
- Electric Oven Conversion Baking Times: The Ultimate Cheatsheet for Cookies
- Troubleshooting Cookie Baking in Electric Ovens
- Essential Baking Tips for Electric Ovens: Achieve Perfect Cookies
- Gas Oven to Electric Oven Conversion Chart: Cookie Baking Simplified
- Electric Oven Cookie Baking: Beyond Conversion Charts
- Advanced Techniques for Electric Oven Cookie Perfection
- Mastering Electric Oven Baking for Cookies: A Recap
-
Frequently Asked Questions
- How do electric oven baking times typically compare to gas oven baking times for cookies?
- What's the most important factor to consider when converting a cookie recipe from gas to electric oven?
- Where can I find a reliable electric oven conversion chart for baking cookies?
- How can I prevent cookies from drying out when baking in an electric oven after a gas oven conversion?
- What are some signs that my cookie baking time needs adjustment when using an electric oven instead of a gas oven?
- Final Reflection: Baking Bridges Between Gas and Electric Ovens
- Unlock Your Electric Oven's Cookie Potential!
Key Differences Affecting Baking Times and Temperatures
Electric ovens rely on heating elements at the top and bottom to deliver steady, radiant heat, typically resulting in more even browning across the cookie batch. In contrast, gas ovens often generate hotspots due to the flame’s direct contact with the oven floor and can produce excess moisture from combustion, which may leave cookies softer or chewier around the edges. On average, a gas oven preheats in about 7–10 minutes, while an electric oven may require 12–15 minutes to reach 350°F (180°C).
Another major factor is temperature stability. Electric ovens often hold within ±5°F of the set point, whereas gas ovens can fluctuate by up to ±15°F, especially if the pilot light cycles frequently. This discrepancy can translate to underbaked centers or burnt edges if you follow a gas-based recipe in an electric unit without adjustment.
Many classic cookie recipes—think chocolate chip or shortbread—originated when gas ovens were the home standard. With the surge in electric oven ownership (approx. 65% of U.S. households in 2023), bakers need a reliable conversion process to avoid guessing. Converting ensures that your sugar cookies come out tender and your biscotti crisp, even if the original calls for Gas Mark 4 at 350°F.
“An unadjusted oven can be the difference between a perfect batch of snickerdoodles and a tray that’s burnt on the outside while doughy in the middle,” notes pastry chef Maria Lopez, who developed over 120 cookie recipes for bakery chains nationwide.
When using an electric oven, start by reducing the temperature by 15–20°F compared to a gas recipe. For example:
- Classic Chocolate Chip Cookies: Gas Mark 4 (350°F/180°C) → Electric at
335°F(170°C) - Sugar Cookies: Gas Mark 3 (325°F/165°C) → Electric at
310°F(155°C) - Oatmeal Raisin Cookies: Gas Mark 5 (375°F/190°C) → Electric at
360°F(182°C)
By following these adjusted settings, you’ll achieve uniform spread and browning across different cookie types.
To convert a gas-based cookie recipe, follow this simple workflow:
- Identify the recipe’s gas mark or temperature.
- Subtract 15–20°F (8–10°C) for electric ovens.
- Adjust the bake time if needed (electric ovens often bake ~5% faster).
Nested conversion example for a Gas Mark recipe:
- Original: Gas Mark 6 (400°F/200°C) for 10 minutes
- Electric:
385°F(195°C) for 9–10 minutes
- Electric:
Chocolate Chip Cookies: Gas to Electric Conversion
Chocolate chip cookies at Gas Mark 4 (350°F/180°C) typically bake for 8–10 minutes. In an electric oven:
- Set to
335°F(170°C). - Bake for 9–11 minutes, rotating halfway for even color.
- Look for edges that are just turning golden—centers will firm up as they cool.
By fine-tuning both temperature and time, you’ll avoid undercook and overbake mishaps.
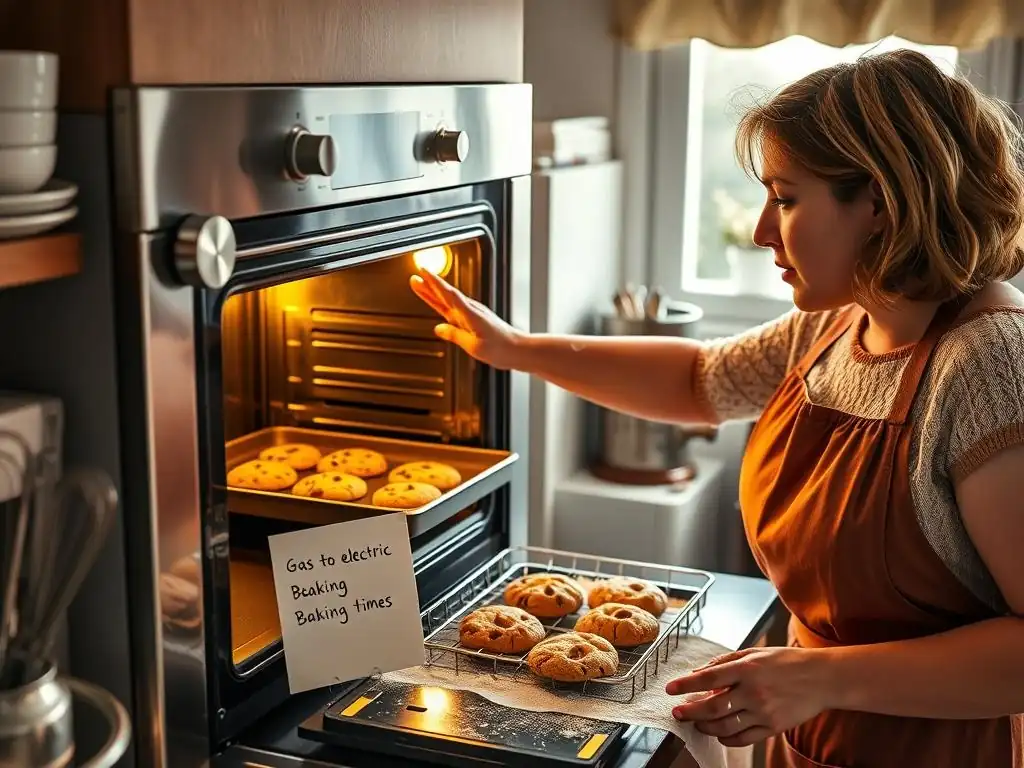
Common Issues and Solutions for Electric Oven Baking
- Burnt bottoms
- Solution: Place a sheet of perforated aluminum foil or a silicone mat under the baking tray.
- Uneven browning
- Solution: Rotate sheets at the halfway mark and switch rack positions if baking multiple trays.
Block heat spots can be tamed by investing in a baking stone or steel. A stone placed on the bottom rack absorbs excess heat spikes, ensuring more consistent results.
Preheat Your Electric Oven Properly for Consistent Results
- [x] Allow 12–15 minutes for the oven to reach the target temperature—use an oven thermometer for accuracy.
- [x] Confirm the element cycles on and off; if the indicator light is still flickering after 10 minutes, wait an extra 3–5 minutes before baking.
Ensuring full preheat prevents the dreaded “cookie sunk center,” common when dough hits a partially warmed oven.
Cookies perform best on the center rack where air circulation is maximized. If your oven’s heat source is only at the bottom element, shift to the top-third rack for sugar cookies and the middle rack for heavier oatmeal or molasses cookies.
Rotate trays 180° at the midpoint of baking—this simple step reduces the hot-spot effect by up to 30%. If you’re using multiple sheets:
- Bake one tray at a time for consistent color.
- If you must bake two at once, swap positions (top ↔ bottom) halfway through.
Quick Reference Chart: Gas Mark Equivalents in Electric Ovens
| Gas Mark | Fahrenheit (Gas) | Celsius (Gas) | Electric °F | Electric °C |
|----------|------------------|---------------|-------------|-------------|
| 1/4      | 225°F            | 110°C         | 210°F       | 100°C       |
| 1        | 275°F            | 135°C         | 260°F       | 130°C       |
| 2        | 300°F            | 150°C         | 285°F       | 140°C       |
| 3        | 325°F            | 165°C         | 310°F       | 155°C       |
| 4        | 350°F            | 180°C         | 335°F       | 170°C       |
| 5        | 375°F            | 190°C         | 360°F       | 182°C       |
| 6        | 400°F            | 200°C         | 385°F       | 195°C       |
| 7        | 425°F            | 220°C         | 410°F       | 210°C       |
| 8        | 450°F            | 230°C         | 435°F       | 225°C       |
| 9        | 475°F            | 245°C         | 460°F       | 240°C       |
Understanding Temperature Differences: Celsius and Fahrenheit
Converting between Celsius and Fahrenheit is straightforward:
°F = (°C × 9/5) + 32
°C = (°F − 32) × 5/9
For example, 180°C equals (180 × 9/5) + 32 = 356°F. Knowing this helps you adjust precisely, especially when a recipe lists only one scale.
- Soft, chewy cookies benefit from a slightly lower temp (
325°F) and longer bake (12–14 minutes). - Crisp, thin cookies thrive at a higher setting (
360°F) for 8–9 minutes.
If your dough is wet or runny (high butter/sugar ratio), reduce the temp by another 5°F and monitor spread carefully.
Considering Oven Calibration for Accurate Baking
Most home ovens drift by ±10–20°F over time. To calibrate:
- Place an oven thermometer in the center.
- Heat to
350°F; if it reads335°F, adjust the dial +15°F. - Recheck after one more preheat cycle.
Routine calibration ensures that every batch at BakeWithEase hits perfection.
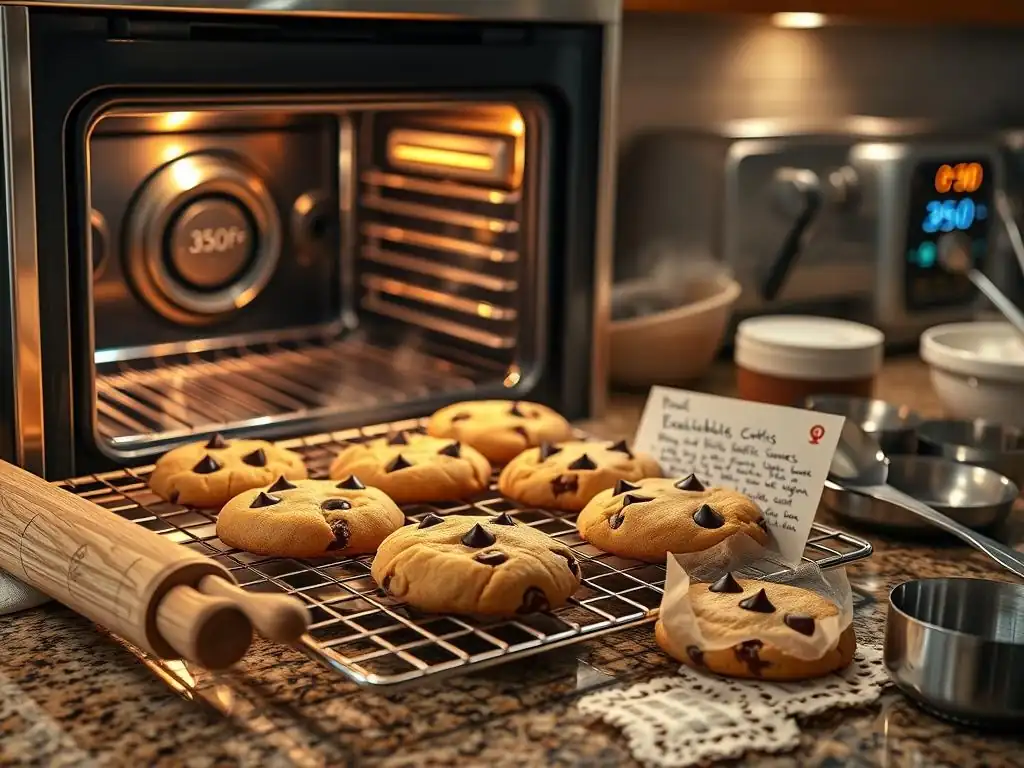
A preheated baking stone (½"–¾" thick) acts as a thermal reservoir, absorbing heat evenly and releasing it slowly. This method:
- Produces uniform bottom browning.
- Minimizes edge flare and shrivel.
Heat the stone for at least 45 minutes on the lowest rack before sliding your cookie sheet on top.
Convection ovens circulate hot air with a fan, delivering:
- Up to 20% faster bake times.
- More uniform color without rotating trays.
Tip: When using convection mode, lower your set temperature by 25°F ( 350°F → 325°F) and start checking cookies 2–3 minutes earlier than a conventional bake time.
- Adjust temperature: Subtract 15–20°F from gas recipes.
- Preheat fully: Use an oven thermometer and allow 12–15 minutes.
- Manage racks & rotation: Center rack, rotate halfway for consistency.
- Calibrate regularly: Keep your oven’s accuracy within ±5°F.
By following these guidelines, you’ll consistently turn out cookies that rival professional bakery quality— every single time.
Further Resources for Electric Oven Baking Techniques
For more in-depth techniques and recipe adaptations, explore:
- BakeWithEase’s guide on “Temperature Tweaks for Perfect Pastries”
- Advanced sections on convection vs. conventional baking
- Expert interviews detailing stone vs. steel baking surfaces
Implement these tips and conversions to elevate your cookie game and bake with true ease!
Frequently Asked Questions
Electric ovens generally bake slightly slower than gas ovens. You might need to increase the baking time by a few minutes or lower the temperature slightly.
The most important factor is oven temperature accuracy. Ensure your electric oven is properly calibrated to avoid underbaked or overbaked cookies.
BakeWithEase.com may offer a conversion chart or guidelines specific to cookies. Look for resources that account for different cookie types and thicknesses.
Electric ovens can sometimes be drier. Try adding a small dish of water to the oven during baking or slightly reducing the baking time.
Signs include cookies that are pale and doughy in the center (too little time) or burnt edges with a soft center (too much heat or time).
Final Reflection: Baking Bridges Between Gas and Electric Ovens
The quest for the perfect cookie, cake, or pie transcends the type of oven we use; however, the conversion between gas and electric baking remains a significant hurdle for many home bakers. Mastering this conversion isn't just about achieving the right texture and browning; it's about unlocking the potential of your oven and confidently creating delicious treats, regardless of its fuel source. This cheat sheet provides a practical solution to a common baking problem, empowering home cooks to experiment and succeed.
The subtle nuances of heat distribution between gas and electric ovens often lead to frustration and inconsistent results. This article aims to bridge that gap, offering a practical guide to successful conversions. The greatest discovery of all time is that a person can change his future by merely changing his attitude.
- Oprah Winfrey. This quote resonates deeply because adopting the right approach – using this conversion guide – can dramatically change your baking experience, transforming frustration into joyful creation.
Now, it's your turn. Take this cheat sheet, experiment with your favorite recipes, and discover the joy of consistent baking results. Don't let the differences between gas and electric ovens limit your culinary creativity. Embrace the challenge, adapt your techniques, and most importantly, enjoy the delicious rewards of your baking journey. The perfect cookie awaits!
Thanks for joining us on this delicious journey into the world of electric oven baking! You've now got the secrets to perfectly baked cookies, no matter your oven type. Ready to put your new skills to the test?
- Bake a batch of your favorite cookies using our converted times! Let us know how they turn out in the comments below. This is your chance to finally nail that golden-brown perfection.
- Share this cheat sheet with your fellow baking buddies – spread the cookie love!
- Try a new cookie recipe and adapt the baking times using the principles you just learned. Surprise yourself with your newfound baking confidence!
What unique cookie flavor will you conquer first? Let's hear it in the comments!