
Explore Different Croissant Shapes Beyond the Classic Crescent

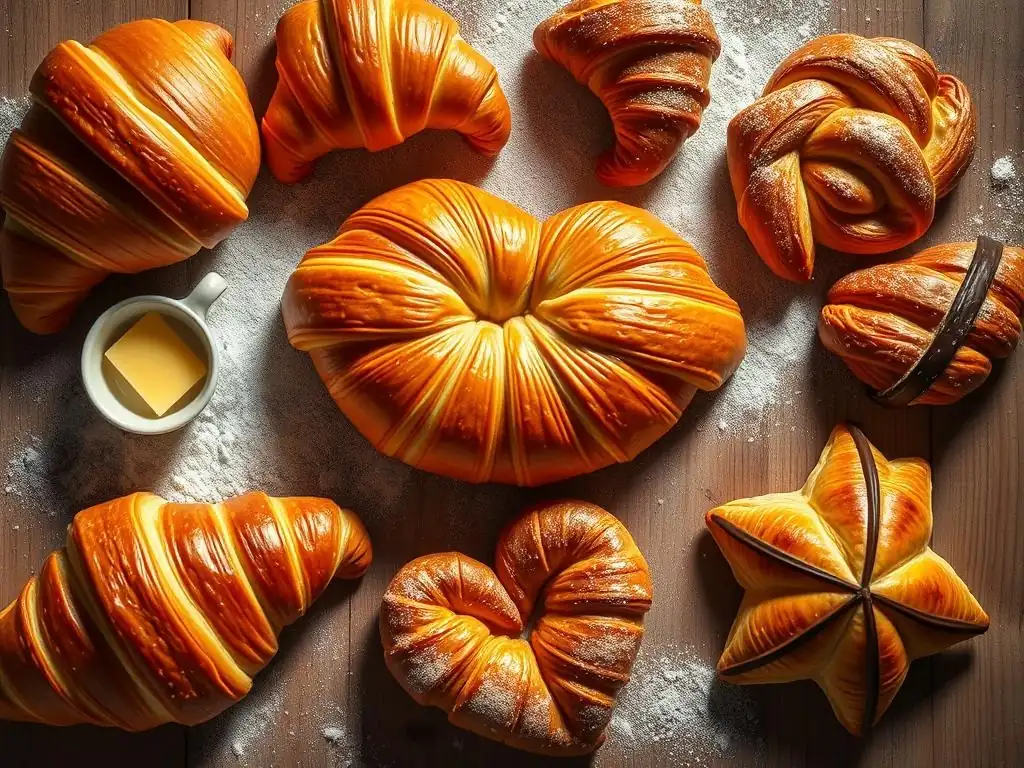
Welcome to BakeWithEase, your guide to conquering the delicious world of baking! Ever wondered if there's more to croissants than just the classic crescent? Dive in and discover our guide to creating stunning and flaky croissant shapes, unlocking a new level of artistry in your baking journey. Learn techniques to elevate your pastries and impress with unique designs – are you ready to transform your croissants?
- Croissant Shapes Recipes Guide: Beyond the Crescent - BakeWithEase
- Traditional Croissant Shapes and Their Variations
- Creative Croissant Shapes for Intermediate Bakers
- Advanced Croissant Shaping: Challenging Techniques
- Tips for Successful Croissant Shaping, Regardless of Shape
- Troubleshooting Common Croissant Shaping Issues
- Conclusion: Embrace the Art of Croissant Shaping
-
Frequently Asked Questions
- What are some croissant shapes besides the classic crescent, and where can I find examples?
- Does BakeWithEase.com offer step-by-step instructions for shaping croissants?
- Are the croissant recipes on BakeWithEase.com suitable for beginners?
- What kind of ingredients are required for the croissant recipes on BakeWithEase.com?
- Does BakeWithEase.com provide tips and techniques for achieving a flaky croissant texture?
- Final Reflection: The Enduring Allure of the Croissant, Reshaped
- Unleash Your Inner Croissant Artist: Shape Your Baking Destiny!
Croissant Shapes Recipes Guide: Beyond the Crescent - BakeWithEase
Why Explore Different Croissant Shapes?
Exploring different flaky croissant shapes goes far beyond mere aesthetics; it can genuinely enhance your baking experience and the final product. While the classic crescent is iconic, experimenting with variations allows you to tailor croissants for specific fillings, presentations, or even just for fun. A rectangular pain au chocolat, for instance, is designed specifically to encase chocolate batons, ensuring every bite includes a piece of rich, melted chocolate. A swirl shape, on the other hand, can evenly distribute fillings like cinnamon sugar or fruit compote throughout the layers, offering a consistent burst of flavor in each bite.
Furthermore, mastering various shapes builds confidence and expands your baking skill set. Each shape presents unique challenges and techniques, from precise cutting and rolling to careful handling of the delicate dough. Successfully creating a beautifully braided or cube-shaped croissant demonstrates a deeper understanding of dough lamination, temperature control, and proofing – core skills essential for advanced pastry making. This exploration is a key part of any comprehensive flaky croissant shapes recipes guide, pushing you beyond the basics to truly master the art.
The Allure of the Classic Crescent Croissant
The classic crescent croissant holds a special place in the hearts of bakers and pastry lovers alike, and its enduring popularity is well-deserved. Its iconic shape, said to originate from Vienna to celebrate a military victory, is instantly recognizable and synonymous with buttery, flaky perfection. The careful rolling and shaping of the triangle of dough into a curve creates a structure that, when baked correctly, yields a stunning open crumb with numerous distinct layers, each shattering delightfully upon the first bite.
Achieving the perfect classic crescent requires attention to detail, from cutting the dough into isosceles triangles (typically with a base of about 8-10 cm and a height of 20-25 cm) to the specific way you roll it up, stretching the point slightly before tucking it under and curving the ends. This precise technique is fundamental in any flaky croissant shapes recipes guide and ensures that the butter melts just right during baking, creating steam that separates the layers and results in that signature airy, flaky texture.
Level Up Your Baking: Expanding Your Croissant Repertoire
Moving beyond the classic crescent is a fantastic way to level up your home baking skills and impress friends and family. Each new shape introduces a slightly different manipulation of the dough, reinforcing your understanding of its properties and how it behaves during shaping, proofing, and baking. For example, shaping a pain au chocolat requires precise rectangular cuts and understanding how to enclose fillings without tearing the delicate dough, a skill transferable to other filled pastries.
Expanding your repertoire with different flaky croissant shapes also opens up a world of creative possibilities for fillings and presentations. A simple change in shape can turn a standard croissant dough into a savory treat filled with cheese and herbs, a sweet pastry bursting with fruit compote, or a visually stunning centerpiece like a braided or rose-shaped croissant. This journey through various shapes enriches your baking knowledge and adds exciting dimensions to your pastry creations.
Traditional Croissant Shapes and Their Variations
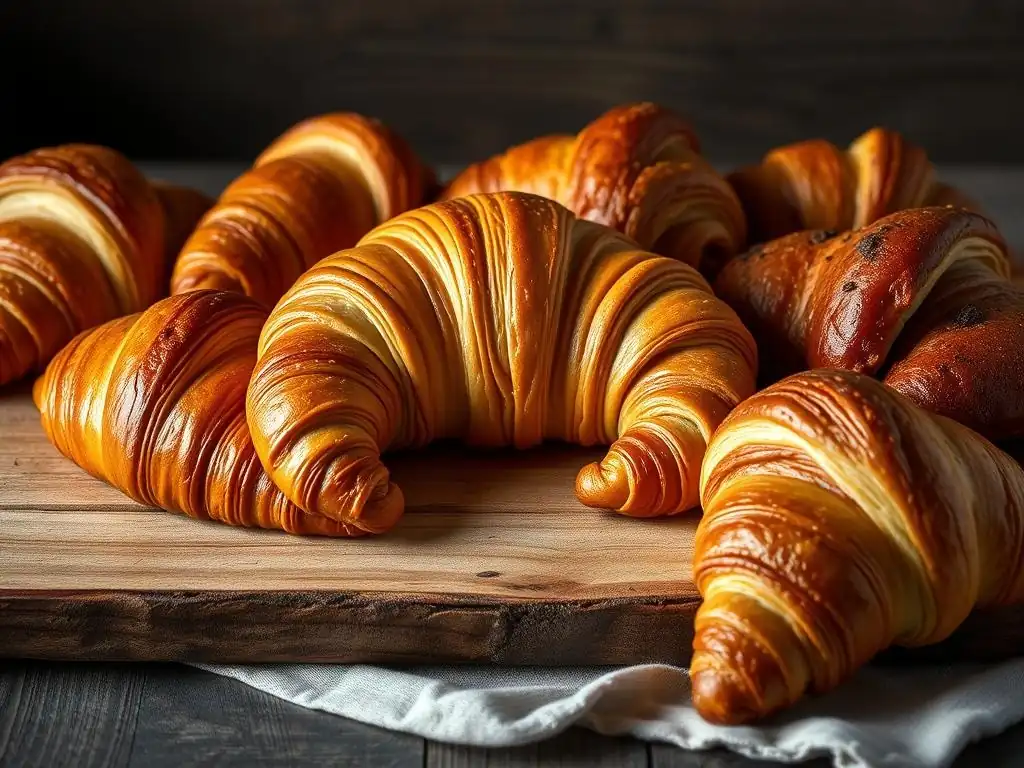
The Classic Crescent: A Step-by-Step Guide to Achieving Perfection
Creating the perfect classic crescent begins with well-laminated, chilled dough, typically rolled out to about 3-4 mm thickness. Start by cutting the dough into long isosceles triangles. A common size is a base of 8-10 cm and a length of 20-25 cm. Using a sharp knife or pastry wheel is crucial to get clean cuts, which helps the layers separate properly during baking. Once cut, gently stretch the base of each triangle slightly and make a small notch or slit about 1-2 cm deep in the center of the base.
To shape, place the triangle with the base facing you. Grasp the corners of the base and gently pull them outwards slightly while rolling the dough up towards the point. The slit helps guide the rolling and encourages the ends to curl. Continue rolling, keeping the tension even, until you reach the tip.
Tuck the tip securely underneath the rolled shape. Finally, gently curve the ends inwards to form the classic crescent shape. Place the shaped croissants on a baking sheet, ensuring adequate space for expansion during proofing and baking. This detailed approach is essential for any comprehensive flaky croissant shapes recipes guide focused on the classic form.
Pain au Chocolat: The Rectangular Delight
The Pain au Chocolat, or chocolate bread, is a beloved variation that uses the same rich, flaky croissant dough but with a different shape to accommodate a filling. Instead of triangles, the laminated dough is typically cut into rectangles. Common dimensions for Pain au Chocolat rectangles are around 8-10 cm wide by 18-20 cm long. The key is to ensure the rectangles are uniform in size for even baking.
To shape a Pain au Chocolat, place a chocolate baton (or two, depending on preference and rectangle size) near one end of the rectangle. Roll the dough over the baton once. Place a second baton (if using) and continue rolling tightly until you reach the end of the rectangle. Ensure the seam is on the bottom. The rectangular shape provides a stable structure to hold the chocolate and results in a pastry with satisfying pockets of melted chocolate distributed throughout the flaky layers. Mastering this shape is a standard step in many flaky croissant shapes recipes guide pathways.
Kouign Amann: The Breton Butter Cake-Croissant Hybrid
While not strictly a croissant shape, the Kouign Amann (Breton for 'butter cake') is an exquisite pastry that starts with a similar laminated dough enriched with sugar and butter, often included in discussions around flaky pastry shapes due to its layered structure. The key difference is that after lamination, the dough is generously folded with granulated sugar and often extra butter before being shaped. This sugar caramelizes during baking, creating a wonderfully crisp, sticky exterior and a tender, layered interior.
The most common shaping method for Kouign Amann involves cutting the sugared dough into squares (around 10-12 cm side length). The corners of the square are then folded inwards towards the center, overlapping slightly, to form a round, slightly rustic shape, often resembling a flower or a gathered parcel. This shape is then placed into a muffin tin, which helps it rise upwards and encourages the sugar and butter to pool and caramelize around the edges and bottom, resulting in its signature sweet, buttery crust.
Creative Croissant Shapes for Intermediate Bakers
The Swirl Croissant: A Visually Stunning Variation
The swirl croissant is a fantastic way to add visual appeal and evenly distribute fillings throughout your flaky layers. This shape is particularly effective for fillings that can be spread thinly, such as cinnamon sugar, pestos, or even thin layers of jam or cream cheese. The process typically involves rolling out the laminated dough into a large rectangle, similar to how you would for cinnamon rolls.
Once the dough is rolled out (often to dimensions like 30x40 cm and about 3-4 mm thick), the filling is spread evenly over the surface, leaving a small border along one long edge. The dough is then rolled up tightly along the long edge to form a log. This log is chilled to firm up the filling and dough before being sliced into rounds, usually about 2-3 cm thick.
Each round is then placed cut-side up on a baking sheet, revealing the beautiful spiral of dough and filling. This technique is a great addition to your flaky croissant shapes recipes guide knowledge base.
Shaping the Swirl: Detailed Instructions
After rolling your laminated dough into a large rectangle and spreading your desired filling (e.g., 100g softened butter mixed with 150g brown sugar and 1 tbsp cinnamon for a cinnamon swirl), leaving a 2 cm border along one long edge, begin rolling the dough tightly from the long edge opposite the border. Aim for a firm, even roll to prevent gaps.
Once rolled into a log, wrap it tightly in plastic wrap and chill in the refrigerator for at least 30-60 minutes. This chilling step is crucial as it firms up both the dough and the filling, making slicing much easier and cleaner.
Using a sharp knife or even dental floss (slide it under the log, cross the ends over the top, and pull to slice), cut the log into even rounds, typically 2.5 cm thick. Place these rounds cut-side up on a parchment-lined baking sheet, leaving ample space for them to expand into large swirls during proofing and baking. The chilling and clean slicing are key to maintaining the distinct swirl pattern throughout the baking process, resulting in a visually appealing and delicious flaky croissant.
Achieving the Perfect Swirl Texture
Achieving the perfect texture in a swirl croissant relies on several factors, primarily the quality of your laminated dough and proper proofing. The lamination process must create numerous thin layers of dough and butter. When the swirl is baked, the steam from the melting butter separates these layers, creating the signature flakiness. If the dough isn't properly laminated or is too warm during shaping, the layers can merge, resulting in a dense texture rather than a light, airy swirl.
Furthermore, adequate proofing is essential. The shaped swirls need to proof in a warm, humid environment until they are visibly expanded and jiggly, indicating the yeast has produced enough gas to lighten the dough. This typically takes 2-3 hours at around 24-26°C (75-79°F) with 70-80% humidity. Under-proofed swirls will be dense and less flaky, while over-proofed ones may collapse during baking. Ensuring these steps are followed meticulously is vital for a light, flaky swirl, a key outcome in any good flaky croissant shapes recipes guide.
The cube croissant, or "Cruffins" (though Cruffin is technically a croissant-muffin hybrid), gained viral fame for its unique, geometric shape and ability to hold generous amounts of filling. This shape is achieved by baking a rolled and sometimes filled piece of laminated dough inside a square mold, typically a cube-shaped pastry ring or even a square muffin tin. The mold forces the dough to rise vertically, creating a tall, square pastry with numerous flaky layers visible on its exterior.
The process involves rolling the dough into a rectangle, often thinner than for traditional croissants (around 2-3 mm). If adding a swirl-like filling (e.g., pistachio cream, chocolate ganache), it's spread on the rectangle before rolling it into a log, similar to the swirl croissant. This log is then cut into sections the height of your cube mold. Each section is placed vertically inside a greased mold. As the dough proofs and bakes, it expands to fill the mold, creating the distinctive cube shape. This modern variation is a popular addition to flaky croissant shapes recipes guide collections.
Mastering the Cube Shape: Tips and Tricks
Mastering the cube shape requires precise cutting and the right mold. After rolling your laminated dough and potentially adding a filling before rolling it into a log, chill the log thoroughly. This firm log is then cut into segments equal to the height of your cube molds. For a standard 6 cm cube mold, you would cut 6 cm sections from your log. A sharp knife is crucial for clean cuts that don't compress the layers.
The mold itself is key. Using individual square pastry rings or a specialized cube mold ensures the dough bakes into the desired shape. Generously greasing the inside of the molds prevents sticking. During proofing, the dough will rise to fill the mold.
It's important not to over-proof, as the dough needs enough structure to hold its shape during baking. Baking in the mold helps support the tall structure. Some bakers even place a weighted tray on top for the first part of baking to ensure a flat top and compact layers, though this can vary by recipe and desired outcome.
Cream Cheese and Fruit Filling Ideas for Cube Croissants
The tall, enclosed structure of the cube croissant makes it ideal for holding substantial amounts of filling, which can be injected after baking. Cream cheese fillings are particularly popular, offering a tangy contrast to the rich, buttery pastry. A simple cream cheese filling can be made by whipping softened cream cheese with powdered sugar and a touch of vanilla extract. For added flavor, consider incorporating fruit purees or zest.
Fruit fillings, either alone or combined with cream cheese, are also excellent choices. A vibrant raspberry or strawberry compote can be injected into the cooled cube. Alternatively, a lemon curd or a mixed berry coulis provides a bright, fresh flavor. To fill, use a piping bag with a long, thin tip to inject the filling from the top or bottom of the cooled cube. You can fill them generously, as the sturdy shape holds the filling well, making each bite a delightful combination of flaky pastry and luscious filling.
The Pinwheel Croissant: A Festive and Fun Design
The pinwheel croissant is a charming and relatively simple shape that results in a visually appealing pastry, perfect for showcasing fillings or simply enjoying the flaky layers. It starts similarly to the swirl croissant, with laminated dough rolled into a rectangle. However, instead of rolling the entire rectangle into a log, the dough is typically cut into squares.
Once you have squares of dough (e.g., 12x12 cm), a cut is made from each corner towards the center, stopping about 2-3 cm from the middle. A filling (like jam, fruit compote, or cream cheese) can be placed in the center. Then, one corner of each "flap" created by the cuts is folded towards the center and pressed down to secure it, creating a pinwheel effect. This shape ensures that some filling is exposed while other parts remain layered, offering a delightful texture contrast. It's a fun shape to include in your flaky croissant shapes recipes guide experiments.
Creating the Pinwheel: A Step-by-Step Approach
To create the pinwheel shape, start with chilled, laminated dough rolled out into a rectangle about 3-4 mm thick. Cut the rectangle into squares, for instance, 12 cm x 12 cm. Using a sharp knife or pastry wheel, make four diagonal cuts from each corner towards the center of the square, stopping approximately 2.5 cm from the very middle. This creates four 'flaps'.
Place a small amount of filling (about 1-2 teaspoons) in the center of the square. Now, take one corner of each of the four flaps and fold it over the filling towards the center, pressing it down gently to adhere to the dough underneath. Ensure the corners are securely fastened to prevent them from unfolding during proofing and baking. The remaining corners of the flaps will point outwards, creating the pinwheel effect. Place the shaped pinwheels on a baking sheet, leaving space for expansion.
Savory and Sweet Filling Combinations for Pinwheel Croissants
The pinwheel shape is incredibly versatile and works well with both sweet and savory fillings. For sweet options, consider classic combinations like raspberry jam or a dollop of Nutella. A small mound of almond paste or a spoonful of apple compote also bakes beautifully within the pinwheel structure. You could also try a combination of cream cheese and lemon zest for a bright, tangy flavor.
On the savory side, pinwheels can be filled with pesto and a sprinkle of cheese, finely chopped sun-dried tomatoes and herbs, or even a small amount of caramelized onions. Ensure savory fillings are not too wet, as excess moisture can hinder the flaking process. A sprinkle of Everything Bagel seasoning on top before baking adds a nice finish to savory pinwheels. Experimenting with different fillings makes the pinwheel a dynamic addition to any flaky croissant shapes recipes guide.
Advanced Croissant Shaping: Challenging Techniques
The Braided Croissant: An Elegant and Intricate Design
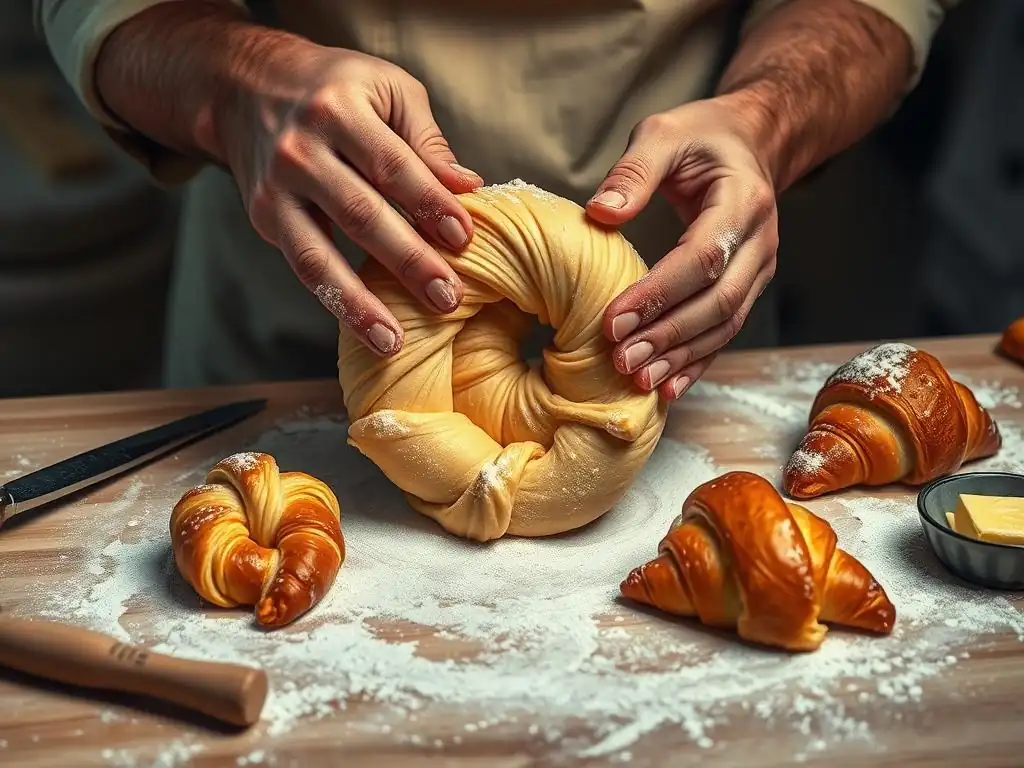
The braided croissant is a stunning pastry that showcases the flaky layers in an entirely different way, creating a beautiful, interwoven texture. This shape requires a bit more practice and careful handling of the dough to maintain definition during proofing and baking. It's typically made from a strip of laminated dough that is cut into strands and then braided.
To create a braided croissant, roll the dough into a rectangle and cut it into long, even strips, usually about 3-4 cm wide. The length will depend on how long you want your braid to be, but often strips are around 30-40 cm long. You can use two or three strips for a simple or a slightly more complex braid. The key is to keep the dough cold and handle it gently to avoid compressing the layers before braiding. This elegant shape is a hallmark of advanced flaky croissant shapes recipes guide techniques.
Braiding Techniques for Croissants: A Visual Guide
While a visual guide isn't possible here, imagine taking three strips of chilled croissant dough, each about 3-4 cm wide and 30-40 cm long. Pinch the tops of the three strips together firmly to secure them. Lay the strips flat and parallel. Begin braiding as you would hair or bread dough: take the right strip and cross it over the middle strip. Then, take the left strip and cross it over the new middle strip. Repeat this process, keeping the tension even and the braid relatively loose to allow for expansion.
As you braid, try to keep the dough cold and work relatively quickly. If the dough becomes too warm and sticky, pop it back in the fridge for 10-15 minutes. Once you reach the end of the strips, pinch the ends together firmly to seal the braid. You can leave the braid straight or gently curve it into a ring or crescent shape. Place the braided croissant carefully on a baking sheet. The definition of the braid is crucial for the final aesthetic.
Ensuring Even Baking in Braided Croissants
Ensuring even baking in braided croissants can be slightly more challenging than with simpler shapes due to the varying thickness and exposed surfaces of the braid. One key factor is maintaining consistent dough thickness before cutting the strips – uneven strips will bake unevenly. Also, ensure the braid isn't too tight, as this can result in dense spots where the dough is compressed.
During baking, keep an eye on the exposed edges of the braid, which may brown faster than the thicker parts. If they start to brown too quickly, you can loosely tent the braided croissants with aluminum foil for the remainder of the baking time. Baking at the correct temperature (often around 180-190°C or 350-375°F) is also vital; if the oven is too hot, the outside will burn before the inside is cooked, and if it's too cool, the layers may not set properly.
The Rose Croissant: A Delicate and Beautiful Shape
The rose croissant is perhaps one of the most visually stunning and delicate shapes, resembling a blooming rose. This shape is less about creating distinct layers on the surface and more about arranging coiled dough to mimic petals. It typically involves rolling the dough into a long, thin strip and then coiling it.
To create a rose, roll a piece of laminated dough into a long, thin rectangle, about 8-10 cm wide and 40-50 cm long, and about 2-3 mm thick. You can optionally spread a thin layer of filling (like cinnamon sugar or almond paste) over the strip. Then, starting from one end, loosely coil the strip onto itself, keeping one edge slightly higher than the other to create the layered 'petal' effect. This shape demands patience and a gentle touch, making it an advanced technique in any flaky croissant shapes recipes guide.
Shaping the Rose: Patience and Precision
Shaping the rose requires a delicate touch. After rolling your dough into a long, thin strip (e.g., 8 cm wide by 45 cm long, 2.5 mm thick), you can leave it plain or spread a thin layer of filling, ensuring the filling doesn't go all the way to the edges. Begin coiling the strip from one end, keeping the coil relatively loose.
As you coil, slightly offset the layers, allowing one edge to peek out over the other. This creates the visual separation that resembles rose petals. Continue coiling until you reach the end of the strip. Tuck the end securely underneath the formed rose shape. Place the rose carefully on a baking sheet. The success of the rose shape lies in not coiling too tightly, which would prevent the layers from separating during baking, and handling the delicate shape gently during proofing and transferring.
Tips for Preventing the Rose from Unfurling During Baking
Preventing the delicate rose shape from unfurling during baking is crucial. One key tip is to ensure the end of the dough strip is securely tucked underneath the coiled base of the rose. Press it gently but firmly to help it adhere. Chilling the shaped roses briefly before proofing can also help the layers hold their structure initially.
During proofing, handle the roses with extreme care as they become very delicate. Ensure they are fully proofed but not over-proofed, as over-proofed dough is more likely to lose its shape. Baking in a slightly preheated oven (allowing the temperature to drop slightly when the door is opened) can help set the shape quickly. Some bakers also bake rose croissants in muffin tins, which provides support and helps maintain the coiled structure as they rise.
Tips for Successful Croissant Shaping, Regardless of Shape
The Importance of Cold Dough: Maintaining Temperature Control
Maintaining cold dough is paramount for successful croissant shaping, regardless of the shape you choose. The layers of butter and dough must remain distinct and firm throughout the rolling and shaping process. If the dough warms up, the butter will soften and potentially melt into the dough, destroying the lamination and resulting in a dense, bread-like texture rather than a flaky one.
Work in a cool environment if possible. Roll the dough quickly and efficiently. If at any point the dough becomes soft, sticky, or the butter feels like it's oozing, stop immediately, wrap the dough, and place it back in the refrigerator (or even the freezer for a few minutes) until it is firm again. This intermittent chilling is a non-negotiable step in any good flaky croissant shapes recipes guide.
Mastering the Lamination Process for Flaky Layers
Mastering the lamination process is the foundation of all flaky pastries, including croissants of any shape. Lamination involves repeatedly folding and rolling dough with a layer of butter locked inside. This creates hundreds, sometimes thousands, of alternating thin layers of dough and butter. A typical lamination process for croissants involves enclosing a butter block within the dough and then performing 3-4 "turns" (a turn usually consists of a tri-fold or a book-fold, followed by chilling).
Each turn multiplies the layers; for instance, three tri-folds result in 3^3 = 27 layers of dough and 26 layers of butter, while four turns can yield significantly more layers. The key to successful lamination is using butter with the correct plasticity (not too hard, not too soft), keeping the dough and butter cold, and rolling evenly without tearing the dough. Proper lamination is the magic behind the expansion and flaking during baking, a fundamental principle in any flaky croissant shapes recipes guide.
Egg Wash Techniques for a Golden-Brown Crust
Applying an egg wash is a simple yet effective technique for achieving a beautiful golden-brown, glossy crust on your croissants. A standard egg wash is made by whisking one whole egg with a tablespoon or two of milk or water. For an extra glossy finish, some bakers use only egg yolks mixed with a small amount of cream.
Apply the egg wash evenly to the surface of the proofed croissants using a pastry brush. Be careful not to let the wash pool around the base or edges, as this can seal the layers together and prevent them from rising and flaking properly. A single, even coat is usually sufficient. For a deeper color, a second light coat can be applied just before baking. The protein in the egg and the sugar in the milk or cream caramelize during baking, contributing to the desirable color and shine.
Baking Time and Temperature: Achieving the Perfect Bake
Baking time and temperature are critical for achieving the perfect texture and color in croissants, regardless of their shape. Croissants are typically baked at a relatively high initial temperature to encourage a rapid rise and strong oven spring, which helps separate the flaky layers. A common approach is to preheat the oven to around 200-220°C (400-425°F).
After placing the proofed croissants in the oven, the temperature is often immediately reduced to 180-190°C (350-375°F) for the remainder of the baking time. This initial burst of heat helps set the shape and create steam, while the lower temperature allows the layers to cook through and crisp up without burning the exterior. Baking time varies depending on the size and shape of the croissant, but typically ranges from 15 to 25 minutes. Croissants are done when they are deeply golden brown and feel light when lifted.
Troubleshooting Common Croissant Shaping Issues
Dough Tears During Shaping: Causes and Solutions
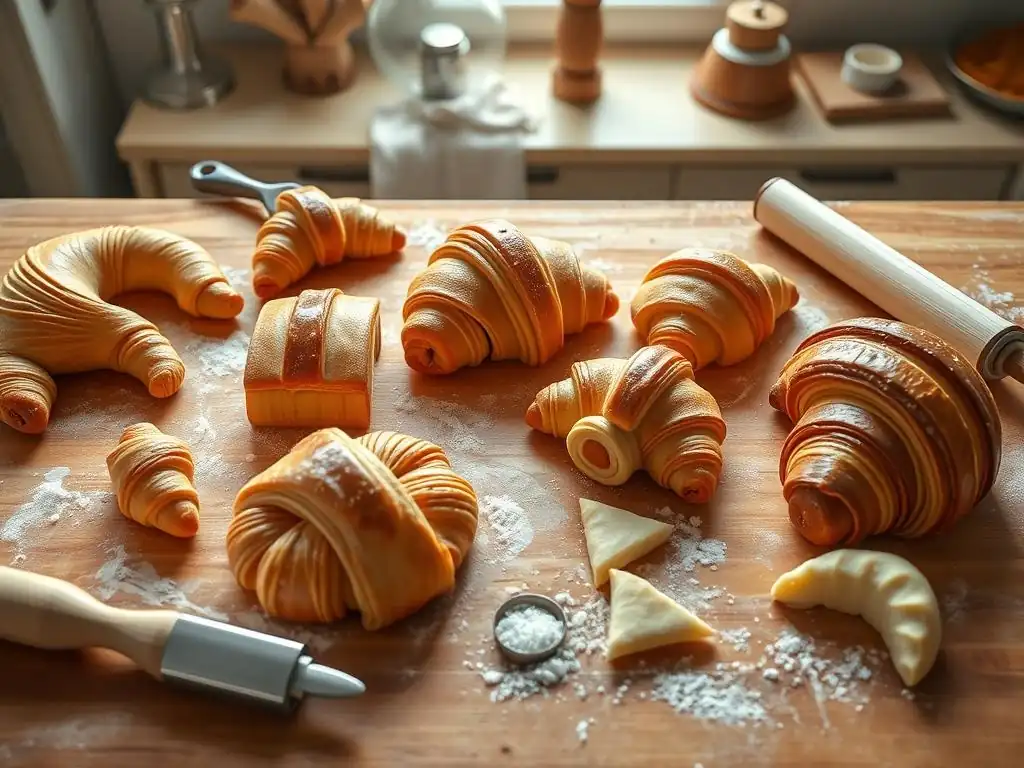
Dough tears during shaping are a common frustration and usually indicate an issue with the dough itself or its temperature. One primary cause is dough that hasn't been properly developed (not enough gluten structure) or dough that is too cold and therefore stiff and inflexible. Overworking the dough during lamination can also make it fragile.
If the dough is tearing because it's too cold, let it sit at room temperature for just a few minutes to relax slightly before attempting to shape it again. If tears occur during rolling or folding during lamination, it might indicate the butter layer isn't spread evenly or the dough is too thin in places. For small tears during shaping, you can often gently pinch them back together.
For larger tears, especially during lamination, it might be best to patch them carefully or even discard that piece if it compromises the entire sheet of dough. Ensuring the dough is pliable but cold is key.
Uneven Baking: Identifying and Correcting the Problem
Uneven baking can result in some parts of the croissant being undercooked while others are burnt, and it can be caused by several factors. One major culprit is an oven with hot spots; rotating your baking sheet halfway through the baking time can help mitigate this. Overcrowding the baking sheet is another common issue; placing too many croissants too close together restricts airflow and can lead to uneven heat distribution.
The shape itself can also influence evenness; thicker or denser parts of the croissant will take longer to cook than thinner, more exposed areas (like the points of a crescent or the edges of a braid). Ensure your shapes are as uniform as possible. If specific areas are browning too quickly, you can cover them loosely with small pieces of aluminum foil. Always ensure your oven is properly preheated to the correct temperature before putting the croissants in.
Croissant Shapes Losing Definition During Baking: Prevention Strategies
Watching your carefully shaped croissants lose their definition in the oven can be disheartening. This often happens because the dough is over-proofed or too warm when it goes into the oven. Over-proofed dough has a weakened gluten structure and can't hold its shape when the butter melts and creates steam. Dough that is too warm when baked can cause the butter to melt too quickly before the dough structure is set, leading to collapse or spreading.
Ensure you proof your croissants in a controlled environment and don't let them go past the point where they are jiggly but still hold their shape when gently nudged. Chilling the proofed croissants for 10-15 minutes before baking can help firm up the butter and dough, providing a more stable structure going into the hot oven. Also, ensure your oven is at the correct temperature; baking in an oven that is too cool can prolong the time the dough is exposed to heat before the structure sets.
Conclusion: Embrace the Art of Croissant Shaping
Experimenting with New Shapes: Unleash Your Creativity
Experimenting with different flaky croissant shapes is a rewarding journey that allows you to unleash your creativity in the kitchen. Once you've mastered the fundamentals of lamination and the classic crescent, the possibilities are vast. Try a swirl with a unique filling like ube or matcha. Challenge yourself with the precision required for the cube. Or spend time perfecting the delicate beauty of a braided or rose croissant. Each shape offers a new challenge and a chance to refine your skills.
Don't be afraid to try shapes not explicitly listed in a standard flaky croissant shapes recipes guide. Think about how you can manipulate the laminated dough – cutting, folding, twisting, or coiling – to create new visual effects or better accommodate specific fillings. The process itself is part of the joy of baking, and the unique pastries you create will be a testament to your growing expertise and adventurous spirit.
Baking is often a solitary activity in the kitchen, but the joy of sharing your creations is immense. Once you've successfully baked a batch of beautifully shaped, flaky croissants, share them with friends, family, or colleagues. Witnessing their delight as they bite into a perfectly layered pastry you made yourself is incredibly satisfying.
Consider sharing photos of your different flaky croissant shapes and your experiences with the BakeWithEase community! Online forums, social media groups, or even just showing off your bakes on your personal profiles can inspire others and provide a place to receive feedback and encouragement. Documenting your journey through different shapes, from your first hesitant crescent to your proudest braided masterpiece, is a wonderful way to track your progress and connect with fellow baking enthusiasts. Happy shaping and happy baking!
Frequently Asked Questions
What are some croissant shapes besides the classic crescent, and where can I find examples?
BakeWithEase.com explores alternative croissant shapes beyond the crescent, offering creative options. You can find examples and inspiration within the recipes and guides on the website.
Does BakeWithEase.com offer step-by-step instructions for shaping croissants?
Yes, BakeWithEase.com provides step-by-step guides for various croissant shapes. These guides cater to bakers of all skill levels, ensuring easy learning.
Are the croissant recipes on BakeWithEase.com suitable for beginners?
Absolutely! BakeWithEase.com focuses on simple recipes and techniques. They offer resources for beginners to master the art of baking, including croissant making.
What kind of ingredients are required for the croissant recipes on BakeWithEase.com?
The croissant recipes on BakeWithEase.com use easy-to-find ingredients. This makes it convenient for bakers to create delicious croissants at home.
Does BakeWithEase.com provide tips and techniques for achieving a flaky croissant texture?
Yes, BakeWithEase.com provides tips and techniques to achieve the perfect flaky croissant. These resources help bakers of all levels improve their baking skills.
Final Reflection: The Enduring Allure of the Croissant, Reshaped
The humble croissant, a symbol of buttery, flaky perfection, is far more versatile than its classic crescent shape suggests. Its enduring popularity speaks to a deep-seated human desire for both culinary artistry and simple pleasure. This exploration into the diverse world of croissant shapes reveals not just a range of recipes, but a testament to the boundless creativity within even the most established culinary traditions.
This journey through different croissant forms has highlighted for me the powerful connection between shape, texture, and taste. The subtle variations in baking technique required for each shape profoundly impact the final product, leading to unique sensory experiences. The most beautiful thing we can experience is the mysterious. It is the source of all true art and science.
- Albert Einstein. This quote, while not directly about croissants, perfectly captures the sense of wonder and exploration that comes with experimenting with different shapes and techniques, revealing hidden depths within a seemingly simple pastry.
Now, it's your turn. Don't be afraid to step outside the crescent-shaped box! Experiment with the techniques and recipes outlined in this guide, and discover the joy of creating your own unique croissant masterpieces. Let your creativity flow, and share your innovative croissant shapes with the world. The possibilities, like the layers of a perfectly baked croissant, are truly endless.
Unleash Your Inner Croissant Artist: Shape Your Baking Destiny!
Thanks for exploring the wonderful world of croissant shapes with us! You've now unlocked a treasure trove of creative baking possibilities. Ready to put your new knowledge into practice?
- Master a new croissant shape today! Choose one of the exciting variations we discussed and give it a try. Even a small change can make a big difference!
- Share your croissant creations! Snap a picture and show us your baking masterpiece – we'd love to see your unique twists on the classic.
- Challenge yourself to invent a completely new croissant shape! What unexpected form will you discover?
What incredible croissant shape will you bake next?