
Lamination by Hand: Achieving Flakiness Without Special Equipment

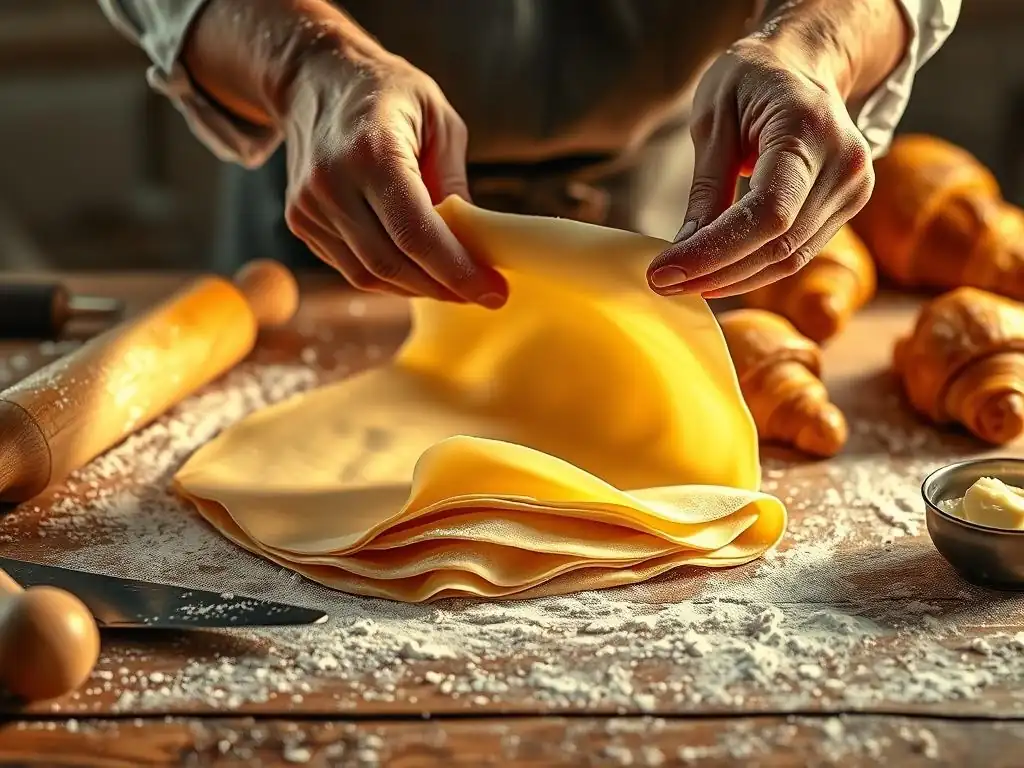
Welcome to BakeWithEase, where delicious baking becomes surprisingly achievable! Are you ready to unlock the secrets to incredibly flaky pastries? Dive into our guide on Hand Laminated Pastry Techniques and discover how to create professional-quality results without fancy equipment. Ever wondered how to achieve perfect layers with just your hands? Let's get baking and uncover the magic!
- Mastering Croissant Lamination at Home: A Baker's Guide
- The Art of Hand Lamination: Achieving Flaky Croissants Without a Sheeter
- Understanding Lamination for Perfect Croissants
- Essential Equipment for Hand Lamination
-
Step-by-Step Guide to Hand Laminated Dough
- Preparing the Détrempe (Base Dough): Hydration and Gluten Development
- Incorporating the Butter Block (Beurrage): Even Distribution
- The First Single Turn: Locking in the Butter
- Subsequent Turns: Building Layers Through Folding (Double and Single)
- Resting the Dough: Relaxing Gluten and Maintaining Temperature
- Troubleshooting Common Lamination Issues
- Croissant Recipes for Home Bakers
- Tips and Tricks for Successful Hand Lamination
- Storing and Baking Hand-Laminated Pastry
- Hand Lamination vs. Machine Lamination: A Baker's Perspective
- Conclusion: Embracing the Craft of Hand Laminated Croissants
- Frequently Asked Questions
- Final Reflection: The Enduring Allure of Hand-Laminated Pastry
- Unleash Your Inner Pastry Chef: Master Flaky Lamination!
Mastering Croissant Lamination at Home: A Baker's Guide
The Art of Hand Lamination: Achieving Flaky Croissants Without a Sheeter
Creating light, airy, and incredibly flaky croissants might seem like a daunting task, often associated with specialized bakery equipment. However, mastering the art of hand lamination, a fundamental technique in viennoiserie, allows home bakers to achieve stunning results with just basic tools and a bit of patience. This process, central to developing the characteristic layers of many classic pastries, relies on carefully folding and rolling a block of butter into a simple dough. It's a tactile, rewarding process that connects you directly to the ingredients and the transformation they undergo.
The beauty of hand laminated pastry techniques lies in their accessibility. You don't need a large kitchen or expensive machinery to begin this journey. With a standard rolling pin, a clean surface, and a refrigerator, you can build the hundreds of paper-thin layers of dough and butter that explode into flaky perfection when baked. While it requires precision and temperature control, the principles are straightforward, making it an achievable goal for any intermediate home baker eager to elevate their skills and enjoy truly exceptional homemade pastries.
Understanding Lamination for Perfect Croissants
What is Lamination? Creating Layers for Flakiness
Lamination is a pastry-making technique where a block of cold butter is enclosed within dough, and then the dough is repeatedly folded and rolled out. Each fold creates new layers of dough and butter. The goal is to create extremely thin, alternating strata. For a classic croissant dough, after a series of folds (typically three to four 'turns'), you can achieve hundreds, or even thousands, of distinct layers within the dough.
During baking, the water in the butter turns rapidly into steam. This steam is trapped between the layers of dough, forcing them apart and creating the characteristic rise and airy structure. The fat from the melted butter then coats the dough layers, preventing them from sticking together and resulting in that desirable crisp, flaky texture. Without this layering process, you'd simply have a dense, buttery bread rather than a light, delicate pastry.
Why Hand Lamination? Accessibility and Control
Hand lamination offers a direct, hands-on approach to this intricate process, making it possible for anyone with a kitchen to create laminated dough. Unlike industrial sheeters that automate the rolling process, hand lamination relies on the baker's feel and control. This allows for a deeper understanding of the dough's texture, temperature, and resistance at each stage.
Choosing hand laminated pastry techniques provides a unique connection to the craft. While a sheeter can produce perfectly uniform layers quickly, hand lamination allows the baker to adjust pressure and technique based on how the dough is responding. It’s a slower, more deliberate method that, while potentially less consistent than machine lamination initially, offers immense satisfaction as you learn to manipulate the dough and butter to achieve the desired result. It's the traditional way these pastries were made for centuries.
The Science of Flakiness: Butter, Dough, and Steam
The science behind flaky pastry is a fascinating interplay of ingredients and physics. The primary actors are the dough (specifically its gluten structure), the butter (its fat and water content), and heat. A well-developed gluten network in the dough provides the structure necessary to contain the steam generated during baking and support the delicate layers. High-protein flour, typically bread flour with 12-14% protein, is often preferred for croissant dough because it can develop a strong yet elastic gluten structure.
The butter, ideally with a high fat content (82% or more, common in European-style butter), is crucial. The fat remains solid and separate from the dough layers until it melts in the oven. The water in the butter (typically around 16-18%) is what generates the steam.
As the oven temperature rises, the butter melts, and the water flashes to steam, puffing up the dough layers like tiny balloons. The melted fat then lubricates these layers, preventing them from fusing and contributing to the rich flavor and tender crumb structure. The contrast in temperature between the cold dough/butter and the hot oven is key to maximizing this steam lift before the dough structure sets.
Essential Equipment for Hand Lamination
Basic Tools: Rolling Pin, Bench Scraper, and More
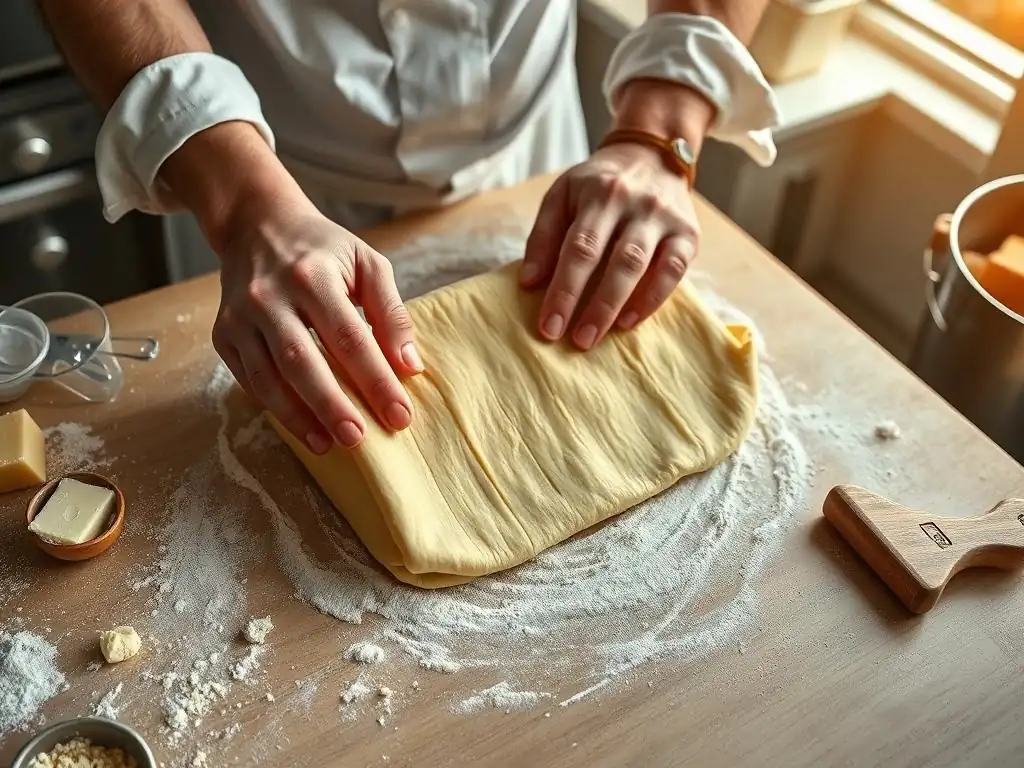
Achieving excellent hand laminated pastry techniques doesn't require a professional setup. The most critical tool is a good rolling pin. A heavy, solid rolling pin (like a French-style tapered pin or a traditional dowel pin) provides the necessary weight and control to roll the dough evenly without tearing. You'll also need a sturdy bench scraper or dough scraper to help handle and fold the dough, keeping your workspace clean.
Other essential items include a large, clean work surface (marble, granite, or even a wooden counter can work), parchment paper for wrapping the butter block and dough, and a ruler or measuring tape to ensure precise dimensions during rolling and folding. Reliable kitchen scales for accurate ingredient measurement are non-negotiable in baking, especially for something as precise as laminated dough. Access to a refrigerator with sufficient space to chill the dough flat is also vital for controlling the temperature throughout the process.
Choosing European-Style Butter: Fat Content and Flavor
The quality and type of butter significantly impact the outcome of your hand laminated pastry. European-style butters are highly recommended because they typically have a higher fat content, often 82% or more, compared to the 80% fat content common in many American butters. This higher fat percentage means less water, which results in less steam during baking, leading to finer, more distinct layers and a richer flavor.
Beyond the fat content, the pliability of the butter is crucial for hand lamination. The butter block needs to be cold but flexible enough to roll out evenly with the dough without cracking or melting into the dough. Some bakers prefer specific brands known for their excellent texture and flavor, as the butter constitutes a significant portion of the final product's taste. Experimenting with different high-fat butters can be a rewarding part of mastering hand laminated pastry techniques.
Flour Selection: High-Protein Flour for Structure
The type of flour used in the détrempe (the base dough) plays a key role in providing the necessary structure for successful lamination. High-protein flour, specifically bread flour which typically contains 12-14% protein, is generally preferred for croissants. This higher protein content allows for the development of a strong, elastic gluten network when the dough is mixed and kneaded.
A robust gluten structure is essential because it needs to withstand the stress of repeated rolling and folding without tearing, while also being strong enough to trap the steam generated by the butter during baking. Using a weaker flour, like all-purpose flour (typically 10-12% protein), might result in a dough that tears easily during lamination or doesn't develop sufficient structure to achieve optimal lift and flakiness. Some recipes might call for a blend of bread flour and all-purpose flour to balance structure and tenderness, but a significant portion of high-protein flour is key for classic hand laminated pastry techniques.
Step-by-Step Guide to Hand Laminated Dough
Preparing the Détrempe (Base Dough): Hydration and Gluten Development
The first step in hand laminated pastry techniques is creating the détrempe, the lean base dough. This typically involves mixing flour, water or milk, a small amount of sugar, yeast, and salt. The hydration level (the ratio of liquid to flour) is important; it needs to be wet enough to develop gluten easily but not so wet that it's difficult to handle during lamination. A common hydration range for croissant dough is around 55-65%.
After mixing, the dough is kneaded until a moderate level of gluten development is achieved. It doesn't need to be as fully developed as a standard bread dough, as the subsequent rolling and folding during lamination will continue to strengthen the gluten structure. The dough is then often chilled for several hours or overnight. This cold rest is crucial for several reasons: it slows yeast activity, allows flavors to develop, and, importantly, relaxes the gluten, making the dough much easier to roll out thinly and evenly without excessive resistance before the butter is incorporated.
Incorporating the Butter Block (Beurrage): Even Distribution
The heart of hand lamination is the butter block, or beurrage. This block of cold, pliable butter needs to be prepared to the correct size and consistency. Typically, cold butter is cut into pieces, arranged on parchment paper, and then pounded or rolled into a flat, even rectangle. The dimensions of this butter block are critical; they should be roughly one-third the size of the rolled-out détrempe before the first fold.
Once the détrempe is rolled into a rectangle, the butter block is placed on one side, covering two-thirds of the dough. The uncovered third of the dough is then folded over half of the butter block, and the remaining butter-covered section is folded over that. This encloses the butter entirely within the dough, creating the first three layers (dough, butter, dough). Ensuring the butter is evenly spread and the edges are sealed is vital to prevent leakage during subsequent rolling. This step sets the foundation for building all the subsequent layers through hand laminated pastry techniques.
The First Single Turn: Locking in the Butter
Following the initial enclosure of the butter, the dough is gently rolled out again into a rectangle. The seams should be oriented away from you before rolling. The goal is to lengthen the dough rectangle evenly, maintaining the butter layer within.
Once rolled to a suitable length (often three times its width), it's time for the first "turn" or fold. A single turn involves folding one end of the dough rectangle towards the center, and then folding the other end over that, like closing a book. This creates three layers of dough separated by two layers of butter (a total of 3 layers per turn).
After the first turn, the dough is wrapped and chilled in the refrigerator for a minimum of 30-60 minutes. This resting period is essential. It allows the gluten structure, which has become taut from rolling, to relax, making the dough pliable for the next turn. It also ensures the butter remains cold and firm, preventing it from melting into the dough and ruining the distinct layers. Proper chilling between turns is a cornerstone of successful hand laminated pastry techniques.
Subsequent Turns: Building Layers Through Folding (Double and Single)
Classic croissant dough typically undergoes a total of three or four turns. These turns can be a combination of single folds (creating 3 layers per fold, as described above) and double folds (also known as a "book fold"). A double fold involves folding both ends of the dough rectangle towards the center line, and then folding the dough in half along that line.
This creates four layers of dough separated by three layers of butter (a total of 4 layers per turn). A common sequence for croissants is one double turn followed by two single turns, or three single turns.
Each turn requires rolling the dough into a rectangle, performing the fold, and then resting the dough in the refrigerator. For example, after the first single turn and rest, you would rotate the dough 90 degrees so the open edge is facing you, roll it out again, perform the second turn (perhaps a double), rest, and then repeat for the final turn. This systematic process of rolling, folding, and chilling is how the countless thin layers characteristic of hand laminated pastry techniques are built, layer by painstaking layer.
Resting the Dough: Relaxing Gluten and Maintaining Temperature
Resting the dough between turns is not merely a suggestion; it is a fundamental requirement for successful hand lamination. After each rolling and folding step, the gluten in the dough becomes stretched and tense. Attempting to roll it out again too soon will result in the dough resisting, springing back, and potentially tearing, which can break the delicate butter layers. A minimum rest of 30-60 minutes in the refrigerator allows the gluten network to relax, making the dough pliable and easy to work with for the subsequent turn.
Moreover, chilling is vital for maintaining the temperature of both the dough and the butter. The butter must remain cold and solid (but pliable) throughout the process. If the butter warms up and melts into the dough, the layers will be lost, resulting in a greasy, heavy pastry instead of a light, flaky one. The ideal dough temperature during handling is typically between 4°C and 10°C (around 40°F-50°F). Resting in the fridge ensures this crucial temperature is maintained, making the manipulation of hand laminated pastry techniques possible without disaster.
Troubleshooting Common Lamination Issues
Butter Leakage: Temperature Control and Sealing Techniques
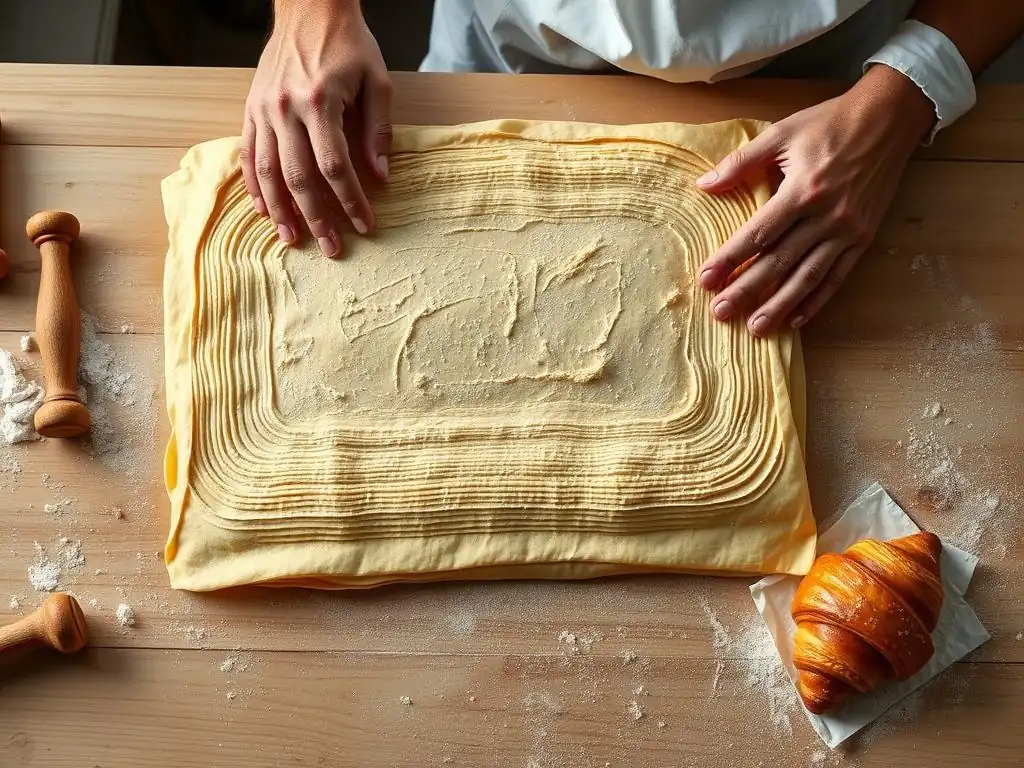
One of the most frustrating issues when practicing hand laminated pastry techniques is butter leakage. This typically occurs when the butter is too warm or too soft during rolling, causing it to squeeze out from between the dough layers. It can also happen if the edges of the dough are not properly sealed when the butter block is initially enclosed.
To prevent butter leakage, rigorous temperature control is paramount. Ensure your butter block is cold but pliable before incorporating it, and make sure the dough is well-chilled before and between each turn. If the butter feels too soft, stop and chill the dough immediately. When enclosing the butter, pinch the seams firmly to create a good seal. If minor leaks occur during rolling, you can sometimes dust the area with a little flour, but significant leakage usually indicates the dough needs a substantial chill period before proceeding, or the layers may be compromised.
Dough Resistance: Gluten Relaxation and Proper Resting
If your dough springs back excessively when you try to roll it out, it's a clear sign that the gluten is too tense. This resistance makes it difficult to roll thin, even layers and can lead to uneven thickness or tearing. The primary cause is insufficient resting time between turns.
The solution is simple but requires patience: put the dough back in the refrigerator. A rest of at least 30-60 minutes, or even longer (up to several hours), is often needed for the gluten to fully relax. Some bakers even prefer an overnight rest after the final turn before shaping. Allowing the dough adequate time to rest and chill makes it much more cooperative and manageable, which is key to successfully executing hand laminated pastry techniques. Don't try to force the dough; listen to what it's telling you.
Uneven Layers: Consistent Pressure and Even Rolling
Achieving uniform, even layers throughout the dough is crucial for consistent flakiness in the final product. Uneven layers can result from inconsistent pressure while rolling, rolling more in one direction than another, or not starting with a perfectly rectangular dough piece before folding.
To ensure even layers, focus on applying consistent, gentle pressure with your rolling pin across the entire surface of the dough. Roll primarily from the center outwards, working evenly in all directions to maintain a rectangular shape. If one side is thicker than the other, concentrate your rolling effort on the thicker areas. Using a ruler can help ensure your dough is rolled to the correct dimensions and maintains a consistent thickness before each fold. Practicing these hand laminated pastry techniques will improve your feel for rolling evenly over time.
Croissant Recipes for Home Bakers
Classic Croissants: A Detailed Recipe with Hand Lamination Instructions
Making classic croissants using hand laminated pastry techniques is a rewarding endeavor that follows the steps outlined above. It starts with a well-rested détrempe and a prepared butter block. The core process involves carefully enclosing the butter and performing a series of turns (e.g., one double and two singles, or three singles) with adequate chilling time in between.
After the final turn and a substantial rest (at least 2-4 hours, or preferably overnight), the dough is rolled out to its final thickness, typically about 3-4 mm. It's then cut into triangles using a sharp knife or pastry wheel. The triangles are stretched slightly and rolled up from the wide base towards the point to form the classic crescent shape. These shaped croissants then undergo a crucial proofing stage before baking, where they double in size and develop a delicate skin.
Pain au Chocolat: Adding Chocolate Batons for a Decadent Treat
Pain au chocolat is a beloved variation that uses the same hand laminated pastry techniques as classic croissants. The process is identical up until the shaping stage. Instead of cutting triangles, the dough is typically cut into rectangles, often around 8-10 cm wide.
Two chocolate batons (sticks of dark chocolate specifically designed for baking) are placed at one end of the rectangle, and the dough is rolled up to enclose them. Some recipes call for an additional baton placed halfway through the rolling. The key is to ensure the chocolate is fully enclosed within the dough layers. These pastries are then proofed and baked similarly to classic croissants, resulting in a flaky exterior yielding to warm, melted chocolate within.
Almond Croissants: Transforming Day-Old Croissants
Almond croissants offer a delightful way to use leftover or day-old croissants, transforming them into a rich, indulgent treat. While they don't involve the full hand lamination process from scratch, they utilize pre-baked laminated pastry. The process involves splitting the croissant horizontally, dipping or brushing the cut surfaces with a sugar syrup (often flavored with rum or almond extract), and filling the inside with frangipane (almond cream).
The filled croissant is then assembled, topped with more frangipane and sliced almonds, and baked again until golden brown and the frangipane is set. This double-baking process gives the pastry a unique texture – slightly crispier on the outside due to the frangipane topping, while the inside remains tender. It's a testament to the versatility and deliciousness of hand laminated pastry techniques, even in their second iteration.
Tips and Tricks for Successful Hand Lamination
Maintaining Dough Temperature: Working Quickly and Efficiently
Temperature control is arguably the single most important factor in successful hand laminated pastry techniques. The dough and butter must remain cold throughout the rolling and folding process. If the butter gets too warm, it will melt into the dough, destroying the distinct layers and resulting in a greasy, heavy product. The ideal temperature range for handling laminated dough is typically between 4°C and 10°C (40°F-50°F).
Working quickly and efficiently on a cool surface helps keep the temperature down. Have all your tools ready before you start rolling. If your kitchen is warm, consider turning on air conditioning or working during the cooler parts of the day. Don't hesitate to put the dough back in the refrigerator for a few minutes if it starts feeling too soft or the butter feels like it's melting. Prioritizing temperature ensures the integrity of the layers you're building.
Gentle Handling: Avoiding Overworking the Dough
While you need to roll the dough out to create layers, it's crucial to do so with gentle, even pressure. Aggressive or uneven rolling can tear the dough, break the butter layers, and lead to an uneven final product. The goal is to lengthen the dough rectangle gradually and uniformly.
Avoid stretching or pulling the dough excessively, as this can also damage the delicate structure you've created. Use your rolling pin to push the dough outwards from the center, applying consistent pressure across the surface. If the dough resists, it needs to rest – don't force it. Patient, gentle handling is a hallmark of successful hand laminated pastry techniques and results in the most tender, flaky pastries.
Scaling Recipes: Adjusting Ingredients for Different Batch Sizes
Many home baking recipes for laminated dough are designed for a manageable amount of dough, often using 250g to 500g of flour. If you wish to scale a recipe up or down, it's generally straightforward: simply adjust all ingredient quantities proportionally based on the flour weight. For example, if a recipe calls for 500g flour and you want to make a smaller batch, you could halve all ingredients to use 250g flour.
However, be mindful that scaling significantly large amounts for hand lamination can become challenging. Rolling out very large quantities of dough and butter by hand requires a large workspace, considerable strength, and excellent temperature control. The physics of managing a large, cold, stiff mass become more difficult. While scaling down is usually easy, scaling up significantly might highlight the advantages of machine lamination for commercial quantities, but for home bakers, proportional scaling within reasonable limits works well for hand laminated pastry techniques.
Storing and Baking Hand-Laminated Pastry
Proofing: Achieving Proper Volume and Texture
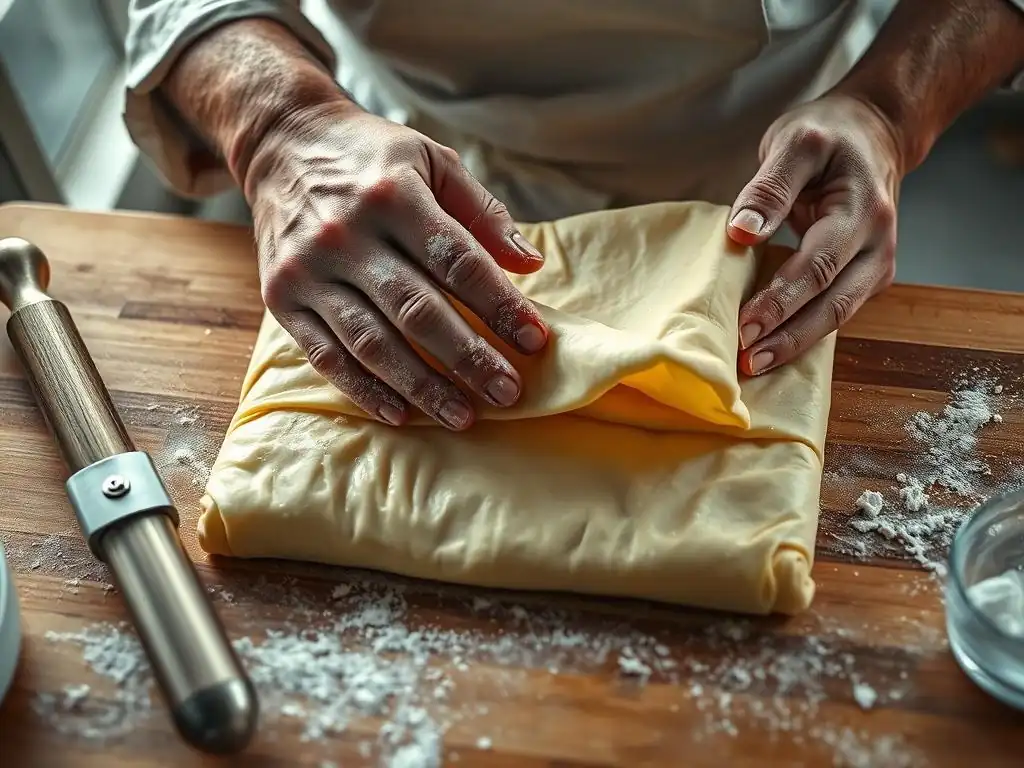
After shaping your hand laminated pastries (croissants, pain au chocolat, etc. ), they must undergo a critical proofing stage. This is where the yeast ferments, producing carbon dioxide gas that causes the pastries to rise and expand significantly. Proper proofing is essential for achieving a light, airy interior structure.
Proofing is typically done in a warm, humid environment. An ideal temperature is around 24°C-26°C (75°F-80°F). This can be achieved in a slightly warm oven (turned off) with a pan of hot water inside, or in a dedicated proofing box.
Proofing time varies depending on temperature and yeast activity, but it often takes 2-3 hours at room temperature or can be done slowly overnight in the refrigerator (a preferred method for many bakers for flavor development). The pastries are ready when they are visibly puffy, have increased significantly in size (often doubled), and wobble gently when lightly shaken. An under-proofed pastry will be dense; an over-proofed one may collapse in the oven.
Baking: Golden Brown Perfection and Optimal Oven Spring
Baking hand laminated pastry requires a hot oven to achieve the desired oven spring and develop a beautiful golden-brown color and crisp exterior. A common baking method involves starting with a relatively high temperature, such as 200°C-220°C (400°F-425°F), for the first 10-15 minutes. This initial burst of heat helps the butter melt rapidly and create maximum steam lift, causing the layers to puff up dramatically.
After the initial high heat, the temperature is typically reduced to around 180°C-190°C (350°F-375°F) to allow the pastries to bake through evenly without burning the exterior. The total baking time for croissants is usually between 15 and 25 minutes, depending on their size and your oven. The pastries should be a deep golden brown all over, and the layers should be clearly defined and flaky. Properly baked hand laminated pastry techniques yield a product that is light, airy, and incredibly delicious.
Hand Lamination vs. Machine Lamination: A Baker's Perspective
Advantages of Hand Lamination: Control and Craftsmanship
Hand lamination, while more labor-intensive, offers distinct advantages, particularly for the home baker or small artisan bakery. The most significant advantage is the level of control it provides. The baker feels the dough's resistance and the butter's pliability directly, allowing for subtle adjustments in technique based on the dough's condition. This tactile feedback helps develop a deeper understanding of the lamination process.
Furthermore, hand lamination embodies the craft aspect of baking. There's immense satisfaction in creating complex, layered pastries using only your hands and simple tools. It's a skill that takes practice to perfect, but the journey itself is rewarding. For smaller batches, hand lamination is also more practical and cost-effective as it eliminates the need for expensive, space-consuming machinery. Mastering hand laminated pastry techniques connects you to centuries of baking tradition.
Limitations of Hand Lamination: Time and Consistency
While rewarding, hand lamination does have limitations, especially when compared to machine lamination used in larger bakeries. The process is considerably more time-consuming, requiring significant effort and multiple chilling periods over several hours. This makes producing large quantities challenging and less efficient for commercial operations.
Achieving perfect consistency can also be more difficult with hand lamination. Slight variations in rolling pressure, dough temperature, or folding precision can lead to inconsistencies in layer structure and overall flakiness from one pastry to the next within a batch. Machine sheeters, once calibrated, can produce highly uniform dough sheets quickly and consistently. While practice improves consistency with hand laminated pastry techniques, achieving the machine-like perfection every time is a significant challenge.
Conclusion: Embracing the Craft of Hand Laminated Croissants
Hand Lamination: A Rewarding Baking Journey
Embarking on the journey of mastering hand laminated pastry techniques is an incredibly rewarding experience for any home baker. While it demands patience, precision, and attention to detail, the result—a batch of warm, flaky, homemade croissants or pain au chocolat—is truly unparalleled. It's a process that teaches you about the fundamental interactions of ingredients, the importance of temperature, and the satisfaction of creating something beautiful and delicious from scratch using time-honored methods.
The skills developed through hand lamination extend beyond just croissants; they are applicable to other layered pastries like puff pastry and danishes. Each turn, each rest, each careful roll brings you closer to understanding the nuances of dough and butter. So, gather your simple tools, choose your quality ingredients, and embrace the craft. The effort invested in hand laminated pastry techniques is paid back tenfold in the joy of pulling golden, perfectly layered pastries from your own oven.
Frequently Asked Questions
What exactly is hand-laminated pastry, and why is it desirable?
Hand-laminated pastry refers to creating layered doughs like croissants and puff pastry without specialized equipment such as a sheeter. The resulting flakiness is highly desirable due to the buttery, airy texture it provides.
Is hand-lamination only for advanced bakers?
Not at all! While it requires patience, our recipes and techniques are designed for bakers of all skill levels. We provide step-by-step instructions and focus on easy-to-find ingredients.
What are the most common mistakes when laminating by hand?
Common mistakes include letting the butter melt, not resting the dough enough, and overworking the dough. Our guides emphasize proper chilling and gentle handling to avoid these issues.
Can I use any type of butter for hand-lamination?
While you can use any butter, we recommend using a high-fat European-style butter for the best results. This type of butter has less water content, which contributes to flakier layers.
How long does hand-lamination typically take, from start to finish?
The entire process, including resting times, usually takes several hours. However, the active working time is much less. The key is to plan ahead and allow adequate chilling time between folds.
Final Reflection: The Enduring Allure of Hand-Laminated Pastry
The pursuit of perfectly flaky pastry, once the exclusive domain of specialized equipment, is now accessible to all through the dedication of hand-lamination. This rediscovery of traditional techniques not only allows for greater control and understanding of the process but also fosters a deeper connection with the food we create. The resulting pastry, with its delicate layers and melt-in-your-mouth texture, is a testament to patience and precision.
The impact of hand-lamination extends beyond the kitchen; it represents a broader cultural shift towards valuing artisanal skills and slowing down in a fast-paced world. It's a return to the fundamentals, a rejection of instant gratification in favor of a more mindful and rewarding approach to cooking. The best things in life are worth waiting for,
a sentiment perfectly embodied in the time-consuming yet ultimately fulfilling process of hand-laminating pastry. This technique allows us to connect with a culinary heritage, appreciating the generations of bakers who perfected these methods before the advent of modern machinery.
Now, consider your own kitchen. Imagine the satisfaction of creating a flawlessly flaky croissant or delicate palmier entirely by hand. Don't be intimidated by the perceived difficulty; embrace the challenge. Each fold, each turn, is an opportunity to learn, to grow, and to connect with the artistry of baking. The journey itself, with its inherent imperfections and eventual triumphs, is as rewarding as the delicious result. So, gather your ingredients, find your rhythm, and embark on this rewarding culinary adventure. The flaky perfection awaits.
Unleash Your Inner Pastry Chef: Master Flaky Lamination!
Thanks for taking the time to learn about achieving perfectly flaky laminated dough without fancy equipment! You've now unlocked a new level of baking expertise. Ready to put your newfound knowledge into practice?
- Bake a show-stopping masterpiece: Try your hand at making croissants, palmiers, or even a simple, deliciously flaky pie crust using the techniques you just learned. This is your chance to shine!
- Share your baking journey: Tag us on social media (@BakeWithEase) with a picture of your creation—we’d love to see your results! Let’s inspire others!
- Explore advanced lamination techniques: Dive deeper into the world of laminated dough by experimenting with different flours, fats, and folding methods. The possibilities are endless!
What incredible laminated creation will you bake first? Let us know in the comments!