
Traveling with Baked Goods: Smart Storage Tips for OntheGo Treats

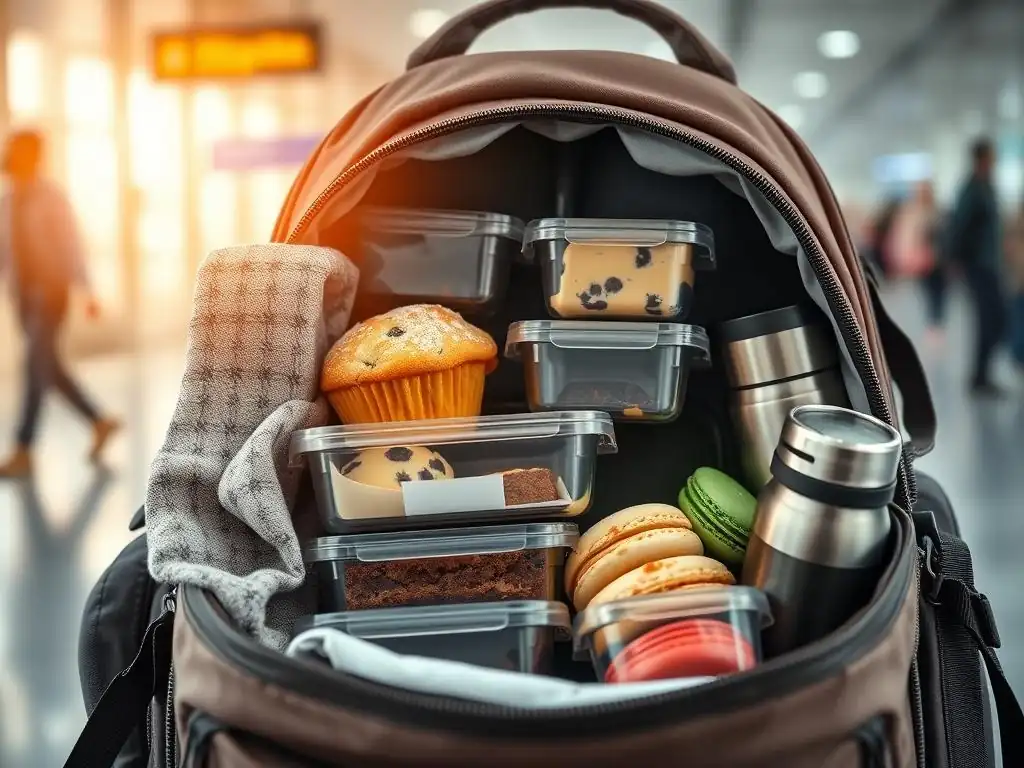
Welcome to BakeWithEase, your trusted guide to baking bliss! Ever dreamt of bringing the comforting taste of homemade treats on your adventures? This week, we're diving deep into the world of easy travel baked goods, unlocking smart storage secrets to ensure your delicious creations arrive at their destination as perfect as when they left your oven. Curious how to keep those delicate cookies from crumbling or that moist cake from drying out on your next journey? Let's get baking (and packing)!
- Introduction: Delicious Baked Goods for Every Journey
- Preparing Your Baked Goods for Travel
- Smart Storage Solutions for Baked Treats on the Go
- Maintaining Freshness During Your Journey
- Specific Baked Good Travel Tips
- Troubleshooting Common Travel Baking Mishaps
- Arriving at Your Destination: Unpacking and Storage
- Conclusion: Enjoying Your Homemade Treats
-
Frequently Asked Questions
- How do I prevent my baked goods from getting crushed during travel?
- What are the best types of baked goods to take on a trip?
- How can I keep my baked goods fresh while traveling?
- What's the best way to transport frosted cakes or cupcakes?
- How do I handle temperature concerns when traveling with baked goods?
- Final Reflection: Embracing the Joy of Easy Travel Baked Goods
- Unleash Your Inner Baker on the Go!
Introduction: Delicious Baked Goods for Every Journey
Why Pack Baked Treats for Your Trip?
Packing homemade baked treats for your travels adds a wonderful touch of comfort and familiarity to any journey. Whether you're heading on a long road trip, flying across the country, or simply visiting family a few towns over, having a stash of your favorite cookies, muffins, or bars can make the experience much sweeter. These treats offer a taste of home, can be a thoughtful gift for hosts, or simply provide a delicious pick-me-up during travel fatigue.
Sharing a batch of freshly baked goods can also be a great way to connect with fellow travelers or hosts, sparking conversations and creating memorable moments. Think about bringing a batch of your famous chocolate chip cookies to a friend's house – it's often more appreciated than a store-bought alternative!
Beyond the emotional connection, bringing your own easy travel baked goods can also be practical. It saves money on expensive airport snacks or roadside treats, and you know exactly what ingredients are in them, which is especially important if you have dietary restrictions or allergies. Preparing your own baked goods allows you to control sugar levels, use preferred flours, or add in extra nuts and seeds for a healthier option.
For instance, a batch of homemade oatmeal bars can provide sustained energy during a hike or a long flight, unlike sugary convenience snacks. It's about bringing a little piece of your kitchen, and its warmth, with you on your adventure.
Challenges of Traveling with Baked Goods
While the idea of easy travel baked goods is appealing, the reality of transporting them presents several challenges. The primary concerns are maintaining freshness, preventing damage, and dealing with temperature fluctuations. Baked goods can easily become stale, dry out, or get soggy depending on the humidity and length of the journey. A delicate cake can turn into crumbs, and a beautifully frosted cupcake can become a smeary mess if not packed correctly. Imagine spending hours perfecting a layered cake only for it to be ruined in transit – a frustrating experience many bakers have faced.
Temperature extremes are another significant hurdle. Heat can melt chocolate chips, soften frosting, or even cause baked goods to spoil faster, especially those containing dairy or fresh fruit. Cold can dry out certain items or make them brittle. Furthermore, the physical jostling and movement inherent in travel – whether it's turbulence on a plane or bumps in the road – pose a constant threat of crushing or breaking your carefully crafted items. Successfully transporting baked goods requires careful planning and smart storage solutions to overcome these potential pitfalls and ensure your treats arrive in delicious condition.
Preparing Your Baked Goods for Travel
Choosing the Right Recipes for Travel
Selecting recipes specifically suited for travel is the first crucial step in ensuring your easy travel baked goods arrive intact and delicious. Not all baked goods are created equal when it comes to portability. Opting for recipes that are naturally more sturdy, less prone to drying out, and don't require refrigeration is key.
Think about items with lower moisture content or those that benefit from a day or two to set, like certain types of cookies or dense bars. Avoid highly delicate items like meringues, cream-filled pastries, or cakes with elaborate, soft frostings unless you have specialized packaging and transport methods.
Considering the destination and climate is also vital when choosing recipes. If you're traveling to a hot, humid location, recipes with stable ingredients that won't melt easily, like shortbread or biscotti, are a better choice than those heavy on chocolate or butter-based frostings. For example, a classic shortbread cookie, which contains a high ratio of butter but is baked until firm, holds up remarkably well in various temperatures compared to a soft, chewy cookie. Selecting the right recipe from the start significantly simplifies the packing and travel process, making your easy travel baked goods truly easy.
Durable Cookies
When it comes to cookies for travel, durability is paramount. Look for recipes that produce cookies with a firmer texture, such as biscotti, shortbread, ginger snaps, or oatmeal cookies without too many delicate add-ins. These types of cookies tend to hold their shape better and are less likely to crumble under pressure. For instance, a batch of classic Italian biscotti, double-baked to a crisp texture, can withstand significant handling and temperature changes, remaining delicious for days. Avoid very soft, chewy cookies or those with delicate edges that can break easily.
Another excellent option for easy travel baked goods in the cookie category is drop cookies with stable ingredients like chocolate chips or nuts baked within the dough. While slightly softer than biscotti, a well-baked chocolate chip cookie that is cooled completely before packing can travel reasonably well, especially if packed correctly. A batch of peanut butter cookies also tends to be quite sturdy.
The key is choosing recipes that result in a resilient structure that can handle being stacked or gently jostled during transit. Consider cookies like gingersnaps; their firm texture and spicy flavor make them a robust and flavorful travel companion.
Travel-Friendly Bars
Baked bars are often ideal candidates for easy travel baked goods because they are inherently sturdy and can be cut into convenient, portable sizes. Recipes like brownies, blondies, flapjacks, or granola bars are excellent choices. These items typically have a dense texture that resists crushing and drying out. A pan of fudgy brownies, once cooled and cut into squares, can be packed tightly and travel exceptionally well. Similarly, homemade granola bars, especially those bound with ingredients like honey or nut butter, are designed to be portable and provide sustained energy.
Fruit bars, like date squares or apricot bars, are also good options, provided they are not excessively moist and are stored properly to prevent mold in warm conditions. Lemon bars, with their firm shortbread base and relatively stable lemon filling, can also travel well if kept cool, though heat can make the filling softer. When preparing bars, baking them slightly longer than you might for home consumption can sometimes increase their firmness and travel resilience. For example, baking brownies for an extra minute or two can make them slightly less gooey but more sturdy for transport.
Cakes and Breads that Travel Well
For those who prefer cakes and breads, dense, moist varieties are the best bet for easy travel baked goods. Loaf cakes like pound cake, banana bread, zucchini bread, or spice cake travel much better than light, airy sponge cakes or layer cakes. Their compact structure helps them maintain their shape and moisture during transit. A classic pound cake, wrapped properly, can stay fresh and intact for several days, making it perfect for a longer journey. Similarly, muffins and cupcakes (especially unfrosted or with a stable frosting) are relatively easy to pack and transport.
Yeast breads, such as sourdough loaves, challah, or rolls, also travel quite well. Their crust provides a natural protective layer, and their internal structure is generally robust. Avoid delicate pastries like croissants or brioche which can be easily crushed or lose their flaky texture. When choosing cakes or breads, consider those with stable ingredients. For instance, a fruitcake, known for its longevity and dense texture, is an ultimate easy travel baked good that can withstand long journeys. For muffins, choose recipes without delicate streusel toppings or fillings that might leak.
Cooling Baked Goods Completely Before Packing
One of the most critical steps in preparing easy travel baked goods is ensuring they are completely cooled before packing. Packing warm or even slightly warm baked goods is a recipe for disaster. Warm items release moisture, which will condense inside the packaging, creating a humid environment. This humidity can make cookies soggy, cause cakes to collapse or become gummy, and dramatically increase the risk of mold growth, especially during travel where temperature fluctuations might occur.
Allowing baked goods to cool fully on a wire rack ensures that excess steam escapes and the internal structure sets properly. For cookies and bars, this might take 30 minutes to an hour. For larger items like cakes or loaves of bread, it could take several hours, sometimes even overnight, depending on the size and density.
For example, a standard 9x5 inch loaf of banana bread needs at least 2-3 hours to cool completely, while a denser pound cake might need 4-6 hours or more. Patience during this cooling phase is paramount to preserving the texture and freshness of your easy travel baked goods and preventing spoilage.
Smart Storage Solutions for Baked Treats on the Go
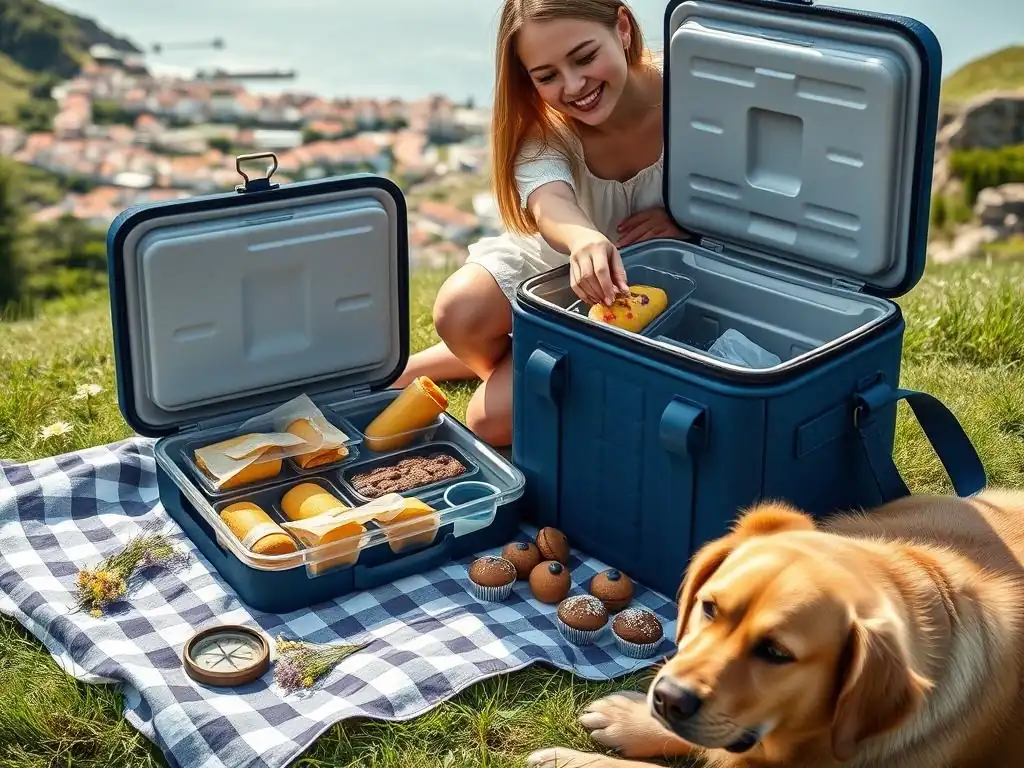
Selecting the Right Containers for Baked Goods
Choosing the appropriate container is just as important as selecting the right recipe for easy travel baked goods. The container needs to protect the contents from physical damage, maintain freshness, and ideally, be easy to pack and transport. The best containers are sturdy, have tight-fitting lids, and are made from food-safe materials. Plastic containers with snap-on lids are a popular choice due to their durability and ability to create a good seal. Metal tins can also work well, particularly for cookies, offering excellent protection against crushing.
Glass containers are an option for shorter, less turbulent trips, offering great visibility and being non-reactive, but they are heavier and more fragile. Reusable silicone bags can work for softer items like muffins or breads, offering flexibility but less protection against crushing. When selecting containers, consider the size and shape of the baked goods you are transporting. Rectangular or square containers often allow for more efficient packing than round ones. Aim for containers that fit your easy travel baked goods snugly but without squashing them, minimizing movement inside the container.
Airtight Containers: Keeping Baked Goods Fresh
Airtight containers are indispensable for keeping easy travel baked goods fresh and preventing them from drying out or absorbing unwanted odors. Exposure to air is a primary cause of staleness. An airtight seal minimizes air circulation around the baked goods, preserving their moisture content and texture. This is particularly important for softer items like cakes, muffins, or chewy cookies. Look for containers with rubber or silicone gaskets around the lid that create a vacuum or strong seal when closed.
For instance, a set of good quality plastic containers with locking lids can keep cookies crisp or cakes moist for several days, even during a long journey. Testing the seal beforehand by filling the container with water and checking for leaks can give you confidence in its airtight capabilities.
While not always perfectly airtight, metal tins with tight-fitting lids can also offer a good level of freshness protection for sturdy items like biscotti or shortbread. Using airtight containers ensures your easy travel baked goods taste as good at your destination as they did when they came out of the oven.
Stackable Containers: Maximizing Space
When traveling, especially by car or train, maximizing space is often a priority. Stackable containers are incredibly useful for packing easy travel baked goods efficiently. Containers designed to nest within each other when empty save space before packing, and those with flat, sturdy lids that allow them to be stacked when full help optimize luggage or cooler space. This is particularly helpful if you are bringing multiple types of baked goods or large quantities.
Using a set of modular, stackable containers allows you to pack different items – perhaps cookies in one, brownies in another, and muffins in a third – and stack them neatly. This not only saves space but also helps organize your treats and prevents heavier items from crushing lighter ones. For example, packing three different types of easy travel baked goods like shortbread, brownies, and banana bread in three stacked rectangular containers takes up significantly less room than using odd-shaped or non-stackable containers. Look for sets specifically designed for food storage that offer various sizes within a stackable system.
Reusable Options for Baked Goods Storage
Opting for reusable storage containers for your easy travel baked goods is an environmentally friendly choice that also offers practical benefits. Durable plastic, glass, or metal containers can be used trip after trip, reducing waste compared to single-use plastic bags or disposable foil trays. Reusable containers are also typically sturdier than disposable options, offering better protection for your baked goods. Many high-quality reusable containers are specifically designed to be airtight and stackable, combining multiple benefits.
Consider investing in a few good quality reusable containers in different sizes tailored to the types of easy travel baked goods you frequently make. For example, a flat, wide container is perfect for a single layer of cookies, while a deeper square container works well for bars or muffins. Silicone reusable bags are another flexible option, though they offer less structural protection. Choosing reusable options aligns with sustainable travel practices and ensures you have reliable storage solutions ready for your next baking adventure on the road.
Packing Techniques for Different Types of Baked Goods
The way you pack your baked goods within the container is just as important as the container itself. Different types of easy travel baked goods require different packing strategies to ensure they remain intact and fresh. Careful layering, using appropriate protective materials, and minimizing empty space within the container are key techniques. Overpacking can crush delicate items, while underpacking can allow items to shift and break.
Consider the texture and structure of each baked item. Sturdy items can handle more direct packing, while delicate items need cushioning. For instance, packing a tin of crisp cookies involves a different approach than packing a box of frosted cupcakes. Understanding these nuances helps prevent common travel mishaps like crumbling, squashing, or sticking, ensuring your easy travel baked goods arrive looking as good as they taste.
How to Pack Cookies for Travel
Packing cookies for travel requires balancing protection with preventing them from drying out or becoming greasy. Sturdy cookies like shortbread or biscotti can often be stacked directly in layers in a tin or rigid container, perhaps separated by a sheet of parchment paper between layers to prevent sticking. For more delicate or softer cookies, individual wrapping can provide extra protection.
Using small cellophane bags or even squares of parchment paper to wrap individual cookies before placing them in the container adds a layer of cushioning and prevents flavors from mixing if you have different types. Fill the container as snugly as possible without crushing the cookies to minimize movement. You can use crumpled parchment paper or food-safe packing peanuts (like those made from cornstarch) to fill any gaps.
For example, packing a tin of chocolate chip cookies: line the tin with parchment, place a layer of cookies, add another parchment sheet, then another layer of cookies, repeating until full, and fill any remaining space on top with crumpled parchment before closing the lid tightly. This method helps keep your easy travel baked goods in cookie form.
Best Practices for Transporting Cakes and Cupcakes
Transporting cakes and cupcakes requires significant care, especially if they are frosted. For unfrosted cakes or loaf cakes, wrap them tightly in plastic wrap once completely cooled, then place them in a sturdy container. This double layer of protection helps maintain moisture and prevents crushing. For example, a cooled banana bread loaf can be wrapped twice in plastic wrap, then placed in a loaf-shaped container.
Frosted cakes and cupcakes present a greater challenge. Cupcakes are best transported in dedicated cupcake carriers with individual wells that hold them securely and prevent them from touching each other. If you don't have a specific carrier, place cupcakes in a container with enough space between them. You can use strips of cardboard or crumpled parchment paper to create dividers and prevent shifting.
For frosted cakes, especially layer cakes, use a sturdy cake carrier or a box specifically designed for cakes. Crucially, ensure the cake is chilled before attempting to transport it; cold frosting is much firmer and less likely to smear. For instance, a buttercream-frosted cake should be chilled in the refrigerator for at least an hour before being placed carefully into its carrier for transport.
Safely Moving Breads and Muffins
Breads and muffins are generally more forgiving than cakes or delicate pastries, making them good candidates for easy travel baked goods. For loaves of bread, once completely cooled, they can be wrapped in a paper bag (to keep the crust crisp) and then placed in a sturdy container or bread bag. For longer trips or softer loaves, wrapping first in plastic wrap or beeswax wrap and then in a paper bag offers more protection and moisture retention.
Muffins are best transported in containers where they can sit upright without being overly crowded. Muffin tins with lids or general-purpose containers deep enough to accommodate their height work well. Placing a sheet of parchment paper or a paper towel at the bottom can help absorb any residual moisture.
If transporting different flavors, consider separating them with parchment dividers to prevent flavor transfer. For example, packing a batch of blueberry muffins: ensure they are fully cooled, place them gently into a container with a lid, leaving a little space between each muffin, and close the lid securely. Avoid stacking muffins directly on top of each other without protection, as this will crush the bottom layer.
Maintaining Freshness During Your Journey
Temperature Control: Protecting Your Baked Goods from Heat and Cold
Maintaining a stable temperature is vital for keeping your easy travel baked goods fresh and preventing spoilage or damage from melting or drying. Extreme heat can melt chocolate, cause butter-based frostings to become greasy, and accelerate the growth of bacteria, especially in baked goods containing dairy or fruit. Extreme cold can dry out certain items or make them brittle.
If traveling in warm conditions, consider using an insulated cooler bag or box, perhaps with an ice pack (wrapped to prevent condensation from directly touching the baked goods). For example, transporting chocolate chip cookies on a hot summer day might require placing their container inside a cooler bag. Avoid placing baked goods directly next to ice packs, as the condensation can make them soggy.
If traveling in very cold conditions, you might want to insulate items slightly to prevent them from freezing or becoming excessively hard. Keeping baked goods out of direct sunlight in a car is always a good practice, regardless of the ambient temperature. Aim for a cool, consistent temperature environment whenever possible to keep your easy travel baked goods in optimal condition.
Preventing Crushing and Damage
Preventing your easy travel baked goods from getting crushed is a primary concern during transit. This involves a combination of choosing sturdy containers and utilizing smart packing techniques. Avoid placing heavy items on top of your baked goods container in your luggage or car. Pack the baked goods container in a location where it is protected from being jostled or compressed.
Within the container, minimize empty space to reduce movement. Use crumpled parchment paper, wax paper, or even clean paper towels to fill gaps around and between baked goods. This provides cushioning and prevents items from bouncing around and breaking. For example, when packing a container of granola bars, once the bars are in, gently tuck crumpled parchment paper into any spaces on the sides and on top before closing the lid. This creates a snug fit that significantly reduces the risk of crushing or breaking during bumps and turns.
Utilizing Packing Materials: Bubble Wrap, Parchment Paper, and More
Various packing materials can be used to protect easy travel baked goods. While bubble wrap is excellent for protecting the container itself, it's generally not recommended for direct contact with food unless it's specifically food-grade. Parchment paper and wax paper are food-safe and incredibly versatile. They can be used to separate layers of cookies or bars, wrap individual items, or be crumpled to fill empty space in containers.
For items like frosted cupcakes or decorated cookies, individual paper or cardboard dividers placed within the container can prevent them from touching and damaging delicate decorations. Food-safe packing peanuts (often made from cornstarch) can also be used to cushion items within a larger box, especially if transporting multiple smaller containers. For example, if you're shipping a box containing several tins of cookies, you could use packing peanuts to fill the space around the tins inside the shipping box, adding an extra layer of shock absorption. Using these materials strategically provides vital cushioning for your easy travel baked goods.
Layering Baked Goods for Optimal Protection
Layering is a key technique for packing multiple easy travel baked goods in a single container while minimizing damage. The general rule is to place sturdier items at the bottom and more delicate items on top. For example, if packing both brownies and softer muffins, place the brownies in a layer at the bottom of the container, add a sheet of parchment paper, and then gently place the muffins on top.
When packing multiple layers of the same item, like cookies or bars, use parchment paper or wax paper between each layer. This prevents them from sticking together and makes it easier to remove them without breaking. Avoid stacking too many layers, especially of heavier items, as the weight can crush the bottom layer. For instance, stacking more than 3-4 layers of dense brownies might compress the bottom layer. Careful, deliberate layering, combined with using dividers or crumpled paper to fill gaps, ensures that each item in your container of easy travel baked goods is protected.
Specific Baked Good Travel Tips
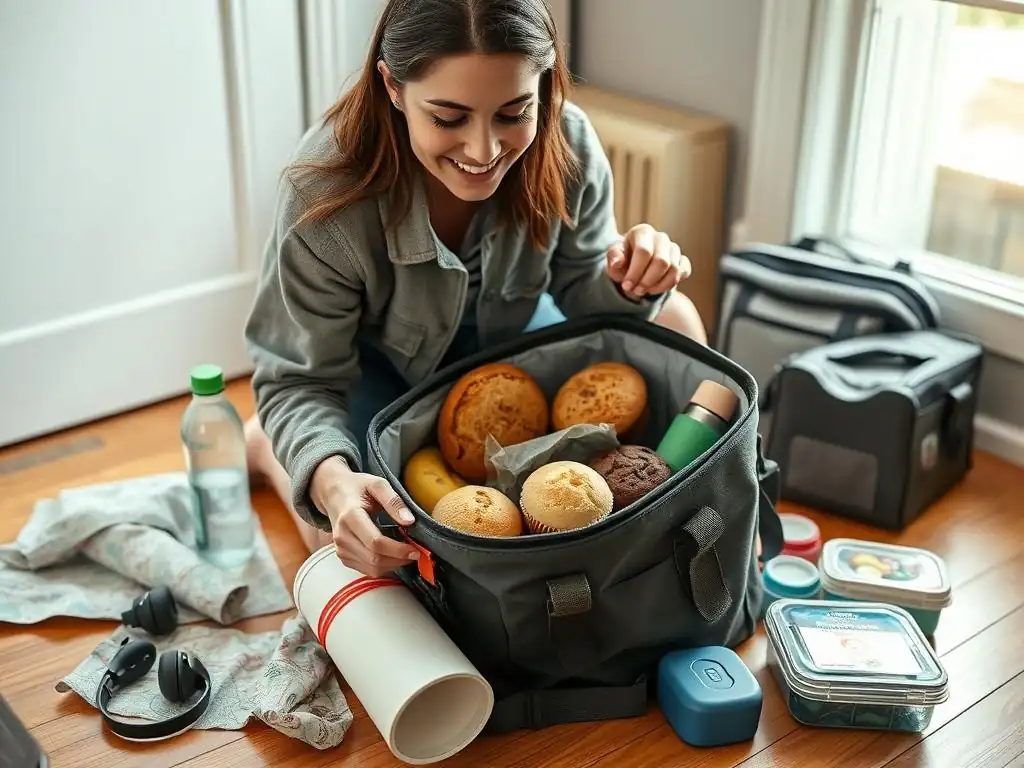
Traveling with Cakes: Keeping Frosting Intact
Traveling with frosted cakes, especially those with delicate buttercream or cream cheese frosting, requires extra care. The primary goal is to prevent the frosting from melting, smearing, or sticking to the packaging. As mentioned earlier, chilling the cake until the frosting is firm before packing is crucial. Use a sturdy cake carrier that holds the cake securely from the base and has a tall lid that doesn't touch the top or sides of the frosted cake.
If transporting a tiered cake, it's often best to transport the layers separately and assemble and frost the final touches at your destination. For single-layer or loaf cakes with frosting, ensure the container is deep enough that the lid doesn't press down on the frosting. For instance, a cake with a 2-inch layer of frosting needs a carrier lid that provides at least 3 inches of clearance above the cake's surface.
Consider using a few toothpicks inserted into the top of the cake taller than the frosting level, then placing parchment paper over the toothpicks before putting on the lid. This creates a tiny tent that lifts the paper off the frosting surface. Keeping the cake cool during transport is paramount; if possible, transport it in an air-conditioned vehicle or a cooler.
Transporting Pies: Preventing Soggy Crusts
Transporting pies, particularly fruit pies or those with custard fillings, can be tricky due to the risk of soggy bottoms or fillings shifting. The key is to ensure the pie is fully cooled before transport and to use a sturdy, flat bottomed carrier. Pie carriers are available that secure the pie dish from the bottom and have a domed lid.
To prevent a soggy crust, ensure your pie filling is not excessively wet before baking and that the crust is properly baked through. For travel, consider using a double-crust pie or a crumble topping, which can be more stable than a single-crust pie with a loose filling. If transporting a custard or cream pie that requires refrigeration, it must be kept cold throughout the journey using a cooler with ice packs.
For instance, a pumpkin pie needs to be kept below 40°F (4°C) to remain safe. For fruit pies, placing a paper towel or a few dry rice grains (in a sachet) at the bottom of the carrier under the pie dish can sometimes help absorb any condensation that might form, though this is a minimal effect compared to proper baking and cooling.
Managing Delicate Pastries: Avoiding Crumbling
Delicate pastries like croissants, palmiers, or certain types of cookies (e.g., lace cookies) are highly susceptible to crumbling. These easy travel baked goods require gentle handling and protective packaging. Avoid stacking them if possible. Individual packaging is often the best approach. Small boxes, cellophane bags, or even sections within a container separated by cardboard dividers work well.
Place a layer of crumpled parchment paper at the bottom of the container before adding the pastries. Arrange them in a single layer if possible, or with parchment paper between layers if stacking is necessary. Fill any empty space in the container with more crumpled parchment paper to minimize movement.
For example, packing a batch of delicate almond palmiers: place a layer of crumpled parchment in a tin, arrange the palmiers in a single layer, add another sheet of parchment, and repeat if necessary, then fill remaining space with crumpled parchment before securing the lid. Transport these items in a carry-on bag or in a location where they won't be compressed by other luggage.
Troubleshooting Common Travel Baking Mishaps
What to Do if Your Baked Goods Get Crushed
Despite your best efforts, sometimes easy travel baked goods still end up a little squashed or broken. If cookies or bars are crushed, they can often be repurposed. Broken cookies can be used as a topping for ice cream, yogurt, or pudding. Crushed bars can be crumbled into a base for a no-bake cheesecake or mixed with melted butter to form a crust for pies or tarts. For example, if your oatmeal raisin cookies didn't survive the journey intact, crumble them up and sprinkle them over your morning yogurt at your destination.
If a cake or muffin is slightly misshapen but still largely intact, you can often gently reshape it if it's not too far gone. If it's significantly damaged, it might be best to serve it as a crumble or use it in a trifle or bread pudding. While it's disappointing when your easy travel baked goods don't arrive perfectly, remember that they usually still taste delicious! Focus on salvaging what you can and finding creative ways to enjoy the fruits of your labor.
Rehydrating Stale Baked Goods
If your easy travel baked goods have become a bit stale or dry during transit, there are a few tricks to help revive them. For breads and muffins, lightly sprinkling them with water, wrapping them in foil, and warming them in a low oven (around 300°F or 150°C) for 5-10 minutes can help restore some moisture and softness. Be careful not to overheat, which can dry them out further.
Cookies can sometimes be refreshed by placing them in an airtight container with a slice of fresh bread or an apple wedge overnight. The cookies will absorb moisture from the bread or fruit, becoming softer. This works particularly well for cookies that were intended to be soft and chewy. For example, placing a slice of sandwich bread in a tin with slightly stale chocolate chip cookies can often make them chewy again by the next morning. While these methods won't return them to their original state, they can make dry easy travel baked goods much more palatable.
Dealing with Melted Frosting or Chocolate
Melted frosting or chocolate is a common issue when traveling in warm conditions. If a buttercream or cream cheese frosting has melted and become a liquidy mess, there's often not much you can do to restore it to its original piped state on the baked good itself.
However, if the baked good is still intact, you can scrape off the melted frosting (if it's unsalvageable) or, if it has only softened, try chilling the entire item at your destination to firm it back up. A slightly melted but not separated buttercream can often be firmed up in a refrigerator for 30-60 minutes.
Melted chocolate chips in cookies or brownies are less of an issue, as they are usually incorporated into the bake. If a chocolate coating or drizzle has melted, chilling the item will typically cause it to re-solidify, though it might not look as smooth as before. If you're bringing frosted items to a warm destination, consider using a more stable frosting like a ganache or a cooked flour frosting (like Ermine frosting), which are less prone to melting than butter-heavy frostings. Planning for the climate is key to avoiding melted components in your easy travel baked goods.
Arriving at Your Destination: Unpacking and Storage
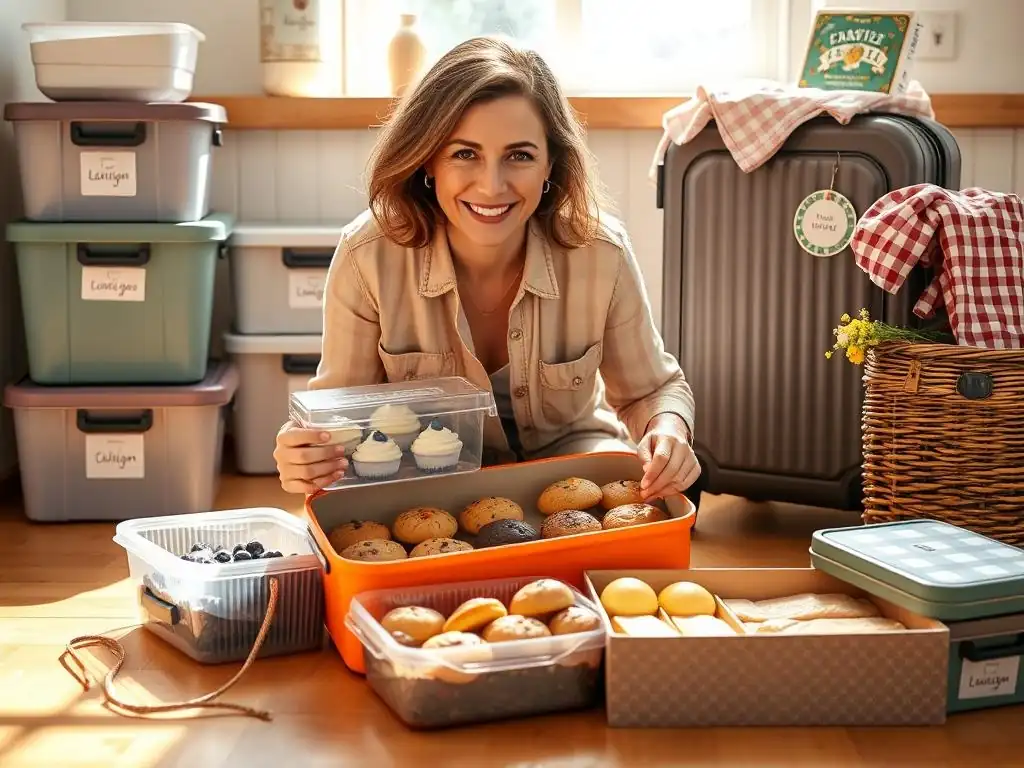
Proper Unpacking Techniques to Preserve Freshness
Upon arriving at your destination, take care when unpacking your easy travel baked goods. Avoid tipping containers or handling them roughly. Open containers carefully, especially if you've used packing materials to fill gaps, to avoid damaging the contents as you remove the cushioning. If items have shifted slightly, gently reposition them.
If your baked goods were transported in a cooler, remove them promptly once you arrive to prevent condensation from forming as they warm up to room temperature. For items that need refrigeration, such as pies or cakes with dairy fillings, transfer them to a refrigerator as soon as possible. Unpacking your easy travel baked goods with the same care you used to pack them ensures they are in the best possible condition for enjoying.
Short-Term Storage Options at Your Destination
Once unpacked, consider the best short-term storage for your easy travel baked goods at your destination. Most cookies, unfrosted cakes, and breads can be stored at room temperature in their airtight containers for a few days, provided the environment is not excessively hot or humid. For instance, a batch of shortbread cookies can happily sit on a counter in their tin for 3-4 days.
Muffins and softer items might benefit from being kept in an airtight container to retain moisture. If the climate is very warm or humid, even items that don't strictly require refrigeration might stay fresher longer if kept in the refrigerator, although this can sometimes alter the texture (e.g., make bread a bit firmer).
If you're staying somewhere with limited storage, consolidate items into as few containers as possible while still protecting them. For instance, if you brought three small containers of different cookies, you might combine them into one larger container if they are similar enough not to affect flavor.
Freezing Baked Goods at Your Destination
If you have brought a large quantity of easy travel baked goods or plan to stay for an extended period, freezing is an excellent option for long-term storage at your destination. Most cookies, brownies, loaf cakes, muffins, and breads freeze exceptionally well. Ensure the baked goods are completely cool, then wrap them tightly in plastic wrap, followed by a layer of aluminum foil or place them in a freezer-safe bag or container. This double layer helps prevent freezer burn.
Label the packages with the contents and date. Most baked goods will keep well in the freezer for 2-3 months. To thaw, simply unwrap the item (or leave it loosely wrapped) and let it sit at room temperature for a few hours. Loaves of bread or muffins can sometimes be reheated gently from frozen in a low oven. Freezing allows you to enjoy your delicious easy travel baked goods over a longer period, ensuring none go to waste.
Conclusion: Enjoying Your Homemade Treats
Bringing easy travel baked goods on your journey is about more than just having snacks; it's about sharing the comfort and joy of homemade treats. Whether you're sharing a tin of cookies with new friends you meet, offering a slice of banana bread to your host, or simply enjoying a familiar taste of home in a new place, these baked goods carry a special kind of warmth.
They are conversation starters, mood boosters, and tangible expressions of care. Think of the smile on a friend's face when you arrive with their favorite muffins, or the comfort a homemade brownie provides after a long day of sightseeing.
These easy travel baked goods bridge the distance between your kitchen and your destination, bringing a little piece of your baking passion along for the ride. They are reminders of home, celebrations of flavor, and simple pleasures that can make any trip feel a little more special. The effort put into baking and packing is rewarded by the opportunity to share and enjoy these delicious creations, making your travels truly sweeter.
Final Thoughts on Safe and Delicious Baking Travel
Traveling with baked goods successfully boils down to careful planning, smart choices, and attention to detail. From selecting the right sturdy recipes and cooling everything completely, to choosing appropriate airtight and protective containers and packing techniques tailored to each item, every step contributes to ensuring your easy travel baked goods arrive safely and deliciously. While mishaps can happen, knowing how to troubleshoot them means your efforts aren't wasted.
Ultimately, the goal is to enjoy your homemade treats wherever your adventures take you. With a little preparation, you can confidently pack your favorite cookies, bars, cakes, and breads, knowing they are well-protected and will maintain their freshness. So, on your next trip, don't hesitate to pack a taste of home. Your future self, and anyone you share with, will thank you for those delicious, easy travel baked goods. Happy travels, and happy baking on the go!
Frequently Asked Questions
How do I prevent my baked goods from getting crushed during travel?
Proper packing is crucial! Use sturdy containers like plastic containers with lids or tin boxes. Line them with parchment paper or bubble wrap for extra cushioning.
What are the best types of baked goods to take on a trip?
Generally, drier and more robust baked goods travel best. Think cookies, brownies, or muffins. Avoid delicate items like cream-filled pastries.
How can I keep my baked goods fresh while traveling?
Keep baked goods in an airtight container to prevent them from drying out. You might also consider adding a slice of bread to the container to absorb moisture.
What's the best way to transport frosted cakes or cupcakes?
For frosted items, use a specialized cupcake carrier or cake box. Consider freezing the cake slightly before travel to help the frosting set and prevent smudging.
How do I handle temperature concerns when traveling with baked goods?
Avoid leaving baked goods in direct sunlight or hot cars. If possible, use an insulated bag or cooler, especially for items with frosting or fillings that could melt.
Final Reflection: Embracing the Joy of Easy Travel Baked Goods
Traveling with baked goods is not just about convenience; it’s about creating connections and memories that last a lifetime. In our fast-paced world, the ability to enjoy homemade treats on the go has become increasingly relevant. Whether it’s sharing cookies with friends during a road trip or savoring a slice of cake while exploring a new city, these small moments enhance our travel experiences and remind us of the comfort and joy that baked goods can bring.
The influence of baked goods in our lives transcends mere sustenance; they are symbols of love, tradition, and creativity. From family recipes passed down through generations to innovative new flavors, baked goods reflect our cultural heritage and personal stories.
As we navigate our busy lives, the act of baking and sharing these treats fosters a sense of community and belonging. > “Baking is both an art and a science, and it brings people together in ways that few other activities can.” This ongoing influence highlights the importance of incorporating these delightful creations into our travels, enriching our journeys with warmth and nostalgia.
As you embark on your next adventure, I invite you to reflect on the role that easy travel baked goods can play in your experiences. Consider how you can incorporate your favorite recipes into your travels, sharing not only the treats but also the stories behind them. Let each bite remind you of the connections you’ve made and the memories you’ve created, encouraging you to embrace the joy of baking and sharing wherever your travels may take you.
Unleash Your Inner Baker on the Go!
Thanks for joining us on this delicious journey into the world of transporting baked goods! We hope you've picked up some invaluable tips for keeping your treats fresh and delicious wherever your adventures may take you. Now it's time to put your newfound knowledge into practice.
- Bake and share your favorite recipe: Put those new storage techniques to the test! Surprise a friend or family member with a freshly baked treat.
- Experiment with different storage containers and techniques: What worked best for you? Share your results in the comments below—we'd love to hear your experiences!
- Share this article with fellow baking enthusiasts: Let's spread the joy (and the deliciousness) of perfectly transported baked goods!
Ready to take your baking game to the next level? What's your go-to treat for travel, and what's your secret to keeping it fresh?