
Avoiding Greasy Cakes: Measurement and Mixing Techniques for Oils

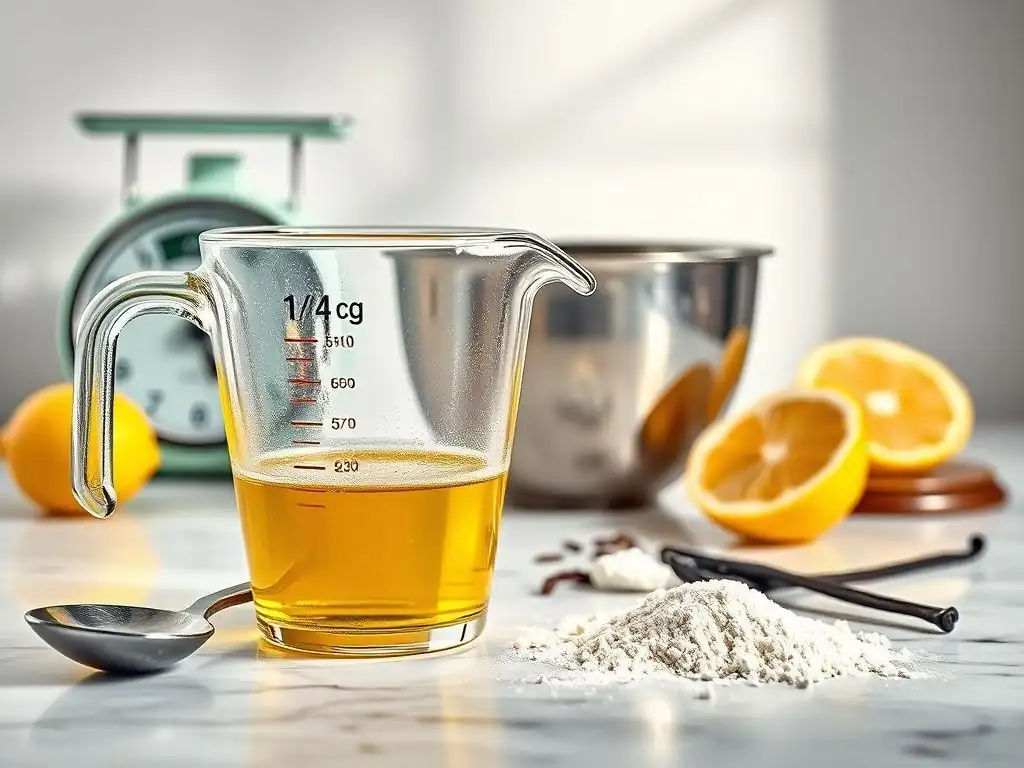
Welcome to BakeWithEase, your guide to effortless baking! Are you tired of greasy, unevenly textured cakes? Unlock the secrets to perfectly moist and delicious baked goods with our expert advice. This time we're diving into the often overlooked, yet crucial, art of precise oil measurement baking. Discover the right techniques and mixing methods that will transform your cakes from oily disasters into culinary triumphs. Intrigued? Let's get baking!
- Achieving Moist and Tender Cakes: Measurement and Mixing Techniques for Oil
- Introduction: Mastering Oil in Cake Baking for Superior Results
- Understanding the Role of Oil in Cake Baking
- Precise Oil Measurement: The Foundation of Perfect Cakes
- Mastering Oil Mixing Techniques for Optimal Texture
- Troubleshooting Common Problems with Oil in Cakes
- Choosing the Right Oil for Your Cake Recipe
- Advanced Tips for Baking with Oil
- Conclusion: Elevate Your Baking - A Comprehensive Guide to Oil-Based Cakes
-
Frequently Asked Questions
- How does accurate oil measurement impact the texture of baked goods?
- What are the best methods for precisely measuring oil in baking recipes?
- Can the type of oil used affect the overall outcome when baking?
- What mixing techniques help ensure oil is evenly distributed in batter?
- Why is overmixing a concern when working with oil in baking?
- Final Reflection: The Sweet Science of Precise Oil Measurement
- Unlock Perfectly Moist Cakes: Master Oil-Based Baking!
Achieving Moist and Tender Cakes: Measurement and Mixing Techniques for Oil
Introduction: Mastering Oil in Cake Baking for Superior Results
Welcome to BakeWithEase! Today, we're diving deep into the world of oil in cake baking. While butter often gets the spotlight, oil is a fantastic fat that can produce incredibly moist, tender cakes with a beautiful crumb and extended shelf life. However, working with oil requires a slightly different approach than butter, particularly when it comes to measurement and mixing. Getting it right is key to avoiding dreaded greasy textures and ensuring your cake is a delightful success. Mastering these techniques will elevate your baking, helping you achieve consistently delicious results every time you use oil.
This guide will walk you through the essential steps, from understanding oil's unique properties to executing precise measurement and effective mixing methods. We'll also cover troubleshooting common issues and choosing the best oil for your recipe. By focusing on precise oil measurement baking and careful mixing, you'll unlock the full potential of oil-based cakes, creating treats that are both moist and perfectly structured.
Understanding the Role of Oil in Cake Baking
Benefits of Using Oil in Cakes: Moisture, Tenderness, and Shelf Life
Oil brings unique qualities to cake baking that are distinct from solid fats like butter. Because oil is liquid at room temperature, it coats flour particles more thoroughly and evenly than solid fats. This coating inhibits gluten development, resulting in a softer, more tender crumb. Think of a classic carrot cake or a moist chocolate cake – often, their incredible texture is attributed to the use of oil.
Furthermore, oil contributes significantly to moisture. Unlike butter, which is about 15-20% water and milk solids, oil is 100% fat. This pure fat content helps the cake retain moisture over time, leading to a longer shelf life. Cakes made with oil tend to stay moist and fresh for several days, whereas butter-based cakes can sometimes dry out more quickly. This makes oil an excellent choice for cakes that need to last or travel well.
The Challenge: Preventing Oiliness and Maintaining Cake Structure
While oil offers wonderful benefits, its liquid nature also presents challenges. The primary concern is avoiding a greasy or oily texture in the final cake. This often happens when too much oil is used or when it's not properly incorporated into the batter. An excessive amount of oil can weigh down the cake, resulting in a dense, heavy texture rather than a light, airy one.
Maintaining cake structure is another challenge. Since oil is 100% fat and liquid, it doesn't provide the same leavening support as creaming butter and sugar together, which incorporates air. Without careful mixing techniques to build structure through other ingredients (like eggs and flour), an oil-based cake can sometimes collapse or have an uneven crumb. This highlights the importance of precise oil measurement baking and understanding how to integrate oil effectively into your batter.
Precise Oil Measurement: The Foundation of Perfect Cakes
Why Accurate Oil Measurement is Crucial
Just like flour, sugar, or leavening agents, the exact amount of oil called for in a recipe is critical to the final outcome. Using too little oil can result in a dry, tough cake because the fat isn't sufficiently coating the flour to tenderize it. Conversely, using too much oil is a common pitfall that leads to a heavy, greasy texture and can even cause the cake to sink in the middle due to the excess weight and disruption of the batter's structure.
Precise oil measurement baking ensures the correct fat-to-dry ingredient ratio, which is fundamental for a balanced recipe. A variation of just 10-20 grams (or about 1-2 tablespoons) of oil in a standard cake recipe can noticeably impact the texture, making the difference between a perfectly moist crumb and an unpleasantly oily one. Accuracy at this stage sets the stage for success.
Best Practices for Measuring Oil in Cake Recipes
Achieving accuracy when measuring liquid fats like oil requires specific techniques. Unlike dry ingredients that can be scooped and leveled, oil needs careful handling to ensure you have the exact volume or weight specified. Relying on guesswork or imprecise methods can easily lead to an off-balance cake.
Using Liquid Measuring Cups: Ensuring Accuracy at Eye Level
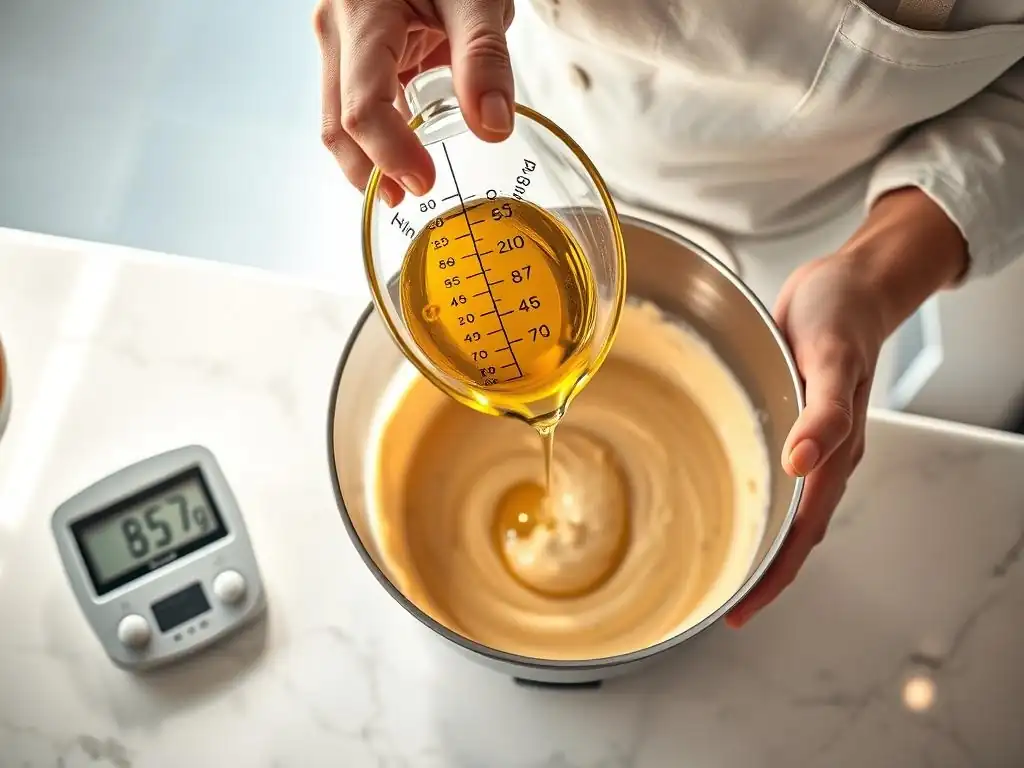
When a recipe calls for oil by volume (cups, milliliters), a liquid measuring cup is the tool of choice. These cups have spouts for easy pouring and markings along the side. To get an accurate measurement, place the liquid measuring cup on a flat, level surface. Slowly pour the oil into the cup until it approaches the desired marking. Then, bend down so your eyes are level with the measurement line. The surface of the oil should be exactly on the line.
**Steps for Measuring Oil with a Liquid Cup:**
1.  Place cup on a level surface.
2.  Pour oil carefully to near the line.
3.  Lower eye level to the measurement line.
4.  Add or remove oil until the surface is precisely on the line.
5.  Pour into your mixing bowl.
Measuring at eye level eliminates parallax error, which is the apparent shift in measurement when viewed from an angle. This simple step is crucial for achieving precise oil measurement baking when using volume measurements.
Weighing Oil: Achieving Gram-Perfect Consistency
For the highest level of accuracy in precise oil measurement baking, weighing is the preferred method, especially for professional bakers or when converting recipes. Oil's density can vary slightly depending on the type (e.g., olive oil is slightly denser than canola oil), but for most common baking oils, 1 cup is approximately 200-225 grams. Weighing bypasses variations that can occur with volume measurements due to temperature or even how cleanly the oil pours.
To weigh oil, place your mixing bowl or a separate container on a digital kitchen scale and tare it to zero. Slowly pour the oil directly into the container until the scale reads the exact weight specified in the recipe. This method is particularly valuable for sensitive recipes where the fat ratio is critical, as it provides an objective measurement independent of technique or viewing angle. A recipe calling for 180g of oil will yield a more consistent result than one calling for "3/4 cup" if measured by weight.
Converting Oil Volume to Weight: Adapting Recipes with Confidence
Many recipes still list oil in volume measurements (cups, tablespoons), but you might prefer the accuracy of weighing. Knowing how to convert between the two allows for greater flexibility and precision. While the exact density varies slightly, a good working approximation for most vegetable oils used in baking is that 1 cup is roughly 200-225 grams. For example, if a recipe calls for 1/2 cup of oil, you'd aim for approximately 100-112 grams.
| Volume (Approx.) | Weight (Approx.) |
|---|---|
| 1 cup | 200-225 g |
| 3/4 cup | 150-169 g |
| 1/2 cup | 100-112 g |
| 1/4 cup | 50-56 g |
| 1 tbsp | 12-14 g |
Using these approximations, you can confidently convert volume measurements to weight for more precise oil measurement baking. While not perfect for every single oil type, these conversions are generally accurate enough for home baking and significantly improve consistency compared to imprecise volume measuring. Always use a reliable kitchen scale for weighing.
Mastering Oil Mixing Techniques for Optimal Texture
The Importance of Proper Oil Emulsification
Emulsification is the process of combining two liquids that don't naturally mix, like oil and water (or the water content in eggs and milk). In cake batter, creating a stable emulsion is crucial. It ensures that the fat is evenly distributed throughout the mixture, preventing pockets of oil and promoting a uniform, tender crumb. When oil isn't properly emulsified, you can end up with a cake that has a greasy layer at the bottom or a heavy, uneven texture.
Proper emulsification helps integrate the oil with the liquid ingredients (eggs, milk, etc.) and eventually the dry ingredients. This distribution is key to preventing the oil from separating during mixing and baking. A well-emulsified batter looks smooth and homogenous, not curdled or separated. Achieving this requires specific mixing methods that encourage the oil and other liquids to form a stable bond.
Common Mistakes: Overmixing, Undermixing, and Oil Pooling
Several mixing errors can lead to less-than-ideal results when working with oil. Undermixing can leave streaks of oil or poorly distributed pockets of fat, resulting in an inconsistent texture and potential oiliness in certain areas. The oil hasn't had sufficient time or agitation to fully combine with the wet ingredients and coat the dry ones evenly.
Conversely, overmixing an oil-based batter can also be detrimental. While oil inhibits gluten development, excessive mixing can still encourage toughening, especially once the flour is added. Overmixing can also sometimes break a fragile emulsion. Another common mistake is simply dumping all the oil in at once without integrating it properly, leading to oil pooling at the bottom of the bowl or even the baked cake.
Step-by-Step Mixing Techniques for Oil-Based Cakes
Different mixing methods are employed depending on the recipe and desired cake structure. While the traditional creaming method is common for butter cakes, oil-based cakes often benefit from methods specifically adapted for liquid fats or techniques that focus on building structure through other means.
The Traditional Creaming Method: Adjusting for Oil's Liquid Nature
Some recipes adapt the traditional creaming method for oil. In this approach, sugar is often beaten with the liquid oil and sometimes eggs. Since oil doesn't trap air like solid butter does when creamed with sugar, this step doesn't provide significant leavening. Instead, the mixing focuses on dissolving the sugar and starting the emulsification process.
After beating the oil, sugar, and eggs, dry ingredients are typically added alternately with liquid ingredients (like milk or buttermilk). The key is to mix just until combined after the dry ingredients are added to avoid developing too much gluten. This method relies more heavily on chemical leaveners (baking powder, baking soda) for lift than air incorporation during the initial fat-sugar step.
The Reverse Creaming Method: Creating a Stable Emulsion
The reverse creaming method is particularly effective for oil-based cakes and is often used for cakes desiring a very fine, velvety crumb. In this technique, the dry ingredients (flour, sugar, leaveners, salt) are combined first. Then, the oil is added and mixed into the dry ingredients until the mixture resembles coarse sand or wet crumbs. This step coats the flour particles with fat from the beginning, further inhibiting gluten development.
Next, the liquid ingredients (eggs, milk, extracts) are added in stages, often in two or three additions, mixing gently after each until just combined. This method helps create a very stable emulsion and ensures the fat is evenly distributed before the liquids are fully incorporated. The resulting batter is often very smooth, and the baked cake has an exceptionally tender and even texture. This method is a prime example of how mixing order impacts the final cake texture when using oil.
The Blending Method: A Simple Approach for Even Distribution
The blending method, sometimes called the "muffin method," is the simplest approach and works well for many oil-based cakes, especially those with additions like fruits or vegetables (think banana bread or zucchini cake). In this method, all the dry ingredients are combined in one bowl, and all the wet ingredients (including the oil, eggs, milk, etc.) are combined in another bowl.
The wet ingredients are then poured into the dry ingredients, and the mixture is stirred just until everything is combined and no dry streaks remain. Lumps are acceptable and often desirable to avoid overmixing. This method relies on the liquid oil to easily disperse throughout the batter with minimal mixing, preventing gluten development and yielding a tender result. It's a straightforward way to achieve even oil distribution with minimal effort.
Troubleshooting Common Problems with Oil in Cakes
Identifying Signs of Excessive Oil: Soggy Texture and Pooling
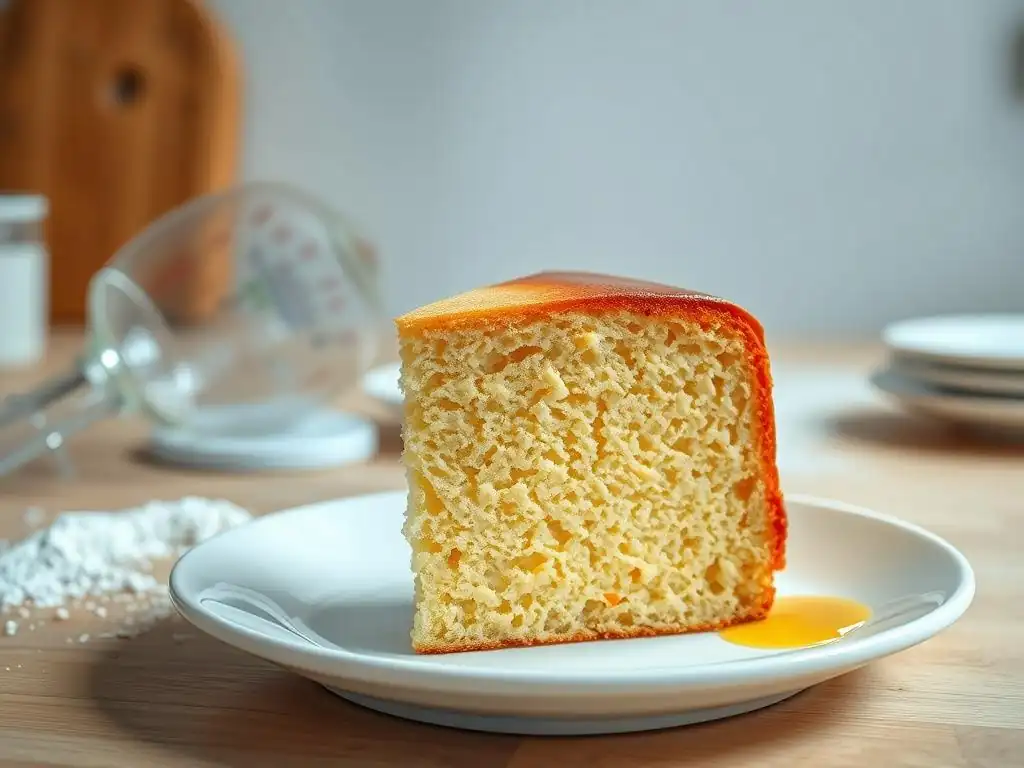
Recognizing the signs of too much oil is the first step to correcting the issue in future bakes. A cake made with excessive oil often has a distinct texture – it feels heavy, dense, and almost soggy or clammy, especially towards the bottom. When cut, the crumb might appear greasy, and in severe cases, you might even see a visible layer or pool of oil on the bottom surface of the cake after it's cooled.
Another indicator can be an overly shiny crust that seems to glisten with fat. While a moist cake is desirable, an oily cake crosses the line into unpleasantness. These signs point directly back to either using too much oil (highlighting the need for precise oil measurement baking) or failing to properly integrate the oil during mixing, leading to separation.
Adjusting Oily Cake Batter: Adding Dry Ingredients Strategically
If you realize during the mixing process that your batter seems too oily or thin, you might be able to make a strategic adjustment. This is a delicate process and not always foolproof, but adding a small amount of additional dry ingredients can help absorb some of the excess liquid/fat and rebalance the batter. Start by adding 1-2 tablespoons of the main dry ingredient (usually flour) used in the recipe.
Gently fold or mix the added flour in until just combined. Avoid vigorous mixing, as this can develop gluten. Assess the batter's consistency; if it still seems excessively oily or thin, you can add another tablespoon of flour. Be cautious not to add too much, as this will result in a dry, tough cake. This adjustment is a last resort and reinforces the importance of getting your precise oil measurement baking right from the start.
Preventing Oil Separation: Maintaining Proper Emulsification
Oil separation, either in the batter or the finished cake, occurs when the oil and other liquids don't form a stable emulsion. Preventing this involves careful technique during mixing. Firstly, ensure your ingredients are at the correct temperature if specified (though oil is less sensitive than butter to temperature, other ingredients like eggs and milk might be).
Secondly, incorporate the oil gradually or using a method like reverse creaming that promotes even distribution. When adding liquid ingredients to dry, mix just until combined. Overmixing can sometimes break an emulsion. If using the traditional creaming method adapted for oil, ensure the initial wet ingredients (oil, sugar, eggs) are well combined before adding dry. Following the steps for proper mixing techniques outlined earlier is the best defense against oil separation and ensures a beautifully consistent crumb.
Choosing the Right Oil for Your Cake Recipe
Understanding Different Types of Baking Oils
The world of edible oils is vast, but for baking, we typically focus on a few key types. These can broadly be categorized by their flavor profile and smoke point. Choosing the right oil depends on the type of cake you're making and the flavors you want to highlight or keep neutral.
Neutral Oils: Vegetable Oil and Canola Oil for Versatility
Neutral-flavored oils are the workhorses of oil-based baking. Vegetable oil, often a blend of soybean, corn, and sunflower oils, and canola oil are excellent choices. They have a very mild flavor that won't compete with or alter the taste of your cake, making them ideal for vanilla cakes, chocolate cakes, or any recipe where you want the other flavors to shine.
These oils also have relatively high smoke points, meaning they can withstand the temperatures of baking without breaking down or imparting off-flavors. Their consistent liquid state at room temperature also makes them easy to measure accurately, contributing to precise oil measurement baking. They are widely available and cost-effective, making them a staple in many bakers' pantries.
Flavorful Oils: Olive Oil and Coconut Oil for Distinctive Profiles
For cakes where you want the fat to contribute to the flavor, consider oils like olive oil or melted coconut oil. Light or extra-virgin olive oil can lend a subtle, fruity, or peppery note that pairs wonderfully with citrus cakes, cornmeal cakes, or certain chocolate recipes. However, use it judiciously, as a strong olive oil can overpower delicate flavors.
Melted coconut oil (which is solid at cooler temperatures but liquid when warm) can provide a distinct coconut flavor and richness. It works beautifully in tropical-themed cakes or those featuring pineapple or lime. When using these flavorful oils, consider how their taste will complement the other ingredients. Also, remember that their densities might vary slightly from neutral oils, making weighing (for precise oil measurement baking) potentially even more beneficial.
How Oil Choice Impacts Cake Flavor, Texture, and Aroma
The type of oil you choose has a direct impact on the final characteristics of your cake. A neutral oil will primarily affect texture, providing moisture and tenderness without adding flavor or aroma. This allows the vanilla, cocoa, spices, or fruit in your cake to be the dominant notes.
Flavorful oils, conversely, contribute their own profile. Olive oil can add complexity and aroma, while coconut oil brings a tropical scent and taste. Beyond flavor, the specific fatty acid composition of an oil can subtly influence texture and moisture retention.
For example, oils higher in monounsaturated fats (like olive oil) might behave slightly differently than those higher in polyunsaturated fats (like vegetable oil), though these differences are often subtle in standard cake recipes. Ultimately, the best oil is one that complements your recipe's intended flavor profile while providing the desired moist and tender texture through precise oil measurement baking and proper technique.
Advanced Tips for Baking with Oil
Adjusting Recipes for Different Oil Viscosities
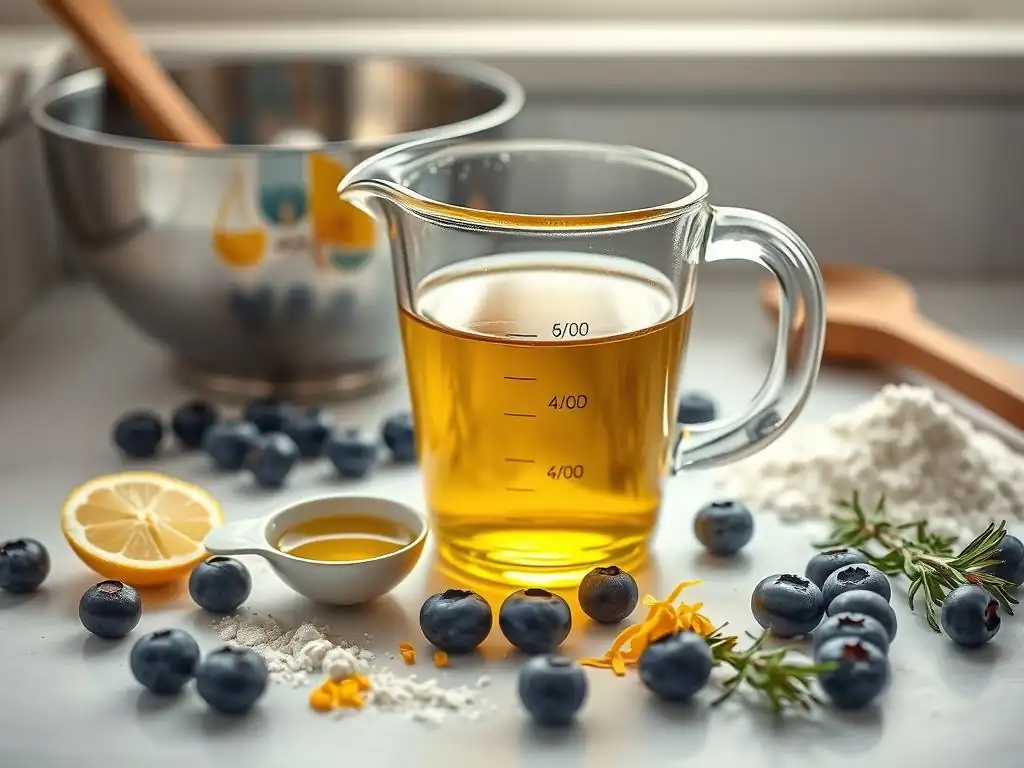
While most common baking oils have similar densities, there can be slight variations in viscosity (how easily they flow). For instance, a very light vegetable oil might pour slightly differently than a thicker olive oil. While volume measurements can be affected by this, weighing eliminates the issue entirely, reinforcing why it's often preferred for precise oil measurement baking.
If you're substituting one oil for another with a noticeably different viscosity, and you're measuring by volume, be mindful that the pour rate might affect the final amount slightly. This is less of a concern with standard cake recipes but can matter in very sensitive formulations. Paying attention to visual cues of the batter consistency can help, but the most reliable method for consistency across different oil types remains using a kitchen scale.
Storing Cakes Made with Oil: Preventing Staling and Maintaining Moisture
One of the great advantages of oil-based cakes is their superior keeping quality compared to butter-based cakes. The pure fat content helps trap moisture, slowing down the staling process. To maximize their freshness, store oil-based cakes properly. Once completely cooled, wrap them tightly in plastic wrap or aluminum foil, or place them in an airtight container.
Proper storage prevents air exposure, which dries out cakes. Stored at room temperature, many oil-based cakes will remain moist and delicious for 3-4 days. For longer storage, they can be frozen. Wrap slices or the whole cake securely and freeze for up to 2-3 months. Thaw at room temperature while still wrapped to retain moisture. The initial precise oil measurement baking and careful mixing contribute significantly to this long-lasting moistness.
Experimenting with Oil Infusions: Adding Depth and Complexity
For an extra layer of flavor, consider using infused oils. You can purchase commercially infused oils (like citrus or herb-infused olive oils) or make your own by gently heating oil with ingredients like citrus zest, vanilla beans, or spices, then straining. Using an infused oil in your cake can add subtle or pronounced background notes that elevate the overall flavor profile.
For example, a lemon cake could be made with lemon-infused oil, or a spice cake could use oil gently heated with cinnamon sticks and star anise before cooling and using. When using infused oils, ensure the infusion process doesn't significantly alter the oil's volume or weight, maintaining your precise oil measurement baking. Strain thoroughly to remove solids before measuring and adding to your batter.
Conclusion: Elevate Your Baking - A Comprehensive Guide to Oil-Based Cakes
Mastering the use of oil in cake baking opens up a world of incredibly moist, tender, and long-lasting desserts. Unlike butter, oil's liquid nature requires specific attention to detail, particularly in the areas of measurement and mixing. We've explored why precise oil measurement baking is non-negotiable for avoiding greasiness and ensuring the correct texture, discussing the best practices for using both volume and weight measurements.
We've also delved into the mixing techniques that promote proper emulsification and even fat distribution, from adapting traditional methods to employing reverse creaming or the simple blending method. By understanding the role of oil, troubleshooting common issues, and selecting the right type of oil for your recipe, you are well-equipped to bake oil-based cakes that are consistently delightful. Embrace these techniques, and enjoy the wonderfully moist results!
Frequently Asked Questions
How does accurate oil measurement impact the texture of baked goods?
Accurate oil measurement is crucial because too much oil can lead to a greasy, dense texture, while too little can result in a dry and crumbly outcome. Using the right amount ensures the perfect balance of moisture and fat.
What are the best methods for precisely measuring oil in baking recipes?
Using a liquid measuring cup and checking it at eye level is essential for accurate measurement. Avoid estimating, and consider using a kitchen scale for even greater precision, especially in larger batches.
Can the type of oil used affect the overall outcome when baking?
Yes, different oils have different flavors and densities. Using the recommended oil type in a recipe is important, as substituting can alter the taste and texture of the final product.
What mixing techniques help ensure oil is evenly distributed in batter?
Gradually adding the oil while mixing on a low speed helps to prevent overmixing and ensures that the oil is properly emulsified into the batter, resulting in a uniform texture.
Why is overmixing a concern when working with oil in baking?
Overmixing can develop too much gluten, leading to a tough cake. Properly incorporating the oil without excessive mixing guarantees a tender and moist final product.
Final Reflection: The Sweet Science of Precise Oil Measurement
The quest for the perfect cake, light and fluffy, not greasy and dense, hinges on a seemingly simple element: precise oil measurement. Mastering this seemingly small detail elevates baking from a haphazard endeavor to a precise science, impacting not only the texture of your baked goods but also your overall baking confidence. The subtle differences between a tablespoon and a scant tablespoon can be the difference between a culinary triumph and a disappointing flop.
The impact of accurate measurement extends far beyond the individual cake. It speaks to a broader cultural appreciation for detail and precision in culinary arts. We live in a world of readily available information, yet the fundamental skills of accurate measurement and understanding ingredient interactions often get overlooked. The difference between ordinary and extraordinary is that little extra.
This quote, while often applied to other areas, perfectly encapsulates the impact of precise oil measurement in baking. The seemingly small act of careful measurement transforms the ordinary into the extraordinary, resulting in consistently delicious results.
Now, consider your own baking journey. What seemingly small details have you overlooked? I encourage you to revisit your recipes, paying close attention to the nuances of measurement. Embrace the challenge of precise oil measurement, and watch as your baking skills flourish. The reward? Not just perfectly textured cakes, but a deeper understanding of the art and science of baking, empowering you to create culinary masterpieces time and time again.
Unlock Perfectly Moist Cakes: Master Oil-Based Baking!
Thanks for joining us on this baking journey! We hope you've gained valuable insights into mastering oil-based cake recipes. Now it's time to put your new knowledge into practice.
- Bake your dream cake! Try out a new oil-based recipe using the precise measurement techniques we discussed. Note the difference in texture and moisture!
- Share your baking triumph! Post a photo of your masterpiece on social media and tag us – we'd love to see your creation.
- Consider experimenting with different oils – what surprising flavor profiles can you discover?
Ready to ditch dry cakes forever? What's your favorite oil to use in baking, and why?