
Pains aux Raisins: Swirl Your Way to Viennoiserie Success

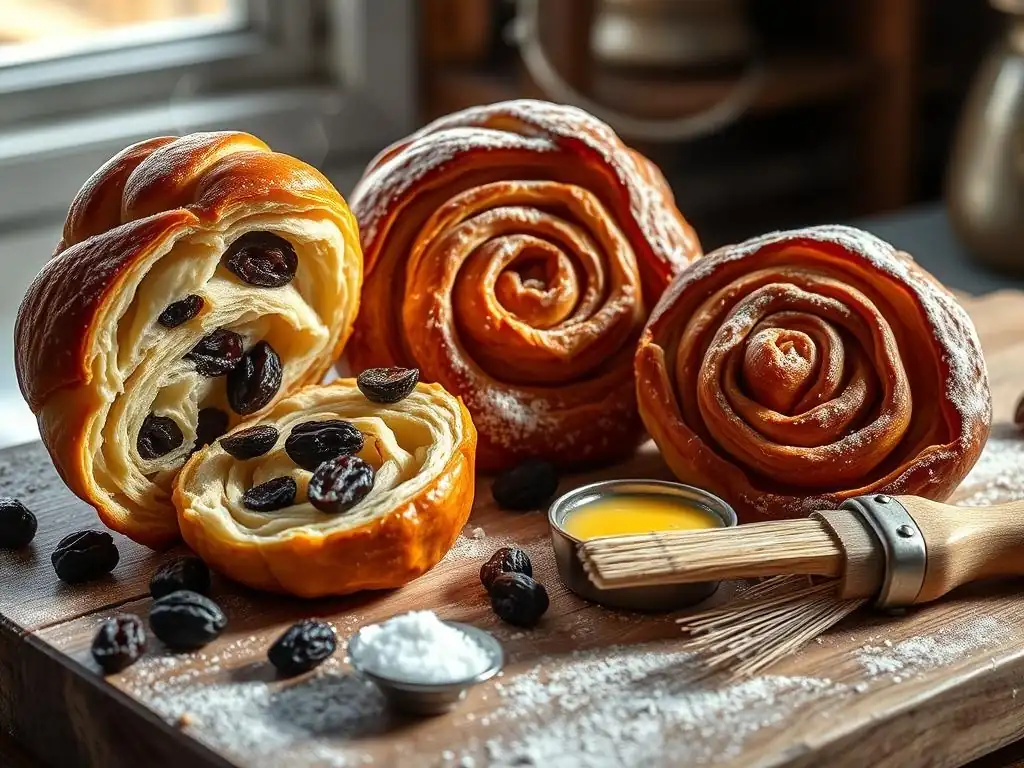
Welcome to BakeWithEase, your haven for baking brilliance! Ever dreamt of creating those delicate, swirly pastries that grace Parisian bakeries? Get ready to turn that dream into a delicious reality. Today, we're diving into an easy pain au raisins recipe that will have you crafting viennoiserie masterpieces from your very own kitchen. But that's just the beginning... eager to unlock the secrets to perfectly laminated dough and a golden-brown finish? Let's get baking!
- Introduction to Pains aux Raisins
- Mastering the Dough: Essential Steps
- Pain au Raisins Recipe: A Step-by-Step Guide
- Pro Tips for Pain au Raisins
- Serving and Storing
- Conclusion: Your Viennoiserie Journey
-
Frequently Asked Questions
- What makes this pain au raisins recipe "easy"?
- Can I substitute any ingredients in this easy pain au raisins recipe?
- How long does it take to make this easy pain au raisins recipe from start to finish?
- What are some common mistakes to avoid when making pain au raisins?
- How should I store leftover pain au raisins made with this easy recipe?
- Final Reflection: The Sweet Success of Simple Baking
- Unlock Your Inner Boulanger: Bake Pains aux Raisins Today!
Introduction to Pains aux Raisins
What are Pains aux Raisins?
Pains aux raisins, often affectionately called "snail pastries" due to their distinctive spiral shape, are a beloved classic of French viennoiserie. These delightful treats are made from a rich, laminated dough, similar to croissant dough, which is spread with a creamy crème pâtissière (pastry cream) and studded with plump raisins. The dough is then rolled into a log and sliced, revealing the beautiful swirl before baking. Originating in France, these pastries are a staple in bakeries and a popular choice for breakfast or a snack, offering a wonderful combination of flaky texture, sweet cream, and chewy fruit.
The magic of pain au raisins lies in the contrast between the crispy, buttery layers of the dough and the soft, sweet filling. While they share a base dough with croissants and pains au chocolat, the addition of the pastry cream and raisins gives them a unique character. They represent a step up in baking complexity from simple bread but are entirely achievable for the home baker looking to expand their skills. Mastering the technique rewards you with a pastry that is far superior to store-bought versions, offering a truly authentic taste of French baking.
Baking Pains aux Raisins at Home
Undertaking the task of baking pains aux raisins in your own kitchen might seem daunting at first, given their intricate layers and professional appearance. However, with a clear, step-by-step guide and a bit of patience, creating this classic viennoiserie is absolutely within reach for intermediate bakers. The process, while requiring time for chilling and proofing, is broken down into manageable stages, making it a rewarding project that builds confidence in handling laminated doughs and pastry cream.
Embracing an easy pain au raisins recipe allows you to control the quality of your ingredients and the freshness of the final product. The aroma of freshly baked pastries filling your home is an unparalleled experience. While it requires some dedication, particularly in mastering the lamination process, the result – golden, flaky pastries bursting with creamy filling and sweet raisins – is incredibly satisfying and makes the effort worthwhile. It's a fantastic way to practice fundamental baking techniques that apply to many other pastries.
Mastering the Dough: Essential Steps
Laminated Dough: Achieving Flaky Layers
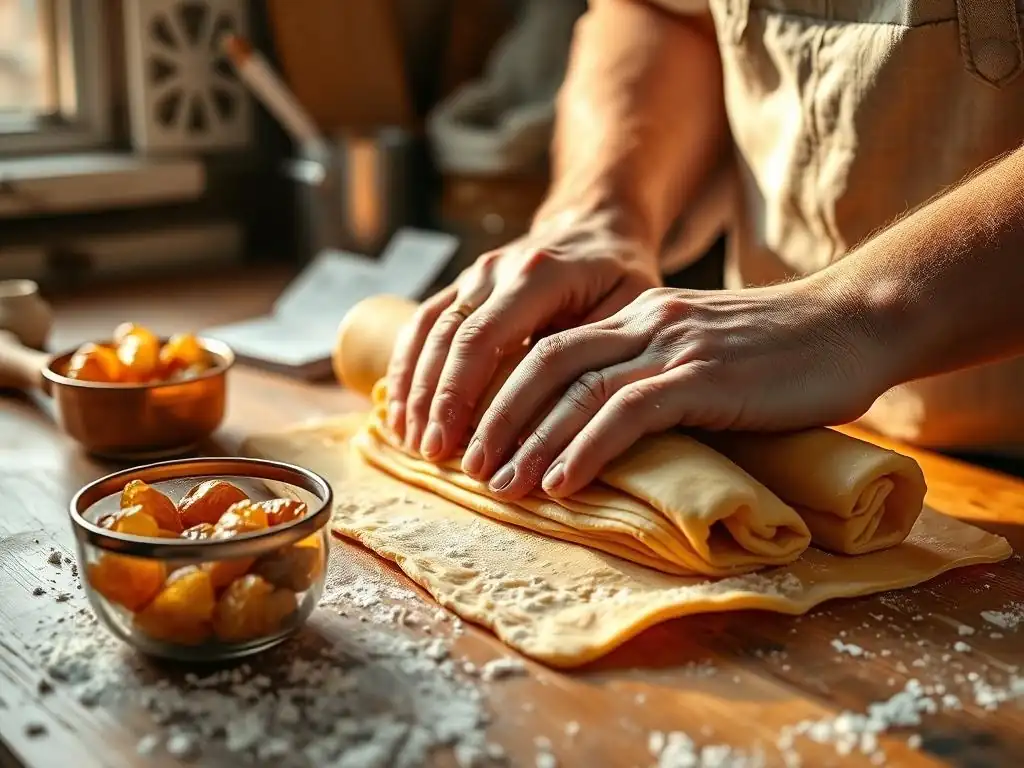
The hallmark of a great pain au raisins is its flaky, layered texture, which is achieved through a process called lamination. This involves encasing a block of cold butter within dough and repeatedly folding and rolling the dough, creating alternating layers of butter and dough. As the pastry bakes, the water in the butter turns to steam, pushing the layers apart and creating that characteristic airy, crispy structure. Typically, a lamination process for viennoiserie involves several "turns" or folds, often three or four, with chilling periods in between to keep the butter cold and firm.
A common lamination sequence might involve a simple tri-fold (folding the dough into thirds like a letter), resting, and repeating this process two or three times. Each fold multiplies the number of layers; starting with 3 layers (dough-butter-dough), one tri-fold creates 9 layers, a second creates 27, and a third creates 81. Some recipes use a combination of tri-folds and book folds, potentially creating even more layers. The key is maintaining the butter's integrity – it should be cold and pliable, not soft or melted, to ensure distinct layers are formed during rolling.
Flour, Butter, and Yeast: Key Ingredients
Selecting the right ingredients is fundamental to the success of your pain au raisins. For the dough, a strong bread flour or high-protein plain flour (around 12-13% protein content) is ideal. This provides the necessary gluten structure to withstand the rolling and folding process and gives the finished pastry its characteristic chewiness alongside the flakiness. The liquid component is typically milk, which adds richness compared to water, and sometimes a small amount of sugar to aid yeast activity and flavor.
The butter is perhaps the most critical ingredient for lamination. Use high-quality, unsalted butter with a high fat content, ideally around 82%. European-style butters often fit this description and are preferred by professionals. The butter must be cold but pliable enough to roll without breaking. Yeast, either instant or active dry, is essential for leavening, making the dough rise and become airy during proofing and baking. A typical recipe for a dozen pains aux raisins might use around 7-10 grams of instant yeast.
Proofing and Shaping Techniques
After the lamination process is complete, the dough needs adequate proofing time before baking. Proofing is the final rise where the yeast produces carbon dioxide, causing the dough to expand and develop flavor. For pains aux raisins, this usually takes place in a warm, humid environment, often for 1.5 to 3 hours, or until the pastries are visibly puffed up and jiggly when gently shaken. Proper proofing is crucial; under-proofed pastries will be dense, while over-proofed ones may collapse in the oven.
Shaping pains aux raisins involves rolling the laminated dough into a large rectangle, typically about 3-4 mm thick. The surface is then evenly spread with cooled crème pâtissière, leaving a small border clean. Plump, soaked raisins are scattered over the cream. The dough is then carefully rolled up along the longer edge into a tight log. Using a sharp knife or even dental floss, the log is cut into individual slices, usually about 2-3 cm thick, which are then placed on baking sheets for their final proof.
Pain au Raisins Recipe: A Step-by-Step Guide
Preparing the Dough
The journey to an easy pain au raisins recipe begins with the dough. Start by combining the flour, yeast, a pinch of salt, and a bit of sugar in a large bowl or stand mixer. Warm the milk slightly (around 30-35°C or 85-95°F) and add it to the dry ingredients, along with an egg if the recipe calls for it, and a small amount of softened butter.
Mix and knead the dough until it is smooth and elastic, which may take 8-10 minutes by hand or 5-7 minutes in a stand mixer on medium speed. The dough should be soft but not sticky.
Once kneaded, the dough needs to be chilled thoroughly. Shape it into a rectangle, wrap it tightly in plastic wrap, and refrigerate for at least 2-4 hours, or preferably overnight. Meanwhile, prepare your butter block for lamination. Take your cold, high-fat butter and shape it into a flat rectangle, roughly two-thirds the size of your dough rectangle, by placing it between two sheets of parchment paper and rolling or beating it with a rolling pin. Keep both the dough and butter well chilled until you begin the lamination process.
Making the Crème Pâtissière
Crème pâtissière is the luscious, creamy filling that distinguishes pains aux raisins. You'll need milk, egg yolks, sugar, a thickener like cornstarch or flour, and vanilla for flavor. Begin by warming most of the milk in a saucepan, perhaps with a vanilla bean or vanilla extract added for infusion. In a separate bowl, whisk together the egg yolks and sugar until pale and creamy, then whisk in the cornstarch or flour until smooth.
Once the milk is hot (but not boiling), temper the egg mixture by slowly pouring about half of the hot milk into the yolk mixture while whisking constantly. This prevents the eggs from scrambling. Pour the tempered mixture back into the saucepan with the remaining milk. Cook over medium heat, whisking continuously, until the cream thickens significantly and comes to a gentle boil for about 1-2 minutes.
This ensures the starch is fully cooked. Remove from heat, stir in any remaining vanilla extract, and pass the cream through a sieve into a clean bowl for extra smoothness. Cover the surface directly with plastic wrap to prevent a skin from forming and chill completely in the refrigerator for at least 2-3 hours until firm.
Soaking the Raisins in Rum
Soaking the raisins is a simple yet crucial step that ensures they are plump and juicy within the baked pastry, rather than dry and hard. While hot water or orange juice are options, soaking them in rum or another spirit adds a wonderful depth of flavor that complements the rich dough and creamy filling. Measure out the raisins and place them in a small bowl.
Pour enough rum (dark or light, depending on preference) over the raisins to cover them completely. Let them soak for at least 30 minutes, stirring occasionally, or even longer for maximum plumping and flavor infusion. If you prefer not to use alcohol, use hot water; drain them well after soaking. Before using, drain the soaked raisins thoroughly to remove excess liquid, which could make the dough soggy.
Assembling the Pains aux Raisins
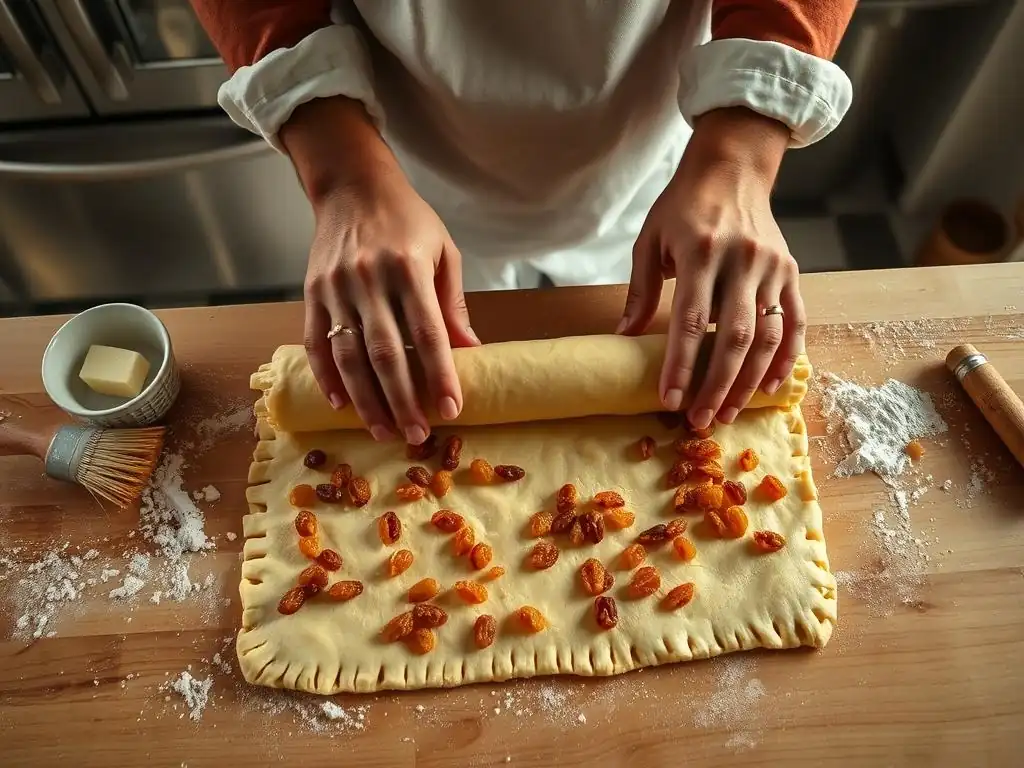
With your chilled laminated dough, cold crème pâtissière, and drained soaked raisins ready, it's time to assemble the pastries. On a lightly floured surface, roll out the laminated dough into a large rectangle, aiming for dimensions around 40-50 cm long and 30-40 cm wide, and a thickness of about 3-4 mm. Ensure the rectangle is as even as possible to get uniform pastries.
Spread the chilled crème pâtissière evenly over the surface of the dough rectangle, leaving a border of about 1-2 cm along one of the longer edges clean. Scatter the drained raisins generously over the cream. Starting from the long edge covered with cream and raisins, carefully and tightly roll the dough into a log towards the clean edge.
Brush the clean edge with a little water to help seal the roll. Using a sharp knife or bench scraper, trim the ends of the log, then cut the log into slices about 2-3 cm thick. Place the cut pastries, spiral side up, on baking sheets lined with parchment paper, leaving ample space between them as they will expand significantly during proofing and baking.
Baking to Golden Perfection
The final step before enjoying your homemade pain au raisins is baking them to a beautiful golden perfection. Preheat your oven to a moderately hot temperature, typically between 180°C and 200°C (350°F and 400°F). The exact temperature can vary slightly depending on your oven; a slightly higher temperature helps the layers separate and puff up quickly.
Before baking, the assembled pastries need a final proof. Let them sit in a warm, humid place until they have visibly increased in size, becoming puffed and airy, usually 1.5 to 3 hours. Just before baking, you can brush them gently with an egg wash (an egg whisked with a little milk or water) for a glossy finish.
Bake for 15-25 minutes, rotating the trays halfway through for even coloring. They are done when they are deeply golden brown, particularly on the edges and bottom, and the layers are clearly separated. Remove from the oven and let them cool slightly on the baking sheet before transferring to a wire rack.
Pro Tips for Pain au Raisins
Achieving the Perfect Swirl
A key aesthetic appeal of pain au raisins is their distinct spiral swirl. To achieve this, the tightness of your roll is paramount during assembly. Roll the dough log as tightly as possible, pressing gently to avoid trapping air pockets, which can disrupt the swirl when cut. A firm, even roll ensures the layers of dough and filling are compact and concentric.
Furthermore, using a very sharp knife or even unflavored dental floss to cut the log into individual pastries is essential. A dull knife will compress and squish the layers, distorting the swirl. If using a knife, a single, decisive downward cut is best. For dental floss, slide a length underneath the log, cross the ends over the top at your desired cut point, and pull them tautly in opposite directions to slice cleanly through the dough and filling. Keeping the rolled log very cold for 15-30 minutes before cutting also helps maintain its shape.
Troubleshooting Common Problems
Even with an easy pain au raisins recipe, you might encounter challenges. One common issue is butter leaking out during baking, resulting in flat, greasy pastries. This usually indicates the dough was too warm during lamination or proofing, or it wasn't sufficiently chilled between folds. Ensure your workspace and ingredients remain cold, and give the dough ample time in the refrigerator as specified in the recipe.
Another problem is pastries that don't puff up or are dense. This could be due to insufficient proofing time – the yeast didn't have enough time to produce gas and lighten the dough. Ensure your proofing environment is warm enough (around 24-28°C or 75-82°F) and allow the pastries to double in size. Alternatively, the yeast might be inactive (check its expiry date), or the oven wasn't hot enough, preventing the layers from separating properly. Ensure your oven is accurately preheated using an oven thermometer.
Flavor Variations: Orange Zest and Almonds
While the classic pain au raisins with crème pâtissière and rum-soaked raisins is delightful, you can easily introduce variations to add new dimensions of flavor. A popular addition is orange zest. Finely grate the zest of one or two oranges and stir it into the crème pâtissière after it has thickened and been removed from the heat. The bright, citrusy notes pair beautifully with the sweet cream and raisins.
Another delicious variation involves almonds. A few drops of almond extract can be added to the crème pâtissière along with the vanilla. Alternatively, you can sprinkle toasted slivered almonds over the crème pâtissière along with the raisins before rolling the dough. The nutty flavor and slight crunch of the almonds offer a pleasant contrast to the other components. These simple additions allow you to customize your easy pain au raisins recipe and explore new taste profiles.
Serving and Storing
Enjoying Freshly Baked Pains aux Raisins
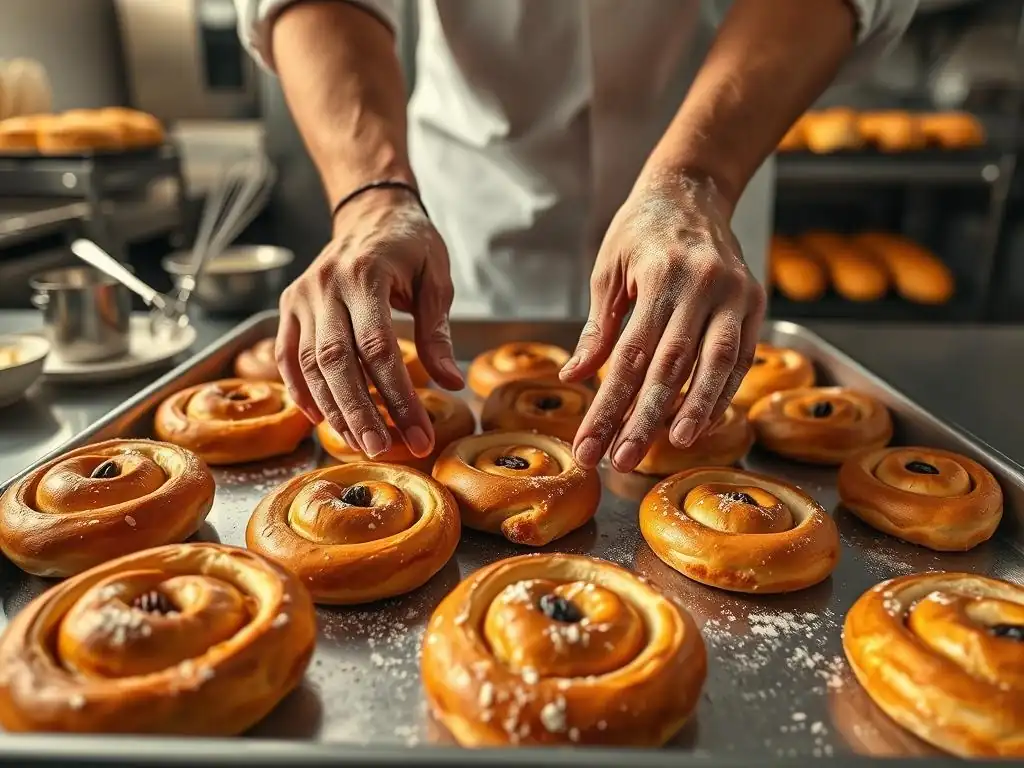
There's nothing quite like a pain au raisins enjoyed fresh from the oven. The layers are at their crispiest, the butter is fragrant, and the filling is warm and soft. Allow the pastries to cool on a wire rack for 10-15 minutes after baking; they will be very hot initially. Enjoy them slightly warm for the best texture and flavor experience.
For an extra touch, you can brush the warm pastries with a simple sugar glaze (powdered sugar mixed with a little milk or water) or dust them lightly with powdered sugar. Serve them as part of a special breakfast, brunch, or with a cup of coffee or tea. The combination of textures and flavors makes them a truly indulgent treat.
Storage for Freshness
Pains aux raisins are best enjoyed the day they are baked. However, if you have leftovers, store them in an airtight container at room temperature for up to 1-2 days. The pastry layers will soften over time. For longer storage, they can be refrigerated for up to 3-4 days, though this can dry out the dough slightly.
To refresh refrigerated or day-old pastries, warm them gently in a preheated oven at around 150°C (300°F) for 5-10 minutes. This helps to re-crisp the layers. Unbaked, shaped pains aux raisins can also be frozen after their initial proof; place them on a baking sheet until solid, then transfer to a freezer bag. Bake directly from frozen, adding a few extra minutes to the baking time. Baked pastries can also be frozen and reheated.
Conclusion: Your Viennoiserie Journey
Embarking on the journey to make pains aux raisins at home is a rewarding experience that culminates in truly exceptional pastries. While the process involves several steps, from mastering the laminated dough to perfecting the crème pâtissière and assembly, each stage is achievable with patience and attention to detail. Following an easy pain au raisins recipe empowers you to create these bakery-quality treats right in your own kitchen.
The satisfaction of pulling golden, perfectly swirled pains aux raisins from your oven is immense. It's a testament to the beauty and craft of traditional baking, and a skill that opens the door to mastering other classic viennoiseries. Don't be discouraged by initial attempts; practice makes perfect when it comes to lamination. With each batch, you'll refine your technique and get closer to that ideal flaky, buttery, creamy, and fruity pastry. Enjoy the process and savor the delicious results of your homemade viennoiserie success.
Frequently Asked Questions
What makes this pain au raisins recipe "easy"?
This recipe focuses on simplified steps and readily available ingredients, removing the complexity often associated with traditional Viennoiserie. We provide clear instructions and tips to guide even beginner bakers through the process.
Can I substitute any ingredients in this easy pain au raisins recipe?
While we recommend using the listed ingredients for best results, some substitutions are possible. For example, you can use a different type of dried fruit instead of raisins, but the flavor will change.
How long does it take to make this easy pain au raisins recipe from start to finish?
The entire process, including dough preparation, proofing, and baking, takes approximately 4-5 hours. This includes rest times for the dough to develop its flavor and texture.
What are some common mistakes to avoid when making pain au raisins?
Avoid over-kneading the dough, as this can result in a tough pastry. Also, ensure the dough is properly proofed before baking for a light and airy texture.
How should I store leftover pain au raisins made with this easy recipe?
Store leftover pain au raisins in an airtight container at room temperature for up to two days. You can also freeze them for longer storage, ensuring they're well-wrapped.
Final Reflection: The Sweet Success of Simple Baking
The accessibility of delicious, homemade pastries is more relevant than ever in a world increasingly focused on mindful consumption and the joy of creating. Mastering the art of baking, even something as seemingly complex as pain au raisins, empowers us to connect with our food on a deeper level, appreciating both the process and the product. This isn't just about a recipe; it's about reclaiming the kitchen as a space for creativity and self-care.
The enduring appeal of pain au raisins lies not just in its delightful taste, but in its ability to transport us. The aroma alone evokes feelings of warmth, comfort, and perhaps even childhood memories. Baking is at once child's play and adult joy. And love, of course.
This quote perfectly encapsulates the magic of creating something beautiful and delicious from simple ingredients, a sentiment deeply resonated with while developing this recipe. The process itself, from the gentle kneading to the satisfying golden-brown bake, is a meditative experience that offers a welcome respite from the demands of daily life.
Now, I invite you to roll up your sleeves, gather your ingredients, and embark on your own pain au raisins adventure. Don't be intimidated by the seemingly intricate steps; this recipe is designed for ease and enjoyment. Embrace the imperfections, celebrate the successes, and savor the sweet reward of your labor. The journey of creating these delectable pastries is as rewarding as the final bite itself. Let the warmth of the oven and the aroma of freshly baked bread fill your home with joy, and remember the power of simple pleasures.
Unlock Your Inner Boulanger: Bake Pains aux Raisins Today!
Thanks for joining us on this delightful journey into the world of Pains aux Raisins! We hope you now feel confident and inspired to tackle this classic pastry. Ready to roll up your sleeves and get baking?
- Master the art of the swirl: Try making your own Pains aux Raisins today. Use our recipe (you can find it on our website!) as your guide – the results will be incredibly rewarding!
- Share your success: Post a picture of your beautiful creations on social media and tag us @BakeWithEase – we'd love to see your baking journey!
- Explore other Viennoiserie delights: Discover more tempting recipes on our website – from croissants to pain au chocolat, the possibilities are endless!
What unique twist will you add to your Pains aux Raisins to make them truly your own?