
The Foolproof Basic Sourdough Method Explained

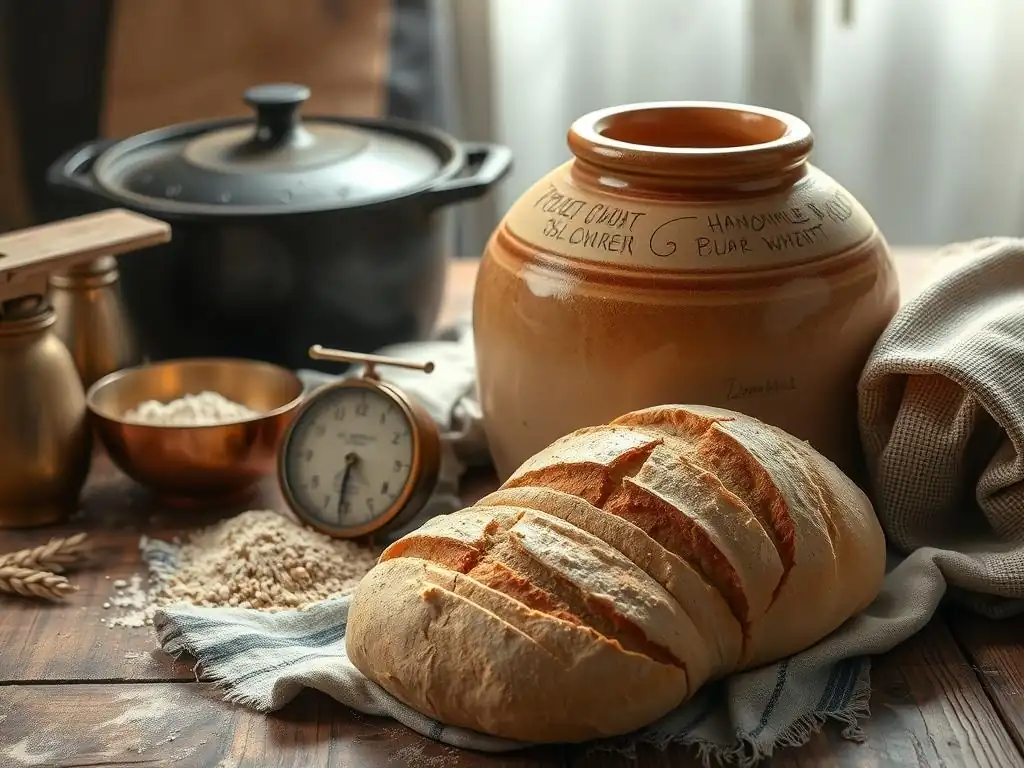
Welcome to BakeWithEase, where delicious baking becomes effortlessly achievable! Are you ready to unlock the secrets of sourdough? Dive into our article, " The Foolproof Basic Sourdough Method Explained", and discover our easy sourdough starter recipe – a surprisingly simple key to creating artisan bread at home. But what's the one crucial step most beginners miss? Let's get baking and find out!
- The Foolproof Basic Sourdough Method Explained: King Arthur Baking's Guide
- Introduction to Easy Sourdough Baking with King Arthur Baking
- Understanding Your Sourdough Starter: The Key to Success
-
King Arthur Baking's Foolproof Basic Sourdough Method: Step-by-Step
- Step 1: Mixing the Dough - Combining Flour, Water, and Starter
- Step 2: Bulk Fermentation - Allowing the Dough to Rise
- Step 3: Shaping the Dough - Creating the Perfect Loaf
- Step 4: Proofing the Dough - The Final Rise Before Baking
- Step 5: Baking Your Sourdough Loaf - Achieving a Crispy Crust
- Step 6: Cooling and Enjoying Your Freshly Baked Sourdough
- Troubleshooting Your Sourdough: Common Problems and Solutions
- Mastering Sourdough: Tips and Tricks from King Arthur Baking
- Conclusion: Enjoying the Art of Sourdough Baking with King Arthur Baking
-
Frequently Asked Questions
- What exactly is a sourdough starter, and why is it important for sourdough bread?
- How long does it generally take to create a sourdough starter from scratch using your Easy Sourdough Starter Recipe?
- What are some signs that my sourdough starter is ready to be used in your Foolproof Basic Sourdough Method Explained?
- Can I use different types of flour (e.g., rye or whole wheat) in your Easy Sourdough Starter Recipe?
- What if my starter doesn't seem to be rising or bubbling after a week, even after following your Easy Sourdough Starter Recipe?
- Final Reflection: The Enduring Allure of Simple Sourdough
- Unleash Your Inner Baker: Start Your Sourdough Journey Today!
The Foolproof Basic Sourdough Method Explained: King Arthur Baking's Guide
Introduction to Easy Sourdough Baking with King Arthur Baking
Why Choose Sourdough? The Benefits of Homemade Sourdough Bread
Baking sourdough bread at home offers a unique blend of rewarding challenges and delicious outcomes. Unlike commercial yeast breads, sourdough relies on a natural fermentation process, initiated by a starter culture. This culture, a living mix of flour and water, harbors wild yeast and beneficial bacteria. The resulting bread boasts a complex flavor profile, ranging from mildly tangy to distinctly sour, depending on the starter's maturity and fermentation time. Beyond taste, sourdough often has a superior texture – a chewy interior crumb contrasted with a wonderfully crispy, crackling crust.
Furthermore, many people find sourdough bread easier to digest due to the fermentation process breaking down some of the gluten and phytic acid in the flour. Creating your own loaf from scratch, starting with something as fundamental as an easy sourdough starter recipe, provides immense satisfaction. It's a tangible connection to traditional baking methods and a journey into understanding the science behind bread.
King Arthur Baking's Promise: A Simple Sourdough Recipe for Beginners
King Arthur Baking is renowned for its reliable recipes and commitment to helping bakers of all skill levels succeed. Their approach to a basic sourdough method simplifies the process, making it accessible even for those new to the world of wild yeast baking. They demystify the steps from cultivating an easy sourdough starter recipe to achieving that perfect golden loaf.
This method focuses on clear instructions and manageable techniques, designed to build confidence. By following their tried-and-true process, beginners can avoid common pitfalls and consistently produce delicious sourdough bread. It’s an invitation to explore the art of fermentation without the intimidation often associated with sourdough, proving that a truly rewarding baking experience is within reach.
Understanding Your Sourdough Starter: The Key to Success
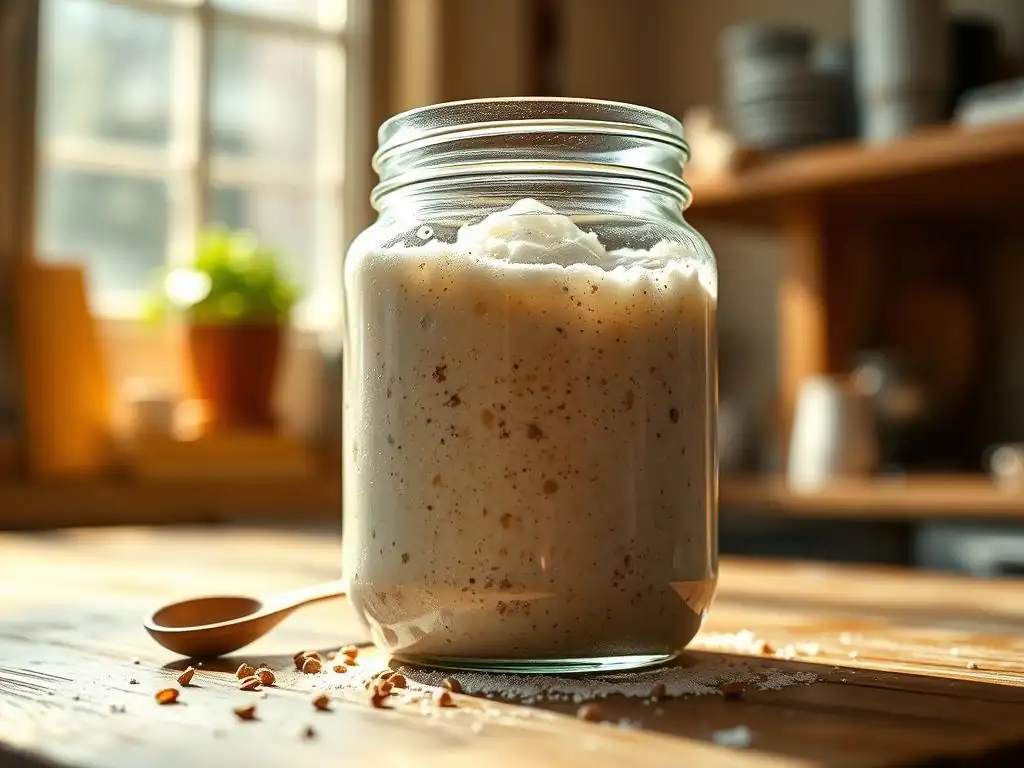
Cultivating Your Own Sourdough Starter
The heart of any sourdough bread is a healthy, active starter. Cultivating one from scratch is a simple process requiring just two ingredients: flour and water, plus time and patience. Typically, you begin by mixing equal parts (by weight) of flour and water in a jar. For example, 50 grams of unbleached all-purpose flour and 50 grams of lukewarm water work well. This initial mixture is left at room temperature.
Over the next several days, you'll discard a portion of the starter and feed it with fresh flour and water, usually once or twice daily. You might see initial activity (small bubbles) within 24-48 hours, followed by a period of less activity as different microorganisms compete. Around day 5 to 7, the wild yeasts should become dominant, resulting in consistent bubbling, rising, and a pleasant, slightly tangy aroma. This is the beginning of your active culture, the foundation for an easy sourdough starter recipe that will yield delicious bread.
Feeding and Maintaining a Healthy Sourdough Starter
Maintaining an active sourdough starter involves regular feeding. The most common method is to feed it with equal parts starter, water, and flour by weight. For instance, if you keep 50 grams of starter, you would feed it with 50 grams of water and 50 grams of flour. This 1:1:1 ratio is easy to remember and helps keep the starter balanced. The frequency of feeding depends on storage temperature.
If you keep your starter at room temperature (around 70-75°F), daily feeding is necessary to keep it vigorous. If you store it in the refrigerator, feeding once a week is usually sufficient. Refrigeration slows down the microbial activity significantly. Before baking after refrigeration, it's crucial to feed your starter a couple of times at room temperature to wake it up and ensure it's active and bubbly. Consistent feeding, whether daily or weekly, ensures the yeast and bacteria remain healthy and ready to leaven your bread.
Recognizing When Your Starter is Ready for Baking
Knowing when your sourdough starter is at its peak activity is crucial for successful baking. A healthy, ready-to-bake starter will show several key signs. Visually, it should have roughly doubled in size since its last feeding. The surface will be covered in bubbles, and the texture will be light and airy. The aroma should be pleasant and slightly tangy, not overwhelmingly acidic or like acetone.
A reliable test for readiness is the "float test." Gently take a small spoonful of starter and drop it into a glass of lukewarm water. If the starter floats on the surface, it's active and ready to use in your easy sourdough starter recipe dough. If it sinks, it needs more time to ferment and build strength. This test helps ensure you're using the starter at its most potent point, which is essential for good oven spring and a well-risen loaf.
King Arthur Baking's Foolproof Basic Sourdough Method: Step-by-Step
Step 1: Mixing the Dough - Combining Flour, Water, and Starter
The first step in creating your sourdough masterpiece is combining the core ingredients. This typically involves mixing flour (often a blend of bread flour and maybe a bit of whole wheat or rye for flavor), water, and your active sourdough starter. Precision is key here, and using a kitchen scale to weigh ingredients is highly recommended for consistent results. For a typical loaf, you might start with around 400-500 grams of flour, 300-375 grams of water (hydration level varies), and 100-150 grams of active starter. Salt is usually added later.
The initial mixing should bring everything together into a shaggy mass with no dry pockets of flour. This can be done by hand in a bowl or using a stand mixer with a dough hook. Don't worry about kneading extensively at this stage; the focus is simply on hydration. Once combined, the dough is often covered and left to rest briefly before salt is added and any initial kneading or folding begins.
The Importance of Autolysing the Dough
Many sourdough recipes, including King Arthur's method, incorporate a step called autolyse (or autolysis). This involves mixing just the flour and water (sometimes excluding the starter and salt) and letting the mixture rest for 30 minutes to an hour, or even longer. During this rest period, the flour fully hydrates, and enzymatic activity begins to break down proteins, kickstarting gluten development without any mechanical effort.
Autolysing makes the dough more extensible and easier to work with later. It allows the gluten network to start forming naturally, leading to a stronger dough structure and better volume in the final loaf. When you add the starter and salt after the autolyse, they are more easily incorporated into the already partially developed dough. This simple step significantly improves dough handling and the final texture of your bread.
Step 2: Bulk Fermentation - Allowing the Dough to Rise
Bulk fermentation, also known as the first rise, is a crucial stage where the sourdough starter works its magic, producing carbon dioxide to leaven the dough and developing complex flavors. After mixing and incorporating salt (and often performing a few initial folds), the dough is placed in a container, typically lightly oiled, and left to rise at room temperature or in a slightly warmer spot.
The duration of bulk fermentation varies significantly based on ambient temperature and the activity of your starter. It can range from 3 to 6 hours or even longer. During this time, the dough should increase noticeably in volume, though not necessarily double. You'll also observe bubbles forming on the surface and along the sides of the container. This stage is about building strength and fermentation activity throughout the entire dough mass before it's divided and shaped.
Performing Stretch and Folds for Dough Strength
To build strength and structure in the dough during bulk fermentation, bakers perform "stretch and folds" or "coil folds." These techniques gently manipulate the dough, helping to align the gluten strands and create tension. A typical schedule might involve performing 3 to 4 sets of folds during the first 2 to 3 hours of bulk fermentation, with 30 to 60 minutes of rest between each set.
For a stretch and fold, wet your hands slightly, grab one side of the dough, stretch it gently upwards without tearing, and fold it over the rest of the dough. Rotate the bowl and repeat this process four times, effectively folding all sides into the center. Coil folds involve sliding your hands under the dough in the container and lifting it, allowing the sides to coil underneath. Both methods help develop a robust gluten network, which is essential for trapping gases produced during fermentation and achieving good oven spring.
Monitoring Dough Temperature for Optimal Fermentation
Dough temperature is a critical factor influencing the speed and outcome of bulk fermentation. Wild yeast and bacteria in sourdough starter are most active within a specific temperature range. An ideal dough temperature for bulk fermentation is often cited as being between 75°F and 80°F (24°C to 27°C). Temperatures below this range will slow down fermentation significantly, while temperatures much higher can accelerate it too much, potentially leading to undesirable flavors or structural issues.
Using an instant-read thermometer to check your dough's temperature is a good practice. If your kitchen is cool, you might need to find a warmer spot, like inside a microwave (turned off) with a cup of hot water, or use a proofing box.
If your kitchen is warm, cooler water can be used in the mix, or the dough can be placed in a slightly cooler area. Maintaining the target temperature helps ensure the fermentation progresses at a predictable rate, leading to optimal flavor development and dough strength before you move on to shaping your easy sourdough starter recipe creation.
Step 3: Shaping the Dough - Creating the Perfect Loaf
After bulk fermentation, the dough needs to be shaped into its final form before proofing and baking. Shaping creates tension on the surface of the dough, which helps it hold its structure and expand upwards rather than outwards during baking. This stage typically involves two steps: pre-shaping and final shaping.
Gently turn the dough out onto a lightly floured surface. Avoid degassing it completely. The goal is to handle it as little as possible while still forming a cohesive shape. The specific technique depends on the desired final shape, such as a round boule or an oval batard. Proper shaping is key to achieving a beautiful, well-structured loaf with a good crust and crumb.
Pre-Shaping for a Tighter Dough
Pre-shaping is a brief intermediate step after bulk fermentation and before final shaping. It involves gently forming the dough into a rough shape (usually a ball or a loose log) that corresponds to the final shape you intend to make. This step helps to organize the dough's structure and build a little initial tension.
Once pre-shaped, the dough is left to rest on the counter, covered, for about 15 to 30 minutes. This rest period, often called "bench rest," allows the gluten to relax after the handling, making the dough much easier to perform the final, tighter shaping without tearing. Skipping pre-shaping can make final shaping more difficult and result in a loaf with less surface tension, potentially leading to a flatter bread.
Final Shaping Techniques for Sourdough
Final shaping is where you create the surface tension that will support the loaf during proofing and baking. For a boule (round loaf), you might gently cup your hands around the dough and pull it towards you across the counter to create a tight skin on top. For a batard (oval loaf), you might fold the dough into thirds like a letter, then roll it up tightly.
The goal is to create a smooth, taut surface on the outside while incorporating just enough tension inside to give the loaf structure. Avoid using excessive flour on your shaping surface, as this can prevent the dough from gripping the counter and developing tension. Once shaped, the dough is immediately placed seam-side up into a proofing basket (banneton) lined with floured linen or rice flour, ready for its final rise.
Step 4: Proofing the Dough - The Final Rise Before Baking
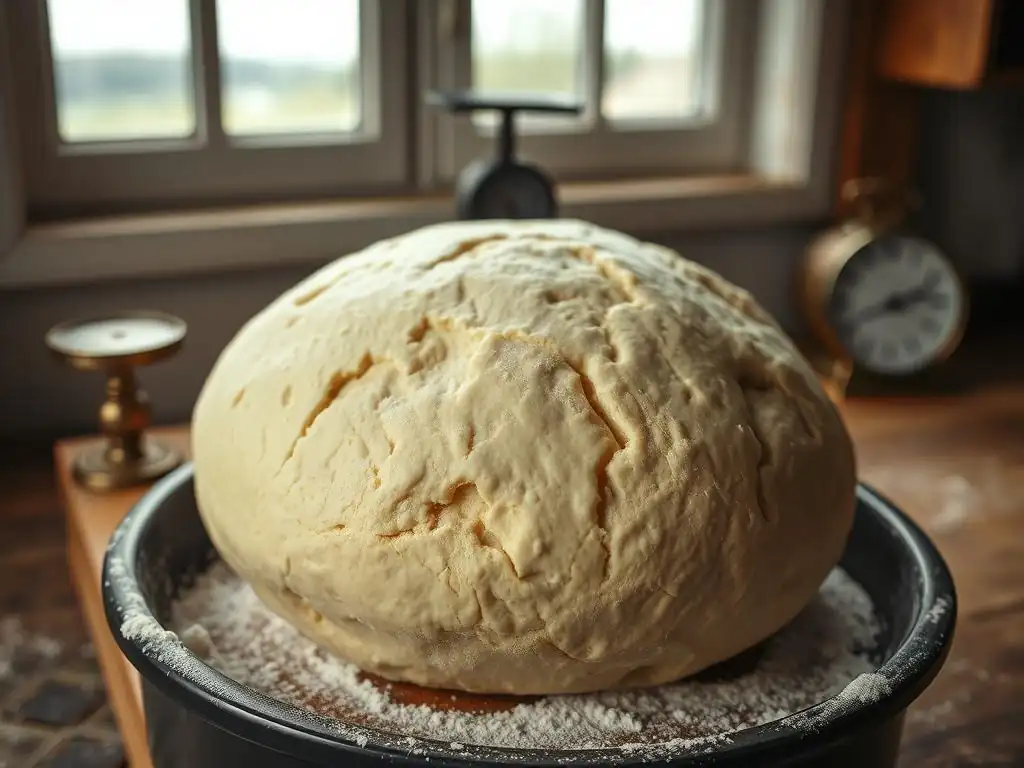
Proofing, or the final rise, is the last opportunity for the dough to build volume before it hits the hot oven. This stage allows the yeast to continue producing gas, expanding the shaped loaf. The duration and temperature of proofing significantly impact the final bread's flavor and texture.
Proofing can be done at room temperature (warm proof) or in the refrigerator (cold proof). A warm proof is faster, potentially taking 1 to 4 hours depending on temperature. A cold proof, typically done for 8 to 24 hours in the refrigerator, is much slower but develops more complex flavors and tang. Cold proofing also firms up the dough, making it easier to score and handle before baking.
Understanding the Importance of Proofing Time
The length of the proofing period is critical and often the trickiest part for new sourdough bakers. Under-proofing results in a dense crumb and potentially blowouts in the crust during baking because the dough hasn't built enough gas or strength. Over-proofing, on the other hand, can lead to a loaf that collapses during baking, has a weak structure, and a gummy crumb because the gluten structure has broken down and the yeast has exhausted its food source.
The ideal proofing time is a balance, depending on the dough's activity, temperature, and desired flavor. A cold proof allows for a longer window of readiness compared to a warm proof. Paying close attention to the dough's appearance and feel, rather than strictly adhering to time, is crucial.
Using the Poke Test to Determine Readiness
The "poke test" is a reliable method to determine if your shaped sourdough loaf is properly proofed and ready for baking. To perform the test, gently flour your finger and press it about half an inch deep into the side of the dough.
If the indentation springs back immediately and completely, the dough is likely under-proofed and needs more time. If the indentation slowly springs back only partially, leaving a small indent, the dough is properly proofed and ready to bake. If the indentation stays completely and doesn't spring back at all, the dough is likely over-proofed. Mastering this test helps ensure your easy sourdough starter recipe dough is baked at the optimal moment.
Step 5: Baking Your Sourdough Loaf - Achieving a Crispy Crust
Baking is the stage where the dough transforms into bread, developing its crust, crumb, and final structure. Achieving a signature crispy sourdough crust requires high heat and steam, especially in the initial phase of baking.
Many home bakers use a Dutch oven for this purpose, as it traps the steam released by the dough itself, creating the ideal environment for a beautiful crust and maximum oven spring. The oven temperature is typically very high, often between 450°F and 500°F (230°C to 260°C).
Preheating Your Oven for Optimal Results
Properly preheating your oven and baking vessel (like a Dutch oven or baking stone) is essential for a great sourdough crust and oven spring. High heat on contact with the dough causes a rapid expansion of gases (oven spring) before the crust sets.
It's recommended to preheat your oven to the target temperature for at least 30 minutes, or even 60 minutes, with the Dutch oven or baking stone inside. This ensures the baking surface is scorching hot, providing that initial burst of heat needed for optimal rise and crust development. Baking on a cold or insufficiently preheated surface will result in a flatter loaf with a less impressive crust.
Scoring the Dough for Expansion
Scoring (or slashing) the surface of the dough just before baking serves several important purposes. Primarily, it provides a controlled escape route for the expanding gases inside the loaf during oven spring. Without scoring, the dough might burst unpredictably at its weakest point, resulting in an uneven shape.
Scoring also influences the final appearance of the loaf, allowing you to create beautiful patterns. Use a sharp blade (like a razor blade or lame) held at a slight angle (around 30 degrees) for clean cuts. The depth and pattern of the score will determine how the loaf expands. A single deep slash down the side of a batard or a cross pattern on a boule are common starting points.
Baking with or without a Dutch Oven
Using a Dutch oven is a popular method for baking sourdough at home because it effectively mimics the steam-rich environment of a professional bakery oven during the initial phase of baking. The lid traps the moisture released by the dough as it heats up, keeping the crust soft and pliable, allowing the loaf to expand fully before the crust hardens. Typically, the loaf is baked covered for the first 20-25 minutes, then the lid is removed to allow the crust to brown and crisp up for another 20-25 minutes.
If you don't have a Dutch oven, you can still create steam in your oven. One method is to place a baking stone or steel on a rack and a tray or cast iron pan on a lower rack. Just before loading the bread, carefully pour hot water into the lower pan to create steam.
Another option is to bake the loaf on a baking sheet or stone and cover it loosely with a large oven-safe bowl or aluminum foil tent for the first part of the bake. While these methods can work, a Dutch oven often provides the most consistent results for a beginner aiming for that classic sourdough crust.
Step 6: Cooling and Enjoying Your Freshly Baked Sourdough
The final step, and perhaps the hardest part, is allowing your beautiful sourdough loaf to cool completely before slicing. While the aroma straight from the oven is incredibly tempting, slicing too soon can compromise the texture of the crumb.
Once baked, carefully remove the loaf from the oven and the Dutch oven (if used) and place it on a wire rack. This allows air to circulate around the entire loaf, preventing the bottom crust from becoming soggy as it cools.
The Importance of Cooling Before Slicing
Cooling is not just about reaching a comfortable temperature for eating; it's a crucial part of the baking process where the internal structure of the bread sets. As the loaf cools, the starches solidify and the moisture redistributes throughout the crumb. Slicing hot bread can result in a gummy, dense interior because the structure hasn't finished forming and the steam hasn't fully dissipated.
Allowing the loaf to cool on a wire rack for at least 1 to 2 hours (or even longer for larger loaves) ensures the crumb sets properly, leading to the desired open, airy texture. Patience during this stage is key to enjoying the full potential of your hard work and your easy sourdough starter recipe success.
Storing Your Sourdough Bread for Freshness
Proper storage helps keep your homemade sourdough fresh for as long as possible. Once completely cooled, the best way to store sourdough is at room temperature. Avoid refrigerating it, as this can accelerate staling.
For short-term storage (1-2 days), simply storing the loaf cut-side down on a clean cutting board works well to keep the exposed crumb from drying out. For longer storage (up to a week), place the loaf in a paper bread bag or wrap it in a clean linen cloth. Plastic bags can soften the crust, which you likely worked hard to achieve.
If you won't eat the loaf within a few days, it freezes beautifully. Slice the cooled loaf, then wrap slices tightly in plastic wrap or place them in a freezer bag. Frozen sourdough can be toasted or warmed directly from the freezer.
Troubleshooting Your Sourdough: Common Problems and Solutions
My Sourdough Didn't Rise: Identifying the Cause
One of the most common frustrations for new sourdough bakers is a loaf that doesn't rise adequately, resulting in a dense or flat bread. This issue can stem from several factors. The primary culprit is often an inactive or weak sourdough starter. If your starter isn't consistently doubling after feeding or doesn't pass the float test, it won't have the strength to leaven your dough. Ensure your easy sourdough starter recipe is vigorous before you begin baking.
Other causes include insufficient bulk fermentation time or a dough temperature that is too cold, slowing down yeast activity. Under-proofing in the final stage can also contribute, although this usually results in a dense crumb with some oven spring rather than a completely flat loaf. Checklist:
- [ ] Is your starter active (doubled, bubbly, floats)?
- [ ] Was the bulk fermentation long enough and at a suitable temperature (ideally 75-80°F)?
- [ ] Was the final proof sufficient (poke test)?
My Sourdough is Too Sour: Controlling Acidity
While a pleasant tang is characteristic of sourdough, sometimes the bread can turn out excessively sour, which isn't always desired. This is primarily related to the balance of yeast and bacteria in your starter and the fermentation time. Longer fermentation times, especially extended cold proofing, can increase acidity as the lactic acid bacteria produce more acids.
To reduce excessive sourness, try using your starter when it is younger and at its peak (just after doubling, before it starts to fall back). Feed your starter with a higher ratio of fresh flour and water (e.g., 1:2:2 or 1:3:3 starter:water:flour) to dilute the acidic byproducts. You can also shorten the bulk fermentation and/or the cold proofing time. Using a higher percentage of white flour versus whole grains in your starter and dough can also result in a milder flavor profile.
My Sourdough is Gummy: Addressing the Texture
A gummy or wet-looking crumb, even after cooling, is another common issue. This can be very disappointing after putting in the effort of nurturing an easy sourdough starter recipe and following the steps. The most frequent cause of a gummy crumb is under-baking. The internal temperature of the bread needs to reach a certain point (typically 205-210°F or 96-99°C) for the starches to fully gelatinize and the structure to set.
Another significant factor is slicing the bread before it has completely cooled. As discussed earlier, the internal structure continues to develop during the cooling process. Cutting into a hot loaf traps steam and disrupts this setting process, leading to a dense, gummy texture. Ensure you bake your loaf until the internal temperature is correct and always let it cool fully on a wire rack before slicing. Sometimes, a very high hydration dough can also contribute to a denser, potentially gummier crumb if not baked thoroughly.
Mastering Sourdough: Tips and Tricks from King Arthur Baking
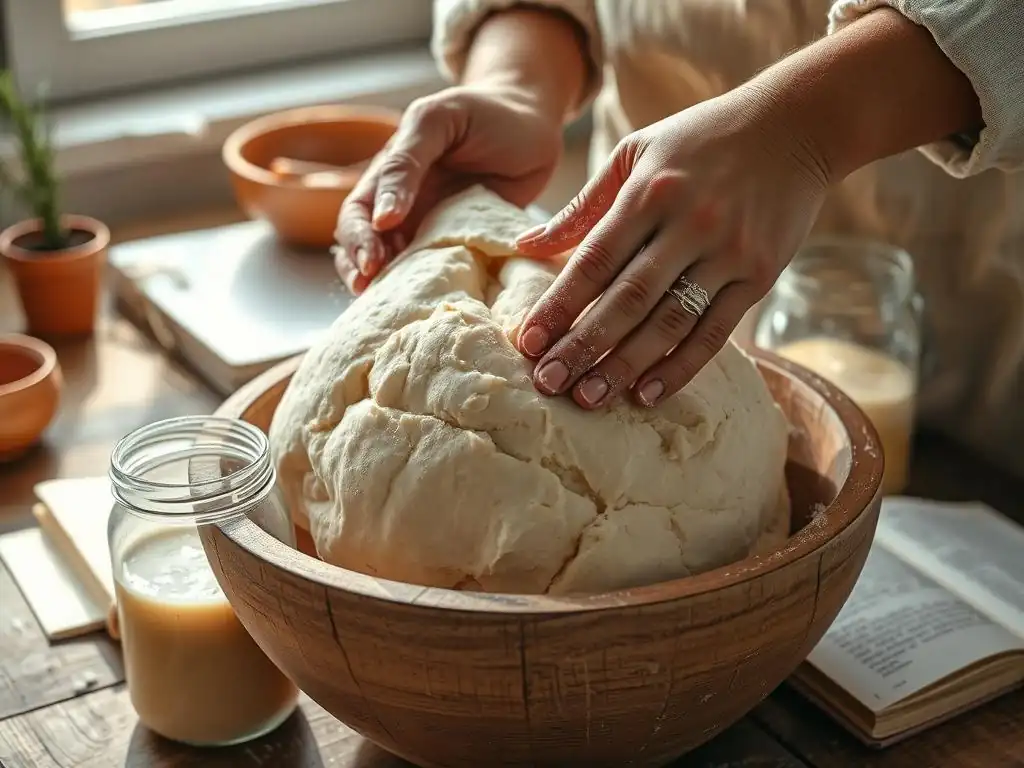
Choosing the Right Flour for Your Sourdough
The type of flour you use significantly impacts the flavor, texture, and handling of your sourdough. For beginners, a good quality bread flour is highly recommended. Bread flour has a higher protein content (typically 12-14%) compared to all-purpose flour (around 10-12%), which helps develop a stronger gluten network, crucial for trapping gas and achieving a good rise and open crumb. King Arthur Baking's bread flour is a popular choice for its consistency.
Incorporating a percentage of whole wheat or rye flour (even just 10-20%) into your dough can add depth of flavor and nutrients. These flours also contribute to a more active starter. However, they absorb more water and can make the dough stickier and slightly harder to handle, so it's often best to start with mostly white bread flour as you master the basic technique from your easy sourdough starter recipe. Experimenting with different flour blends is part of the fun of sourdough baking.
Achieving the Perfect Crust Color and Texture
A beautiful, deeply colored, crispy crust is a hallmark of great sourdough. Several factors contribute to this. High initial oven temperature (450-500°F) is essential for rapid heat transfer and crust development. Baking in a steamy environment (like a Dutch oven or with added steam) for the first part of the bake keeps the crust soft, allowing maximum expansion before it sets.
Removing the lid of the Dutch oven (or removing the steam source) for the latter half of the bake allows the crust to dry out and brown. Baking for long enough is also key; a pale crust often indicates under-baking. The Maillard reaction, responsible for browning and complex flavors in the crust, occurs best at higher temperatures and sufficient time. Aim for a deep golden-brown to dark brown color for optimal flavor and crispness.
Experimenting with Different Flavors and Add-ins: Olives, Rosemary, and Cheese
Once you've mastered the basic easy sourdough starter recipe and method, you can begin experimenting with adding flavors to your dough. Add-ins like chopped olives, fresh rosemary, roasted garlic, or shredded cheese can transform a simple loaf into something special.
These ingredients are typically added during the later sets of stretch and folds or just before the final shaping. For a 500g flour loaf, you might add around 50-100 grams of chopped olives or cheese, or a few tablespoons of finely chopped herbs. Gently incorporate them into the dough during the folding process, trying to distribute them evenly without tearing the dough's structure. Be mindful that some add-ins, like cheese or olives, can affect the dough's hydration and handling, so you might need slight adjustments.
Conclusion: Enjoying the Art of Sourdough Baking with King Arthur Baking
Baking sourdough bread using a reliable method, like the one championed by King Arthur Baking, is an incredibly rewarding culinary pursuit. It's a practice that connects you to age-old traditions and results in a loaf of bread far superior to most store-bought options. From cultivating your own easy sourdough starter recipe to pulling a perfectly baked, crackling loaf from the oven, each step offers learning and satisfaction.
Don't be discouraged by initial challenges; every bake is a learning experience. Pay attention to your starter's activity, the feel of your dough, and the signs it gives you during fermentation and proofing. With practice, the process will become intuitive, allowing you to consistently produce delicious, nutritious bread that you'll be proud to share.
Continuing Your Sourdough Journey with King Arthur Baking
Mastering the basic loaf is just the beginning of your sourdough adventure. The versatility of a sourdough starter extends far beyond a simple boule or batard. You can explore different hydration levels, incorporate various flours, or even use your discard in other recipes like pancakes, crackers, or muffins.
Many resources are available to help you expand your skills, from shaping different styles of bread to incorporating a wider range of add-ins. Embrace the learning process, keep experimenting, and enjoy the delicious results of your efforts.
One of the joys of baking is sharing the fruits of your labor. Your freshly baked sourdough is perfect for enjoying simple pleasures like butter and jam, or as the base for sandwiches. Sharing your loaves with friends and family is a wonderful way to spread the love of homemade bread.
Connecting with other bakers, whether online or in person, can also be incredibly inspiring and helpful. Discussing challenges, sharing successes, and exchanging tips within a community of fellow enthusiasts can further enhance your sourdough journey. Celebrate your baking wins and learn from the loaves that don't turn out exactly as planned – they all contribute to your growth as a baker.
Frequently Asked Questions
What exactly is a sourdough starter, and why is it important for sourdough bread?
A sourdough starter is a living culture of wild yeast and bacteria that replaces commercial yeast. It provides the unique flavor and rise in sourdough bread.
How long does it generally take to create a sourdough starter from scratch using your Easy Sourdough Starter Recipe?
Creating a sourdough starter can take approximately 7-14 days, depending on environmental factors like temperature. Consistent feeding is key to success.
What are some signs that my sourdough starter is ready to be used in your Foolproof Basic Sourdough Method Explained?
A ready starter will be bubbly and doubled in size after feeding, with a slightly tangy, but not overly sour, aroma. It should also float in water.
Can I use different types of flour (e.g., rye or whole wheat) in your Easy Sourdough Starter Recipe?
Yes, you can use different flours! Rye or whole wheat can actually boost the starter's activity due to their higher nutrient content.
What if my starter doesn't seem to be rising or bubbling after a week, even after following your Easy Sourdough Starter Recipe?
Don't give up! Ensure a warm environment, and continue feeding it regularly. It may just need more time to develop.
Final Reflection: The Enduring Allure of Simple Sourdough
The humble sourdough starter, once a culinary enigma, is experiencing a remarkable resurgence, proving that sometimes, the most basic methods yield the most rewarding results. This renewed interest isn't just a fleeting trend; it's a testament to our growing desire for connection to our food, a yearning for simpler processes, and a recognition of the unique flavors only a naturally leavened bread can offer. The ease of creating a starter, as detailed in this guide, is democratizing this ancient craft, making it accessible to everyone.
The journey of nurturing a sourdough starter is more than just a recipe; it's a process of observation, patience, and a deep connection with the natural world. It's a reminder that slow, mindful creation can yield extraordinary results. The best things in life are not things, but experiences.
This quote perfectly encapsulates the satisfaction derived from the process of making sourdough, far surpassing the simple act of consuming the final product. The subtle changes in the starter's activity, the satisfying rise of the dough, the crusty aroma of the freshly baked loaf – these are the moments that truly enrich the experience.
Now, it's your turn. Consider the simplicity of this method, the accessibility of the ingredients, and the profound satisfaction of creating something delicious and wholesome from scratch. Will you embark on this rewarding journey? Will you embrace the patience required to nurture your own starter and experience the magic of sourdough firsthand? The world of sourdough awaits – take the first step, and discover the joy of baking your own bread.
Unleash Your Inner Baker: Start Your Sourdough Journey Today!
Thanks for taking the time to explore the world of sourdough with us! We hope you now feel confident and equipped to embark on this rewarding baking adventure. Ready to knead some magic?
- Bake your first sourdough loaf: Don't wait, grab your ingredients and follow the recipe from the article! This is your chance to experience the unique tang and texture firsthand.
- Share your sourdough success (or even your struggles!) with us on social media using #BakeWithEaseSourdough. We'd love to see your creations and hear about your baking experience.
- Explore our other sourdough recipes and tutorials: Dive deeper into the fascinating world of sourdough by checking out our collection of sourdough recipes and tips on our website, BakeWithEase.com!
What unique flavor profile will you create with your first sourdough masterpiece?