
Secret Fix for Bread Dough That Refuses to Rise

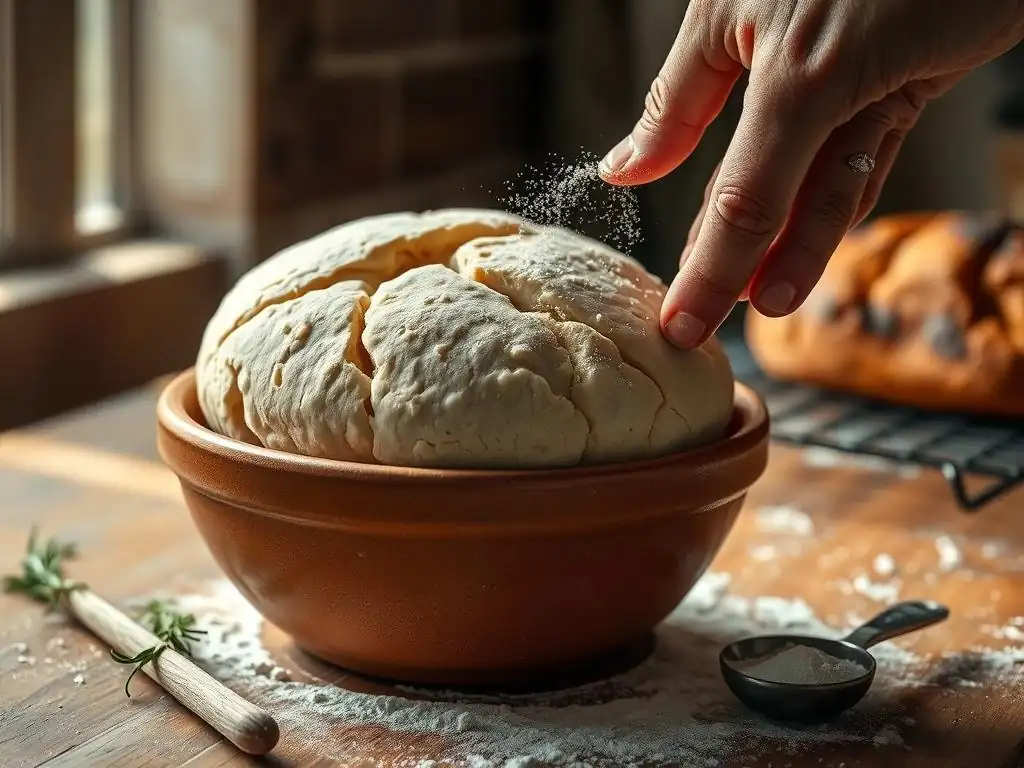
Welcome to BakeWithEase, where we unravel the mysteries of the oven and transform baking from daunting to delightful! Ever faced the frustrating reality of bread dough that simply refuses to rise? Don't despair! We're diving deep into the common culprits and sharing a secret fix in this article that will have your loaves rising beautifully in no time. Prepare to unlock the secrets to baking success and say goodbye to flat, disappointing bread!
- Understanding Sourdough Starter Activity: A Baker's Guide
- The Feeding Schedule Adjustment: Reviving Inactive Sourdough Starter
- Step-by-Step: Reactivate Your Sourdough Starter
- Troubleshooting Common Sourdough Starter Problems
- Advanced Techniques for Boosting Starter Activity
- Preventing Future Sourdough Starter Inactivity
- BakeWithEase: Mastering the Art of Sourdough Baking
-
Frequently Asked Questions
- Why is my bread dough not rising, even after a long time?
- How can I test if my yeast is still active?
- What is the optimal temperature for bread dough to rise?
- I used the correct amount of yeast, but my dough still isn't rising. What could be wrong?
- Can too much salt or sugar affect bread dough rising?
- Final Reflection: The Unexpected Joy of a Perfectly Rising Loaf
- Unlock Your Baking Potential: Rise to the Occasion!
Understanding Sourdough Starter Activity: A Baker's Guide
Common Reasons for Inactive Sourdough Starter
A sluggish or inactive sourdough starter is a frequent culprit when your bread dough won't rise. Several factors can contribute to this lack of activity. One primary reason is temperature. Sourdough microbes, both yeast and bacteria, thrive within a specific temperature range. If your starter is kept in a spot that is too cold, their metabolic processes slow down dramatically, resulting in minimal gas production needed for rise. Conversely, excessively high temperatures can stress or even kill the delicate microbial balance. Finding the 'sweet spot', typically between 70°F and 80°F (21°C to 27°C), is crucial for encouraging vigorous activity.
Another common issue is improper feeding. This includes inconsistent feeding schedules or incorrect ratios of starter, water, and flour. If a starter isn't fed regularly, the microbes consume all the available food and become dormant or die off.
Similarly, using too little flour relative to the starter can lead to rapid consumption of food and subsequent inactivity before the next scheduled feeding. For example, feeding a large amount of starter with a small amount of flour (like a 1:0.5:0.5 ratio) will exhaust the food supply much faster than a 1:2:2 ratio (starter:water:flour by weight). Water quality can also play a role; heavily chlorinated tap water can inhibit or kill the beneficial microbes in your starter.
The Impact of Microbial Activity on Starter Rise
The magic behind sourdough and the answer to why bread dough won't rise without a healthy starter lies in the symbiotic relationship between wild yeast and lactic acid bacteria. The wild yeasts consume sugars in the flour and produce carbon dioxide (CO2) gas as a byproduct. This gas is trapped by the gluten network in the dough, causing it to expand and rise. Simultaneously, lactic acid bacteria ferment sugars to produce organic acids, primarily lactic and acetic acids, which contribute significantly to the characteristic sourdough flavor and help strengthen the gluten structure, allowing it to hold more gas.
When your sourdough starter is inactive, it means these microbial populations are not producing enough CO2 gas. If the yeast isn't active, there's no significant gas production. If the bacteria aren't active, the environment might not be optimal for yeast, and the resulting dough may lack structural support. A healthy, active starter will typically double or triple in volume within 4-8 hours after feeding at room temperature, indicating robust gas production. An inactive starter shows little to no growth, minimal bubbling, and thus, provides insufficient leavening power for your bread dough to rise properly during fermentation and baking.
The Feeding Schedule Adjustment: Reviving Inactive Sourdough Starter
Diagnosing the Cause of Inactivity
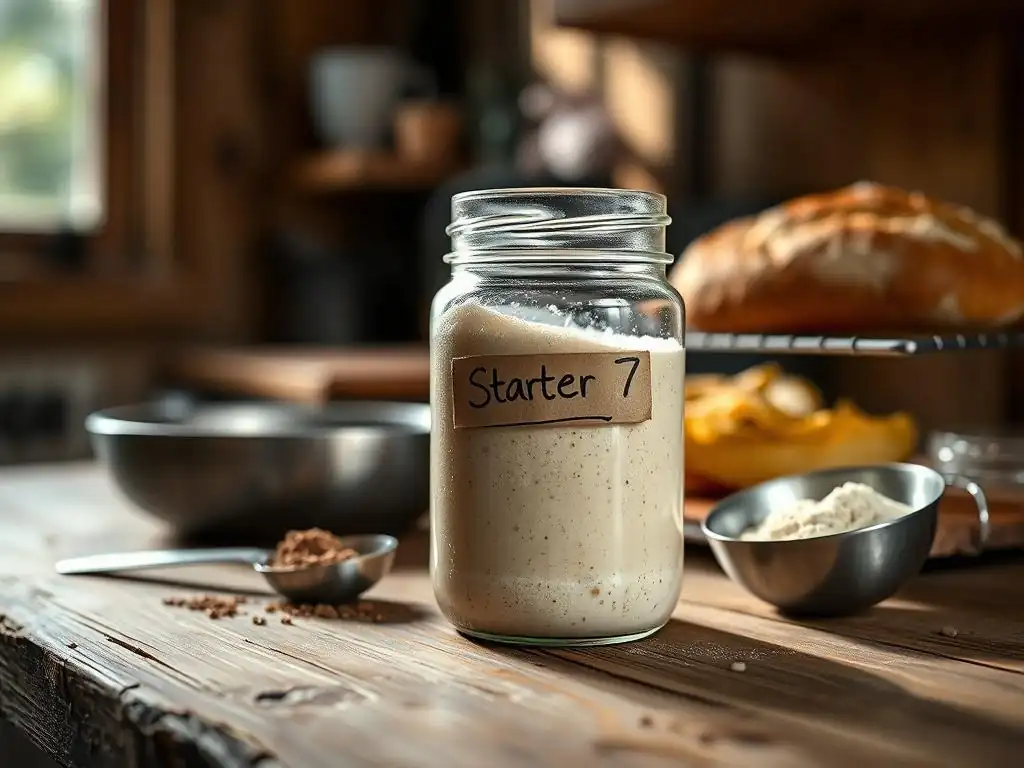
Before attempting to revive an inactive starter, it's helpful to play detective and diagnose the likely cause. Observe your starter closely: What does it look like? Is there a layer of liquid on top (hooch)? What does it smell like – pleasantly acidic, strongly alcoholic, or something off-putting like cheese or acetone? What is its consistency? Does it show any signs of bubbles or growth after feeding? For instance, a starter that develops a dark, murky hooch within hours of feeding is severely underfed and starving, a clear sign that it needs more frequent or larger feedings.
Comparing these observations to the expected behavior of a healthy starter can pinpoint the problem. A healthy, active starter fed at a standard 1:1:1 ratio at 75°F (24°C) should show visible bubbles within a few hours and roughly double in size within 6-8 hours. If yours consistently shows minimal activity, smells overly alcoholic, or quickly develops hooch, issues with temperature, feeding ratio, frequency, or even the type of flour being used are probable causes for why your bread dough won't rise due to a weak starter.
The Temperature Adjustment: Optimizing Microbial Growth
Temperature is perhaps the most critical factor in influencing sourdough starter activity. If your starter is sluggish, simply moving it to a warmer location can make a dramatic difference. The ideal temperature range for robust activity is often cited between 70°F and 80°F (21°C to 27°C). Below this range, activity slows down significantly; for example, at 60°F (15°C), a starter might take 12-24 hours to show peak activity, compared to 4-8 hours at 75°F (24°C).
To provide a warmer environment, consider placing your starter in a proofing box set to the desired temperature, inside a microwave or oven with the light on (checking the temperature first as some oven lights get quite warm), or near a warm appliance like a refrigerator motor (though be mindful of temperature fluctuations). Avoiding cold drafts is also important. Providing this consistent, warmer temperature helps ensure the yeast and bacteria are working at their optimal rate, producing the necessary CO2 and acids to create a strong, active starter capable of making your bread dough rise.
Feeding Frequency: Creating a Consistent Routine
Inconsistent or infrequent feeding is a common reason why bread dough won't rise when using a sourdough starter. Microbes need a consistent supply of food to remain active and vigorous. If you are only feeding your starter sporadically or leaving it at room temperature for extended periods between feedings, the microbes will consume all the available sugars, their population will dwindle, and the starter will become dormant or weak.
To revive a sluggish starter, increasing the feeding frequency is often necessary. At room temperature (70-80°F / 21-27°C), an active starter typically needs to be fed once or twice daily. For a struggling starter, feeding twice a day at a 1:1:1 or even a 1:2:2 ratio (starter:water:flour by weight) can help rapidly build up the microbial population and strength. This consistent supply of fresh flour provides the necessary fuel for the yeast and bacteria to multiply and become active enough to reliably leaven your bread dough.
Hydration's Role in Successful Starter Activity
The hydration level of your starter – the ratio of water to flour – significantly impacts its consistency and the rate of fermentation. While many bakers maintain a 100% hydration starter (equal parts water and flour by weight), consistency matters. A very stiff starter (lower hydration, e.g., 50-60%) can slow down microbial activity initially because it's harder for the microbes to access the food within the denser matrix.
Conversely, a very liquid starter (higher hydration, e.g., 150%+) ferments faster but can also peak and collapse more quickly, making it harder to catch at its most active point for baking. Aiming for a consistency similar to a thick pancake batter at 100% hydration is often recommended for ease of mixing, observation, and consistent activity. Maintaining consistent hydration helps ensure predictable fermentation, which is key to understanding why bread dough won't rise if your starter's behavior is erratic due to hydration changes.
Understanding Environmental Factors
Beyond temperature and feeding, other environmental factors can influence your starter's health and activity. The container you use can matter; a clean glass jar allows easy observation of activity and prevents interaction with reactive materials. Avoiding placing your starter in direct sunlight, which can overheat it, or in areas with strong chemical odors (like cleaning supplies) is also advisable, as these can negatively impact the microbial balance necessary for a starter that will make your bread dough rise.
Drafts can also cause temperature fluctuations. Finding a stable spot away from windows or vents helps maintain a consistent temperature, which as discussed, is vital for steady microbial activity. While seemingly minor, paying attention to these environmental details contributes to fostering a healthy, robust starter, reducing the chances of encountering issues why bread dough won't rise in the future.
Step-by-Step: Reactivate Your Sourdough Starter
Step 1: Observe Starter Consistency and Smell
Begin by taking a good look at your starter. Note its texture – is it thick and bubbly, or thin and lifeless? Is there a layer of hooch (liquid) on top, and if so, what color is it? Give it a sniff. A healthy, active starter typically smells pleasantly tangy, slightly acidic, and perhaps a little yeasty. Off smells like strong alcohol, acetone (nail polish remover), or a cheesy/rotten odor can indicate issues with feeding or microbial balance, giving you clues why your bread dough won't rise because the starter is struggling.
Step 2: Adjust Water Temperature During Feeding
When feeding your sluggish starter, consider using water that is slightly warmer than room temperature, but not hot – think around 80-85°F (27-29°C). This provides a gentle warmth that can help kickstart microbial activity. Avoid using cold water directly from the tap, especially in cooler environments. If you suspect chlorine in your tap water is an issue, use filtered or bottled water instead. This simple adjustment can sometimes be enough to encourage the yeast and bacteria to become more active.
Step 3: Maintain a Warm and Consistent Feeding Schedule
Find a consistently warm spot for your starter, ideally between 75-80°F (24-27°C). Commit to a regular feeding schedule, feeding at the same time(s) each day. For a struggling starter, feeding twice a day (roughly every 12 hours) is often recommended to provide a steady supply of food and rapidly increase the microbial population. Use a consistent feeding ratio by weight, such as 1 part starter to 2 parts water and 2 parts flour (1:2:2). This consistency in temperature and timing is crucial for rebuilding a vigorous starter that will make your bread dough rise.
Step 4: Monitor Activity and Adjust Feeding Accordingly
After implementing the warmer temperature and consistent feeding schedule, diligently monitor your starter's activity. Mark the level of the starter in its container after feeding with a rubber band or marker. Observe how much it rises between feedings, how quickly it reaches its peak, and how many bubbles are present throughout the jar, not just on the surface.
Pay attention to the smell as it ferments. If you see increasing signs of activity (more rise, more bubbles, pleasant tangy smell), continue with your current approach. If it's still sluggish after several days, you might consider slightly increasing the feeding ratio (e.g., 1:3:3) to provide even more food, or slightly increasing the temperature within the safe range, until you achieve a starter that reliably doubles or triples, indicating it's ready to make your bread dough rise.
Troubleshooting Common Sourdough Starter Problems

Mold Growth: Recognizing and Addressing the Issue
One of the most serious issues you can encounter with a sourdough starter is mold growth. Mold typically appears as fuzzy or powdery spots on the surface of the starter, and it can come in various colors including white, green, black, blue, or orange. Unlike hooch or different smells, mold is a clear indicator that undesirable and potentially harmful microorganisms have taken hold.
If you see any signs of mold on your sourdough starter, it is crucial to discard the entire batch immediately. Do not try to skim the mold off and save the rest, as mold spores and toxins can be present throughout the starter even if not visibly apparent. Using a moldy starter will not only result in bread dough that won't rise but can also be a health hazard. Thoroughly clean the container before starting a new batch or reviving a small, mold-free portion if you had saved some separately.
Hooch Formation: Signs and Solutions
Hooch is the layer of liquid that sometimes separates and sits on top of a sourdough starter. It's typically clear or light amber but can turn dark gray or black if the starter is severely neglected. Hooch is a byproduct of fermentation, specifically alcohol produced by the yeast when they have consumed most of the available sugars in the flour and are starting to starve. It's a visual cue that your starter is hungry and needs to be fed.
Seeing hooch is not usually a sign that your starter is ruined, but rather a sign that its feeding schedule or ratio needs adjustment. You can choose to pour the hooch off before feeding, or stir it back in (which can result in a tangier flavor).
After removing or incorporating the hooch, feed your starter as usual. If hooch appears very quickly after feeding, it suggests your starter is consuming its food too fast, and you may need to increase the feeding ratio (e.g., feed 1:2:2 or 1:3:3 instead of 1:1:1) or feed more frequently to prevent it from starving and becoming sluggish, which could explain why your bread dough won't rise.
Starter Consistency: Achieving the Right Texture
The consistency of your sourdough starter, determined by its hydration level, impacts how easy it is to work with, how quickly it ferments, and how easy it is to gauge its activity. A common and versatile consistency is achieved at 100% hydration, where the weight of water equals the weight of flour. This results in a thick, pourable batter-like texture, making it easy to mix, observe bubbles, and see the rise and fall.
If your starter is too stiff (less than 100% hydration), it can be harder to mix, and the fermentation might appear slower as the microbes have less mobility. If it's too runny (more than 100% hydration), it can ferment very rapidly and may not show a distinct dome at its peak before falling, making it tricky to know when it's most active.
Adjusting the water-to-flour ratio during feeding can help you achieve and maintain the desired consistency. A consistent texture helps you accurately assess your starter's health and activity, preventing guesswork about why your bread dough won't rise due to an unexpectedly weak starter.
Advanced Techniques for Boosting Starter Activity
Using Whole Wheat Flour for Faster Fermentation
Incorporating whole wheat flour into your sourdough starter feedings can provide a significant boost in activity, which is helpful if you're trying to figure out why your bread dough won't rise due to a weak starter. Whole wheat flour contains the bran and germ of the wheat berry, which are rich in nutrients that the yeast and bacteria in your starter love. These parts also contain more naturally occurring wild yeasts and enzymes compared to refined white flour.
You don't need to switch to feeding with 100% whole wheat flour (unless you prefer to). Even substituting a small percentage, like 10% to 20% of the white flour with whole wheat flour during your regular feeding, can often make a noticeable difference in the starter's vigor. The increased nutrients and microbial load in the whole wheat help stimulate faster fermentation and more robust gas production, leading to a more active starter capable of giving your bread dough a better rise.
The Pineapple Juice Method: Acidifying the Starter
For new sourdough starters or those struggling to establish a healthy microbial balance (which can be a reason why bread dough won't rise with a young starter), the pineapple juice method can be effective. Wild yeast and desirable lactic acid bacteria thrive in an acidic environment, while many undesirable bacteria that can initially compete in a new starter do not. Unsweetened pineapple juice is naturally acidic, with a pH typically around 3.5.
Using unsweetened pineapple juice instead of water for the first few feedings (usually 1-3 days) can help quickly lower the pH of the starter, creating a more favorable environment for the desirable microbes to multiply and outcompete others. Once signs of activity appear, transition back to using water for feedings. This method can accelerate the process of creating a robust starter and help avoid the early-stage stalls that can lead to bread dough that won't rise properly.
Rye Flour: Enhancing Starter Strength
Similar to whole wheat, rye flour is another excellent tool for boosting sourdough starter activity. Rye is particularly rich in enzymes and highly fermentable sugars, making it a powerhouse food source for sourdough microbes. Many bakers find that even a small addition of rye flour makes their starter significantly more active and resilient.
Substituting a portion of your regular flour with rye flour, perhaps 20% to 50% by weight, during feedings can invigorate a sluggish starter. Rye starters also tend to be quite stable and forgiving. The robust fermentation supported by rye flour can help create a very strong and reliable starter, reducing instances why bread dough won't rise due to starter weakness. Experimenting with different percentages of rye can help you find the right balance for your starter's needs.
Preventing Future Sourdough Starter Inactivity
Measuring Ingredients Accurately
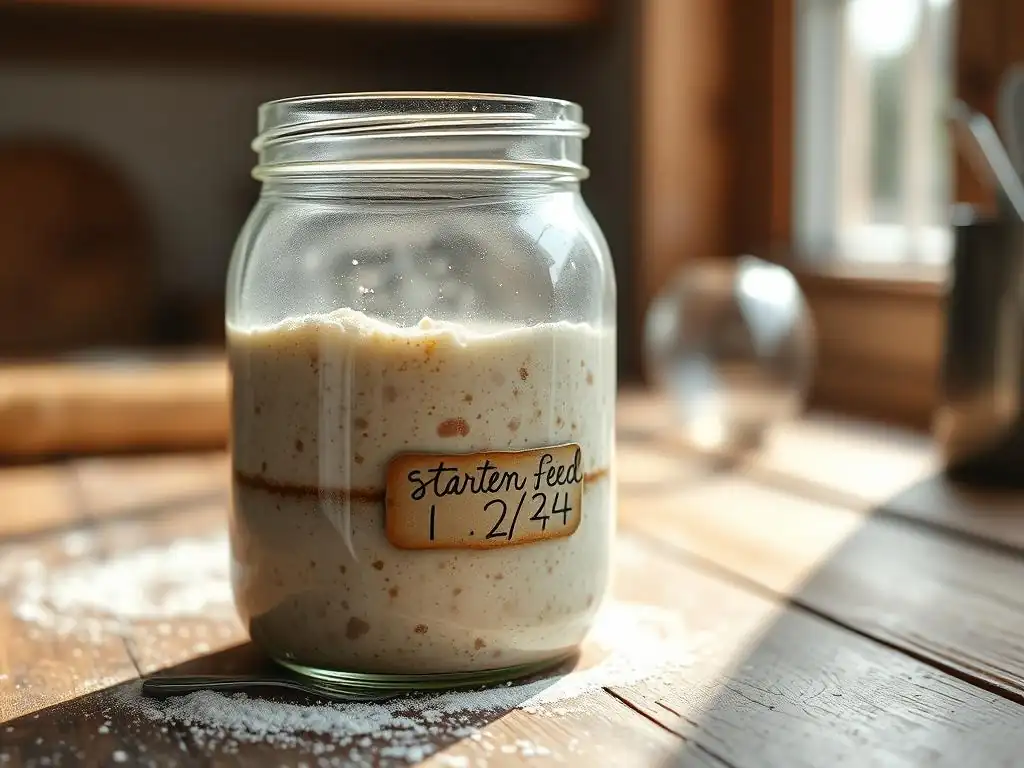
Consistency is key to maintaining a healthy, active sourdough starter. One of the most effective ways to ensure consistency is by measuring your ingredients accurately, ideally using a digital kitchen scale. Measuring by weight (grams are precise and easy to work with) ensures that you are using the exact same ratio of starter, water, and flour every time you feed. For example, a common feeding ratio is 1:1:1 by weight (e.g., 25g starter, 25g water, 25g flour).
Measuring by volume (cups) is notoriously inaccurate because flour density varies depending on how it's scooped and packed. This inconsistency in feeding ratios can lead to unpredictable starter behavior – sometimes it's vigorous, sometimes it's sluggish, leaving you wondering why your bread dough won't rise. Using a scale eliminates this variability, allowing you to maintain a stable and predictable starter.
Proper Storage Between Feedings
How you store your sourdough starter between feedings significantly impacts its activity level and how often it needs attention. If you bake frequently (daily or every few days), keeping your starter at room temperature (70-80°F / 21-27°C) and feeding it once or twice a day is ideal for maintaining peak activity, ensuring it's always ready to make your bread dough rise.
If you bake less often, storing your starter in the refrigerator is a great option. The cold temperature (around 40°F / 4°C) dramatically slows down microbial activity, allowing you to feed it much less frequently, perhaps once a week. However, remember that a refrigerated starter will be sluggish straight from the fridge. It needs to be brought to room temperature and fed consistently for a few cycles (usually 1-3 days of daily feeding) to regain its full vigor before being used to make bread dough rise.
Understanding Flour Types and Their Impact on Activity
The type of flour you use to feed your sourdough starter can influence its activity and characteristics. Most bakers successfully maintain starters using unbleached all-purpose flour or bread flour. These provide a good balance of nutrients and fermentable sugars. Whole grain flours like whole wheat and rye, as discussed earlier, are very nutritious for microbes and tend to result in more active starters, though they might require more frequent feeding due to faster fermentation.
Conversely, bleached flours are generally not recommended for feeding sourdough starters. The bleaching process can sometimes inhibit or harm the beneficial microorganisms. Using a consistent, high-quality unbleached flour that your starter responds well to helps maintain its health and activity, preventing future issues why bread dough won't rise due to using an incompatible or less-than-ideal flour type.
BakeWithEase: Mastering the Art of Sourdough Baking
Making beautiful, flavorful sourdough bread is incredibly rewarding. A healthy, active starter is the heart of this process, ensuring your bread dough will rise beautifully every time. We hope this guide helps you troubleshoot and revive your starter!
Discover more tips, techniques, and recipes for mastering sourdough and other baking adventures.
Share your sourdough successes and challenges with our community!
Frequently Asked Questions
Why is my bread dough not rising, even after a long time?
The most common reason is that your yeast is inactive or expired. Also, the temperature of the environment could be too cold, hindering the yeast's activity.
How can I test if my yeast is still active?
You can perform a simple test by mixing yeast with warm water and a little sugar. If it foams up within 5-10 minutes, the yeast is active. If not, it's time to get fresh yeast.
What is the optimal temperature for bread dough to rise?
The ideal temperature range is typically between 75°F and 85°F (24°C and 29°C). A slightly warm environment encourages yeast activity. Avoid temperatures that are too hot, as this can kill the yeast.
I used the correct amount of yeast, but my dough still isn't rising. What could be wrong?
Besides inactive yeast, the gluten development in your dough might be inadequate. This means the dough hasn't been kneaded enough to trap the gases produced by the yeast.
Can too much salt or sugar affect bread dough rising?
Yes, excessive salt can inhibit yeast activity, slowing down or preventing the rise. While sugar feeds the yeast in small amounts, too much sugar can also hinder its growth.
Final Reflection: The Unexpected Joy of a Perfectly Rising Loaf
The seemingly simple act of bread rising holds a profound metaphor for life's challenges; a dough that refuses to rise mirrors our own struggles with setbacks and unmet expectations. Understanding the subtle science behind a successful loaf, as explored in this article, offers more than just baking tips; it provides a framework for problem-solving and resilience in the face of adversity.
The journey of baking, much like life, is filled with unexpected twists and turns. Sometimes, despite our best efforts, the dough simply refuses to cooperate. This experience, however frustrating, teaches us patience, attention to detail, and the importance of understanding the underlying causes of failure before attempting a solution. The greatest glory in living lies not in never falling, but in rising every time we fall.
- Nelson Mandela. This quote perfectly encapsulates the spirit of perseverance needed both in baking and in navigating life's obstacles. The knowledge gained from troubleshooting a stubborn dough translates directly into a more adaptable and resourceful approach to life's challenges.
Now, consider your own "dough" – that project that stalled, that goal that feels out of reach, that relationship that needs mending. What seemingly small ingredient are you overlooking? What adjustments can you make to your approach? Take a moment to reflect on the parallels between the troubleshooting techniques discussed in this article and your own life. Embrace the lessons learned from a perfectly risen loaf, and apply them to your own journey towards success, however you define it. The reward, like the taste of freshly baked bread, will be well worth the effort.
Unlock Your Baking Potential: Rise to the Occasion!
Thanks for taking the time to explore the secrets of perfectly risen bread! You've now armed yourself with the knowledge to conquer even the most stubborn dough. Ready to put your new skills to the test?
- Bake a masterpiece today: Use your newfound knowledge to create a loaf you’ll be proud of. Experiment with different flours or add-ins – let your creativity flow!
- Share your baking journey: Show off your perfectly risen bread on social media and inspire others! Use #BakeWithEase to connect with our community.
- Try a new recipe: Challenge yourself with a more complex bread recipe knowing you’ve got the rising issue conquered. Check out our recipe section for inspiration.
So, what incredible bread creation will you bake next?