
Dough Too Sticky to Handle? Quick Tricks to Manage Sloppy Dough

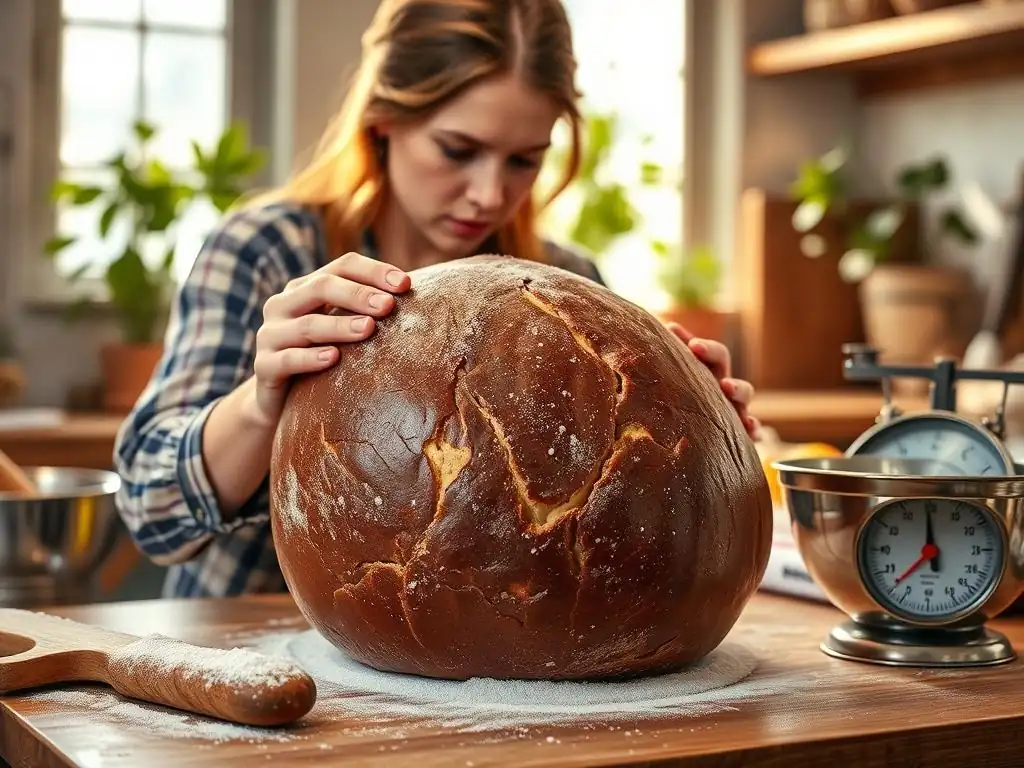
Welcome to BakeWithEase, your haven for conquering all things baking! Ever wrestled with dough so sticky it seems impossible to manage? You're not alone. Our latest article dives deep into sticky dough handling tips, offering quick, practical tricks to transform even the sloppiest dough into a baker's dream. Discover the secrets to mastering sticky dough and unlock a world of delicious possibilities – read on to find out how!
- Understanding Sticky Dough: Why Is My Dough So Sticky?
- Sticky Dough Handling Tips: Mastering the Art
- Quick Fixes for Sticky Cookie Dough: Rescue Your Batch
- Alternative Techniques for Managing Sticky Dough
- Preventing Sticky Dough in the First Place: Proactive Measures
- Troubleshooting Sticky Dough: When to Worry (and When Not To)
- Baking with Sticky Dough: Tips for Success
- Advanced Sticky Dough Handling: For Experienced Bakers
- Conclusion: Embrace the Stickiness - You've Got This!
-
Frequently Asked Questions
- What makes dough sticky and difficult to handle?
- What are some quick tricks to manage sticky dough?
- Can I add more flour to reduce stickiness? Is this always the best solution?
- What are some essential tools that help with handling sticky dough?
- How can I prevent dough from becoming too sticky in the first place?
- Final Reflection: Beyond the Bowl: Mastering the Art of Dough
- Unlock Your Baking Potential: Master That Dough!
Understanding Sticky Dough: Why Is My Dough So Sticky?
Sticky dough can be a frustrating hurdle in baking, turning what should be a pleasant experience into a messy struggle. Understanding the root causes is the first step to mastering sticky dough handling tips. Often, stickiness is simply a matter of hydration level – the ratio of liquid to dry ingredients. Too much liquid, or not enough flour, results in a dough that clings stubbornly to your hands and surfaces. Environmental factors, like high humidity, can also play a significant role, as flour absorbs moisture from the air, effectively increasing the liquid content in your dough.
Beyond simple hydration, the type of flour used greatly influences dough consistency. Different flours have varying protein contents and absorption rates. For instance, a soft pastry flour absorbs less liquid than a high-protein bread flour. This means that a recipe designed for one type of flour might yield a much stickier dough if you substitute another without adjusting the liquid. Furthermore, insufficient mixing time can prevent the gluten from developing properly, leaving you with a slack, sticky mass instead of an elastic dough that's easier to handle.
One of the most frequent culprits behind sticky cookie dough is inaccurate measurement. Even a small error, like using an extra tablespoon or two of liquid (milk, eggs, vanilla extract) or slightly less flour than intended, can significantly alter the dough's texture.
For example, a standard chocolate chip cookie recipe calling for 2 ¼ cups of flour and two large eggs might become noticeably sticky if the eggs are on the larger side or if the flour isn't properly leveled when measured. Using a kitchen scale for dry ingredients, like flour, is highly recommended for precision; 1 cup of all-purpose flour typically weighs around 120-125 grams, but volume measurements can vary by up to 20% depending on how the flour is scooped and packed.
Another common issue is the temperature of your ingredients. Softened butter that's too warm can make cookie dough excessively sticky. When butter is overly soft or even slightly melted, it incorporates into the dry ingredients differently, leading to a looser, stickier consistency that's difficult to shape. Similarly, using eggs straight from the refrigerator versus room temperature eggs can impact dough texture, though the effect on stickiness is less pronounced than with butter or hydration levels. Ensuring ingredients are at the specified temperature in the recipe is a crucial sticky dough handling tip for consistent results.
Factors Contributing to Sticky Dough in Baking
The type of sugar used in a recipe can impact dough stickiness. Brown sugar, which contains molasses, introduces more moisture than granulated white sugar. Recipes relying heavily on brown sugar, like many chewy cookie recipes, will naturally produce a stickier dough than those using primarily white sugar. While this stickiness often contributes to the desired texture of the final baked good, it makes handling the dough more challenging.
Environmental humidity is a silent, yet significant, factor contributing to sticky dough. On a humid summer day, flour absorbs moisture from the air, sometimes adding enough extra liquid to make a perfectly measured dough feel overly sticky. This is why bakers in humid climates often find they need to use slightly less liquid or slightly more flour than a recipe dictates.
For example, in a high-humidity environment (say, 80% relative humidity), flour stored openly might absorb an extra 5-10% of its weight in moisture over time compared to flour stored in a dry climate (20% relative humidity). Adjusting for humidity is an advanced but effective sticky dough handling tip.
Sticky Dough Handling Tips: Mastering the Art
Handling sticky dough doesn't have to be a battle. With the right techniques and tools, you can manage even the most challenging doughs. The key is often to minimize direct contact with the dough and utilize surfaces and tools that prevent sticking. This involves understanding how temperature affects dough consistency and employing methods that make the dough more cooperative. Mastering these sticky dough handling tips will significantly improve your baking experience.
Patience is also a virtue when dealing with sticky dough. Rushing the process or trying to force the dough into submission usually results in more mess and frustration. Instead, take a moment to assess the dough's texture and choose the appropriate technique from your arsenal of sticky dough handling tips. Sometimes, simply letting the dough rest for a few minutes can make it slightly less sticky as the flour absorbs the liquid more fully.
Essential Tools for Handling Sticky Dough
Having the right tools can make a world of difference when faced with sticky dough. A bench scraper is indispensable. Its flat, sturdy blade allows you to scrape sticky dough from your work surface cleanly and efficiently, and it can also be used to divide dough without getting your hands overly messy. Using a metal or rigid plastic bench scraper is much more effective than trying to use your hands or a flexible spatula on very sticky dough.
Beyond the bench scraper, consider a non-stick rolling pin or one with a smooth, non-porous surface like marble or stainless steel. Wooden rolling pins can be more prone to sticking. For even greater ease, rolling dough between two sheets of parchment paper or on a silicone baking mat eliminates direct contact with the surface and the rolling pin, making sticky dough handling much simpler. A light dusting of flour on your tools (but sparingly on the dough itself) can also help, as can keeping your hands lightly floured or oiled.
The Importance of Cold Dough for Easier Handling
Temperature is a baker's best friend when it comes to sticky dough handling tips. Chilling dough significantly increases its firmness and reduces stickiness. This is because cold butter and fats solidify, making the dough less pliable and less likely to cling to surfaces and hands. Refrigerating cookie dough for at least 30 minutes, or even overnight, is a standard technique recommended in many recipes precisely for this reason.
For doughs that are proving particularly difficult, chilling for an hour or two can make them dramatically easier to roll, shape, or cut. If you're working with a large batch, chill portions of the dough while you work with another to keep it firm. This simple step is one of the most effective sticky dough handling tips available and often resolves stickiness issues without needing to add more dry ingredients.
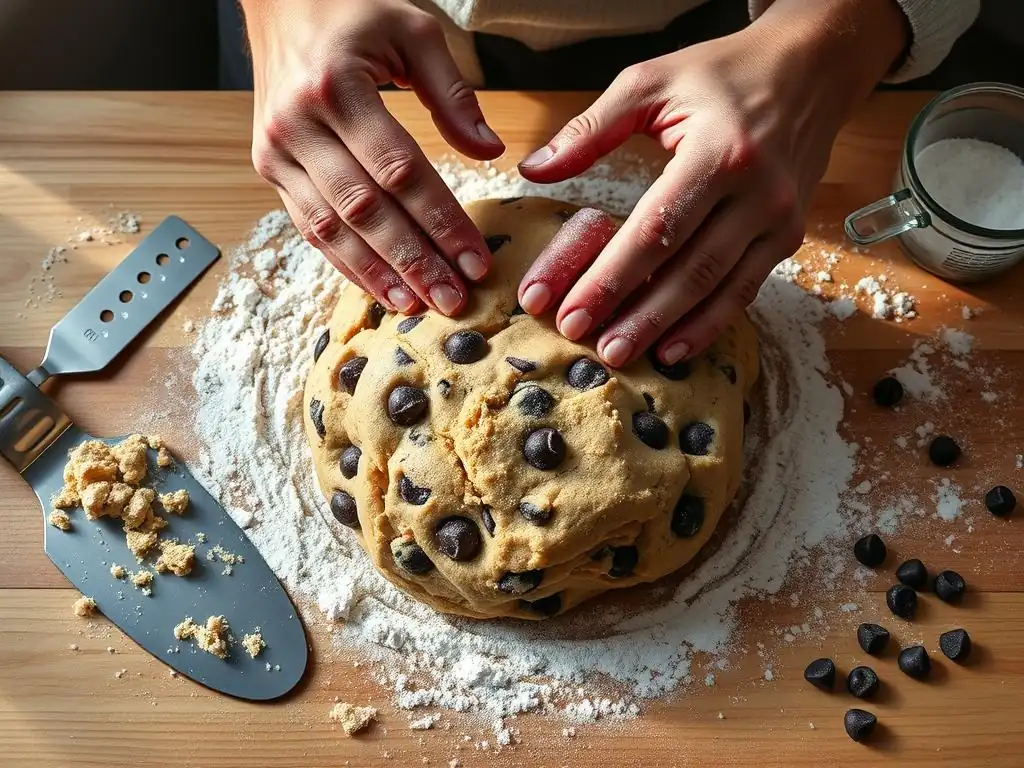
Sometimes, despite your best efforts, you end up with cookie dough that's just too sticky to work with. Don't despair! There are several quick fixes you can employ to salvage your batch and get back on track. These methods aim to either reduce the perceived stickiness or make the dough more manageable through simple adjustments or techniques. Applying these sticky dough handling tips can save you from starting over.
It's important to approach these fixes cautiously, as over-correcting can introduce new problems, such as tough or dry cookies. The goal is to make the dough workable, not to fundamentally change its nature unless necessary. Always try the least invasive fix first, like chilling, before resorting to adding more ingredients.
Adding Flour to Fix Sticky Dough: A Step-by-Step Guide
Adding a little extra flour is often the first thought when dealing with sticky dough, and it can be an effective fix if done correctly and sparingly. The goal is to add just enough flour to make the dough manageable without changing the final cookie texture too much.
- Assess the Dough: Determine how sticky the dough is. Is it slightly tacky, or does it cling aggressively to everything?
- Start Small: Add just one tablespoon of flour at a time to the dough.
- Incorporate Gently: Mix the flour into the dough using a spatula or by hand, just until it's combined. Avoid overmixing.
- Re-Assess: Check the dough's consistency. Is it still too sticky?
- Repeat If Necessary: If the dough is still unmanageably sticky, add another tablespoon of flour and repeat the process. Stop as soon as the dough is workable. You might need to add 2-4 tablespoons for a standard batch of cookies, but rarely more.
How Much Flour to Add to Sticky Dough: Avoiding Over-Flouring
Knowing how much flour to add is crucial when using this sticky dough handling tip. Adding too much flour is a common mistake that results in dry, crumbly, or tough cookies. As a general guideline, for a standard batch of cookie dough made with about 2-3 cups of flour, you should aim to add no more than ¼ cup (4 tablespoons) total extra flour.
The amount needed will vary depending on the original recipe's hydration, the initial stickiness, and environmental factors. It's always better to err on the side of caution and add too little flour at first than too much. Remember, you can always add more, but you can't take it away. The dough should feel slightly tacky but release relatively cleanly from your hands or the bowl.
Chilling Sticky Dough: A Simple Solution
Chilling is arguably the easiest and most effective sticky dough handling tip. Simply cover the bowl of dough with plastic wrap and place it in the refrigerator. As mentioned earlier, this solidifies the fats and makes the dough much firmer and less sticky.
For slightly sticky dough, 30-60 minutes in the fridge might be sufficient. For very wet or sloppy dough, chilling for several hours or even overnight can work wonders. Chilled dough is not only easier to handle but also often results in cookies that spread less during baking and have a better texture. If the dough becomes too firm from chilling, let it sit at room temperature for a few minutes before working with it.
Alternative Techniques for Managing Sticky Dough
When flour or chilling isn't the primary solution, or you're working with a dough that's naturally meant to be a bit sticky, there are other clever techniques to manage it. These methods often focus on creating a non-stick barrier between the dough and your hands or work surface. Implementing these alternative sticky dough handling tips can open up new possibilities for working with challenging doughs.
These techniques are particularly useful for doughs with high hydration levels, like some bread doughs or specific cookie recipes designed for a chewier texture. They allow you to work with the dough's natural state rather than trying to fundamentally change its composition.
Using Oil or Butter on Your Hands and Tools
Instead of flour, try lightly oiling or buttering your hands and tools when working with sticky dough. A thin film of neutral oil (like vegetable or canola) or softened butter on your palms and fingers can prevent dough from sticking. Similarly, lightly greasing your bench scraper or the surface of your rolling pin can help.
This method is particularly effective for kneading or shaping dough that is just slightly too sticky. It adds minimal extra ingredient to the dough itself, unlike adding flour. However, be careful not to use too much oil or butter, as this can make the dough greasy and affect the final texture of your baked goods. A small amount, just enough to create a barrier, is all that's needed.
Working with Sticky Dough on Parchment Paper or Silicone Mats
This is perhaps the cleanest and most frustration-free sticky dough handling tip. Rolling or shaping sticky dough directly on a sheet of parchment paper or a silicone baking mat eliminates the need for significant flouring of your work surface. The dough simply doesn't stick to these materials.
You can place the dough directly on the parchment or mat, cover it with another sheet of parchment or plastic wrap, and roll it out. This is ideal for cut-out cookies or rolling dough for pie crusts. For shaping cookies, you can scoop the sticky dough onto a parchment-lined baking sheet. This method prevents the dough from adhering to your counter or pastry board, making cleanup much easier as well.
The "Slap and Fold" Technique for Sticky Dough
For very wet, sticky bread doughs, the traditional kneading method can be impossible. The "slap and fold" technique is specifically designed for high-hydration doughs that stick relentlessly. Instead of pushing and folding, you pick up the dough, stretch it upwards, slap the bottom part onto your work surface, and fold the top part over the bottom.
This technique develops gluten effectively without requiring excessive flour, which would change the dough's hydration. It's a rhythmic process that can feel awkward at first but is incredibly effective for doughs that are too sticky to knead conventionally. It's a key sticky dough handling tip for bakers venturing into wetter bread doughs like ciabatta.
Preventing Sticky Dough in the First Place: Proactive Measures
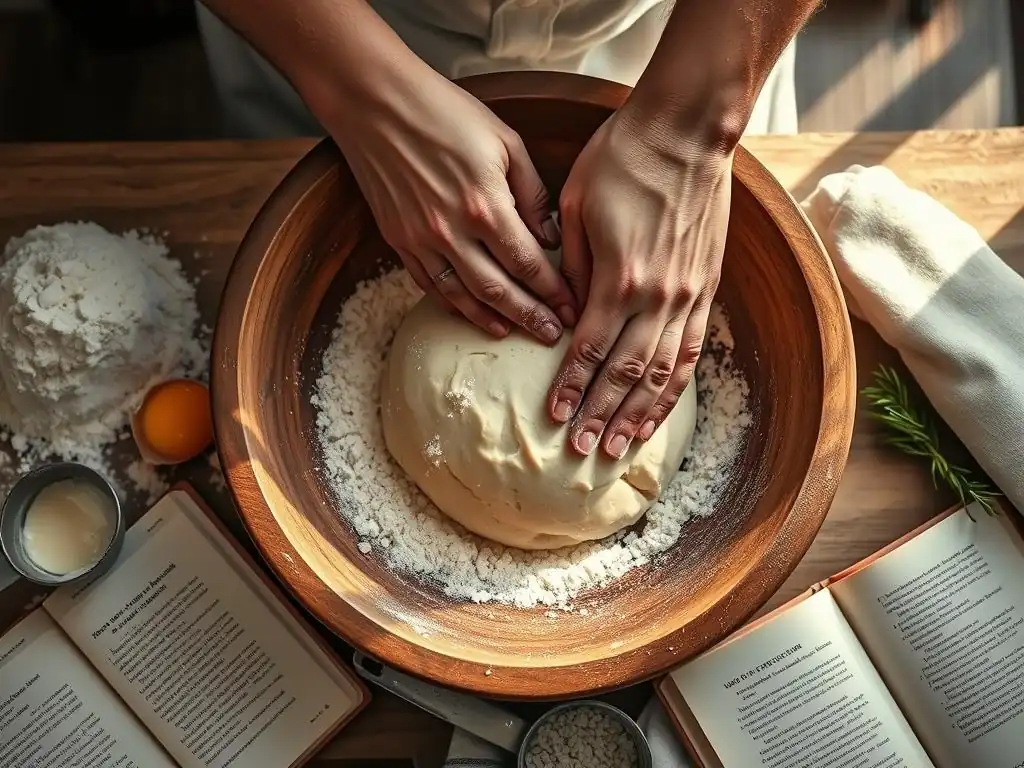
While fixes are helpful, the best approach is to minimize the chances of ending up with overly sticky dough in the first place. Prevention involves paying close attention to your ingredients, measurements, and the environmental conditions. Adopting proactive measures is a core principle of effective sticky dough handling tips.
Small adjustments and careful execution during the mixing phase can significantly impact the final dough consistency. It's about building good baking habits from the start.
Accurate Measuring: The Key to Perfect Dough Consistency
As highlighted earlier, inaccurate measuring is a primary cause of sticky dough. Using a kitchen scale to measure dry ingredients like flour and sugar is the most accurate method. Volume measurements can vary significantly based on how ingredients are scooped and packed. For instance, scooping flour directly from the bag with a measuring cup can result in up to 25% more flour than spooning it lightly into the cup and leveling it off.
For liquids, use liquid measuring cups (with a pour spout) and place them on a flat surface to read the measurement at eye level. Precision in measurement ensures you are working with the intended ratio of wet to dry ingredients, which is fundamental to achieving the correct dough consistency and minimizing stickiness.
Choosing the Right Flour for Your Recipe
Using the type of flour specified in the recipe is important because different flours absorb liquids differently. All-purpose flour is standard for many cookies and cakes, while bread flour, with its higher protein content, is designed to absorb more liquid and develop stronger gluten structures, suitable for yeasty breads.
If you substitute flour types, you may need to adjust the liquid slightly. For example, using cake flour (lower protein) instead of all-purpose flour in a cookie recipe might result in a slightly stickier dough if you don't reduce the liquid by a tiny amount. Understanding the properties of different flours is a valuable sticky dough handling tip for preventing issues.
Understanding Hydration Levels in Dough
Hydration level refers to the ratio of water (or other liquids) to flour in a dough, typically expressed as a percentage. A bread dough with a high hydration level (e.g., 70-80%) will naturally be much stickier than a cookie dough with a lower hydration (e.g., 50-60%). Recipes specify hydration implicitly through the ingredient list.
Being aware of the expected hydration level for the type of dough you are making helps set expectations for stickiness. A certain amount of stickiness might be normal and desirable for the final product. Knowing this helps you decide whether the dough is too sticky due to an error or just naturally sticky, guiding your sticky dough handling tips approach.
Troubleshooting Sticky Dough: When to Worry (and When Not To)
Not all sticky dough indicates a problem. Some doughs are designed to be sticky to achieve a specific texture in the final bake. The key is to differentiate between dough that is appropriately sticky for its type and dough that is excessively sticky due to an error in the recipe or execution. Learning this distinction is a crucial part of mastering sticky dough handling tips.
Knowing when your dough is simply behaving as it should versus when it needs intervention will save you unnecessary effort and potential recipe alterations.
Identifying Over-Hydrated Dough vs. Naturally Sticky Dough
An over-hydrated dough will likely be very loose, almost batter-like, and extremely difficult to handle, even with non-stick tools. It might not hold its shape at all. This usually indicates a significant error in measuring or a major environmental factor.
Naturally sticky dough, like a high-hydration sourdough or certain types of enriched doughs, will still be sticky but will possess some structure and elasticity. It might cling to surfaces but can be managed with techniques like the slap and fold, or by using water/oil on hands and surfaces. It might also become much more manageable after proper chilling or fermentation. Pay attention to the recipe's description and look for visual cues of gluten development (like forming a windowpane) to assess if the dough has structure despite its stickiness.
Adjusting Recipes for Different Climates and Humidity Levels
As mentioned earlier, humidity significantly impacts dough consistency. If you consistently find recipes yielding sticky dough in a humid climate, you may need to make slight adjustments. This often involves reducing the liquid by a small amount (perhaps 1-2 tablespoons per batch) or increasing the flour by a similar amount.
Conversely, in very dry climates, you might find doughs are too dry, requiring slightly more liquid. Keep a baking journal to note how recipes turn out and what adjustments you make based on the weather. Over time, you'll develop an intuition for adjusting recipes based on your local conditions, becoming adept at proactive sticky dough handling tips.
Baking with Sticky Dough: Tips for Success
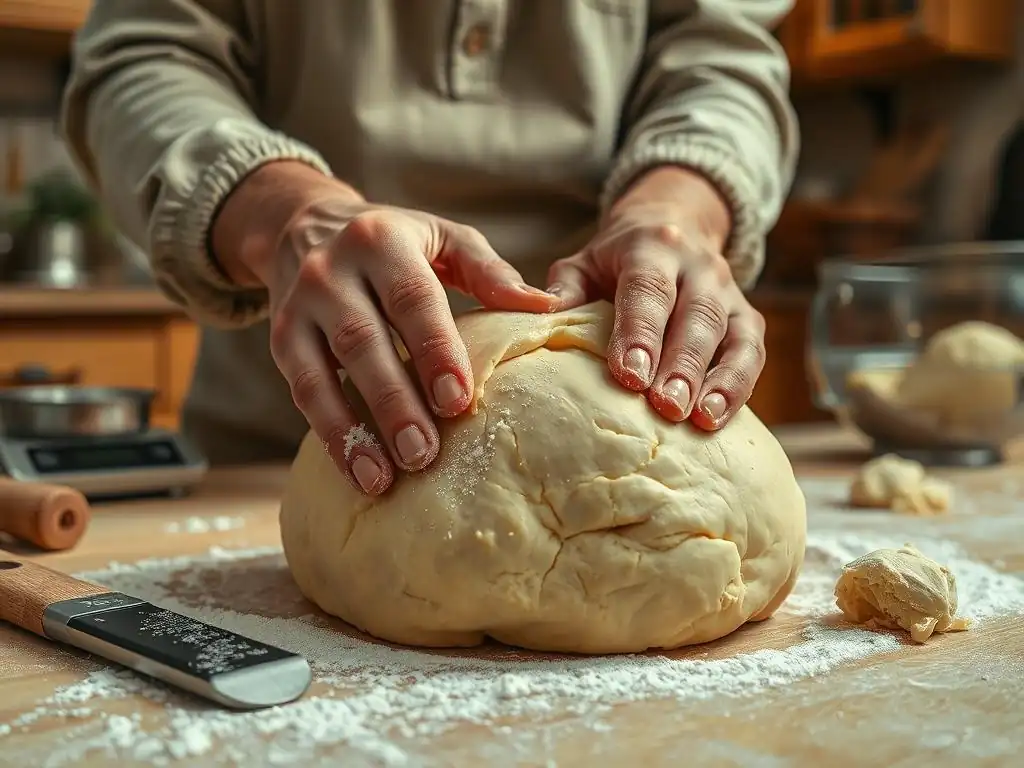
Even if your dough remains somewhat sticky, you can still achieve successful baked goods. The techniques for handling sticky dough extend into the baking phase, ensuring even cooking and preventing the dough from causing issues like spreading too much or sticking to the pan.
Adjusting your approach to baking with sticky dough ensures that the effort you put into managing it pays off with delicious results.
Adjusting Baking Times for Sticky Dough
Dough that is slightly stickier might contain marginally more moisture. This extra moisture can sometimes lead to slightly longer baking times to achieve the desired doneness and browning. However, the effect is usually minimal unless the dough was significantly over-hydrated.
Monitor your baked goods closely towards the end of the recommended baking time. Look for visual cues like golden-brown edges, a set center, or testing with a toothpick if applicable. Don't rigidly stick to the recipe's time if your dough started off noticeably wetter than intended. Be prepared to add a few extra minutes if needed, especially for cookies or cakes.
Achieving Even Baking with Sticky Dough
Sticky dough can sometimes spread more during baking, potentially leading to thinner cookies or uneven shapes. To promote even baking and prevent excessive spread, ensure your baking sheets are properly lined (parchment or silicone) and not greased unless specified, as grease can encourage spreading.
Chilling the shaped dough on the baking sheet before baking is another excellent technique. This firms up the fats and helps the dough hold its shape better in the initial heat of the oven, promoting even thickness and baking. Baking on cooler baking sheets (rotate sheets if baking multiple batches) also helps control spread.
Advanced Sticky Dough Handling: For Experienced Bakers
For those who have mastered basic sticky dough handling tips, there are specific techniques and considerations for working with doughs that are inherently very sticky, such as high-hydration bread doughs or sourdoughs. These require a different mindset and set of skills than working with standard cookie dough.
Embracing the stickiness and learning to work with these doughs, rather than fighting them, is key at this level.
Working with High-Hydration Doughs
High-hydration doughs (typically 70% hydration or more) are intentionally sticky and wet to produce breads with open, airy crumbs. Techniques like the "slap and fold" method mentioned earlier are essential. Autolyse (mixing flour and water and letting it rest before adding other ingredients) can also help manage sticky dough by allowing flour to fully hydrate, making it less shaggy and easier to work with.
Using wet hands or tools instead of floured ones can also be effective when handling very wet dough during shaping or folding. A small bowl of water nearby to dip your fingers in can prevent the dough from sticking to you.
Sourdough Sticky Dough Techniques
Sourdough doughs are often high-hydration and can be particularly sticky due to the nature of the fermentation process and the active starter, which adds significant moisture. Techniques like "stretch and fold" performed over several hours during the bulk fermentation phase are crucial for developing gluten structure in sticky sourdough without traditional kneading.
Using a proofing basket (banneton) generously dusted with rice flour is essential for preventing sticky sourdough from sticking during proofing. Baking in a Dutch oven or on a baking stone with steam also helps manage sticky dough by setting the crust quickly, allowing for better oven spring and preventing excessive spread. Mastering sourdough stickiness is a hallmark of an experienced baker.
Conclusion: Embrace the Stickiness - You've Got This!
Don't let sticky dough intimidate you. It's a common challenge in baking, faced by everyone from beginners to seasoned pros. By understanding why dough gets sticky and employing the right sticky dough handling tips and techniques, you can confidently manage even the most unruly doughs.
Mastering Sticky Dough Handling for Baking Success
From accurate measuring and ingredient temperature control to quick fixes like chilling and adding flour, and advanced techniques for high-hydration doughs, you now have a comprehensive toolkit. Remember that practice makes perfect. Each time you encounter sticky dough, view it as an opportunity to hone your skills. Embrace the process, learn from each batch, and you'll find that mastering sticky dough handling tips leads to more consistent, successful, and enjoyable baking experiences. Happy baking!
Frequently Asked Questions
What makes dough sticky and difficult to handle?
Dough stickiness often results from a high hydration level or insufficient gluten development. Environmental factors like humidity can also play a role.
What are some quick tricks to manage sticky dough?
One simple trick is to lightly flour your hands and work surface. Alternatively, using a dough scraper can help manipulate the dough without direct contact.
Can I add more flour to reduce stickiness? Is this always the best solution?
Adding more flour can temporarily reduce stickiness, but overdoing it can lead to a dry and tough final product. Consider other methods first.
What are some essential tools that help with handling sticky dough?
Besides flour, a bench scraper and a flexible bowl scraper are invaluable. These tools allow you to work with the dough without it sticking to your hands.
How can I prevent dough from becoming too sticky in the first place?
Precise measuring of ingredients is crucial. Also, avoid over-hydrating the dough during the initial mixing stages for better results.
Final Reflection: Beyond the Bowl: Mastering the Art of Dough
The struggle with sticky dough is far more than just a baking inconvenience; it's a common hurdle that can derail even the most experienced bakers. From perfectly formed croissants to flawlessly risen loaves, the ability to confidently handle sticky dough is the cornerstone of successful baking. This seemingly simple challenge speaks volumes about the delicate balance of ingredients and technique required to create truly exceptional baked goods.
The frustration of wrestling with a sticky mess is a universal experience, a shared moment of culinary trial and error that connects bakers across generations. It's a reminder that baking is not just a science, but an art—a process of learning, adapting, and embracing the unexpected. The best bakers are those who are not afraid to get their hands dirty.
This unspoken truth underscores the importance of patience and persistence in the face of sticky dough, a testament to the rewarding journey of mastering this fundamental baking skill.
Now, consider your own baking experiences. Have you ever felt defeated by a particularly stubborn dough? Remember that feeling? This article provided you with tools to overcome that frustration. But more importantly, it's a reminder that even in the face of sticky situations, both literally and figuratively, there are solutions. Embrace the challenge, experiment with the techniques outlined, and discover the joy of confidently creating delicious baked goods, one perfectly handled dough at a time. Your next baking adventure awaits!
Unlock Your Baking Potential: Master That Dough!
Thanks for taking the time to learn how to conquer sticky dough! We hope you now feel more confident tackling any recipe. Ready to put your new skills to the test?
- Bake your dream bread today! Choose a recipe (even that challenging one you've been avoiding) and get started. See how much easier it is now!
- Share your baking triumphs (or even your funny dough mishaps!) on social media using #BakeWithEase. Let's inspire each other!
- Explore our other baking tips and tricks on BakeWithEase.com to elevate your baking game further.
What amazing creation will you bake next?