
Simple Borders Beyond the Shell

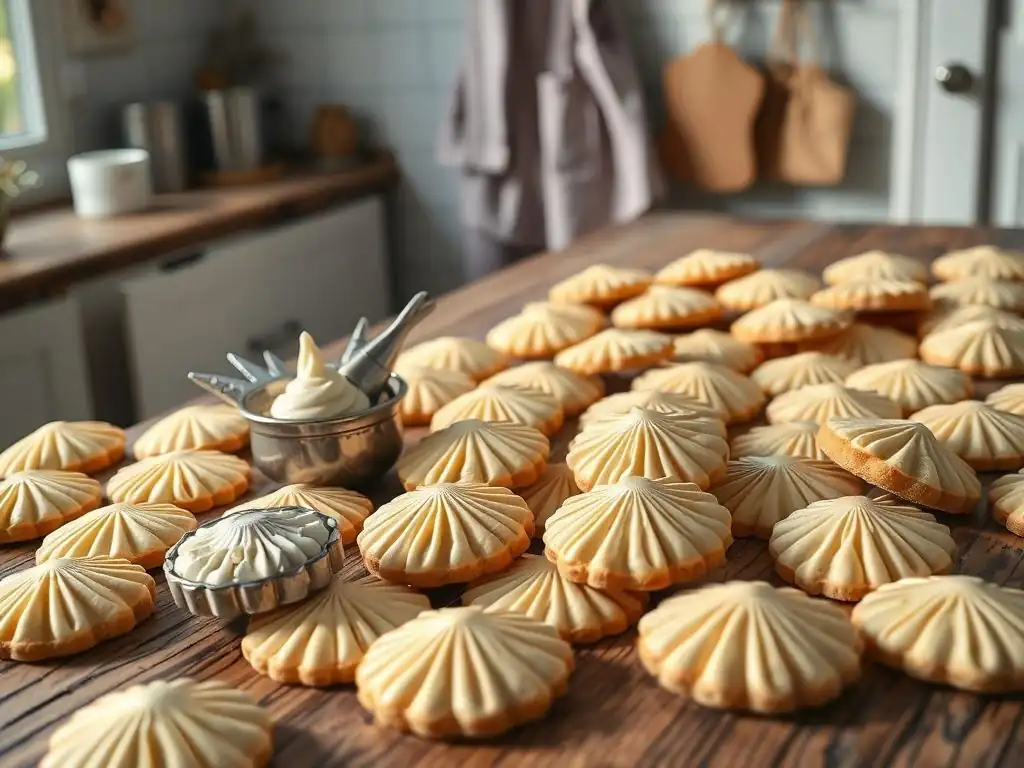
Welcome to BakeWithEase, where we believe everyone can create delightful treats! Ready to elevate your cookie decorating game? Perhaps you've mastered the basics, but are looking for something more? Dive into our guide on easy shell border cookies and discover how to create stunning, professional-looking edges. But don't stop there – what other simple border techniques are waiting to be unlocked? Explore further to discover more tips and tricks to transform your cookies into edible masterpieces.
- Simple Borders Beyond the Shell: Elevating Your Cookie Decorating
- Mastering Easy Shell Border Cookies: An Introduction
- Essential Tools and Ingredients for Perfect Shell Borders
- Step-by-Step Guide to Piping the Perfect Shell Border
- Advanced Shell Border Techniques and Variations
- Troubleshooting Common Shell Border Problems
- Elevating Your Cookie Designs: Shell Border Inspiration
- Caring for Your Piping Tips and Maintaining Icing Consistency
- Conclusion: Unleash Your Creativity with Easy Shell Border Cookies
- Frequently Asked Questions
- Final Reflection: The Enduring Appeal of Simple Elegance
- Unlock Your Baking Creativity: Beyond the Basic Border
The shell border is a classic, elegant, and surprisingly versatile technique that every cookie decorator should have in their repertoire. It provides a beautiful, finished edge to cookies, adding a touch of sophistication without requiring advanced artistic skills. Once mastered, piping easy shell border cookies becomes a quick way to elevate simple cutouts into stunning treats, perfect for any occasion from casual gatherings to formal events. It's a fundamental skill that builds confidence and serves as a stepping stone to more intricate piping work.
Beyond their aesthetic appeal, shell borders are incredibly practical. They can be used to cover slight imperfections on the edge of a cookie, provide a barrier for flood icing, or simply add structural interest. Learning to create uniform, attractive shell border cookies is a valuable skill that pays dividends in both the appearance and perceived value of your baked goods, making them look professionally finished even if you're just starting out.
Beyond the Basics: Exploring Variations on the Shell Border
While the classic shell border is a staple, its true beauty lies in the numerous variations you can explore. Once you've mastered the basic technique for easy shell border cookies, you can experiment with different piping tips, icing consistencies, and piping motions to create unique effects. This could range from tiny, delicate shells piped with a small star tip to bold, dramatic borders using a larger tip, or even techniques like the inverted shell or rope border.
Exploring these variations allows you to customize your easy shell border cookies to fit any theme or style. You might use pastel colors and tiny shells for baby shower cookies, or bold colors and larger shells for a festive holiday batch. Understanding how to modify the basic shell enables you to unleash significant creativity, transforming a simple technique into a powerful tool for diverse cookie designs.
Essential Tools and Ingredients for Perfect Shell Borders
Must-Have Piping Tips for Shell Borders: Wilton 1M & Ateco #825 Recommendations
To create beautiful shell borders, selecting the right piping tip is crucial. Two popular and highly recommended options for achieving classic easy shell border cookies are the Wilton 1M and the Ateco #825. The Wilton 1M is an open star tip, known for creating defined ridges and a slightly rustic look. It's incredibly versatile and a staple for many decorators, perfect for swirls, rosettes, and, of course, shell borders.
The Ateco #825 is also an open star tip, similar in size to the 1M but often with slightly deeper cuts, which can result in more pronounced ridges on the shells. Both tips offer excellent control and produce consistent results, making them ideal for beginners learning to pipe easy shell border cookies. Experimenting with both can help you discover which tip's specific texture and size best suit your preferred style. Other open star tips, like Wilton 2D or Ateco #826, can also be used for variations, offering different sizes and ridge patterns.
Royal Icing Consistency: Achieving the Ideal Flow for Shells
The success of your easy shell border cookies heavily relies on the consistency of your royal icing. For piping shells, you generally want an icing consistency that is thick enough to hold its shape well, displaying sharp ridges, but not so thick that it's difficult to pipe smoothly or tears when you pull away. This is often referred to as "piping consistency" or sometimes a "medium-stiff" consistency.
A good test is the "peak test": when you lift a spoon or spatula from the icing, it should form a stiff peak that holds its shape without drooping significantly. Another common method is the "count test": if you drag a knife through the icing in the bowl, the line should disappear and become smooth again in about 15-20 seconds. If it takes longer, it's too stiff; if it's faster, it's too thin and won't hold the shell shape. Getting this right is key to achieving clean, defined easy shell border cookies.
While the shell border adds a beautiful edge, starting with a well-prepared cookie base makes the process much easier and the final result more appealing. The surface of your cookie should be as flat and smooth as possible. This is typically achieved by rolling your cookie dough to an even thickness (around 1/4 inch is common) and ensuring your baking surface is level. Baking cookies until they are just set, rather than deeply browned, can also help maintain a flatter surface.
Once baked and completely cooled, ensure the cookie surface is clean and free from crumbs or excess flour. For some designs, decorators choose to flood the cookie surface with thinner royal icing first and let it dry completely before piping the shell border. This creates a perfectly smooth canvas for the border, making your easy shell border cookies look even more polished. However, you can also pipe the border directly onto a plain, cooled cookie.
Step-by-Step Guide to Piping the Perfect Shell Border
Preparing Your Piping Bag: Filling and Securing
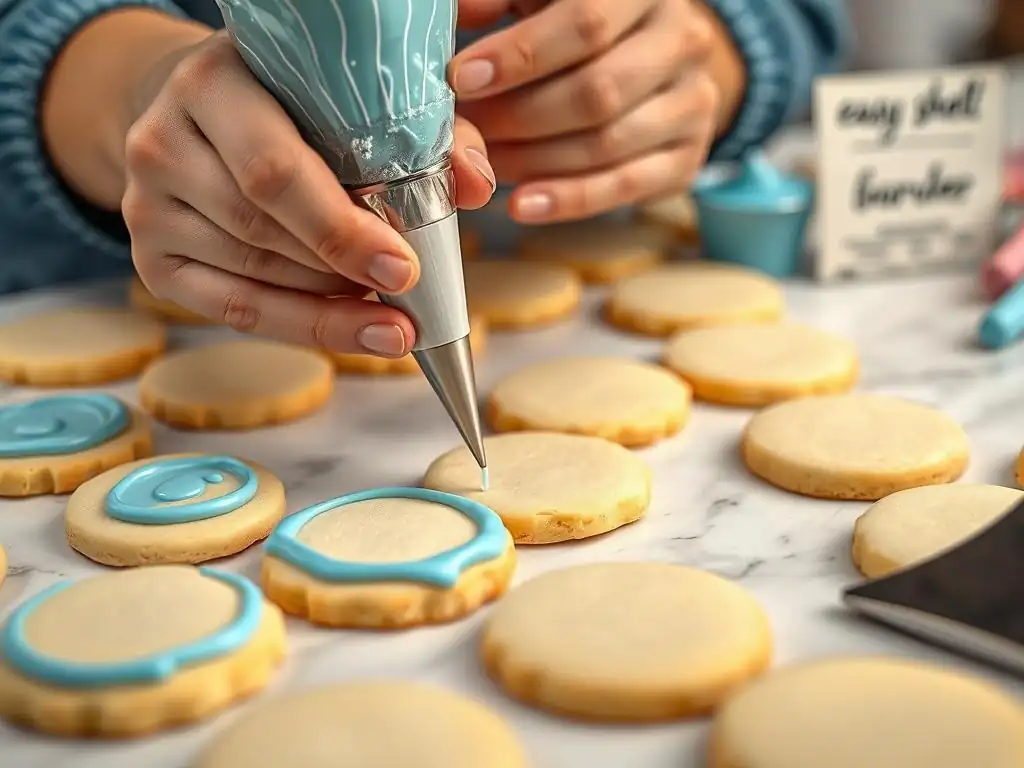
Getting your piping bag ready is the first practical step to piping easy shell border cookies. Begin by inserting your chosen piping tip (like the Wilton 1M or Ateco #825) into the bag. If you're using a coupler, place the coupler base in the bag first, snip the end of the bag just enough for the coupler threads to poke through, add the tip, and then screw on the coupler ring. For bags without couplers, simply drop the tip into the bag and snip off the end, ensuring the tip fits snugly.
To fill the bag with your perfectly-consistency royal icing, fold the top edge of the bag down to create a cuff. Use a spatula to scoop icing into the bag, pushing it down towards the tip. Fill the bag no more than two-thirds full to maintain control.
Unfold the cuff and twist the top of the bag tightly closed just above the icing level. This twisted section is where you will apply pressure. Secure it with a rubber band or clip if needed, especially when learning to pipe easy shell border cookies to prevent icing from squeezing out the top.
Mastering Piping Pressure: Consistency is Key
Consistent pressure is arguably the most important factor in creating uniform easy shell border cookies. The amount of pressure you apply to the piping bag directly controls the size and flow of the icing. Start by applying gentle, steady pressure with the hand holding the twisted end of the bag. The other hand guides the tip. As you pipe, try to maintain the same amount of squeeze for each shell.
Practice on parchment paper first to get a feel for the pressure needed. You want enough pressure to extrude the icing smoothly without forcing it too hard, which can cause blowouts or uneven shells. Too little pressure will result in small, weak shells. Aim for a steady, continuous flow that allows you to build each shell segment consistently. Mastering this even pressure is fundamental to making your easy shell border cookies look professional.
Piping the Classic Shell Border: A Detailed Walkthrough
With your bag prepared and pressure control practiced, you're ready to pipe the classic shell border on your cookies. Start by holding the piping bag with the tip just above the cookie surface, usually at a slight angle (around 45 degrees) to the edge. Apply steady pressure, allowing a small amount of icing to anchor to the cookie. This is the base of your first shell.
As you continue applying pressure, gently pull the tip backwards and slightly upwards, creating a teardrop or comma shape. As you reach the desired size for the shell, gradually release the pressure while simultaneously pulling the tip sharply away from the cookie surface. This tapering motion creates the pointed tail of the shell. For the next shell, place the tip just slightly overlapping the tail of the previous shell and repeat the process, working your way around the cookie edge to create a continuous string of connected shells, forming beautiful easy shell border cookies.
[ ] Prepare piping bag with tip and icing.
[ ] Practice pressure control on parchment paper.
[ ] Position tip at the cookie edge.
[ ] Apply steady pressure to anchor base.
[ ] Pull tip back and up while maintaining pressure.
[ ] Gradually release pressure while pulling tip away.
[ ] Repeat, overlapping the tail of the previous shell.
Advanced Shell Border Techniques and Variations
The Inverted Shell Border: Adding Dimension and Texture
Once you're comfortable piping classic easy shell border cookies, you can try the inverted shell border for a different look. Instead of piping with the tip angled slightly up and away from the cookie, you angle the tip slightly down towards the cookie surface. The motion is similar – apply pressure, pull back, and release pressure while pulling away – but the resulting shell sits flatter against the cookie and often has a slightly different texture or shape, sometimes appearing more rounded or mound-like at the base.
This technique can add interesting dimension when used in conjunction with other elements or even layered. Piping a row of classic shells and then a row of inverted shells inside them creates a layered look. The inverted shell provides a subtle variation on the basic easy shell border cookie technique, offering a different texture and profile that can complement various cookie designs.
The Rope Border: A Simple Variation on the Shell
The rope border is a close relative of the shell border and is often considered a simple variation. It uses the same principle of overlapping segments, but instead of pulling straight back, you pipe with a slight side-to-side motion as you move forward. Start by piping a short shell segment, then lift the tip slightly and bring it to the side of the end of the first segment. Apply pressure and pipe the next segment, slightly overlapping and pushing into the first, then lift and move to the other side for the next segment.
This alternating side-to-side overlap creates a twisted, rope-like appearance around the edge of your easy shell border cookies. It's a fantastic way to add a decorative twist using the same tips and icing consistency you used for classic shells. Mastering the rhythm of the side-to-side movement and overlap is key to achieving a smooth, continuous rope effect.
Combining Shell Borders with Other Decorating Techniques: Edible Pearls, Gold Leaf Accents
Shell borders serve as an excellent foundation or frame for combining with other cookie decorating techniques, elevating easy shell border cookies into truly special creations. For instance, after piping a shell border, you can gently press small edible pearls or dragees into the wet icing segments before they dry. This adds a touch of sparkle and texture, perfect for elegant or celebratory cookies.
Another popular technique is adding gold leaf accents. Once the shell border is dry, you can use a fine brush and edible glue or clear extract to selectively apply small flakes of edible gold leaf to the tips or sides of the shells. This adds a luxurious, sophisticated touch. Shell borders also pair beautifully with flooded centers, airbrushing, stenciling, or even hand-painted details within the cookie's interior, proving their versatility beyond just edging easy shell border cookies.
Troubleshooting Common Shell Border Problems
Icing Too Thick or Thin: Adjusting Consistency
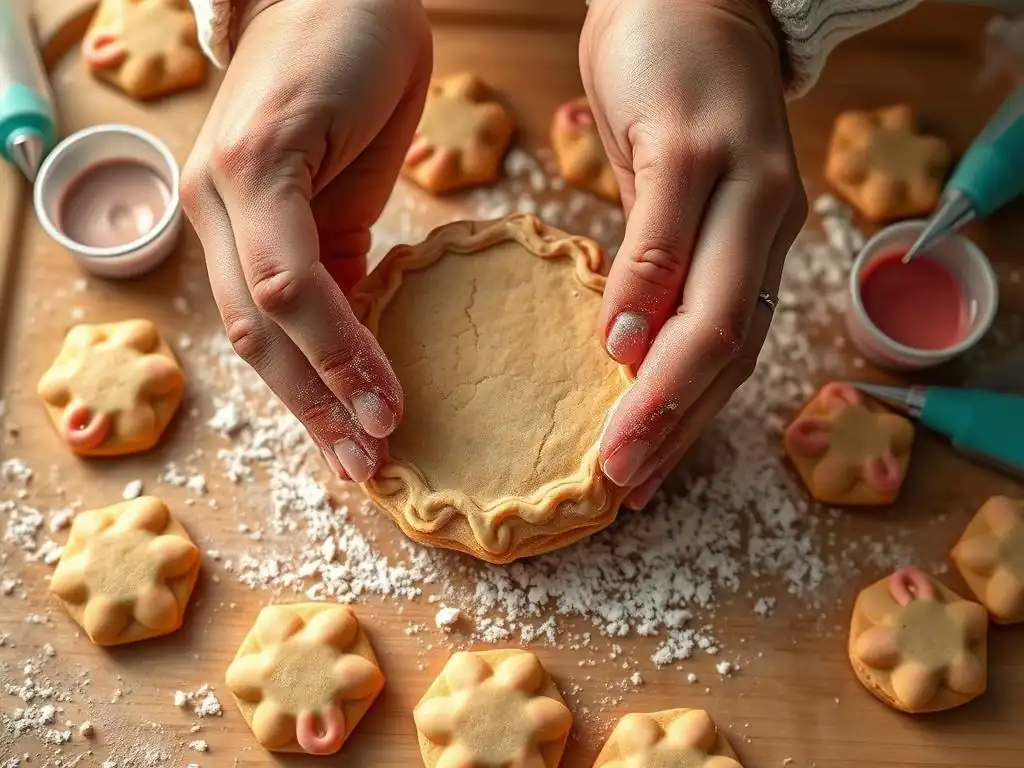
One of the most frequent issues when piping easy shell border cookies is incorrect royal icing consistency. If your icing is too thick, it will be difficult to squeeze, may tear when you pull away, and the shells will look jagged or broken. If it's too thin, the shells won't hold their shape, will slump, and the ridges won't be defined.
- Icing too thick: Add a very small amount of water (a few drops at a time) and stir gently but thoroughly. Test the consistency frequently on a piece of parchment paper.
- Icing too thin: Add more sifted confectioners' sugar or meringue powder/royal icing mix. Mix carefully until the desired consistency is reached. It's much easier to add liquid than dry, so always adjust slowly. Patience here is key to successful easy shell border cookies.
Uneven Shells: Maintaining Consistent Pressure and Speed
Uneven shells are a common problem when learning to pipe easy shell border cookies and are usually a result of inconsistent pressure or speed. If your pressure varies as you pipe, the shells will be different sizes – some large and bulbous, others small and weak. If your speed varies (how quickly you pull the tip back and away), some shells might be long and stretched, while others are short and stubby.
To fix this, focus on maintaining a steady, constant squeeze on the piping bag and moving your hand at a uniform speed as you form each shell. Practice on parchment paper specifically focusing on this rhythm before moving back to cookies. It takes practice, but consciously focusing on consistent pressure and speed will dramatically improve the uniformity of your easy shell border cookies.
Air Bubbles in the Icing: Prevention and Correction
Air bubbles can cause frustrating gaps or bursts in your shell borders, ruining the smooth line. They often get incorporated into royal icing during mixing. To minimize bubbles:
- Mix slowly: When making your royal icing, mix on a low speed after the initial ingredients are combined. Avoid whipping on high speed for extended periods.
- Rest the icing: After mixing, cover the bowl with plastic wrap pressed directly onto the surface of the icing and let it rest for 10-15 minutes. This allows many small bubbles to rise to the surface.
- Tap the bag: Once your piping bag is filled, gently tap the bag, tip-down, against your counter a few times. This helps larger bubbles move towards the tip where you can pipe them out onto a test surface before starting your easy shell border cookies.
- Pop bubbles: If you see a bubble forming as you pipe, you can sometimes gently pop it with a scribe tool or toothpick before continuing.
Preventing air bubbles makes piping easy shell border cookies a much smoother and more enjoyable process.
Holiday-Themed Shell Borders: Snowflake Shells, Pastel Egg Shells
Shell borders are wonderfully adaptable to holiday themes, making easy shell border cookies a festive treat. For winter holidays, use white or icy blue icing with a small star tip (like a #16 or #18) to pipe delicate shells that evoke the look of snowflakes or frost along the edge of a cookie. You can even add a sprinkle of edible glitter while the icing is wet.
For Easter, use pastel-colored icing – soft pinks, yellows, blues, and greens – to pipe shell borders around egg-shaped cookies. Alternate colors for a playful look, or use a single soft shade for an elegant finish. These pastel shell border cookies are simple yet effective for capturing the holiday spirit.
Easy shell border cookies are perfect for birthdays. Pipe a vibrant shell border around a round or square cookie, then use a smaller piping tip (like a #2 or #3) in a contrasting color to pipe the birthday person's name or age in the center. The shell border creates a festive frame for the personalized message.
For number-shaped cookies, piping a continuous shell border along the entire edge is a fantastic way to define the shape and add decoration simultaneously. Use bright, cheerful colors to match the birthday party theme. These number-themed shell border cookies are always a hit!
Elegant Shell Borders for Special Occasions: Lace-Detailed Shells, Monogrammed Shells
For more formal events like weddings, anniversaries, or bridal showers, easy shell border cookies can be transformed into elegant favors. Use white, ivory, or metallic icing (like gold or silver) to pipe delicate shells. You can then add intricate details: while the shell border is wet, use a scribe tool to gently pull lines through the shells, creating a simple lace effect.
Alternatively, pipe a beautiful shell border around a plaque or shield-shaped cookie and then pipe a sophisticated monogram in the center using a fine tip. These monogrammed shell border cookies serve as beautiful, personalized tokens for guests. The simplicity of the shell border allows the central design or added details to truly shine.
Caring for Your Piping Tips and Maintaining Icing Consistency
Proper Cleaning and Storage of Piping Tips
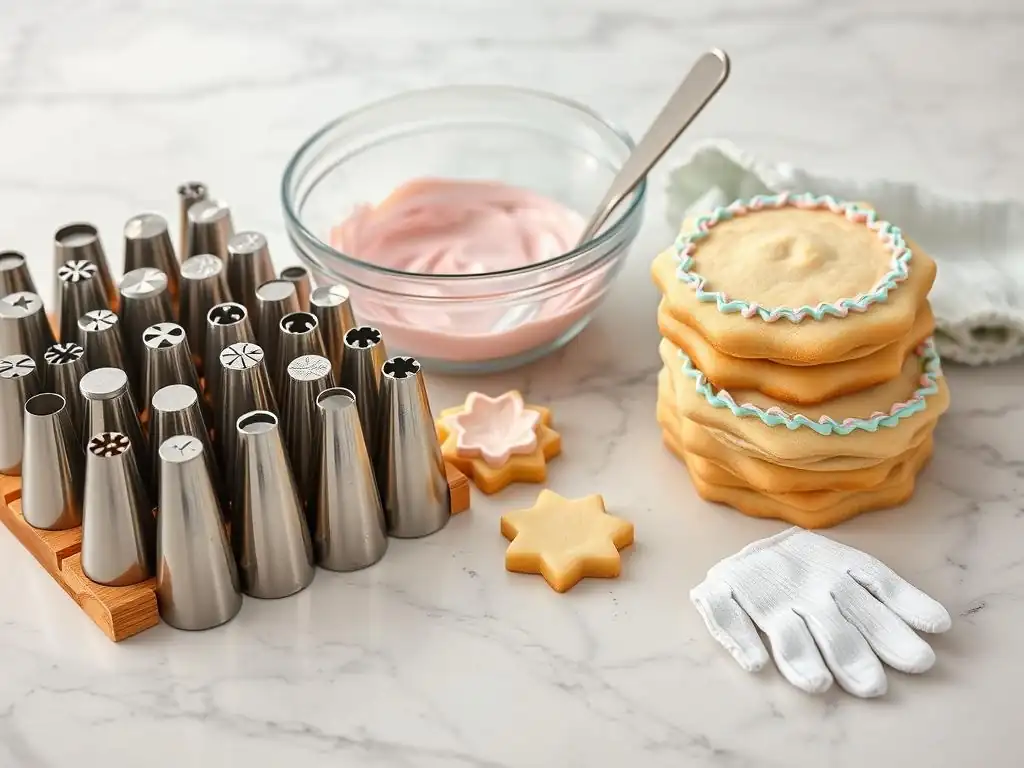
Taking care of your piping tips ensures they last longer and perform optimally for piping beautiful easy shell border cookies. As soon as you finish using a tip, rinse it thoroughly with warm water to remove as much icing as possible. If icing has dried inside, soak the tips in warm, soapy water. Use a small brush (like a pastry brush or even a dedicated toothbrush) or a tip cleaning brush to scrub inside the tip and remove any stubborn dried icing, especially from the star ridges.
Dry your tips completely before storing them to prevent rust, particularly with metal tips. Store them in a dedicated tip organizer, a small container, or even a zip-top bag to keep them together and protect them from getting bent or damaged. Proper cleaning and storage are small steps that make a big difference in the longevity and performance of your tools for making easy shell border cookies.
Preventing Icing from Drying Out: Tips and Tricks
Royal icing dries quickly when exposed to air, which can clog your piping tips and make it difficult to pipe smooth easy shell border cookies. When working with royal icing, always keep any icing you're not actively using covered.
- In the bowl: Place plastic wrap directly on the surface of the icing in the bowl, pressing it down to eliminate air pockets. Then, cover the bowl itself with a lid or another layer of plastic wrap.
- In the piping bag: When taking a break or switching colors, cover the tip of the piping bag with a damp paper towel secured with a rubber band, or insert the tip into a coupler cap or a small plastic baggie. This prevents the icing at the opening from crusting over. If a tip does get clogged while piping easy shell border cookies, try squeezing a small amount of icing onto a paper towel or parchment paper to clear it, or use a scribe tool to gently poke through the opening.
The Versatility of the Shell Border: A Recap
The shell border technique, while seemingly simple, is incredibly versatile. As we've explored, it can be adapted using different tips, icing consistencies, and slight variations in piping motion to create a range of effects, from classic elegance to playful textures. It provides a clean, professional finish to cookies and serves as a fantastic base for adding other decorative elements. Mastering easy shell border cookies is a foundational skill that opens up a world of cookie decorating possibilities, proving that even a basic technique can offer immense creative potential.
Learning to pipe easy shell border cookies is just the beginning of your cookie decorating journey. Once you're comfortable with pressure control, icing consistency, and basic piping motions, you can easily transition to other techniques. Practice piping dots, lines, swirls, and rosettes. Experiment with different piping tips and explore techniques like wet-on-wet marbling, flooding, stenciling, or even hand-painting on dried royal icing. The skills you've gained mastering shell borders are transferable and will help you tackle more complex designs with confidence, continuously expanding your ability to create beautiful, edible art.
Frequently Asked Questions
The key is using a consistent piping pressure and a small star tip. Practice on parchment paper first to get the hang of it.
What kind of frosting is best for shell borders?
A stiff royal icing is ideal. It holds its shape well and dries hard, making the borders durable and visually appealing.
Can I add color to my shell border frosting?
Absolutely! Use gel food coloring for the best results. It won't change the consistency of the icing like liquid food coloring might.
What if my shell border is uneven or messy?
Don't worry, it happens! Gently use a damp toothpick to smooth out any imperfections before the icing dries. Practice makes perfect!
What are some variations of the basic shell border?
You can create different effects by varying the size of the shells or adding small embellishments like sprinkles or edible glitter between them. Get creative with your cookie decorating!
Final Reflection: The Enduring Appeal of Simple Elegance
The ease of creating beautiful shell border cookies belies a deeper truth: sometimes, the most impactful designs are born from simplicity. These seemingly uncomplicated treats offer a gateway to creativity, demonstrating that masterful baking doesn't require complex techniques or extravagant ingredients. The elegance of a perfectly piped shell border speaks volumes about the care and attention to detail invested in the process.
The enduring popularity of shell border cookies reflects a broader cultural yearning for simplicity and authenticity. We live in a world saturated with visual noise, and the quiet beauty of a delicately piped border offers a welcome respite. It's a reminder that true artistry can be found in the subtle details, in the mastery of a basic technique. Simplicity is the ultimate sophistication.
– Leonardo da Vinci. This quote perfectly encapsulates the essence of these cookies and their enduring appeal. The seemingly simple act of creating these cookies connects us to a long tradition of baking, a heritage passed down through generations.
Now, I invite you to consider the lessons learned. Don't be intimidated by complex recipes or elaborate designs. Embrace the power of simplicity. Experiment with different piping techniques, explore variations in color and flavor, and most importantly, enjoy the process of creating something beautiful with your own hands. The next time you bake, remember the elegance of the shell border – a testament to the fact that sometimes, less truly is more.
Here's a CTA based on the provided title and website information:
Unlock Your Baking Creativity: Beyond the Basic Border
Thanks for exploring the world of simple, yet stunning, pie crust borders with us! We hope you've gained some inspiration and new techniques to elevate your baking. Ready to put your newfound skills to the test?
- Master a new border technique: Try one of the designs from the article – we bet you'll be surprised how easy it is to create a professional look!
- Share your creations: Post a picture of your masterpiece on social media and tag us – we'd love to see your beautiful baked goods!
- Explore our other easy pie recipes for more baking inspiration.
What unique border design will you create next? Let us know in the comments below!