
Whipping Buttercream: How Long is Long Enough?

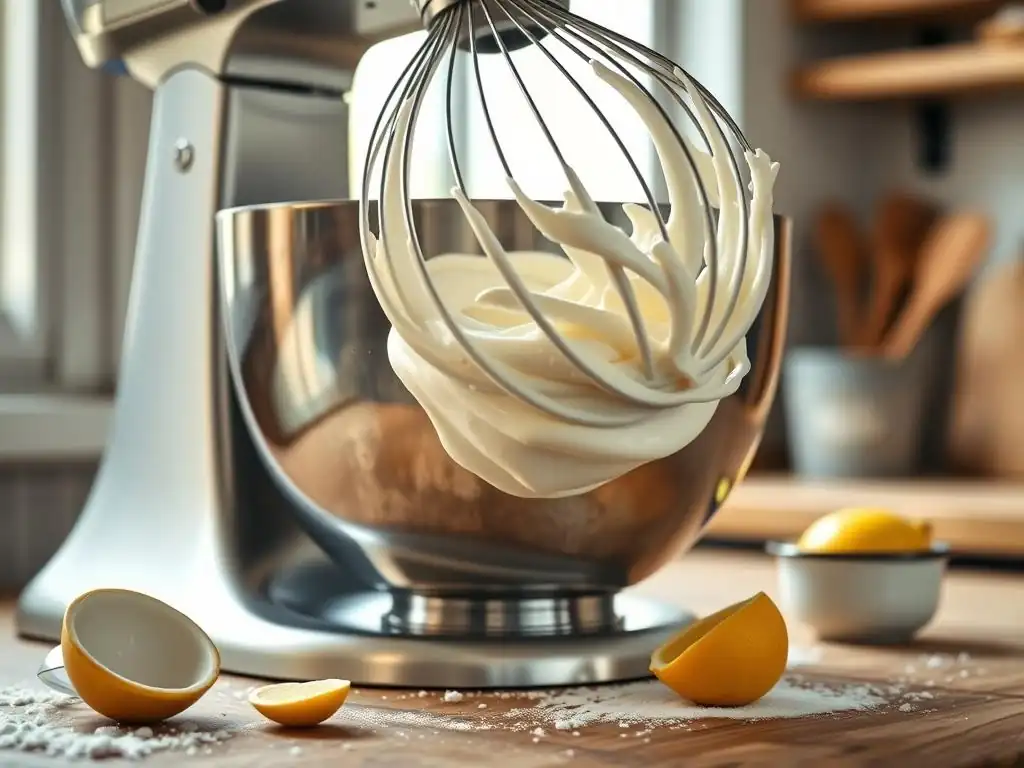
Welcome to BakeWithEase, your trusted guide to baking bliss! Ever wondered if you're really whipping your buttercream long enough? Achieving that perfect, light-as-air texture can be tricky. In this article, we'll unravel the mystery of how long buttercream takes to whip, giving you the secrets to a flawlessly frosted masterpiece. Get ready to elevate your baking game!
- Whipping Buttercream: How Long is Long Enough? - BakeWithEase.com
- Introduction: Mastering Buttercream Texture for Baking Perfection
- The Science Behind Whipping Buttercream: What's Really Happening?
- Factors Affecting Buttercream Whipping Time
- How to Tell When Your Buttercream is Perfectly Whipped
- Step-by-Step Guide: Whipping Buttercream for Optimal Results
- Troubleshooting Common Buttercream Whipping Issues
- Different Types of Buttercream and Their Whipping Time Considerations
- Tips & Tricks for Perfect Buttercream Every Time
- Conclusion: Achieving Buttercream Bliss with the Right Whipping Time
-
Frequently Asked Questions
- How long does it typically take to whip buttercream to the right consistency?
- What are the key signs that buttercream is properly whipped?
- Can I overwhip buttercream, and what happens if I do?
- What type of mixer works best for whipping buttercream?
- Does the temperature of the butter affect how long buttercream takes to whip?
- Final Reflection: The Sweet Science of Whipped Buttercream
- Unlock Your Perfect Buttercream: It's Time to Whip!
Whipping Buttercream: How Long is Long Enough? - BakeWithEase.com
Introduction: Mastering Buttercream Texture for Baking Perfection
Understanding the Importance of Whipping Time for Buttercream
The duration you spend whipping your buttercream is far more critical than many bakers initially realize. It's not just about mixing ingredients together; it's a process that transforms simple butter and sugar into a light, airy, and stable frosting perfect for cakes, cupcakes, and pastries. The correct whipping time ensures proper emulsification, preventing separation, and incorporates air, which is essential for volume and a smooth texture that's easy to spread or pipe. Too little whipping leaves it dense, greasy, and potentially curdled, while over-whipping can break down the structure, making it appear grainy or even collapse.
Achieving the ideal texture is key to successful decorating and a pleasant eating experience. A perfectly whipped buttercream holds its shape beautifully for intricate piping designs, spreads smoothly without tearing the cake, and melts deliciously in your mouth without a heavy, fatty feel. Understanding how long buttercream takes to whip, and knowing the signs of correctly whipped frosting, is a fundamental skill for elevating your baking results and creating truly stunning and delicious desserts.
BakeWithEase's Guide to Achieving Perfect Buttercream Consistency
Welcome to our comprehensive guide on mastering the art of whipping buttercream right here at BakeWithEase. We'll walk you through the essential techniques and insights to help you achieve that coveted smooth, fluffy, and stable consistency every time. Forget guesswork; we'll equip you with the knowledge to understand what's happening in your mixer bowl and how to control the process.
From the science of emulsification to the impact of ingredient temperature and mixer speed, we cover all the variables. We'll also provide clear visual and tactile cues so you can confidently determine when your buttercream has reached its peak. Whether you're tackling a classic American buttercream or a delicate Swiss meringue, this guide will help you understand the nuances of how long to whip buttercream for optimal results, ensuring your frosting is always decoration-ready and delicious.
The Science Behind Whipping Buttercream: What's Really Happening?
Emulsification Explained: How Buttercream Becomes Smooth and Stable
Emulsification is a fancy word for mixing two liquids that don't normally mix, like oil and water, into a stable blend. In buttercream, you're primarily blending the fat from the butter with sugar (which often contains some moisture or is dissolved in liquid) and sometimes egg whites or yolks (which contain water and emulsifiers like lecithin). The mechanical action of whipping breaks the fat into tiny droplets and disperses them evenly throughout the watery phase.
Whipping provides the energy needed for this process. Ingredients like egg yolks or meringue (in Swiss, Italian, or French buttercreams) contain natural emulsifiers that help stabilize this mixture, preventing the fat and water from separating. American buttercream relies more heavily on the mechanical action and the presence of very fine sugar particles (like powdered sugar) to achieve stability.
Proper emulsification is crucial because it creates a smooth, homogenous texture and prevents the greasy, separated look and feel of poorly mixed frosting. It's a fundamental step in ensuring your buttercream isn't just sweet but also structurally sound and pleasant on the palate.
Air Incorporation: The Key to Light and Fluffy Buttercream
Beyond emulsification, whipping serves another vital purpose: incorporating air. As the mixer blades or whisk move through the mixture, they fold air bubbles into the butter and sugar matrix. These tiny air pockets are what give buttercream its light, fluffy texture and increase its volume. The more air you incorporate (up to a point), the lighter and less dense the frosting becomes.
Think of it like whipping cream or egg whites – the volume expands significantly as air is trapped within the structure. In buttercream, this trapped air contributes to its spreadability and pipeability. It also affects how the frosting feels in your mouth; a well-aerated buttercream melts smoothly, whereas one lacking sufficient air can feel heavy and greasy. How long buttercream takes to whip is largely determined by the time needed to achieve both proper emulsification and sufficient air incorporation for the desired consistency.
Factors Affecting Buttercream Whipping Time
Butter Temperature: The Starting Point for Creamy Buttercream
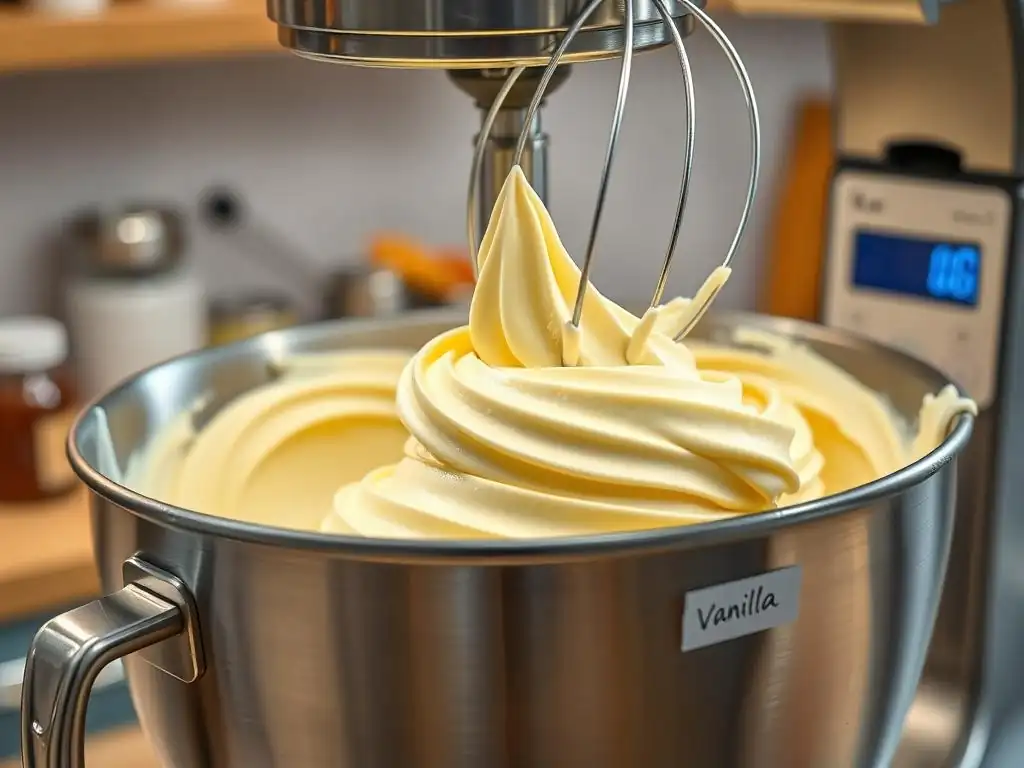
The temperature of your butter is arguably the most critical factor influencing how long buttercream takes to whip and the final outcome. Butter that is too cold (straight from the fridge) will be hard and difficult to cream with the sugar, leading to a lumpy, separated mess that takes a very long time to soften and potentially never fully emulsifies properly. You'll end up with hard butter pieces and a greasy liquid.
Conversely, butter that is too warm (softened to the point of being greasy or melted) won't be able to hold air effectively. It will cream quickly but won't develop volume or stability, often resulting in a slack, unstable buttercream that doesn't hold its shape for piping. The ideal temperature for butter in most buttercreams (especially American) is cool room temperature, typically between 65°F and 70°F (18°C to 21°C). It should be soft enough to indent easily with your finger but still hold its shape. This allows it to cream smoothly with sugar and efficiently trap air during whipping.
Type of Butter: Impact on Buttercream's Texture and Whipping
Not all butter is created equal, and the type you use can influence both the whipping process and the final texture. Standard American butter typically has a lower fat content (around 80%) and higher water content compared to European-style butter (often 82% fat or higher). The higher fat content in European butter can result in a richer, sometimes slightly softer buttercream, and it might incorporate air slightly differently.
Additionally, unsalted butter is generally preferred for buttercream as it gives you control over the salt level in your frosting. Salted butter has varying amounts of salt added, which can affect the flavor balance and potentially impact the texture due to the added moisture and solids. Using high-quality butter, regardless of style, that is at the correct temperature is more important than the specific type in determining how long to whip buttercream, but be aware that subtle differences exist.
Mixer Type: Stand Mixer vs. Hand Mixer Whipping Times
The equipment you use significantly affects how long buttercream takes to whip. A stand mixer, with its powerful motor and consistent speed, is the most efficient tool for whipping buttercream, especially larger batches. Using the whisk attachment typically provides the fastest air incorporation, though the paddle attachment is often recommended for the initial creaming stage and sometimes for the entire process depending on the recipe.
A hand mixer can certainly be used, but it generally takes longer to achieve the same results because it's less powerful and the mixing action is less consistent unless you move it constantly. Whipping time for a batch of American buttercream that might take 5-8 minutes in a stand mixer on medium-high speed could take 8-15 minutes or even longer with a hand mixer. You'll also need to scrape down the bowl more frequently with a hand mixer to ensure everything is evenly incorporated.
Recipe Variations: How Ingredients Influence Whipping Duration
The specific ingredients and their proportions in your buttercream recipe play a large role in determining how long buttercream takes to whip. American buttercream (butter, powdered sugar, liquid) typically requires less whipping time than meringue-based buttercreams (Swiss, Italian, French). This is because American buttercream primarily relies on creaming butter and sugar and incorporating air, while meringue-based types involve creating a stable meringue foundation first and then incorporating butter, which requires significant whipping to emulsify and become light and fluffy.
Recipes with a higher proportion of liquid (milk, cream, or syrup) might take slightly longer to thicken and become stable during whipping compared to those with less liquid. Adding ingredients like melted chocolate, fruit purees, or cream cheese can also alter the required whipping time and technique. Always follow your specific recipe's instructions, but understand that these ingredient variations are key drivers in the duration of whipping buttercream.
How to Tell When Your Buttercream is Perfectly Whipped
Visual Cues: Recognizing the Right Buttercream Appearance
One of the most reliable ways to determine if your buttercream is perfectly whipped is by its appearance. For most types, you're looking for a significant increase in volume compared to when you started. The color should also lighten noticeably, often transforming from a deep yellow or off-white to a much paler shade. This color change is a direct result of air incorporation.
The texture should appear smooth and homogenous, with no visible separation or graininess. If you're using a stand mixer, the buttercream might start to pull away slightly from the sides of the bowl. When you stop the mixer and lift the paddle or whisk, the buttercream should hold soft or medium peaks, depending on the type and intended use. It shouldn't look greasy or liquidy, nor should it be so stiff that it looks dry or crumbly. Observing these visual changes is a primary indicator of how long to whip buttercream.
Texture Test: Assessing Buttercream Consistency by Touch
Feeling the buttercream is another excellent way to gauge its readiness. A perfectly whipped buttercream should feel incredibly light and airy, not dense or heavy. When you rub a small amount between your fingers, it should feel smooth and creamy, without any grittiness from undissolved sugar (though American buttercream made with powdered sugar will always have a slight powdery feel, it shouldn't be overtly gritty).
It should also feel stable and cohesive. If it feels greasy or separates easily, it needs more whipping to emulsify properly. If it feels very stiff or breaks apart easily, it might be slightly over-whipped or too cold. The tactile test provides valuable feedback on the internal structure and smoothness, complementing the visual cues to confirm how long buttercream takes to whip for your desired result.
The "Ribbon Stage": What it Means for Buttercream Success
While more commonly associated with whipping egg yolks and sugar for certain cake batters or sauces, a similar concept applies loosely to some buttercreams, particularly meringue-based ones. The "ribbon stage" refers to the point where the mixture, when lifted with a whisk, falls back into the bowl in a thick ribbon-like stream that sits on the surface for a few seconds before slowly sinking back in.
For Swiss or Italian meringue buttercreams, the meringue itself must reach stiff peaks before the butter is added. After adding the butter and whipping, the point where it transforms from a curdled mess to a smooth, light, and voluminous frosting is akin to reaching a ribbon stage in its flow and consistency. It means the fat and liquid are perfectly emulsified, and sufficient air has been incorporated to give it body and structure. Recognizing this stage is a key indicator of successful whipping in these types of buttercreams.
Step-by-Step Guide: Whipping Buttercream for Optimal Results
Preparing Your Ingredients: Butter, Sugar, and Flavorings
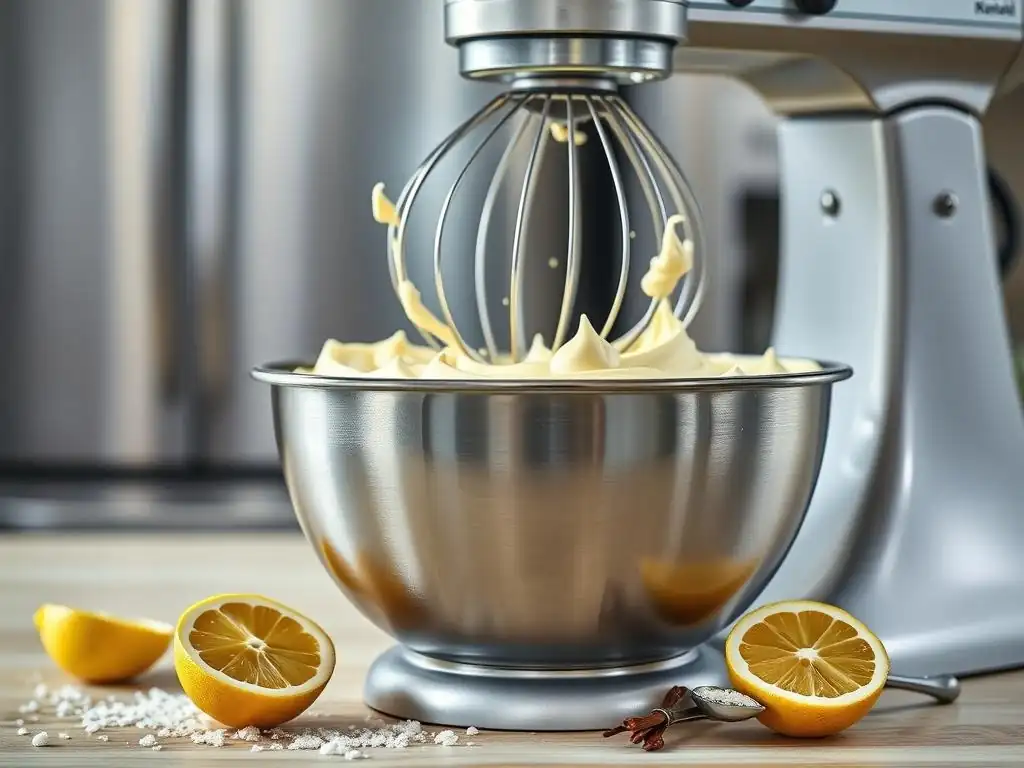
Before you even turn on your mixer, proper ingredient preparation is crucial. Ensure your butter is at the correct temperature, typically cool room temperature (around 65-70°F or 18-21°C) for American buttercream. If it's too cold, cut it into smaller pieces to help it warm up faster, or if it's too warm, pop it in the fridge for a few minutes. Sift your powdered sugar for American buttercream to remove lumps, which helps ensure a smooth texture and reduces how long buttercream takes to whip to incorporate everything.
Have any liquid ingredients (milk, cream, vanilla extract) measured out and ready. For meringue-based buttercreams, ensure your egg whites are free of any yolk and your sugar syrup is at the correct temperature (for Italian) or dissolved properly over a double boiler (for Swiss). Having everything prepped allows for a smooth, uninterrupted process once you start mixing.
The Initial Mixing Stage: Combining Butter and Sugar
The first step for most buttercreams involves creaming the butter and sugar together. In a stand mixer fitted with the paddle attachment (recommended for this stage), beat the softened butter on medium speed for 1-2 minutes until it is smooth and creamy. Gradually add the powdered sugar (for American buttercream) or granulated sugar (if creaming with butter first, less common) on low speed to avoid a cloud of sugar dust.
Once most of the sugar is incorporated, increase the speed to medium and beat for another 2-3 minutes, scraping down the sides and bottom of the bowl occasionally. This initial creaming incorporates some air and begins to lighten the butter. For meringue-based buttercreams, this stage involves whipping the meringue first (egg whites and sugar) until stiff peaks form, which is a critical step before adding the butter.
The Whipping Process: Gradually Increasing Speed for Air Incorporation
After the initial creaming or meringue preparation, the main whipping stage begins. For American buttercream, switch to the whisk attachment (optional but recommended for maximum fluffiness) or continue with the paddle. Gradually increase the mixer speed to medium-high or high. Whip the mixture continuously.
This is where the magic happens – air is incorporated, and the mixture becomes lighter, paler, and increases in volume. For meringue buttercreams, you'll add the softened butter piece by piece to the stable meringue while whipping. The mixture might look curdled or separated at first, but keep whipping! It will come together. This stage is the longest part of the process and directly determines how long buttercream takes to whip to achieve the desired lightness and stability.
Monitoring the Buttercream's Progress: Adjusting as Needed
During the whipping process, constantly monitor the buttercream's progress. Scrape down the sides and bottom of the bowl frequently (every few minutes) to ensure all ingredients are evenly mixed and whipped. Observe the visual cues: is it getting lighter in color? Is the volume increasing? Is the texture becoming smooth and homogenous?
Test the consistency occasionally by stopping the mixer and checking if it holds soft or medium peaks. If it looks too dense or greasy, it likely needs more whipping time to incorporate more air and emulsify fully. If it seems too soft or slack after significant whipping, check your butter temperature or consider chilling it briefly. Being attentive and making adjustments ensures you don't over- or under-whip, guiding you to the perfect consistency.
Troubleshooting Common Buttercream Whipping Issues
Buttercream Looks Curdled: Causes and Solutions
A curdled appearance is a common issue, especially with meringue-based buttercreams like Swiss or Italian. This often happens when the butter added to the meringue is too cold, or sometimes if the meringue isn't quite stable enough. It looks like a broken emulsion – greasy butter pieces suspended in a liquidy or grainy base.
Solution: Don't panic! Keep whipping the mixture on medium-high speed. The friction from the mixer will gradually warm the butter and help it emulsify with the meringue. This process can take several minutes, sometimes 5-10 minutes or even longer. If after extended whipping it still looks curdled, you can try warming the bowl gently with a kitchen torch or by holding a warm, damp towel against the outside while mixing on low, then increasing speed again. For American buttercream, curdling can happen if butter is too cold; continue whipping, or gently warm the bowl as described.
Buttercream is Too Soft: How to Thicken It Up
If your buttercream is too soft or slack, it might be because the butter was too warm initially, or you didn't whip it long enough to incorporate sufficient air and develop structure. It won't hold its shape for piping or filling.
Solution: The easiest fix is often to chill the buttercream slightly. Place the bowl in the refrigerator for 10-20 minutes, stirring every 5-10 minutes to ensure even cooling. Once it has firmed up slightly, return it to the mixer and whip again on medium-high speed for a few minutes. The cooler temperature will help the butter fat solidify slightly, allowing it to hold air and structure better. For American buttercream, you can also try adding a tablespoon or two of additional sifted powdered sugar, but this will make it sweeter; chilling is often preferred.
Buttercream is Too Stiff: How to Loosen It
Buttercream that is too stiff can be difficult to spread smoothly and challenging to pipe. This can happen if the butter is too cold, or if it has been chilled after whipping. American buttercream can also become stiff if too much powdered sugar is added relative to liquid.
Solution: If the buttercream is just cold, let it sit at room temperature for a while until it softens slightly, then re-whip it for a minute or two. The whipping action will also generate a little heat and help loosen it. If it's an American buttercream that seems to have too much sugar, you can add a tablespoon or two of liquid (milk, cream, or even water) while whipping on low speed until the desired consistency is reached. Add liquid sparingly to avoid making it too soft.
Over-Whipped Buttercream: Rescue Techniques
While less common than under-whipping, it is possible to over-whip certain buttercreams, particularly delicate meringue-based ones or if using a very high speed for too long with American buttercream. Over-whipping can cause the emulsion to break, resulting in a greasy, separated texture, or it can introduce too much air, making the texture strangely foamy or unstable.
Solution: If it's slightly over-whipped (looks a bit too airy or begins to separate), try lowering the mixer speed to low and letting it mix for a few minutes. Sometimes this low-speed mixing can help bring the emulsion back together. If it's significantly broken and greasy, gently warming a small portion and re-incorporating it while whipping the rest can sometimes help re-emulsify it. For American buttercream, if it looks foamy, try stirring it by hand with a spatula to knock out some of the excess air bubbles.
Different Types of Buttercream and Their Whipping Time Considerations
American Buttercream: Whipping Time and Characteristics
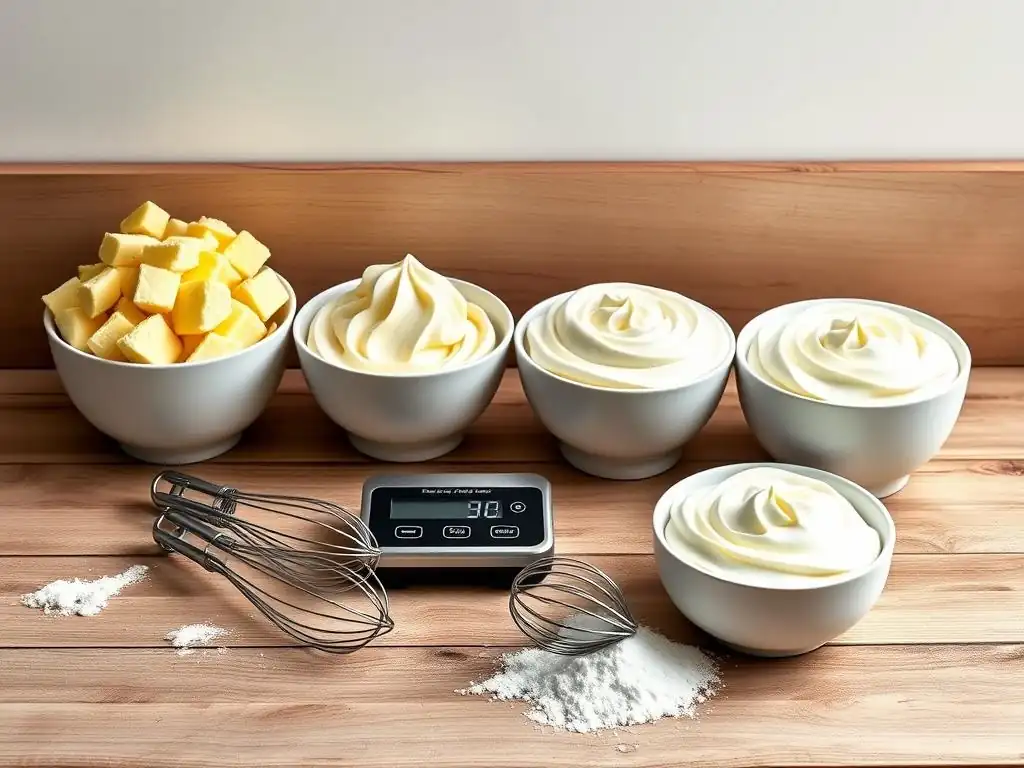
American buttercream is perhaps the simplest and most common type, made from creaming butter with powdered sugar and a liquid like milk or cream, plus flavorings. It's known for being very sweet and relatively quick to make. The whipping time for American buttercream is primarily focused on creaming the butter until light and fluffy and then incorporating the powdered sugar and liquid until smooth and aerated.
Typically, after creaming the butter (2-3 minutes), adding sugar gradually (2-3 minutes on low), and then whipping on medium-high speed, American buttercream takes about 5-10 minutes in a stand mixer to reach a light, spreadable consistency. You're looking for it to be pale, significantly increased in volume, and smooth. Over-whipping isn't as common as with meringue types, but whipping too long after it's ready can sometimes make it too airy or slightly unstable if the butter is too warm.
Swiss Meringue Buttercream: Achieving a Silky Smooth Texture
Swiss meringue buttercream (SMBC) is made by heating egg whites and sugar over a double boiler until the sugar dissolves, then whipping this mixture into a stable, glossy meringue before adding softened butter. It's less sweet than American buttercream and has a luxurious, silky texture. The whipping process for SMBC is in two main stages: whipping the meringue (about 10-15 minutes to cool and reach stiff peaks) and then whipping in the butter.
After adding the butter piece by piece (which can take 5-10 minutes), the mixture will likely look curdled. This is normal! The crucial whipping stage comes next. You must continue whipping on medium-high speed, often for another 5-15 minutes, until the mixture transforms from curdled to smooth, light, and fluffy. The total time for how long buttercream takes to whip for SMBC, including meringue preparation and butter incorporation, can easily be 20-30 minutes or more in a stand mixer. Patience is key here; it will come together.
Italian Meringue Buttercream: Whipping for Stability
Italian meringue buttercream (IMBC) is similar to Swiss but uses a hot sugar syrup poured into whipping egg whites to create the meringue. This process results in a very stable meringue foundation. Like SMBC, the process involves whipping the meringue first (whipping egg whites while pouring hot syrup, then whipping until cool and stiff peaks form – about 10-15 minutes) and then adding softened butter.
The butter incorporation stage is similar to SMBC; add softened butter gradually while whipping. The mixture will likely curdle before it emulsifies. Continue whipping on medium-high speed for 5-15 minutes until the buttercream is smooth, light, and voluminous. IMBC is known for being very stable, making it excellent for decorating in warmer conditions. The total duration of whipping buttercream for IMBC is comparable to SMBC, requiring significant time for both meringue cooling and butter emulsification.
French Buttercream: Richness and Whipping Technique
French buttercream is made by whipping hot sugar syrup into egg yolks (or sometimes whole eggs), then whipping until cool and thick, and finally whisking in softened butter. It's the richest of the buttercreams due to the egg yolks and has a beautiful pale yellow hue. The initial stage involves whipping the yolks while adding hot syrup and continuing to whip until the mixture is thick, pale, and cool (about 10-15 minutes).
Once the yolk mixture is cool, softened butter is gradually added while whipping. This process also requires continuous whipping, often for another 5-10 minutes, until the butter is fully incorporated and the buttercream is light, smooth, and has increased in volume. French buttercream is generally less stable than meringue-based types due to the higher fat content from the yolks, but its rich flavor is unmatched. Understanding how long to whip buttercream for each type ensures you achieve its characteristic texture and stability.
Tips & Tricks for Perfect Buttercream Every Time
Using a Paddle Attachment vs. a Whisk Attachment
The choice between a paddle and whisk attachment can subtly affect how long buttercream takes to whip and its final texture. For American buttercream, starting with the paddle to cream the butter and sugar is excellent for ensuring everything is well combined and smooth. Switching to the whisk attachment for the final whipping stage can incorporate more air, resulting in a lighter, fluffier texture. Some bakers prefer the paddle for the entire process for a slightly denser, but very smooth, American buttercream.
For meringue-based buttercreams (Swiss, Italian, French), the whisk attachment is essential for creating the initial meringue and for incorporating the butter while achieving maximum volume and smoothness. The whisk is far more effective at trapping air and creating a stable emulsion in these types. Experimenting with attachments can help you fine-tune the duration of whipping buttercream to your personal preference.
Adding Liquid Ingredients: Timing is Key
For American buttercream, liquid ingredients like milk, cream, or vanilla extract are typically added after the butter and powdered sugar have been initially creamed together. Adding them too early can interfere with the creaming process. Add them gradually while mixing on low speed until just combined, then increase the speed for the main whipping stage.
For meringue-based buttercreams, flavor extracts or liqueurs are usually added towards the end of the whipping process, after the butter has been fully incorporated and the buttercream is smooth. Adding them too early can sometimes affect the stability of the meringue or the emulsion. Adding liquids at the right time ensures they are evenly distributed without negatively impacting the buttercream's structure or how long buttercream takes to whip properly.
Flavoring Buttercream: When and How to Incorporate Flavors
Most flavorings, such as vanilla extract, almond extract, or other liquid flavorings, should be added towards the end of the whipping process for all types of buttercream. Once the buttercream has achieved its desired smooth and light consistency, add the extract(s) and whip for just another 30-60 seconds on low to medium speed until fully incorporated. Over-mixing after adding extracts isn't necessary.
For incorporating solid or thicker flavorings like melted and cooled chocolate, fruit purees, or citrus zest, add them after the main whipping is complete. Gently fold them in by hand with a spatula or mix on the lowest speed of your mixer until just combined. This prevents over-mixing and helps maintain the texture you worked hard to achieve. Knowing when to add flavors ensures they are integrated smoothly without affecting how long buttercream takes to whip or its final perfect texture.
Conclusion: Achieving Buttercream Bliss with the Right Whipping Time
Recap: Key Takeaways for Perfect Buttercream Texture
Mastering buttercream texture hinges significantly on understanding and controlling the whipping process. We've learned that proper whipping isn't just mixing; it's about achieving perfect emulsification and incorporating just the right amount of air. Key factors influencing how long buttercream takes to whip include the temperature and type of butter used, the power and action of your mixer, and the specifics of your recipe's ingredients.
Recognizing visual cues like increased volume and lightness, feeling the smooth texture, and understanding concepts like the ribbon stage are vital skills for knowing when your buttercream is perfectly whipped. Troubleshooting common issues like curdling or stiffness requires patience and knowing simple techniques to correct the consistency. Different buttercream types, from quick American to complex meringue-based ones, each have unique whipping requirements and durations, demanding slightly different approaches to achieve their characteristic textures.
BakeWithEase's Final Thoughts on Buttercream Mastery
At BakeWithEase, we believe that great baking is about understanding the 'why' behind the steps, not just following instructions blindly. When it comes to buttercream, paying attention to how long to whip buttercream and learning to read the signs of readiness will transform your frosting from merely good to truly exceptional. It takes a little practice, but by focusing on ingredient temperature, using the right tools, and being patient during the whipping phase, you'll consistently achieve that smooth, fluffy, and stable texture that makes your cakes and cupcakes shine.
Don't be discouraged by initial challenges; even experienced bakers encounter issues sometimes. Use this guide as your reference, pay close attention to the process, and trust your senses – your eyes and hands are your best tools for assessing texture. With a little practice, understanding how long buttercream takes to whip for your specific needs will become intuitive, leading you to buttercream bliss every time you bake. Happy whipping!
Frequently Asked Questions
How long does it typically take to whip buttercream to the right consistency?
Generally, whipping buttercream takes between 5 to 10 minutes on medium-high speed. The exact time depends on your mixer and the desired texture.
What are the key signs that buttercream is properly whipped?
Look for a light and fluffy texture, a noticeable increase in volume, and a pale color. Also, the buttercream should be smooth and easily spreadable.
Can I overwhip buttercream, and what happens if I do?
Yes, you can overwhip buttercream! This can cause it to curdle or become grainy. If this happens, try adding a tablespoon of milk or cream and mixing on low speed.
What type of mixer works best for whipping buttercream?
A stand mixer is generally preferred because it allows for hands-free mixing. However, a hand mixer can also be used, though it may require more effort.
Does the temperature of the butter affect how long buttercream takes to whip?
Yes, the butter should be softened but still cool to the touch. Butter that is too warm will result in a greasy buttercream, while butter that is too cold will be difficult to whip.
Final Reflection: The Sweet Science of Whipped Buttercream
The perfect buttercream is more than just a delicious topping; it's a testament to patience and precision. Understanding the nuances of whipping time, as explored in this article, isn't just about achieving the ideal texture—it's about mastering a fundamental skill in baking, one that elevates the entire culinary experience. The seemingly simple act of whipping butter and sugar holds a surprising depth, impacting both the final product's taste and aesthetic appeal.
The journey of perfecting buttercream has been a personal one, filled with both triumphs and the occasional (deliciously disastrous) failures. The process itself mirrors life's challenges: requiring dedication, attention to detail, and the understanding that sometimes, a little more time is exactly what's needed. The best things in life are worth waiting for,
a sentiment that rings particularly true when considering the airy lightness of perfectly whipped buttercream. This seemingly simple dessert speaks volumes about the importance of process and the rewards of perseverance.
Now, consider your own baking journey. What other seemingly simple tasks require a similar level of patience and attention? Take a moment to reflect on the processes in your life that demand careful timing and precision. Perhaps it's a project at work, a personal goal, or even a relationship. Just as the perfect buttercream requires the right amount of whipping, these areas of your life may also benefit from a mindful approach, allowing for the necessary time and effort to achieve the desired outcome. Embrace the process, and savor the sweet rewards.
Unlock Your Perfect Buttercream: It's Time to Whip!
Thanks for taking the time to learn about achieving that perfect buttercream texture! We hope you now feel confident in your whipping skills. Ready to put your new knowledge into practice?
- Whip up a batch today! Use your newfound expertise to create a truly decadent frosting for your next baking masterpiece. Experiment with different flavors and techniques.
- Share your buttercream creations! Post a picture on social media and tag us—we’d love to see your results!
- Challenge yourself: Try a new buttercream recipe that pushes your skills. What flavour will you conquer next?
What's your favorite buttercream flavor to whip up? Let's chat in the comments!