
Using a Turntable for Effortless Buttercream Application

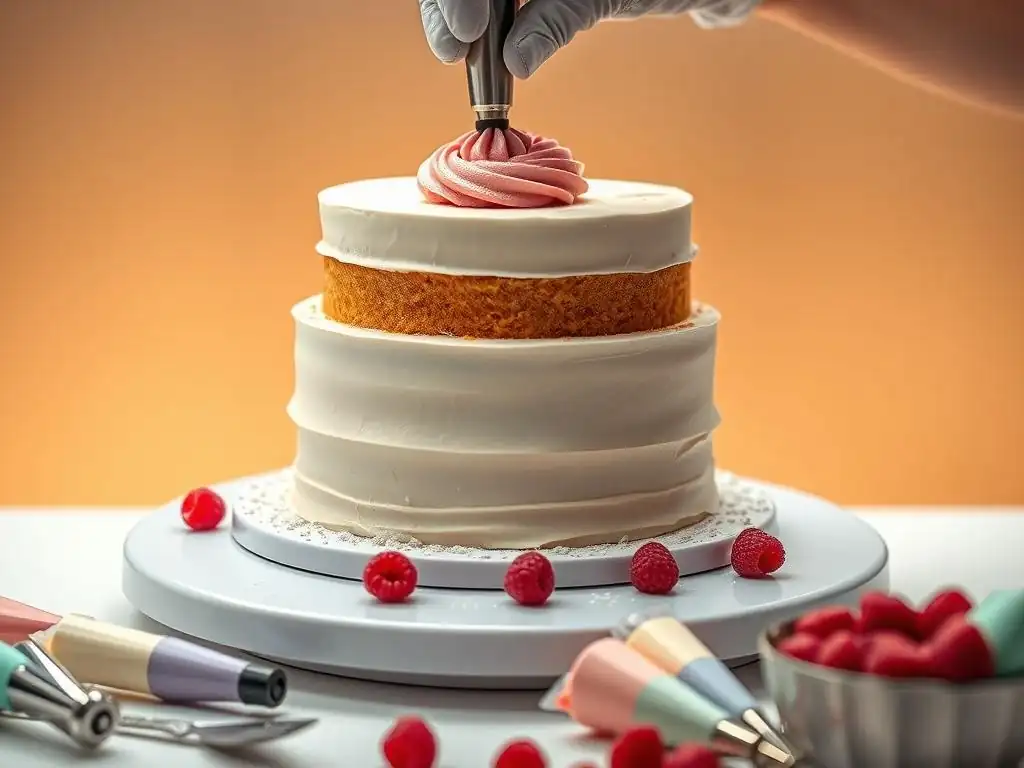
Welcome to BakeWithEase, your trusted guide to baking brilliance! Ever wondered how professional bakers achieve that flawlessly smooth buttercream finish? Unlocking the secrets is easier than you think. This article dives into an easy buttercream frosting turntable technique, transforming your cake decorating game. Get ready to discover how this simple tool can elevate your creations from homemade to show-stopping, leaving everyone wondering about your secret ingredient. Let's get started and create buttercream magic!
- Using a Turntable for Effortless Buttercream Application: A BakeWithEase Guide
- Mastering Buttercream Frosting: The Easy Turntable Technique
- Why Use a Turntable for Buttercream Frosting?
- Essential Tools for the Easy Buttercream Frosting Turntable Technique
- Step-by-Step Guide: Applying Buttercream with a Turntable
- Troubleshooting Common Buttercream Frosting Turntable Issues
- Buttercream Frosting Turntable Technique: Advanced Tips and Tricks
- Maintaining Your Cake Decorating Turntable
- Conclusion: Elevate Your Baking with the Buttercream Turntable Technique
-
Frequently Asked Questions
- What is the main benefit of using a turntable for applying buttercream?
- Can I use any turntable for buttercream application, or are there specific types?
- What are the basic steps for applying buttercream using a turntable?
- What are some common mistakes to avoid when using a turntable?
- How does using a turntable help with more advanced buttercream techniques?
- Final Reflection: The Sweet Simplicity of Effortless Frosting
- Unlock Your Inner Cake Artist: Mastering Buttercream with Ease!
Using a Turntable for Effortless Buttercream Application: A BakeWithEase Guide
Mastering Buttercream Frosting: The Easy Turntable Technique
Achieving smooth, beautiful buttercream frosting on your cakes can feel daunting, but with the right tools and techniques, it becomes significantly easier and more enjoyable. One of the most impactful tools you can add to your baking arsenal for this purpose is a cake decorating turntable. This simple device revolutionizes the process of applying buttercream, allowing you to spin the cake smoothly while you work, ensuring even coverage and sharp edges with minimal effort.
This guide will walk you through the easy buttercream frosting turntable technique, breaking down why it's so effective, the essential tools you'll need, and a step-by-step process to achieve bakery-quality results at home. Whether you're frosting a simple birthday cake or a multi-layered masterpiece, mastering the use of a turntable will elevate your cake decorating skills and make the process much more efficient and less frustrating.
Why Use a Turntable for Buttercream Frosting?
Achieve Professional-Looking Results with Ease
Using a cake decorating turntable is perhaps the single most significant step you can take towards achieving that polished, professional look on your frosted cakes. Manually rotating a cake while trying to apply and smooth buttercream evenly is incredibly challenging, often resulting in uneven layers, visible spatula marks, and wobbly sides. The turntable allows for continuous, smooth rotation, enabling you to keep your smoothing tool (like an offset spatula or bench scraper) steady against the cake surface as it turns.
This steady motion is key to creating sharp, clean edges and a perfectly smooth finish, mimicking the precision often seen in cakes from professional bakeries. It minimizes the need for repeated passes with your spatula, which can introduce air bubbles or tear the cake surface. By incorporating the easy buttercream frosting turntable technique into your routine, you'll spend less time struggling and more time admiring your beautifully finished creation.
The Benefits of a Cake Decorating Turntable for Buttercream
Beyond just achieving a professional look, a cake decorating turntable offers numerous practical benefits when working with buttercream. Firstly, it significantly speeds up the frosting process. Instead of awkwardly moving around the cake or constantly lifting and turning it, you can simply spin the turntable with one hand while applying or smoothing with the other, creating a streamlined workflow.
Secondly, it reduces physical strain. Holding or maneuvering a heavy cake repeatedly can be tiring and lead to shaky hands, which is detrimental to smooth frosting. A sturdy turntable supports the cake securely at a comfortable working height, allowing you to maintain steady hands and focus purely on the application and smoothing technique. This makes the easy buttercream frosting turntable technique not just effective, but also more comfortable, especially when decorating larger or multi-tiered cakes.
Smooth and Even Buttercream Application: The Turntable Advantage
The core advantage of using a turntable for buttercream lies in its ability to facilitate incredibly smooth and even application. As you spin the cake, you can hold your offset spatula or bench scraper at a consistent angle against the rotating surface. This continuous contact, combined with the steady rotation, ensures that buttercream is spread uniformly across the cake's sides and top.
This method helps prevent common issues like thick spots, thin patches, or visible ridges left by the spatula. By consistently smoothing as the cake turns, you create a seamless, flawless canvas. The easy buttercream frosting turntable technique essentially allows you to "shave" off excess buttercream or fill in dips smoothly, resulting in a perfectly level and evenly coated cake ready for further decoration or simple presentation.
Essential Tools for the Easy Buttercream Frosting Turntable Technique
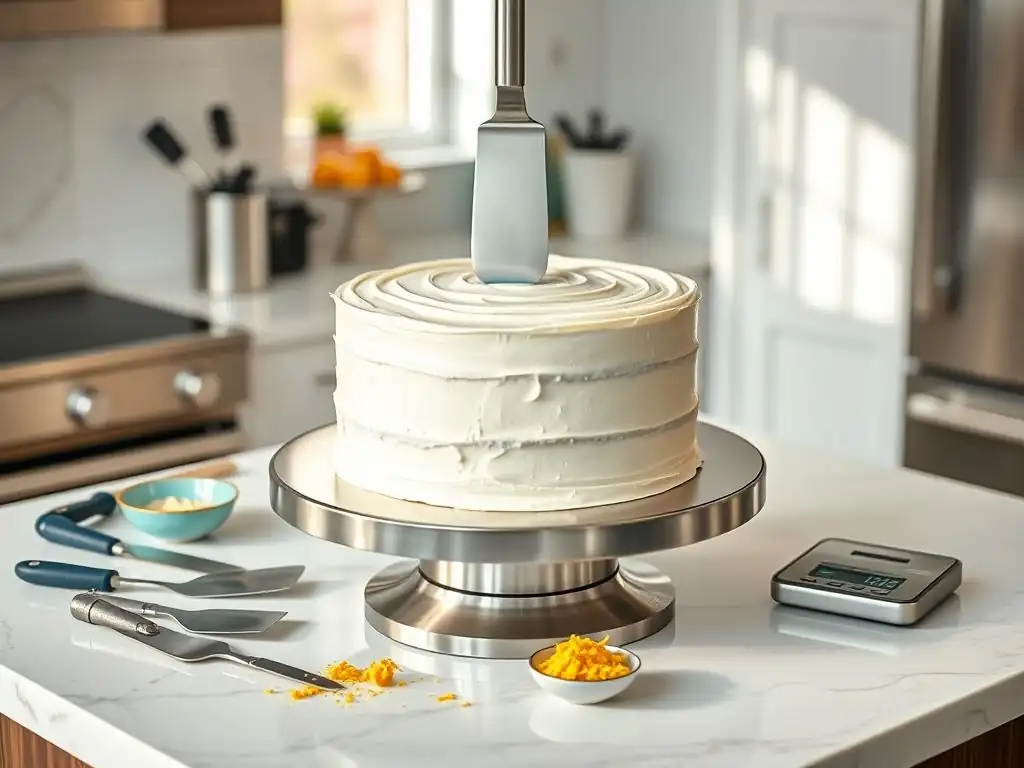
Cake Decorating Turntable: Selecting the Right One
The foundation of this technique is, naturally, the cake decorating turntable itself. Turntables come in various materials, primarily plastic, metal, or glass. Plastic turntables are often the most budget-friendly and lightweight, suitable for occasional use. Metal turntables, typically made of aluminum or stainless steel, are heavier, more stable, and offer a smoother spin, making them ideal for frequent decorators or larger cakes. Some high-end models feature ball bearings for an exceptionally fluid rotation.
When selecting a turntable, consider its height – a slightly elevated turntable (around 4-6 inches high) can be more ergonomic. Look for a non-slip base to prevent it from shifting on your counter and a non-slip surface or markings on top to help keep the cake board centered. While a simple plastic model is sufficient to start practicing the easy buttercream frosting turntable technique, investing in a sturdier metal one can significantly improve your experience and results over time.
Offset Spatula: Your Key to Smooth Buttercream
An offset spatula is indispensable when applying buttercream, especially when using a turntable. Its angled blade keeps your hand elevated above the cake surface, preventing you from accidentally dragging your fingers through the frosting. Offset spatulas come in various sizes, with 6-inch to 8-inch blades being common for frosting standard layer cakes. A smaller one (around 4 inches) is useful for smaller cakes or detailed work, while a larger one (10-12 inches) can cover more surface area quickly on large cakes.
You'll use the offset spatula to dollop generous amounts of buttercream onto the cake and spread it roughly before smoothing. The flat, smooth surface of the blade is perfect for gently pressing and dragging the buttercream as the turntable spins. Keeping the spatula clean between passes is crucial for achieving a truly smooth finish; a quick wipe on the side of your buttercream bowl or a damp cloth works well.
Bench Scraper: Achieving Perfectly Straight Sides
While an offset spatula is great for applying and initial smoothing, a bench scraper is the secret weapon for getting perfectly straight, smooth sides on your cake. A bench scraper is a flat, rigid tool, usually made of metal or plastic, with a straight edge. For smoothing cake sides, you'll want one that is at least as tall as your frosted cake layer.
To use it with the turntable, you hold the bench scraper steady and perpendicular to the turntable surface, pressing its edge gently against the side of the buttercream-covered cake. As you spin the turntable, the bench scraper will scrape away excess buttercream and smooth the surface, correcting any unevenness and creating sharp, clean edges at the top and bottom. This step is where the easy buttercream frosting turntable technique truly shines, transforming uneven sides into flawless pillars with remarkable ease.
Piping Bags and Tips: Adding Decorative Touches
While not strictly required for the application of smooth buttercream using a turntable, piping bags and tips are essential for adding decorative elements after smoothing. You can use a large round tip (like an Ateco 809 or Wilton 1A) to pipe thick dots or dollops of buttercream onto the cake before smoothing, which can help ensure even coverage and minimize air bubbles.
Beyond application, piping bags are used for borders, rosettes, writing, and other decorative details that turn a smoothly frosted cake into a showstopper. Having a few basic piping tips (like a star tip, round tip, and perhaps a petal tip) and disposable or reusable piping bags on hand allows you to add those finishing touches that elevate your cake's appearance.
Cake Boards or Plates: For Easy Transfer and Presentation
Working directly on a cake board or a sturdy plate is crucial when using a turntable. The cake board provides a stable base for the cake layers and allows you to easily lift and transfer the finished cake from the turntable to your display stand or serving plate without touching the cake itself. Cake boards come in various sizes and materials, from simple cardboard rounds to more decorative laminated boards.
Ensure the cake board is slightly smaller than the finished diameter of your frosted cake so it is hidden by the buttercream edge. Placing the cake on this board before putting it on the turntable ensures stability during the entire frosting process. This simple step prevents the cake from sliding directly on the turntable surface and makes handling the cake much easier once the frosting is complete.
Step-by-Step Guide: Applying Buttercream with a Turntable
Step 1: Preparing Your Cake and Buttercream
Leveling Your Cake Layers for a Stable Base
Before you even think about applying buttercream, your cake layers need to be properly prepared. This means ensuring they are completely cooled and level. If your cake layers have domes, use a serrated knife or a cake leveler to slice off the top, creating a flat surface. Uneven layers will make it incredibly difficult to stack the cake straight and achieve smooth, perpendicular sides when frosting. A level base is fundamental for a stable cake structure, especially important when using the easy buttercream frosting turntable technique, as any tilt will become exaggerated as you spin.
Once leveled, brush away any loose crumbs from the cake surface. Some bakers like to chill their cake layers for 15-30 minutes in the refrigerator or freezer before frosting. This firms up the cake, making it less likely to tear or crumble as you apply the buttercream. Ensure your cake is centered on your cake board before placing it on the turntable.
Achieving the Perfect Buttercream Consistency
The consistency of your buttercream is paramount to successful frosting with a turntable. It should be smooth, spreadable, and hold its shape, but not be too stiff or too soft. Buttercream that is too stiff will be difficult to spread evenly and can tear the cake; buttercream that is too soft will slide off the cake and won't hold sharp edges. Ideally, it should be similar in consistency to smooth peanut butter or firm pudding.
If your buttercream is too stiff, add a teaspoon of milk, cream, or water at a time and mix thoroughly until the desired consistency is reached. If it's too soft, you can try chilling it for a few minutes or mixing in a tablespoon of powdered sugar (being careful not to make it too sweet or grainy). Mixing the buttercream for a few minutes with a paddle attachment on a stand mixer (or vigorously by hand) before use helps to smooth it out and remove small air bubbles, contributing to an easier application and a smoother finish.
Step 2: Crumb Coating Your Cake
Applying a Thin Layer of Buttercream
The first layer of buttercream applied to your cake is called the crumb coat. Its primary purpose is to trap any loose crumbs from the cake layers, preventing them from showing up in your final, smooth layer of frosting. To apply the crumb coat, use your offset spatula to spread a very thin, almost translucent layer of buttercream all over the cake – the top and the sides. Don't worry about making this layer perfectly smooth; the goal is just to cover the cake surface and gather all those pesky crumbs.
Use the turntable to slowly spin the cake as you work, applying the buttercream with your offset spatula. Aim for just enough frosting to coat the surface. If you see crumbs mixing into the buttercream, simply scrape that section off, add a little fresh buttercream, and apply it thinly again.
The Importance of the Crumb Coat
The crumb coat is a non-negotiable step for achieving a clean, professional finish, especially when using the easy buttercream frosting turntable technique. Without it, crumbs from the cake would inevitably mix into your final layer of frosting as you smooth it, resulting in an unappealing, speckled appearance. The crumb coat acts as a primer, sealing the cake surface and creating a stable base for the final layer.
Think of it like painting a wall – you apply a primer first to seal the surface and ensure the final paint goes on smoothly and evenly. The crumb coat does the same for your buttercream. It also slightly firms up the cake structure once chilled, making the application of the final, thicker layer much easier.
Chilling the Crumb-Coated Cake
Once the crumb coat is applied, it's crucial to chill the cake. Place the crumb-coated cake (still on its board) in the refrigerator for at least 15-30 minutes, or until the buttercream is firm to the touch. You can also place it in the freezer for about 10-15 minutes for a quicker set.
This chilling step hardens the crumb coat, locking in all the crumbs and creating a solid, smooth surface for the final layer of buttercream. A properly chilled crumb coat prevents the final layer from pulling up bits of cake or disrupting the base layer as you apply and smooth it. This firm foundation is essential for successfully executing the smoothing steps with the bench scraper and offset spatula using the turntable technique.
Step 3: Applying the Final Layer of Buttercream
Generously Frosting the Cake with Buttercream
With your crumb-coated cake chilled and firm, it's time to apply the final, generous layer of buttercream. Don't be shy with the frosting here; applying enough buttercream is key to achieving a smooth finish without gaps or thin spots. Using your offset spatula or a piping bag with a large round tip, apply a thick, even layer of buttercream all around the sides and generously on top of the cake. If using a spatula, dollop large amounts and spread them roughly. If piping, pipe thick lines or swirls around the sides and fill in the top.
The goal is to have more buttercream on the cake than you ultimately need. Excess buttercream is much easier to smooth off than trying to add more to fill in gaps later, which can disrupt the already applied frosting. Ensure there are no bare spots on the cake surface before you start smoothing.
Using the Turntable to Smooth the Buttercream
Now, the easy buttercream frosting turntable technique comes into full effect for smoothing. Hold your offset spatula or bench scraper (many prefer starting with the spatula for sides and top, then moving to the bench scraper for sides) against the buttercream surface. For the sides, hold the tool perpendicular to the turntable. For the top, hold the offset spatula flat against the surface.
As you hold your tool steady, slowly and smoothly rotate the turntable with your other hand. The spinning action, combined with the steady tool, will work the buttercream into a smooth, even layer. Apply gentle, consistent pressure. As you spin, excess buttercream will be pushed off the cake. Scrape this excess off your tool onto the side of your buttercream bowl periodically to keep your tool clean and effective. Repeat this process, adjusting the angle or pressure slightly, until the buttercream is mostly smooth on the sides and top.
Step 4: Smoothing the Sides with a Bench Scraper
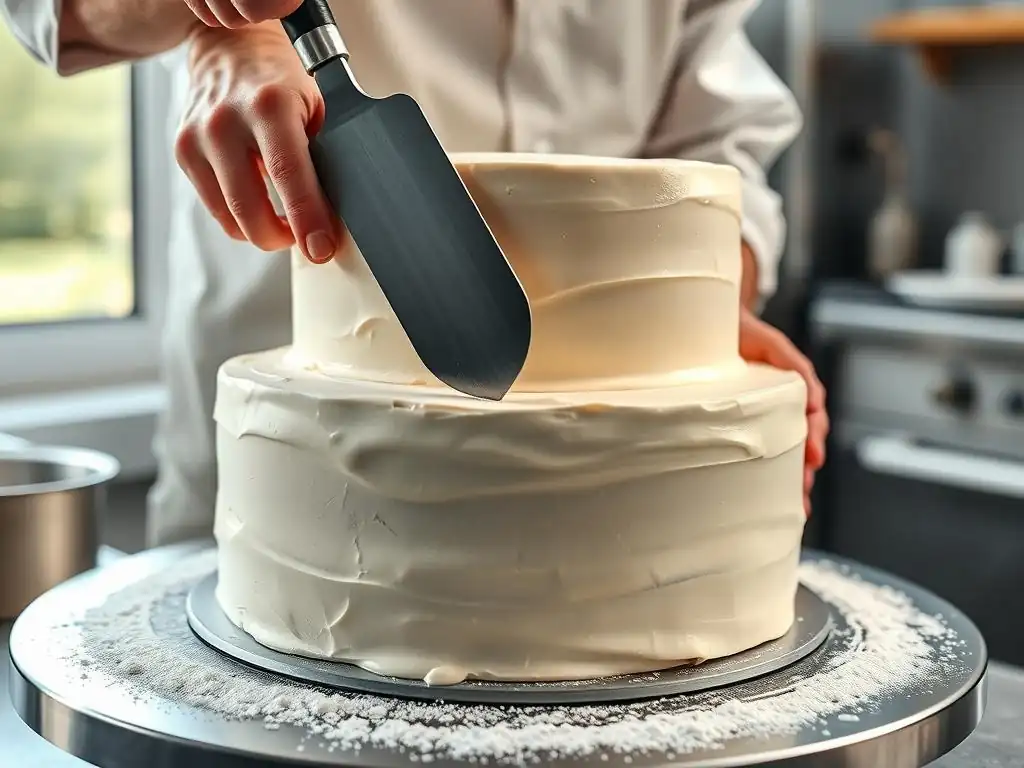
Achieving a Sharp Edge with the Bench Scraper
Once you've achieved a relatively smooth surface with the offset spatula, switch to your bench scraper for the sides to get those perfectly straight lines and a sharp edge. Hold the bench scraper firmly but gently against the side of the cake, ensuring it is perpendicular to the turntable. The bottom edge of the scraper should be flush with the cake board.
With steady pressure, slowly rotate the turntable. The bench scraper will shave away any high spots and fill in low spots, creating a perfectly flat and straight side. You will likely need to do several passes, scraping the accumulated excess buttercream off the scraper after each rotation onto the side of your bowl. Focus on keeping your hand and the scraper steady and straight as the cake spins. This is where the stability of your turntable makes a huge difference in achieving a flawless finish using the easy buttercream frosting turntable technique.
Removing Excess Buttercream
As you smooth the sides with the bench scraper, a significant amount of excess buttercream will accumulate on the scraper's edge and potentially around the base of the cake board. It's important to scrape this excess off frequently. Have a bowl or container nearby specifically for scraped-off buttercream.
After each full or partial rotation where you've smoothed a section, lift the bench scraper away from the cake and wipe both sides clean with your offset spatula or directly onto the side of your buttercream bowl. This prevents the excess frosting from interfering with your smoothing process or being redeposited onto the cake unevenly. A clean bench scraper is essential for achieving that crisp, smooth finish on the cake's sides.
Step 5: Smoothing the Top of the Cake with an Offset Spatula
Creating a Perfectly Flat Surface
With the sides beautifully smooth thanks to the bench scraper and the easy buttercream frosting turntable technique, turn your attention to the top surface of the cake. You'll typically use a larger offset spatula for this step. Start by holding the spatula flat against the top surface, near the edge, with the handle extending towards the center.
Using the turntable, slowly spin the cake while keeping the spatula stationary and flat against the top. This action will smooth the buttercream on top and simultaneously pull the excess buttercream from the top edge inwards, creating a slight lip around the perimeter. You can then use the spatula to gently pull this lip of buttercream from the edge towards the center of the cake.
Cleaning the Spatula for a Smooth Finish
Just as with the bench scraper, keeping your offset spatula clean is crucial for a perfectly smooth top. After pulling the excess buttercream from the edge towards the center, lift the spatula, wipe off the accumulated frosting, and repeat the process. Work your way around the cake's edge, pulling the excess inwards, until the top surface is flat and smooth.
For a final, ultra-smooth finish on top, you can slightly warm your offset spatula by dipping it in hot water and drying it thoroughly. The slight warmth helps the buttercream surface become extra glossy and smooth as you make your final pass. Use light, even pressure and a steady hand as the turntable spins for the ultimate smooth top surface.
Step 6: Decorating Your Buttercream Cake (Optional)
Piping Techniques for Buttercream Decoration
Once your cake is flawlessly smooth using the easy buttercream frosting turntable technique, it's ready for decoration! This is where piping bags and tips come into play. You can use various tips to add decorative borders around the top and bottom edges of the cake, pipe rosettes or swirls on top, or create intricate patterns on the sides.
Popular border techniques include using star tips (like 1M or 2D) for shells or rosettes, or round tips (like 1A or 12) for simple dots or beads. The turntable can still be helpful here, especially for piping consistent borders around the base or top edge. Slowly spinning the cake while holding the piping bag steady allows you to create an even, continuous design. Practice makes perfect with piping, so don't be discouraged if your first attempts aren't flawless!
Adding Sprinkles, Candies, or Other Embellishments
Beyond piping, the smooth buttercream surface created by the turntable technique is the perfect canvas for other decorations. You can press sprinkles, nonpareils, or sparkling sugar into the sides or top of the cake for a festive look. Candies, chocolate shavings, fresh fruit, or edible flowers can also be arranged on top or around the base.
For applying sprinkles to the sides, you can hold the cake board slightly over a tray or piece of parchment paper to catch the excess. Using the turntable, slowly spin the cake while gently pressing handfuls of sprinkles against the sides. The smooth, slightly tacky surface of the buttercream will hold them in place. This step is much easier and results in more even coverage when the cake is rotating smoothly on a turntable.
Troubleshooting Common Buttercream Frosting Turntable Issues
Air Bubbles in Buttercream: How to Avoid and Remove Them
Air bubbles are a common frustration when frosting cakes, and they can pop up even with the easy buttercream frosting turntable technique. They often occur if the buttercream is overmixed or if air gets incorporated during the coloring or flavoring process. To minimize air bubbles, beat your buttercream on low speed for several minutes after it's fully mixed – this helps push air out. You can also vigorously stir the buttercream by hand with a spatula before using it.
If you spot air bubbles while frosting, you can often smooth over small ones with your spatula or bench scraper. For larger bubbles, gently prick them with the tip of a knife or a toothpick, then smooth the area again with your tool as you spin the turntable. Ensuring your buttercream consistency is correct (not too stiff) also helps prevent air bubbles.
Uneven Buttercream Application: Tips for a Smooth Finish
Uneven application can happen if you don't apply enough buttercream initially, or if your pressure isn't consistent while smoothing. To fix unevenness, identify the thin spots or dips. Add a little more buttercream to these areas using your offset spatula.
Then, go back to using your bench scraper on the sides or offset spatula on the top, holding the tool steady and spinning the turntable again. Focus on maintaining consistent, gentle pressure against the cake surface. It often takes several passes with the scraper or spatula, cleaning the tool each time, to achieve a perfectly smooth and even finish. Don't rush this step; patience and consistent pressure are key to the easy buttercream frosting turntable technique.
Cake Sliding on the Turntable: Preventing Accidents
A cake sliding on the turntable is frustrating and can ruin your hard work. This usually happens if the turntable surface isn't non-slip or if the cake board isn't secure. To prevent this, place a non-slip mat (like a piece of rubber shelf liner) between the turntable surface and the cake board.
Alternatively, you can secure the cake board to the turntable using a small dollop of buttercream in the center of the turntable before placing the board on top. This acts as an adhesive. Ensure the cake is centered on the board and the board is centered on the turntable. Using a sturdy, stable cake board (like a thick cake drum) also helps prevent flexing, which can lead to sliding.
Buttercream Too Soft or Too Stiff: Adjusting the Consistency
As mentioned earlier, buttercream consistency is vital. If your buttercream becomes too soft while you're working (perhaps due to a warm kitchen), it will be difficult to smooth and hold its shape. You can try chilling the buttercream itself for 5-10 minutes, giving it a quick stir, or chilling the entire frosted cake on the turntable for 10-15 minutes to firm it up before continuing to smooth.
If the buttercream is too stiff, making it hard to spread or causing it to tear the cake, add liquid (milk, cream, or water) a teaspoon at a time, mixing thoroughly until it reaches a spreadable yet stable consistency. It's better to add liquid gradually than to add too much at once. Adjusting consistency is part of mastering the easy buttercream frosting turntable technique.
Buttercream Frosting Turntable Technique: Advanced Tips and Tricks
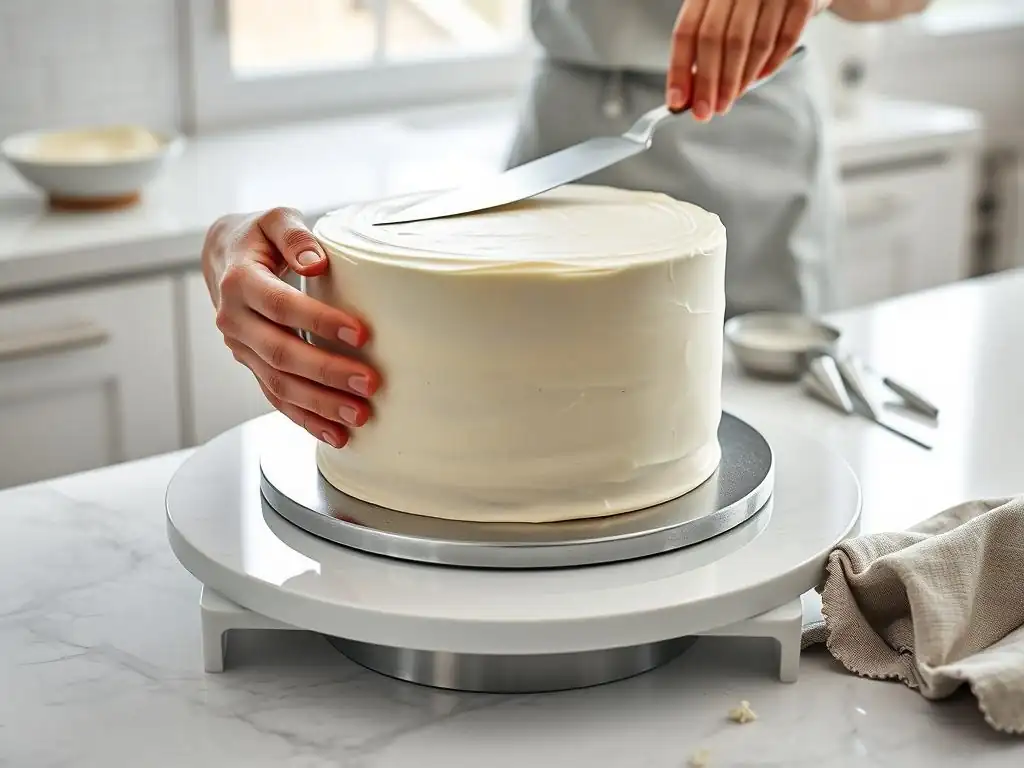
Achieving a Perfectly Smooth Buttercream Finish
To take your smooth finish to the next level, consider using the "hot spatula" method on your final pass. Dip your offset spatula (or bench scraper for the sides) in hot water, wipe it completely dry, and then lightly run it over the chilled buttercream surface as the turntable spins. The slight warmth melts the very surface of the buttercream just enough to create an incredibly smooth, almost glass-like finish.
Another tip is to chill the cake briefly (10-15 minutes) between smoothing passes if you're struggling. This firms up the buttercream, making it easier to shave off imperfections without creating new ones. Also, ensure you are applying consistent, light pressure with your smoothing tool – too much pressure can dig into the buttercream, while too little won't effectively smooth it.
Creating Textured Buttercream Designs
The easy buttercream frosting turntable technique isn't just for smooth finishes; it's also fantastic for creating textured designs. After applying your final layer of buttercream, instead of using a bench scraper, you can use textured combs or spatulas. Hold the textured tool against the side of the buttercream and spin the turntable.
This will create consistent patterns like stripes, waves, or grooves all around the cake. You can also use the offset spatula to create swirls or peaks on the top and sides by holding it at an angle and spinning the turntable. The turntable ensures the texture is applied evenly and continuously around the cake's circumference, making these designs much easier and more precise than doing them manually.
Working with Different Types of Buttercream
The easy buttercream frosting turntable technique works well with most types of buttercream, including American buttercream, Swiss meringue buttercream, Italian meringue buttercream, and French buttercream. However, their consistencies vary naturally. American buttercream is typically the stiffest and sweetest, while meringue buttercreams are lighter and silkier.
You may need to adjust chilling times or the amount of liquid added slightly depending on the type of buttercream you are using. Meringue buttercreams, being softer, often benefit more from a quick chill before the final smoothing pass. Practice with your preferred buttercream type to understand its ideal consistency for this technique. Regardless of the type, ensuring it is smooth and free of lumps is key.
Maintaining Your Cake Decorating Turntable
Cleaning and Storage Tips
Properly cleaning and storing your cake decorating turntable will ensure its longevity and smooth operation. After each use, immediately wash the turntable surface and base. Most plastic and metal turntables can be hand-washed with warm, soapy water. Avoid abrasive scrubbers that could scratch the surface. Ensure you clean around the base and any moving parts to remove trapped buttercream or crumbs.
For turntables with bearings, be careful not to submerge the base in water unless the manufacturer specifies it's waterproof. Dry the turntable thoroughly before storing to prevent rust (on metal parts) or mildew. Store your turntable in a place where it won't be knocked over or have heavy objects placed on it, which could damage its bearings or warp the surface.
Extending the Life of Your Turntable
Taking good care of your turntable extends its lifespan and keeps the spinning action smooth, which is vital for the easy buttercream frosting turntable technique. Avoid dropping the turntable, especially metal ones with bearings, as this can misalign the components. Do not overload the turntable with excessively heavy cakes that exceed its weight capacity.
Keep the spinning mechanism clean and free of debris. If your turntable has visible bearings or a central post, you might consider applying a tiny amount of food-grade lubricant periodically if the spin starts to feel stiff, following the manufacturer's instructions if available. By treating your turntable with care, it will remain a reliable tool for effortless buttercream application for years to come.
Conclusion: Elevate Your Baking with the Buttercream Turntable Technique
Mastering the art of frosting cakes with buttercream is a rewarding skill, and the cake decorating turntable is an invaluable tool in achieving smooth, professional results. By following the steps outlined in this guide – from preparing your cake and buttercream to utilizing essential tools like the offset spatula and bench scraper with the easy buttercream frosting turntable technique – you can transform your cakes from rustic to refined.
The turntable simplifies the process, improves consistency, and reduces effort, making cake decorating more accessible and enjoyable. Whether you're aiming for a perfectly smooth finish or planning textured designs, incorporating a turntable into your routine will significantly elevate the quality and appearance of your baked creations. Practice these techniques, and you'll find that applying buttercream becomes not a challenge, but a smooth, effortless part of your baking journey.
Frequently Asked Questions
What is the main benefit of using a turntable for applying buttercream?
Using a turntable allows for a smooth and even buttercream application. It provides better control while decorating, leading to a professionally finished cake. This makes it easier to achieve consistent frosting thickness.
Can I use any turntable for buttercream application, or are there specific types?
While any turntable can work, those designed for cake decorating with a non-slip surface are ideal. Avoid turntables with excessive wobbling for the best results. Heavy-duty turntables also offer more stability.
What are the basic steps for applying buttercream using a turntable?
First, apply a crumb coat to your cake. Then, add a generous amount of buttercream and use an offset spatula to smooth it while rotating the turntable. Finally, use a cake scraper to create smooth and even sides.
What are some common mistakes to avoid when using a turntable?
Applying uneven pressure on the spatula or scraper is a common mistake. Also, using too little buttercream can make it difficult to achieve a smooth finish. Remember to regularly clean the spatula or scraper.
How does using a turntable help with more advanced buttercream techniques?
A turntable allows for the precise execution of advanced techniques like ombré frosting, piping designs, and creating textures. The controlled rotation is crucial for consistent patterns and intricate details. It also helps with applying multiple layers of frosting.
Final Reflection: The Sweet Simplicity of Effortless Frosting
The art of cake decorating, once perceived as an intimidating skill, is now within everyone's reach. Mastering the perfect buttercream swirl, once a source of frustration for many, can be simplified dramatically with the right tools and techniques. This article highlighted the transformative power of a turntable in achieving effortless buttercream application, proving that even the most intricate designs are attainable with a little ingenuity.
The impact of readily available tools and accessible tutorials on the home baking landscape is undeniable. The joy of creating beautiful cakes is no longer confined to professional pastry chefs. It's a creative outlet embraced by individuals of all skill levels, fostering a sense of accomplishment and shared passion. Baking is at once child's play and adult joy. And love, of course.
- Alma Flor Ada. This quote perfectly encapsulates the spirit of accessible baking, transforming a potentially complex process into a source of personal satisfaction and connection.
Now, consider your own baking journey. What previously seemed challenging or impossible? Perhaps you’ve avoided intricate cake designs, intimidated by the prospect of uneven frosting. I encourage you to embrace the simplicity of a turntable – to experiment, to create, and to discover the joy of effortlessly transforming a simple cake into a masterpiece. Don't let perceived difficulty hold you back; the sweet reward of a perfectly frosted cake awaits.
Unlock Your Inner Cake Artist: Mastering Buttercream with Ease!
Thanks for taking the time to learn about the magic of turntable frosting! You've just unlocked a world of smoother, more professional-looking cakes. Ready to put your new skills into practice?
- Whirl your way to cake perfection: Try decorating your next cake using the turntable techniques you just learned. Challenge yourself to create a design you've never attempted before!
- Share your cake creations: Show us your stunning buttercream masterpieces on social media – tag us @BakeWithEase! Let's inspire each other!
- Explore our other tutorials: Discover more baking secrets and techniques on our website to elevate your baking game even further.
What incredible cake design will you create next using your newfound turntable expertise?