
Gourmet Sea Salt Caramels: Flaky Salt Placement & Packaging Ideas

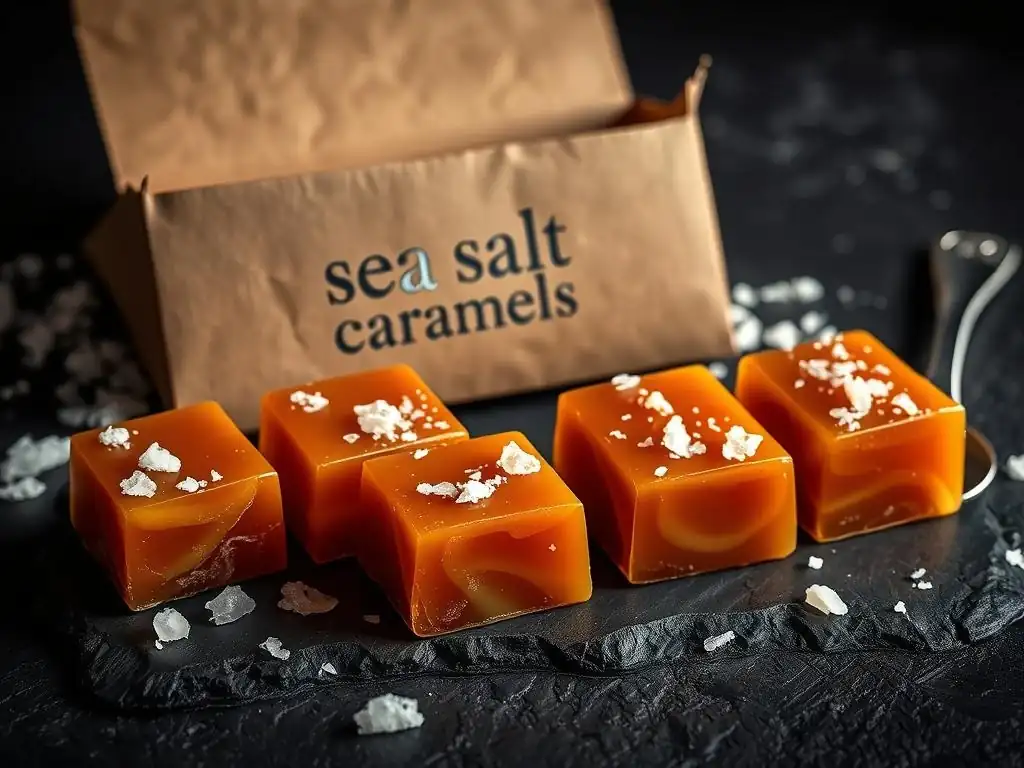
Welcome to BakeWithEase, your secret ingredient to baking bliss! Ever wondered how to create those irresistible, melt-in-your-mouth treats that everyone raves about? Then you're in the right place! This week, we're diving deep into the world of decadent delights with our Gourmet Sea Salt Caramels recipe. But it's not just about the recipe; we're also sharing professional tips on achieving perfect flaky salt placement and stunning packaging ideas. Ready to elevate your caramel game? Let's get started!
- Salted Caramels: Salt Placement & Packaging Ideas
- Introduction to Crafting Exquisite Salted Caramels
- Creating the Ideal Caramel Base
- Optimizing Salt Flake Application for Salted Caramels
- Enhancing Your Salted Caramels: Flavor Infusions and Additions
- Packaging Strategies for Salted Caramels: Presentation and Preservation
- Storage Recommendations for Preserving Salted Caramel Freshness
- Salted Caramels Recipe: Summary and Printable Resource
- Share Your Salted Caramel Creations!
-
Frequently Asked Questions
- How difficult is it to make gourmet sea salt caramels if I'm a beginner baker?
- What kind of sea salt is best for these caramels, and where should I place it for the best result?
- Can I substitute any ingredients in the Gourmet Sea Salt Caramels recipe due to dietary restrictions?
- What are some creative packaging ideas for gifting my homemade Gourmet Sea Salt Caramels?
- How do I prevent my Gourmet Sea Salt Caramels from becoming too hard or too soft?
- Final Reflection: The Enduring Allure of the Perfect Caramel
- Unleash Your Inner Caramel Artist!
Salted Caramels: Salt Placement & Packaging Ideas
Introduction to Crafting Exquisite Salted Caramels
Creating gourmet sea salt caramels is a delightful journey into confectionery, blending rich sweetness with delicate bursts of savory salt. It's a process that requires attention to detail, from selecting the finest ingredients to mastering the caramelization process and, crucially, the application of salt. The goal is not just a sweet treat, but a complex flavor experience where each component plays a vital role.
This guide will walk you through the nuances of making truly exceptional gourmet sea salt caramels, focusing particularly on how and when to apply the salt for maximum impact, and creative ways to package your finished candies. We'll cover everything from achieving that perfect, smooth caramel texture to ensuring your beautiful creations stay fresh and look appealing, whether for personal enjoyment or gifting.
Creating the Ideal Caramel Base
Selecting Quality Ingredients for a Superior Caramel
The foundation of any great gourmet sea salt caramel recipe lies in the quality of its components. Using premium ingredients elevates the flavor profile significantly. For instance, opting for high-fat content butter, ideally around 82% butterfat, provides a richer mouthfeel and contributes to a smoother texture compared to lower-fat alternatives. Similarly, selecting a high-quality heavy cream (with at least 30-35% fat) is crucial for achieving the desired creamy consistency and preventing graininess. Skimping on quality here can result in a less luxurious, and potentially grainy or oily, caramel.
The type of sugar also matters. While granulated white sugar is standard, some recipes might incorporate a touch of brown sugar or corn syrup. Brown sugar adds a subtle molasses note and helps prevent crystallization, contributing to a chewier texture. Corn syrup acts as an anti-crystallizing agent, ensuring a consistently smooth caramel. Using pure vanilla extract, rather than imitation, adds a depth of flavor that complements the rich caramel base beautifully. Consider using a Madagascar Bourbon vanilla for its classic, sweet notes, or a Mexican vanilla for a slightly smoky, spicy undertone.
Step-by-Step Guide to Achieving Silky Smooth Caramel
Creating silky smooth caramel involves careful temperature control and patience. Typically, a salted caramel recipe starts by melting sugar, sometimes with water or corn syrup, over medium heat. The key is to let the sugar melt and color evenly without stirring excessively, which can promote crystallization. Swirling the pan gently is acceptable once the sugar starts to liquefy. The mixture should reach a beautiful amber color, usually between 320°F and 340°F (160°C - 170°C) on a candy thermometer. This stage is critical; too light and the caramel lacks depth, too dark and it becomes bitter.
Once the desired color is achieved, warm cream and butter are carefully added. Caution: The mixture will bubble up vigorously. Stir continuously until everything is fully incorporated and smooth.
The caramel is then cooked further to reach a specific temperature, typically between 240°F and 250°F (115°C - 121°C) for a soft to firm chew, as measured by a candy thermometer. This temperature determines the final texture – lower for softer caramels, higher for firmer ones. Removing the caramel from the heat immediately upon reaching the target temperature and stirring in vanilla extract completes the base, ready for the star ingredient: sea salt.
Common Caramelization Challenges and Solutions
Making caramel isn't always straightforward, and encountering issues like crystallization is common. Crystallization occurs when sugar molecules bond together, turning your smooth caramel into a grainy mess. This can happen if sugar crystals cling to the sides of the pan and fall back into the mixture, or if the sugar is stirred too early or too vigorously before it has fully melted.
A simple solution is to brush down the sides of the pan with a wet pastry brush during the initial melting phase to dissolve any errant crystals. Adding a small amount of corn syrup or glucose to the sugar mixture can also help prevent crystallization by interfering with the sugar's ability to form crystals.
Another challenge is scorching or burning the sugar. Sugar can go from perfectly amber to burnt very quickly, especially at high temperatures. Using a heavy-bottomed pan helps distribute heat more evenly, reducing hot spots.
Cooking over medium heat and keeping a close eye on the color is essential. If your sugar starts to smell burnt or turns very dark brown too fast, it's often best to start over, as that bitter flavor is impossible to remove. Ensuring your cream and butter are warmed before adding them also helps prevent the caramel temperature from dropping too drastically, which can shock the mixture and sometimes contribute to uneven cooking or crystallization.
Optimizing Salt Flake Application for Salted Caramels
The Science Behind Salt's Enhancement of Caramel Flavor
Salt is not merely an additive in gourmet sea salt caramels; it's a flavor enhancer that transforms a simple sweet into a complex culinary experience. On a scientific level, salt, or sodium chloride, interacts with our taste receptors in several ways. It suppresses the perception of bitterness, which can sometimes be present in deeply caramelized sugar. More importantly, it amplifies other flavors, particularly sweetness and the rich, buttery notes of the caramel. A small amount of salt makes the caramel taste more like itself, bringing out its inherent depth and complexity.
Furthermore, the presence of salt creates a fascinating contrast on the palate. The immediate hit of salinity followed by the wave of sweetness is incredibly appealing and moreish. This sweet-and-salty dynamic is a well-known phenomenon in culinary science, triggering pleasure responses in the brain. When flaky sea salt is used, the texture provides an additional layer of sensory experience. The distinct crystals dissolve at different rates, providing intermittent bursts of saltiness that cut through the consistent sweetness of the caramel, preventing it from becoming cloying and making each bite more interesting.
Recommended Salt Varieties for Optimal Caramel Complementation
Not all salts are created equal when it comes to finishing gourmet sea salt caramels. The ideal salt is one with a flaky texture and a clean, mineral-rich flavor that dissolves relatively slowly, providing those delightful pops of salinity. Fine table salt is generally too harsh and dissolves too quickly, resulting in a uniformly salty caramel rather than one with distinct flavor bursts. Kosher salt has a better texture than table salt but can still be quite sharp.
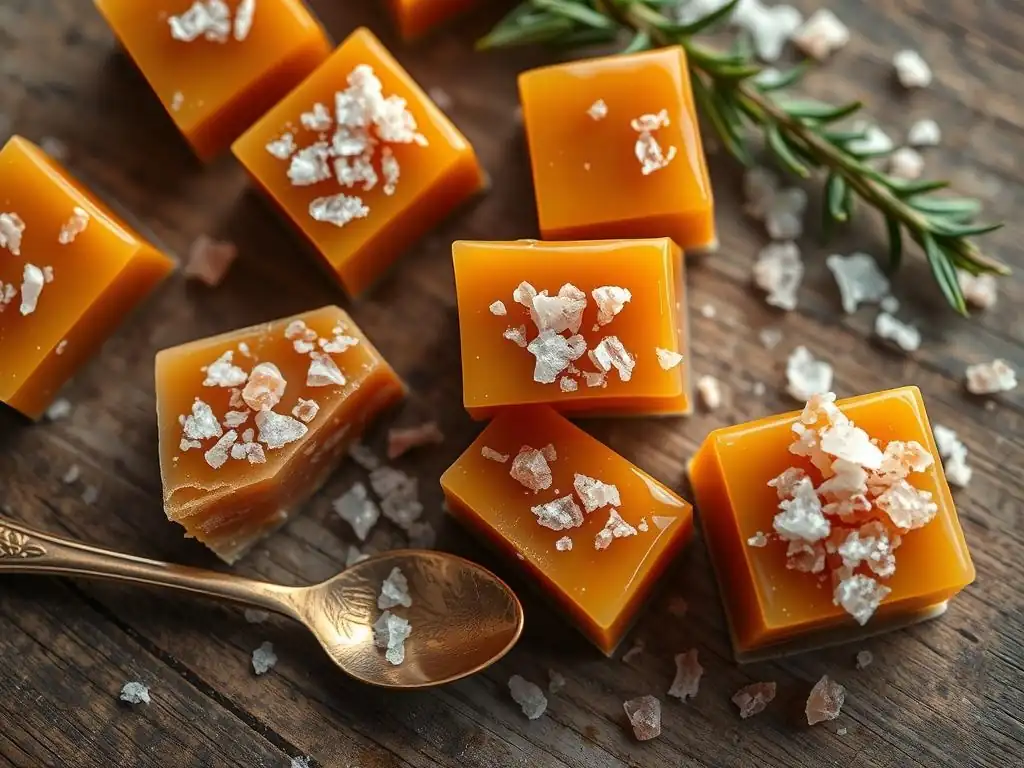
The gold standard for finishing gourmet sea salt caramels is flaky sea salt. Varieties like Maldon sea salt from England or Fleur de Sel from France are highly recommended. These salts have large, delicate crystals that provide a satisfying crunch and a clean, bright salinity. They adhere well to the surface of the caramel and dissolve slowly, delivering that signature burst of saltiness that defines a gourmet sea salt caramel. Using a high-quality flaky sea salt is perhaps the most important step in elevating a standard caramel to a truly gourmet level.
Timing Considerations: Achieving the Perfect Salt Texture
The timing of salt application is crucial for achieving the desired texture and flavor distribution in your gourmet sea salt caramels. If you incorporate fine salt directly into the hot caramel mixture, it will dissolve completely, resulting in a uniformly salty caramel without the textural contrast of salt flakes. While this can still be tasty, it misses the unique characteristic of sea salt caramels where the salt provides distinct pockets of flavor.
For flaky sea salt, the optimal time to apply it is after the caramel has been poured into its prepared pan and has begun to cool and set slightly, but before it is completely firm. This allows the salt flakes to adhere to the surface without dissolving. Typically, this window is about 15-30 minutes after pouring, depending on the ambient temperature. Sprinkling the salt evenly over the surface at this stage ensures that each piece of caramel will have visible salt flakes and provide that signature burst of flavor upon biting into it.
Techniques for Precise and Consistent Salt Distribution
Achieving even and aesthetically pleasing salt distribution on your gourmet sea salt caramels requires a bit of care. Simply dumping a pile of salt in the middle will result in some pieces being overloaded and others having none. A more effective technique is to use your fingers to sprinkle the salt evenly over the entire surface of the caramel slab. Taking a pinch of salt at a time and letting it fall through your fingers as you move your hand systematically across the pan allows for better control over the density of the salt.
For larger batches or a more uniform look, some bakers use a fine sieve or shaker, though this can sometimes break up delicate flakes. A simple hand-sprinkling method, perhaps practicing over a dark surface first to see the coverage, is often the most effective way to apply flaky sea salt for gourmet sea salt caramels.
Aim for a coverage that provides visible salt flakes on each potential piece without creating overly salty spots. A coverage of roughly 0.5 to 1 gram of flaky sea salt per standard 8x8 inch pan of caramel is a good starting point, though personal preference plays a big role.
Enhancing Your Salted Caramels: Flavor Infusions and Additions
Complementary Flavor Profiles: Coffee, Spices, and Citrus
While the classic gourmet sea salt caramel is sublime on its own, infusing additional flavors can create exciting variations. Coffee is a natural partner for caramel; adding a teaspoon or two of instant espresso powder to the warm cream before incorporating it into the sugar can yield a rich, mocha-caramel flavor.
Spices like cinnamon, cardamom, or a pinch of cayenne pepper (for a hint of heat) can be steeped in the cream or stirred in at the end. For instance, steeping a cinnamon stick and a few cardamom pods in the cream for 15-20 minutes before warming and adding it imparts a subtle warmth.
Citrus zest offers a bright contrast to the richness of caramel. Adding finely grated orange or lemon zest along with the vanilla extract can lift the flavor profile. For example, the zest of one small orange can infuse a standard batch of caramel with a lovely citrus note that pairs surprisingly well with the salt. Remember to use only the colored part of the zest, avoiding the bitter white pith. Experimenting with these complementary flavors allows you to personalize your gourmet sea salt caramels recipe.
Incorporating Textural Elements: Toffee, Cocoa Nibs, and Seeds
Adding textural elements introduces another dimension to your gourmet sea salt caramels. Chopped toasted nuts, like pecans or almonds, can be stirred into the caramel just before pouring for a nutty crunch. Pieces of crunchy toffee can also be incorporated, creating a delightful contrast between the chewy caramel and brittle toffee. For example, adding about 1/2 cup of finely crushed toffee bits to the caramel after it reaches its final temperature adds a pleasant crispness.
Cocoa nibs offer a sophisticated, slightly bitter, and crunchy addition that pairs wonderfully with the sweet caramel and salt. About 1/4 cup of cocoa nibs can be stirred in or sprinkled on top along with the salt. Toasted sesame seeds or even pumpkin seeds (pepitas) can also provide an unexpected, earthy crunch and flavor profile. When adding these elements, ensure they are evenly distributed throughout the caramel before it sets.
Infusing Caramel with Extracts, Zests, and Powders
Beyond stirring in solid additions, you can infuse the caramel base itself with flavor. As mentioned, vanilla extract is standard, but other extracts like almond, maple, or even a hint of rum extract can add intriguing notes. These are typically stirred in at the very end, off the heat, alongside the vanilla. For example, adding 1/2 teaspoon of pure almond extract to a batch can give it a lovely marzipan-like undertone.
Powders, such as matcha green tea powder or freeze-dried fruit powders (like raspberry or strawberry), can also be incorporated. These are often best whisked into the warm cream before it's added to the sugar mixture to ensure they dissolve smoothly without clumping. For a vibrant green tea caramel, whisk 1-2 teaspoons of high-quality matcha powder into your warm cream. Zests, like orange or lemon, are also stirred in at the end, allowing their essential oils to infuse the warm caramel.
Packaging Strategies for Salted Caramels: Presentation and Preservation
Selecting Appropriate Packaging Materials for Optimal Freshness
Proper packaging is essential for preserving the freshness, texture, and appearance of your gourmet sea salt caramels. Caramel is hygroscopic, meaning it absorbs moisture from the air, which can make it sticky. It also needs protection from drying out, which can make it hard and brittle. The best materials create a barrier against moisture and air. Cellophane or wax paper are traditional choices for wrapping individual pieces, as they are inexpensive and readily available. However, they may not provide a complete moisture barrier for extended storage.
For maximum freshness, especially if you plan to store the caramels for more than a few days or gift them, consider using food-grade cellophane or twist-wrap specific for candies. These materials are designed to prevent sticking and offer a better seal against humidity. For the outer packaging, choose materials that are sturdy and opaque or translucent to protect the caramels from light and physical damage. Small boxes, tins, or food-safe bags work well.
Individual Wrapping Methods: Ensuring Cleanliness and Appeal
Wrapping each gourmet sea salt caramel individually is crucial for preventing them from sticking together and for maintaining hygiene, especially if they are for gifting or sharing. Once the caramel slab has cooled and been cut into pieces (typically squares or rectangles around 1 inch), each piece should be wrapped promptly. Using pre-cut squares of wax paper, cellophane, or twist-wrap, place a caramel in the center and wrap it snugly, twisting the ends firmly like a miniature candy wrapper.
For a professional look, some prefer using heat-sealable candy wrappers and a small heat sealer. This creates a tight, secure seal that offers excellent protection. However, the simple twist-wrap method with good quality candy wrappers or cellophane is perfectly adequate and easy for home bakers. Ensure the wrappers are large enough to fully enclose the caramel piece with enough material to twist securely, typically about 4x4 inches or slightly larger depending on the caramel size.
Gift Packaging Options: Boxes, Tins, and Sustainable Choices
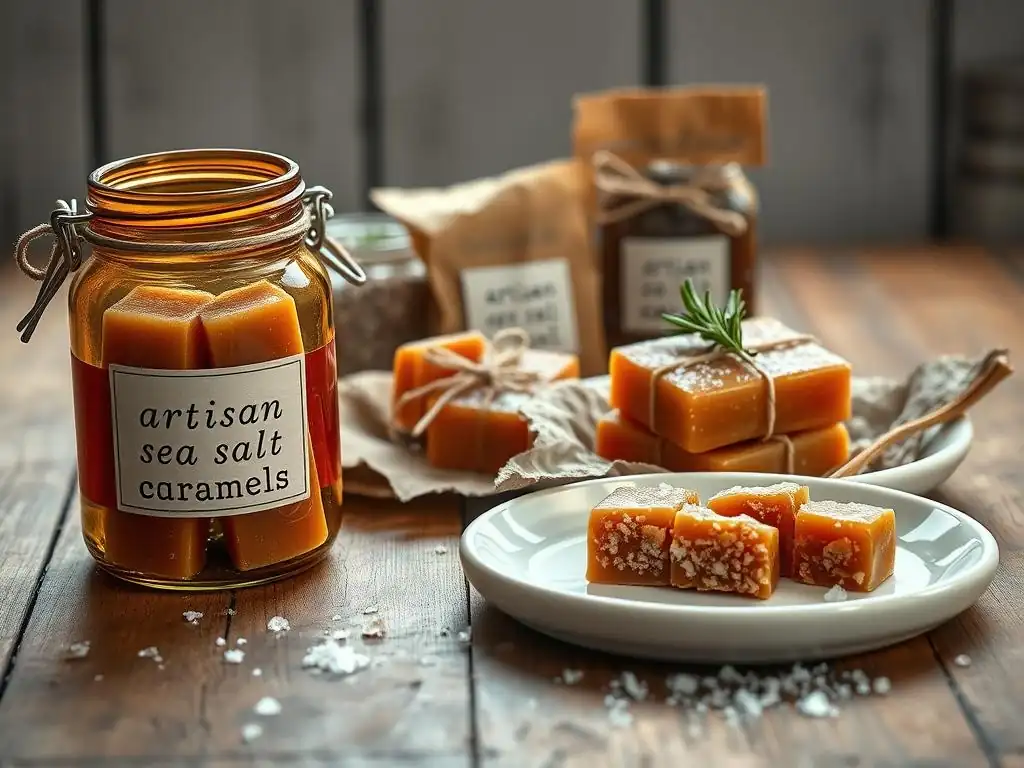
Presenting your homemade gourmet sea salt caramels in attractive packaging elevates them into a thoughtful gift. Small, decorative boxes are a popular choice. Line the box with food-safe tissue paper or a candy pad before arranging the individually wrapped caramels inside. Metal tins also work very well, providing a sturdy, airtight container that can be reused. For a more rustic look, consider paperboard boxes or even small glass jars.
If sustainability is a priority, look for packaging made from recycled materials or materials that are easily recyclable. Small paper boxes, biodegradable cellophane wraps, or reusable cloth bags are good options. Consider stacking the wrapped caramels in layers separated by parchment paper within the chosen container. The key is to use food-safe materials that protect the candy while offering an appealing presentation.
Labeling and Branding: Conveying Quality and Craftsmanship
Adding a label to your gourmet sea salt caramels packaging adds a professional touch and conveys the care and quality that went into making them. A simple label can include the name of the candy ("Handmade Sea Salt Caramels"), key ingredients (especially if they are premium or unique, like "Made with French Fleur de Sel"), and perhaps a brief description. If selling, include your business name (e.g., "BakeWithEase Kitchen"), contact information, and ingredients list for allergy awareness.
For gifting, a simple tag with the name of the candy and a "Made with Love" note is charming. Consider including the date they were made to indicate freshness. Branding doesn't have to be complex; a nicely designed label or tag printed on quality paper tied with a ribbon can make a significant impact. This attention to detail reinforces the perception of your caramels as a truly gourmet treat.
Storage Recommendations for Preserving Salted Caramel Freshness
Best Practices for Preventing Sticking and Maintaining Texture
The primary challenge with storing gourmet sea salt caramels is preventing them from sticking together and maintaining their ideal chewy texture. Individual wrapping is the most effective method to prevent sticking. Once wrapped, store the caramels in an airtight container. This protects them from humidity, which causes stickiness, and from dry air, which can harden them.
Store the airtight container in a cool, dry place, away from direct sunlight or heat sources. Room temperature (around 68-72°F or 20-22°C) is generally fine, provided it's not too humid. Avoid storing them in the refrigerator unless your recipe specifically calls for it, as refrigeration can alter the texture, sometimes making them excessively hard. If you must refrigerate due to warm climate, be sure the container is truly airtight and allow the caramels to come to room temperature for a few minutes before enjoying.
Determining and Extending Shelf Life
The shelf life of homemade gourmet sea salt caramels depends on the ingredients used and how they are stored. Made with fresh dairy and without preservatives, they typically maintain their best quality for about 2-3 weeks when stored properly in an airtight container at room temperature. While they may be safe to eat for longer, their texture and flavor can degrade over time. The buttery richness might turn slightly rancid, or the caramel could become too hard or too sticky.
To potentially extend the shelf life, you can freeze homemade caramels. Wrap each caramel individually, then place the wrapped caramels in a freezer-safe airtight container or freezer bag. Frozen caramels can last for several months, perhaps up to 3-4 months, without significant loss of quality. Thaw them gradually in the refrigerator overnight or at room temperature for a few hours in their airtight container to prevent condensation from making them sticky. Always check for signs of spoilage (off smells or flavors) before consuming.
Salted Caramels Recipe: Summary and Printable Resource
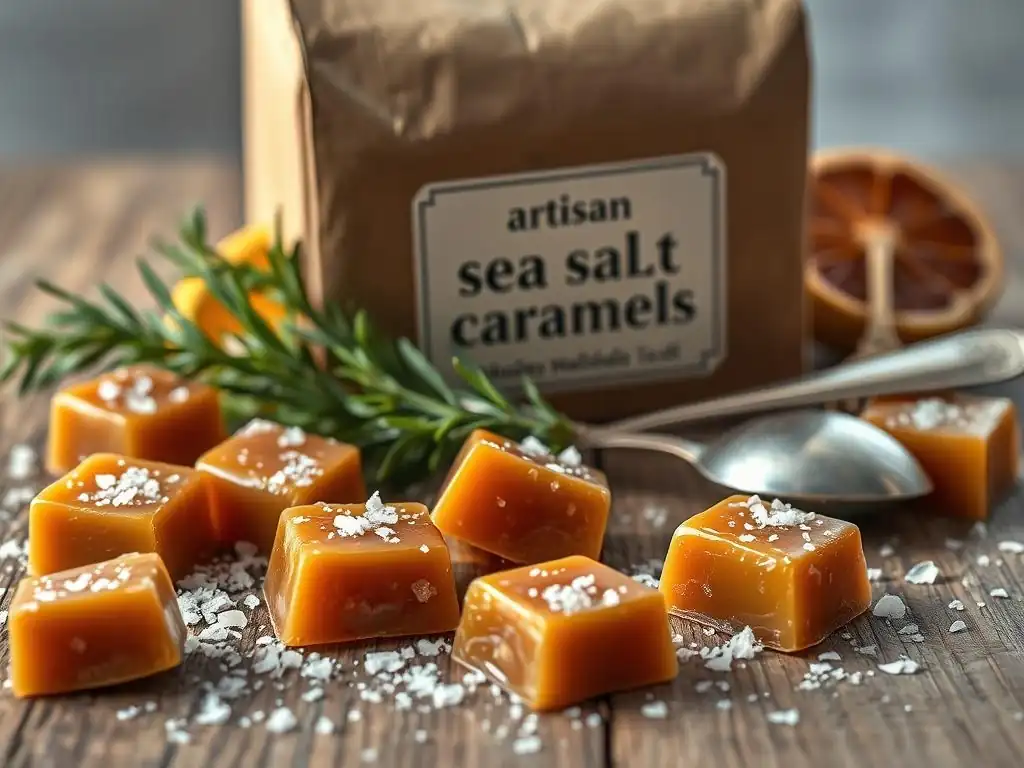
Crafting gourmet sea salt caramels is a rewarding process, combining careful technique with quality ingredients. From creating the perfect caramel base to strategically applying flaky sea salt for maximum flavor impact, each step contributes to the final exquisite result. Remember the importance of temperature control during cooking, selecting premium butter and cream, and choosing a high-quality flaky sea salt like Maldon or Fleur de Sel for that signature burst of salinity.
Proper cooling, cutting, and individual wrapping are essential for managing the texture and preventing sticking, ensuring your beautiful caramels are easy to handle and share. Finally, thoughtful packaging not only protects your creations but also transforms them into impressive gifts.
[Link to Detailed Salted Caramels Recipe]
Frequently Asked Questions
How difficult is it to make gourmet sea salt caramels if I'm a beginner baker?
While making caramels requires some attention to detail, our Gourmet Sea Salt Caramels recipe is designed to be beginner-friendly. The step-by-step guide will walk you through each stage, making the process manageable.
What kind of sea salt is best for these caramels, and where should I place it for the best result?
We recommend using a flaky sea salt, like Maldon, for its texture and flavor. Placing it immediately after cutting the caramels allows it to adhere and provides a satisfying crunch with each bite.
Can I substitute any ingredients in the Gourmet Sea Salt Caramels recipe due to dietary restrictions?
While substitutions can be tricky with caramel, you might try using a dairy-free butter alternative. Be sure to test the consistency as it cooks, as some alternatives behave differently.
What are some creative packaging ideas for gifting my homemade Gourmet Sea Salt Caramels?
Consider using small cellophane bags tied with ribbon or lining a decorative tin with parchment paper. Adding a personalized tag makes the gift even more special.
How do I prevent my Gourmet Sea Salt Caramels from becoming too hard or too soft?
The key is to monitor the temperature closely using a candy thermometer. Cooking to the exact temperature specified in the recipe will ensure the perfect texture.
Final Reflection: The Enduring Allure of the Perfect Caramel
The art of crafting the perfect gourmet sea salt caramel transcends mere confectionery; it's a testament to the power of balance and precision. From the careful selection of ingredients to the meticulous placement of each delicate flake of sea salt, every step in the process contributes to an experience that delights the senses. This pursuit of perfection resonates deeply in today's world, where consumers increasingly value handcrafted quality and unique sensory experiences.
The influence of artisanal food trends, particularly in the realm of sweets, continues to shape our culinary landscape. The simple caramel, elevated by the unexpected briny kiss of sea salt, represents a powerful example of this shift. Simplicity is the ultimate sophistication.
– Leonardo da Vinci. This quote perfectly encapsulates the elegance and impact achieved through careful attention to detail, a principle that underpins the success of gourmet sea salt caramels and extends to many aspects of our lives. The enduring appeal of this seemingly simple treat speaks to a deeper human desire for both comfort and refined pleasure.
Now, I invite you to consider the lessons learned here. Don't just follow a recipe; experience the process. Experiment with different salts, explore variations in texture, and most importantly, savor the journey of creation. The next time you encounter a gourmet sea salt caramel, take a moment to appreciate the artistry involved, and perhaps, even be inspired to create your own masterpiece. The pursuit of perfection, even in something as seemingly simple as a caramel, can be a deeply rewarding experience.
Unleash Your Inner Caramel Artist!
Thanks for exploring the delightful world of gourmet sea salt caramels with us! We hope you've gained some delicious inspiration for perfecting your flaky salt placement and creating stunning packaging. Now it's time to put your newfound knowledge into action!
- Craft your signature caramel: Experiment with different sea salt types and placement techniques to find your perfect balance of sweet and salty. Don't be afraid to get creative!
- Design irresistible packaging: Think beyond the basic wrapper! Explore unique presentation options that highlight your caramels' artisanal quality. Consider creating custom labels or using attractive containers.
- Share your creations!: Show off your beautiful caramels and tag us on social media – we'd love to see your masterpieces!
Ready to transform your caramel game? What unique sea salt and packaging combination will you try first?