
Braving Blisters: Heat and Timing Tips for Homemade Naan in Your Oven

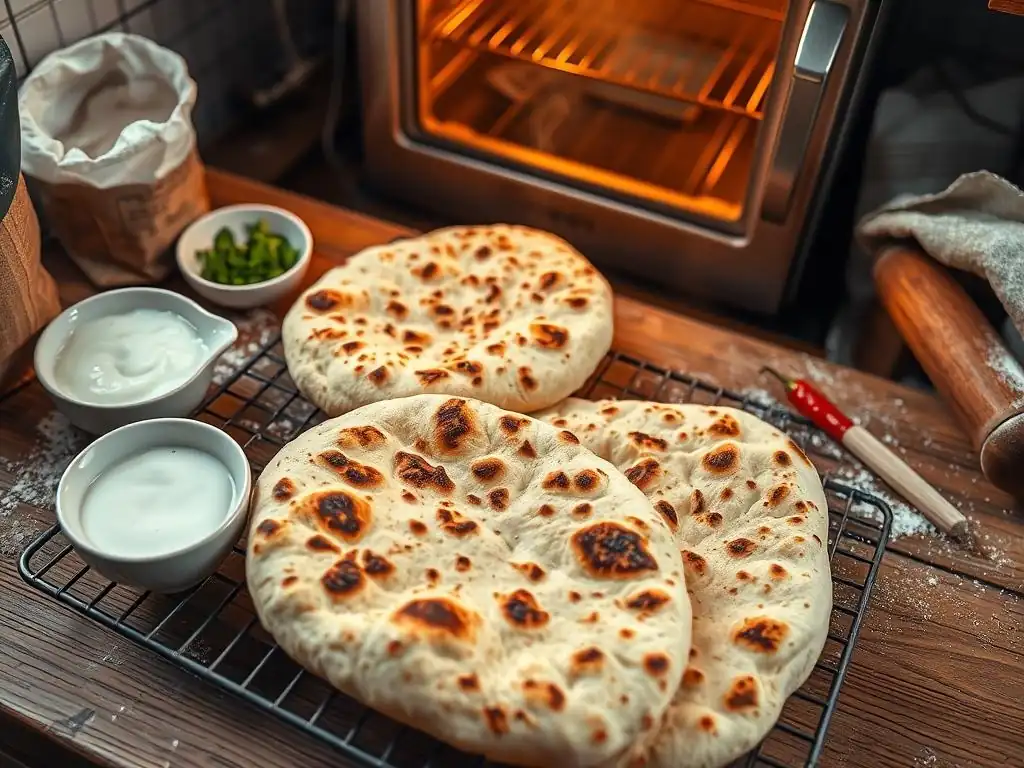
Welcome to BakeWithEase, your companion in conquering the kitchen! Ever dreamed of perfectly pillowy, blistered naan bread straight from your own oven? It's easier than you think. Dive into our expert tips and tricks, especially our guide on achieving that authentic, restaurant-quality texture. Uncover the secrets of ovenbaked naan bread, from mastering the heat to perfecting the timing, and unlock a world of delicious possibilities. Ready to elevate your naan game? Let's get baking!
- Mastering Naan: High Heat & Timing for Authentic Oven-Baked Results
- Introduction: Replicating Tandoor Naan in Your Home Oven
- Essential Factors for Perfect Oven-Baked Naan
- Heat Management Strategies for Oven-Baked Naan
- Dough Considerations for Oven Baking Success
- Troubleshooting Common Naan Baking Issues
- Recipe Adaptations for Oven-Baked Naan
- Serving Suggestions and Enjoying Your Naan
- Conclusion: Achieving Authentic Naan in Your Home Oven
-
Frequently Asked Questions
- What is the ideal oven temperature for baking naan bread at home, according to BakeWithEase?
- How long should I bake naan bread in the oven to get the best results?
- What's the secret to getting those signature blisters on oven-baked naan bread?
- Can I use regular all-purpose flour for making naan bread, or do I need a specific type?
- Is there anything I can do to keep my naan bread soft after baking it in the oven?
- Final Reflection: The Humble Naan, a Testament to Patience and Precision
- Unleash Your Inner Naan Baker!
Mastering Naan: High Heat & Timing for Authentic Oven-Baked Results
Introduction: Replicating Tandoor Naan in Your Home Oven
The Allure of Homemade Naan: Freshness and Flavor
There's something truly special about warm, fresh naan bread straight from the oven. The aroma alone is enough to transport you to an Indian kitchen, promising a delightful culinary experience. Unlike store-bought versions, homemade naan offers unparalleled freshness, a soft, pillowy texture, and a depth of flavor that can be customized to your liking, whether you prefer it plain, garlic-infused, or studded with herbs. Mastering the art of baking these flatbreads at home allows you to enjoy this versatile bread at its absolute best, perfectly complementing curries, stews, or simply enjoyed on its own.
Creating authentic naan in a standard home oven presents a unique challenge. Traditional naan is baked in a tandoor, a cylindrical clay oven that reaches incredibly high temperatures, often exceeding 900°F (500°C). This extreme heat cooks the bread rapidly, causing it to puff up dramatically and develop those characteristic charred blisters. Replicating this environment in a conventional oven, which typically maxes out around 500-550°F (260-290°C), requires specific techniques focused on maximizing heat transfer and managing baking time.
Achieving Blisters and Softness: The Oven-Baking Challenge
The signature blisters on naan are a result of rapid steam expansion within the dough when it hits an intensely hot surface. In a tandoor, the dough is slapped directly onto the scorching wall. In a home oven, we need to find ways to mimic this effect. This is where high heat and strategic timing become crucial components of successful oven-baked naan bread tips. Without sufficient heat, the dough cooks slowly, resulting in a dry, flat bread without the desired airy pockets and char.
Furthermore, achieving both beautiful blisters and a soft, pliable texture is the delicate balance home bakers strive for. Overbaking at high heat can quickly turn tender naan tough and brittle. Therefore, understanding the precise moment your oven naan is ready is just as important as getting the oven hot enough. These oven-baked naan bread tips will guide you through optimizing your home setup to produce delicious, authentic results.
Essential Factors for Perfect Oven-Baked Naan
High Oven Temperature: Key to Naan Success
High heat is arguably the most critical factor when baking naan in your oven. The goal is to cook the dough as quickly as possible to prevent it from drying out while simultaneously generating enough steam internally to create those desired bubbles and blisters. Think of it like a quick shock of heat that puffs the bread up before the structure sets too rigidly. This rapid cooking also contributes to a slightly chewy interior and a tender crumb, characteristic of great naan.
To achieve this, you'll want to preheat your oven to its maximum temperature, typically around 500°F (260°C) or even 550°F (290°C) if your oven allows. Some ovens have a dedicated "pizza" setting that reaches these temperatures. Maintaining this high heat throughout the baking process is essential for consistent results across multiple pieces of naan. Lower temperatures will simply bake the naan like a regular flatbread, missing the authentic texture and blistering.
Understanding Temperature Ranges for Optimal Baking
While a tandoor hits extreme temperatures, home ovens can still get hot enough for excellent oven naan. Aim for the highest possible setting your oven offers, ideally between 500°F and 550°F (260°C to 290°C). Baking naan at, say, 400°F (200°C) would result in a significantly different product – likely drier, less puffy, and without the characteristic char spots. The rapid heat transfer at higher temperatures is what initiates the quick puffing and blistering.
Different oven models vary in their actual temperature output compared to their display. Using an oven thermometer can be incredibly helpful to verify that your oven is indeed reaching and maintaining the desired high temperature. A difference of even 25-50°F (15-30°C) can impact the baking time and the final texture of your homemade oven naan. Knowing your oven's true temperature helps you fine-tune your timing.
Preheating: Building Essential Heat for Authentic Results
Preheating is non-negotiable for successful oven-baked naan. It's not just about the air temperature in the oven; it's about saturating the baking surface (like a baking stone or steel) with heat. This stored heat is what provides the intense, immediate heat transfer to the bottom of the naan, crucial for initial puff and blistering. A cold baking surface will absorb heat from the naan dough rather than transferring it quickly, leading to a pale, flat base.
Allow ample time for preheating, typically at least 45 to 60 minutes at the maximum temperature. This ensures that your baking stone or steel is thoroughly heated through, not just the oven air. Placing the stone or steel on the top rack, closer to the heating element (especially if it's exposed), can sometimes help achieve higher surface temperatures, further enhancing the blistering potential for your oven naan.
Precise Timing: Achieving the Ideal Texture
Given the high temperatures used for oven-baked naan, the cooking time is incredibly short, often just a few minutes per piece. This rapid cooking is what helps keep the naan soft and pliable. Overcooking, even by 30 seconds, can lead to a tough, dry result. Mastering the timing is a key part of these oven-baked naan bread tips. You're looking for the naan to puff up, develop beautiful blisters, and show some golden-brown spots and char.
The exact timing will vary based on your oven's true temperature, the thickness of your naan, and your desired level of charring. Generally, naan will bake in 2 to 5 minutes. The first piece or two often take slightly longer as the oven recovers heat after being opened. Subsequent pieces might cook even faster. It's essential to stay vigilant and watch the naan closely while it bakes, as the transition from perfectly cooked to overdone happens very quickly.
Visual Cues: Recognizing Doneness in Oven-Baked Naan
Learning to read the visual cues is the most reliable way to determine when your oven-baked naan is ready. Look for the following signs:
- The naan should puff up significantly, creating air pockets.
- Charred or deeply browned blisters should appear on the surface. These indicate intense heat transfer and are a hallmark of authentic naan.
- The edges should be set and slightly golden.
- The underside should have some browning, especially if using a well-preheated stone or steel.
Do not wait for the entire surface to be evenly browned, as this usually means it's overcooked. The beauty of naan is its uneven texture and coloring, with soft, pale areas alongside charred blisters. Using a light source inside your oven or a flashlight can help you see these crucial details clearly through the oven door.
Preventing Overbaking: Tips for Tender Naan
The best defense against overbaked, tough naan is vigilant timing and observation. Bake one piece at a time, or only as many as comfortably fit on your baking surface without crowding. This allows for even heat distribution and makes it easier to monitor each piece. Set a timer, but use it as a guideline, not a strict rule. Your eyes are your best tool here.
Once the naan shows the signs of doneness – significant puffing, blistering, and some char – remove it immediately from the oven. You can quickly brush it with melted butter or ghee at this stage, which adds flavor and helps keep it soft. Stack the cooked naan and cover them loosely with a clean kitchen towel. The residual heat will steam them slightly, further enhancing their softness. These simple oven-baked naan bread tips ensure a tender, delicious result every time.
Heat Management Strategies for Oven-Baked Naan
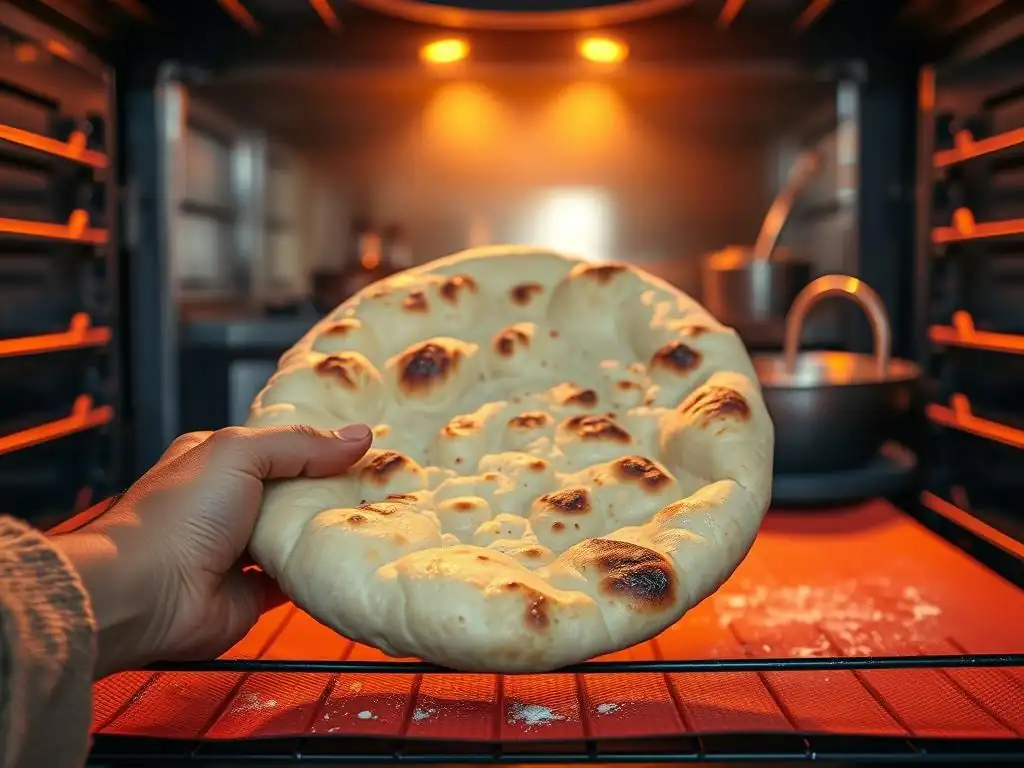
Maximizing Oven Heat: Baking Surface Selection
Choosing the right baking surface is paramount for achieving the high heat transfer needed for authentic oven naan. Placing the dough directly onto a standard cold baking sheet will result in a pale, undercooked bottom and less overall puff. The goal is to replicate the effect of dough hitting a scorching hot tandoor wall. The best tools for this in a home oven are a baking stone or, even better, a pizza steel.
A thick, preheated baking stone absorbs and radiates heat effectively, providing a much hotter surface than a standard metal tray. Place the stone on the top rack of your oven and preheat it for at least 45-60 minutes at the maximum temperature. This creates a hot thermal mass that transfers intense heat to the base of the naan, helping it puff and develop a good bottom crust.
Baking Stone: Even Heat Distribution for Naan
A baking stone, typically made of ceramic or cordierite, is a significant upgrade over a standard baking sheet for oven-baked naan. Its porous nature helps absorb moisture from the dough's base, contributing to a slightly drier, crispier bottom while the top blisters. Stones provide relatively even heat distribution once fully preheated, reducing hot spots compared to thin metal trays.
To use a baking stone effectively for oven naan, place it on the rack where you plan to bake (usually the top rack for maximum heat exposure) before turning the oven on. Allow it to preheat with the oven for at least an hour at the highest temperature. Carefully slide the rolled or stretched naan dough directly onto the hot stone using a pizza peel or an inverted baking sheet dusted with semolina or flour.
Pizza Steel: Superior Heat Retention for Blistering
For the absolute best results in terms of blistering and speed when baking naan in your oven, a pizza steel is often preferred over a stone. Made of steel, this surface heats up faster, gets hotter, and retains heat much better than ceramic. This means it can deliver an even more intense blast of heat to the base of the naan, promoting rapid puffing and more dramatic blistering, closer to what you'd achieve in a tandoor.
Like a baking stone, a pizza steel must be preheated thoroughly. Place it on the top rack and heat the oven to its maximum temperature for at least 45-60 minutes. The steel's ability to quickly recover heat between batches also means you can bake multiple pieces of oven naan more efficiently without a significant drop in performance. The intense heat from the steel is one of the top oven-baked naan bread tips for achieving those coveted bubbles.
Creating Steam: Mimicking Tandoor Conditions
While high direct heat from the baking surface is essential for the base and initial puff, creating steam in the oven environment helps the top surface of the naan remain pliable longer, allowing it to stretch and blister more dramatically before setting. A tandoor's shape and the moisture from the dough itself naturally create a humid environment. In a dry home oven, we need to add this moisture deliberately.
Steam helps conduct heat more efficiently to the surface of the dough, promoting better rise and softer crust development overall. Without sufficient humidity, the surface can dry out too quickly, restricting the dough's ability to expand and form large, airy blisters. Incorporating a steaming technique can significantly improve the texture and appearance of your homemade oven naan.
Steam's Role: Promoting Blister Formation and Softness
Steam plays a vital role in the physics of baking. When the hot, humid air surrounds the naan, it keeps the surface moist and elastic. As the internal temperature of the dough rises, water turns to steam, expanding rapidly. With an elastic surface, this internal steam can push outwards, creating large bubbles and blisters instead of just breaking through a dry, set crust.
Furthermore, steam helps keep the overall structure of the naan soft and tender. It slows down the formation of a hard crust, allowing the interior to cook through while remaining moist. This balance between a blistered, slightly charred exterior and a soft, chewy interior is the hallmark of perfectly baked naan. Adding steam is a key oven-baked naan bread tip often overlooked by home bakers.
Steaming Techniques: Achieving the Right Humidity
There are several effective ways to create steam when baking naan in your oven:
- Water pan: Place a shallow metal pan on the bottom rack of your oven before preheating. Carefully pour about 1 cup of boiling water into the hot pan just as you place the naan in the oven. Be cautious of the steam.
- Ice cubes: A variation on the water pan method. Place a hot, empty metal pan on the bottom rack during preheating. Just before closing the oven door after inserting the naan, carefully drop a handful of ice cubes into the hot pan. They will melt and create a burst of steam.
- Spritzing: Some bakers lightly spritz the inside walls of the oven with water using a spray bottle just after putting the naan in. Be careful not to spray the heating element or oven light.
Whichever method you choose, the goal is a burst of steam at the beginning of the bake, while the naan is actively rising and blistering. The steam dissipates quickly in a home oven, but that initial boost is often enough to make a noticeable difference in the final texture and appearance of your oven naan.
Dough Considerations for Oven Baking Success
Hydration: Achieving the Ideal Dough Consistency
The hydration level of your naan dough refers to the ratio of water (or other liquid like yogurt or milk) to flour. It significantly impacts the dough's consistency, stickiness, and ultimately, the texture of the baked naan. For tender, pliable naan with good puff, a relatively high hydration dough is beneficial. This usually means a hydration level between 65% and 75%.
A higher hydration dough is typically stickier and can be trickier to handle, but it results in a more moist and airy crumb structure after baking. Too low hydration will yield a drier, denser naan. Finding the right balance for your flour and comfort level with handling sticky dough is key to successful oven-baked naan.
Adapting Hydration Levels for Oven Baking
Recipes designed for tandoors might sometimes use slightly lower hydration because the dough is "slapped" onto the wall and needs to adhere without sliding off. For oven baking, where the dough sits on a flat surface, you have more flexibility with hydration. A dough on the higher end of the 65-75% range is often ideal for achieving maximum softness and puff in a home oven.
If you're new to baking naan, start with a hydration level around 68-70%. As you gain experience, you can experiment with increasing the hydration further (up to 75% or even slightly higher) to see how it affects the texture. Remember that different flours absorb liquid differently, so you might need to adjust based on the specific flour you use. A dough that feels slightly sticky but manageable after kneading is usually a good sign.
Gluten Development: Kneading for Texture and Structure
Gluten, the protein network formed when water is combined with flour and kneaded, provides the structure and elasticity in bread dough. Proper gluten development is essential for naan because it allows the dough to trap the steam generated during baking, leading to puffing and creating that characteristic chewy-yet-tender texture. Insufficient kneading will result in a dense, flat naan that tears easily.
You can develop gluten through manual kneading or using a stand mixer. Kneading for 8-10 minutes by hand or 5-7 minutes in a mixer on medium speed is usually sufficient. You're looking for the dough to become smooth, elastic, and pass the "windowpane test" – where a small piece can be stretched thinly without tearing, allowing light to pass through like a windowpane. This elasticity is crucial for the dough to stretch and form blisters when it hits the hot oven surface.
Kneading's Impact: Achieving Chewy, Yet Tender Naan
The strength of the gluten network directly impacts the naan's final texture. A well-developed gluten structure allows the dough to expand significantly from the rapidly produced steam during high-heat baking. This expansion creates the air pockets and contributes to the overall volume and softness. Without sufficient gluten development, the dough won't have the strength to hold its shape as it puffs, resulting in a flatter naan with a tighter crumb.
However, over-kneading can also be detrimental, leading to a tough, rubbery texture. The goal is to develop just enough gluten to provide structure and elasticity for puffing and chewiness, while still allowing the naan to be tender. Pay attention to the dough's feel – it should be smooth, elastic, and resilient, but not overly tight. This balance in dough handling is a key aspect of successful oven-baked naan bread tips.
Resting and Proofing: Allowing Proper Dough Development
After kneading, the dough needs time to rest and proof. Resting allows the gluten to relax, making the dough easier to shape. Proofing, also known as fermentation, is when the yeast produces carbon dioxide gas, causing the dough to rise. Both steps are critical for developing flavor and achieving the right texture in your oven-baked naan. Resting for 10-15 minutes after kneading but before shaping can make a significant difference in how easily the dough rolls or stretches.
The main proofing period allows the dough to double in size. This process develops more complex flavors as the yeast works and creates the internal structure that will puff up in the oven. The length of proofing depends heavily on the temperature of your kitchen and the amount of yeast used. A typical proofing time might range from 1 to 2 hours at room temperature (around 70-75°F or 21-24°C). You can also do a slower, colder proof in the refrigerator overnight for enhanced flavor, which can take 8-24 hours.
Proofing Time: Impacting Rise, Texture, and Flavor
The duration of proofing directly influences the final characteristics of your oven naan. Under-proofed dough will be dense and won't puff well in the oven, resulting in a flat, heavy naan. Over-proofed dough, on the other hand, might rise initially but can collapse in the oven or produce a crumb with large, irregular holes and potentially a slightly alcoholic flavor. The ideal proofed dough should be visibly increased in size (often doubled) and feel light and airy.
Proper proofing also contributes significantly to the flavor profile of the naan. The longer fermentation times, especially cold proofing, allow the yeast and enzymes to break down starches and proteins, creating more aromatic compounds. This results in a more complex and delicious flavor compared to a rapidly proofed dough. Pay attention to the dough's appearance and feel rather than just relying on the clock, as ambient temperature plays a huge role in proofing speed.
Troubleshooting Common Naan Baking Issues
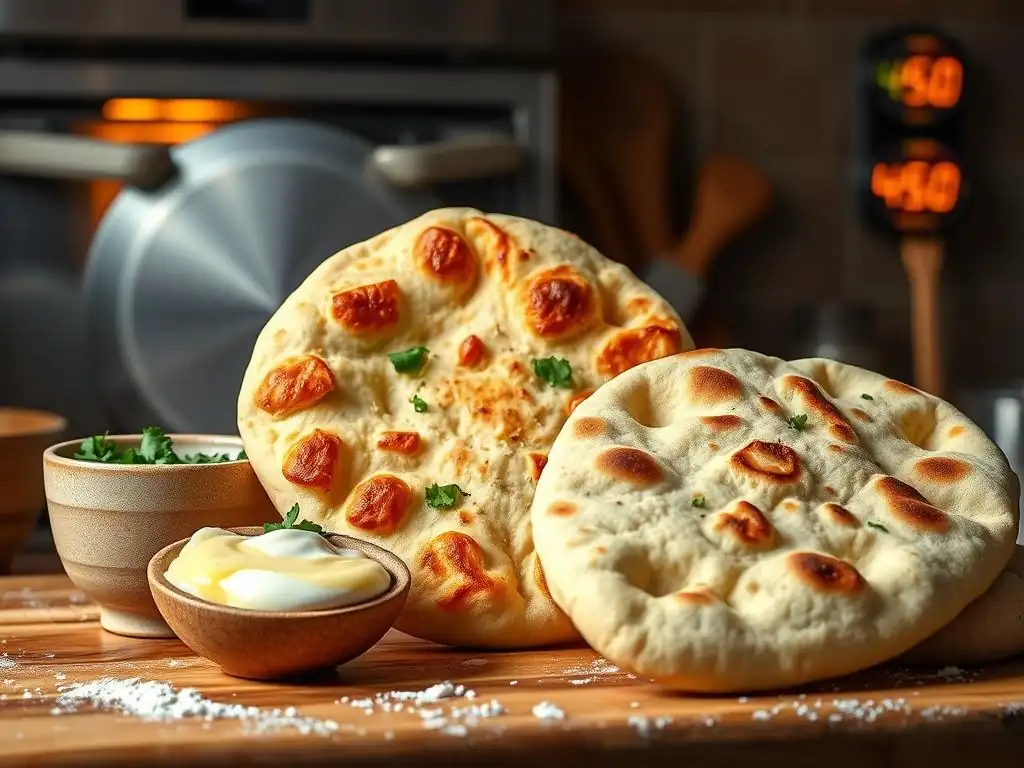
Preventing Soggy Naan: Achieving a Crispy Base
A common frustration when baking naan in your oven is a pale, soggy, or undercooked base. This almost always stems from insufficient heat transfer from the baking surface. If your naan base isn't getting properly browned and slightly crispy, consider these oven-baked naan bread tips:
- Increase preheating time: Ensure your baking stone or steel is truly saturated with heat. 60 minutes at max temperature is often necessary.
- Check oven temperature: Verify your oven is actually reaching the set temperature with an oven thermometer.
- Use a hotter surface: If using a baking sheet, switch to a preheated stone or steel. The material and thickness make a significant difference.
- Avoid overcrowding: Don't put too many pieces on the stone/steel at once, as this lowers the surface temperature too much.
By focusing on maximizing the heat of your baking surface and ensuring it's fully preheated, you can dramatically improve the base of your homemade oven naan.
Uneven Cooking: Strategies for Consistent Results
Uneven cooking, where parts of the naan are charred while others are pale, can occur due to hot spots in your oven or inconsistent heat transfer. While some uneven charring is desirable in naan, extreme differences indicate an issue.
- Rotate the naan: If you notice one side browning faster than the other, carefully rotate the naan halfway through the short baking time (e.g., at the 1.5-minute mark if baking for 3 minutes).
- Verify oven calibration: If unevenness is a persistent issue across all baking, your oven's temperature might be uneven. An oven thermometer placed in different spots can confirm this.
- Consistent dough thickness: Ensure your rolled or stretched naan pieces are of uniform thickness. Thicker parts will cook slower than thinner parts.
While achieving perfect uniformity is difficult in a home oven, these adjustments can help minimize extreme unevenness and result in more consistently baked oven naan.
Dough Sticking: Preventing Tearing and Ensuring Easy Handling
Sticky dough, especially with higher hydration levels, can be challenging to handle and transfer to the hot baking surface without tearing. This can lead to misshapen naan or difficulty achieving a good puff.
- Use enough flour (but not too much) when shaping: Lightly flour your work surface, hands, and rolling pin. The goal is just enough to prevent sticking, not to incorporate excessive dry flour into the dough.
- Semolina is your friend: Dusting your pizza peel or inverted baking sheet (used for transferring) generously with semolina flour prevents sticking better than wheat flour, as it doesn't absorb moisture as quickly.
- Work quickly: Once shaped, transfer the naan to the hot surface promptly. The longer it sits on the peel, the more likely it is to stick.
- Ensure proper gluten development: Well-kneaded dough is less likely to tear when handled.
Handling sticky dough takes practice. Don't be discouraged if your first few attempts aren't perfectly shaped. The taste will still be great! These oven-baked naan bread tips for handling sticky dough improve your success rate.
Recipe Adaptations for Oven-Baked Naan
Modifying Recipes: Adapting Tandoor Recipes for Oven Success
Many traditional naan recipes are written with a tandoor in mind. Adapting these for successful baking in your oven requires understanding the differences in cooking environments. The primary modification involves focusing on maximizing heat and heat transfer in the home oven, which might be less emphasized in a tandoor recipe that assumes extreme heat is readily available.
Key adaptations include:
- Increased oven temperature: Always preheat to the maximum temperature your oven allows (500-550°F / 260-290°C).
- Utilizing a baking stone or steel: This is crucial for replicating the intense bottom heat of a tandoor.
- Adding steam: Incorporating a steaming technique helps mimic the tandoor's humid environment, aiding in puffing and softness.
- Slight hydration adjustments: While tandoor recipes might use slightly lower hydration for sticking, a slightly higher hydration (68-75%) can often improve softness in a drier oven environment.
By focusing on these elements, you can take a recipe designed for a traditional tandoor and achieve excellent results when baking naan in your oven.
Sourdough Naan Recipe: A Flavorful Oven-Baked Variation
Sourdough adds a wonderful depth of flavor and a unique texture to naan. The natural fermentation provides a slight tanginess and contributes to a beautiful, airy crumb. Baking sourdough naan in your oven follows the same principles as yeasted naan regarding high heat and timing, but the dough handling and proofing are slightly different due to the sourdough starter.
A basic sourdough oven naan recipe might involve:
- Mixing active sourdough starter with warm water.
- Adding flour, yogurt (for tenderness), salt, and a pinch of sugar if desired.
- Kneading until smooth and elastic (about 10-15 minutes).
- Performing a bulk fermentation (proofing) at room temperature for 4-8 hours, or in the refrigerator for 12-48 hours, until doubled.
- Dividing the dough into portions, shaping, and resting briefly.
- Rolling or stretching each piece.
- Baking on a preheated stone/steel at maximum oven temperature for 3-5 minutes per side (flipping is often necessary for sourdough naan to ensure even cooking and blistering).
The slower fermentation of sourdough often leads to a more complex flavor profile in the finished oven naan, making it a rewarding variation to explore.
Serving Suggestions and Enjoying Your Naan
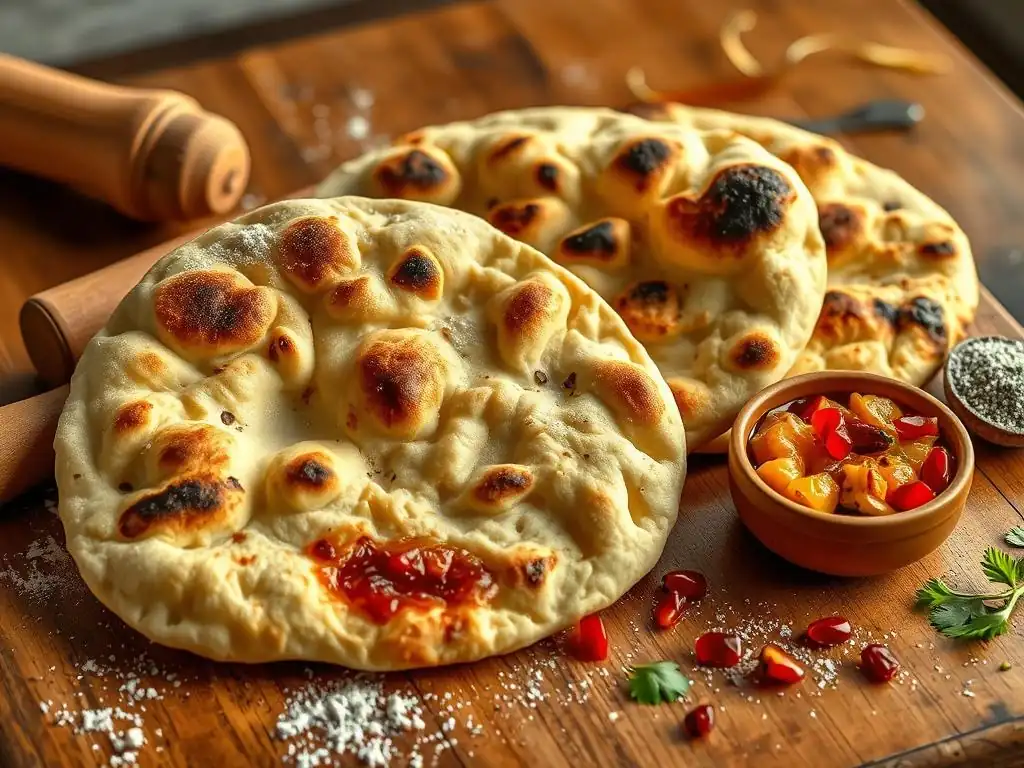
Complementary Dishes: Pairing Naan with Indian Cuisine
Warm, soft oven-baked naan is the perfect companion to a vast array of Indian dishes. Its absorbent nature makes it ideal for scooping up rich, flavorful curries like Butter Chicken, Chicken Tikka Masala, or Lamb Rogan Josh. The slight chewiness also contrasts beautifully with lentil dishes (dal) or vegetable curries (sabzi).
Beyond main courses, naan can be served alongside appetizers like kebabs or used as a base for mini pizzas or wraps. Garlic naan, brushed with melted butter infused with minced garlic and cilantro, is a classic pairing that elevates almost any Indian meal. The simple elegance of fresh, homemade oven naan enhances the entire dining experience.
Storing and Reheating: Maintaining Freshness and Flavor
Homemade oven naan is best enjoyed fresh and warm, straight from the oven. However, if you have leftovers, proper storage and reheating can help maintain its quality.
- Storing: Allow the naan to cool completely. Store cooled naan in an airtight container or a resealable plastic bag at room temperature for 1-2 days. For longer storage, freeze the cooled naan wrapped tightly in plastic wrap and then placed in a freezer bag for up to 2 months.
- Reheating: Avoid using a microwave, as it can make the naan tough. The best way to reheat oven naan is in a hot oven or on a stovetop.
- Oven: Preheat your oven to 350°F (175°C). Sprinkle the naan lightly with water (optional, helps create steam) and warm it directly on the oven rack or on a baking sheet for 2-4 minutes, or until soft and heated through.
- Stovetop: Heat a dry skillet or griddle over medium-high heat. Place the naan in the hot pan and warm for 1-2 minutes per side, until soft and pliable again.
Proper reheating methods ensure that your delicious homemade oven naan retains its tender texture and wonderful flavor, allowing you to enjoy it long after it's baked.
Conclusion: Achieving Authentic Naan in Your Home Oven
Recap: Key Elements for Perfect Blistered Naan
Achieving authentic, blistered, and soft naan when baking in your oven is entirely possible by focusing on a few key elements. The most critical oven-baked naan bread tips revolve around heat and timing: preheating your oven to its maximum temperature (500-550°F or 260-290°C), using a preheated baking stone or steel for intense heat transfer to the base, and baking the naan for a very short duration (typically 2-5 minutes) while closely monitoring visual cues like puffing and blistering.
Additionally, incorporating steam into the oven environment helps the top surface remain pliable for better blistering, and paying attention to dough hydration, gluten development through kneading, and proper proofing ensures a tender, flavorful crumb. Troubleshooting common issues like soggy bases or sticking dough with specific strategies further refines your technique for consistently excellent results.
Encouragement: Experimentation and Continuous Improvement
Baking naan in your oven is a skill that improves with practice. Don't expect perfection on your very first try. Each oven is different, and factors like ambient temperature and the specific flour you use can influence the outcome. Use these oven-baked naan bread tips as a foundation, but be prepared to experiment slightly with temperature, timing, and dough consistency to find what works best in your kitchen.
Embrace the process, learn from each batch, and soon you'll be regularly pulling warm, beautifully blistered homemade oven naan from your oven to share and enjoy. The journey of mastering this delightful flatbread is as rewarding as the first bite of a perfectly baked piece. Keep baking, keep experimenting, and enjoy the delicious results of your efforts!
Frequently Asked Questions
What is the ideal oven temperature for baking naan bread at home, according to BakeWithEase?
The ideal temperature is as high as your oven can go, typically between 500-550°F (260-290°C). This high heat is crucial for achieving the characteristic blistered texture of naan.
How long should I bake naan bread in the oven to get the best results?
Bake for a short time, usually 2-3 minutes per side, or until the naan is puffed up and lightly browned. Watch closely as they can burn quickly at high temperatures.
What's the secret to getting those signature blisters on oven-baked naan bread?
The key is a very hot oven and using a baking stone or steel. Preheating these surfaces ensures rapid cooking and blister formation.
Can I use regular all-purpose flour for making naan bread, or do I need a specific type?
While you can use all-purpose flour, using bread flour will result in a chewier and more authentic texture due to its higher gluten content.
Is there anything I can do to keep my naan bread soft after baking it in the oven?
Brush the baked naan with melted butter or ghee immediately after removing it from the oven. Also, stack them on a plate and cover them with a clean kitchen towel to trap steam and maintain softness.
Final Reflection: The Humble Naan, a Testament to Patience and Precision
The pursuit of perfect oven-baked naan is more than just a culinary quest; it's a journey of mastering heat, timing, and the subtle art of dough manipulation. The seemingly simple act of transforming flour and water into a soft, blistered masterpiece reveals a deeper truth about the rewards of patience and attention to detail in the kitchen. This journey, as detailed in this article, highlights the importance of understanding your oven's quirks and the nuances of dough hydration for achieving truly exceptional results.
The experience of baking naan, with its inherent challenges and ultimate triumphs, mirrors life's own unpredictable nature. The perfectly browned exterior, the airy interior – these are not merely the hallmarks of a successful bake, but symbols of perseverance and the beauty found in embracing imperfection. As the renowned chef, Julia Child, once said, A party without cake is just a meeting.
Similarly, a meal without the satisfying warmth and comforting flavor of homemade naan is simply incomplete. The process itself, from kneading the dough to carefully monitoring its rise and bake, fosters a deeper connection to the food we consume, reminding us of the simple pleasures found in mindful creation.
Now, I invite you to step into your kitchen, armed with the knowledge gleaned from this article. Don't be afraid to experiment, to embrace the occasional blister, and to learn from each bake. The journey to mastering oven-baked naan is a personal one, filled with both challenges and rewards. The next time you crave the comforting aroma and taste of freshly baked naan, remember the lessons learned here, and embark on your own culinary adventure. The perfectly blistered, golden-brown naan awaits!
Unleash Your Inner Naan Baker!
Thanks for joining us on this delicious journey into the world of homemade naan! We hope you've gained the confidence and know-how to bake perfect, bubbly naan right in your own kitchen. Ready to take your baking skills to the next level?
- Try our recipe today! Experiment with different herbs and spices to create your signature naan flavor. (This is our primary action – directly related to the article’s content)
- Share your naan-baking triumphs (and challenges!) with us on social media! Use #BakeWithEaseNaan to connect with other baking enthusiasts.
- Challenge yourself to bake naan for your next dinner party. Impress your friends and family with your newfound culinary skills!
What unique topping or flavor combination will you try in your next naan-baking adventure?