
Troubleshooting Baking Fails: Is Your Flour the Problem?

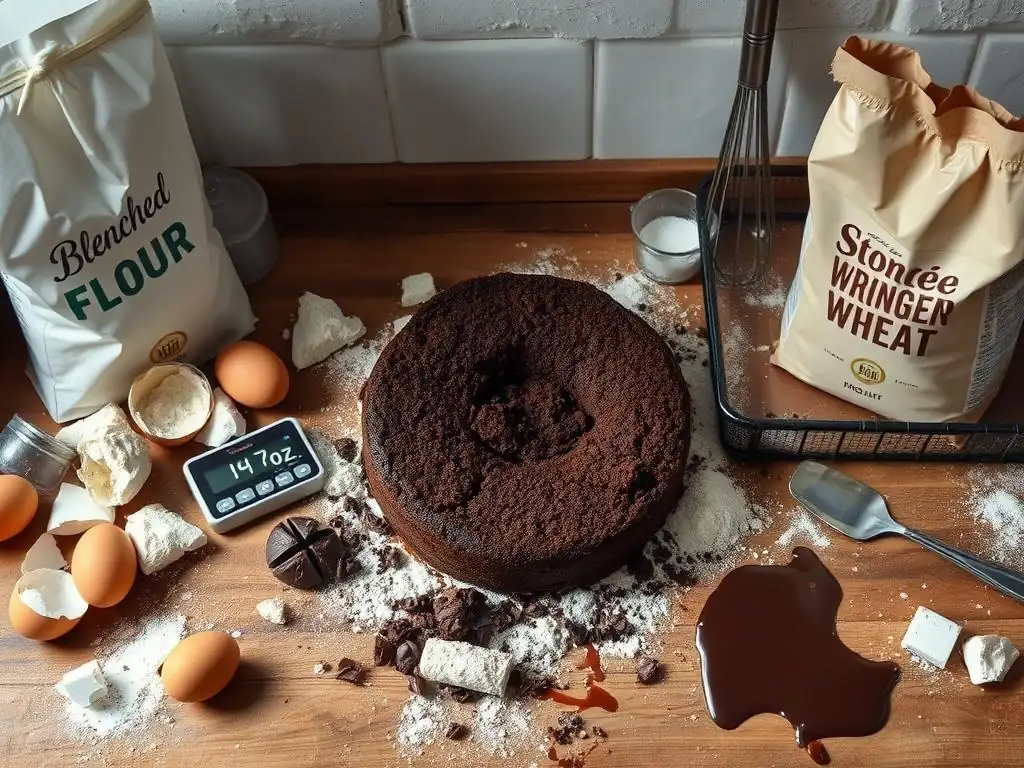
Welcome to BakeWithEase, where we believe everyone can create delicious baked goods! Ever wondered why your cookies spread too thin or your bread refuses to rise? You might be surprised to learn that the answer could be hiding in your flour! Dive into our latest article, " Troubleshooting Baking Fails: Is Your Flour the Problem?" and unlock the secrets to perfect baking. Discover how different flour types and storage methods can impact your results and learn simple fixes to rescue your next bake. Are you ready to banish baking mishaps forever?
- Introduction: Flour's Role in Baking Success (and Failures)
- Common Baking Problems Linked to Flour
- Different Types of Flour and Their Impact on Baking
- Flour Troubleshooting Baking Problems: A Step-by-Step Guide
- Specific Baking Fails and Their Flour-Related Causes
- Flour Storage Tips to Prevent Baking Issues
- Beyond Flour: Other Factors Affecting Baking Outcomes
- Conclusion: Mastering Flour for Baking Success with BakeWithEase
-
Frequently Asked Questions
- What are some common baking problems that might actually be related to the type of flour I'm using?
- How can I tell if my flour is too old or has gone bad?
- What's the difference between all-purpose flour, bread flour, and cake flour, and how does that impact my baked goods?
- How does humidity affect flour, and what adjustments should I make to my recipes?
- If a recipe calls for self-rising flour, but I only have all-purpose flour, what can I do?
- Final Reflection: Flour as the Foundation of Baking Success
- Unlock Baking Success: Diagnose & Conquer Flour Issues!
Introduction: Flour's Role in Baking Success (and Failures)
BakeWithEase: Understanding Flour for Perfect Results
Flour is often seen as a simple pantry staple, but it's actually the backbone of most baked goods. From the airy lift in a soufflé to the chewy crust of a baguette, flour provides the essential structure. Understanding the different types of flour and how they behave is crucial for anyone looking to improve their baking skills. At BakeWithEase, we believe that demystifying ingredients like flour is the first step towards consistent success in the kitchen. When things go wrong, mastering flour troubleshooting baking problems becomes an invaluable skill.
The composition of flour, particularly its protein content, dictates its properties and how it will perform in a recipe. Protein develops into gluten when mixed with liquid, and gluten is what gives dough elasticity and structure. Different flours have varying protein levels; for example, all-purpose flour typically has 10-12% protein, while bread flour can have 12-14% or even higher. This difference significantly impacts the final texture of your baked goods, from tender cakes to robust breads. Ignoring these differences is a common source of baking frustrations.
Common Baking Problems Linked to Flour
Many common baking problems can be traced back to the flour used or how it was handled. Have you ever baked a cake that turned out dense and heavy instead of light and fluffy? Or perhaps your cookies spread too much, becoming thin and crispy when you wanted chewy centers? Maybe your bread dough didn't rise properly, resulting in a brick-like loaf. These are classic signs that your flour might be contributing to the issue. Recognizing these specific symptoms is the first step in effective flour troubleshooting baking problems.
Other tell-tale signs include baked goods that are too dry or crumbly, lacking the desired moisture and structure. A tough texture in muffins or quick breads, rather than a tender crumb, can also point to issues with flour type or overmixing, which develops too much gluten. Even something as seemingly simple as pastry dough that shrinks excessively in the oven could be related to the flour's protein content and how the gluten was managed. Pinpointing the exact symptom helps narrow down the potential cause within the realm of flour.
Why Flour Can Cause Baking Disasters
Flour can be the culprit behind baking disasters for several reasons, ranging from its inherent properties to how it's stored and measured. Using the wrong type of flour for a specific recipe is a major cause; for instance, attempting to bake a delicate cake with high-protein bread flour will likely result in a tough texture due to excessive gluten development. Conversely, using low-protein cake flour in a rustic bread recipe won't provide enough structure for a good rise. This mismatch is a frequent source of flour troubleshooting baking problems.
Beyond type, the quality and freshness of the flour are critical. Stale flour can have diminished leavening power and off-flavors. Flour that has absorbed moisture or pests can ruin a batch of dough or batter entirely. Furthermore, inaccurate measuring is a rampant issue. Simply scooping flour directly from the bag with a measuring cup can pack in significantly more flour than needed – sometimes 20-30% more by weight – leading to a dry, heavy product because the hydration ratio is thrown off.
Different Types of Flour and Their Impact on Baking
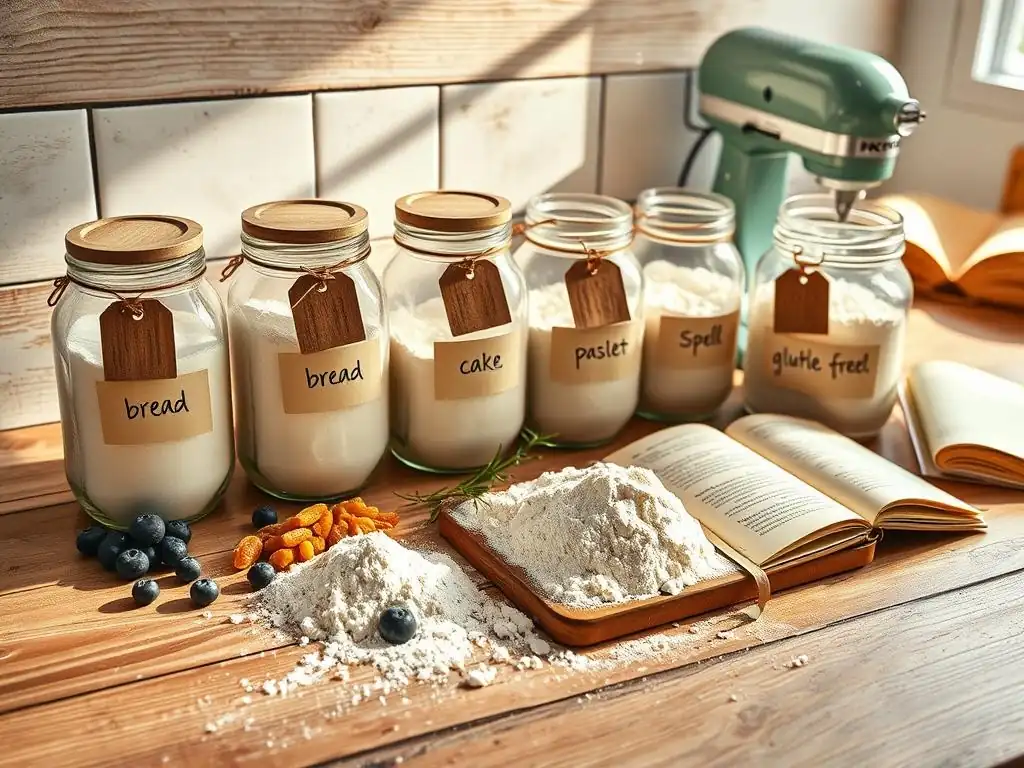
All-Purpose Flour: Versatility and Potential Issues
All-purpose flour is a kitchen staple, milled from a blend of hard and soft wheats, resulting in a moderate protein content, typically between 10% and 12%. This balanced protein level makes it suitable for a wide range of baked goods, from cookies and cakes to biscuits and pie crusts, hence the name "all-purpose." Its versatility makes it the go-to for many home bakers.
However, while versatile, it's not perfect for everything, and relying solely on it can lead to issues. For example, it might not provide enough gluten for a truly airy artisan bread or result in the ultimate tenderness desired in a delicate sponge cake.
One common issue with all-purpose flour arises from its moderate protein. When used in recipes requiring minimal gluten development, like tender muffins or scones, overmixing can quickly develop too much gluten, leading to a tough texture. On the flip side, for recipes where strong gluten is needed, like chewy bread, all-purpose flour might require more kneading or a longer fermentation time compared to bread flour to achieve the desired structure. Understanding these limitations is key when flour troubleshooting baking problems with this common type.
Bread Flour: High Gluten for Chewy Textures
Bread flour is specifically milled from hard wheat varieties and boasts a higher protein content, usually ranging from 12% to 14% or even higher. This elevated protein level is ideal for bread making because it facilitates the development of a strong, elastic gluten network when kneaded with liquid. This robust gluten structure is essential for trapping the gases produced by yeast, allowing the dough to rise significantly and creating that desirable chewy texture and open crumb structure found in artisanal loaves and bagels.
While excellent for yeasted breads, using bread flour in recipes designed for lower-protein flours can cause problems. For instance, substituting bread flour for cake flour in a delicate cake recipe will likely result in a dense, tough cake because the high protein creates too much structural chewiness. Similarly, using it in flaky pastries might make the dough harder to work with and result in a less tender final product. Recognizing when and where to use this high-gluten flour is crucial for successful baking outcomes and effective flour troubleshooting baking problems.
Cake Flour: Low Protein for Tender Crumbs
Cake flour is milled from soft wheat and has a significantly lower protein content, typically between 6% and 8%. It is also often finely milled and sometimes bleached, which further alters its protein structure and ability to absorb liquid. This low protein level means less gluten development, which is precisely what is needed for creating baked goods with a very fine, soft, and tender crumb, such as sponge cakes, angel food cakes, and some delicate pastries. The goal here is minimal structure for maximum tenderness.
Using cake flour outside of its intended purpose can lead to frustrating results. For example, attempting to make a chewy pizza crust or a rustic loaf of bread with cake flour will result in a weak, likely flat dough that lacks the necessary structure to hold its shape or develop a good rise. The low protein simply cannot form the strong gluten network required for such recipes. Understanding the specific properties of cake flour helps prevent these issues and aids in flour troubleshooting baking problems related to tender baked goods.
Pastry Flour: A Balance for Flaky Goodness
Pastry flour strikes a balance between all-purpose and cake flour, typically having a protein content ranging from 8% to 10%. Like cake flour, it's milled from soft wheat, contributing to tenderness. However, its slightly higher protein content provides just enough structure for recipes where some development is needed, but not so much that it creates toughness. This makes it ideal for pastries like pie crusts, tarts, biscuits, and scones, where a combination of tenderness and flakiness is desired.
Using pastry flour in place of flour with a very different protein content can affect the final texture. Substituting it for high-protein bread flour in a yeast bread will result in a loaf with less volume and a weaker structure. Conversely, using all-purpose flour instead of pastry flour in a delicate pie crust might make the dough slightly tougher and less tender, potentially impacting flakiness. While sometimes substitutable with adjustments, using the correct pastry flour helps ensure that perfect flaky-yet-tender texture.
Alternative Flours: Gluten-Free Baking Challenges
Alternative flours, such as almond flour, coconut flour, rice flour, oat flour, and various gluten-free blends, introduce entirely new dynamics to baking, primarily due to the absence of gluten. Gluten is the primary structural component in traditional wheat baking, providing elasticity, chewiness, and the ability to trap gas for leavening. Without it, bakers must rely on other ingredients and techniques to provide structure, binding, and moisture retention, which presents unique flour troubleshooting baking problems.
For instance, almond flour, made from ground almonds, is high in fat and protein but lacks gluten. It provides moisture and richness but requires binders like eggs or xanthan gum to prevent baked goods from being crumbly. Coconut flour is highly absorbent, often requiring significantly more liquid than wheat flour, and using too little liquid results in a very dry product.
Rice flour, while providing some structure, can sometimes result in a gritty texture. Gluten-free blends attempt to mimic wheat flour's properties by combining various flours (like rice, tapioca, potato) and starches, but their behavior can vary greatly between brands and recipes. Mastering these flours requires understanding their unique properties and how they interact.
Flour Troubleshooting Baking Problems: A Step-by-Step Guide
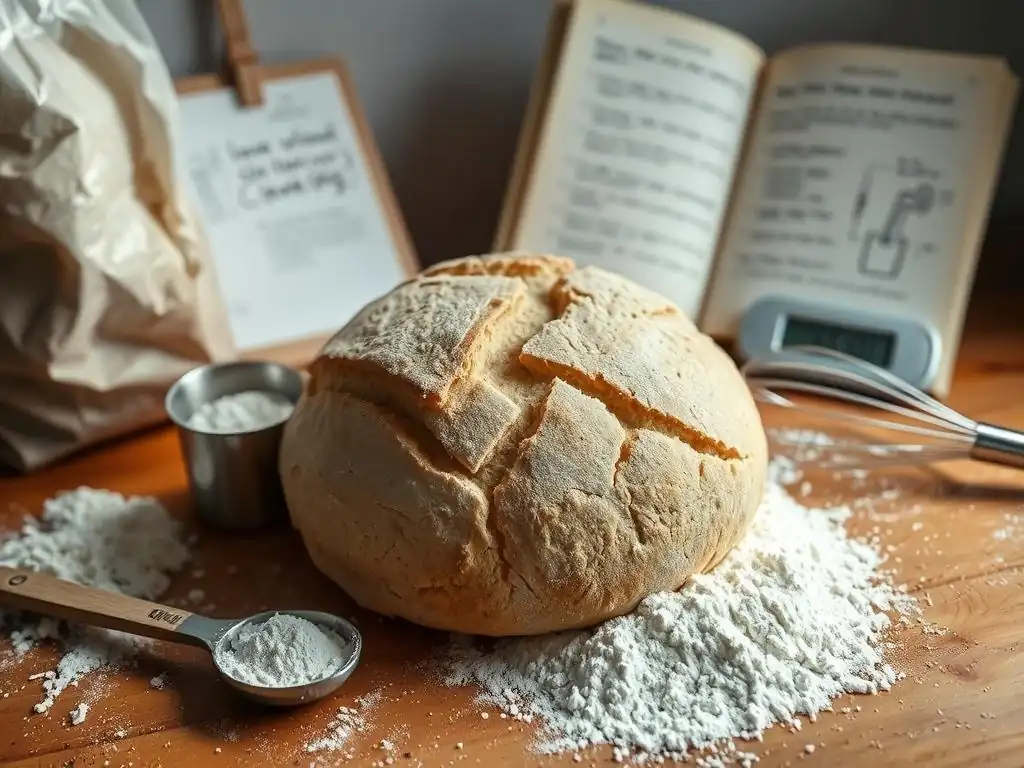
Step 1: Inspecting Your Flour for Freshness and Quality
Checking for Expiration Dates and Unusual Odors
The first step in effective flour troubleshooting baking problems is to assess the quality of the ingredient itself. While flour doesn't have a strict expiration date like dairy, it does have a "best by" or "use by" date printed on the package. This date is a good indicator of freshness.
While flour might be safe to use past this date, its quality can degrade. White flour typically lasts 6-12 months past the printed date if stored properly, while whole wheat or alternative flours, due to their higher oil content, last only 3-6 months. Using stale flour can result in baked goods that don't rise properly or have off-flavors.
Beyond the date, trust your senses. Fresh flour should have a neutral, slightly sweet, or nutty aroma, depending on the type. If your flour smells musty, rancid, or otherwise unpleasant, it's likely past its prime or has been improperly stored. This can significantly impact the flavor of your baked goods and potentially affect leavening. For example, a faint, stale smell in your all-purpose flour could be the reason your cookies taste slightly off or your cake lacks vibrancy. Discarding questionable flour is often the simplest solution to prevent baking issues.
Identifying Signs of Infestation in Your Flour
Another critical aspect of inspecting your flour is checking for signs of pantry pests, most commonly flour beetles or weevils. These tiny insects can lay eggs in the flour, which hatch into larvae. While generally harmless to consume, finding them is unpleasant and indicates improper storage or that the flour was contaminated before purchase. Look for small, dark beetles crawling in the flour or on the packaging. You might also see tiny larvae, webbing, or clumps in the flour itself.
Even if you don't see active insects, look for tiny pinholes in paper packaging or evidence of tampering if the flour was purchased in a bag. Storing flour in airtight containers is the best defense against pests, but it's wise to inspect new bags or containers periodically. If you find signs of infestation, the safest course of action is to discard the affected flour and thoroughly clean the storage area to prevent spread. Using infested flour will not only ruin your baked goods but can contaminate your entire pantry.
Step 2: Measuring Flour Accurately for Consistent Results
The Importance of Precise Flour Measurements
In baking, precision is paramount, and nowhere is this more true than with flour. Unlike cooking, where ingredients can often be adjusted by taste, baking is a chemical process where ratios matter significantly. The amount of flour relative to liquid and other ingredients directly impacts the texture, structure, and hydration of your dough or batter. Using too much flour is one of the most common reasons for dense cakes, tough cookies, or dry breads. Accurate measurement is a fundamental step in effective flour troubleshooting baking problems.
Consider a standard cookie recipe calling for 2 cups of all-purpose flour. If you scoop directly from the bag with a measuring cup, you could easily pack in an extra 20-30 grams (or even more) of flour per cup compared to measuring by weight or using the spoon-and-level method. For a 2-cup recipe, this means you might be using 40-60+ grams of extra flour. This excess flour absorbs more liquid, leading to a stiffer dough or batter that produces drier, tougher, and less spread-out cookies than intended by the recipe developer.
Spooning and Leveling vs. Weighing Flour
There are two primary methods for measuring flour: volume (using cups) and weight (using a kitchen scale). For volume measurement, the most recommended technique is "spooning and leveling." Gently fluff the flour in its container with a spoon, then lightly spoon the flour into your dry measuring cup until it's overflowing.
Do not scoop directly with the cup, as this compacts the flour. Finally, use a straight edge (like the back of a knife or a ruler) to level off the excess flour across the top of the cup. This method aims for a more consistent volume measurement compared to scooping.
However, the most accurate method, and the one preferred by professional bakers and recipe developers, is weighing flour using a digital kitchen scale. Flour density can vary slightly depending on humidity, milling, and type, but a gram is always a gram. A cup of all-purpose flour, properly spooned and leveled, typically weighs around 120-125 grams. A scooped cup can easily weigh 140-150 grams. Recipes that provide measurements by weight eliminate this variability entirely, ensuring you use the exact amount intended. Investing in a scale is highly recommended for serious bakers seeking consistent results and easier flour troubleshooting baking problems.
Step 3: Understanding Flour Hydration and Gluten Development
How Different Flours Absorb Water
Flours differ significantly in their ability to absorb and retain moisture, a property known as hydration capacity. This capacity is largely influenced by the protein and starch content. Higher protein flours, like bread flour (12-14%+ protein), can absorb more water than lower protein flours like cake flour (6-8% protein). This is because protein structures, particularly gluten-forming proteins, bind to water. Starch granules also absorb water, but less effectively than protein. Whole wheat flour, containing the bran and germ, also has different absorption properties due to the fiber content, often requiring more liquid than white flour.
This difference in absorption directly impacts dough consistency. If you substitute a high-absorption flour for a low-absorption flour without adjusting the liquid, your dough will be too dry and stiff. Conversely, using a low-absorption flour with a recipe designed for high absorption will result in a wet, sticky dough.
For example, replacing 100g of all-purpose flour (absorbing maybe 60g of water) with 100g of bread flour (absorbing 65-70g of water) in a recipe will make the dough slightly drier than intended. Understanding these absorption rates is key to managing dough consistency and addressing flour troubleshooting baking problems related to dryness or stickiness.
The Role of Gluten in Baking Structure
Gluten is a protein complex formed when glutenin and gliadin, the primary proteins in wheat flour, are mixed with water and manipulated (like kneading or mixing). Gluten strands develop into an elastic network that provides structure and elasticity to dough and batter. In bread making, this network is crucial for trapping carbon dioxide gas produced by yeast, causing the dough to rise. The strength of the gluten network determines the chewiness and texture of the final product.
Different flours develop gluten differently based on their protein content. Bread flour, with high protein, develops a strong, elastic gluten network ideal for chewy breads. Cake flour, with low protein, develops a weak gluten network, perfect for tender cakes.
Overworking dough or batter made with moderate to low-protein flours (like all-purpose in muffins or cakes) can develop too much gluten, leading to toughness. Conversely, not developing enough gluten in bread dough (by insufficient kneading or using low-protein flour) results in a dense loaf with poor rise. Managing gluten development through flour choice and mixing technique is central to flour troubleshooting baking problems related to texture.
Step 4: Adjusting Recipes Based on Flour Type and Environmental Factors
Adapting Recipes for Different Flour Varieties
Successfully substituting one type of flour for another often requires more than a simple 1:1 replacement. Because flours vary in protein content, absorption rate, and particle size, adjustments to liquid, leavening, or even mixing technique may be necessary. For instance, if a recipe calls for all-purpose flour and you want to use bread flour for a chewier result, you might need to slightly increase the liquid (perhaps by 5-10%) because bread flour absorbs more water. You might also need to knead slightly longer to fully develop the stronger gluten.
Conversely, if you're using cake flour instead of all-purpose in a recipe (where tenderness is key), you'll likely need to decrease the liquid slightly (perhaps by 5%) as cake flour absorbs less. You must also be extremely careful not to overmix, as the small amount of gluten in cake flour develops very quickly and can still lead to some toughness.
Substituting alternative flours requires even more significant adjustments, often involving adding binders, altering liquid amounts drastically, and potentially changing baking times or temperatures. Consulting reliable substitution charts or recipes specifically developed for the alternative flour is crucial for flour troubleshooting baking problems when making swaps.
Accounting for Humidity and Altitude
Environmental factors like humidity and altitude can significantly impact baking outcomes, largely by affecting how flour behaves. In high humidity environments, flour absorbs moisture from the air. This means your flour might already contain more moisture than expected, potentially requiring you to slightly decrease the liquid called for in a recipe.
Failing to account for this can result in a dough or batter that is too wet and sticky, leading to poor structure and spread. For example, a recipe tested in a dry climate might yield a perfect cookie dough, but in a humid climate, the same recipe using the same weight of flour might produce cookies that spread excessively due to the extra moisture absorbed by the flour.
Baking at high altitude (generally above 3,000 feet or ~900 meters) presents different challenges. Air pressure is lower, which allows leavening gases to expand more rapidly, potentially causing baked goods to rise too quickly and then collapse. Liquids also evaporate faster at higher altitudes.
To counteract this, high-altitude baking adjustments often involve increasing the liquid slightly (to prevent dryness), slightly decreasing chemical leaveners (baking soda/powder), sometimes decreasing sugar (which weakens structure), and potentially increasing flour slightly or using a flour with slightly higher protein to provide more structural support. These adjustments are vital for successful flour troubleshooting baking problems in different climates.
Dense Cakes: Could Your Cake Flour Be to Blame?
A dense cake, lacking that desirable light and airy crumb, is a common baking frustration. While many factors can contribute, the flour choice and handling are often key culprits. If you used all-purpose flour instead of lower-protein cake flour in a recipe specifically designed for cake flour (like a classic sponge or angel food cake), the higher protein content (10-12% vs 6-8%) would lead to too much gluten development. This excess gluten creates a tougher, chewier structure that weighs down the cake, preventing it from achieving a delicate crumb and contributing to a dense texture.
Even when using the correct cake flour, overmixing the batter can lead to density. Cake flour has minimal protein, but even that small amount can develop into gluten if over-agitated. Overmixing strengthens the gluten network, reducing tenderness.
Additionally, inaccurate flour measurement – packing too much flour into the measuring cup – is a frequent cause of dense cakes, regardless of flour type. Excess flour absorbs too much liquid, resulting in a dry, heavy batter that struggles to rise properly, leading to a dense final product. Proper flour troubleshooting baking problems for dense cakes starts with examining the flour type and measurement technique.
Cookies that spread excessively thin, losing their shape and becoming uniformly flat, can often be linked back to flour issues, particularly with all-purpose flour. While other factors like butter temperature (using melted butter instead of softened) or too much sugar/leavening play a role, the flour's protein content and how it was measured are critical.
If you used a lower-protein flour than the recipe intended (e.g., pastry flour instead of all-purpose), the dough might lack sufficient structure to hold its shape during baking, leading to excessive spread. All-purpose flour (10-12% protein) provides a moderate gluten structure that helps cookies hold their shape while still allowing for some spread.
However, more commonly, flat cookies result from using too little flour relative to the fat and sugar. This can happen if you accidentally use a low-protein flour, or more often, if you under-measure your all-purpose flour. Scooping flour incorrectly (not fluffing or leveling) can lead to using less flour than intended by weight.
For instance, if a recipe expects 125g per cup but your under-measured scoop is only 100g, you're significantly reducing the structural component. The dough is too wet and lacks the protein network needed to resist the spread caused by melting butter and expanding gases in the oven, resulting in a thin, flat cookie. Accurate measurement is paramount when flour troubleshooting baking problems with cookies.
Tough Bread: Bread Flour Troubleshooting Tips
Tough, rubbery bread is usually a sign of excessive gluten development. While bread flour is designed for high gluten, even with this flour, issues can arise. The most common cause of tough bread when using bread flour (12-14%+ protein) is overmixing or over-kneading. While kneading is necessary to develop gluten for structure, continuing to knead well beyond the point where the dough is smooth and elastic can tighten the gluten network too much, resulting in a dense, tough texture instead of an open, airy crumb. Finding the sweet spot for kneading is crucial.
Another potential issue, though less common with bread flour specifically designed for yeast baking, is using a flour that is too "strong" for the intended bread style. Some very high-protein flours are best suited for specific long-fermentation or high-hydration doughs. Using them in a simple, quick bread recipe might make it difficult to achieve a tender crumb.
Furthermore, inadequate hydration can contribute to toughness; if there isn't enough liquid for the amount of high-protein flour, the gluten can't hydrate properly, leading to a stiff, tough dough that bakes into a dense loaf. Ensuring correct flour type, proper kneading, and adequate hydration are key steps in flour troubleshooting baking problems for bread.
Dry Pastries: Choosing the Right Flour for Flakiness
Dry, crumbly pastries like pie crusts or biscuits often suffer from issues related to flour choice or handling. The goal for flaky pastries is to minimize gluten development while ensuring just enough structure. This is why pastry flour (8-10% protein) or a combination of all-purpose and cake flour is often recommended, as their moderate-to-low protein content limits gluten formation. Using a higher-protein flour like all-purpose or, worse, bread flour, will inevitably lead to more gluten development, resulting in a tougher, less tender, and potentially dry pastry because the gluten network binds moisture differently than a tender crumb.
Beyond flour type, overworking the dough is a primary cause of dryness and toughness. When making flaky pastries, you typically cut cold fat (like butter) into the flour. The fat creates layers within the dough. During baking, the water in the fat turns to steam, separating these layers to create flakiness.
Excessive mixing or kneading develops gluten and also breaks down the fat particles too much, preventing proper layering. This results in a dense, dry texture lacking flakiness. Accurate measurement of flour (not using too much) and gentle handling to avoid gluten development are critical for preventing dry pastries and effective flour troubleshooting baking problems in this category.
Flour Storage Tips to Prevent Baking Issues
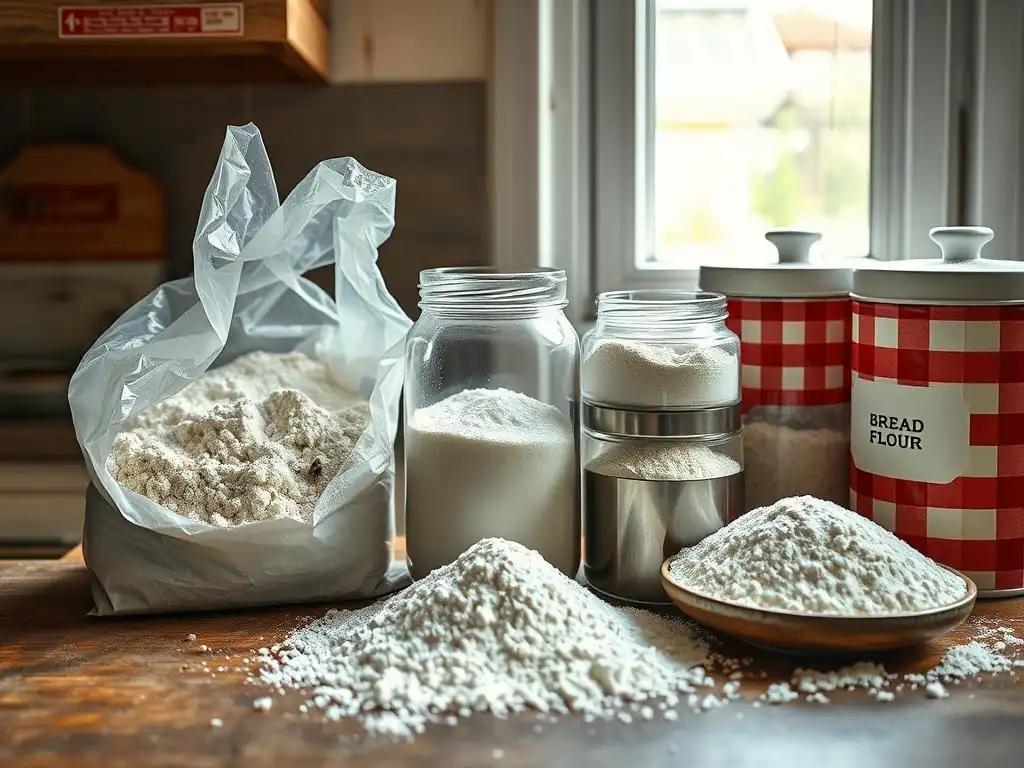
Proper Flour Storage for Optimal Freshness
Proper storage is essential for keeping your flour fresh and preventing it from causing future baking problems. Flour is susceptible to absorbing moisture and odors from the environment, as well as attracting pests. The ideal storage location is a cool, dry, dark place, away from direct sunlight and heat sources like ovens or stovetops. Heat and light can accelerate the oxidation of fats in flour, especially whole grain varieties, leading to rancidity and off-flavors.
Once opened, it's best to transfer flour from its paper bag into an airtight container. Options include plastic food storage containers with tight-fitting lids, glass jars, or heavy-duty resealable plastic bags. This protects the flour from moisture, odors, and pests.
For longer-term storage, particularly for whole wheat or alternative flours which are more perishable, the refrigerator or freezer is recommended. Storing flour in the freezer can extend its shelf life significantly – white flour can last up to 2 years frozen, while whole wheat can last up to a year. Just be sure to let it come to room temperature before measuring and using it to prevent condensation issues.
Preventing Pests and Moisture Damage
Preventing pantry pests, like flour beetles and weevils, is a major reason for proper flour storage. Pests are attracted to food sources, and an open bag of flour is an easy target. Using airtight containers is the most effective deterrent. Ensure the containers are clean and dry before filling them. Regularly inspecting your pantry for spills or open packages can also help catch potential infestations early. If you do find pests, it's important to discard all affected dry goods, clean the shelves thoroughly with soap and water or vinegar solution, and store new items in airtight containers.
Moisture is another enemy of flour. Excess moisture can cause flour to clump, develop mold, and become stale faster. Storing flour in a dry location, away from areas with high humidity (like near sinks or dishwashers), is crucial. If you live in a particularly humid climate, consider storing flour in the refrigerator or freezer, as these environments are typically drier than the pantry. Always ensure your hands, measuring tools, and containers are completely dry before handling flour. Preventing moisture uptake and pest infestation through diligent storage practices significantly reduces potential flour troubleshooting baking problems down the line.
Beyond Flour: Other Factors Affecting Baking Outcomes
The Importance of Oven Temperature
While flour plays a starring role, it's crucial to remember that baking success depends on several interacting factors. Oven temperature is one of the most critical. An oven that is too hot can cause the outside of a cake or bread to set too quickly before the inside has cooked or the leavening has fully worked, resulting in a dense center or cracks. Conversely, an oven that is too cool can lead to pale, flat cookies or cakes that don't rise properly and have a gummy texture because the structure doesn't set fast enough.
Many home ovens are not calibrated accurately and can be off by as much as 25-50°F (15-30°C) from the set temperature. Using an inexpensive oven thermometer placed inside the oven is highly recommended to verify its actual temperature. Preheat your oven for a sufficient time (often 15-20 minutes after it indicates it's reached temperature) to ensure it's truly hot and the heat is evenly distributed. Proper oven temperature ensures that chemical reactions (like leavening activation and protein coagulation) happen at the right speed, contributing to the desired texture and rise alongside the properties of your flour.
Mixing Techniques and Their Impact
How you mix your ingredients has a profound impact on the final texture of your baked goods, closely interacting with the flour's properties. Different recipes call for different mixing methods – creaming butter and sugar for cookies and cakes, the muffin method (wet into dry), or kneading for bread. Each method is designed to achieve a specific outcome, often related to gluten development and aeration.
Overmixing is a common issue that can ruin baked goods, especially those relying on low-to-moderate protein flours for tenderness (cakes, muffins, biscuits). Excessive mixing develops too much gluten, resulting in a tough texture. For example, muffin batter should be mixed only until the dry ingredients are just moistened; a few lumps are fine.
Overmixing cookie dough after adding flour can also lead to tougher cookies. Conversely, undermixing bread dough will result in insufficient gluten development, leading to a dense loaf with poor structure. Understanding the purpose of each mixing stage and knowing when to stop is vital, working in tandem with your flour choice for optimal results.
Ingredient Quality and Interactions
The quality and temperature of other ingredients also significantly influence baking outcomes and interact with the flour. For instance, using expired or inactive leavening agents (baking soda or powder) will result in poor rise, regardless of how perfect your flour is. Old yeast won't produce enough gas for bread to rise. The temperature of ingredients matters too; using cold eggs or liquid in a recipe calling for room temperature ingredients can affect emulsion and texture. Cold butter is essential for flaky pastries, while softened or melted butter is needed for different cookie textures.
The interaction between ingredients is also key. Sugar, for example, can inhibit gluten development by competing for water, contributing to tenderness and spread in cookies. Fat tenderizes baked goods by coating flour particles and preventing gluten strands from fully connecting. Acids (like buttermilk, yogurt, or lemon juice) react with baking soda for leavening and can also affect gluten development. Ensure all your ingredients are fresh, measured correctly, and at the specified temperature in the recipe. Addressing these factors alongside flour troubleshooting baking problems provides a holistic approach to improving your baking success.
Conclusion: Mastering Flour for Baking Success with BakeWithEase
Flour Troubleshooting: Your Key to Consistent Baking Results
Understanding flour is arguably the most important step in mastering baking and consistently achieving successful results. Flour is not just a filler; it's a dynamic ingredient whose type, quality, measurement, and interaction with other ingredients dictate the structure, texture, and overall outcome of almost everything you bake. From the delicate crumb of a cake to the chewy crust of a loaf of bread, the flour you choose and how you handle it are fundamental.
By learning to identify common flour-related issues – such as using the wrong type, inaccurate measurement, improper storage, or misunderstanding hydration and gluten – you gain the power to anticipate and prevent many baking failures. Following a systematic approach to flour troubleshooting baking problems, from inspecting your flour's quality to adjusting recipes and understanding environmental impacts, empowers you to bake with greater confidence and consistency. At BakeWithEase, we encourage you to delve deeper into the world of flour, experiment thoughtfully, and turn those frustrating baking fails into delicious victories. Happy baking!
Frequently Asked Questions
Many baking fails, like dense cakes or flat cookies, can stem from using the wrong type of flour. Also, incorrect flour measurement is a common problem.
How can I tell if my flour is too old or has gone bad?
Old flour can develop a musty odor or attract pests. A simple test is to smell it – if it smells off, it's best to discard it. Using fresh flour is crucial for optimal results.
What's the difference between all-purpose flour, bread flour, and cake flour, and how does that impact my baked goods?
All-purpose flour is a versatile blend, bread flour has a higher protein content for strong gluten development, and cake flour is lower in protein for tender results. Using the correct flour type will affect the final texture.
How does humidity affect flour, and what adjustments should I make to my recipes?
High humidity can cause flour to absorb moisture, leading to sticky doughs or batters. You might need to use slightly less liquid in your recipe to compensate for this absorption.
If a recipe calls for self-rising flour, but I only have all-purpose flour, what can I do?
You can make a substitute for self-rising flour by adding baking powder and salt to all-purpose flour. A general rule of thumb is 1 teaspoon of baking powder and ¼ teaspoon of salt per cup of all-purpose flour to mimic self-rising flour.
Final Reflection: Flour as the Foundation of Baking Success
In the world of baking, the importance of flour cannot be overstated; it is the very foundation upon which our culinary creations stand. As we’ve explored in this article, understanding the nuances of flour—from its protein content to its storage conditions—can mean the difference between a delightful loaf of bread and a dense, disappointing brick. Today, as more people turn to baking as a source of comfort and creativity, the relevance of mastering flour troubleshooting baking problems has never been more critical.
Clearly, the impact of flour on our baking endeavors extends beyond mere ingredients; it shapes our experiences and memories in the kitchen. The way flour interacts with other components of a recipe can evoke feelings of nostalgia and joy, or frustration and disappointment. As we navigate these challenges, we are reminded of the words of Julia Child: > “No one is born a great cook, one learns by doing.” This sentiment resonates deeply as we embrace the learning process that comes with each baking attempt, reinforcing the idea that every failure is a stepping stone toward mastery.
As you reflect on your own baking journey, consider how the lessons from this article can inspire you to approach your kitchen experiments with renewed confidence and curiosity. Take the time to understand your flour and its role in your recipes, and don’t shy away from troubleshooting when things go awry. Remember, each baking fail is an opportunity to learn and grow, turning your kitchen into a space of exploration and creativity. So, roll up your sleeves, embrace the flour, and let your baking adventures flourish!
Unlock Baking Success: Diagnose & Conquer Flour Issues!
Thanks for diving into the world of flour and baking with us! We hope you gained valuable insights into how different flours can impact your baking results. Now it's time to put that knowledge into action.
- Experiment with a new flour type: Try a recipe you've made before, but this time substitute the flour to see the difference. Note your observations and share your experiences!
- Dive deeper into flour science: Explore our other articles on BakeWithEase for more baking tips and tricks. You might be surprised what you find!
- Share your baking triumphs (and disasters!): Let's create a community of bakers! Join the conversation in the comments and share your flour-related baking stories.
So, what new flour are you excited to experiment with in your next baking project?