
The Second Rise (Proofing): Getting That Ideal Shape and Texture

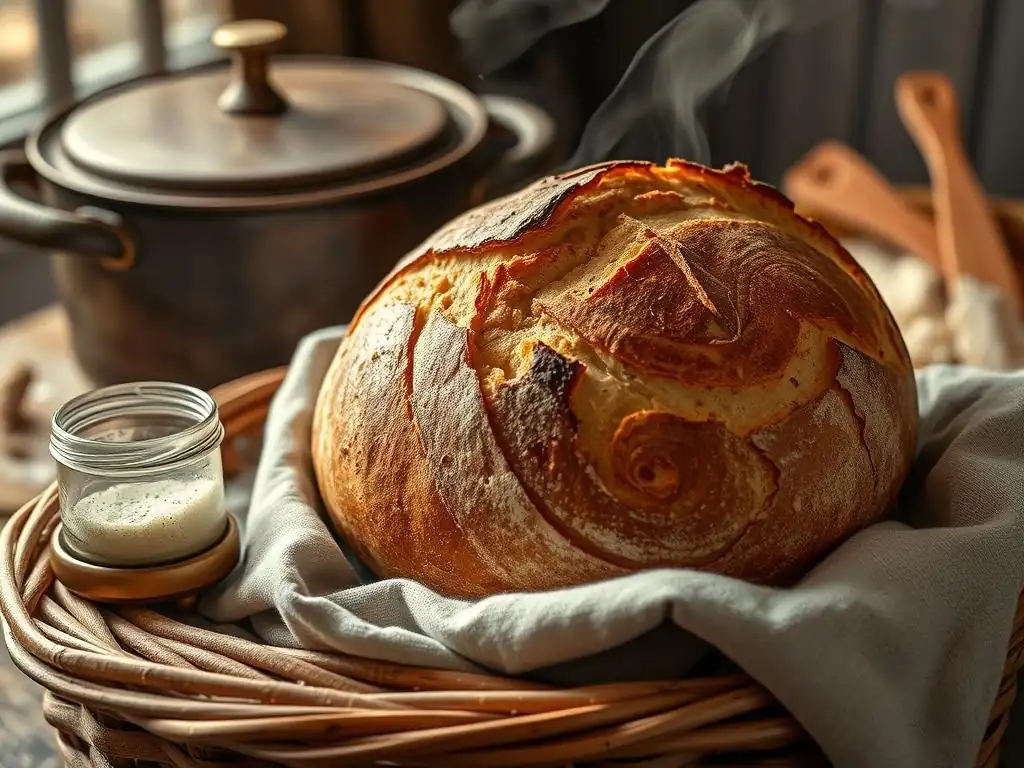
Welcome to BakeWithEase, your trusted companion on the journey to baking brilliance! Ever wondered what separates a good sourdough loaf from a truly exceptional one? It often comes down to the crucial second rise. Dive in to uncover the secrets of perfecting sourdough proofing techniques and learn how to coax that perfect shape and airy texture from your dough. Ready to elevate your baking game? Let's get started!
- The Second Rise: Achieving Ideal Shape and Texture for Brioche & Enriched Doughs
- Mastering Proofing Techniques
- Essential Tools and Equipment
- Step-by-Step Guide
- Troubleshooting Common Problems
- Achieving the Perfect Texture
- Advanced Techniques
- Tips and Tricks for Perfecting Techniques
- Conclusion.
-
Frequently Asked Questions
- What is the importance of the second rise (proofing) in sourdough baking?
- How do I know when my sourdough has been properly proofed?
- What factors can affect the proofing time of my sourdough?
- What are some common mistakes people make when proofing sourdough?
- Can I proof my sourdough in the refrigerator?
- Final Reflection: The Ever-Evolving Art of Sourdough Proofing
- Unlock Your Baking Potential: Master the Perfect Proof!
The Second Rise: Achieving Ideal Shape and Texture for Brioche & Enriched Doughs
Introduction to Proofing Brioche and Enriched Doughs
Proofing, often called the second rise, is a critical stage in baking, especially when working with delicate enriched doughs like brioche or challah. This phase allows the shaped dough to relax and fill with the carbon dioxide produced by the yeast, resulting in a light, airy texture in the final baked good.
Unlike the bulk fermentation which focuses on developing flavor and dough strength, proofing is primarily about achieving the optimal volume and structure before the dough hits the oven. Getting this stage right is key to preventing dense, heavy loaves or pastries and is a fundamental step in perfecting proofing techniques for these rich doughs.
Yeast, the magical microorganism behind fermentation and proofing, is particularly active in enriched doughs due to the presence of sugar and fat. During proofing, the yeast continues to consume sugars and produce carbon dioxide gas, which gets trapped within the gluten network of the dough. This gas inflates the dough, causing it to expand and become lighter.
Simultaneously, enzymes in the dough continue to break down starches and proteins, further developing flavor and tenderizing the crumb. Understanding the role of yeast and how it interacts with the ingredients in your brioche or enriched dough is vital for controlling the proofing process effectively.
Mastering Proofing Techniques
What is Proofing? Defining the Second Rise
Proofing specifically refers to the final rise of the dough after it has been shaped but before it is baked. It's the period where your carefully formed rolls, loaves, or pastries expand to their intended pre-bake size. Think of it as the dough taking its final breath before transforming in the heat of the oven.
This stage is distinct from bulk fermentation, which is the initial rise of the dough mass before it's divided and shaped. While both involve yeast activity and gas production, proofing is about the shaped dough achieving its ideal volume and structure for baking, directly impacting the final look and feel of your brioche or enriched bread.
Optimizing dough volume and texture during proofing is about finding the sweet spot – not too little rise, and definitely not too much. Proper proofing ensures that the gluten network is sufficiently expanded to hold the gas produced during oven spring (the final burst of rising in the oven), leading to a well-aerated crumb. An under-proofed dough won't have enough gas built up, resulting in a dense, tight crumb.
An over-proofed dough, on the other hand, will have a weakened gluten structure that can't support the gas, leading to collapse or a coarse, uneven texture. Perfecting proofing techniques means learning to read your dough and understand when it has reached its peak readiness for baking.
Essential Tools and Equipment
Setting Up Your Proofing Environment: Temperature and Humidity Control
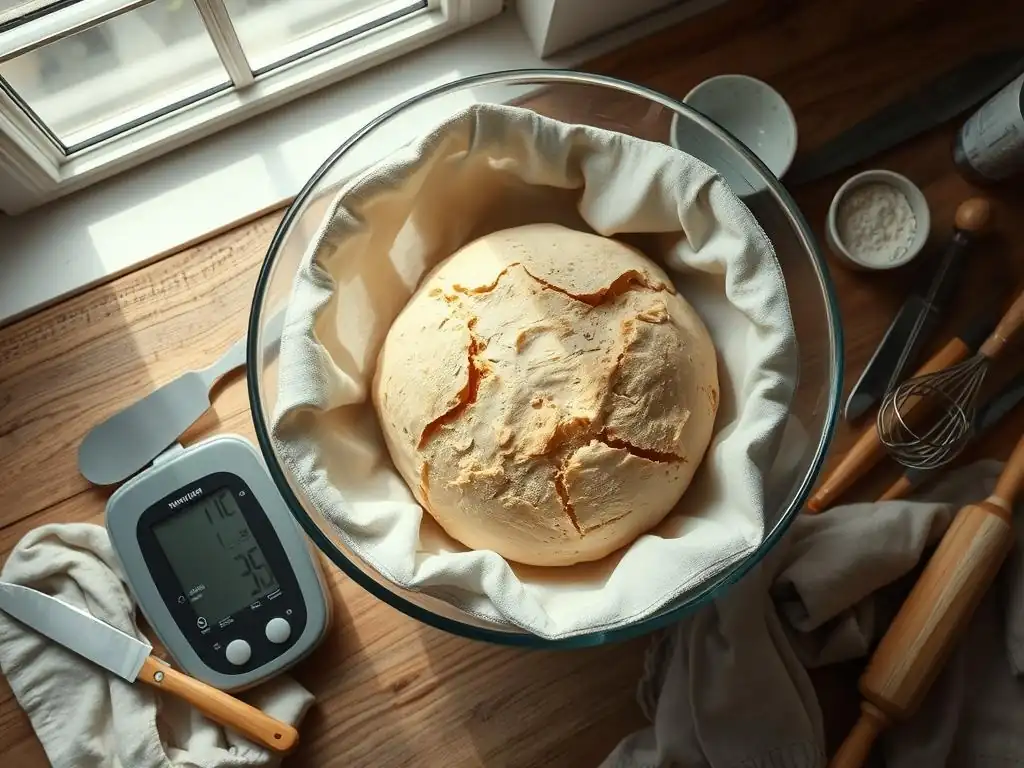
Controlling the environment is paramount when proofing brioche and other enriched doughs, as their high sugar and fat content can affect yeast activity and dough surface. An ideal proofing temperature for these doughs is often slightly warmer than standard lean doughs, perhaps in the range of 75°F to 85°F (24°C to 29°C). Consistent temperature allows for predictable rise times. Humidity is equally important; a dry environment will cause the dough surface to dry out and form a skin, restricting expansion and potentially leading to cracks during baking. Aim for a humid environment to keep the dough surface pliable.
One effective way to control both temperature and humidity is by using a proofing box. These can range from dedicated appliance proofers, which offer precise digital control, to simple DIY solutions like placing your dough in a turned-off oven with a pan of hot water on the rack below. The warm, steamy environment created helps the dough rise evenly without drying out.
If you don't have a proofing box, simply covering your dough loosely with plastic wrap or a damp kitchen towel can help maintain surface moisture, though it offers less control over temperature. Experimenting with these methods helps in perfecting proofing techniques for your specific kitchen conditions.
Step-by-Step Guide
Step 1: Preparing Your Dough for Proofing After Shaping
Once your brioche or enriched dough has been shaped into its final form – whether it's rolls, a loaf, or braided challah – it's crucial to handle it gently as you transfer it to its proofing vessel. The goal is to preserve the structure you've just created and avoid deflating the dough.
Techniques like using a bench scraper to carefully lift shaped rolls or transferring a loaf directly into a prepared loaf pan minimize stress on the gluten network and the trapped gas. A light dusting of flour on your work surface or hands can prevent sticking, but avoid incorporating excess flour into the shaped dough itself.
Choosing the right container or surface for proofing is also important. For loaves, a greased loaf pan provides support and helps the dough rise upwards. For rolls or individual pastries, spacing them adequately on a baking sheet lined with parchment paper is essential to prevent them from sticking together as they expand. If you plan to cold proof, a container with a lid or wrapping the item tightly in plastic wrap is necessary to prevent drying out in the refrigerator. Selecting the appropriate proofing setup sets the stage for successful expansion.
Step 2: Monitoring the Proofing Process
Monitoring your enriched dough during proofing is key to knowing when it's ready to bake. The most common method is the "poke test." Gently press a floured finger about half an inch into the side of the dough. If the indentation springs back immediately, the dough is under-proofed. If it springs back slowly, leaving a slight indentation, it's likely perfectly proofed. If the indentation remains completely or the dough collapses slightly, it's over-proofed. This test is a reliable indicator, but it takes practice to get a feel for the right resistance.
Visual cues are also invaluable. A correctly proofed enriched dough will look significantly larger than its shaped state, often doubled or nearly doubled in volume, depending on the specific recipe and desired outcome. The surface should appear smooth and puffy, not tight or shiny (which could indicate under-proofing or a dry skin) or wrinkled and fragile (a sign of over-proofing).
For example, a brioche loaf shaped into a pan might rise to just crest the rim, looking pillowy and ready for the oven. Observing these visual changes alongside the poke test refines your ability to gauge the second rise accurately.
Step 3: Adjusting Proofing Time
Proofing time is highly variable and depends significantly on the ambient temperature of your kitchen. At a warm room temperature, say 75°F (24°C), enriched dough might proof in 1 to 2 hours. In a cooler kitchen, perhaps 68°F (20°C), the same dough could take 2 to 3 hours or even longer. This is why relying solely on time is risky; always use the poke test and visual cues. If your kitchen is cooler than ideal, you might need to find a warmer spot, like near a sunny window or in a lightly warmed (then turned off) oven, to encourage the yeast.
Proofing in the refrigerator, known as cold proofing, drastically slows down yeast activity. At temperatures around 38°F (3°C), proofing can take anywhere from 8 to 24 hours, sometimes even longer. While much slower, cold proofing offers significant benefits: it develops deeper flavors, strengthens the dough structure, and provides immense scheduling flexibility. It's a popular technique for perfecting proofing techniques, particularly for sourdough enriched doughs or brioche destined for a weekend brunch. The extended time allows complex flavors to build while the cold temperature prevents over-proofing within a reasonable window.
Troubleshooting Common Problems
Addressing Under-Proofed Dough
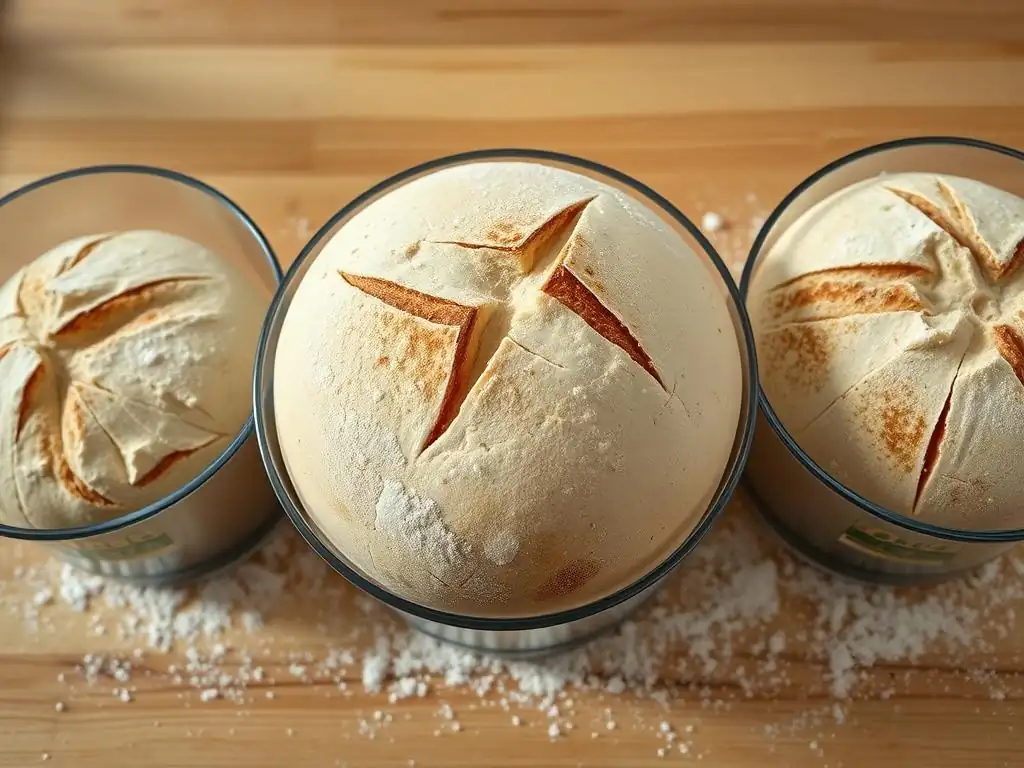
Under-proofed dough is a common issue, often resulting from insufficient proofing time or a cool environment. It manifests as dough that hasn't increased much in volume after shaping and feels dense and tight when poked. When baked, under-proofed dough tends to exhibit excessive oven spring, sometimes cracking aggressively on the surface, and the final product will have a dense, heavy, and possibly gummy crumb structure. The flavor might also be less developed.
If you realize your shaped enriched dough is under-proofed before baking, the easiest fix is to simply give it more time in a warm, humid environment. Place it back in your proofing setup and continue monitoring it using the poke test and visual cues. Patience is key here. Unfortunately, there's no way to truly "rescue" under-proofed dough after it's baked; the dense crumb is a permanent result of the insufficient rise before hitting the heat. Preventing under-proofing is far simpler than trying to fix it afterward, so always err on the side of caution and allow sufficient proofing time.
Managing Over-Proofed Dough
Over-proofed dough occurs when the shaped dough has risen too much and for too long, causing the gluten structure to weaken and collapse. You can identify over-proofing by the dough appearing overly large, potentially starting to spread out rather than rise upwards, and feeling extremely fragile and possibly deflated when touched (the poke test will leave a permanent indentation or cause the dough to deflate). The surface might look wrinkled or bubbly, indicating the gluten can no longer hold the gas.
Salvaging over-proofed enriched dough is challenging, but sometimes possible depending on the severity. If it's just slightly over-proofed and hasn't completely collapsed, you might be able to bake it immediately, handling it with extreme care to avoid deflating it further. The resulting loaf or rolls might still have a slightly coarse or uneven crumb.
If the dough has significantly collapsed, you can attempt to gently re-shape it, allow it a very short, careful proofing period (just enough to regain a little puffiness, maybe 15-30 minutes), and then bake it. This won't yield a perfect result, but it might salvage the dough for things like bread pudding or croutons, preventing waste.
Achieving the Perfect Texture
How Proofing Affects Crumb Structure
The proofing stage profoundly impacts the internal structure of your baked brioche or enriched bread – the crumb. During proofing, the yeast produces gas, creating air pockets within the dough. The gluten network, developed during kneading and bulk fermentation, stretches to accommodate this gas. Proper proofing allows these air pockets to expand sufficiently without the gluten tearing. When the dough bakes, the heat sets this structure, preserving the network of air cells.
A well-proofed enriched dough will typically result in a relatively even, tender crumb with moderate-sized air pockets. For brioche, the ideal is often a rich, soft crumb that pulls apart easily, achieved through careful proofing that allows the fats and sugars to contribute to tenderness while maintaining structure. An under-proofed dough leads to a tight, dense crumb with small, uneven holes.
An over-proofed dough can result in a crumb that is coarse, with large, irregular holes or even areas of collapse, as the weakened gluten couldn't hold the gas during oven spring. Perfecting proofing techniques is essential for achieving that signature soft, rich crumb characteristic of high-quality enriched doughs.
Advanced Techniques
Cold Proofing: Enhancing Flavor and Dough Strength
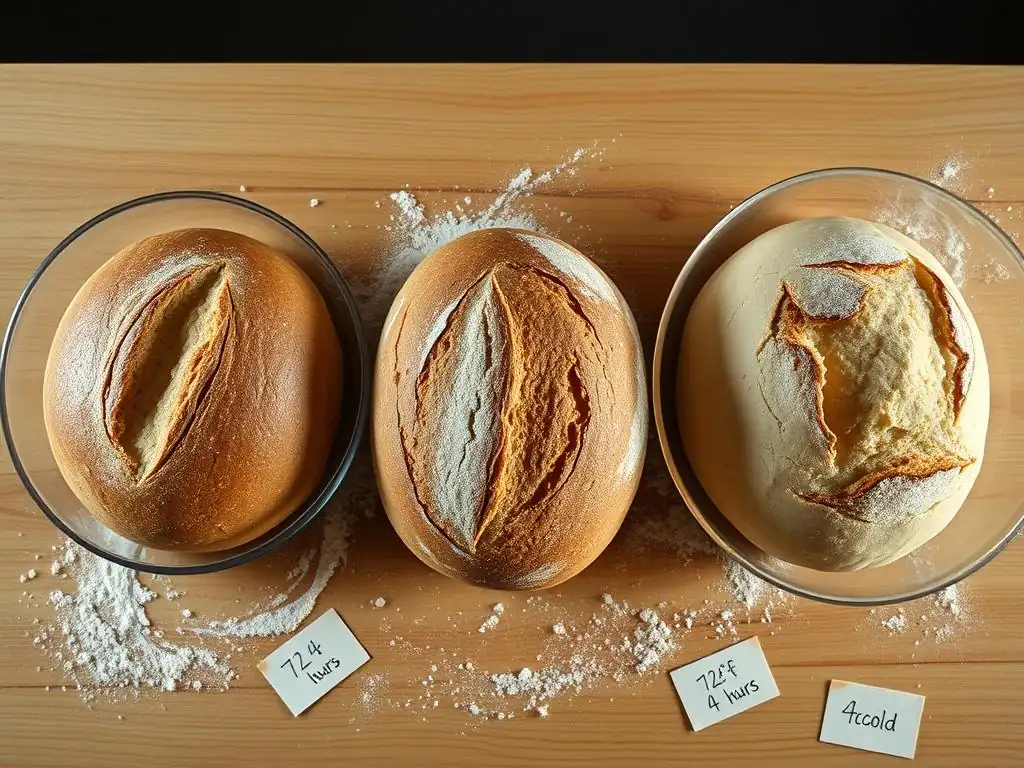
Cold proofing is a technique where the shaped enriched dough is placed in a refrigerator ( 38°F - 45°F or 3°C - 7°C) for an extended period, typically 8 to 24 hours, sometimes longer. This low temperature significantly slows down yeast activity but allows other beneficial processes to occur. Enzymes in the dough continue to break down complex carbohydrates into simpler sugars, which caramelize better during baking, leading to a richer crust color and deeper, more complex flavors. This slow fermentation also contributes to a more nuanced taste, a key aspect of perfecting sourdough proofing techniques, though it's equally effective for commercial yeast enriched doughs.
Beyond flavor, cold proofing also benefits dough strength and handling. The cold temperature firms up the butter or fat in enriched doughs, making them easier to handle and score just before baking. The slow rise allows the gluten network to relax and hydrate more fully without overstretching, contributing to a stronger structure that can better withstand oven spring. This extended, controlled rise provides a buffer against accidental over-proofing within the typical timeframe and offers incredible flexibility for bakers, allowing you to bake on demand.
Using a Proofer: Precise Temperature and Humidity Control
For bakers serious about consistency and achieving optimal results, especially with challenging enriched doughs, using a dedicated proofer can be a game-changer. A proofer is essentially a temperature and humidity-controlled box designed to create the ideal environment for dough fermentation and proofing. Home proofers are available, ranging from small countertop units to larger cabinets. These devices allow you to set a precise temperature, often within a degree or two, and maintain a specific humidity level, typically by using a water tray.
Setting up a home proofer is usually straightforward: you place water in a tray, set the desired temperature (e.g., 80°F or 27°C for a faster enriched dough proof), and place your covered dough inside. Optimizing proofer settings involves understanding your dough and recipe. Some bakers prefer a slightly lower temperature ( 75°F or 24°C) for a slightly longer, more controlled rise, while others aim for faster proofing at higher temperatures. The humidity setting ensures the dough surface remains moist and pliable, promoting even expansion. While not strictly necessary, a proofer takes much of the guesswork out of managing the proofing environment, leading to more consistent and predictable results every time you bake enriched dough.
Tips and Tricks for Perfecting Techniques
Ensuring Consistent Results
Achieving consistent results when proofing enriched doughs often comes down to careful observation and documentation. Keeping a proofing journal can be incredibly helpful. Note details like the recipe used, the ambient temperature of your kitchen or proofer, the starting weight/size of the shaped dough, the proofing time, and the final appearance and feel (using the poke test). After baking, add notes on the final volume, crust color, and crumb structure. Over time, this journal will help you correlate proofing conditions with outcomes, allowing you to fine-tune your process and make adjustments based on past experiences.
Experimenting with different proofing times and temperatures is also essential for perfecting proofing techniques. Try proofing the same recipe at different temperatures (e.g., room temperature vs. a slightly warmer spot) or for slightly different durations (e.g., proofing until just doubling vs. proofing slightly less). Compare the baked results. You might find that your recipe performs best when proofed for 1.5 hours at 78°F rather than the 2 hours suggested in a generic recipe. Don't be afraid to deviate slightly and see how the dough responds; baking is both a science and an art, and personal experience with your specific dough and environment is invaluable.
Conclusion.
Mastering the second rise, or proofing, is a fundamental step in creating beautiful, tender, and flavorful brioche and other enriched doughs. It's the stage where careful shaping meets the magic of yeast, transforming a dense mass into a light, airy potential loaf or pastry.
By understanding the role of yeast, controlling your proofing environment, monitoring the dough's progress with the poke test and visual cues, and being prepared to troubleshoot common issues, you can significantly improve your baking results. Whether you choose a quick warm proof or a long, flavor-enhancing cold proof, dedicating attention to this critical stage is key to perfecting proofing techniques and achieving that ideal shape, texture, and deliciousness in your enriched baked goods.
Frequently Asked Questions
What is the importance of the second rise (proofing) in sourdough baking?
The second rise, or proofing, is crucial for developing the flavor and texture of sourdough. It allows the yeast to further ferment, creating air pockets that lead to a light and airy crumb.
How do I know when my sourdough has been properly proofed?
Proper proofing is indicated by a dough that is slightly increased in volume and jiggles gently when the container is shaken. Over-proofed dough will feel slack and deflated.
What factors can affect the proofing time of my sourdough?
Several factors influence proofing time, including room temperature, humidity, and the activity of your starter. Warmer temperatures accelerate proofing, while colder temperatures slow it down.
What are some common mistakes people make when proofing sourdough?
Common mistakes include over-proofing due to leaving the dough out for too long, and under-proofing due to insufficient time or a weak starter. Also, not controlling the temperature during proofing.
Can I proof my sourdough in the refrigerator?
Yes, you can proof sourdough in the refrigerator, known as cold proofing. This method slows down fermentation, resulting in a more complex flavor and a more manageable baking schedule.
Final Reflection: The Ever-Evolving Art of Sourdough Proofing
The pursuit of the perfect sourdough loaf is a journey, not a destination, and mastering proofing techniques is the cornerstone of that journey. The seemingly simple act of allowing your dough to rise is, in reality, a complex dance of temperature, time, and the subtle nuances of your starter's personality. This article has explored the various factors influencing proofing, from ambient temperature to hydration levels, highlighting the importance of observation and adaptation. But the true reward lies not just in achieving that ideal shape and texture, but in understanding the process itself.
The impact of sourdough baking on our cultural landscape is undeniable. It's more than just a bread; it's a connection to tradition, a testament to patience, and a celebration of the natural world. Bread is the staff of life,
a simple phrase that holds profound truth. The act of nurturing a starter, carefully monitoring its fermentation, and patiently waiting for the dough to rise is a meditative process, a quiet counterpoint to the frenetic pace of modern life. This connection to the process, the tangible results, and the shared experience of baking have fostered a vibrant online and offline community, constantly learning and sharing their knowledge.
Now, consider your own baking journey. What have you learned about the subtle art of sourdough proofing? What adjustments will you make to your own techniques based on the insights shared here? Don't be afraid to experiment, to embrace the imperfections, and to learn from each loaf you bake. The journey to perfecting your sourdough proofing is a continuous one, filled with discoveries and delicious rewards. Embrace the process, trust your instincts, and savor the journey. Your perfect loaf awaits.
Unlock Your Baking Potential: Master the Perfect Proof!
Thanks for diving deep into the world of proofing with us! You've now got the knowledge to create bread with amazing shape and texture. Ready to put your newfound skills to the test?
- Bake your dream loaf today! Use what you learned to create a beautiful, perfectly-proofed bread. Try experimenting with different flours or hydration levels to see what you can achieve.
- Share your baking journey: Show us your results on social media using #BakeWithEaseProofing – we’d love to see your success!
- Consider journaling your process: Track your flour, hydration, and proofing times. This will help you refine your technique even further and create your signature loaf.
What will you bake first to celebrate your new proofing expertise?