
The Art of Proofing Brioche: Achieving Lightness and Volume

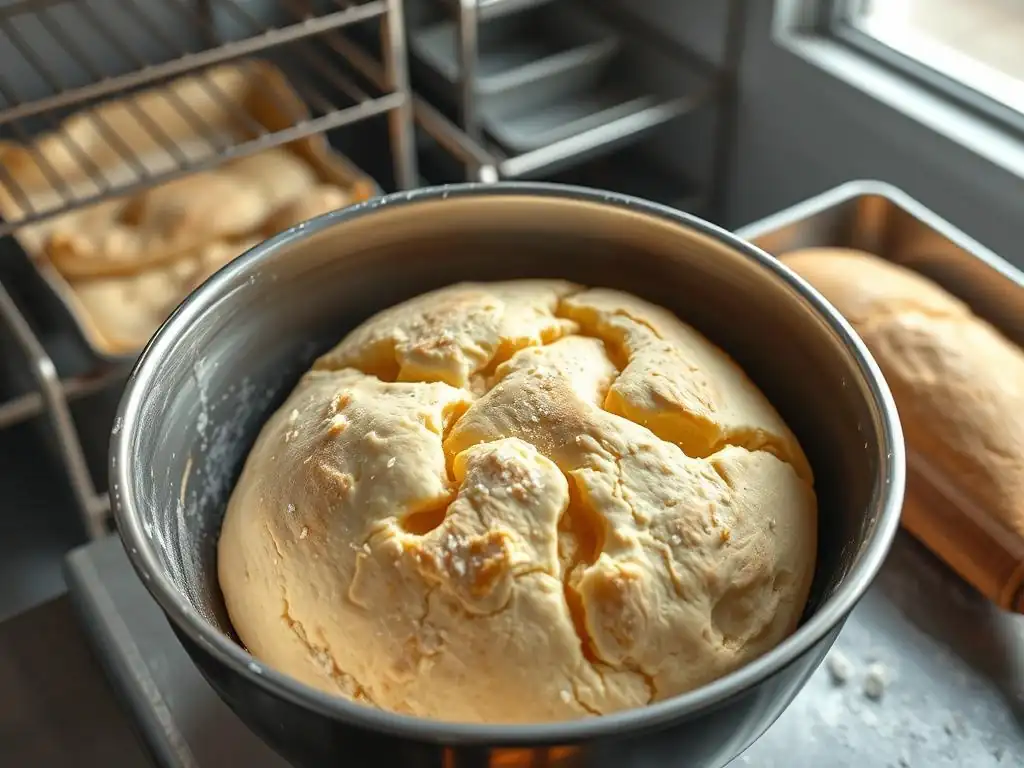
Welcome to BakeWithEase, your guide to unlocking baking brilliance! Ever dreamt of crafting a brioche that practically floats off the plate? Perfecting brioche proofing technique can be the key – but it's a delicate dance. Ready to discover the secrets to achieving that coveted lightness and volume? Let's embark on this delicious journey and transform your brioche from good to unforgettable!
- Introduction to Brioche Proofing: The Key to a Perfect Loaf
- Mastering the Brioche Dough: Preparation for Proofing
- The First Proof: Bulk Fermentation for Brioche
- Shaping Brioche: Preparing for the Second Proof
- The Second Proof: Final Rise for Lightness and Volume
- Troubleshooting Brioche Proofing Problems
- Baking Your Proofed Brioche: Sealing in the Flavor and Texture
- Advanced Brioche Proofing Techniques
- Perfecting Brioche Proofing Technique: A Summary of Best Practices
-
Frequently Asked Questions
- What is the ideal temperature for proofing brioche dough?
- How long should I proof brioche dough for the first proof?
- Why is my brioche dough not rising properly during proofing?
- What's the difference between proofing brioche in the refrigerator versus at room temperature?
- How can I tell if my brioche dough is over-proofed?
- Final Reflection: The Enduring Allure of the Perfect Brioche Proof
- Unleash Your Inner Brioche Baker!
Introduction to Brioche Proofing: The Key to a Perfect Loaf
Brioche, with its rich, tender crumb and golden crust, is a true delight. However, achieving that signature lightness and volume relies heavily on one critical stage: proofing. This process, where yeast works its magic, allows the dough to rise, developing both structure and flavor. Understanding the nuances of brioche proofing is essential for transforming a simple dough into a magnificent loaf. Without proper proofing, even the best brioche recipe can fall flat, resulting in a dense or uneven texture.
Understanding the Importance of Proper Brioche Proofing
Proper brioche proofing is non-negotiable for a successful bake. Unlike leaner doughs, brioche is enriched with high amounts of butter and eggs, which can inhibit gluten development and yeast activity. This richness makes the dough heavier and less elastic, requiring careful handling and specific conditions during fermentation. The goal of proofing is to allow the yeast to produce carbon dioxide gas, which gets trapped within the gluten structure, causing the dough to expand and become airy.
Furthermore, proofing allows enzymes in the dough to break down starches and proteins, contributing to flavor development. A well-proofed brioche will have a fine, even crumb structure, a tender bite, and a complex, slightly sweet flavor. Conversely, inadequate proofing leads to a tight, dense crumb, while over-proofing can cause the structure to collapse during baking. Mastering this stage is paramount for anyone serious about perfecting brioche proofing technique.
Why Proofing Matters for Brioche's Texture and Flavor
The texture of brioche – its characteristic tenderness and lightness – is directly linked to effective proofing. As the dough rises, the gluten network stretches, creating pockets that hold the gas produced by the yeast. The high fat content from butter in brioche adds richness but also coats the gluten strands, making them less capable of trapping gas compared to leaner doughs. This is why gentle handling during shaping and precise control over proofing conditions are so important; they help maintain the fragile air pockets necessary for that light texture.
Beyond texture, proofing significantly impacts flavor. During the slow fermentation process, yeast and naturally occurring enzymes produce aromatic compounds. A longer, slower proof, especially cold proofing, allows these flavors to deepen and become more complex. The slight tang developed during fermentation balances the richness of the butter and eggs, creating a more nuanced taste profile. Perfecting brioche proofing technique isn't just about rise; it's about building layers of flavor that elevate the final product.
Mastering the Brioche Dough: Preparation for Proofing
Before you even think about proofing, the foundation – the brioche dough itself – must be right. A well-developed dough is resilient enough to hold the gases produced during proofing and elastic enough to expand without tearing. This starts with selecting the right ingredients and employing proper mixing and kneading techniques to build a strong gluten network capable of supporting the rich additions.
The Ideal Brioche Dough Recipe: A Foundation for Success
An ideal brioche dough recipe typically includes flour, yeast, sugar, salt, eggs, and a significant amount of butter. The ratio of these ingredients is key. A classic rich brioche might use 40-50% butter relative to the flour weight, and 50-60% eggs.
For example, a recipe using 500g of flour might call for 200-250g of butter and 250-300g of eggs. The sugar content often ranges from 10-20% of the flour weight, providing food for the yeast and contributing to browning and tenderness. Using high-quality ingredients, especially fresh eggs and good butter, will significantly impact the dough's texture and flavor, setting you up for successful brioche proofing.
The hydration level in brioche dough, largely coming from eggs and sometimes milk, is also crucial. It affects the dough's consistency and the ease with which gluten develops. A dough that is too stiff will be difficult to knead and proof, while one that is too wet might be hard to handle. Finding a balanced recipe that results in a soft, slightly sticky dough after mixing is the first step towards achieving that perfect brioche proofing technique.
Kneading Techniques for Optimal Brioche Development
Kneading is vital for developing the gluten structure that gives brioche its strength and elasticity. Due to the high fat content, brioche dough requires longer kneading than leaner bread doughs. The fat initially inhibits gluten formation, so you need to knead thoroughly until the dough passes the "windowpane test" – meaning a small piece can be stretched thinly enough to see light through it without tearing.
This is often best achieved using a stand mixer with a dough hook. Start by mixing the dry ingredients and wet ingredients (except butter) until a rough dough forms, then knead until some gluten development occurs.
The butter is typically added gradually, in small pieces, only after the initial gluten structure has started to form. Adding the butter slowly allows it to be fully incorporated without interfering too much with gluten development. Continue kneading after all the butter is added until the dough becomes smooth, elastic, and pulls away cleanly from the sides of the bowl. This vigorous kneading ensures the dough has the necessary strength and extensibility to hold the gas during brioche dough proofing.
Brioche Dough Temperature Control: Crucial for Proofing
Temperature control is arguably the most critical factor in successful brioche proofing. Yeast activity is highly dependent on temperature; it thrives in warm conditions but can become too active or die if it gets too hot, and becomes sluggish in cold conditions. The ideal dough temperature after kneading is often targeted around 75-78°F (24-26°C). If the dough is too warm after kneading (perhaps due to friction from a mixer), chilling it briefly before the first proof can help regulate the fermentation rate.
Maintaining a consistent environment during proofing prevents the yeast from working too quickly or too slowly. A temperature that is too high can cause the dough to rise too fast (over-proofing) before sufficient flavor has developed, leading to a coarse crumb. Too low a temperature will slow proofing considerably, which can be desirable for flavor (cold proofing), but requires careful monitoring. Understanding and controlling the temperature of your dough and its environment is key to perfecting brioche proofing technique.
The First Proof: Bulk Fermentation for Brioche
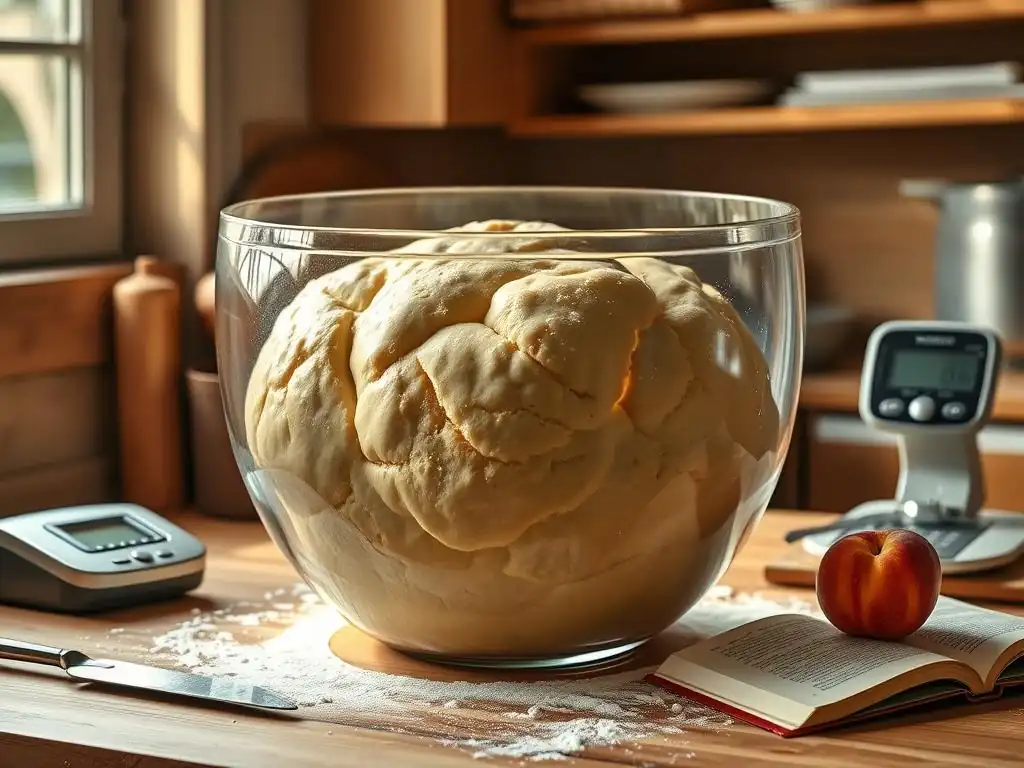
The first proof, also known as bulk fermentation, is where the magic truly begins for brioche. This is the period after kneading when the entire mass of dough is allowed to rise before being divided and shaped. It's a crucial stage for developing flavor, improving texture, and building strength in the dough.
Understanding Bulk Fermentation in Brioche Baking
Bulk fermentation is the initial rise of the entire batch of brioche dough. During this time, yeast consumes sugars and produces carbon dioxide gas and alcohol, which leaven the dough and contribute significantly to the bread's final flavor profile. The gluten network, developed during kneading, traps these gases, causing the dough to expand. For brioche, this stage is particularly important because the rich ingredients can slow down yeast activity, requiring patience and the right conditions.
Unlike some leaner doughs that might double or triple in size during bulk fermentation, brioche dough, due to its richness, might only increase by about 50% to 75% in volume during a typical warm proof. However, the focus isn't solely on volume increase but also on the development of internal structure and flavor. This period allows the gluten to relax, making the dough easier to shape, and gives the yeast and enzymes time to work, enhancing the complexity of the final brioche.
Optimal Temperature and Time for the First Brioche Proof
The optimal temperature for the first brioche proof is typically between 75°F and 80°F (24°C and 27°C). At this temperature range, yeast is active but not overly so, allowing for a controlled rise and good flavor development. Proofing at a warmer temperature, say 85°F (29°C), might speed up the rise but can lead to a less complex flavor and potentially weaker structure. Conversely, proofing below 70°F (21°C) will significantly slow down the process.
The duration of the first proof depends heavily on the temperature and the amount of yeast used. In a warm environment (75-80°F), it might take anywhere from 1.5 to 2.5 hours for the dough to increase significantly in volume and show signs of fermentation.
A longer, slower bulk fermentation at a cooler room temperature (around 70°F or 21°C) or even in the refrigerator (cold proofing) can enhance flavor development, though it will take considerably longer (several hours at cool room temp, 8-12+ hours in the fridge). Monitoring the dough, not just the clock, is key to perfecting brioche proofing technique at this stage.
Recognizing the Signs of a Properly Bulk-Fermented Brioche Dough
Identifying when the first proof is complete is crucial. The dough should have visibly increased in volume, typically by about 50-75% for a standard brioche recipe. It should look puffy and aerated. A good test is the "poke test" (though this is more commonly used for the second proof, it can give clues here too): gently press a floured finger into the dough about half an inch deep.
If the indentation slowly springs back only halfway, the dough is likely ready. If it springs back immediately, it needs more time. If it doesn't spring back at all and collapses, it may be over-proofed.
The surface of the dough should also show signs of activity, possibly with a few bubbles visible. The dough should feel light and airy when you gently lift or move the bowl. It should not feel dense or heavy. A properly fermented dough will also have a slightly alcoholic or yeasty aroma, but it shouldn't smell strongly sour, which could indicate over-fermentation. Recognizing these cues is vital for moving to the next stage of perfecting brioche proofing technique.
Shaping Brioche: Preparing for the Second Proof
Once the bulk fermentation is complete, the brioche dough needs to be shaped before its final rise. This step is critical for determining the final appearance and structure of the baked bread. Shaping expels some of the gas built up during the first proof, redistributes the yeast and sugars, and creates tension on the surface of the dough, which helps it hold its shape and rise upwards during the second proof and baking.
Gentle Handling: Maintaining Air in the Brioche Dough
Gentle handling during shaping is paramount when working with brioche dough. The rich ingredients make the gluten structure more delicate than in lean doughs. The goal is to shape the dough firmly enough to create surface tension but gently enough not to deflate all the precious air pockets created during the first proof. Avoid unnecessary punching down or rough handling. Turn the dough out onto a lightly floured surface and handle it minimally.
When dividing the dough for rolls or loaves, use a sharp knife or bench scraper rather than tearing it, which can damage the gluten structure. When forming shapes like balls or logs, use light pressure and your hands to coax the dough into the desired form, rather than forcing it. Think of it as tucking and sealing the dough to create a smooth exterior with tension. This careful approach ensures that the dough retains enough gas to achieve a light and airy texture during the final brioche proofing.
Different Brioche Shapes and Their Impact on Proofing
Brioche can be shaped into various forms, each affecting how the dough proofs and bakes. Common shapes include:
- Loaves: Shaped into a single large loaf or multiple smaller loaves (like dinner rolls). A loaf shape allows for a classic sliceable bread.
- Brioche à tête (Parisian brioche): A large bottom ball with a smaller "head" on top. This shape is traditional but can be tricky to get the head to stay in place.
- Braided brioche: Multiple strands braided together. The braid opens up beautifully as it proofs and bakes.
- Moulded brioche: Dough pressed into specific molds (like fluted brioche molds). This shape helps support the dough as it rises.
The shape influences the surface area exposed to the air and the density of the dough within the shape. A braided brioche, for instance, might proof slightly faster due to more exposed surface area compared to a dense loaf. Using a mold provides structural support, which is beneficial for rich doughs prone to spreading. Consider the desired final look and how the shape will impact the dough's expansion during the second brioche proofing.
Preparing Your Baking Pan for the Second Proof
Proper pan preparation is essential to prevent the proofed brioche from sticking and to ensure it releases cleanly after baking. For loaves baked in standard bread pans, greasing the pan generously with butter or a non-stick spray is usually sufficient. You can also line the pan with parchment paper, leaving overhangs to easily lift the baked loaf out.
For brioche baked in molds (like fluted brioche molds or muffin tins for rolls), thorough greasing and flouring are recommended to highlight the intricate shape. Melted butter applied with a brush works well, followed by a light dusting of flour, tapping out any excess. For brioche à tête, the mold is crucial for supporting the shape during the second proof. Ensure the pan or mold is ready before you start shaping, so you can transfer the shaped dough immediately without delay, minimizing deflation. This preparation is a small but important step in perfecting brioche proofing technique.
The Second Proof: Final Rise for Lightness and Volume
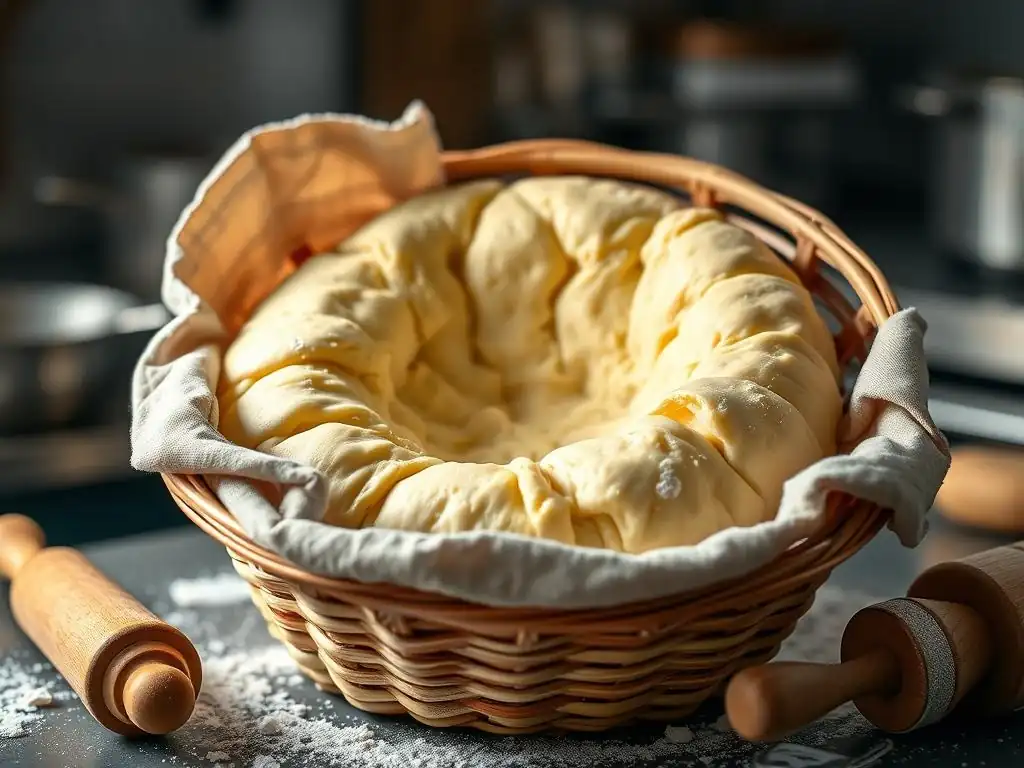
The second proof, also known as the final proof or proofing in the pan, is the last rise the brioche dough undergoes before baking. This stage is critical for achieving the final desired volume, tenderness, and open crumb structure. It's where the shaped dough reaches its peak aeration.
Achieving the Ideal Environment for the Second Brioche Proof
Creating the right environment is key for the second brioche proof. Like the first proof, temperature control is vital, but humidity also plays a significant role now that the dough surface is exposed. An ideal environment is warm and humid, typically around 75-85°F (24-29°C) with about 70-80% humidity. This prevents the dough surface from drying out and forming a skin, which would restrict the rise and potentially lead to tearing during baking.
You can create a suitable proofing environment in several ways:
- Proofing Box: A dedicated proofing box offers precise temperature and humidity control.
- Oven with Light: Place the dough in a turned-off oven with only the oven light on. The light generates enough heat to create a warm environment. Place a pan of hot water on the rack below the dough to provide humidity.
- Covered Area: Cover the shaped dough loosely with plastic wrap or a damp tea towel and place it in a warm spot in your kitchen, avoiding drafts. Ensure the cover doesn't touch the dough, which could cause it to stick and deflate when removed.
Maintaining a consistent temperature during this final brioche dough proofing ensures an even rise throughout the shaped dough.
Judging Readiness: When is Brioche Dough Fully Proofed?
Knowing exactly when the second proof is complete is perhaps the trickiest part of perfecting brioche proofing technique. The dough should look significantly increased in volume, appearing visibly puffy and light. It should fill the pan or mold substantially, often doubling or nearly tripling in size from its shaped state, depending on the specific recipe and shape.
The most reliable test is the gentle "poke test." Lightly flour a finger and gently press it into the side of the dough about half an inch deep.
- Under-proofed: The indentation springs back immediately and completely. The dough is still dense and needs more time.
- Properly Proofed: The indentation springs back slowly and only partially, leaving a visible indent. The dough is aerated but still has enough structure to hold its shape.
- Over-proofed: The indentation remains completely, and the dough might even start to deflate or look wrinkled. The gluten structure has weakened, and the dough is likely past its peak.
This test, combined with visual cues, helps determine the perfect moment to bake. This stage typically takes 1-2 hours in a warm, humid environment, but can vary greatly.
Over-Proofed vs. Under-Proofed Brioche: Identifying Common Issues
Understanding the difference between over-proofed and under-proofed brioche is key to troubleshooting.
- Under-Proofed Brioche: When baked, it will have poor oven spring (it won't rise much in the oven), a dense, tight crumb, and potentially a tough texture. The crust might be thick and hard. The lack of sufficient proofing means the yeast hasn't produced enough gas to create an open structure.
- Over-Proofed Brioche: This is often worse than under-proofing. Over-proofed dough will rise rapidly and then may start to collapse slightly in the pan or during handling. In the oven, it might initially puff up but then collapse completely, resulting in a flat loaf with a coarse, uneven crumb and potentially a sour flavor. The weakened gluten structure cannot support the gas.
Identifying these issues based on how the dough looks and feels before baking and how the final product turns out helps refine your brioche proofing timing for future bakes. Achieving the perfect balance is the goal of perfecting brioche proofing technique.
Troubleshooting Brioche Proofing Problems
Even with the best recipe, brioche proofing can sometimes present challenges. Understanding common mistakes and how to address them is part of the journey to perfecting this delicate dough.
Common Proofing Mistakes and How to Avoid Them
Several factors can lead to proofing issues with brioche:
- Incorrect Dough Temperature: If the dough is too cold after mixing or during proofing, yeast activity will be sluggish, leading to a very slow or non-existent rise. Ensure your ingredients (especially liquids) are at the correct temperature and that your proofing environment is warm enough (75-80°F or 24-27°C for a standard proof).
- Inactive Yeast: Old or improperly stored yeast won't activate. Always check the expiration date and store yeast properly (usually in the refrigerator or freezer). You can proof yeast in warm water with a pinch of sugar first to test its viability.
- Drafty Environment: Cold drafts can significantly slow down or stop proofing. Find a warm, still spot for your dough or create a controlled environment like an oven with the light on.
- Surface Drying: If the dough surface dries out, it forms a skin that restricts rising. Always cover the dough loosely with plastic wrap or a damp cloth during proofing to maintain humidity.
Avoiding these pitfalls through careful temperature control and environment management is crucial for consistent brioche proofing success.
Adjusting Proofing Time Based on Environmental Factors
Proofing time is not set in stone; it's highly dependent on the ambient temperature of your kitchen and the temperature of your dough. On a warm summer day (say, 80°F/27°C ambient), your brioche dough might proof significantly faster than on a cool winter day (say, 65°F/18°C ambient). Humidity also plays a role, with higher humidity generally leading to faster proofing.
Always use the visual cues and the poke test (for the second proof) as your primary indicators of readiness, rather than strictly relying on the time stated in a recipe. A recipe might suggest 1-2 hours for the second proof, but if your kitchen is cooler, it could take 3 hours or more. If you're proofing in a particularly warm spot, it might be ready in 45 minutes. Learning to read the dough and adjust your timing accordingly is a key skill in perfecting brioche proofing technique.
Rescue Strategies for Over-Proofed Brioche Dough
If you suspect your brioche dough has over-proofed before baking (it looks very puffy, might have started to wrinkle, and the poke test shows no spring back), there are limited rescue options, but sometimes you can salvage it.
- Gentle Reshaping (for severe cases): If the dough has completely collapsed, you might be able to gently deflate it, reshape it very quickly, and give it a very short, watchful second proof (maybe 15-30 minutes) before baking immediately. This often results in a denser crumb than ideal, but it's better than discarding the dough.
- Punch Down and Cold Proof: If it's only slightly over-proofed and still holding some structure, you could gently punch it down, reshape it, and place it in the refrigerator for a cold proof (4-12 hours). The cold will slow the yeast activity dramatically, allowing the gluten to firm up slightly. Bake directly from the fridge or after a very short warm-up period.
- Bake Immediately: If it's just on the verge of over-proofing, bake it right away, even if it feels slightly too soft. Sometimes, baking slightly early is better than letting it collapse completely.
While prevention is the best strategy, knowing these rescue techniques can save a batch of precious brioche dough.
Baking Your Proofed Brioche: Sealing in the Flavor and Texture
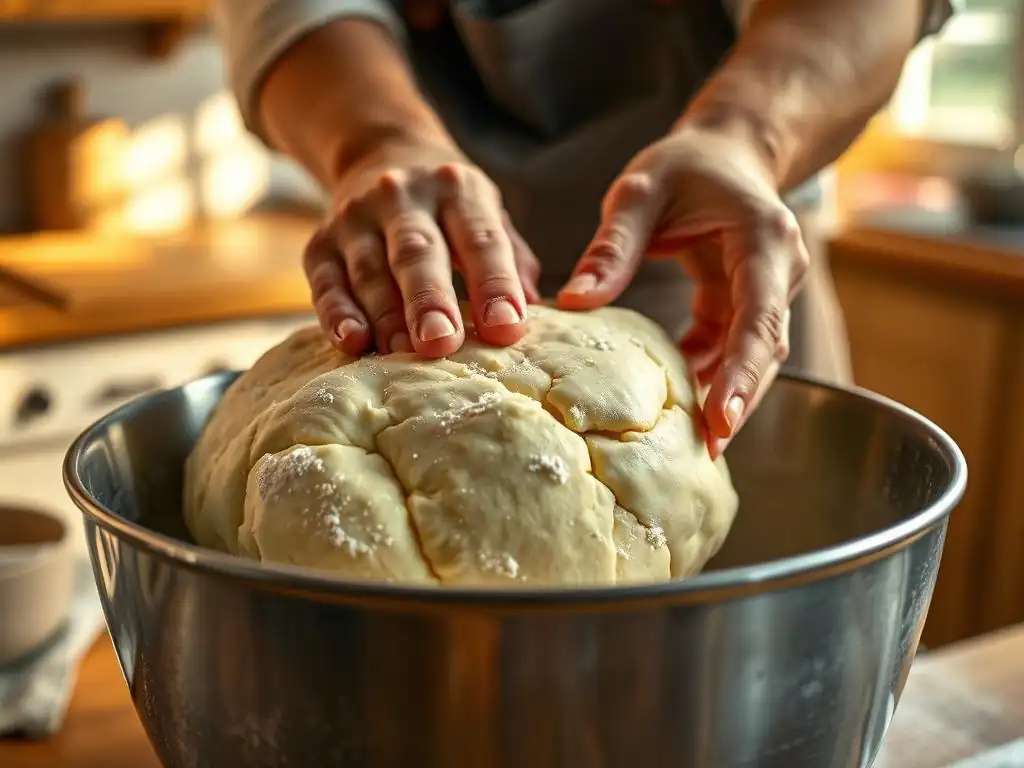
After successfully navigating the proofing stage, baking is the final step that transforms the delicate dough into a golden, delicious brioche. The baking process sets the structure, develops the crust color and flavor, and completes the leavening process through oven spring.
Optimal Baking Temperature for Perfectly Proofed Brioche
The optimal baking temperature for brioche typically ranges from 350°F to 375°F (175°C to 190°C). Lower temperatures (like 350°F) are often used for larger loaves or when you want a softer crust and more even browning. Higher temperatures (like 375°F) can be used for smaller rolls or when you want a slightly crisper crust and quicker browning. It's important to preheat your oven thoroughly to ensure the temperature is stable when the brioche goes in.
Baking at too low a temperature can result in a pale crust and a loaf that dries out before it's fully cooked through. Baking at too high a temperature can cause the crust to brown too quickly before the interior is cooked, potentially leading to a burnt exterior and a doughy center. Finding the right temperature for your specific oven and the size of your brioche is part of perfecting brioche proofing technique and baking.
Monitoring the Brioche During Baking: Achieving a Golden Crust
Monitoring your brioche as it bakes is essential for achieving that characteristic golden-brown crust. Brioche is rich in sugar and fat, which causes it to brown more quickly than lean bread. If the crust starts to brown too much before the interior is done, you can loosely tent the brioche with aluminum foil for the remainder of the baking time.
Baking time will vary significantly depending on the size and shape of your brioche. Small rolls might bake in 15-25 minutes, while a large loaf could take 35-45 minutes. The brioche is done when it is deeply golden brown and sounds hollow when tapped on the bottom. You can also use an instant-read thermometer; the internal temperature should reach 190-200°F (88-93°C) for a fully cooked interior. Baking until the correct internal temperature is reached ensures the crumb is set and not gummy.
Cooling and Storing Your Brioche for Maximum Freshness
Once baked, brioche should be allowed to cool completely on a wire rack. This is a crucial step; the internal structure continues to set as it cools, and residual heat dissipates. Cutting into a hot brioche can result in a gummy texture. For a large loaf, allow at least 1-2 hours to cool. Smaller rolls will cool faster, perhaps in 30-45 minutes.
Properly cooled brioche is best enjoyed fresh on the day it's baked. For storage, wrap cooled brioche tightly in plastic wrap or place it in an airtight container at room temperature for 1-2 days. For longer storage, brioche freezes exceptionally well. Slice the cooled loaf or freeze rolls individually, then wrap tightly in plastic wrap and foil or place in a freezer bag. Thaw at room temperature. Proper cooling and storage ensure that the tender texture achieved through careful brioche dough proofing is preserved.
Advanced Brioche Proofing Techniques
Once you've mastered the basics of brioche proofing, you can explore more advanced techniques that can further enhance flavor and texture, offering more control over the fermentation process.
Retarding Brioche Dough: Cold Proofing for Enhanced Flavor
Retarding, or cold proofing, involves placing the brioche dough in the refrigerator (usually 35-40°F or 2-4°C) for a prolonged period, often 8 to 48 hours, for the first or second proof. This significantly slows down yeast activity but allows enzymes to work overtime, breaking down starches into sugars and proteins into amino acids. This enzymatic activity contributes to a deeper, more complex flavor profile and can also improve the dough's handling qualities.
Cold proofing is particularly beneficial for rich doughs like brioche, as the slow fermentation allows the flavors from the butter and eggs to meld beautifully with the fermented dough. A brioche that has been cold-proofed often has a more nuanced taste and a slightly finer crumb structure. When ready to bake after a cold proof, you might need to let the dough warm up slightly at room temperature before baking, depending on the recipe and how long it was refrigerated. This technique is a hallmark of perfecting brioche proofing technique for maximum flavor.
Using a Proofing Box or Oven for Controlled Proofing
For bakers who want maximum control over the proofing environment, a dedicated proofing box or using your oven with the light on and a pan of hot water offers significant advantages. These methods allow you to set a precise temperature (e.g., 78°F / 26°C) and maintain consistent humidity, eliminating variables like fluctuating kitchen temperatures and drafts.
Using a controlled environment ensures more predictable proofing times and consistent results, batch after batch. This is especially helpful when working with sensitive doughs like brioche, where temperature deviations can significantly impact the rise and final texture. While not strictly necessary for home baking, a controlled proofing environment takes the guesswork out of brioche dough proofing and helps achieve reliable results.
Experimenting with Different Proofing Times and Temperatures
The path to perfecting brioche proofing technique often involves experimentation. Once you understand the principles, try varying the proofing times and temperatures slightly to see how they affect your final brioche.
- Try a shorter, warmer first proof followed by a longer, cooler second proof.
- Experiment with different cold proofing durations (e.g., 12 hours vs. 24 hours).
- Note how reducing or increasing the yeast amount impacts proofing speed at a given temperature.
Keep a baking journal to track your experiments – note the dough temperature, ambient proofing temperature, proofing times for both stages, and the results (rise, texture, flavor). This data will help you understand how different variables interact and allow you to fine-tune your process to consistently bake the perfect brioche.
Perfecting Brioche Proofing Technique: A Summary of Best Practices
Achieving the perfect brioche requires attention to detail, particularly during the critical proofing stages. By focusing on the dough itself, controlling the environment, and learning to read the signs of readiness, you can consistently bake light, airy, and flavorful brioche.
Key Takeaways for Consistently Successful Brioche Proofing
- Start with a well-developed dough: Ensure proper kneading to build a strong gluten structure capable of supporting the rich ingredients.
- Control dough temperature: Aim for the ideal post-kneading temperature (75-78°F / 24-26°C) and maintain consistent environmental temperatures during proofing (75-80°F / 24-27°C for warm proofing).
- Be patient during bulk fermentation: Allow enough time for flavor development and a significant (50-75%) increase in volume, not just doubling.
- Handle dough gently during shaping: Preserve the air pockets created during the first proof.
- Create a warm, humid environment for the second proof: Prevent skinning and promote an even rise.
- Learn to judge readiness by feel and sight: The poke test is your best friend for the second proof. Don't rely solely on time.
- Consider cold proofing: Retarding the dough can significantly enhance flavor.
- Monitor baking: Brioche browns quickly; tent if necessary. Bake to internal temperature (190-200°F / 88-93°C).
- Cool completely: Allow the structure to set before slicing.
Mastering these steps is fundamental to perfecting brioche proofing technique and achieving consistently excellent results.
Resources for Further Learning About Brioche Baking
To deepen your understanding of brioche baking and proofing, explore reputable baking books and online resources from experienced bakers. Look for detailed guides that explain the science behind fermentation, the role of ingredients in enriched doughs, and offer step-by-step instructions with visual cues. Many baking schools and professional bakers share insights into handling and proofing brioche dough. Practice is the best teacher, so keep baking, pay close attention to your dough, and learn from each batch. Perfecting brioche proofing technique is a rewarding skill that opens the door to baking truly exceptional bread.
Frequently Asked Questions
What is the ideal temperature for proofing brioche dough?
The ideal temperature for proofing brioche dough is typically between 75-80°F (24-27°C). This warm environment encourages yeast activity and proper dough rise.
How long should I proof brioche dough for the first proof?
The first proof, or bulk fermentation, usually takes 1-2 hours, or until the dough has doubled in size. This allows the gluten to relax and the flavors to develop.
Why is my brioche dough not rising properly during proofing?
Several factors could contribute, including using expired yeast, not having a warm enough environment, or over-mixing the dough. Check your ingredients and environment.
What's the difference between proofing brioche in the refrigerator versus at room temperature?
Refrigerating slows down the proofing process, developing a more complex flavor profile. Proofing at room temperature is faster, but may not yield the same depth of flavor.
How can I tell if my brioche dough is over-proofed?
Over-proofed dough will appear deflated, smell strongly of yeast, and may even collapse. It will be difficult to handle and have a sour taste.
Final Reflection: The Enduring Allure of the Perfect Brioche Proof
The quest for the perfect brioche proof is not merely a culinary pursuit; it's a testament to the enduring power of patience and precision in achieving culinary excellence. The techniques explored in this article – from temperature control to the subtle art of recognizing optimal dough rise – are not just steps in a recipe; they are fundamental principles applicable to countless baking endeavors. Mastering these skills unlocks a world of possibilities, transforming a simple loaf into a masterpiece.
The journey of perfecting brioche proofing, for me, has been a deeply rewarding one. It's a process that mirrors life itself – requiring careful observation, adaptation to unforeseen circumstances (like fluctuating room temperatures!), and the unwavering belief that the desired outcome is within reach. The reward of a perfectly proofed brioche is not just in the taste, but in the satisfaction of witnessing the transformation of simple ingredients into something truly magnificent.
This quote, though my own, encapsulates the profound sense of accomplishment that comes with successfully navigating the nuances of this process. It's a reminder that even the most challenging tasks can yield extraordinary results with dedication and attention to detail.
Now, it's your turn. Don't be intimidated by the seemingly intricate nature of brioche proofing. Embrace the challenge, experiment with the techniques outlined here, and allow yourself the time to truly understand the subtle cues your dough provides. The journey may require patience, but the reward – a light, airy, and utterly delicious brioche – is well worth the effort. Remember, the perfect proof is not a destination, but a continuous process of learning and refinement. So, gather your ingredients, and begin your own journey towards brioche perfection.
Unleash Your Inner Brioche Baker!
Thanks for joining us on this delicious journey into the world of brioche! We hope you've gained valuable insights into achieving that perfect lightness and volume. Now it's time to put your new skills to the test.
Here's how you can take the next step:
- Bake your own masterpiece! Try out the brioche recipe we shared (or your own variation! ), focusing on the proofing techniques we discussed. Document your results—we'd love to see them!
- Share your brioche journey! Tell us about your experience on our social media channels – we're always eager to hear from fellow bakers.
- Explore our other baking guides for more tips and tricks to enhance your baking skills.
Ready to create your own light and airy brioche? What unique flavor combinations will you explore next?