
Fixing Bread That Doesn't Brown in the Oven

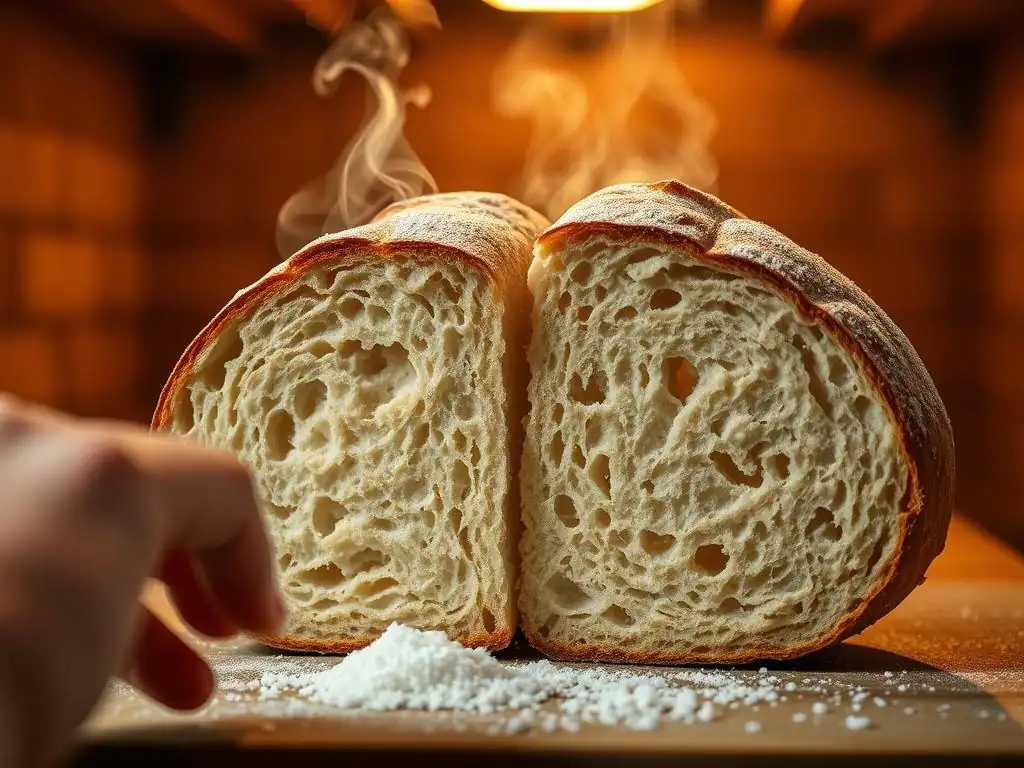
Welcome to BakeWithEase, where baking becomes a joy, not a chore! Ever wondered why your bread isn't browning in the oven, despite following the recipe to a T? You're not alone! Dive into our latest guide and unlock the secrets to achieving that perfect golden crust. Discover proven techniques and troubleshooting tips that will transform your baking, starting now!
- Fixing Bread That Doesn't Brown in the Oven: A Comprehensive Guide
- Understanding Why Your Bread Isn't Browning: Troubleshooting Guide
-
Diagnosing the Browning Problem: Identifying the Culprit
- Oven Temperature Inaccuracies: Is Your Oven Really at the Set Temperature?
- Issues with Oven Calibration and Hot Spots
- The Impact of Steam on Bread Crust Development
- Insufficient Sugar Content in Your Bread Dough
- Problems with the Baking Pan Material: Choosing the Right Pan for Browning
- Yeast Activity and its Role in Browning
-
Solutions for Achieving a Beautifully Browned Bread Crust
- Calibrating Your Oven for Accurate Temperature
- Using an Oven Thermometer for Precise Readings
- Adjusting Baking Time for Enhanced Browning
- Increasing Oven Temperature (With Caution)
- The Power of Egg Wash for a Golden-Brown Crust
- Milk or Butter Wash Alternatives for Crust Color
- Adding Sugar or Honey to Your Dough for Enhanced Browning
- Utilizing the Broiler for Final Browning (Carefully!)
- Optimizing Steam Levels for Crust Development
- Choosing the Right Baking Pan for Optimal Browning
- Advanced Techniques for Perfect Bread Browning
- Preventing Future Browning Problems: Best Baking Practices
-
Frequently Asked Questions
- Why isn't my bread browning in the oven even after following the recipe?
- How can I ensure my oven temperature is accurate for proper browning?
- What role does steam play in bread browning, and how can I control it?
- My bread recipe already has sugar. Should I add more to improve browning?
- What are some other techniques besides sugar that can help with browning?
- Final Reflection: The Golden Crust: A Baker's Journey to Browning Perfection
- Unleash Your Inner Baker: Get That Golden-Brown Crust!
Fixing Bread That Doesn't Brown in the Oven: A Comprehensive Guide
Understanding Why Your Bread Isn't Browning: Troubleshooting Guide
The Importance of Proper Bread Browning
Browning isn't just about making your bread look pretty; it's fundamentally linked to flavor and texture development. The rich, complex tastes and aromas we associate with a perfectly baked loaf come from chemical reactions on the crust, primarily the Maillard reaction and caramelization. Without sufficient browning, your bread can taste bland and lack that satisfying crusty texture.
The Maillard reaction, which begins occurring around 300°F (150°C), is a complex process between amino acids and reducing sugars that creates hundreds of different flavor compounds and the desirable brown color. Caramelization, occurring at higher temperatures (starting above 320°F or 160°C), is the browning of sugars themselves, adding sweet, nutty, and slightly bitter notes. When your bread doesn't brown properly, it often means these crucial reactions haven't happened sufficiently, leaving you with a pale, often thick and soft crust and underdeveloped flavor. Understanding why bread isn’t browning is the first step to achieving that perfect golden crust.
Common Reasons for Bread Lacking Color
There are several potential culprits when your bread emerges from the oven looking pale instead of beautifully golden or deep brown. Identifying the specific issue is key to fixing it. Often, it's not just one factor but a combination contributing to the lack of color development on the crust.
Some of the most frequent reasons why bread isn’t browning include inaccurate oven temperature (it's lower than you think! ), insufficient steam during the initial baking phase, low sugar content in the dough, using the wrong type of baking pan, or issues with yeast activity and fermentation. We'll delve into each of these areas to help you pinpoint exactly why your bread isn’t browning and how to fix it.
Diagnosing the Browning Problem: Identifying the Culprit
Oven Temperature Inaccuracies: Is Your Oven Really at the Set Temperature?
One of the most common reasons why bread isn’t browning is that the oven simply isn't as hot as the dial indicates. Oven thermostats can degrade over time, leading to significant temperature discrepancies. It's not uncommon for an oven set to 400°F (200°C) to actually be baking at 350°F (175°C) or even lower, temperatures too low for optimal Maillard reaction and caramelization on the crust.
This temperature gap directly impacts the rate of browning. Baking at a lower-than-intended temperature means the crust spends less time in the optimal heat range for color development. While the interior might eventually cook through, the surface doesn't reach the necessary temperatures for those flavor- and color-producing reactions to occur effectively, leaving your loaf pale and disappointing.
Issues with Oven Calibration and Hot Spots
Beyond a general inaccuracy, ovens can also suffer from poor calibration, meaning the temperature fluctuates significantly or isn't evenly distributed. Hot spots are areas within the oven that are consistently hotter than others, while cooler spots lag behind. If your bread is placed in a cooler spot, it will brown much slower, if at all, compared to a loaf or part of a loaf in a hot spot.
While professional oven calibration is an option, it can be costly. Often, uneven browning due to hot spots requires understanding your specific oven's quirks through observation and potentially rotating your bread during baking. A reliable oven thermometer placed near your bread can help you understand the actual temperature your loaf is experiencing.
The Impact of Steam on Bread Crust Development
Steam plays a crucial, albeit often misunderstood, role in crust formation and browning. During the initial phase of baking, steam keeps the surface of the dough moist and pliable. This flexibility allows the loaf to expand fully during "oven spring" without the crust hardening prematurely.
A moist surface also conducts heat more efficiently than a dry one, helping the crust reach browning temperatures faster once the steam dissipates. Furthermore, steam helps gelatinize starches on the surface, contributing to a thinner, crispier crust that browns beautifully. Without adequate steam, the crust forms too quickly and becomes thick and tough, inhibiting both expansion and proper browning.
Insufficient Sugar Content in Your Bread Dough
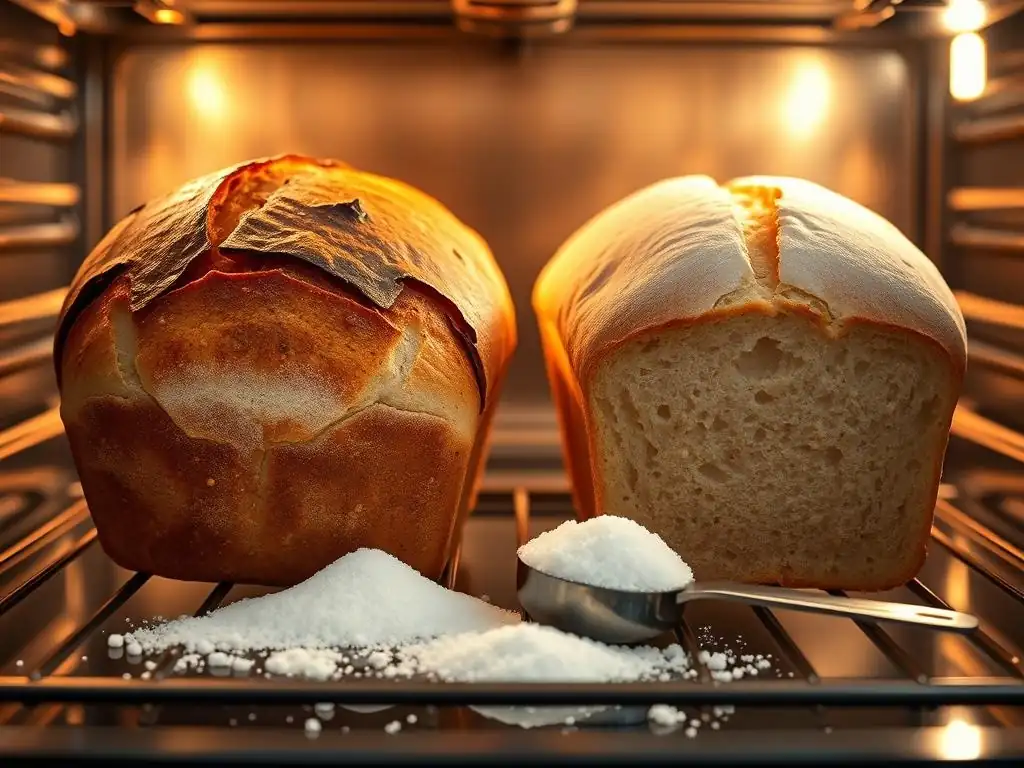
Sugar is a key ingredient that directly participates in both the Maillard reaction and caramelization. Even in savory breads, a small amount of sugar (which can be added sugar or sugars produced by yeast fermentation) is vital for good crust color. Lean doughs, like traditional French bread, rely heavily on the sugars produced during fermentation.
If your dough formula is very low in sugar, or if the yeast activity is weak and hasn't produced sufficient fermentable sugars, the raw materials for browning reactions are limited. Doughs with higher sugar content, such as brioche or challah (which might contain 5-10% sugar based on flour weight), typically brown much more readily than lean doughs with 0-2% added sugar.
Problems with the Baking Pan Material: Choosing the Right Pan for Browning
The material and color of your baking pan significantly affect how heat is transferred to the bottom and sides of your loaf, directly impacting browning in those areas. Dark metal pans absorb and radiate heat efficiently, leading to faster and more pronounced browning on the crust that is in direct contact with the pan.
Light-colored metal pans or glass pans, conversely, reflect heat more than they absorb it. This results in slower heat transfer to the bread's surface, leading to less browning on the bottom and sides. If you're using a light-colored pan and notice your loaf is pale underneath, the pan material could be a contributing factor to why bread isn’t browning evenly.
Yeast Activity and its Role in Browning
Yeast doesn't just make bread rise; it also breaks down complex carbohydrates in the flour into simpler sugars through fermentation. These simpler sugars are essential fuel for the Maillard reaction and caramelization. Healthy, active yeast and proper fermentation time ensure that enough of these sugars are available on the dough's surface for browning during baking.
If your yeast is old or inactive, or if the fermentation period (proofing) is too short or too long, the yeast may not produce sufficient sugars. Under-proofed dough has less sugar available, while significantly over-proofed dough might have consumed too much of the available sugar, leaving less for the browning reactions in the oven.
Solutions for Achieving a Beautifully Browned Bread Crust
Calibrating Your Oven for Accurate Temperature
If your oven consistently bakes at a temperature significantly different from the setting, professional calibration might be necessary. This involves adjusting the oven's thermostat to match the actual temperature inside. While this can be an investment, it resolves the root cause of many baking issues, including why bread isn’t browning consistently.
Before opting for professional calibration, double-check your oven's behavior with an accurate oven thermometer. If it's off by a consistent amount (e.g., always 25°F low), you might be able to compensate by setting the oven higher. However, for large or inconsistent discrepancies, calibration ensures your oven operates correctly, providing a reliable foundation for all your baking endeavors.
Using an Oven Thermometer for Precise Readings
An inexpensive oven thermometer is an essential tool for any baker, especially if you're struggling with browning. Place it in your oven on the same rack level where you bake your bread and monitor the temperature before and during baking. You might be surprised to find your oven is 20-50°F (10-30°C) off the set temperature.
Knowing the true temperature allows you to adjust accordingly. If your oven reads 375°F when set to 400°F, you know to set it higher to reach the target temperature required for proper browning. This simple step eliminates guesswork and is often the quickest fix for why bread isn’t browning as expected.
Adjusting Baking Time for Enhanced Browning
If your bread is fully cooked internally but still pale, extending the baking time slightly can help develop more crust color. This needs to be done cautiously to avoid drying out the interior. You can try adding 5-10 minutes to the bake time.
Alternatively, if your oven temperature is accurate but you're still not achieving enough color, a slightly longer bake might be needed simply because the specific dough formula or loaf size requires more time in the heat to develop crust color. Monitor closely to prevent over-baking the inside while the crust browns.
Increasing Oven Temperature (With Caution)
If you've confirmed your oven temperature is accurate but your bread is still pale, slightly increasing the oven temperature (e.g., by 10-25°F or 5-15°C) can accelerate the browning reactions. Higher temperatures mean the crust reaches the necessary heat for Maillard and caramelization faster.
However, this must be done with caution. Too high a temperature can cause the crust to brown too quickly or even burn before the interior is fully cooked. It can also negatively impact oven spring. Start with a small increase and monitor closely.
The Power of Egg Wash for a Golden-Brown Crust
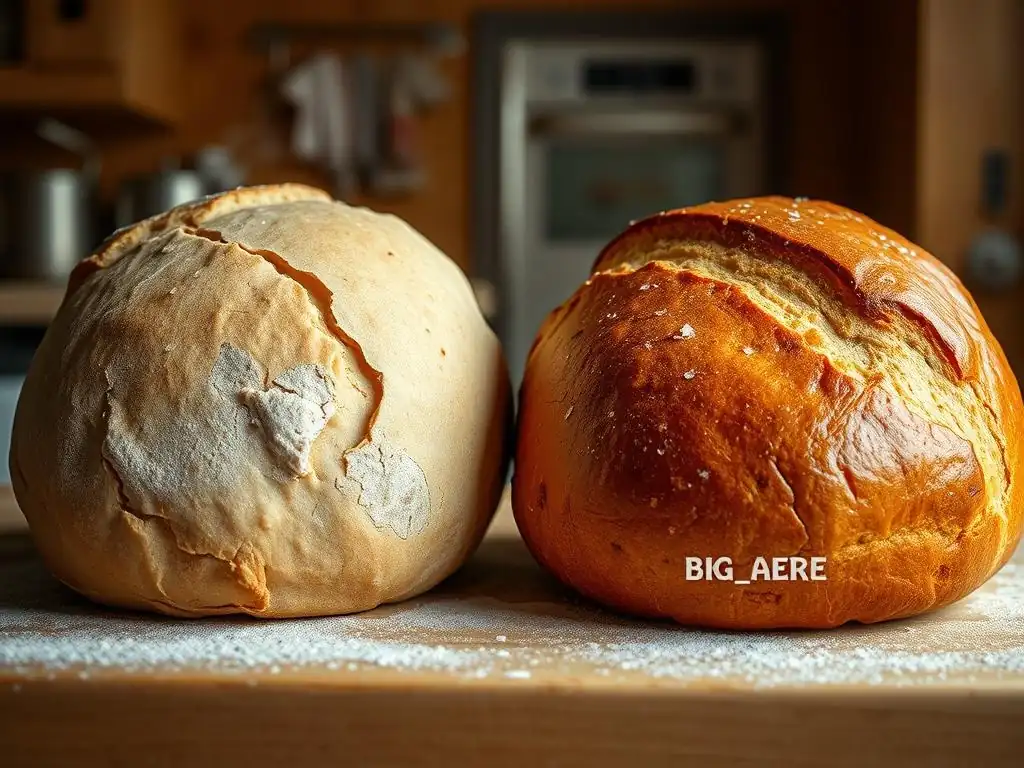
An egg wash is a classic technique used to promote a glossy, golden-brown crust. The proteins and sugars in the egg mixture caramelize and brown beautifully in the heat of the oven. It's particularly effective on enriched doughs like challah or brioche.
Applying a wash creates a surface layer that browns more intensely than the dough itself. It's a simple and reliable way to ensure your loaf develops appealing color, even if other factors are slightly off.
Preparing and Applying the Perfect Egg Wash
A basic egg wash is typically made by whisking one whole egg with a tablespoon or two of water or milk. For a shinier, richer brown, use only the egg yolk mixed with a little liquid. For a lighter color and shine, use only the egg white.
Apply the wash evenly to the surface of the loaf using a pastry brush just before placing it in the oven. Be careful not to let the wash pool around the base of the loaf, as this can glue it to the baking surface or pan. A thin, even coat is all you need for beautiful results.
Milk or Butter Wash Alternatives for Crust Color
If you prefer not to use egg, milk or melted butter can also enhance crust color. A milk wash (whole milk works best due to its fat and sugar content) provides a softer, matte finish compared to egg wash but still promotes browning due to the lactose sugars.
Melted butter brushed onto the loaf before baking adds richness and helps the crust brown. Applying melted butter after baking is more about softening the crust and adding a buttery flavor, but it won't contribute significantly to oven browning.
Adding Sugar or Honey to Your Dough for Enhanced Browning
If your recipe is very lean and consistently results in pale bread, consider adding a small amount of sugar or honey to the dough formula. Even 1-2% sugar (based on flour weight) can significantly improve crust color by providing more fuel for caramelization and the Maillard reaction.
This is a simple adjustment that directly addresses the lack of reactive sugars as a reason why bread isn’t browning. Be mindful that adding too much sugar can alter the dough's fermentation rate and the final texture of the bread.
Utilizing the Broiler for Final Browning (Carefully!)
Using the broiler is a last-resort method for adding color to an already fully baked loaf that is simply too pale. This technique requires extreme caution as the intense direct heat from the broiler can burn the crust very quickly – often in a matter of seconds.
If your bread is cooked but lacks color, you can place it under the broiler for a very short period. This method should only be used when the interior is definitely done, and you just need surface color.
Broiling Techniques to Avoid Burning
If you must use the broiler, place the oven rack on a lower setting, well away from the heating element. Set the broiler to low, if possible. Place the pale loaf under the broiler and watch it constantly. Browning happens very rapidly under direct heat.
Rotate the loaf frequently to ensure even browning. This process usually takes only 30 seconds to 2 minutes. Remove the bread the moment it reaches your desired color to prevent burning. Never walk away from the oven when the broiler is on.
Optimizing Steam Levels for Crust Development
Ensuring adequate steam during the first 10-20 minutes of baking is crucial for developing a thin, crispy crust that can brown effectively. Steam prevents the crust from setting too early, allowing for maximum oven spring and promoting the necessary surface characteristics for good color development.
Lack of steam is a frequent reason why lean breads, like baguettes or sourdough, fail to develop a thin, crisp, brown crust and instead develop a thick, pale one. Creating a steamy environment is key for these types of loaves.
Creating Steam in Your Oven: Methods and Best Practices
There are several ways to create steam in a home oven. One common method is to place a metal pan (like a broiler tray or cast iron skillet) on the bottom rack while the oven preheats. Just before loading the bread, carefully pour a cup of boiling water into the hot pan. This creates a burst of steam.
Another method is to spray the oven walls with water just before and immediately after loading the bread (avoiding the light bulb and glass door, which can shatter). Using a Dutch oven or cloche traps the bread's own steam, which is highly effective. Be extremely careful when working with hot water and steam to avoid burns.
Choosing the Right Baking Pan for Optimal Browning
If you're consistently getting pale bottoms and sides, switching to a dark metal baking pan can make a significant difference. Dark pans absorb more heat and transfer it efficiently to the dough, promoting better browning on contact surfaces.
Alternatively, for freeform loaves baked on a baking sheet, consider using a preheated baking stone or steel. Placing your dough directly on a hot stone or steel provides intense heat to the bottom of the loaf, encouraging excellent browning on the base.
Dark vs. Light Baking Pans: Impact on Crust Color
The color and material of your baking pan affect heat transfer. Dark, heavy gauge metal pans (like anodized aluminum or dark non-stick) absorb radiant heat and conduct it well, leading to faster and darker browning on the parts of the loaf touching the pan.
Light-colored metal pans reflect more radiant heat. While they still conduct heat, the transfer is slower, resulting in less intense browning on the bottom and sides. Glass pans also conduct heat differently and can sometimes lead to very hard, dark bottoms before the top is fully browned, though they generally don't contribute as much to overall surface browning as dark metal.
Advanced Techniques for Perfect Bread Browning
Using Malt Powder for Enhanced Color and Flavor
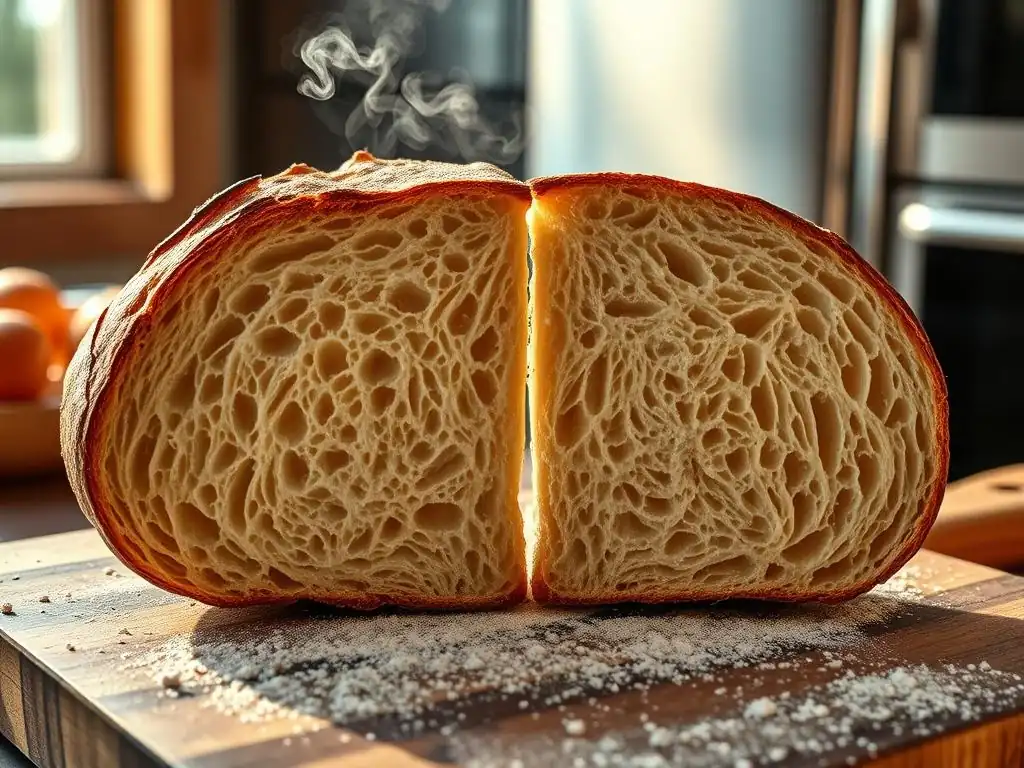
Adding a small percentage of malt powder to your dough can significantly improve crust color and flavor. Diastatic malt powder contains enzymes (amylase) that break down starch into fermentable sugars, providing more fuel for yeast and, critically, more sugars for the Maillard reaction and caramelization during baking.
Non-diastatic malt powder, while lacking the active enzymes, still contains sugars and adds a malty flavor and darker hue to the crust. Using around 0.5% to 1% diastatic malt based on flour weight is often enough to see a noticeable improvement in crust color and oven spring.
The Science Behind Maillard Reaction and Caramelization
Understanding these two key chemical reactions is central to mastering crust browning. The Maillard reaction is a complex series of reactions involving amino acids and reducing sugars that creates hundreds of flavor compounds and the characteristic brown color of baked goods, roasted meats, and coffee. It occurs over a range of temperatures, starting as low as 280°F (140°C) but becoming rapid above 310°F (155°C), and requires some moisture.
Caramelization is the browning of sugars themselves, occurring at higher temperatures (starting around 320°F/160°C for sucrose, lower for other sugars). It produces different flavor compounds (nutty, buttery, bitter) and a darker brown color. Both reactions are responsible for the desirable qualities of a well-browned crust, and ensuring the crust reaches the necessary temperatures for these reactions is why bread isn’t browning if conditions aren't right.
Troubleshooting Specific Bread Types: Brioche Browning Issues
Brioche, with its high content of butter and eggs, should theoretically brown beautifully due to the presence of fats and sugars. If a brioche loaf is coming out pale, the issue might relate to excessive fat inhibiting gluten development and structure (leading to poor heat transfer), or more likely, temperature problems. The richness of brioche means its interior cooks slower than lean bread.
Ensure your oven temperature is accurate. Sometimes, a slightly lower temperature (e.g., 350°F/175°C) and a longer bake time are needed for brioche to cook through evenly while allowing the crust to brown without burning the high-sugar/fat surface. Using an egg wash is also particularly effective for achieving a rich, golden brioche crust.
Preventing Future Browning Problems: Best Baking Practices
Consistent Oven Temperature Maintenance
The single most impactful practice for consistent browning is ensuring your oven is accurately preheated and maintains the correct temperature throughout the bake. Always use an oven thermometer to verify the temperature before loading your bread.
Avoid opening the oven door unnecessarily during baking, especially during the first two-thirds of the bake time, as this causes significant temperature drops that can slow down or halt crust development and browning.
Accurate Dough Hydration Levels
While not a direct cause of pale crust, dough hydration affects crust thickness and structure, which in turn influence browning. Very low hydration doughs might develop a thicker crust that browns differently. High hydration doughs require sufficient steam to form the thin, crisp crust that browns well.
Ensuring your dough has the appropriate hydration level for the recipe and type of bread you are making contributes to a healthy loaf structure and crust development conducive to good browning.
Proper Yeast Activation and Fermentation
Healthy yeast and proper fermentation are fundamental. Ensure your yeast is active by checking its expiration date and proofing it in warm water if necessary. Allow your dough to ferment and proof for the time recommended by the recipe, paying attention to visual cues (like doubling in size) rather than just the clock.
Adequate fermentation ensures that enough sugars are produced by the yeast to fuel the browning reactions in the oven. Both under-proofing and over-proofing can lead to less-than-optimal sugar content and structure, impacting crust color.
Regular Oven Cleaning for Optimal Performance
A clean oven performs better. Spills and grease buildup on the oven floor or walls can cause smoke, uneven heating, and absorb heat inefficiently, all of which can negatively impact how your bread bakes and browns.
Regularly cleaning your oven ensures that heat is distributed properly and cleanly, allowing your bread to bake and brown as intended. This simple maintenance step contributes to overall baking success and helps avoid issues like uneven or insufficient browning.
Frequently Asked Questions
Why isn't my bread browning in the oven even after following the recipe?
Several factors can cause this. Most commonly, it's related to oven temperature being too low, too much steam in the oven, or not enough sugar in the dough to caramelize.
How can I ensure my oven temperature is accurate for proper browning?
Use an oven thermometer to verify the oven's internal temperature matches the setting. Ovens can often be off by significant degrees, impacting the browning process.
What role does steam play in bread browning, and how can I control it?
Too much steam can hinder browning by keeping the crust moist. Reduce steam towards the end of baking by opening the oven door slightly for a few minutes.
My bread recipe already has sugar. Should I add more to improve browning?
Adding a small amount more sugar can help, but be cautious. Too much sugar can affect the bread's texture and flavor. Consider a simple egg wash for better results.
What are some other techniques besides sugar that can help with browning?
Brushing the loaf with an egg wash, milk, or even melted butter before baking can significantly enhance browning. Also, ensure adequate air circulation around the loaf.
Final Reflection: The Golden Crust: A Baker's Journey to Browning Perfection
The quest for that perfect golden-brown crust is more than just aesthetics; it's a testament to understanding the fundamental chemistry and physics of baking. A perfectly browned loaf signifies a successful bake, a harmonious balance of heat, time, and ingredients. This journey into the mysteries of un-browned bread highlights how seemingly small details can dramatically impact the final product.
This exploration into the reasons behind pale bread has been a personal journey, reminding me of the countless times I've wrestled with a stubbornly pale loaf myself. The best bread is the bread you bake with love,
a wise baker once told me, and I now understand that love extends to understanding the science behind the craft. The subtle nuances of oven temperature, dough hydration, and even the type of pan used all contribute to that final, glorious browning. This understanding transcends mere baking; it's a metaphor for the attention to detail required in any endeavor.
Now, it's your turn. Consider the lessons learned here – the importance of oven calibration, the role of moisture, and the impact of your baking environment. Don't let another pale loaf discourage you; instead, use this knowledge to refine your technique, to experiment, and to ultimately achieve that beautiful, deeply satisfying golden-brown crust you've always dreamed of. The journey to baking perfection is a continuous one, and each perfectly browned loaf is a testament to your growing mastery.
Unleash Your Inner Baker: Get That Golden-Brown Crust!
Thanks for taking the time to learn how to conquer that frustrating pale bread problem! You've now got the knowledge to bake loaves with a gorgeous, crispy crust. Ready to put your newfound skills to the test?
- Bake a masterpiece today! Try out one of the tips from the article – experiment with a higher oven temperature, a different pan, or even a little extra steam. See the difference it makes!
- Share your baking triumph (or even your baking struggles!) on social media using #BakeWithEase and tag us! We love seeing your creations.
- Explore our other baking tips on BakeWithEase.com – discover more secrets to perfect breads and pastries.
What will you bake first to show off your golden-brown crust skills?