
Solving the Most Common Cake Problems

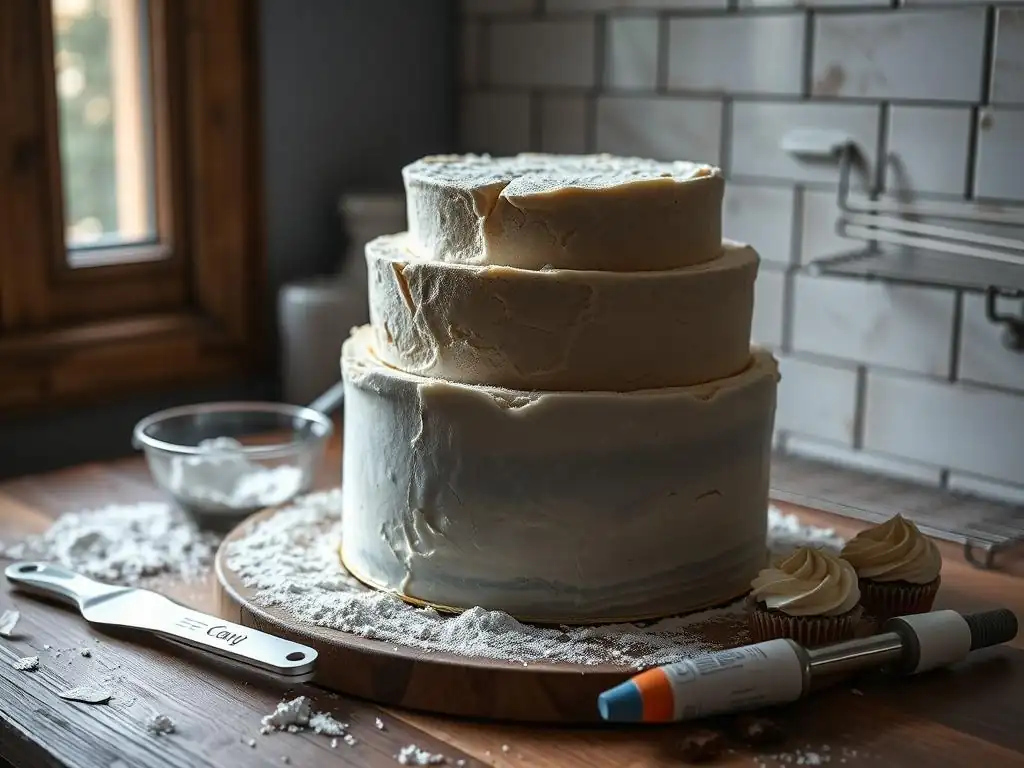
Welcome to BakeWithEase, your haven for delectable baking adventures! Are your cakes sometimes sinking, cracking, or turning out too dense? Don't despair! This week we're diving deep into common cake troubleshooting tips that will transform your baking game. Discover the secrets to perfectly risen, moist, and irresistibly delicious cakes – the solutions might be simpler than you think. Let's unravel those cake mysteries and bake with confidence!
- Solving Common Baking Issues: A Comprehensive Guide
- Introduction: Mastering Baking with Troubleshooting Tips
- Common Baking Problems and Their Solutions: A Comprehensive Guide
- Advanced Baking Troubleshooting: Addressing Complex Issues
- Pro Tips for Preventing Baking Problems Before They Start
- Conclusion: Bake With Confidence by Mastering Baking Troubleshooting
- Frequently Asked Questions
- Final Reflection: Baking Bliss Beyond the Batter
- Unlock Your Inner Cake Boss: Bake With Confidence!
Solving Common Baking Issues: A Comprehensive Guide
Introduction: Mastering Baking with Troubleshooting Tips
BakeWithEase: Your Partner in Perfect Baking
Welcome to BakeWithEase, your trusted resource for navigating the delightful world of baking. We understand that while baking is incredibly rewarding, it can sometimes present unexpected challenges. From cookies that spread too thin to bread that turns out dry, encountering problems is a natural part of the learning process for bakers of all levels. Our goal is to provide you with simple recipes, clear techniques, and practical tips to help you overcome these hurdles and achieve baking success.
At BakeWithEase, we believe that every baking mishap is an opportunity to learn and grow. By understanding the science behind common issues, you can develop the skills needed to prevent them or fix them when they occur. We offer step-by-step guides and easy-to-find ingredients to make troubleshooting less intimidating and more empowering, transforming potential failures into valuable lessons on your journey to mastering the art of baking.
Why Troubleshooting Baking Issues is Essential
Baking is often described as a science because it relies on precise ratios, temperatures, and chemical reactions. Unlike cooking, where you can often adjust ingredients on the fly, baking requires a deeper understanding of how components interact. When something goes wrong, it's usually due to a specific factor being off – perhaps an ingredient measurement was inaccurate, the oven temperature wasn't quite right, or the technique wasn't followed precisely.
Mastering common baking troubleshooting tips is essential for consistent results and building confidence in the kitchen. Knowing how to diagnose and fix problems saves you time, ingredients, and frustration. Instead of discarding a batch of flat cookies or dense bread, you can identify the cause and make adjustments for future attempts. This knowledge empowers you to tackle more complex recipes and develop your own signature bakes with reliability and ease.
Common Baking Problems and Their Solutions: A Comprehensive Guide
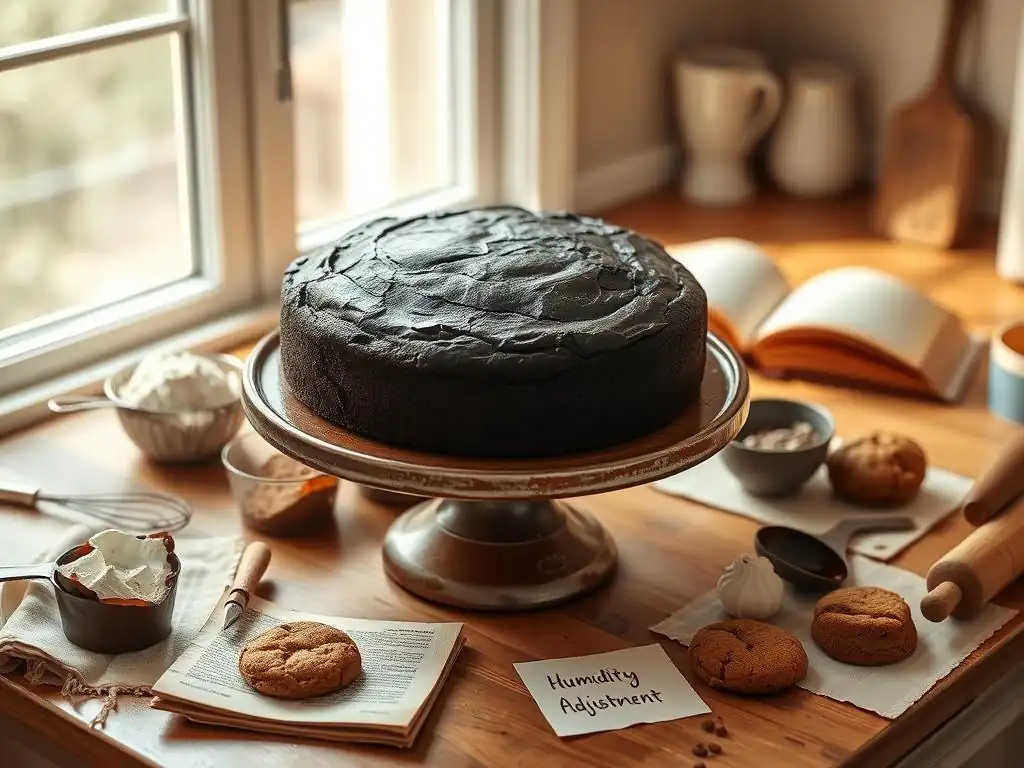
This common issue results in flat, crispy, and sometimes greasy cookies instead of the desired soft, chewy, or slightly crisp-edged treats. While a little spread is normal, excessive spreading can be disappointing and affect the cookie's texture and overall appeal. Understanding why cookies spread too much is the first step to fixing this frequent baking frustration.
The primary culprits behind excessive cookie spread often relate to the fat and sugar content, as well as the temperature of the dough and the oven. When fat melts too quickly in the oven, the cookie structure collapses before it has a chance to set. Similarly, too much sugar can cause excessive spreading because sugar melts at a relatively low temperature and encourages dough to flatten. Identifying which of these factors is at play is key to applying the right common baking troubleshooting techniques.
Understanding the Reasons Behind Flat Cookies
Several factors contribute to cookies spreading excessively. Using butter that is too soft or even melted is a major cause; butter should be softened to room temperature (around 68-70°F or 20-21°C), meaning it gives slightly when pressed but isn't greasy or liquid. Over-creaming butter and sugar can incorporate too much air, leading to a collapse during baking. Additionally, an imbalance in ingredients, such as too much sugar or not enough flour, disrupts the dough's structure.
The type of fat used also plays a role. Butter, which is about 80-82% fat and contains water, behaves differently than shortening, which is 100% fat and has a higher melting point. Recipes designed for shortening might spread more if made with butter. Furthermore, using leavening agents incorrectly or using too much can contribute to rapid spread before the dough structure sets. For example, using baking soda without an acidic ingredient won't produce the desired lift, potentially leading to flatter cookies.
Solution 1: Chilling Dough to Prevent Over-Spreading
Chilling cookie dough is one of the most effective ways to control spread. When dough is chilled, the fat within it solidifies. As the cookies bake, this cold, solid fat melts more slowly than soft or melted fat. This slower melting process gives the cookie structure – provided by the flour and eggs – more time to set in the heat of the oven before the fat fully liquefies and causes the cookie to flatten out.
For best results, chill cookie dough for at least 30 minutes before baking, although 1-2 hours is often recommended, and some recipes benefit from chilling overnight. Chilling also allows the flavors to meld. For instance, a standard chocolate chip cookie dough portion baked immediately might spread to a diameter of 4 inches, while the same portion chilled for 2 hours might only spread to 2.5-3 inches, resulting in a thicker, chewier cookie. This simple step addresses a frequent cause of flat cookies.
Solution 2: Using the Correct Amount of Fat
Ensuring the correct amount and consistency of fat is crucial for preventing excessive spread. Always measure fat accurately, preferably by weight using a kitchen scale, as volume measurements can be inconsistent (e.g., a cup of packed butter vs. lightly packed). Pay close attention to the recipe's instruction regarding the fat's state – "softened," "cold," or "melted" each yield different results. For most drop cookies aiming for some thickness, softened butter is specified.
If you suspect your fat amount or type is causing issues, double-check the recipe ratio. A common ratio for chewy cookies is roughly 1 part fat to 2 parts flour by weight. Deviating significantly from this without adjustment can impact spread. For example, using 1.5 cups (340g) of butter for 2 cups (250g) of flour will almost certainly result in very thin, greasy cookies compared to a recipe using 1 cup (227g) of butter for 2 cups (250g) of flour. Using a combination of butter and shortening can also help control spread while retaining butter flavor.
Solution 3: Ensuring Accurate Oven Temperature
An inaccurate oven temperature is a surprisingly common cause of baking problems, including flat cookies. If your oven temperature is too low, the fat in the cookie dough melts and spreads before the cookie structure has a chance to set from the heat. This prolonged exposure to lower heat allows the cookie to flatten out significantly.
Investing in an inexpensive oven thermometer (often available for $10-15) is a worthwhile step in common baking troubleshooting. Place it in your oven and check the actual temperature after it has preheated for at least 15-20 minutes. Ovens can be off by as much as 50°F (30°C) or more. If your oven runs cold, you may need to set it higher than the recipe specifies (e.g., set to 375°F or 190°C if it measures 350°F or 175°C) to achieve the correct baking temperature and prevent excessive cookie spread.
Problem 2: Dry and Crumbly Bread
Dry bread is disappointing – it becomes stale quickly and lacks the pleasant chewiness of a well-made loaf. Instead, it crumbles easily and feels dense rather than airy. This issue is often a result of moisture loss or insufficient moisture from the start, impacting the bread's texture and shelf life.
The causes of dry bread can stem from several stages of the baking process, including the initial mixing, kneading, baking time, and even how the bread is stored after cooling. Identifying the specific point where moisture was lost or not adequately incorporated is key to improving future loaves and mastering common baking troubleshooting techniques for bread.
Identifying the Causes of Dry Bread
One of the primary reasons for dry bread is insufficient hydration in the dough. Hydration refers to the ratio of water to flour; if there isn't enough water, the dough will be stiff, difficult to knead, and the resulting bread will be dense and dry. Overworking the dough can also contribute to dryness by developing gluten too aggressively, which can tighten the crumb structure. Using too much flour during kneading, by continually adding flour to prevent sticking instead of relying on technique or a bench scraper, incorporates excess dry material.
Overbaking is another significant cause. Prolonged exposure to oven heat evaporates moisture from the bread. Even if the hydration was correct, baking for too long will dry out the crumb. Finally, improper cooling and storage allow moisture to escape rapidly, leading to a dry, stale texture quickly. A loaf left exposed to air will lose moisture much faster than one stored correctly.
Solution 1: Using Enough Hydration in the Dough
Ensuring adequate hydration is fundamental to moist bread. The ideal hydration percentage varies depending on the type of flour (whole wheat absorbs more water than white flour) and the desired crumb structure. A typical hydration range for standard bread dough is 60-70% (water weight divided by flour weight). For example, 500g of all-purpose flour might require 300-350g of water. If your dough feels very stiff and dry during mixing, it likely needs more water.
While recipes provide a starting point, learning to assess the dough's consistency is crucial. It should be soft and slightly sticky, but still manageable. Don't be afraid to add a tablespoon or two of extra water during mixing if the dough seems too dry, especially if using a different brand or type of flour than specified. For 500g of flour, adding an extra 15-30g of water can make a significant difference in the final crumb moisture.
Solution 2: Preventing Overbaking for Moist Bread
Overbaking is a common reason for dry bread. While the crust should be golden brown and the loaf sound hollow when tapped on the bottom, the most reliable way to know if bread is done without drying it out is to check its internal temperature using an instant-read thermometer.
For lean bread (made with flour, water, yeast, salt), the internal temperature should reach 200-210°F (93-99°C). Enriched bread (containing milk, eggs, butter, or sugar) is typically done at a slightly lower temperature, around 190-195°F (88-91°C). Baking a loaf to the correct internal temperature ensures it is cooked through without excessive moisture loss. Baking a 1 lb loaf for 40 minutes when it's perfectly done at 30 minutes will result in a noticeably drier crumb.
Solution 3: Proper Storage to Maintain Moisture
Even perfectly baked bread can become dry quickly if not stored correctly. Once the bread has cooled completely on a wire rack (cooling is essential; storing warm bread creates condensation and can make it soggy), it should be stored to minimize air exposure.
For loaves that will be eaten within a day or two, a linen bread bag or a paper bag inside a plastic bag works well. For longer storage, wrap the cooled loaf tightly in plastic wrap or place it in a resealable plastic bag. Sliced bread dries out faster because more surface area is exposed; store sliced bread cut-side down or freeze portions you won't use immediately. A loaf left unwrapped on the counter can lose enough moisture to feel stale and dry within 12 hours, while a properly stored loaf might remain fresh for 2-3 days.
Problem 3: Sourdough Starter Not Rising
A sluggish or inactive sourdough starter is a frequent source of frustration for bakers venturing into the world of natural leavening. A healthy starter should consistently rise and become bubbly after feeding, indicating a thriving community of wild yeast and bacteria ready to leaven bread. When it fails to show significant activity, it means the microbial population is not fermenting effectively.
The lack of rise in a sourdough starter can be attributed to several factors related to its environment and feeding regimen. Understanding the needs of the microorganisms in your starter is key to troubleshooting its activity. Addressing issues like temperature, feeding ratios, and the quality of ingredients used are common baking troubleshooting steps specific to sourdough.
Why Sourdough Starter Fails to Rise
The primary reason a sourdough starter doesn't rise is insufficient activity from the wild yeast and lactic acid bacteria. This can happen if the starter is too young (it takes time to establish a robust culture, often 1-2 weeks), if it's not being fed frequently enough, or if the feeding ratio (starter:water:flour) isn't providing enough new food relative to the existing microbial population. Using cold water or chlorinated water can inhibit microbial activity.
Temperature is also a critical factor; wild yeast and bacteria are living organisms sensitive to their environment. Temperatures that are too low (below 65°F or 18°C) significantly slow down fermentation, resulting in little to no visible rise. Conversely, temperatures that are too high (above 80°F or 27°C) can stress or even kill the microbes. Using weak or bleached flour can also hinder activity compared to unbleached or whole-grain options which offer more nutrients.
Solution 1: Optimizing Feeding Schedule and Flour Type
Consistent and appropriate feeding is vital for an active starter. If your starter is sluggish, try feeding it more frequently (e.g., every 12 hours instead of 24) to ensure the microbes have a steady supply of food. The feeding ratio is also important; a common maintenance ratio is 1:1:1 by weight (equal parts starter, water, and flour). However, a sluggish starter might benefit from a higher ratio, such as 1:2:2 or 1:3:3, which dilutes the existing population and gives the microbes more food to work through, encouraging vigorous growth.
The type of flour used for feeding also matters. Whole wheat or rye flour provides more nutrients and often helps boost starter activity compared to using only white all-purpose flour. Try feeding with a blend (e.g., 50% all-purpose, 50% whole wheat) using warm water (around 80°F or 27°C). For example, if you're feeding 20g of sluggish starter, try feeding it with 40g warm water and 40g flour (1:2:2 ratio) twice a day for a few days to see if activity increases.
Solution 2: Maintaining Ideal Temperature for Fermentation
Temperature has a profound impact on sourdough starter activity. The optimal temperature range for most starters is between 70-80°F (21-27°C). Below this range, activity slows considerably; above it, different, less desirable microbes can become dominant, or the yeast/bacteria can be harmed.
Find a warm spot in your kitchen for your starter. This could be on top of the refrigerator, near a warm appliance, in a turned-off oven with the light on (the light generates a little heat), or in a proofing box if you have one. Using warm water (around 80°F or 27°C) for feeding can also help raise the starter's temperature initially. A starter kept at a consistent 75°F (24°C) will typically double in size within 4-6 hours after feeding, whereas one kept at 65°F (18°C) might take 10-12 hours or longer to show significant rise.
Solution 3: Assessing Starter Health and Adjusting Ratios
Observing your starter's behavior helps you assess its health. A healthy, active starter will consistently rise significantly (often doubling or tripling) within a predictable timeframe after feeding, develop many bubbles, and smell pleasantly tangy, sometimes yeasty or slightly alcoholic at its peak. If it consistently fails to rise, smells off (like acetone or strong alcohol without the pleasant tang), or develops mold, it might be unhealthy.
If the starter isn't rising but otherwise looks and smells okay, adjusting the feeding ratio can help. A higher feeding ratio, like 1:4:4 (1 part starter, 4 parts water, 4 parts flour), gives the smaller amount of existing microbes a large amount of fresh food, encouraging them to multiply and become more vigorous.
This can help a weak starter "catch up." For instance, taking just 10g of starter and feeding it with 40g water and 40g flour might lead to more robust activity than feeding 50g with 50g water and 50g flour if the starter population isn't strong enough to consume the larger amount of food quickly.
Problem 4: Tough Pie Crust
A tough pie crust is one that is hard, dense, and chewy rather than flaky and tender. The ideal pie crust should be delicate, with visible layers created by pockets of fat melting during baking. When a crust turns out tough, it usually indicates that the gluten in the flour has been overdeveloped, resulting in a bread-like texture.
Preventing a tough pie crust involves controlling gluten development and ensuring the fat is incorporated correctly to create flakiness. This means paying close attention to ingredient temperatures, mixing technique, and the amount of liquid used. Mastering these techniques is key to achieving a tender, flaky crust and is a core part of common baking troubleshooting for pastries.
Exploring the Reasons for a Tough Pie Crust
The main culprit behind a tough pie crust is the overdevelopment of gluten. Gluten develops when flour is hydrated and mixed; the more you mix after adding water, the stronger and more elastic the gluten network becomes. Pie crust dough should be mixed just until it comes together, not kneaded like bread dough. Using too much water also contributes to toughness because water facilitates gluten formation.
Warm ingredients, particularly warm fat, can also lead to a tough crust. If the fat (butter, shortening, or lard) is too soft or melted when mixed with the flour, it coats the flour particles instead of remaining in discrete pieces. These discrete pieces of cold fat are essential for creating the flaky layers. When they melt in the oven, they leave behind gaps, resulting in flakiness.
Warm fat melts into the dough, leading to a more uniform, less layered, and potentially tougher texture. A common ratio is about 2 parts flour to 1 part fat by weight (e.g., 250g flour to 125g fat). Using less fat relative to flour can also result in a tougher crust.
Solution 1: Using Cold Ingredients for a Flaky Crust
Using cold ingredients is perhaps the most critical factor in achieving a flaky pie crust. Ensure your fat (butter, shortening, or lard) is very cold, straight from the refrigerator (around 40-45°F or 4-7°C). Cut the cold fat into small cubes or grate it before adding it to the flour. The goal is to incorporate the fat into the flour mixture so that pea-sized or slightly larger pieces of fat remain visible. These cold pieces will melt slowly in the oven, creating steam and separating the layers of dough.
Equally important is using ice-cold water. Fill a cup with water and ice cubes, then measure the required amount of water from this cup (ensure no ice cubes make it into the dough). Cold water slows down gluten development, giving you a little more time to bring the dough together without overworking it. Some bakers even chill their flour beforehand for extra insurance against toughness.
Solution 2: Avoiding Overworking the Dough
Once the cold fat is cut into the flour, add the ice water a tablespoon at a time, mixing minimally until the dough just barely comes together. You can mix with a fork, a pastry blender, or pulses in a food processor. Stop mixing as soon as the dough looks shaggy and holds its shape when you squeeze a small piece. It should not be smooth or elastic.
Overmixing develops gluten, leading to toughness. Mixing for just 30 seconds too long after adding the water can significantly impact the texture. Turn the dough out onto a surface, gather it gently into a disk, wrap it tightly in plastic wrap, and chill it for at least 30-60 minutes (or up to 2 days) before rolling. Chilling allows the gluten to relax, making the dough easier to roll and further contributing to tenderness.
Solution 3: Using the Correct Fat-to-Flour Ratio
The ratio of fat to flour significantly impacts the tenderness and flakiness of the crust. A standard flaky pie crust typically uses a fat ratio of 50-60% of the flour weight. For example, for 250g of all-purpose flour, you would use 125g to 150g of cold fat. Using less fat than this ratio will result in a less tender and potentially tougher crust.
The type of fat also matters. All-butter crusts are flavorful but can be slightly trickier to make flaky because butter has a lower melting point than shortening (butter is about 80% fat, shortening is 100% fat). Many recipes recommend a combination of butter and shortening (e.g., 50/50 mix) to get the best of both worlds: flavor from the butter and superior flakiness from the shortening's higher melting point. Ensure whichever fat you use is cold and properly cut into the flour.
Problem 5: Burnt Bottom of Baked Goods
Experiencing burnt bottoms on cakes, cookies, muffins, or pies while the tops remain perfectly golden is a frustratingly common baking troubleshooting issue. This problem indicates that the bottom of your pan is receiving too much direct heat, causing the sugars to caramelize and then burn before the rest of the item is fully baked.
Understanding how heat is distributed in your oven and how different baking pans conduct heat is key to preventing burnt bottoms. Simple adjustments to rack position, pan type, or even adding a buffer can make a significant difference and help you achieve evenly baked goods from top to bottom.
Understanding why bottoms burn.
In most conventional ovens, the primary heating element is located at the bottom. Heat radiates upwards from this element. If your baking pan is placed too close to the bottom of the oven, it receives intense direct radiant heat. Dark-colored metal pans absorb and conduct heat more efficiently than light-colored or glass pans, exacerbating this effect. Thin pans also transfer heat more quickly than thicker ones.
For example, baking cookies on a thin, dark metal sheet on the lowest oven rack set to 375°F (190°C) will likely result in burnt bottoms within 8-10 minutes, even if the tops are still pale. The pan absorbs the intense heat from the element below and transfers it rapidly to the bottom of the cookies. A cake baked in a dark metal pan on the bottom rack will also experience similar issues, with the bottom crust setting and browning too quickly.
Solution 1: Adjusting Oven Rack Position
The simplest and often most effective solution for preventing burnt bottoms is to adjust the position of your oven rack. The middle rack is the ideal position for most baked goods (cakes, cookies, muffins, brownies) because it provides the most even heat distribution from both the top and bottom heating elements.
If you consistently experience burnt bottoms even on the middle rack, try moving your pan up one position. This increases the distance between the pan and the bottom heating element, reducing the intensity of the direct radiant heat reaching the bottom of your baked goods. For items like pies that require a crisp bottom crust, you might start on a lower rack and move to a higher one partway through baking, or use other methods to shield the bottom.
Solution 2: Using a Baking Stone or Cookie Sheet
Adding a thermal buffer between your baking pan and the bottom heating element can help diffuse the direct heat. Placing a baking stone or an empty, light-colored heavy-duty cookie sheet on the rack below the rack where your item is baking can absorb much of the intense radiant heat from the bottom element.
When you place your pan on the rack above the stone or empty sheet, the heat reaching the bottom of your pan is less direct and more convective (circulating air), resulting in more even baking. This method is particularly useful in ovens with powerful bottom elements or when baking delicate items prone to burning on the bottom. Ensure the stone or empty sheet is in the oven as it preheats for best results.
Solution 3: Reducing Oven Temperature
If adjusting rack position and using a buffer aren't sufficient, or if your oven runs hot at the bottom, slightly reducing the oven temperature can help. A lower temperature means less intense heat reaching the bottom of your pan, allowing the baked good to cook through more gently.
If a recipe calls for 350°F (175°C) and you consistently get burnt bottoms, try reducing the temperature to 325°F (160°C). You will need to increase the baking time slightly to compensate (often by 5-10 minutes or more), but this allows the item to bake through without the bottom getting excessively hot. Always use an oven thermometer to verify your oven's actual temperature, as calibration issues are a frequent source of common baking troubleshooting challenges.
Advanced Baking Troubleshooting: Addressing Complex Issues
Macarons Not Developing Feet: Achieving Perfect Macarons
Macarons are notoriously finicky, and one of the most common issues is the absence of the characteristic "feet" – the ruffled base that lifts the macaron shell off the baking sheet. The feet are formed when the shell develops a dry skin (pellicle) during resting, allowing the air trapped in the meringue to push outwards and upwards during baking, creating that distinct lift. Failure to develop feet usually means something went wrong with the batter consistency (macaronage) or the drying process.
Common causes include undermixing or overmixing the macaronage (the folding of almond flour/sugar into the meringue). Undermixed batter is too stiff, preventing the feet from forming; overmixed batter is too runny and spreads excessively. Insufficient drying time before baking is also critical; if the surface isn't dry enough to form a skin, the internal air escapes through the top instead of pushing out the bottom. High humidity can hinder this drying process. An oven temperature that is too low or fluctuating can also prevent proper feet formation.
Soufflé Deflating: Maintaining Soufflé Volume
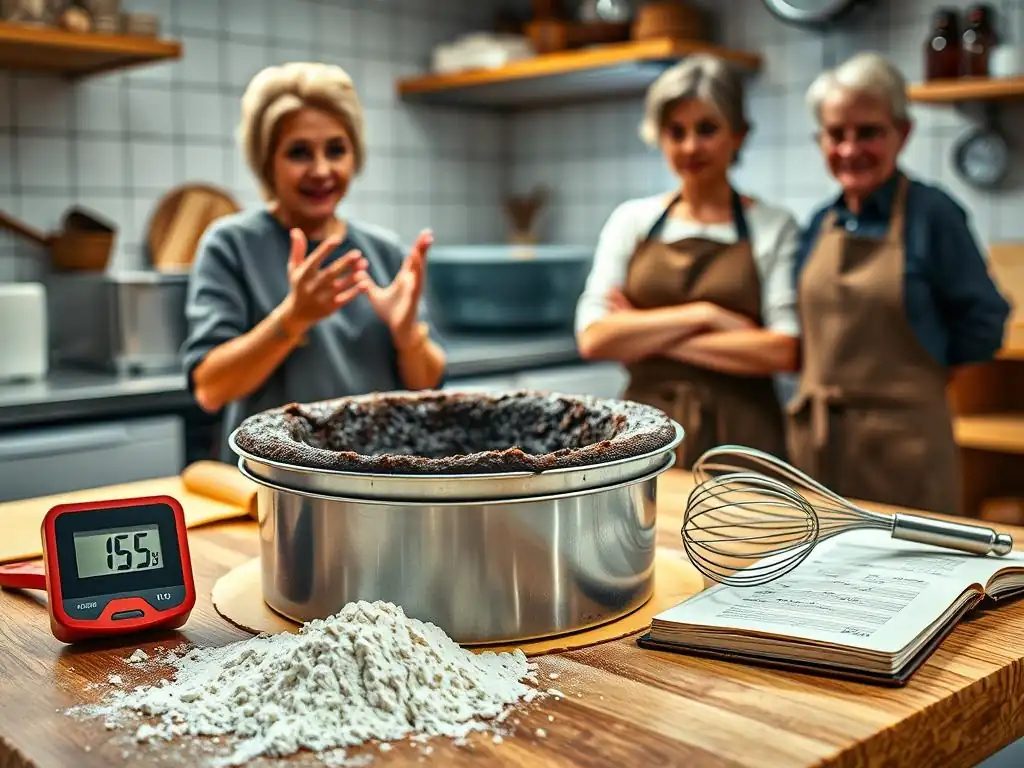
A perfectly risen soufflé is a triumph, but its rapid deflation is a common baking troubleshooting issue. Soufflés rely on a delicate structure created by stiffly beaten egg whites and steam expansion during baking. When they collapse, it's because this structure wasn't strong enough to hold the volume as the steam cools and condenses.
Reasons for soufflé deflation include meringue that wasn't beaten to stiff-peak stage or was deflated when folding into the base mixture. Opening the oven door too early releases heat and causes the soufflé to cool and collapse before the structure is fully set. An oven temperature that is too low or fluctuates can prevent the proteins from setting properly. Overbaking can dry out the soufflé, while underbaking means the internal structure hasn't solidified enough to support itself once removed from the heat.
Chocolate Seizing: Preventing and Fixing Seized Chocolate
Chocolate seizing is when smooth, melted chocolate suddenly turns grainy, thick, and unworkable. This happens when a small amount of liquid (even a drop of water or steam) comes into contact with melted chocolate, or if the chocolate is overheated. The sugar particles in the chocolate, normally suspended in the fat, clump together when they absorb the liquid, causing the mixture to seize.
To prevent seizing, ensure all equipment is perfectly dry. Melt chocolate gently over a double boiler or in the microwave on low power, stirring frequently, to avoid overheating. If chocolate does seize due to liquid, it can sometimes be rescued by adding more hot liquid (like a tablespoon of hot cream, milk, or melted butter per ounce of chocolate) and stirring vigorously. This won't return it to a pourable melted state, but it can turn it into a usable ganache or sauce consistency. If it seized from overheating, it's usually irrecoverable.
Pro Tips for Preventing Baking Problems Before They Start
The Importance of Accurate Measurements
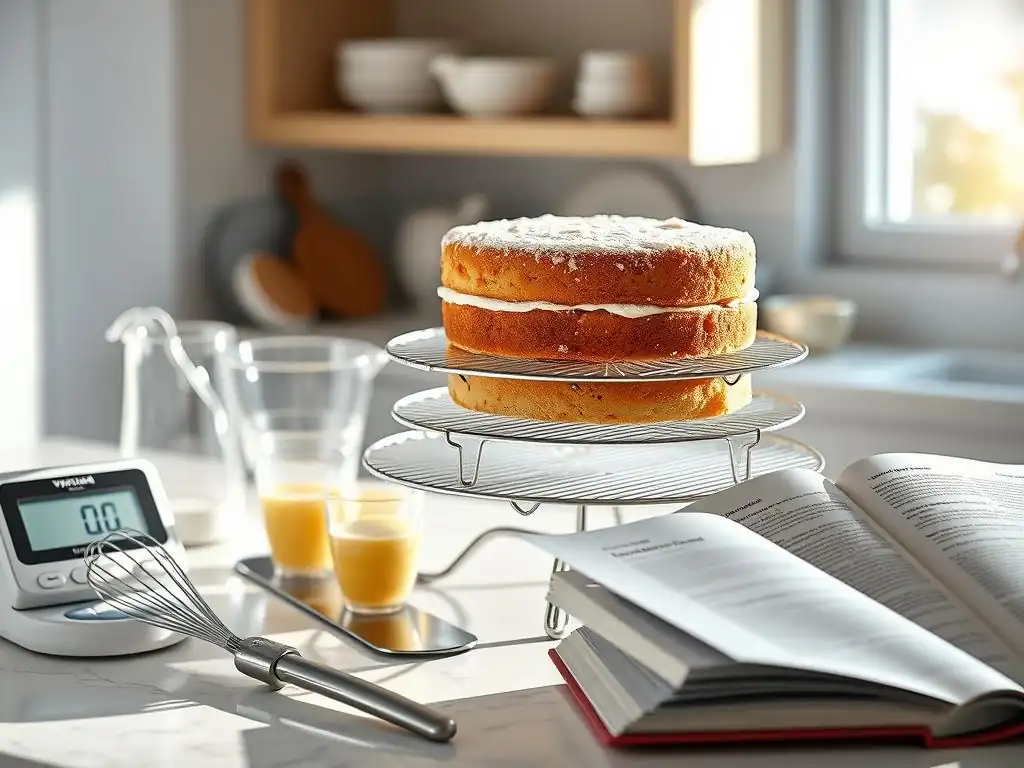
In baking, precision is paramount. Unlike cooking, where you can often adjust seasonings or ingredients to taste, baking relies on specific chemical reactions and ratios between ingredients. Small deviations in measurements can significantly impact the outcome. This is why accurate measurements are the first line of defense against common baking troubleshooting issues.
Using a kitchen scale to measure ingredients by weight, especially flour, sugar, and fat, is far more accurate than using volume cups. A cup of all-purpose flour can weigh anywhere from 115 grams (if scooped lightly) to 150 grams (if packed firmly), a difference of over 30% that can drastically alter the flour-to-liquid balance in a recipe. Investing in an inexpensive digital scale (costing around $20-30) is one of the best steps you can take to improve consistency and prevent many common baking troubleshooting problems before they even arise.
Understanding Ingredient Functions
Knowing the role each ingredient plays in a recipe helps you anticipate potential problems and understand why certain techniques are used. Flour provides structure through gluten development. Fat (butter, oil, shortening) adds tenderness, flavor, and moisture, and can create flakiness. Sugar provides sweetness, aids in browning, tenderizes, and retains moisture. Leavening agents (baking powder, baking soda, yeast) produce gases that make baked goods rise. Eggs provide structure, richness, and help with leavening.
Understanding these functions allows you to troubleshoot more effectively. If a cake is too dense, you might suspect a problem with leavening or too much flour relative to liquid. If cookies spread too much, you'd look at the fat amount, temperature, or sugar ratio. This foundational knowledge empowers you to diagnose issues based on the final result and apply the correct common baking troubleshooting tips.
Calibrating Your Oven
As highlighted in the section on burnt bottoms, an inaccurate oven temperature is a frequent, hidden cause of baking failures. Ovens can run hotter or colder than the setting indicates, sometimes by as much as 50°F (30°C). This affects baking time, browning, rise, and overall texture.
To prevent problems stemming from incorrect oven temperature, use an oven thermometer to calibrate your oven. Place the thermometer on the middle rack and preheat the oven to a specific temperature (e.g., 350°F or 175°C). Check the thermometer after 15-20 minutes. If it reads differently from the oven setting, you know the offset. For future baking, adjust your oven setting accordingly (e.g., if it reads 325°F when set to 350°F, set it to 375°F to achieve a true 350°F). This simple step prevents many common baking troubleshooting issues related to improper cooking temperatures.
Conclusion: Bake With Confidence by Mastering Baking Troubleshooting
Recap of Key Baking Troubleshooting Techniques
Navigating the occasional bumps in the road is part of any baker's journey. By understanding the science behind common baking issues and applying effective common baking troubleshooting tips, you can turn potential failures into learning opportunities. We've covered key strategies like ensuring accurate ingredient measurements, understanding the function of each component, controlling ingredient temperatures (especially fat and water), avoiding overmixing, checking for doneness using internal temperature, and calibrating your oven.
Remember that factors like oven hot spots, humidity, and even ingredient brand variations can influence outcomes. The key is to observe, learn from each bake, and make adjustments. Don't be discouraged by a flat cookie or a sunken cake; use it as a chance to refine your skills. With practice and the right approach to common baking troubleshooting, you'll build confidence and achieve more consistent, delicious results.
Further Resources for Perfecting Your Baking Skills.
Mastering baking troubleshooting is an ongoing process, and BakeWithEase is here to support you every step of the way. We offer a wealth of resources designed to help you perfect your baking skills, from beginner-friendly recipes to in-depth guides on specific techniques.
Explore our extensive collection of articles covering everything from ingredient substitutions to mastering complex pastry techniques. Our recipes are tested and include helpful tips to guide you. By continuing to learn and practice, you'll become more adept at identifying and solving common baking problems, allowing you to bake with greater confidence and enjoyment.
Frequently Asked Questions
What are some common reasons why my cake might sink in the middle?
A sunken cake often results from underbaking, too much leavening agent (baking soda or baking powder), or opening the oven door frequently during baking, causing a rapid temperature drop.
Why is my cake dry, even though I followed the recipe?
Dryness can stem from overbaking, using too much flour (incorrect measurements), or not using enough fat (butter, oil). Always double-check your ingredient ratios.
My cake is dense and heavy, not light and fluffy – what went wrong?
A dense cake usually indicates overmixing the batter, which develops too much gluten. Alternatively, using cold ingredients can prevent proper emulsification and aeration.
How do I prevent my cake from sticking to the pan?
Proper pan preparation is crucial. Grease and flour your cake pan thoroughly, or use parchment paper. Cooling the cake sufficiently before inverting is also key.
What can I do if my cake cracks on top?
Cake cracks are frequently caused by baking at too high a temperature. Also, ensure your oven is properly calibrated, as uneven heat can contribute to cracking.
Final Reflection: Baking Bliss Beyond the Batter
The seemingly simple act of baking a cake can reveal a surprising depth of complexity, and mastering the art requires more than just following a recipe. From fallen cakes to dry crumbles, the challenges are numerous, yet the rewards—a perfectly risen, moist, and delicious cake—are undeniably sweet. This article has explored some of the most common cake baking pitfalls, offering practical solutions to help even novice bakers achieve baking success.
The journey of learning to bake, much like life itself, is filled with both triumphs and setbacks. The frustration of a failed bake can be disheartening, but the lessons learned from those experiences are invaluable. It's in the process of troubleshooting, of understanding the science behind the baking, that true mastery emerges. As the renowned chef Julia Child once said, If you're afraid of butter, use cream.
This sentiment, while humorous, speaks to a larger truth: baking is about embracing imperfection and learning from each experience, whether it results in a perfectly golden cake or a slightly lopsided masterpiece.
Now, it's your turn. Consider the challenges you've faced in your own baking adventures. What have you learned from your mistakes? Don't be afraid to experiment, to push your boundaries, and to embrace the joy of creating something delicious from scratch. The next time you encounter a baking problem, remember the troubleshooting tips discussed in this article, and approach the challenge with confidence and creativity. The perfectly baked cake awaits!
Unlock Your Inner Cake Boss: Bake With Confidence!
Thanks for joining us on this delicious journey into cake-baking mastery! You've just unlocked valuable tips and tricks to conquer those common baking woes. Now it's time to put your new knowledge to the test!
- Bake your dream cake today! Challenge yourself with a recipe you've always wanted to try, and use what you learned to nail it.
- Share your baking triumph! Snap a picture of your masterpiece and post it online using #BakeWithEase – let’s inspire others!
- Explore our other articles for even more baking secrets; you might discover your next favorite recipe!
Ready to transform your baking game? What's the first cake you're going to tackle?