
Basic Sourdough with Lower Hydration: An Easy Recipe

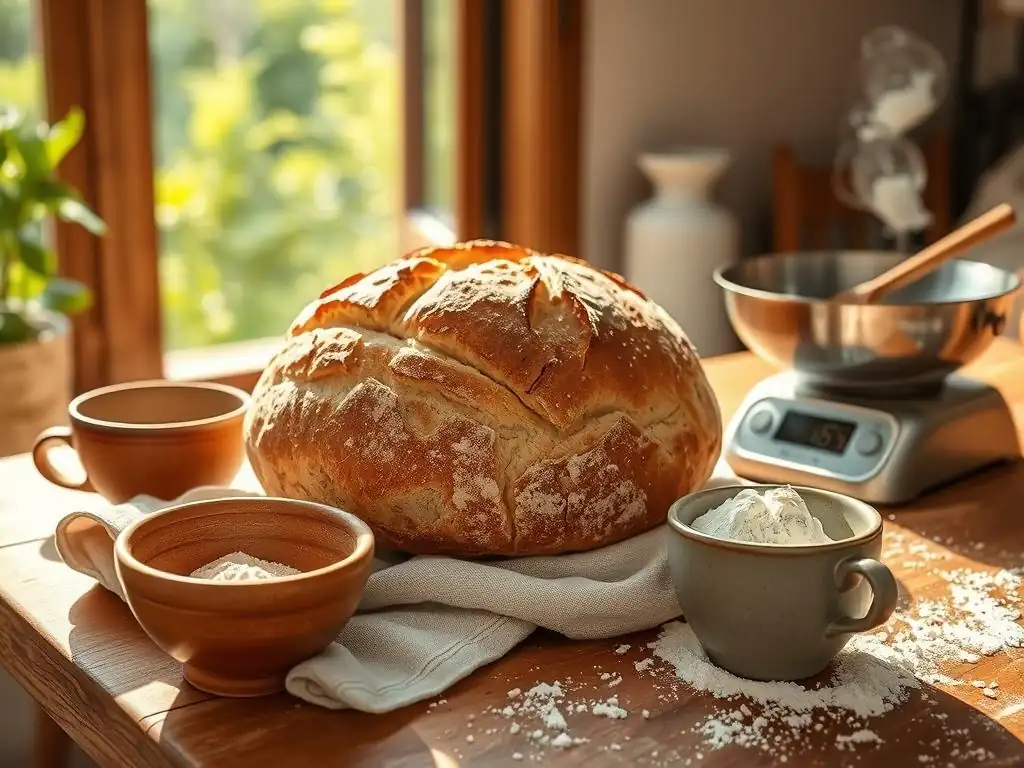
Welcome to BakeWithEase, your trusted companion in the delightful world of baking! Ever dreamt of crafting a perfect, tangy loaf but felt intimidated by the sourdough process? Think again! Our featured article dives into an easy lower hydration sourdough recipe, designed to demystify this artisan bread. Get ready to unlock the secrets to a manageable dough and a rewarding baking experience. Curious how lower hydration can lead to a more predictable rise and a satisfyingly chewy crumb? Let's get baking!
- Beginner-Friendly Sourdough Bread with 70% Hydration
- Introduction to 70% Hydration Sourdough Baking
- Understanding Hydration in Sourdough
-
The 70% Hydration Sourdough Recipe: Step-by-Step
- Ingredients for Your First 70% Hydration Sourdough Loaf
- Step 1: Activating Your Sourdough Starter
- Step 2: Mixing the Dough for 70% Hydration
- Step 3: Bulk Fermentation and Strengthening the Dough
- Step 4: Shaping Your 70% Hydration Sourdough Loaf
- Step 5: Cold Proofing Your Sourdough Dough
- Step 6: Baking Your Sourdough Bread
- Step 7: Cooling and Slicing Your Homemade Sourdough
- Troubleshooting Common 70% Hydration Sourdough Problems
- Tips and Tricks for Perfecting Your 70% Hydration Sourdough
- Variations and Adaptations of the Basic Recipe
- Conclusion: Mastering 70% Hydration Sourdough
-
Frequently Asked Questions
- How is this sourdough recipe considered "easy"?
- What does "lower hydration" mean in sourdough baking?
- What are the main benefits of baking sourdough with lower hydration?
- What kind of flour is best for this easy lower hydration sourdough recipe?
- How long does the entire process of making this easy lower hydration sourdough take?
- Final Reflection: The Humble Loaf and the Joy of Simplicity
- Unleash Your Inner Baker: Craft Your Perfect Loaf!
Beginner-Friendly Sourdough Bread with 70% Hydration
Introduction to 70% Hydration Sourdough Baking
Why Choose a 70% Hydration Sourdough Recipe?
Starting your sourdough journey can feel intimidating, especially with recipes calling for very high hydration levels that result in sticky, difficult-to-handle doughs. A 70% hydration sourdough recipe offers a fantastic entry point. Hydration refers to the ratio of water to flour by weight in your dough. At 70%, the dough is significantly more manageable than, say, an 80% or 85% hydration dough. This ease of handling is crucial for beginners learning foundational techniques like stretching, folding, and shaping without the frustration of excessive stickiness.
Opting for an easy lower hydration sourdough like this 70% version doesn't sacrifice quality. It allows you to focus on developing good gluten structure and proper fermentation, which are key to a successful loaf. Many novice bakers find that mastering a slightly drier dough first builds confidence and a tactile understanding of dough development before tackling wetter, more challenging recipes. This specific hydration level provides a sweet spot: wet enough for a decent crumb structure, but dry enough to control during shaping and transfer.
Real Bread Co.'s Approach to Simple Sourdough
Note: The following section describes an approach attributed to "Real Bread Co." as per the provided structure, distinct from the website's name.
Real Bread Co. champions the idea that making exceptional sourdough should be accessible to everyone. Their philosophy often centers around simplifying the process without compromising the integrity of traditional methods. They advocate for using hydration levels that are forgiving and predictable, making the journey enjoyable rather than stressful. The 70% hydration recipe aligns perfectly with this approach, providing a solid foundation for beginners.
Their method typically emphasizes understanding the dough's feel and appearance at each stage rather than strictly adhering to rigid timings. For example, they might suggest performing stretches and folds until the dough feels strong, rather than specifying an exact number. This intuitive approach, applied to an easy lower hydration sourdough, empowers bakers to read their dough and adapt, fostering a deeper connection with the baking process.
Understanding Hydration in Sourdough
Hydration Levels in Sourdough: Impact on Texture
Hydration is a fundamental concept in bread baking, directly influencing the final texture of your loaf. It's expressed as a percentage of the water weight relative to the flour weight. For instance, a recipe with 500g of flour and 350g of water has a hydration of (350/500) * 100 = 70%. Generally, lower hydration doughs (below 65%) produce a tighter, more uniform crumb and a sturdier crust, typical of many traditional pan loaves or bagels.
As hydration increases (above 75%), the dough becomes wetter and more challenging to work with but can result in a more open, airy crumb structure with larger, irregular holes. This is often the goal for artisan loaves like ciabatta or high-hydration batards. The 70% mark sits comfortably in the middle, offering a balance that yields a well-structured loaf with a pleasant chew and a moderately open crumb, making it an excellent target for an easy lower hydration sourdough that still feels artisanal.
Benefits of 70% Hydration for New Bakers
For those new to sourdough, the stickiness and slackness of high-hydration dough can be a significant hurdle. Doughs at 75% hydration or higher tend to spread more, are trickier to shape into a tight boule or batard, and can be difficult to transfer from the proofing basket to the oven without losing their structure. A 70% hydration dough is noticeably easier to handle. It holds its shape better during shaping and proofing, reducing the likelihood of a flat loaf.
This relative ease of handling allows beginners to focus on developing proper technique for stretching, folding, and shaping. It provides a tactile learning experience where the dough responds more predictably to manipulation. Successfully baking an easy lower hydration sourdough at 70% hydration provides a tangible win, building confidence and encouraging further experimentation with more complex recipes down the line. It minimizes common frustrations associated with overly wet doughs.
Achieving a Balanced Flavor Profile at 70% Hydration
While hydration primarily impacts texture and handling, it also plays a role in fermentation speed and, consequently, flavor development. Water content affects the activity of the wild yeasts and bacteria in your sourdough starter. Higher hydration can sometimes lead to faster fermentation, potentially resulting in a tangier flavor if not carefully managed.
A 70% hydration level allows for a slightly slower, more controlled fermentation compared to much wetter doughs. This can contribute to a well-balanced flavor profile, developing pleasant sour notes without becoming overwhelmingly acidic. The slightly denser structure compared to very high hydration loaves can also contribute to a richer, more complex taste by concentrating the fermented flavors. This makes your easy lower hydration sourdough not just easy to make, but also delicious.
The 70% Hydration Sourdough Recipe: Step-by-Step
Ingredients for Your First 70% Hydration Sourdough Loaf
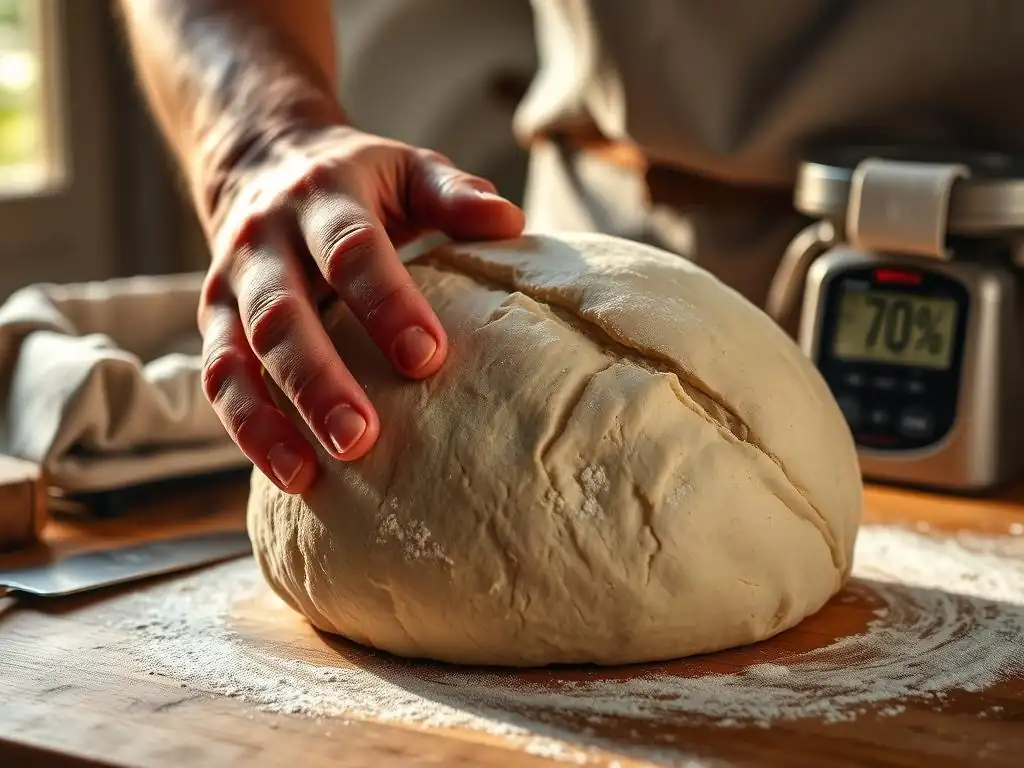
To bake a standard loaf using this easy lower hydration sourdough recipe, you'll need just four basic ingredients. Using a digital scale is essential for accuracy in baking, especially with sourdough.
Here are the typical quantities for a single loaf:
- 500 grams strong bread flour (around 11-13% protein content)
- 350 grams filtered water (at room temperature, ideally 75-80°F / 24-27°C)
- 100 grams active, bubbly sourdough starter (fed 4-8 hours prior)
- 10 grams fine sea salt
These proportions give you exactly 70% hydration relative to the flour weight (350g water / 500g flour = 0.7), plus the water and flour contributed by the starter, which adds a small amount of additional hydration but is usually factored into the overall feel.
Essential Equipment for Sourdough Baking
Having the right tools makes the sourdough process significantly smoother. You don't need everything fancy initially, but a few key items are highly recommended:
- Digital kitchen scale: For precise measurement of ingredients.
- Large mixing bowl: For combining ingredients and bulk fermentation.
- Dough scraper (bench scraper): Useful for handling and dividing dough.
- Proofing basket (banneton) with liner: To hold and shape the dough during proofing.
- Dutch oven or baking stone with steam setup: Essential for achieving a good crust and oven spring. A 5-quart or larger Dutch oven is common.
- Lame or razor blade: For scoring the dough before baking.
- Wire cooling rack: For cooling the baked loaf properly.
Step 1: Activating Your Sourdough Starter
Before you can bake, your sourdough starter needs to be active and ready. This means feeding it 4-8 hours before you plan to mix your dough. A common feeding ratio is 1:1:1 (by weight) of starter, water, and flour. For example, you might take 25g of your existing starter, add 25g of water, and 25g of bread flour. Mix it thoroughly in a clean jar or container.
Leave the fed starter at room temperature, ideally between 75-80°F (24-27°C). Within a few hours, it should become bubbly, increase significantly in volume (often doubling or tripling), and pass the float test (a small spoonful floats in water). Using your starter at its peak activity ensures it has enough power to leaven your easy lower hydration sourdough effectively.
Maintaining a Healthy and Active Starter
Consistency is key to a strong starter. Regular feeding, even if just once a day or every few days when stored in the fridge (with a discard and refresh before baking), keeps the microbial population vigorous. Look for signs of health: consistent doubling within a predictable timeframe after feeding, a pleasant tangy aroma (not overly alcoholic or acetone-like), and visible bubbles throughout.
If your starter seems sluggish, try feeding it more frequently at room temperature for a few days or adjusting the feeding ratio (e.g., 1:2:2 or 1:3:3) to give the microbes more food relative to their population. Using filtered water and good quality flour also contributes to a happy, active culture ready to leaven your easy lower hydration sourdough.
Step 2: Mixing the Dough for 70% Hydration
Once your starter is active, it's time to mix the dough. In your large mixing bowl, combine the 500g flour and 350g water. Mix with your hands or a spoon until no dry flour remains. This initial mix is just about hydrating the flour. The mixture will look shaggy and not smooth at all – this is perfectly normal.
Cover the bowl and let it rest for 20-60 minutes. This resting period is called the autolyse. After the autolyse, add the 100g of active starter and 10g of salt to the dough. Wet your hands slightly and incorporate the starter and salt into the shaggy dough, squeezing and folding until everything is evenly distributed. The dough will still feel a bit rough but should start to come together.
Autolyse: Hydrating the Flour
The autolyse step is simple but effective. By mixing just the flour and water and letting them rest, you allow the flour to fully hydrate without the interference of salt or starter. Salt can tighten the gluten structure, making the initial mixing harder, and the starter's activity isn't needed during this hydration phase.
During the autolyse, enzymes in the flour begin to break down proteins, which helps in gluten development later on. This resting period makes the dough more extensible and easier to work with during the subsequent steps of kneading or folding, contributing to a smoother process for your easy lower hydration sourdough. A rest of 30 minutes is often sufficient.
Step 3: Bulk Fermentation and Strengthening the Dough
Bulk fermentation is the first rise of the dough after mixing the ingredients. This crucial stage develops flavor and builds strength in the dough through a series of folds. Place the mixed dough back in the clean bowl (you can lightly oil it if you like, but it's not strictly necessary with 70% hydration). Cover the bowl with a damp towel or plastic wrap to prevent drying.
The dough needs to bulk ferment at room temperature. An ideal temperature range is 75-80°F (24-27°C). At this temperature, bulk fermentation typically takes 4-6 hours. The dough should increase in volume by about 30-50% and feel noticeably lighter and airier. You'll also see bubbles forming on the surface and along the sides of the bowl.
Monitoring Bulk Fermentation Time and Temperature
Bulk fermentation time is highly dependent on temperature and the activity of your starter. Colder temperatures slow it down; warmer temperatures speed it up. Rather than relying solely on the clock, learn to assess the dough's readiness. Look for the visual cues mentioned: a significant increase in volume, a domed surface, and jiggle when you gently shake the bowl.
To check for sufficient strength, you can perform a gentle windowpane test (stretching a small piece of dough thinly until you can see light through it without tearing) or simply observe how well the dough holds tension during folds. Over-fermenting can lead to a dense, gummy crumb, while under-fermenting results in a tight, dense crumb and poor oven spring in your easy lower hydration sourdough.
Coil Folding Technique for Dough Strength
Coil folds are a gentle method to build strength in higher hydration doughs, and they work well even with this 70% hydration dough. During the first 2-3 hours of bulk fermentation, perform 3-4 sets of coil folds, spaced 30-60 minutes apart. To do a coil fold, wet your hands, gently lift the dough from the middle with both hands underneath, letting the ends hang down. Then, fold the hanging ends underneath the center, creating a neat package.
Repeat this process a few times, rotating the bowl, until you've gone around the dough. These folds help align the gluten strands, build structure, and distribute the yeast and bacteria evenly, resulting in a stronger, more extensible dough capable of trapping gases and achieving good oven spring in your easy lower hydration sourdough loaf.
Step 4: Shaping Your 70% Hydration Sourdough Loaf
After bulk fermentation is complete, gently turn the dough out onto a lightly floured surface. Avoid degassing the dough too much; handle it gently to preserve the air bubbles. The first step in shaping is pre-shaping.
Gently form the dough into a rough ball or oval, depending on the final shape you desire (boule or batard). Use a bench scraper or your hands to tuck the edges underneath, creating a smooth surface on top and building some initial tension. Let the dough rest on the counter, uncovered, for 20-30 minutes. This rest allows the gluten to relax, making the final shaping much easier.
Pre-Shaping for Tension
Pre-shaping is a critical intermediate step that prepares the dough for final shaping. It helps to organize the gluten structure and build foundational tension across the dough's surface. This initial tension makes the dough easier to handle and shape tightly later, which is important for achieving good structure and preventing the dough from spreading excessively during proofing.
For your easy lower hydration sourdough, the dough should be fairly cooperative after bulk fermentation. The 20-30 minute bench rest after pre-shaping is essential; skip it, and the dough will resist final shaping, making it difficult to create a tight surface and seam, which are necessary for a well-formed loaf with good oven spring.
Step 5: Cold Proofing Your Sourdough Dough
After final shaping, place the dough seam-side up (if using a banneton) into a well-floured proofing basket. Cover the basket with a plastic bag or shower cap to prevent the dough from drying out. Then, place the basket in the refrigerator for a cold proof.
Cold proofing, also known as retarding, is a crucial step for developing flavor and making the dough easier to handle for scoring and transfer to the oven. A typical cold proof lasts between 8 and 16 hours, but it can extend up to 24-48 hours for more flavor development. The cold temperature slows down fermentation significantly.
Benefits of Retarding Dough in the Refrigerator
Retarding the dough in the refrigerator offers several advantages for your easy lower hydration sourdough. Firstly, the long, slow fermentation in the cold develops more complex flavors and aromas, resulting in a more delicious loaf. Secondly, the cold dough is much firmer and easier to handle and score just before baking. This allows you to create intricate or clean cuts without the dough collapsing.
Finally, cold proofing provides flexibility in your baking schedule. You can mix the dough one day, cold proof it overnight, and bake it the next morning or afternoon when it's convenient. This makes fitting sourdough baking into a busy life much easier.
Step 6: Baking Your Sourdough Bread
The most common and effective way to bake sourdough at home is in a preheated Dutch oven, which mimics a professional steam-injected oven. Place your empty Dutch oven (base and lid) in your oven and preheat it to a high temperature, typically between 450-500°F (230-260°C), for at least 30-60 minutes. This ensures the pot is scorching hot.
Carefully take the hot Dutch oven out of the oven (use heavy-duty oven mitts!). Gently turn the cold, proofed dough out of the proofing basket directly into the hot pot.
Scoring for Optimal Oven Spring
Before putting the lid on the Dutch oven, quickly score the surface of the dough with a sharp lame or razor blade. Scoring is essential; it provides weak points on the dough's surface, allowing the bread to expand in a controlled manner during the initial burst of heat (oven spring). Without scoring, the crust might crack unpredictably or restrict the dough's rise.
For a basic loaf, a single deep slash down the center (about 1/2 inch deep) is common. You can also create more intricate patterns. Score quickly and confidently. The cold dough from the fridge is much easier to score cleanly than dough proofed at room temperature, helping you achieve a beautiful result on your easy lower hydration sourdough.
Baking Temperatures and Times
Place the lid back on the Dutch oven immediately after scoring and carefully transfer the pot back into the preheated oven. Bake with the lid on for the first 20 minutes. This traps steam released by the dough, keeping the crust soft initially and allowing the loaf to expand fully.
After 20 minutes, carefully remove the lid. The loaf should have achieved significant oven spring and the crust will be setting. Lower the oven temperature slightly, typically to 425-450°F (220-230°C), and continue baking uncovered for another 20-25 minutes, or until the crust is a deep golden brown and the internal temperature of the bread reaches 205-210°F (96-99°C) when measured with an instant-read thermometer.
Step 7: Cooling and Slicing Your Homemade Sourdough
Once baked, carefully remove the loaf from the Dutch oven and transfer it immediately to a wire cooling rack. This step is just as important as the baking itself.
Allow the bread to cool completely on the rack before slicing. For a standard-sized loaf, this typically takes 1-2 hours. Slicing too early is a common mistake that can ruin the texture you worked hard to achieve with your easy lower hydration sourdough.
Preventing a Soggy Crust
Cooling the bread on a wire rack allows air to circulate freely around the entire loaf. This is crucial for preventing steam from accumulating on the bottom crust, which would make it soggy. As the bread cools, internal steam continues to escape, and the crumb structure sets properly.
Slicing hot bread also compresses the still-moist crumb, resulting in a gummy texture. Patience is key! Waiting for the loaf to cool ensures a beautiful, open crumb and a crisp crust, the hallmarks of well-made sourdough, even an easy lower hydration sourdough.
Troubleshooting Common 70% Hydration Sourdough Problems
Dense Crumb: Over or Under Proofing?
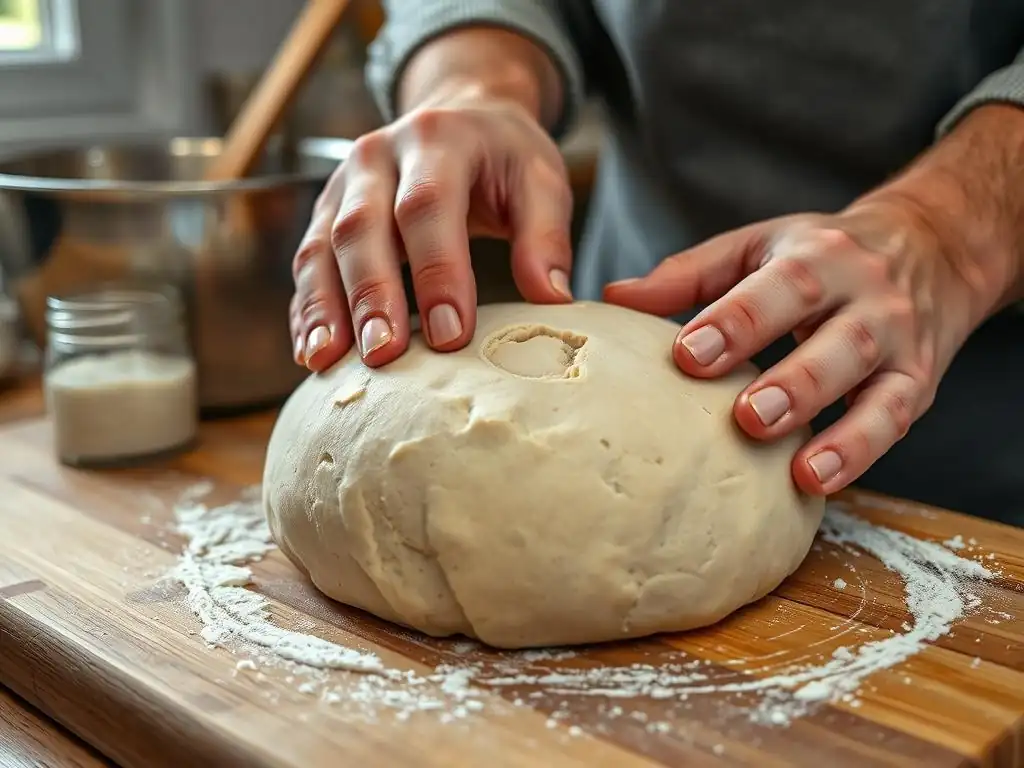
A dense crumb is one of the most common frustrations in sourdough baking, and it can stem from either over or under proofing during bulk fermentation or cold proofing. An underproofed dough hasn't developed enough gas production to create an open structure; the crumb will be tight, with small, uniform holes. This often happens if bulk fermentation is too short or too cold.
Conversely, an overproofed dough has exhausted its fermentable sugars, and the gluten structure may have started to break down. It might look airy before baking but collapse in the oven, resulting in a dense, sometimes gummy texture. Signs include a dough that seems overly fragile or spreads excessively after shaping. Pay close attention to the visual cues during bulk fermentation (30-50% rise) and ensure your starter is vigorous.
Lack of Oven Spring: Scoring and Starter Strength
Poor oven spring – when the loaf doesn't rise much in the oven – can be disheartening. Two major culprits are weak starter activity and improper scoring. If your starter isn't active and doesn't reliably double after feeding (e.g., within 4-8 hours at 75°F/24°C), it won't produce enough gas to lift the dough during baking. Ensure your starter is peak performance before mixing.
Scoring is also vital. If the score is too shallow, it restricts expansion. If the dough surface is too dry, it can also hinder a clean break and spring. Ensure your lame is sharp and your cut is decisive and deep enough (around 1/2 inch). Combining a strong starter with effective scoring techniques on your well-proofed easy lower hydration sourdough will maximize oven spring.
Gummy Texture: Baking Time and Temperature
A gummy or wet-looking crumb, even after cooling, is almost always a sign of underbaking or slicing too early. While the crust might look done, the inside needs enough time at temperature to cook through and for the starches to set. Baking to an internal temperature of 205-210°F (96-99°C) is the most reliable way to ensure the bread is fully baked.
If the crust is browning too quickly, you might need to lower your oven temperature slightly or tent the loaf loosely with foil for the last 10-15 minutes of baking. And, as mentioned before, waiting for the loaf to cool completely (1-2 hours) on a wire rack is non-negotiable for avoiding a gummy texture in your easy lower hydration sourdough.
Tips and Tricks for Perfecting Your 70% Hydration Sourdough
Achieving a Crisp Crust
For that coveted crisp sourdough crust, a few factors are key. High initial baking temperature (450-500°F / 230-260°C) is essential for the initial crust set. Baking in a preheated Dutch oven traps steam, which keeps the crust pliable during oven spring, allowing for maximum expansion. Once the lid comes off, the dry, high heat finishes setting the crust.
Ensuring the bread is fully baked (internal temp 205-210°F / 96-99°C) is also important; underbaked bread tends to have a softer crust that can quickly become chewy or soggy. Finally, cooling the loaf completely on a wire rack allows steam to escape, contributing to a crisp finish on your easy lower hydration sourdough.
Developing Flavor
While 70% hydration already contributes to a balanced flavor, you can enhance it further. The simplest way is through longer cold fermentation in the refrigerator. Proofing the dough for 18, 24, or even 48 hours allows more complex organic acids to develop, resulting in a tangier and more nuanced flavor profile.
Using a blend of flours can also add depth. Replacing 50-100g of the bread flour with whole wheat or rye flour will introduce different flavors and nutrients that the microbes in your starter will ferment, adding complexity to your easy lower hydration sourdough. Just be aware that incorporating whole grains might require a slight adjustment in hydration or fermentation time.
Storing Sourdough
Proper storage helps maintain the quality of your homemade sourdough. Once completely cooled, store the loaf at room temperature. Avoid refrigerating sourdough, as this can accelerate staling. For short-term storage (1-2 days), simply placing the cut side down on a cutting board or wrapping the loaf in a clean linen towel or paper bag works well.
For longer storage (up to a week), a bread box or a large airtight container can keep the crust from becoming too hard while protecting the interior. If you won't eat the loaf within a few days, it freezes beautifully. Slice the cooled loaf first, then freeze slices in an airtight bag or container. You can then toast slices directly from frozen. This helps preserve the texture and flavor of your easy lower hydration sourdough.
Variations and Adaptations of the Basic Recipe
Adding Whole Wheat Flour
Introducing whole wheat flour is a popular way to add nutrition, flavor, and color to your basic sourdough. You can start by substituting 50-100 grams (10-20%) of the strong bread flour with whole wheat flour. Whole wheat flour absorbs more water than white flour due to the presence of bran and germ, so you might find the dough feels slightly drier at the same 70% hydration.
You may need to add a tiny bit more water (e.g., 10-20g) if the dough feels too stiff, but often, the 70% hydration still works well, resulting in an easy lower hydration sourdough with added character. Expect a slightly faster fermentation as whole wheat provides more nutrients for the microbes. The crumb might also be slightly less open but will have a richer flavor.
Incorporating Seeds and Herbs
Adding inclusions like seeds, nuts, or herbs can transform your basic loaf. Common additions include sesame seeds, sunflower seeds, pumpkin seeds, flax seeds, chopped walnuts, olives, or dried rosemary. You can incorporate these during the final sets of coil folds or during lamination (stretching the dough thinly and scattering inclusions before folding it back up).
A good starting point is around 50-100 grams of total inclusions per loaf. If using dry seeds, you might consider toasting them lightly first for enhanced flavor. For your easy lower hydration sourdough, adding inclusions typically doesn't require adjusting the water content unless the inclusions themselves are very absorbent (like flax or chia seeds, which might benefit from pre-soaking).
Baking a Round or Oval Loaf
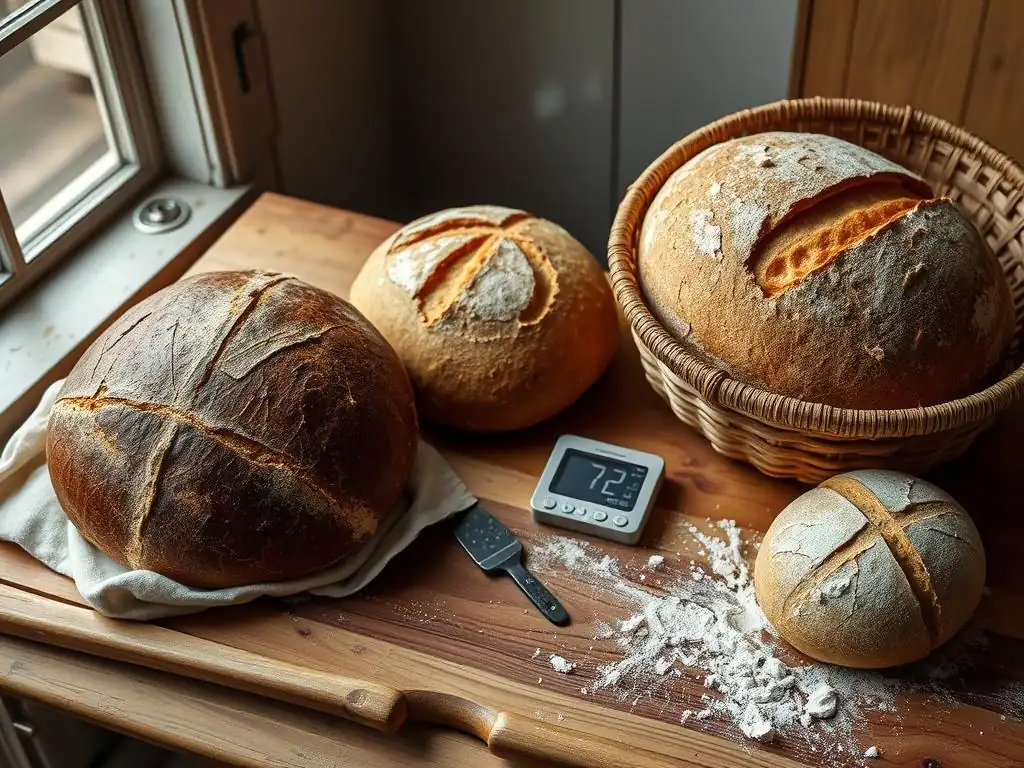
This recipe works perfectly for both round (boule) and oval (batard) shaped loaves. The only difference is in the final shaping technique and the type of proofing basket used. For a boule, you tuck the edges underneath to create a tight ball. For a batard, you fold the dough into thirds or roll it up to create an elongated shape with tension along the length.
Ensure your proofing basket matches the desired shape. A round banneton for a boule and an oval banneton for a batard. The principles of pre-shaping, final shaping for tension, and cold proofing remain the same, allowing you to use this easy lower hydration sourdough recipe to create different classic sourdough forms.
Conclusion: Mastering 70% Hydration Sourdough
Continuing Your Sourdough Journey with Real Bread Co.
Mastering an easy lower hydration sourdough at 70% hydration is a significant achievement for any beginner baker. It provides a solid foundation in handling dough, understanding fermentation cues, and executing the key steps from mixing to baking. This recipe is designed to be forgiving, allowing you to learn the rhythm of sourdough baking without the stress of overly wet doughs.
As you gain confidence with this 70% hydration method, you can begin to experiment. Try extending the cold proof for more flavor, incorporating different flours, or playing with various shaping techniques. The journey of sourdough baking is one of continuous learning and delicious discovery. Building upon the success of this easy lower hydration sourdough, you're well-equipped to explore further recipes and techniques, continuing your baking journey with principles often championed by approaches like that of Real Bread Co.
Frequently Asked Questions
How is this sourdough recipe considered "easy"?
This recipe emphasizes simplicity by using readily available ingredients and a lower hydration which makes the dough easier to handle, especially for beginners.
What does "lower hydration" mean in sourdough baking?
Lower hydration means the recipe uses less water relative to flour. This results in a less sticky and more manageable dough, making it easier to shape and work with.
What are the main benefits of baking sourdough with lower hydration?
Benefits include easier dough handling, better crust development, and a more consistent crumb for bakers of all skill levels.
What kind of flour is best for this easy lower hydration sourdough recipe?
Bread flour is recommended because it contains higher protein content, which is crucial for developing the gluten necessary for a strong and structured sourdough loaf.
How long does the entire process of making this easy lower hydration sourdough take?
While the active baking time is minimal, the entire process, including fermentation, can take around 24-48 hours, allowing for proper flavor development and rise.
Final Reflection: The Humble Loaf and the Joy of Simplicity
Mastering the art of sourdough baking doesn't require complexity; it requires understanding. This article explored a simplified approach to sourdough, focusing on a lower hydration dough for ease of handling and predictable results. The beauty of this method lies in its accessibility, opening the doors of sourdough baking to a wider audience.
The enduring appeal of sourdough, I believe, lies not just in the delicious, tangy bread it produces, but in the process itself. It's a connection to a time-honored tradition, a mindful practice that slows us down in our increasingly fast-paced world. Bread is the staff of life,
they say, and in the making of it, we find sustenance not just for the body, but for the soul. The rhythmic kneading, the patient waiting, the anticipation of the first slice – these are the moments that enrich our lives.
Now, I invite you to embrace the simplicity of this lower-hydration method. Don't be intimidated by the perceived difficulty of sourdough. Experiment with this recipe, adapt it to your own preferences, and discover the joy of creating something beautiful and delicious with your own two hands. The journey of baking sourdough is a journey of self-discovery, one loaf at a time. So, gather your ingredients, preheat your oven, and let the baking begin!
Unleash Your Inner Baker: Craft Your Perfect Loaf!
Thanks for taking the time to explore the world of sourdough with us! We hope you gained valuable insights and newfound confidence in tackling this classic bread. Now it's time to put your knowledge to the test!
- Bake your own sourdough: We've given you the tools – now try out the recipe! Experiment with different flours or baking times to truly personalize your loaf. This is where the magic happens!
- Share your baking journey: Post a picture of your creation on social media and tag us – we'd love to see your results! Use #BakeWithEaseSourdough.
- Explore further: Discover more easy sourdough recipes on BakeWithEase.com and dive into the diverse world of bread baking.
Ready to experience the satisfaction of crafting your own perfect sourdough? What unique twist will you add to your first loaf?