
Preventing Fat Bloom in Layer Cakes: Tips to Avoid Oily Crusts

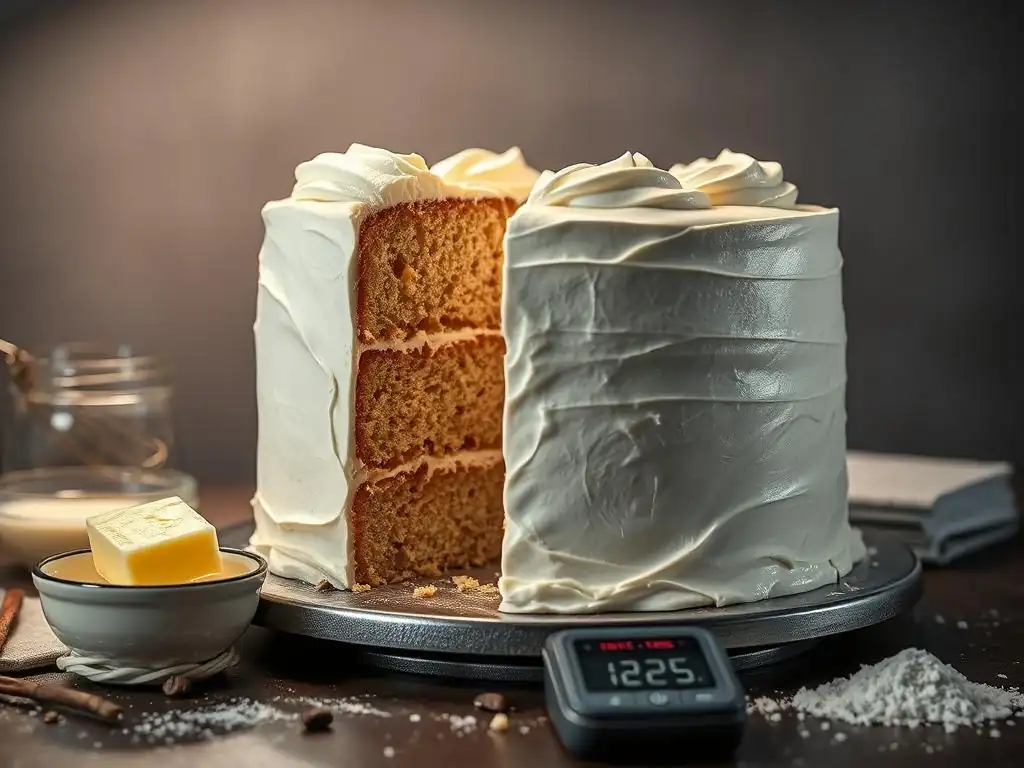
Welcome to BakeWithEase, your partner in creating delicious baked goods! Ever wondered why your beautifully crafted layer cakes sometimes develop an undesirable oily or white film? Dive in to discover the secrets of preventing fat bloom in layer cakes. Uncover the techniques to achieve perfectly smooth, professional-looking finishes every time, and say goodbye to those frustrating oily crusts. Let's get baking!
- Preventing Fat Bloom in Chocolate Cakes: Tips for a Smooth Finish | BakeItRight.com
- Understanding Fat Bloom in Chocolate Cakes
- Key Factors Contributing to Fat Bloom in Chocolate Cakes
- Practical Tips for Preventing Fat Bloom in Chocolate Cakes
- Controlling Humidity to Minimize Fat Bloom
- Specific Baking Techniques to Combat Bloom
- Troubleshooting Common Fat Bloom Issues
- Advanced Techniques for Preventing Fat Bloom
- The Ultimate Guide to Perfect Chocolate Cakes: Saying Goodbye to Fat Bloom
-
Frequently Asked Questions
- What is fat bloom and why does it occur in layer cakes?
- How does incorrect storage contribute to fat bloom in layer cakes?
- What role does the quality of chocolate play in preventing fat bloom?
- Are there specific ingredients I should avoid or use differently to minimize fat bloom?
- What baking techniques can help prevent fat bloom in layer cakes?
- Final Reflection: The Enduring Quest for the Perfect Layer Cake
- Unlock Your Perfect Layer Cake: Banish Fat Bloom Forever!
Preventing Fat Bloom in Chocolate Cakes: Tips for a Smooth Finish | BakeItRight.com
Understanding Fat Bloom in Chocolate Cakes
What is Fat Bloom and Why Does it Happen?
Fat bloom is a common issue in chocolate, manifesting as dull, grayish-white streaks or patches on the surface. It's often mistaken for mold, but it's purely a cosmetic issue related to the cocoa butter within the chocolate. This phenomenon occurs when the fat crystals in the cocoa butter separate from the chocolate mass and recrystallize on the surface. This separation is usually triggered by changes in temperature or improper handling during the chocolate's journey from production to your kitchen. Preventing fat bloom in layer cakes, especially those rich in chocolate, is key to achieving a professional, appealing finish.
The underlying cause of fat bloom is the instability of cocoa butter's crystal structure. Cocoa butter can crystallize in several different forms, each melting at a different temperature. The most stable and desirable form for chocolate has a melting point around 94-95°F (34-35°C).
When chocolate is not tempered correctly or is subjected to temperature fluctuations, the less stable crystal forms melt and then recrystallize on the surface in a less organized, larger structure. This scattered, larger crystal formation is what we see as the visible bloom, giving the chocolate a dusty or streaky appearance. Understanding this crystalline behavior is the first step in preventing fat bloom layer cakes.
Identifying Fat Bloom: White Streaks and Dull Surfaces
Identifying fat bloom is fairly straightforward once you know what to look for. The most common sign is the appearance of white or grayish patches, streaks, or a general dullness on the surface of the chocolate or chocolate components in your cake. Unlike sugar bloom, which tends to feel powdery and is caused by moisture dissolving and recrystallizing sugar, fat bloom feels smooth to the touch. It often appears after the chocolate has been stored for some time, particularly if the storage conditions haven't been ideal.
For example, if you've made a beautiful chocolate ganache frosting for your layer cake and notice these streaks appearing a day or two later, it's highly likely fat bloom. The texture of the chocolate itself might also change slightly; it can become softer or more crumbly. While visually unappealing, it's important to remember that fat bloom does not make the chocolate unsafe to eat.
The flavor might be slightly less intense, but the cake is still perfectly edible. Recognizing these visual cues is crucial for preventing fat bloom layer cakes from reaching your serving platter looking anything less than perfect.
The Role of Cocoa Butter in Chocolate Cake Texture
Cocoa butter is a vital ingredient in chocolate, contributing significantly to its texture, snap, and melt-in-your-mouth quality. High-quality chocolate contains a substantial amount of cocoa butter – often 30-40% or more for dark chocolate. This fat is solid at room temperature but melts just below body temperature, creating that characteristic smooth melt. In chocolate cakes, whether it's chocolate chips, chunks, or a chocolate glaze, the cocoa butter structure influences how the chocolate sets and appears.
When cocoa butter is properly crystallized through tempering, it forms a stable network that gives chocolate its shine and crisp snap. This stability is key to preventing fat bloom. In a cake context, this means that chocolate components like chips or a glaze will maintain their structure and appearance better if the cocoa butter within them is stable.
If the cocoa butter isn't stable, it's more prone to migration and recrystallization, leading to bloom on the surface of chocolate chips or the cake's chocolate coating. Therefore, managing the cocoa butter's behavior is central to successfully preventing fat bloom layer cakes.
Key Factors Contributing to Fat Bloom in Chocolate Cakes
Improper Tempering of Chocolate: Achieving Stable Cocoa Butter Crystals
Tempering is the process of carefully melting and cooling chocolate to encourage the formation of specific, stable cocoa butter crystals (Type V). This precise process ensures that the chocolate sets with a smooth texture, a glossy finish, and a satisfying snap, while also being resistant to fat bloom. When chocolate is simply melted and allowed to cool naturally without tempering, the cocoa butter can crystallize randomly, forming unstable crystal types (like Type I, II, III, and IV) that melt easily at lower temperatures.
For instance, heating chocolate above its melting point (around 115-120°F or 46-49°C for dark chocolate) destroys all existing crystal structures. Without proper cooling and agitation to guide the formation of stable crystals, the chocolate will set poorly and be highly susceptible to bloom. This is why simply melting chocolate chips in a microwave and letting them cool often results in a dull, soft chocolate that quickly blooms. Mastering the tempering process is perhaps the single most effective method for preventing fat bloom layer cakes when chocolate coatings or decorations are involved.
Using Low-Quality Chocolate: The Impact on Bloom Formation
The quality of chocolate used in your baking significantly impacts its susceptibility to fat bloom. Lower-quality chocolates often contain less cocoa butter and may substitute it with other fats, like palm oil or other vegetable oils. While some of these fats are designed to mimic cocoa butter, their crystallization properties can differ, sometimes making the chocolate even more prone to bloom, or resulting in a different type of bloom entirely.
Furthermore, the processing of lower-quality chocolate might not involve the rigorous tempering and quality control measures used for premium chocolates. This can mean the chocolate is already starting with a less stable fat crystal structure, making it more likely to bloom under less-than-ideal conditions. Using a couverture chocolate, which has a higher percentage of cocoa butter (typically 32-39% or more) and is specifically processed for melting and tempering, provides a much better foundation for preventing fat bloom layer cakes compared to standard baking chips which may contain stabilizers or lower amounts of cocoa butter.
Temperature Fluctuations: How Storage Affects Bloom
Temperature stability is critical for preventing fat bloom. Storing chocolate or chocolate-covered cakes in environments where the temperature swings significantly is a major culprit. When chocolate warms up, even slightly above its ideal storage temperature (typically 60-70°F or 15-21°C), some of the less stable cocoa butter crystals begin to melt. If the temperature then drops, the melted fat recrystallizes on the surface in the larger, visible blooming form.
Imagine storing a chocolate layer cake in a kitchen pantry near a window where it gets warm during the day and cools down at night. This daily fluctuation provides the perfect conditions for fat bloom to develop on any exposed chocolate. Similarly, moving a cake from a cold refrigerator directly into a warm room can cause condensation (moisture exposure, discussed next) but also temperature shock that encourages bloom. Consistent, cool storage is essential for preventing fat bloom layer cakes from developing unsightly patches.
Moisture Exposure: Preventing Condensation on Chocolate
While often associated with sugar bloom, moisture exposure can also indirectly contribute to fat bloom by causing condensation on the surface of the chocolate. When a cold chocolate cake or chocolate item is brought into a warmer, humid environment, moisture from the air condenses on the cold surface, similar to how water droplets form on a cold glass.
This condensation can dissolve a tiny amount of sugar on the surface (leading to sugar bloom), but it can also disrupt the surface structure of the chocolate and encourage the migration of fats. As the moisture evaporates, it can leave behind a surface that is more susceptible to fat migration and subsequent bloom.
For example, taking a deeply chilled chocolate cake out of the fridge and leaving it uncovered in a warm, humid kitchen can quickly lead to both sugar and fat bloom developing on the chocolate frosting or decorations. Proper wrapping and gradual temperature changes are key strategies for preventing fat bloom layer cakes in humid conditions.
Practical Tips for Preventing Fat Bloom in Chocolate Cakes
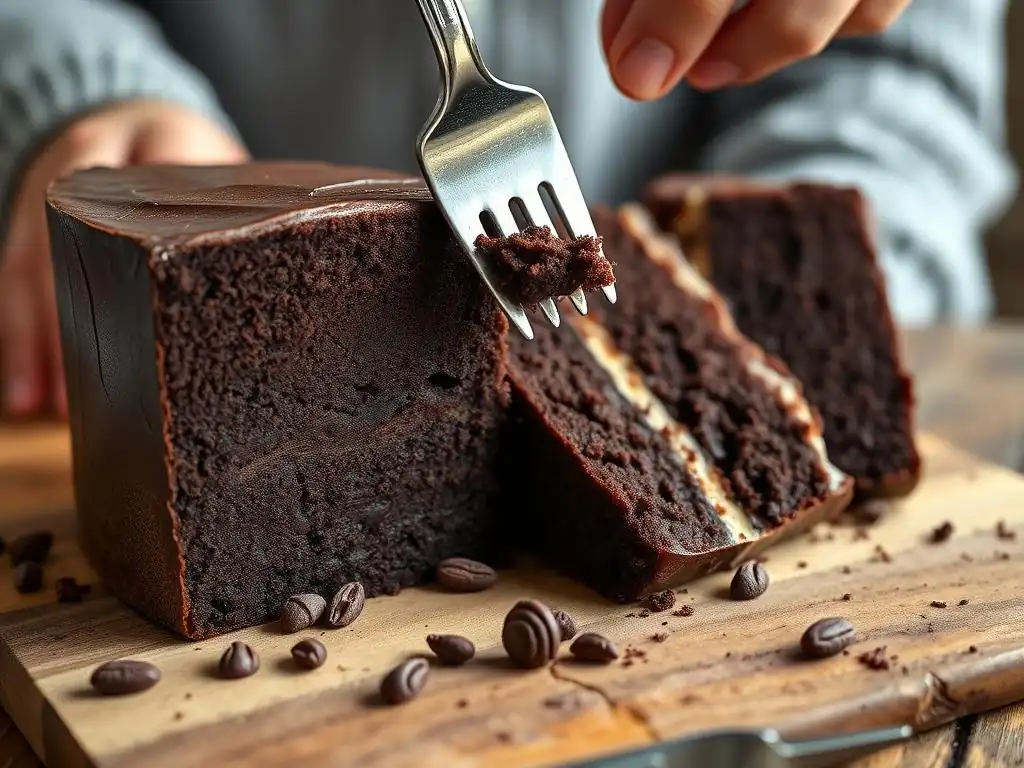
Tempering Chocolate Correctly: Mastering the Tempering Process
Mastering chocolate tempering is the most effective way to prevent fat bloom on chocolate decorations or coatings for your layer cakes. The goal is to melt the chocolate, cool it down while agitating to form stable crystals, and then gently warm it back up to a working temperature that maintains those stable crystals. There are several methods, including the seeding method and the tabling method.
For the seeding method, you melt about two-thirds of your chocolate gently (e.g., to 115°F / 46°C for dark chocolate). Then, remove it from the heat and stir in the remaining one-third of finely chopped, untempered chocolate. Stir continuously until the temperature drops to the correct crystallization range (around 88-90°F / 31-32°C for dark chocolate).
The seed chocolate helps guide the melted chocolate to form stable crystals. Finally, warm it slightly back up to a working temperature (around 89-91°F / 31.5-32.5°C for dark) if needed, ensuring it doesn't go above the upper limit. This controlled process is vital for preventing fat bloom layer cakes that feature chocolate coatings or decorations.
Selecting High-Quality Chocolate: Choosing Chocolate with High Cocoa Butter Content
Choosing high-quality chocolate is a crucial step in preventing fat bloom in your layer cakes from the outset. Look for chocolate labeled as "couverture," which signifies a higher percentage of cocoa butter (typically 32% or more) and indicates it's processed for melting and tempering. Check the ingredients list; cocoa butter should be the primary fat listed. Avoid chocolates where vegetable oils or other fats are listed prominently as substitutes for cocoa butter.
A good quality chocolate not only performs better when tempered but also has a more stable composition inherently less prone to bloom under minor temperature fluctuations. For instance, a premium dark chocolate with 35% cocoa butter is far less likely to bloom than a compound chocolate with 25% palm kernel oil. Investing in better chocolate means better flavor and a better chance at preventing fat bloom layer cakes that look professional and appealing.
Maintaining Consistent Storage Temperature: Avoiding Temperature Swings
Consistent storage temperature is paramount for preventing fat bloom once your chocolate cake is made. The ideal storage temperature for chocolate itself is between 60-70°F (15-21°C), away from direct sunlight and heat sources. For a chocolate layer cake, especially one with chocolate components like ganache or chocolate decorations, storing it in a cool pantry or a temperature-controlled room is best if it doesn't require refrigeration.
If refrigeration is necessary (due to perishable fillings or frosting), store the cake in the coldest part of the refrigerator, typically towards the back. More importantly, when you remove the cake from refrigeration, allow it to come to room temperature gradually in its packaging before unwrapping. This minimizes the temperature shock and condensation that can trigger bloom. Avoiding drastic swings, like moving a cold cake into a very warm car, is key for preventing fat bloom layer cakes.
Wrapping Cakes Properly: Creating a Moisture Barrier
Properly wrapping your chocolate layer cakes before storage, especially if refrigerating or living in a humid climate, creates a crucial moisture barrier. Condensation is a major trigger for bloom, and preventing moisture from reaching the chocolate surface is vital. Use plastic wrap or an airtight cake carrier.
If refrigerating, wrap the entire cake tightly in several layers of plastic wrap before placing it in the fridge. When removing it, leave the wrap on while the cake gradually warms up to room temperature over 1-2 hours. This allows any condensation to form on the outside of the plastic wrap instead of directly on the chocolate surface. For cakes stored at room temperature in humid environments, keeping them in an airtight container or under a cake dome can significantly help in preventing fat bloom layer cakes by limiting exposure to moist air.
Controlling Humidity to Minimize Fat Bloom
The Relationship Between Humidity and Fat Bloom
Humidity plays a significant, albeit often indirect, role in triggering fat bloom, primarily through condensation. As discussed, when a cold chocolate surface encounters warm, humid air, moisture condenses on it. This surface moisture can disrupt the delicate balance of the chocolate's surface, potentially dissolving sugar crystals (causing sugar bloom) but also creating conditions favorable for the migration and recrystallization of fats, leading to fat bloom.
Think of a humid summer day. Any cold item brought out of refrigeration immediately sweats. Chocolate is no exception. This surface moisture, even if temporary, can compromise the stability of the cocoa butter crystals on the chocolate's surface. While fat bloom is fundamentally about fat crystallography and temperature, humidity acts as a catalyst by inducing condensation and surface disruption. Controlling humidity is therefore an important secondary strategy for preventing fat bloom layer cakes, particularly in challenging climates.
Tips for Baking and Storing in Humid Environments
Baking and storing chocolate layer cakes in humid environments requires extra precautions to prevent bloom. Firstly, try to work with chocolate and assemble your cake in the coolest, driest part of your home. Using air conditioning or a dehumidifier in your kitchen can make a significant difference. Ensure all chocolate components, like melted chocolate or ganache, are cooled properly and set before assembling or storing.
When storing the finished cake, especially if it contains chocolate decorations or a ganache frosting, an airtight container is your best friend. If refrigeration is necessary, follow the strict wrapping protocol mentioned earlier: wrap tightly in plastic wrap before chilling, and allow to temper (warm up) while still wrapped when removed. For longer-term storage of chocolate itself, vacuum-sealing can be effective. These steps are vital for preventing fat bloom layer cakes when battling high humidity.
Using Desiccants: Absorbing Excess Moisture in Storage
In particularly humid conditions, or for long-term storage of chocolate components (like chocolate shavings or tempered pieces you plan to use later), incorporating food-safe desiccants in storage containers can be helpful. Desiccants, such as silica gel packets (ensure they are food-grade), absorb moisture from the air within an enclosed space, creating a drier micro-environment.
You can place a food-grade desiccant packet inside an airtight container along with your chocolate components or even next to a chocolate-decorated cake within a large cake carrier, provided the desiccant doesn't directly touch the food. Replace the desiccant periodically as it becomes saturated. This method helps mitigate the risk of condensation and subsequent bloom, offering an extra layer of protection when focusing on preventing fat bloom layer cakes in challenging climates.
Specific Baking Techniques to Combat Bloom
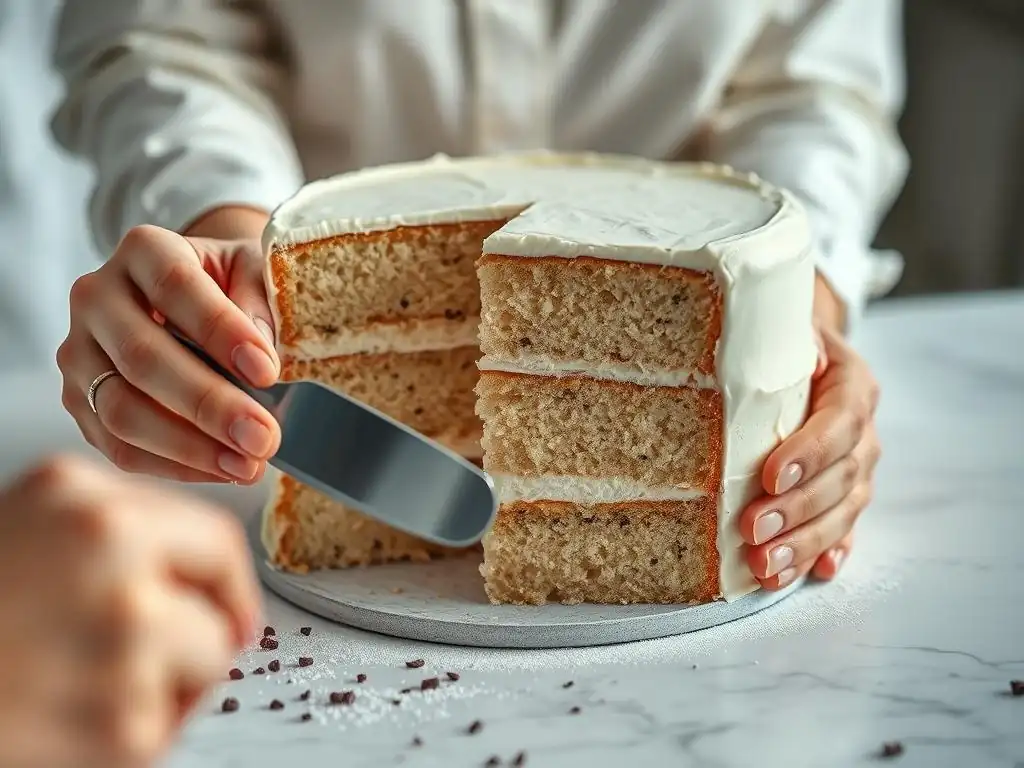
Incorporating Chocolate Correctly: Preventing Seizing
When incorporating melted chocolate into a cake batter or frosting, preventing it from seizing is crucial for a smooth texture and preventing bloom issues down the line. Seizing occurs when a small amount of liquid or steam comes into contact with melted chocolate, causing the cocoa solids to clump up and the mixture to become thick and grainy. While not directly causing fat bloom, seized chocolate has a compromised texture and can lead to an uneven distribution of fat, potentially making bloom more likely in those areas.
To prevent seizing when adding melted chocolate to a wet batter or mixture, ensure the chocolate is fully melted and smooth. When combining, whisk the wet ingredients into the melted chocolate gradually and vigorously until fully emulsified. Conversely, if adding melted chocolate to dry ingredients, ensure the dry ingredients are fully incorporated into the wet portion before adding the melted chocolate. Maintaining a smooth, emulsified chocolate mixture is part of the overall strategy for preventing fat bloom layer cakes.
Using Chocolate Ganache: A Protective Layer
Chocolate ganache, a simple mixture of chocolate and cream, can serve as an excellent protective layer on a layer cake, and if made correctly, can be relatively resistant to bloom itself. The high fat content from both the chocolate's cocoa butter and the cream's butterfat, when properly emulsified, creates a stable coating.
To make a stable ganache, heat the cream (typically a 1:1 or 2:1 ratio of chocolate to cream by weight for frosting consistency) just until simmering, then pour it over finely chopped chocolate. Let it sit for a few minutes to melt the chocolate, then gently whisk from the center outwards until smooth and glossy. Avoid over-whipping, which can incorporate air and affect stability.
Once cooled and set, a well-made ganache provides a smooth, durable surface that is less prone to the environmental factors that trigger bloom compared to exposed chocolate pieces. Using a stable ganache is a practical technique when aiming for preventing fat bloom layer cakes.
Adjusting Recipes for Different Chocolate Types: [Example Recipe Adjustment]
Different types of chocolate (dark, milk, white) have varying amounts of cocoa butter and sugar, which affects their melting points and how they behave. Recipes often assume a standard type of chocolate, but adjusting based on the specific chocolate you use is important for preventing bloom. For instance, dark chocolate has a higher cocoa butter content and melts at a higher temperature than milk or white chocolate.
Example Recipe Adjustment: If a recipe calls for melting 4 oz of semi-sweet chocolate (around 50-55% cocoa), and you are using a dark chocolate with 70% cocoa, you may need to adjust the melting temperature slightly higher (e.g., melt to 120°F / 49°C instead of 115°F / 46°C before cooling for tempering). Conversely, if using milk chocolate (lower cocoa butter, higher sugar), the melting point is lower (around 105-110°F / 40-43°C), and the tempering temperatures will also be lower (crystallization around 84-86°F / 29-30°C, working around 86-88°F / 30-31°C).
Understanding these differences and making small adjustments helps ensure the chocolate is handled correctly, aiding in preventing fat bloom layer cakes.
Troubleshooting Common Fat Bloom Issues
My Chocolate Cake Has White Streaks: What Went Wrong?
Discovering white streaks on your beautiful chocolate layer cake indicates that fat bloom has occurred. The most likely culprits are improper storage temperatures or issues with the chocolate itself. Did the cake experience significant temperature fluctuations? Perhaps it was moved from a cold refrigerator to a warm room too quickly, or stored in a location with inconsistent temperatures. This is the most common reason for bloom appearing after the cake is made and decorated.
Another possibility is that the chocolate used for decorations or coatings was not properly tempered to begin with, or that you used a lower-quality chocolate more prone to bloom. If the bloom appeared almost immediately after the chocolate set, improper tempering is highly probable. If it appeared over time, storage conditions are more likely the issue. Pinpointing the cause is key to preventing fat bloom layer cakes in the future.
Identifying the Root Cause of Fat Bloom: A Diagnostic Approach
To effectively prevent fat bloom in future layer cakes, it's helpful to diagnose why it happened this time.
- Consider the Chocolate: Was it high-quality couverture, or standard baking chips? Was it fresh?
- Review Handling: If you melted chocolate for ganache or decoration, did you temper it? If so, what method and temperatures did you use? Was the melting smooth, or did it seize?
- Examine Storage: Where was the cake stored? Was the temperature consistent (ideally 60-70°F / 15-21°C if not refrigerated)? If refrigerated, was it wrapped tightly? Was it allowed to warm up gradually?
- Assess Environment: Was the air humid?
By systematically reviewing these factors, you can often identify the weak point in the process. For example, if you used untempered chocolate chips for a drip and stored the cake in a warm room, you've identified multiple risk factors. This diagnostic approach is vital for consistently preventing fat bloom layer cakes.
Simple Solutions for Minimizing Bloom: [Example Solution]
While you cannot reverse fat bloom once it has occurred on a finished cake without re-melting the chocolate (which isn't feasible for a whole cake), you can often minimize its appearance or impact. For instance, if only a few small areas of a chocolate ganache frosting have bloomed, you can sometimes gently warm the surface with a heat gun or even a hairdryer on a low setting held at a distance. Example Solution: If a chocolate drip on the side of your cake has bloomed slightly, carefully use a hairdryer set to low heat about 8-10 inches away, moving it constantly.
The goal is to slightly melt the surface layer of fat crystals, allowing them to re-set more smoothly as they cool. Be extremely cautious not to overheat, which can melt the chocolate completely or damage the cake.
For bloomed chocolate pieces or shavings used as decoration, you can remove and replace them, or if the bloom is minor, gently buffing the surface with a soft cloth might slightly improve the appearance, though this is often ineffective for significant bloom. The best solution, however, is prevention through proper technique and storage when creating your layer cakes, ensuring you are actively preventing fat bloom layer cakes from the start.
Advanced Techniques for Preventing Fat Bloom
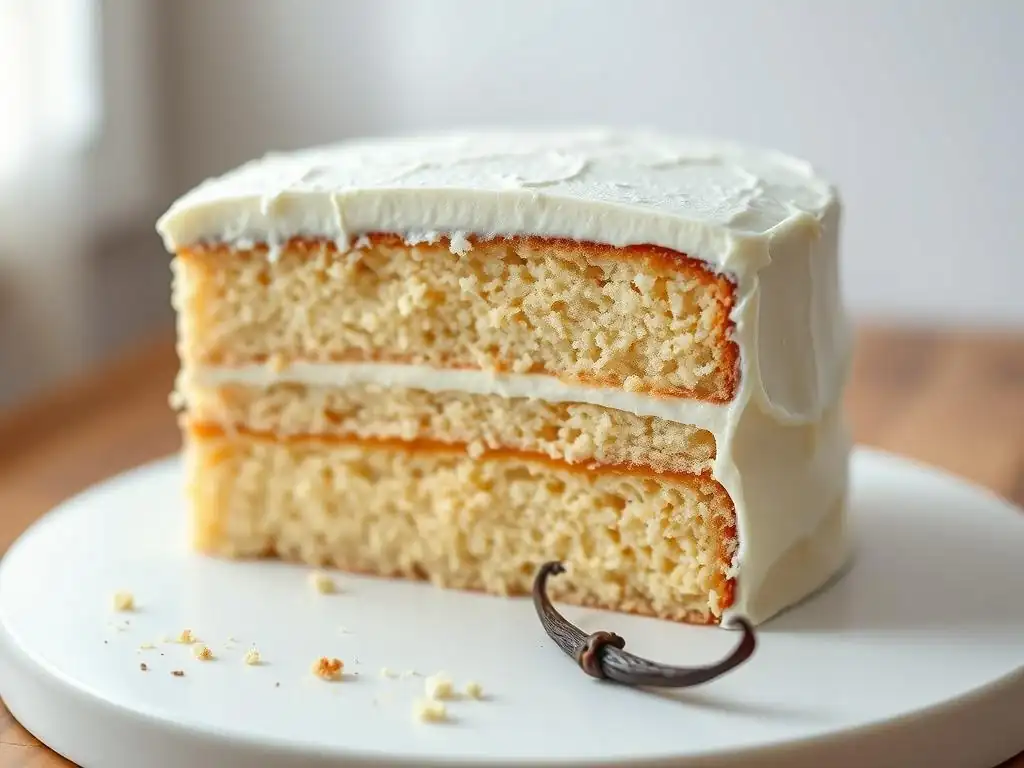
Using Chocolate Stabilizers: [Examples of Stabilizers]
For professional applications or in challenging climates, some bakers use chocolate stabilizers to help prevent bloom. These are food additives that can help maintain the desired crystalline structure of cocoa butter. However, their use can sometimes affect the chocolate's flavor or texture.
Examples of Stabilizers: One common approach in industrial settings is the addition of small amounts of fats like illipe butter or shea stearin, which have compatible crystallization properties with cocoa butter and can help stabilize the desired crystal form. Another method involves adding specific emulsifiers or crystal inhibitors during processing. For the home baker, simply ensuring proper tempering and storage of high-quality chocolate is usually sufficient and preferable to using additives, as it maintains the chocolate's pure flavor and texture while still effectively preventing fat bloom layer cakes.
Incorporating Cocoa Butter: Enhancing Chocolate Stability
Adding a small amount of extra cocoa butter to melted chocolate before tempering can sometimes help improve its flow properties and contribute to a more stable final set, potentially enhancing bloom resistance. This is particularly relevant if you are working with chocolate that seems inherently less fluid or stable.
The amount added is typically small, perhaps 1-2% of the chocolate's weight. You would melt the chocolate and the extra cocoa butter together, then proceed with your chosen tempering method. The additional cocoa butter can aid in the formation of a robust network of stable crystals during cooling. While not a substitute for proper tempering technique, it can be a useful tweak for experienced bakers focused on preventing fat bloom layer cakes with specific types of chocolate.
Adjusting Cooling Rates: Promoting Proper Crystal Formation
Controlling the cooling rate of tempered chocolate is an advanced technique that influences the final crystal structure and stability. After achieving the correct temperature for stable crystal formation during tempering, the rate at which the chocolate cools and sets affects how those crystals arrange themselves. Rapid cooling, often achieved by refrigerating or using a cold surface, encourages quick setting and a good snap, but if done improperly or too quickly from a temperature that wasn't quite right, it can sometimes trap unstable crystals or lead to dullness.
A more controlled, slightly slower cooling process within the ideal temperature range (around 60-70°F / 15-21°C) can allow the stable crystals more time to fully develop and interlock, resulting in a more stable and bloom-resistant structure. This is why professional chocolatiers often temper and cool their chocolate in temperature-controlled rooms rather than simply placing it in a standard refrigerator. While complex for the home kitchen, understanding the impact of cooling rate highlights another variable in the intricate process of preventing fat bloom layer cakes.
The Ultimate Guide to Perfect Chocolate Cakes: Saying Goodbye to Fat Bloom
Recap of Key Strategies for Preventing Fat Bloom
Preventing fat bloom in chocolate layer cakes involves a multi-faceted approach, focusing primarily on the quality and handling of the chocolate itself, as well as proper storage of the finished cake. The fundamental strategies include:
- Using high-quality chocolate with ample cocoa butter.
- Properly tempering any chocolate used for coatings or decorations.
- Maintaining consistent storage temperatures, ideally between 60-70°F (15-21°C), avoiding fluctuations.
- Preventing condensation by wrapping cakes tightly when refrigerating and allowing them to warm up gradually.
- Controlling humidity in your baking and storage environment.
- Handling melted chocolate carefully during incorporation to prevent seizing.
- Using stable components like well-made chocolate ganache.
By implementing these techniques, you significantly reduce the risk of encountering unsightly fat bloom on your beautiful creations, ensuring your chocolate layer cakes look as good as they taste. Mastering the art of preventing fat bloom layer cakes is a hallmark of a skilled baker.
[Call to Action: Free Chocolate Tempering Guide]
Frequently Asked Questions
What is fat bloom and why does it occur in layer cakes?
Fat bloom is a whitish, oily or grayish film that appears on the surface of chocolate, often in layer cakes. It's caused by fat crystals rising to the surface, usually due to temperature fluctuations or improper tempering.
How does incorrect storage contribute to fat bloom in layer cakes?
Storing layer cakes in warm or fluctuating temperatures encourages fat migration and crystallization, leading to fat bloom. Proper refrigeration and avoiding temperature shocks are crucial.
What role does the quality of chocolate play in preventing fat bloom?
Using high-quality chocolate with a stable fat content is key. Cheaper chocolates often have fats that are more prone to blooming. Ensure the chocolate is properly tempered before using it in your cakes.
Are there specific ingredients I should avoid or use differently to minimize fat bloom?
Avoid ingredients that introduce excess moisture or oils. Consider using cocoa powder instead of melted chocolate in some recipes, or incorporating emulsifiers like lecithin to help bind the fats.
What baking techniques can help prevent fat bloom in layer cakes?
Proper tempering of the chocolate used in ganaches, fillings, or coatings is essential. Also, ensure the cake layers are completely cooled before applying any chocolate-based elements to prevent melting and fat separation.
Final Reflection: The Enduring Quest for the Perfect Layer Cake
The pursuit of the flawlessly smooth, beautifully textured layer cake remains a constant challenge for bakers, and understanding fat bloom is crucial to achieving that coveted result. Preventing this unsightly and texturally unpleasant phenomenon isn't merely about aesthetics; it's about ensuring a consistently delicious and professional-looking final product, whether you're a seasoned baker or just starting out.
The fight against fat bloom highlights a deeper truth about baking: the delicate balance between ingredients and technique. It's a testament to the precision required to master this art form. The subtle shifts in temperature, the careful selection of ingredients, and the understanding of how fats behave—all contribute to the success or failure of a cake. Baking is a science, but it's also an art. It's about understanding the principles and then letting your creativity take over.
This quote perfectly encapsulates the journey of mastering cake baking, and conquering fat bloom is a significant step on that journey.
Now, consider your own baking experiences. Have you encountered the frustration of fat bloom? What techniques have you found most effective in preventing it? I encourage you to continue experimenting, refining your methods, and embracing the learning process. The quest for the perfect layer cake is an ongoing one, filled with both triumphs and setbacks, but the rewards—a beautifully smooth, incredibly delicious cake—are well worth the effort. Remember the tips and tricks discussed in this article, and let them guide you on your baking journey. The perfect cake awaits!
Unlock Your Perfect Layer Cake: Banish Fat Bloom Forever!
Thanks for taking the time to learn how to prevent fat bloom in your layer cakes! We hope you now feel confident in creating flawlessly smooth and delicious cakes. Ready to put your new knowledge into action?
- Bake a bloom-free masterpiece today! Try out one of the techniques you learned and share your results with us. We'd love to see your baking triumph!
- Explore our other cake recipes designed to maximize your baking success and avoid common pitfalls.
- Join our baking community on social media and share your tips and experiences – let’s help each other achieve baking perfection!
What's your favorite trick for preventing fat bloom? Let’s discuss!