
Avoid These Common Baked Goods Storage Mistakes

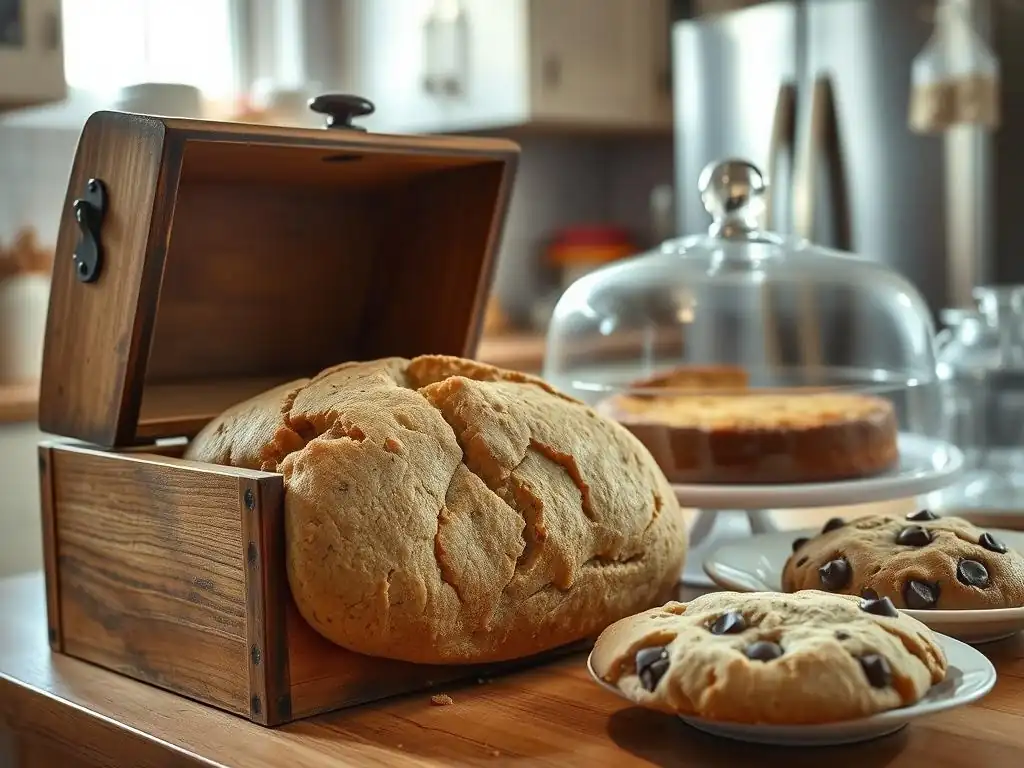
Welcome to BakeWithEase, your trusted guide to baking bliss! Ever wonder why your perfectly baked creations lose their magic overnight? Unlock the secrets to preserving freshness and flavor in our latest article. Discover essential proper baked goods storage tips and avoid common mistakes that can ruin your hard work. Let's keep those delicious treats tasting as good as the day they were baked!
- Avoid These Common Cookie Storage Mistakes
- Introduction: Mastering Cookie Storage for Lasting Freshness
- Mistake #1: Storing Warm Cookies
- Mistake #2: Using the Wrong Container for Cookie Storage
- Mistake #3: Storing Soft and Crispy Cookies Together
- Mistake #4: Neglecting the Importance of Room Temperature vs. Refrigeration
- Mistake #5: Overlooking Freezing Techniques for Cookies
- Mistake #6: Ignoring the Shelf Life of Your Cookie Creations
- Mistake #7: Storing Cookies Near Strong Smells
- Conclusion: Ensuring Cookie Freshness with Proper Cookie Storage Tips
- Frequently Asked Questions
- Final Reflection: The Sweet Science of Storage and the Lasting Taste of Freshness
- Unlock Your Baking Potential: Freshness Guaranteed!
Baking a batch of delicious cookies is a rewarding experience, filling your home with wonderful aromas. But the joy shouldn't end when they come out of the oven. To truly savor your homemade treats, mastering proper baked goods storage tips is essential. Many bakers unknowingly make simple mistakes that drastically reduce the freshness and quality of their cookies, leading to disappointment when that perfect texture turns stale or soggy within just a day or two.
Understanding the nuances of cookie storage is key to extending their delightful chewiness or satisfying crispness. This guide will walk you through seven common pitfalls to avoid, offering practical advice and techniques to ensure your cookies stay as fresh and flavorful as the moment they were baked. By implementing these proper baked goods storage tips, you can enjoy your cookie creations for days, or even weeks, to come.
Storing cookies while they are still warm is one of the quickest ways to ruin their texture and invite spoilage. As cookies cool, they release moisture. If sealed in a container too soon, this moisture becomes trapped, creating condensation inside the container. This condensation then settles back onto the cookies, making crispy varieties soggy and potentially turning soft cookies gummy or even sticky.
Furthermore, the trapped moisture and warmth create an ideal environment for bacterial growth or mold development. While a freshly baked cookie might be too hot for immediate spoilage, sealing in residual heat and moisture significantly shortens its shelf life. For instance, cookies stored warm might show signs of staleness or mold within 24 hours, compared to several days for those properly cooled.
The cooling process begins right after baking. For most cookies, leave them on the baking sheet for 2 to 5 minutes after removing from the oven. This allows them to set slightly, preventing them from breaking when transferred. Delicate cookies like shortbread might need closer to 5 minutes, while sturdier drop cookies like chocolate chip can often be moved after 2-3 minutes.
After the initial setting time on the baking sheet, transfer the cookies to a wire cooling rack using a spatula. Arrange them in a single layer, ensuring air can circulate freely around each cookie. This maximizes surface area exposure to air, facilitating rapid and complete cooling. Depending on their size and thickness, cookies typically need anywhere from 30 minutes to 2 hours to cool completely to room temperature before they are ready for proper baked goods storage. Ensure they feel cool to the touch, even in the center, before proceeding to the next storage step.
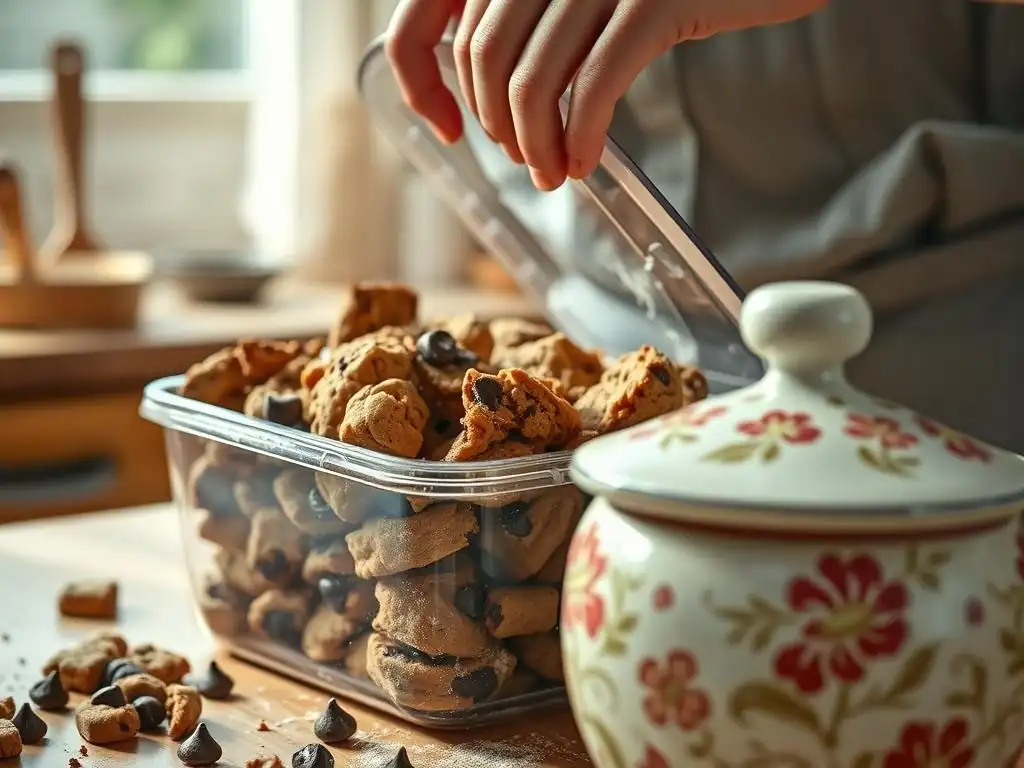
The type of container you use plays a significant role in maintaining cookie texture. For cookies intended to remain crispy, like biscotti or gingersnaps, a truly airtight container is paramount. Materials like glass or metal tins with tight-fitting lids are excellent choices as they prevent moisture from entering and softening the cookies. Ensure the lid seals completely, creating a barrier against humidity.
Conversely, for soft, chewy cookies such as oatmeal raisin or classic chocolate chip, a container that is mostly airtight but allows for a tiny bit of air exchange can sometimes be beneficial. However, the most reliable method is often still an airtight container, managing moisture within the container itself (more on this later). Plastic containers with rubber seals are common and effective, provided the seal is intact and the lid snaps on tightly. The key is to minimize external moisture influence while sometimes allowing cookies of similar texture to equalize internally.
Humidity is the silent enemy of cookie texture. High external humidity can quickly turn crispy cookies soft and limp by transferring moisture into them. Conversely, storing soft cookies in a very dry environment or a container that isn't sealed can cause them to lose their internal moisture and become hard and dry. Proper baked goods storage tips hinge on controlling the moisture level around the cookie.
Airtight containers act as a barrier against fluctuating environmental humidity. By sealing cookies inside, you create a microclimate where the cookies' own moisture content is retained or, in the case of crispy cookies, where outside moisture is kept out. This helps maintain the desired texture for a longer period, whether it's the snap of a sugar cookie or the bend of a chewy snickerdoodle.
While aesthetically pleasing, traditional cookie jars with loose-fitting lids are rarely truly airtight. They allow significant air exchange, meaning cookies stored inside are highly susceptible to changes in room humidity and can quickly become stale or lose their intended texture. Crispy cookies will soften, and soft cookies will dry out faster than in an airtight container.
Cookie jars are best used for short-term storage, perhaps for cookies that you anticipate consuming within a day or two. They are convenient for easy access but should not be relied upon for preserving freshness for extended periods. For optimal, long-lasting storage, especially if you've baked a large batch, always opt for a container specifically designed to be airtight as part of your proper baked goods storage routine.
Mixing cookies with different textures in the same container is a common error that compromises both. The science behind it is simple: moisture transfer. Soft cookies contain more moisture than crispy ones. When stored together, moisture will migrate from the soft cookies to the drier, crispy ones in an attempt to reach equilibrium.
The result? Your once-crispy cookies become soft and chewy, losing their characteristic snap. Meanwhile, your soft cookies may dry out slightly as they lose some moisture, or they might become excessively moist and potentially gummy if condensation is also a factor. To preserve the unique texture of each cookie type, always store soft cookies and crispy cookies in separate, appropriately sealed containers. This separation is a fundamental proper baked goods storage tip.
If you want to ensure your soft cookies stay extra tender and chewy, a simple trick is to place a slice of plain white bread in their airtight storage container. The bread slice has a higher moisture content than the cookies. Over time, this moisture will transfer from the bread to the cookies, helping them retain their softness.
This method is effective for a day or two. After this period, the bread slice will likely become hard and dry as it has given up its moisture. It's important to remove the old slice and replace it with a fresh one if you need to continue the process. Avoid using flavored bread or bread with seeds, as the cookies can absorb these unwanted flavors.
Beyond separating soft from crispy, consider separating different types of soft cookies or different types of crispy cookies if their flavors are very distinct. For example, storing strongly flavored gingerbread cookies with delicate sugar cookies might result in the sugar cookies absorbing the gingerbread spice flavor. While not always necessary, separating based on flavor can be another layer of proper baked goods storage tips to consider.
The primary rule, however, remains the texture divide. Use dedicated airtight containers for your soft batches and separate airtight containers or tins for your crispy batches. If you have multiple types of soft cookies, they can often be stored together successfully, as long as their moisture levels and flavors are compatible. The same applies to multiple types of crispy cookies.
Mistake #4: Neglecting the Importance of Room Temperature vs. Refrigeration
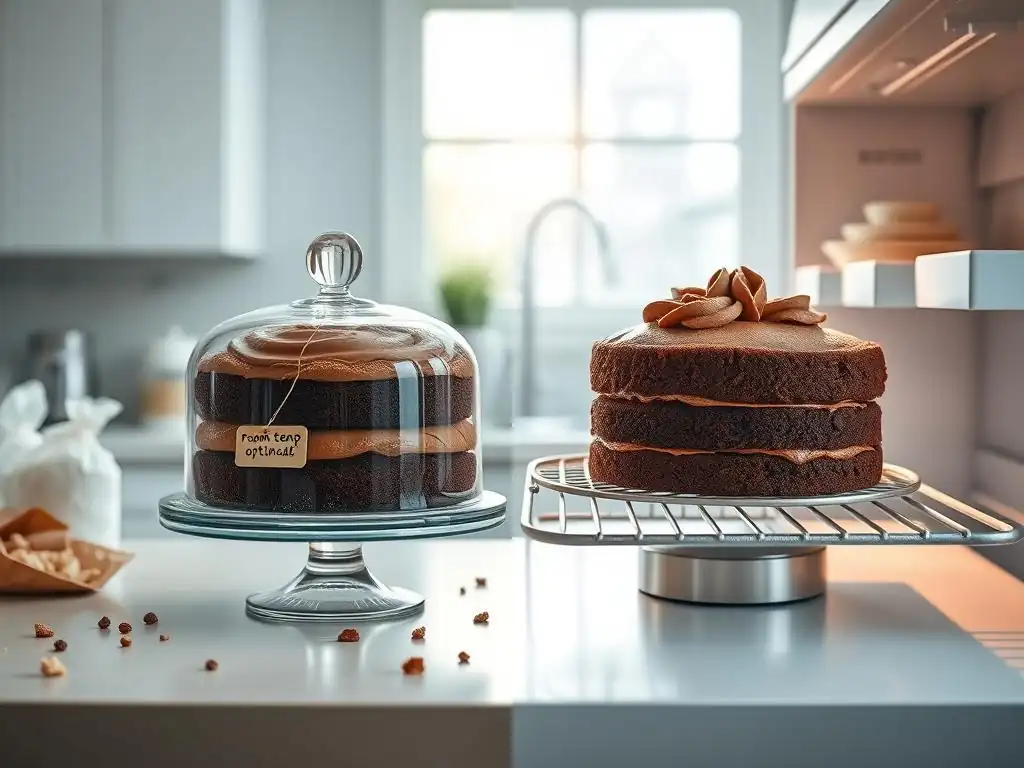
Most standard cookies baked with flour, sugar, butter, and eggs do not require refrigeration and are best stored at room temperature. Refrigeration is primarily necessary for cookies containing perishable ingredients that could spoil at room temperature. This includes cookies with fillings made from dairy (like cream cheese frosting, custard, or whipped cream), fresh fruit fillings, or those with a significant amount of ganache or glaze that needs to stay firm.
For example, frosted sugar cookies using a cream cheese frosting should be refrigerated. Cookies with a lemon curd or pastry cream filling also belong in the fridge. Store these cookies in an airtight container or wrapped well to prevent them from drying out and to protect them from absorbing refrigerator odors. They typically last 3-5 days when refrigerated.
Refrigerating cookies that don't require it is a common mistake that can negatively impact their texture and flavor. Cookies like classic chocolate chip, peanut butter, shortbread, oatmeal cookies, and most bar cookies (like brownies or blondies without perishable toppings) are best kept at room temperature.
The cold environment of the refrigerator can cause these cookies to dry out and become hard or crumbly. It can also dull their flavors. Furthermore, when you take a cold cookie out of the fridge, condensation can form on its surface as it warms up, potentially leading to sogginess, especially for crispy varieties. Unless a cookie contains perishable components, stick to proper baked goods storage at room temperature.
The primary effect of refrigeration on non-perishable cookies is moisture loss and textural degradation. The dry, cold air inside a refrigerator pulls moisture out of baked goods, leading to a hard, sometimes brittle texture that lacks the desired chewiness or tenderness. This is particularly noticeable in cookies with a higher fat content, like shortbread, which can become overly crumbly.
Flavor can also be muted by cold temperatures. Many aromatic compounds that contribute to a cookie's taste are less volatile when cold, meaning they don't reach your nose and palate as effectively. While refrigeration extends the microbial shelf life, it often does so at the expense of the cookie's peak sensory quality. Adhering to proper baked goods storage guidelines means understanding when refrigeration helps (perishables) versus when it harms (most standard cookies).
Freezing is an excellent way to extend the life of baked cookies significantly, often for 2-3 months without a major loss in quality. It's also a fantastic strategy for portion control or preparing ahead for events. The key to successful freezing lies in protecting the cookies from freezer burn, which is caused by dehydration and oxidation due to exposure to cold air.
Proper preparation involves ensuring the cookies are completely cooled before freezing. Freezing warm cookies will cause ice crystals to form, leading to a poor texture upon thawing. Arrange cooled cookies in a single layer on a baking sheet lined with parchment paper and place the sheet in the freezer for about 30-60 minutes until the cookies are solid. This flash freezing prevents them from sticking together when you pack them, making it easy to grab just a few at a time.
Once flash-frozen, the cookies are ready for their long-term freezer home. The best way to prevent freezer burn is a two-layer wrapping system. First, wrap individual cookies or small stacks (separated by parchment paper) tightly in plastic wrap, pressing out as much air as possible.
Next, place the wrapped cookies inside a heavy-duty freezer bag or an airtight freezer-safe container. If using a bag, squeeze out excess air before sealing. If using a container, ensure it's full to minimize air space, or fill the remaining space with crumpled parchment paper. Label the container or bag with the cookie type and date. This meticulous wrapping process is crucial for maintaining texture and flavor during freezing and is a top proper baked goods storage tip for long-term preservation.
Thawing frozen cookies correctly helps restore their texture. The best method is to transfer the wrapped cookies from the freezer to the refrigerator overnight, or simply leave them wrapped at room temperature for a few hours. Thawing slowly and while still wrapped prevents condensation from forming on the cookie surfaces as they warm up.
Avoid thawing cookies in the microwave, as this can lead to uneven heating, resulting in some parts being hot and dry while others are still frozen or soggy. Once thawed, cookies should generally be consumed within a few days, similar to their original shelf life at room temperature. Freezing is a powerful tool for managing your baked goods inventory and ensuring you always have delicious treats on hand with these proper baked goods storage tips.
Understanding Expiration Dates and Spoilage Signs
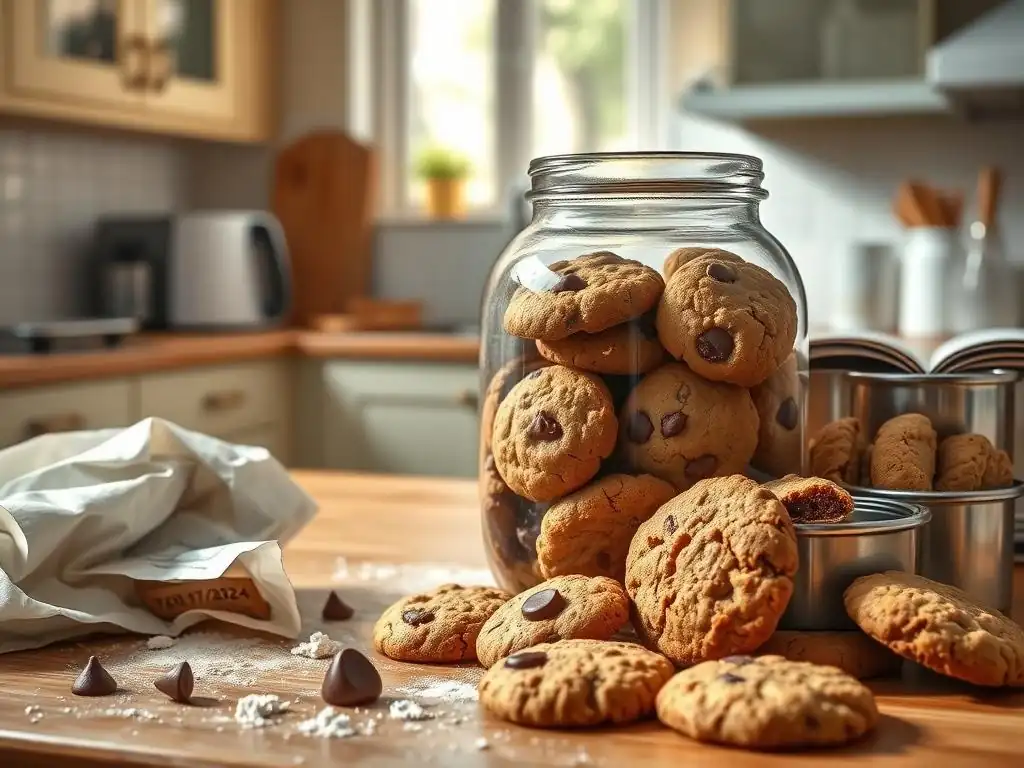
Even with the best proper baked goods storage techniques, cookies don't last forever. The typical shelf life for most homemade cookies stored at room temperature in an airtight container is about 3 to 7 days. Cookies with nuts or whole wheat flour might have a slightly shorter shelf life due to fats potentially going rancid faster. Cookies with high moisture content or perishable fillings will last even less time at room temperature (often only a day or two) and require refrigeration.
Signs of spoilage include visible mold growth (fuzzy patches, often green, white, or black), an off or rancid smell (sometimes described as like old crayons), or a significantly altered texture that goes beyond simple staleness (e.g., becoming slimy or excessively hard). While staleness isn't spoilage in the dangerous sense, it indicates a loss of quality.
Following the proper baked goods storage tips outlined here is the most effective way to maximize the time you have to enjoy your cookies at peak quality. Complete cooling before storage prevents mold and sogginess. Using airtight containers protects against staleness and environmental moisture/dryness. Separating textures maintains the intended crispness or chewiness.
Freezing, as discussed, dramatically extends shelf life, preserving quality for months. By implementing these simple yet crucial steps – cooling, choosing the right container, separating textures, storing at the correct temperature (room temp vs. fridge), and proper freezing/thawing – you can significantly delay the onset of staleness and spoilage, ensuring your baking efforts result in enjoyable treats for as long as possible.
Maintaining hygiene is also part of proper baked goods storage. Always ensure your storage containers are clean and completely dry before filling them. Any residual moisture can encourage mold growth. When retrieving cookies from a container, use clean hands or a clean utensil to avoid introducing bacteria.
If you've frozen cookies, thaw only what you plan to eat relatively soon, as repeatedly freezing and thawing can degrade quality. Store cookies away from direct sunlight or heat sources, as warmth can accelerate spoaling. A cool, dry pantry is often the ideal location for room-temperature storage. By combining clean practices with appropriate storage methods, you ensure both the quality and safety of your stored cookie creations.
Why Avoiding Strong Smells is Important
Cookies, particularly those with a porous texture, are surprisingly good at absorbing odors from their environment. Storing cookies near items with strong smells, whether they are other foods like onions, garlic, or certain cheeses, or non-food items like cleaning supplies, scented candles, or even certain types of packaging, can result in your delicious cookies taking on those unwanted aromas and flavors.
Imagine biting into a delicate sugar cookie only to detect a faint hint of garlic or laundry detergent. It's an unpleasant surprise that completely detracts from the intended taste. This absorption happens because the fats and porous structure of the cookies act like sponges for volatile aromatic compounds in the air. Proper baked goods storage includes considering the storage location carefully.
Preventing Flavor Absorption in Storage
The best defense against flavor absorption is using truly airtight containers. As discussed earlier, airtight containers create a sealed environment that prevents external air, and thus external odors, from reaching the cookies. Glass containers are particularly effective as they do not absorb or transfer odors themselves.
Even in airtight containers, it's wise to store cookies away from potent smell sources. Don't store your cookie tin right next to the spice rack if it contains highly aromatic spices in permeable packaging. Keep them separate from cleaning supplies stored in pantries or garages. By creating a physical barrier and choosing an appropriate location, you protect the pure flavor of your baked goods.
The ideal location for storing most cookies is a cool, dry pantry or cupboard away from direct sunlight and heat sources like ovens, radiators, or dishwashers. Heat can cause fats in cookies to become rancid faster and can also affect texture. A temperature range of 65-70°F (18-21°C) is generally suitable for room-temperature cookie storage.
Crucially, this storage location should also be free from strong odors. A high shelf in a pantry dedicated to dry goods is often perfect. Avoid storing cookies in areas where cooking fumes are prevalent, near pet food, or in basements that might have a musty smell. Thinking strategically about where you place your stored cookies is a simple yet effective aspect of proper baked goods storage tips.
Avoiding these seven common mistakes is key to enjoying your homemade cookies at their absolute best. From the critical step of ensuring cookies are completely cool before storing, to selecting the right airtight container for the specific cookie texture, and understanding when refrigeration is necessary versus detrimental, each tip plays a vital role in preserving quality.
Separating soft from crispy cookies, using freezing techniques wisely, being aware of shelf life, and protecting them from strong odors all contribute to successful proper baked goods storage. By implementing these simple yet effective strategies, you can significantly extend the freshness, maintain the perfect texture, and protect the delicious flavor of your baked cookie creations, ensuring every bite is as delightful as the first.
Frequently Asked Questions
What is the most common mistake people make when storing baked goods?
The most common mistake is storing baked goods while they are still warm or hot. This traps moisture and leads to soggy textures and potential mold growth.
Store cookies in an airtight container at room temperature. Separate soft and crisp cookies to maintain their individual textures; mixing them will cause the crisp ones to soften. Adding a piece of bread to the container can help absorb moisture and keep soft cookies soft.
Is it okay to store bread in the refrigerator?
Generally, it's not recommended to store bread in the refrigerator. Refrigeration can actually cause bread to dry out faster and become stale. Instead, store bread at room temperature in a bread box or airtight bag.
How long can I store cakes and pastries at room temperature?
Most cakes and pastries, especially those with creamy fillings, should be stored in the refrigerator. However, cakes without perishable fillings can generally be stored at room temperature for 1-2 days in an airtight container.
What's the best way to store sourdough bread to maintain its crust?
To maintain a crisp crust, store sourdough bread in a paper bag at room temperature, allowing it to breathe slightly. This prevents the crust from becoming soggy. For longer storage, consider freezing the bread, well-wrapped, and then reheating it in the oven to revive the crust.
Final Reflection: The Sweet Science of Storage and the Lasting Taste of Freshness
The art of baking isn't complete until the final, crucial step: proper storage. Failing to store baked goods correctly not only diminishes their deliciousness but also wastes precious time and ingredients. This article highlighted the common pitfalls—from improper containers to temperature fluctuations—that can quickly turn a masterpiece into a crumbly disappointment.
The impact of understanding proper storage extends far beyond individual enjoyment. It's about respecting the craft of baking, appreciating the effort that goes into creating these treats, and ensuring that the joy they bring lasts longer. The best things in life are worth preserving,
and that certainly applies to the fruits of our baking labor. This principle resonates deeply with me, as I've experienced firsthand the heartbreak of prematurely stale bread and the delight of savoring a perfectly preserved cake days later.
Now, consider your own baking journey. What are your go-to storage methods? Are you guilty of any of the mistakes highlighted in this article? I encourage you to take a moment to reflect on your baking practices and implement the tips discussed here. By embracing these simple yet effective strategies, you'll not only elevate your baking experience but also contribute to a more sustainable and less wasteful approach to food enjoyment. Let's keep those baked goods fresh, delicious, and ready to be enjoyed for as long as possible!
Unlock Your Baking Potential: Freshness Guaranteed!
Thanks for taking the time to learn how to keep your baked goods fresher for longer! We hope you found the tips helpful and are ready to elevate your baking game. Now, let's put that knowledge into action!
- Prioritize your most-loved recipe: Identify your favorite baked good from the article and bake a fresh batch, using your new storage knowledge to maximize its deliciousness.
- Share your baking success: Snap a photo of your perfectly preserved treat and show it off on social media – tag us!
- Challenge yourself: Try a new recipe this week, remembering these storage tips so you can enjoy every delicious bite.
Ready to transform your baking experience? What's the one baked good you're most excited to perfect using these storage secrets?