
Easy Paratha Recipe: Indian Layered Flatbread Made Simple

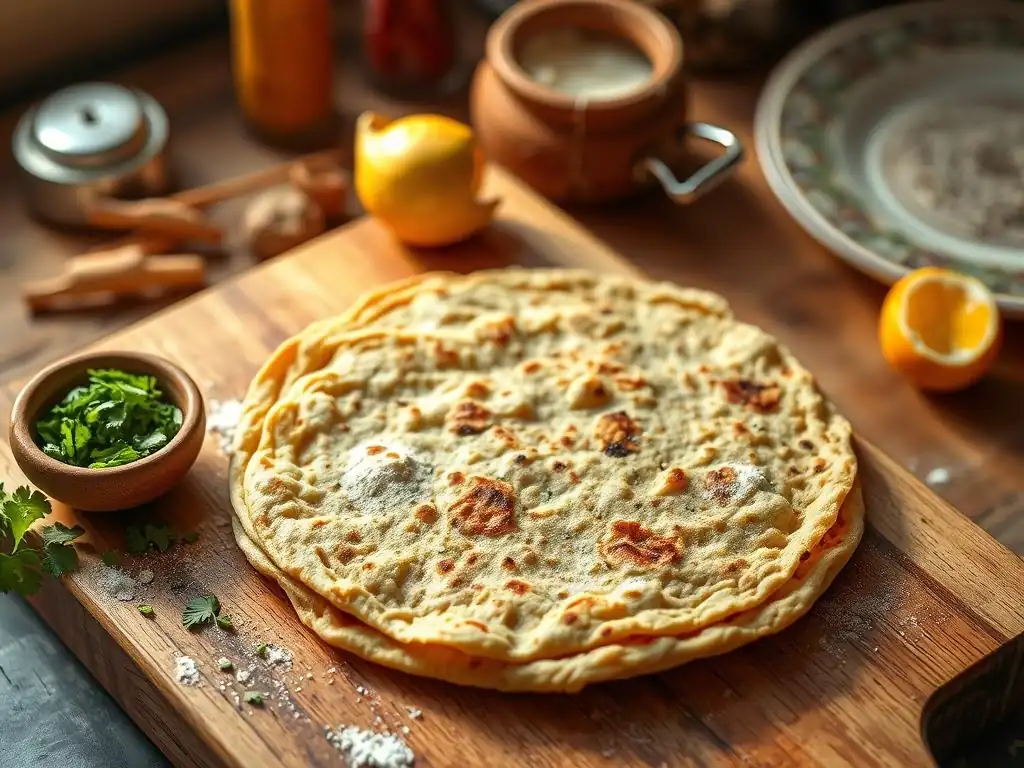
Welcome to BakeWithEase, your culinary companion for all things baking! Ever dreamt of creating authentic Indian flatbread in your own kitchen? Unravel the secrets to our Easy Indian Paratha Recipe and discover how to effortlessly craft perfectly layered, delicious parathas. Intrigued? Let's embark on a flavorful journey into the heart of bread baking, where simplicity meets sensational taste!
- Introduction to Easy Paratha Making at Home
- What is Paratha? Exploring Indian Flatbread
- Easy Indian Paratha Recipe: Step-by-Step Instructions
- Tips and Tricks for the Best Homemade Paratha
- Serving Suggestions for Your Delicious Paratha
- Storing and Reheating Paratha for Later Enjoyment
- Mastering Indian Flatbread: Your Journey with Paratha Continues
-
Frequently Asked Questions
- What exactly is paratha, and how does it differ from other flatbreads like naan or roti?
- What are the key ingredients for an easy paratha recipe from BakeWithEase?
- Can I use all-purpose flour instead of whole wheat flour for this paratha recipe?
- What are some common fillings or variations I can add to my easy paratha?
- How do I ensure my paratha is soft and flaky, not tough and dry?
- Final Reflection: The Humble Paratha, A Taste of Home and Heritage
- Unleash Your Inner Chef: Master the Art of Paratha!
Introduction to Easy Paratha Making at Home
Discover the Delight of Homemade Paratha
Making paratha at home might seem daunting at first glance, but it's surprisingly accessible and incredibly rewarding. Imagine pulling apart warm, flaky layers of bread, fresh off the griddle – a simple pleasure that elevates any meal. This easy Indian paratha recipe is designed specifically for home bakers, regardless of experience level. We'll break down each step, ensuring you can create this beloved layered flatbread with confidence and ease. Forget store-bought versions; the aroma and taste of freshly made paratha are simply unmatched.
Our goal at BakeWithEase is to demystify traditional recipes, making them achievable for everyone. Paratha, a staple in Indian cuisine, is perfect for adapting to a simple, home-friendly process. With just a few basic ingredients and some practice in layering, you'll be enjoying delicious, homemade parathas in no time. This guide focuses on the fundamental plain paratha, providing a solid foundation before you explore variations like stuffed parathas.
BakeWithEase Presents: Your Simplified Paratha Guide
Welcome to your comprehensive guide to mastering the easy Indian paratha recipe right in your own kitchen. We've distilled the traditional techniques into simple, actionable steps that prioritize ease without sacrificing authenticity or flavor. Our method focuses on minimizing complexity while maximizing the signature flaky texture and soft interior that defines a great paratha.
This guide is structured to walk you through the entire process, from mixing the initial dough to achieving that perfect golden-brown finish on the griddle. We'll share insider tips and tricks often used by experienced bakers to ensure your success. Whether you're new to Indian flatbreads or looking for a more streamlined approach, this easy paratha recipe from BakeWithEase is your starting point for delightful homemade results.
What is Paratha? Exploring Indian Flatbread
Understanding the Basics of Paratha Dough
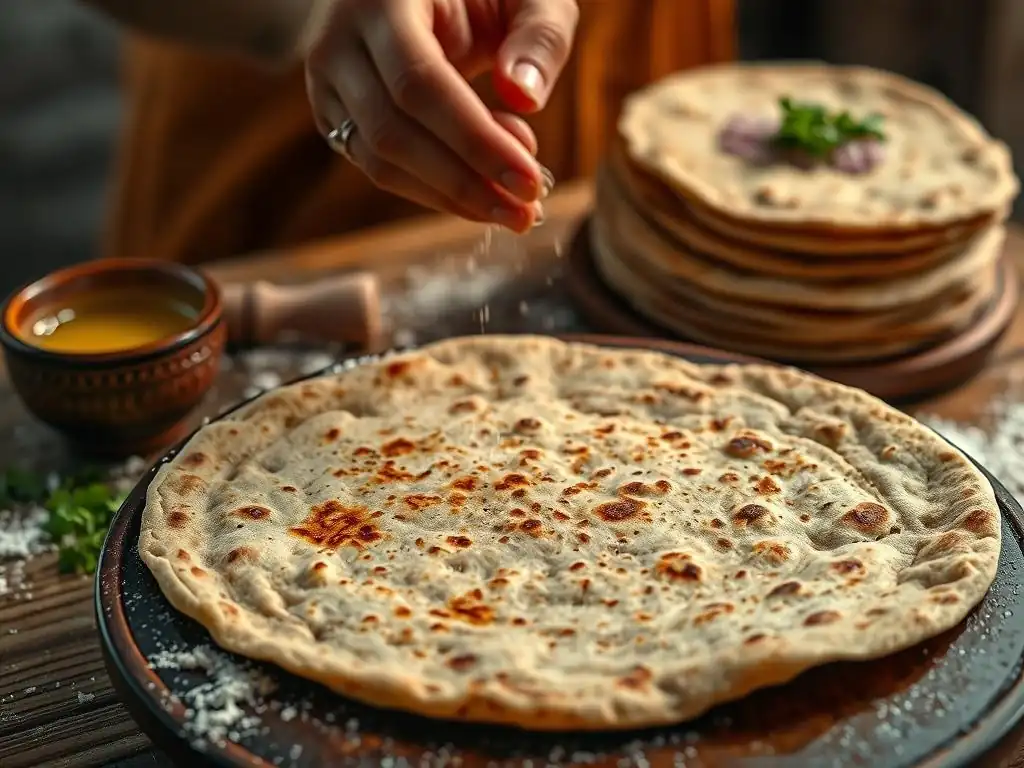
At its core, paratha is an unleavened flatbread originating from the Indian subcontinent. What sets it apart from other flatbreads like chapati or roti is its distinctive layered structure, achieved through a process of folding and rolling the dough, often incorporating ghee (clarified butter) or oil between layers. The dough itself is relatively simple, typically made from atta (whole wheat flour), water, a little salt, and sometimes a touch of oil or ghee mixed directly into the dough for softness.
The consistency of paratha dough is crucial. It should be soft, pliable, and smooth, but not sticky. A well-kneaded dough is essential for developing gluten structure, which allows the paratha to roll out thinly and puff up slightly while cooking, contributing to its texture. Resting the dough is another critical step, allowing the gluten to relax and making the dough easier to work with, leading to softer parathas. A typical ratio might be 1 cup of atta to about ½ cup of water, adjusted based on flour absorption.
Different Types of Paratha: A Quick Overview
While the plain easy Indian paratha recipe is a classic and a great starting point, the world of parathas is vast and diverse, often featuring delicious fillings. These variations are popular breakfast items or accompaniments to meals across India and beyond. The process for making stuffed parathas involves enclosing a spiced filling within the dough before rolling and cooking.
Some of the most popular types include Aloo Paratha (stuffed with spiced mashed potatoes), Gobi Paratha (filled with seasoned grated cauliflower), and Paneer Paratha (packed with crumbled spiced Indian cottage cheese). Other regional variations might include fillings like radish (Mooli Paratha), lentils (Dal Paratha), or even minced meat (Keema Paratha). Each type offers a unique flavor profile, but they all share the fundamental layered or stuffed flatbread structure derived from the basic paratha dough.
Easy Indian Paratha Recipe: Step-by-Step Instructions
Gathering Your Ingredients for the Perfect Paratha
Embarking on this easy Indian paratha recipe begins with assembling your simple ingredients. Quality ingredients make a difference, especially with such a fundamental bread. You'll need basic pantry staples that are readily available, ensuring that making this layered flatbread is as convenient as possible.
The core components are flour, water, salt, and fat (ghee or oil) for both the dough and cooking. Using whole wheat flour (atta) is traditional and provides a wonderful flavor and texture, though all-purpose flour can also be used or mixed in. Have your measuring cups and spoons ready, along with a mixing bowl and a clean surface for kneading and rolling.
List of Essential Ingredients for Easy Paratha
- 2 cups whole wheat flour (atta)
- 1/2 teaspoon salt
- Approximately 1 cup warm water (you may need slightly more or less)
- 2 tablespoons oil or melted ghee (for dough)
- Additional ghee or oil (for layering and cooking)
- Extra flour (for dusting while rolling)
Preparing the Dough: A Simple Paratha Dough Recipe
Making the dough for this easy paratha recipe is straightforward and requires minimal effort. The key is to achieve the right consistency – soft and pliable. This ensures the parathas are easy to roll and turn out tender after cooking.
Start by combining the dry ingredients and then gradually adding water. Kneading develops the gluten, which gives the paratha its structure and helps it become soft. Don't rush this step; a well-kneaded dough is crucial for a successful layered flatbread.
Step 1: Mixing the Dough Ingredients
In a large mixing bowl, combine the 2 cups of whole wheat flour and 1/2 teaspoon of salt. Mix them together briefly. Make a well in the center of the dry ingredients. Pour in the 2 tablespoons of oil or melted ghee into the well. Gradually add the warm water, starting with about ¾ cup, mixing with your hands or a spoon until the dough comes together. Continue adding water, a tablespoon at a time, until all the flour is incorporated and you have a shaggy dough.
Step 2: Kneading the Dough to Perfection
Turn the shaggy dough out onto a clean, lightly floured surface. Knead the dough for about 5-7 minutes. Push the dough away from you with the heel of your hand, then fold it back towards you. Repeat this motion, rotating the dough occasionally. The dough will feel sticky at first, but as you knead, it will become smoother, softer, and less sticky. It should be pliable and bounce back slowly when gently pressed. Avoid adding too much extra flour while kneading, just enough to prevent sticking.
Step 3: Resting the Dough for Optimal Texture
Once the dough is well-kneaded and smooth, form it into a ball. Lightly grease the mixing bowl with a little oil or ghee, place the dough ball inside, and turn to coat. Cover the bowl with a damp cloth or plastic wrap. Let the dough rest for at least 30 minutes at room temperature. Resting allows the gluten to relax, making the dough much easier to roll thinly and preventing it from shrinking back. This step is vital for achieving soft, flaky parathas.
Rolling and Layering: Creating the Flaky Paratha
The layering technique is what gives paratha its characteristic flaky texture. While there are several folding methods, this easy Indian paratha recipe uses a simple square or triangle fold that is effective and easy for beginners. Patience and practice are key here.
The goal is to create multiple thin layers within the dough before the final roll-out. Applying ghee or oil between folds ensures the layers separate during cooking, resulting in that desired flakiness.
Step 4: Dividing and Rolling the Dough Balls
After the dough has rested, uncover it and knead it gently for about 30 seconds. Divide the dough into equal portions. For a standard size paratha, you might get 6-8 balls from this recipe. Roll each portion into a smooth ball between your palms. Keep the dough balls covered with the damp cloth while you work to prevent them from drying out.
Step 5: Applying Ghee and Folding for Layers
Take one dough ball and flatten it slightly. Using a rolling pin, roll it out into a small circle, about 4-5 inches in diameter. It doesn't need to be perfectly round. Spread a thin layer of melted ghee or oil evenly over the surface of the circle using a spoon or your fingers. Sprinkle a tiny pinch of dry flour over the ghee/oil; this helps the layers separate.
Now, fold the circle in half to create a semi-circle. Spread another thin layer of ghee/oil on the semi-circle and sprinkle a tiny pinch of dry flour. Fold the semi-circle in half again to create a triangle or quarter circle. Press the edges gently to seal.
Step 6: Rolling Out the Paratha Thinly
Take the folded triangle/square and place it on a lightly floured surface. Using your rolling pin, gently roll it out into a larger triangle or square (depending on your fold), about 6-7 inches in size and relatively thin, but not so thin that it tears. Try to roll evenly from the center outwards. Be careful not to press too hard, which can merge the layers. Lift and turn the paratha occasionally, dusting with a little flour if needed, to prevent sticking.
Cooking the Paratha: Achieving Golden Brown Perfection
Cooking paratha correctly is essential for achieving that beautiful golden-brown color and flaky texture. It's done on a hot griddle or tawa, using ghee or oil to help it cook evenly and puff up. High heat is important, but not so high that the paratha burns before cooking through.
The process involves cooking each side partially, then applying fat and flipping until both sides are beautifully browned and speckled. This step brings out the richness of the ghee and crisps up the outer layers.
Step 7: Heating the Tawa or Griddle
Place a flat griddle or tawa (a traditional Indian flat pan) over medium-high heat. Allow it to heat up for a few minutes until it's hot. You can test the heat by sprinkling a few drops of water; they should sizzle and evaporate quickly. Ensure the surface is clean before placing the paratha.
Step 8: Cooking the Paratha with Ghee or Oil
Carefully place the rolled-out paratha onto the hot tawa. Cook for about 30-60 seconds on the first side, or until you see small bubbles starting to form on the surface and the underside has light brown spots. Flip the paratha using a spatula. Cook the second side for another 30-60 seconds. Now, drizzle about ½ to 1 teaspoon of ghee or oil around the edges and directly onto the paratha.
Step 9: Flipping and Cooking Until Golden Brown
Flip the paratha again. Using the back of your spatula, gently press down on the paratha, especially around the edges, to help it cook evenly and encourage it to puff up. Cook this side for another 1-2 minutes, or until it develops golden brown spots and is cooked through. Flip one more time and cook the other side until it's also speckled golden brown. The paratha should feel light and slightly crisp on the outside, soft within. Remove from the tawa and place on a plate, ideally stacked to keep warm and soften further.
Tips and Tricks for the Best Homemade Paratha
Achieving Soft and Flaky Parathas Every Time
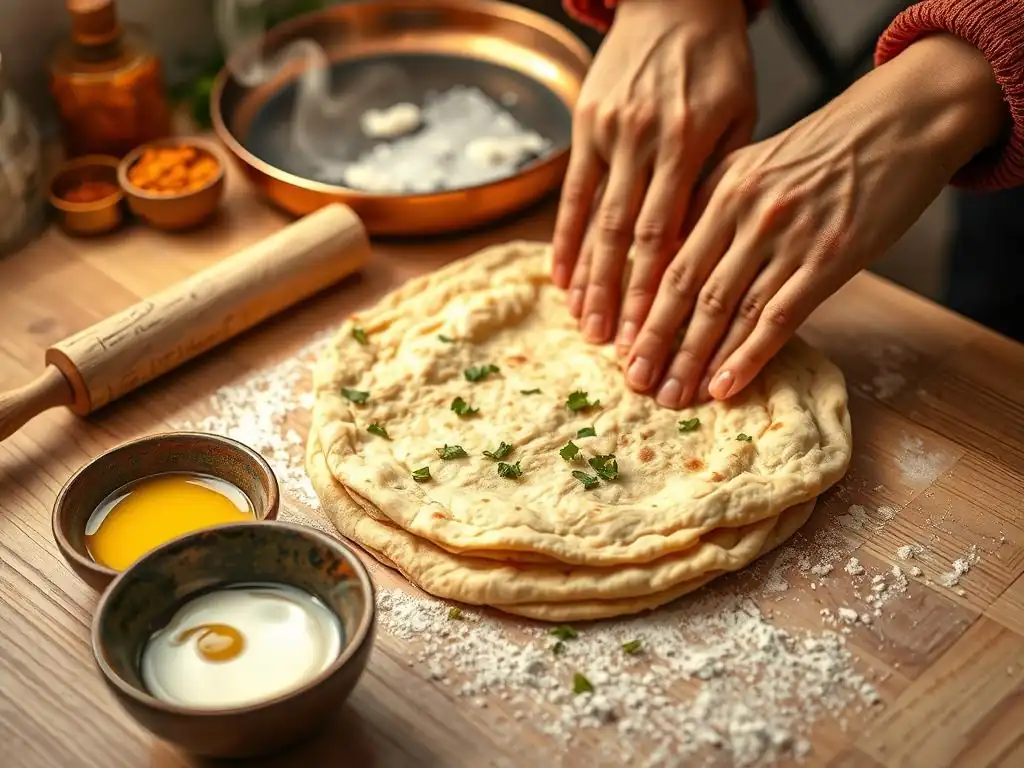
Several factors contribute to soft and flaky parathas. Firstly, using warm water for the dough helps activate gluten and makes the dough softer. Kneading the dough adequately (around 5-7 minutes) is crucial for developing a smooth, pliable texture. Equally important is allowing the dough to rest for at least 30 minutes; this relaxes the gluten, making the dough easier to roll thin without resistance, which is key for delicate layers.
Secondly, the layering technique is paramount. Spreading a thin, even layer of ghee or oil and sprinkling a tiny bit of dry flour between folds helps create distinct layers that separate during cooking. Rolling the folded dough gently and evenly, avoiding excessive pressure, preserves these layers. Finally, cooking the paratha on a medium-high heat with sufficient ghee or oil allows the layers to crisp up and separate while the inside cooks through, resulting in that desirable soft and flaky texture.
Troubleshooting Common Paratha Problems
Even with an easy Indian paratha recipe, you might encounter minor issues. Don't get discouraged; these are common and easily fixable. Understanding why a problem occurs helps you adjust your technique.
Dough Too Sticky? Here's What to Do.
If your dough feels too sticky after mixing, it likely has too much water. Add flour, a tablespoon at a time, and knead it in until the dough is no longer excessively sticky but still soft and pliable. Avoid adding large amounts of flour at once, as this can make the dough dry and tough. If you've already kneaded for a while and it's still sticky, try wetting your hands with oil while kneading instead of adding more flour.
Parathas Not Flaky Enough? Try This.
Lack of flakiness usually stems from issues in the layering or rolling process. Ensure you are applying a thin layer of ghee or oil and sprinkling a tiny bit of dry flour between each fold. This creates a barrier that prevents the layers from sticking together. Also, when rolling out the folded dough, roll gently and evenly. Pressing too hard can merge the layers. Make sure your tawa is hot enough and use sufficient ghee or oil during cooking; this helps the layers separate and crisp up.
Variations on the Easy Paratha Recipe
Once you've mastered the basic easy Indian paratha recipe, you can easily adapt it to create delicious stuffed versions. The process involves preparing a spiced filling and then enclosing it within the dough before rolling.
Aloo Paratha: Adding Potato Filling
For Aloo Paratha, boil and mash about 2-3 medium potatoes. Mix with finely chopped onion, green chilies, cilantro, and spices like cumin powder, coriander powder, red chili powder, and salt. Cool the filling completely. Enclose a portion of the filling within a flattened dough ball, seal the edges, and gently roll out. The filling should be relatively dry to prevent the paratha from tearing.
Gobi Paratha: Cauliflower Stuffed Delight
Gobi Paratha uses grated cauliflower. Finely grate about half a head of cauliflower. Sauté it briefly in a pan with oil, cumin seeds, ginger, green chilies, and spices like turmeric, coriander, and salt until slightly softened and moisture is reduced. Let it cool completely. Stuff and roll using the same technique as Aloo Paratha. Ensure the cauliflower is grated very finely and excess moisture is squeezed out.
Paneer Paratha: Cheese-Filled Goodness
Paneer Paratha is made with crumbled paneer (Indian cottage cheese). Crumble about 1 cup of paneer. Mix with finely chopped onion, green chilies, cilantro, and spices such as garam masala, red chili powder, cumin powder, and salt. You can also add a pinch of dried fenugreek leaves (kasoori methi). The paneer filling is generally easier to work with as it has less moisture than potato or cauliflower. Enclose the filling in the dough and roll gently.
Serving Suggestions for Your Delicious Paratha
What to Serve with Paratha: Complementary Dishes
Plain paratha is incredibly versatile and pairs well with a wide variety of Indian dishes. It's often served as a breakfast item alongside a dollop of butter or yogurt, or as part of a main meal. Its ability to soak up gravies and sauces makes it an excellent companion to curries and vegetable dishes.
Consider serving your easy Indian paratha with classic pairings like Chana Masala (spiced chickpea curry), Dal Makhani (creamy lentil dish), or any rich vegetable curry like Aloo Gobi (potato and cauliflower). Even simple sides like plain yogurt (dahi), pickles (achar), or a fresh salad complement the warm, flaky bread beautifully.
Perfect Paratha Pairings: Dips, Curries, and Yogurt
The beauty of paratha lies in its simplicity, allowing it to be a perfect vehicle for bold flavors. A simple bowl of plain yogurt provides a cooling contrast to warm paratha, especially if it's served with spicy food. Indian pickles, ranging from tangy mango to spicy mixed vegetable, add a punch of flavor with every bite.
For a more substantial pairing, curries are the go-to choice. A rich gravy clings perfectly to the layers of the paratha. Don't underestimate the power of a simple side dish like a fresh tomato-onion salsa or a cooling mint-cilantro chutney. The combination of warm, soft paratha and flavorful accompaniments is a hallmark of Indian comfort food.
Storing and Reheating Paratha for Later Enjoyment
How to Store Leftover Paratha Properly
If you have leftover parathas from your easy Indian paratha recipe batch, proper storage is key to maintaining their quality. Allow the parathas to cool completely to room temperature before storing. Storing warm parathas can create condensation, making them soggy.
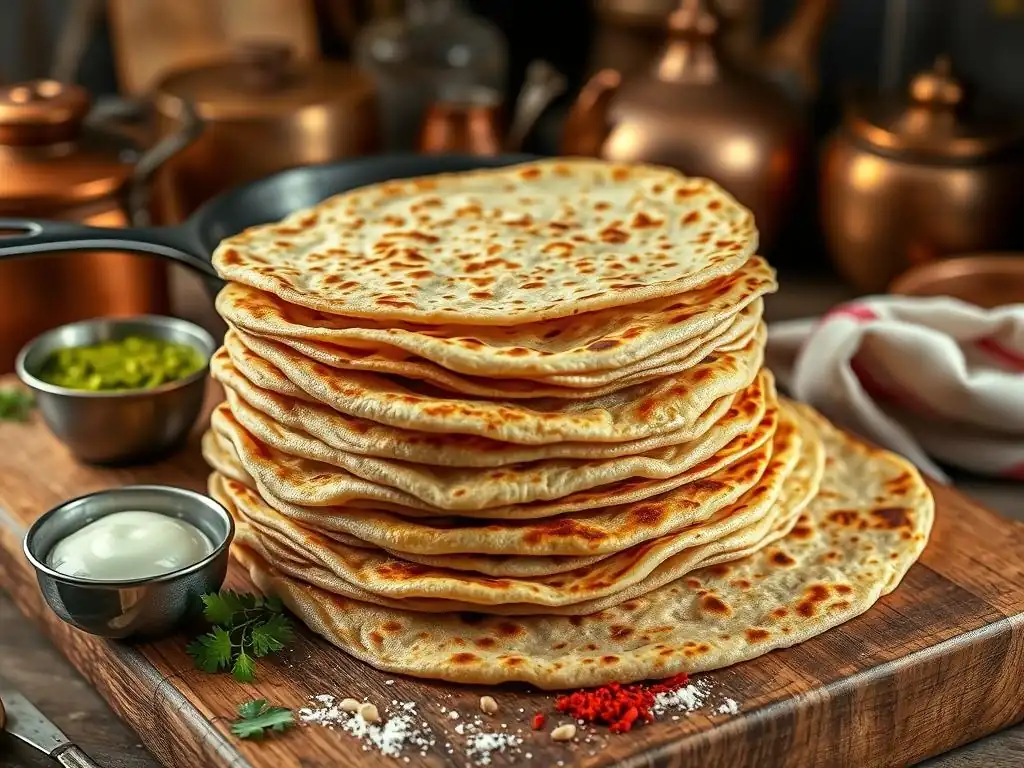
Stack the cooled parathas with a piece of parchment paper or foil in between each one to prevent sticking. Place the stack in an airtight container or a zip-top bag. They can be stored at room temperature for up to 1-2 days, in the refrigerator for up to 4-5 days, or frozen for longer storage, typically up to 2-3 months. Labeling with the date is helpful if freezing.
Reheating Paratha: Maintaining Flakiness and Flavor
Reheating parathas correctly helps restore their texture and flavor. The best method is to reheat them on a tawa or griddle. Heat the tawa over medium heat. Place a paratha on the hot tawa and cook for about 1-2 minutes per side, flipping occasionally, until heated through and slightly crisp again. You can add a tiny bit of ghee or oil while reheating if desired, which helps revive the flakiness.
Avoid reheating parathas in a microwave if you want to preserve their flaky texture; microwaving tends to make them soft and chewy. If you must use a microwave, heat only for short intervals (30-60 seconds) and accept that the texture will change. Reheating on a tawa is the gold standard for bringing leftover parathas back to life.
Mastering Indian Flatbread: Your Journey with Paratha Continues
Further Baking Adventures with BakeWithEase
You've successfully made an easy Indian paratha recipe! This is just the beginning of your journey into the wonderful world of Indian flatbreads and baking with BakeWithEase. Mastering the basic paratha opens doors to countless variations and other delicious bread-making projects.
We encourage you to practice this easy paratha recipe a few times to really get the hang of the dough consistency, rolling technique, and cooking process. With each batch, you'll gain more confidence and finesse. Baking is a skill that improves with repetition, and the rewards – fresh, homemade bread – are well worth the effort.
Explore More Bread Baking Recipes
Now that you've conquered the easy Indian paratha recipe, why not explore other flatbreads and bread recipes available on BakeWithEase? From simple no-knead loaves to classic focaccia, pita bread, or even more complex Indian breads like Naan or Bhatura, there's a whole world of baking waiting for you.
Each recipe offers unique techniques and flavors, expanding your baking repertoire. Continue to use our simplified guides and tips to make your baking journey enjoyable and successful. Happy baking, and enjoy your delicious homemade paratha!
Frequently Asked Questions
What exactly is paratha, and how does it differ from other flatbreads like naan or roti?
Paratha is a layered Indian flatbread, often made with whole wheat flour. Unlike naan, it's usually cooked on a flat pan (tawa) and contains added fat like ghee or oil. Roti is simpler, typically unleavened and thinner.
What are the key ingredients for an easy paratha recipe from BakeWithEase?
The essential ingredients are whole wheat flour (atta), water, salt, and a fat source like ghee or oil. The "easy" aspect implies readily available ingredients and simplified steps.
Can I use all-purpose flour instead of whole wheat flour for this paratha recipe?
While whole wheat flour (atta) is traditional, you can substitute all-purpose flour. However, the texture and flavor will be different; the paratha will be less dense and nutty.
What are some common fillings or variations I can add to my easy paratha?
Popular fillings include spiced potatoes (aloo paratha), cauliflower (gobi paratha), or grated paneer (Indian cheese). You can also add herbs like cilantro or spices like cumin for extra flavor.
How do I ensure my paratha is soft and flaky, not tough and dry?
Using enough fat (ghee or oil) during layering and cooking is crucial. Also, don't overcook the paratha; it should be golden brown and cooked through, but still pliable and not crispy.
Final Reflection: The Humble Paratha, A Taste of Home and Heritage
The simple act of making and sharing a paratha transcends mere culinary skill; it's a powerful connection to culture, family, and the comforting embrace of home. This recipe, designed for ease and accessibility, aims to bring the joy of this beloved Indian flatbread to kitchens worldwide, regardless of experience level. The ease of the recipe shouldn't diminish the profound impact this seemingly simple food holds.
The paratha's influence extends far beyond the kitchen table. It's a symbol of shared meals, family gatherings, and the passing down of culinary traditions through generations. It represents a tangible link to heritage, a taste of home for those far from their roots, and a delicious introduction to Indian cuisine for newcomers. Food is symbolic of love when words are inadequate.
- Alan D. Wolfelt. This quote perfectly encapsulates the emotional resonance of sharing a homemade paratha. The act of preparing and sharing this food creates a bond, a shared experience that transcends language and cultural differences.
Now, I invite you to roll up your sleeves, gather your ingredients, and embark on this culinary journey. Don't be intimidated by the process; embrace the simplicity and the joy of creation. Share your parathas with loved ones, and let the warmth of this humble flatbread fill your home with the aroma and spirit of India. Let this recipe be a starting point for your own exploration of Indian cuisine, a testament to the power of food to connect us all.
Unleash Your Inner Chef: Master the Art of Paratha!
Thanks for joining us on this delicious journey into the world of parathas! We hope you now feel confident and excited to create these flavorful flatbreads. Ready to take your culinary skills to the next level?
- Make your own paratha masterpiece today! Use our recipe as a guide, experiment with fillings, and savor the aroma of freshly baked goodness.
- Share your paratha creations with us and the BakeWithEase community on social media – we’d love to see your culinary triumphs! Use #BakeWithEaseParatha.
- Explore other delightful Indian recipes on our website – we have a treasure trove of culinary adventures waiting for you!
So, what unique filling will you create for your next paratha adventure?