
Regional Breads of Eastern Europe: Hearty and Flavorful

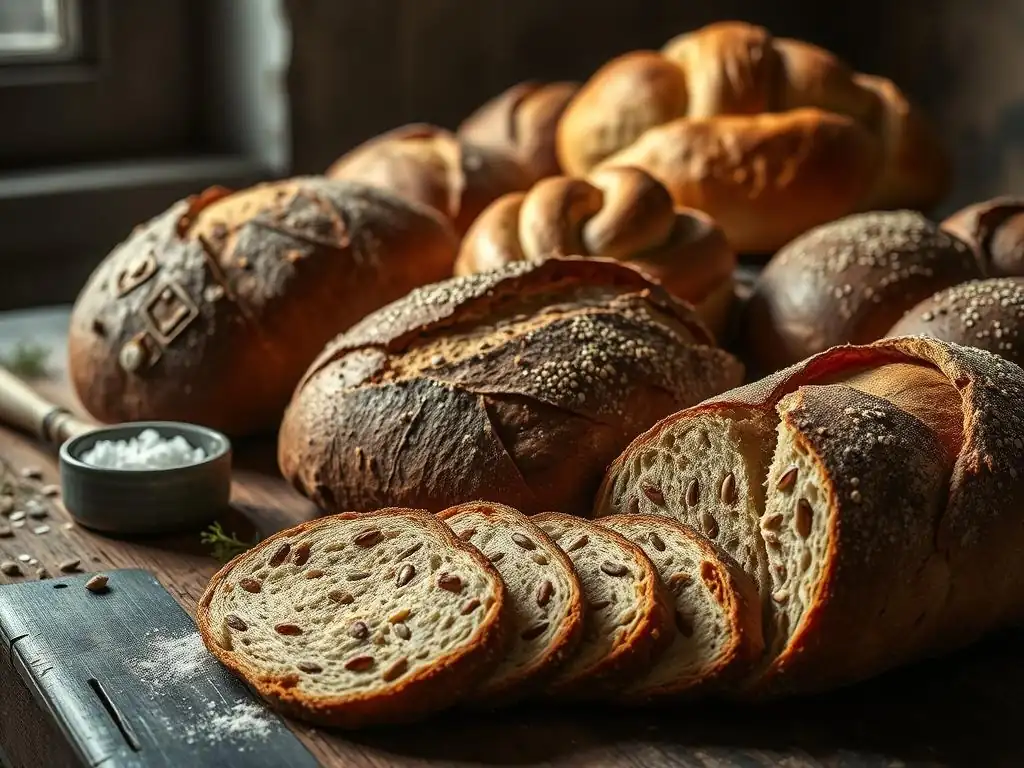
Welcome to BakeWithEase, your trusted guide to the delightful world of baking! Ever wondered about the secrets behind the hearty and flavorful breads of Eastern Europe? Dive in as we explore the rich tradition of Eastern European sourdough bread recipes, unlocking techniques and flavors that have been passed down through generations. Discover how to create authentic, crusty loaves in your own kitchen and embark on a baking adventure that will tantalize your taste buds and expand your bread-making horizons. What makes these regional breads so unique? Let's find out...
- Regional Breads of Eastern Europe: Hearty and Flavorful - BakeWithEase.com
- Exploring the World of Eastern European Sourdough Bread Recipes
- Must-Try Eastern European Sourdough Bread Recipes
- Tips and Tricks for Baking Eastern European Breads
- Serving and Enjoying Your Eastern European Sourdough Breads
- Conclusion: Embrace the Flavor of Eastern European Bread Baking
-
Frequently Asked Questions
- What makes Eastern European sourdough bread unique?
- Where can I find easy-to-follow recipes for these breads?
- What kind of flour is best for Eastern European sourdough?
- How does the climate of Eastern Europe affect the bread baking process?
- What are some traditional Eastern European ingredients used in these breads?
- Final Reflection: A Crumb of History, A Loaf of Future
- Unlock the Secrets of Eastern European Baking!
Regional Breads of Eastern Europe: Hearty and Flavorful - BakeWithEase.com
Discover Authentic Eastern European Bread Baking
Eastern European bread baking offers a rich tapestry of flavors, textures, and traditions. Rooted deeply in history, these breads are more than just sustenance; they are cultural touchstones, often central to family meals and celebrations. Exploring authentic Eastern European sourdough bread recipes opens a door to understanding the agricultural heritage and resilient spirit of the region. From the dense, dark loaves of rye to lighter wheat-based variations, each bread tells a story of local ingredients and time-honored techniques passed down through generations.
Embarking on the journey of baking these regional specialties can be incredibly rewarding. While some techniques might seem complex at first glance, the underlying principles are often simple: quality ingredients, patience, and a respect for the natural fermentation process. This guide will walk you through some iconic examples of Eastern European sourdough bread recipes, providing insights into their unique characteristics and offering guidance on how to recreate these hearty and flavorful loaves in your own kitchen, bringing a taste of Eastern Europe right to your table.
Exploring the World of Eastern European Sourdough Bread Recipes
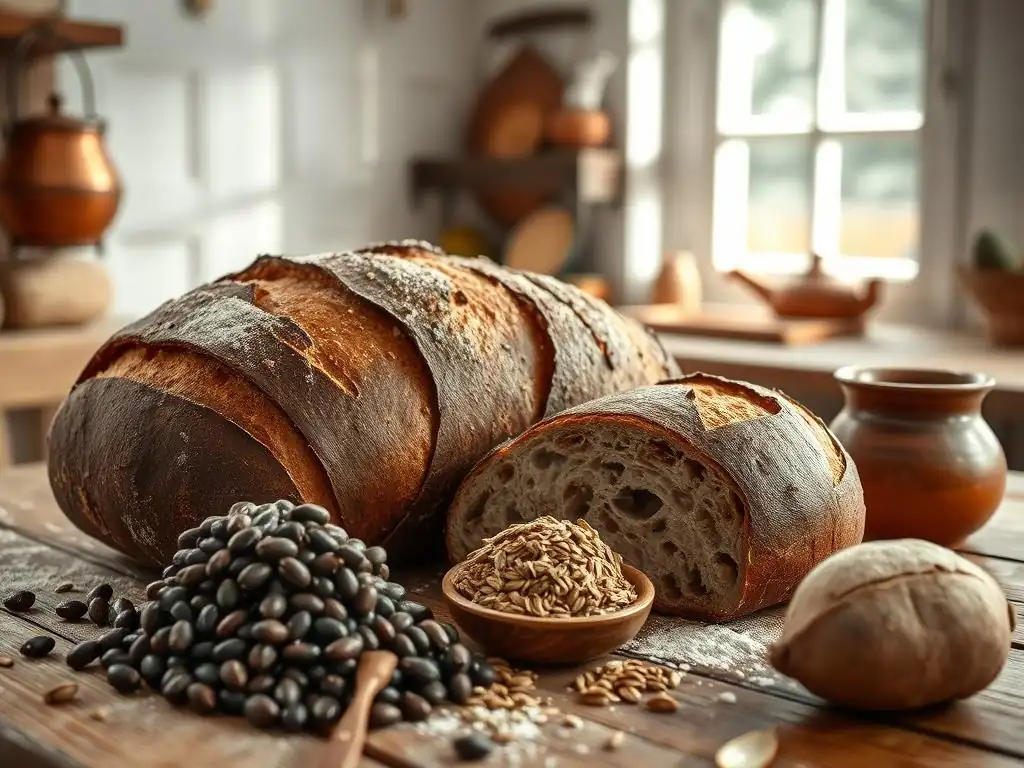
The Rich History of Eastern European Breads
The history of bread in Eastern Europe is intertwined with the cultivation of grains, particularly rye and wheat, which have been staples for centuries. Before the widespread availability of commercial yeast in the late 19th and early 20th centuries, sourdough was the primary, if not only, leavening agent used across the region.
This reliance on natural fermentation meant that bread making was a slow, deliberate process, often starting with a piece of dough saved from the previous bake – the sourdough starter itself. Archaeological evidence suggests grain processing and rudimentary baking methods existed in the region as early as the Neolithic period, around 8,000 years ago.
The development of distinct regional bread styles was heavily influenced by local climate, available grains, and cultural practices. For example, regions with colder climates and poorer soils often favored rye, which is hardier than wheat. This led to the development of dense, flavorful rye breads characteristic of countries like Poland, Lithuania, and Russia.
Wheat became more prevalent in warmer, more fertile areas. The evolution of these breads reflects not just agricultural capability but also periods of hardship and prosperity, with bread often serving as a symbol of survival and community. The tradition of sharing or gifting bread, especially sourdough loaves, remains a significant cultural practice in many parts of Eastern Europe today.
Defining Eastern European Bread: Characteristics and Ingredients
Eastern European breads, particularly the sourdough varieties, are often characterized by their robust flavors, dense or chewy textures, and sometimes dark crusts. Rye flour plays a significant role in many traditional Eastern European sourdough bread recipes, contributing a tangy, slightly sour note and a compact crumb structure. While 100% rye loaves are common, many recipes blend rye with wheat flour (ranging from strong bread flour to softer all-purpose) to achieve a lighter texture while retaining some of the distinct rye flavor.
Beyond flour, common ingredients include salt, water, and, of course, a lively sourdough starter. Some regional variations incorporate unique additions like caraway seeds, coriander, or fennel seeds for aromatic complexity, or molasses, honey, or malt extract (such as barley malt syrup) for sweetness and darker color. The long fermentation times inherent in sourdough baking contribute significantly to the depth of flavor and improve the bread's keeping quality. Baking methods can also vary, from baking in traditional wood-fired ovens, which imparts a unique smoky flavor and crust, to modern electric ovens, often utilizing steam to achieve a desirable crust development.
Must-Try Eastern European Sourdough Bread Recipes
Polish Rye Bread (Chleb Żytni): A Sourdough Staple
Chleb Żytni, or Polish Rye Bread, is a foundational element of Polish cuisine, renowned for its hearty texture and tangy flavor. It's a prime example of traditional Eastern European sourdough bread recipes. Typically made predominantly or entirely with rye flour, it boasts a dense, moist crumb and a thick, crackly crust. The characteristic tang comes from a well-developed rye sourdough starter, often referred to as "zakwas." This bread is incredibly versatile, perfect for open-faced sandwiches or simply spread with butter.
Baking authentic Chleb Żytni involves a multi-stage process, often including refreshing the zakwas, preparing a preferment (like a sponge or poolish), and then mixing the final dough. Due to the low gluten content in rye, the dough can be quite sticky and differs significantly from wheat dough. It requires less kneading and relies more on time and hydration management. The long fermentation period, sometimes extending over 12-24 hours including proofing, allows the flavors to develop fully and helps break down the rye, making it more digestible.
Key Ingredients for Authentic Polish Rye Sourdough
Creating an authentic Polish Rye Sourdough requires specific ingredients that contribute to its unique character. The most crucial element is a robust and active rye sourdough starter (zakwas). This starter should ideally be fed regularly with rye flour and water and have a pleasant, tangy aroma. The flour itself is typically dark or medium rye flour, providing the characteristic flavor and color. Some recipes may incorporate a small amount of wheat bread flour to improve structure, but traditional versions lean heavily on rye.
Other essential ingredients are simple: water and salt. The hydration level in rye breads is often higher than in wheat breads relative to the flour weight, contributing to the moist crumb. Optional additions commonly found in Polish rye bread include caraway seeds, which add a distinct, slightly peppery aroma that pairs beautifully with the rye flavor. Some bakers also add a pinch of yeast in addition to the sourdough for a more predictable rise, although purists rely solely on the zakwas. Using high-quality ingredients, especially freshly milled rye flour if possible, can significantly enhance the final taste.
Step-by-Step Chleb Żytni Recipe
Baking Chleb Żytni at home, while requiring patience, is a rewarding process. Here's a simplified overview of the typical steps involved in many Eastern European sourdough bread recipes like this one:
- Activate the Zakwas: Feed your rye sourdough starter 12-16 hours before you plan to mix the dough. It should be bubbly and active.
- Prepare the Preferment: Mix a portion of the active zakwas with rye flour and water. Let this ferment for several hours (often 4-8 hours) until bubbly and doubled.
- Mix the Final Dough: Combine the preferment with more rye flour, water, and salt. Add caraway seeds if using. Mix until just combined – rye dough doesn't require extensive kneading like wheat. The dough will be sticky.
- Bulk Fermentation: Let the dough ferment in a warm place for 2-4 hours, or longer at cooler temperatures, until it shows signs of activity (some bubbles, slight increase in volume).
- Shaping: Gently shape the dough. Rye dough is often shaped into simple rounds or loaves.
- Proofing: Place the shaped dough in a proofing basket or loaf pan. Let it proof for 1-3 hours, or retard in the refrigerator for longer, until it has increased noticeably in size and feels airy.
- Baking: Preheat your oven, ideally with a baking stone or Dutch oven, to a high temperature (around 230-250°C or 450-480°F). Score the loaf. Bake with steam for the first 15-20 minutes, then reduce the temperature (to around 200-220°C or 400-430°F) and continue baking for another 30-40 minutes, or until the crust is dark and the internal temperature reaches approximately 95-98°C (203-208°F).
- Cooling: Cool the loaf completely on a wire rack for several hours before slicing. This is crucial for rye bread as it allows the crumb structure to set properly.
Lithuanian Dark Rye Bread (Ruginis): Dense and Flavorful
Lithuanian Dark Rye Bread, known as Ruginis, is a quintessential example of the dense, dark, and slightly sweet rye breads found in the Baltic region. It stands out among Eastern European sourdough bread recipes for its deep color, intense flavor, and often compact, moist crumb. Traditionally, this bread is made almost exclusively with dark rye flour and relies solely on a rye sourdough starter for leavening. Its unique character is often attributed to the use of malt and sometimes specific sweeteners like sugar beet syrup or molasses.
Ruginis is more than just a loaf; it's a cultural icon in Lithuania, often served with soups, stews, or simply enjoyed with butter and cheese. The baking process is lengthy, involving multiple fermentation stages and a relatively long bake time at moderate temperatures. The goal is to develop complex flavors and achieve the characteristic dense crumb. While modern versions might incorporate a small amount of wheat flour for ease of handling, the traditional Ruginis is a testament to the mastery of baking with 100% rye and sourdough.
The Secret to Lithuanian Dark Rye's Unique Taste
The distinctive taste and texture of Lithuanian Dark Rye Bread come from a combination of factors. Firstly, the use of dark rye flour, which contains more of the outer layers of the grain compared to medium or light rye, imparts a deeper color and stronger flavor. Secondly, the incorporation of fermented rye malt (dark rye malt) is crucial. This malt adds sweetness, aids in the Maillard reaction during baking for a darker crust, and contributes significantly to the bread's complex, slightly sweet, and tangy profile. Some recipes also use caraway or coriander seeds, adding aromatic notes.
The long fermentation period facilitated by a robust rye sourdough starter is another key element. This slow process allows enzymes in the rye flour and starter to break down starches and proteins, developing flavor compounds and creating the characteristic moist, non-gummy crumb despite the high rye content. The dough's high hydration and low gluten mean it handles differently from wheat dough, often being more like a thick batter or paste. Baking at lower temperatures for an extended time helps to cook the dense loaf through evenly without drying it out.
Baking Ruginis: A Traditional Method
Baking traditional Lithuanian Ruginis involves a specific process that maximizes flavor development and achieves the desired texture. It often begins with preparing a "scald" or "zapar" – mixing a portion of the dark rye flour and malt with boiling water. This gelatinizes the starches, making them more accessible to fermentation and contributing to the bread's moisture and sweetness. This scald is then cooled and mixed with the active rye sourdough starter and often some sugar or syrup, creating a "starter sponge" that ferments for several hours.
Next, the remaining flour, water, and salt (and any seeds) are added to the starter sponge to form the final dough. This dough undergoes a relatively short bulk fermentation compared to wheat breads. Shaping is minimal due to the stickiness; the dough is often simply placed into greased loaf pans.
The final proofing is also carefully timed to prevent over-proofing, which can lead to a collapsed loaf. Baking typically occurs at a moderate temperature, around 180-200°C (350-390°F), for 60-90 minutes or even longer, depending on the loaf size, ensuring the dense interior is fully cooked. Cooling for many hours is absolutely essential before slicing.
Czech Sourdough Bread (Kváskový Chléb): A Rustic Delight
Kváskový Chléb, or Czech Sourdough Bread, is a beloved national staple known for its characteristic round shape, crackly crust, and tangy, slightly sour crumb. It's a classic among Eastern European sourdough bread recipes, typically made with a blend of rye and wheat flour, giving it a balance of structure and flavor. The name "kváskový" directly refers to the sourdough starter ("kvásek") that is the sole leavening agent used in traditional versions. This bread is often enjoyed simply with butter or used as an accompaniment to hearty Czech dishes like goulash or roasted meats.
The tradition of baking Kváskový Chléb is deeply ingrained in Czech culture, with many families maintaining their own kvásek for years, passing it down through generations. The ideal Kváskový Chléb has a well-developed tangy flavor, a moist and slightly open crumb (though denser than a typical French boule), and a beautiful dark crust. Achieving this requires a healthy, active starter and careful attention to fermentation times, which can vary based on temperature and starter activity.
Mastering the Czech Kváskový Starter
A strong and active Czech "kvásek" is the heart of authentic Kváskový Chléb. Unlike some starters that are kept small and refreshed frequently, traditional Czech kvásek is often maintained as a larger, more robust culture, typically fed with a mix of rye and wheat flour, similar to the flour blend used in the final bread. Keeping the kvásek healthy involves regular feeding, usually every few days if stored at room temperature, or less frequently if refrigerated. A mature kvásek should have a strong, pleasant sour aroma and show significant bubbly activity within a few hours of being fed.
To prepare for baking Kváskový Chléb, a portion of the mature kvásek is typically refreshed one or more times to build up sufficient leavening power. This process, sometimes called "rozmnožení kvasu" (multiplying the starter), involves feeding a small amount of the old kvásek with fresh flour and water and letting it ferment until it's very active and bubbly, which might take 8-12 hours. This active starter is then used to build the main dough. Maintaining a healthy, vigorous kvásek is key to achieving a good rise and the characteristic tangy flavor of Czech sourdough bread.
Baking Kváskový Chléb at Home
Baking Kváskový Chléb involves a standard sourdough process, adapted for the rye and wheat blend. The typical steps include:
- Refreshing the Kvásek: Build up your active starter as described above.
- Mixing the Dough: Combine the active kvásek with water, rye flour, wheat flour, and salt. Mix until a shaggy dough forms.
- Autolyse (Optional but Recommended): Let the dough rest for 20-30 minutes to allow the flour to hydrate.
- Kneading/Folding: Develop the gluten structure through gentle kneading or a series of stretch and folds over 1-2 hours. The dough will be less elastic than 100% wheat dough due to the rye content.
- Bulk Fermentation: Allow the dough to ferment in a warm place for 3-6 hours, or until it has increased significantly in volume and shows signs of fermentation.
- Shaping: Gently shape the dough into a round loaf (batard shapes are also common).
- Proofing: Place the shaped dough in a floured proofing basket or on parchment paper. Proof at room temperature for 1-3 hours, or cold proof in the refrigerator for 8-16 hours. The cold proof develops more flavor.
- Baking: Preheat your oven to a high temperature (around 240-250°C or 460-480°F), ideally with a baking stone or in a Dutch oven. Score the loaf. Bake with steam for the first 15-20 minutes, then reduce the temperature to around 200-220°C (400-430°F) and continue baking for another 25-35 minutes, or until the crust is deep golden brown and the internal temperature is around 95-98°C (203-208°F).
- Cooling: Cool completely on a wire rack before slicing.
Ukrainian Pampushky: Garlic Bread Rolls with a Twist
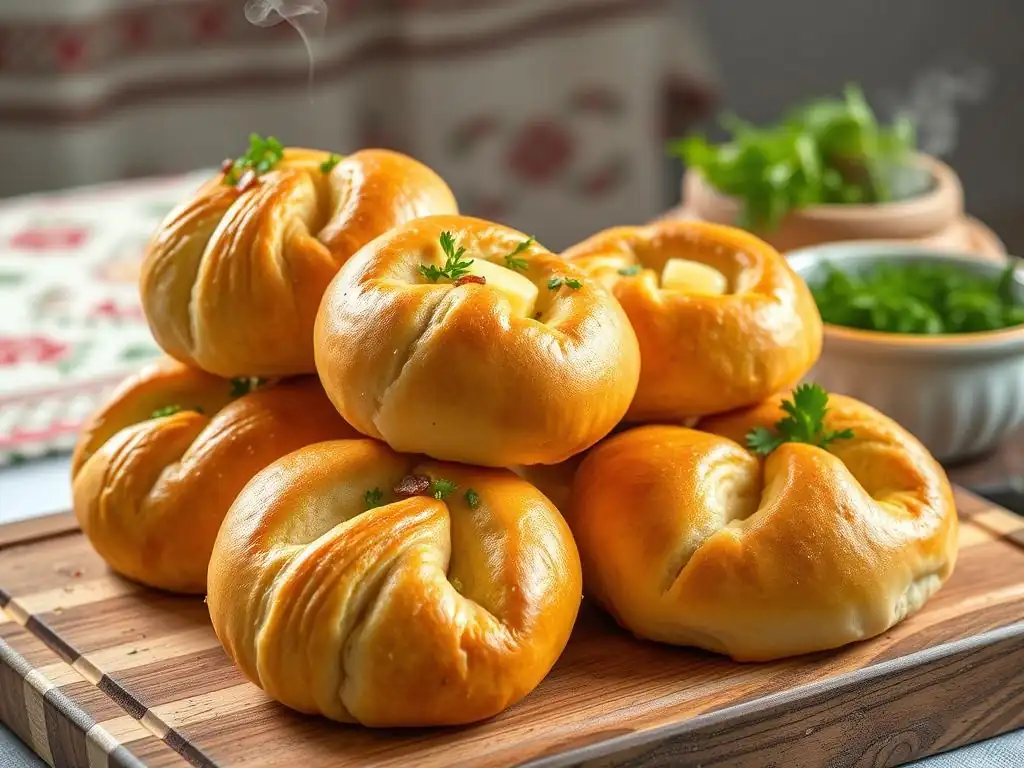
While many Eastern European sourdough bread recipes focus on large loaves, Ukrainian Pampushky offer a delightful variation: soft, fluffy bread rolls, traditionally served slathered with a fragrant garlic and herb oil. Though often made with yeast today, historical versions and artisanal bakers sometimes use a sourdough starter for added depth of flavor and a slightly chewier texture. These rolls are a must-have accompaniment to Ukrainian borscht (beet soup) or other hearty stews.
Pampushky are typically made from a simple enriched dough, containing milk, butter, and sometimes an egg, which contributes to their soft crumb. The magic happens after baking, when the warm rolls are brushed generously with a mixture of finely minced garlic, fresh dill or parsley, salt, and vegetable oil. This garlic oil soaks into the crust, creating an incredibly aromatic and flavorful exterior that contrasts beautifully with the tender interior.
Preparing the Pampushky Dough
Whether using sourdough or yeast, preparing Pampushky dough involves creating a soft, pliable enriched dough. For a sourdough version, a portion of active, fed sourdough starter is combined with warm milk, melted butter, and possibly an egg. Flour (typically wheat bread flour or all-purpose), sugar (to feed the starter and add a touch of sweetness), and salt are then added and mixed until a cohesive dough forms.
The dough is kneaded until smooth and elastic, which can take about 8-10 minutes by hand or 5-7 minutes in a stand mixer. After kneading, the dough undergoes a bulk fermentation period, allowing the sourdough starter to work and develop flavor. This usually takes 2-4 hours at room temperature, or until the dough has roughly doubled in size. After the bulk rise, the dough is divided and shaped into small rolls, typically weighing around 50-70 grams each.
Baking and Serving Ukrainian Pampushky
Once shaped, the Pampushky rolls are placed close together in a baking dish or on a baking sheet, allowing them to puff up and touch during the final proofing, resulting in soft sides. The final proof typically takes 1-2 hours at room temperature, or until the rolls look visibly puffy. They are then baked in a preheated oven at a moderate temperature, around 180-190°C (350-375°F), for 20-30 minutes, or until golden brown on top.
While the Pampushky are still warm from the oven, the garlic-oil mixture is prepared by combining minced garlic, chopped fresh dill or parsley, a pinch of salt, and vegetable oil. The hot rolls are then brushed generously with this mixture. The heat of the bread helps the garlic flavor infuse deeply. Pampushky are best served immediately, warm, alongside soup or stew, allowing diners to tear off individual rolls and savor the pungent garlic and herb aroma. Any leftover garlic oil can be used for dipping.
Romanian Cornbread (Mămăligă): A Versatile Bread Alternative
Mămăligă is a staple in Romanian cuisine, often described as a type of polenta or cornmeal mush. While traditionally cooked on the stovetop and served soft or firm, it can also be baked into a bread-like consistency. Although not typically made with sourdough or flour in its most basic form, baked versions of Mămăligă can incorporate flour and leavening (including sourdough) to create a denser, more bread-like texture. It serves as a versatile accompaniment to many Romanian dishes, from stews and grilled meats to cheeses and sour cream.
Traditional Mămăligă is made simply from yellow cornmeal, water, and salt, cooked until thickened. Baked versions, sometimes enriched with cheese, eggs, or butter, offer a different texture – sliceable and often with a crispy crust. While not a leavened bread in the conventional sense, its cultural significance and widespread use as a bread alternative make it an important part of the regional bread landscape. Exploring baked Mămăligă variations can add diversity to your repertoire of Eastern European sourdough bread recipes (or related corn-based bakes).
Traditional Mămăligă vs. Baked Cornbread
Traditional Mămăligă is a simple, ancient dish. Coarse or fine yellow cornmeal is slowly whisked into boiling salted water in a cast-iron pot (ceaun) until it thickens into a porridge-like consistency. The cooking time can range from 15 minutes for a softer version to 45-60 minutes for a firmer one. It's often served immediately, sometimes poured onto a wooden board and sliced with a thread. This stovetop version is typically soft and creamy, or firm enough to hold its shape when cooled.
Baked versions of Mămăligă, sometimes called "Mămăligă coaptă" (baked mămăligă), introduce variations. These often involve mixing cooked Mămăligă with ingredients like eggs, cheese (such as telemea or brânză de burduf), butter, or sour cream, and then baking the mixture until set and golden. Some recipes might incorporate a small amount of wheat flour or even a leavening agent like baking powder or a sourdough starter to give it a lighter texture than the pure cornmeal version. The baked result is more solid and sliceable, similar to a savory cornbread, and develops a delicious crust.
Baking Romanian Cornbread: A Simple Recipe
To bake a Romanian-style cornbread (a baked Mămăligă variation), you can start by preparing a firm Mămăligă on the stovetop. Use about 1 part cornmeal to 3 or 4 parts water with salt, cooking until very thick. Let it cool slightly.
In a bowl, combine the cooked Mămăligă with eggs (perhaps 2-3 eggs per 500g dry cornmeal used), melted butter (around 50-100g), and crumbled cheese (100-200g is common). If you want a lighter texture, you could experiment with adding 50-100g of wheat flour and a small amount of active sourdough starter, allowing the mixture to ferment for an hour or two before baking.
Pour the mixture into a greased baking dish. You can optionally top it with more cheese or a drizzle of melted butter. Bake in a preheated oven at around 180-200°C (350-390°F) for 30-45 minutes, or until the top is golden brown and the center is set. This baked Mămăligă offers a delightful twist on the traditional form, providing a hearty, cheesy, and sliceable side dish that complements a wide range of savory meals, showcasing the versatility of cornmeal in the region.
Tips and Tricks for Baking Eastern European Breads
Sourdough Starter Management for Eastern European Breads
Managing your sourdough starter effectively is paramount when tackling Eastern European sourdough bread recipes, especially those relying heavily on rye. Rye starters (like Polish zakwas or Lithuanian rugine raugas) behave differently than wheat starters. They are often more liquid, ferment more quickly, and don't show the same dramatic rise as wheat starters. They tend to have a very tangy, sometimes even pungent, aroma when mature. Keeping a dedicated rye starter or maintaining a portion of your regular starter specifically for rye baking can be beneficial.
Consistency is key. Feed your rye starter regularly with rye flour and water, maintaining a consistent hydration level (often 100% hydration, equal parts flour and water by weight). Store it in a clean jar at room temperature if you bake frequently, or in the refrigerator for less frequent baking, remembering to feed it at least once a week even when stored cold.
Before baking, refresh a portion of your starter 12-24 hours in advance at room temperature until it is active and bubbly. An active starter is the foundation for a successful rise and characteristic sour flavor in your Eastern European loaves.
Choosing the Right Flour for Authentic Flavor
The type of flour you use significantly impacts the flavor and texture of Eastern European sourdough bread recipes. For authentic results, sourcing specific flours can make a difference. Dark rye flour, which includes more of the bran and germ, provides a deeper color, stronger flavor, and higher fiber content than medium or light rye flour. Look for stone-ground rye flour if possible, as it often retains more nutrients and flavor.
When recipes call for wheat flour alongside rye, the type matters. Strong bread flour with a high protein content (around 12-14%) is often used to provide structure and help the loaf rise, especially when the rye content is lower. All-purpose flour can also be used for a softer crumb.
Some traditional recipes might even specify specific extraction rates or types of wheat flour less common in standard supermarkets. If you cannot find the exact flour specified, try to choose one with similar characteristics (e.g., substituting dark rye for pumpernickel flour, or using a strong white bread flour for a high-protein wheat).
Mastering Traditional Baking Techniques
Many Eastern European sourdough bread recipes utilize traditional techniques that contribute to their unique characteristics. One common technique, especially with high-rye breads, is using a "scald" (like in Ruginis), where a portion of flour and sometimes malt is mixed with boiling water. This gelatinizes starches, improves water absorption, and enhances moisture retention and sweetness in the final loaf. This step is particularly important for 100% rye breads, which can otherwise be dense and gummy.
Another key technique is the management of high-hydration, low-gluten doughs, characteristic of rye-heavy recipes. These doughs are often sticky and don't develop structure through intensive kneading. Instead, they rely on time, proper hydration, and gentle handling.
Shaping rye dough is often simpler, sometimes just patting it into a loaf shape or placing it directly into a tin. Baking with steam is also crucial for many Eastern European breads, helping to keep the crust pliable during the initial oven spring, allowing the loaf to expand, and contributing to a beautiful, dark, and crackly crust. Using a preheated baking stone or Dutch oven can help achieve this effect at home.
Serving and Enjoying Your Eastern European Sourdough Breads
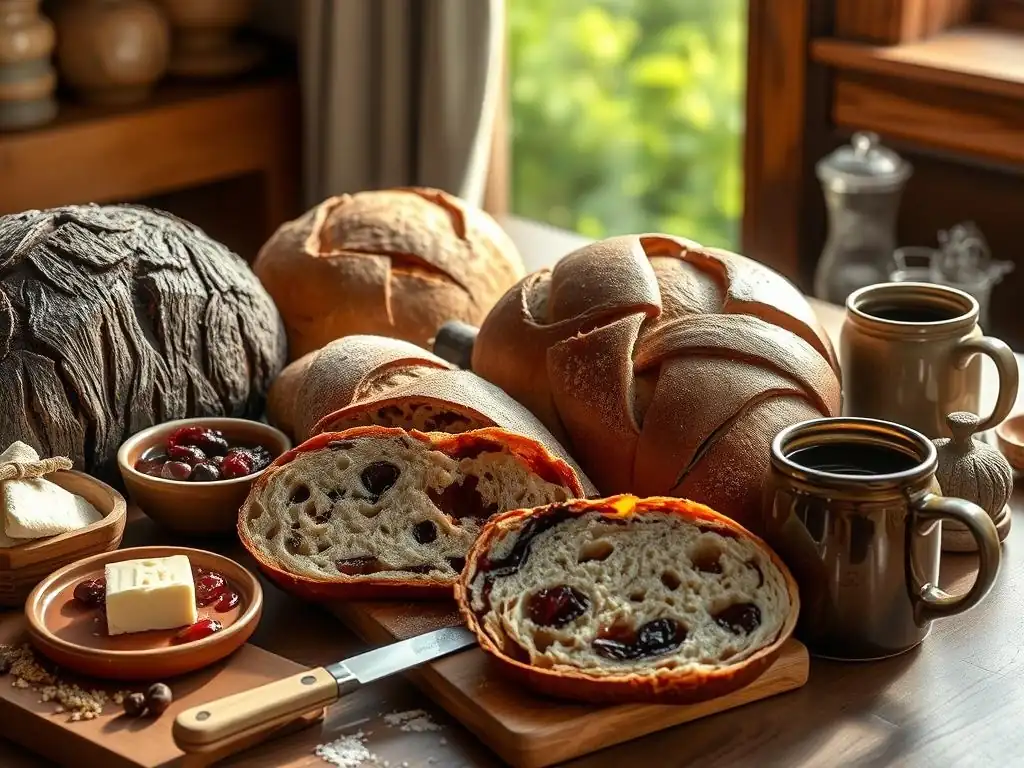
Pairing Suggestions for Eastern European Breads
The robust and often tangy flavors of Eastern European sourdough bread recipes make them perfect companions for a variety of dishes. Dense rye breads like Chleb Żytni or Ruginis pair wonderfully with rich, savory foods. Think hearty soups like borscht, mushroom soup, or goulash. They are also excellent with cured meats (like kielbasa or ham), smoked fish, pickles (such as dill pickles or sauerkraut), and strong cheeses. A simple slice with butter and salt is also a classic way to appreciate the bread's flavor.
Lighter sourdough loaves, like Czech Kváskový Chléb or wheat-rye blends, are versatile. They are great for open-faced sandwiches topped with anything from pâté to vegetables. They can also be served alongside stews, roasted poultry, or used for dipping into sauces. Ukrainian Pampushky, with their intense garlic flavor, are specifically designed to accompany borscht. Romanian Mămăligă, whether traditional or baked, serves as a warm, comforting base for stews, grilled meats, or simply topped with cheese, sour cream, or a fried egg.
Storing Your Homemade Eastern European Bread
Proper storage is essential to keep your homemade Eastern European sourdough bread recipes fresh and delicious. Due to their often dense crumb and the properties of rye and sourdough fermentation, many of these breads have excellent keeping qualities compared to commercial white bread. A whole loaf stored at room temperature, wrapped in a linen bag or beeswax wrap, can stay fresh for 3-5 days, sometimes even longer, with the flavor often improving on the second day.
Once sliced, the exposed crumb can dry out more quickly. Store sliced bread in a sealed plastic bag or airtight container at room temperature. For longer storage, most Eastern European breads freeze exceptionally well. Slice the cooled loaf completely, then place slices in a freezer-safe bag or wrap the loaf tightly in plastic wrap followed by foil.
Frozen bread can be kept for up to 3 months. To thaw, simply leave slices out at room temperature or pop them directly into a toaster. A whole frozen loaf can be thawed at room temperature, or even reheated gently in a low oven to revive the crust.
Conclusion: Embrace the Flavor of Eastern European Bread Baking
Expanding Your Bread Baking Horizons with Eastern European Recipes
Exploring Eastern European sourdough bread recipes offers a fascinating journey into a world of rich history, diverse flavors, and time-honored techniques. From the dense, tangy rye loaves of Poland and Lithuania to the balanced wheat-rye blends of the Czech Republic and the unique cornmeal bakes of Romania, these regional specialties showcase the ingenuity and adaptability of bakers working with locally available grains and natural leavening. Baking these breads at home is not just about following a recipe; it's about connecting with centuries of tradition and bringing truly authentic flavors to your table.
Whether you are a seasoned sourdough baker or just starting your journey, diving into the world of Eastern European breads provides exciting challenges and immense rewards. Mastering the nuances of rye flour, understanding the behavior of different sourdough starters, and practicing traditional techniques like scalding or specific shaping methods will deepen your appreciation for the craft. So, gather your ingredients, activate your starter, and prepare to fill your home with the incredible aroma of freshly baked Eastern European sourdough bread – a delicious and satisfying experience awaits!
Frequently Asked Questions
What makes Eastern European sourdough bread unique?
Eastern European sourdough breads often utilize whole grains like rye and spelt, resulting in a hearty texture and distinct flavor. They may also incorporate ingredients like potatoes or caraway seeds, adding to their unique character.
Where can I find easy-to-follow recipes for these breads?
BakeWithEase.com offers simple recipes and step-by-step guides for various Eastern European sourdough breads, suitable for bakers of all skill levels. Look for recipes using easy-to-find ingredients.
What kind of flour is best for Eastern European sourdough?
Rye flour is a common and crucial ingredient. Many recipes also call for a mix of bread flour and whole wheat flour. Experimenting with different ratios can yield interesting results.
How does the climate of Eastern Europe affect the bread baking process?
Colder climates can slow down fermentation. Bakers often use longer fermentation times or warmer proofing environments to compensate for this, developing a more complex flavor.
What are some traditional Eastern European ingredients used in these breads?
Besides rye flour, common ingredients include caraway seeds, potatoes, and molasses. These ingredients contribute to the distinct flavor profiles found in regional variations of sourdough bread.
Final Reflection: A Crumb of History, A Loaf of Future
The enduring appeal of Eastern European sourdough bread transcends mere sustenance; it's a living testament to cultural heritage and culinary resilience. These traditional recipes, passed down through generations, continue to thrive in modern kitchens, proving that time-honored techniques remain relevant and deeply satisfying in our fast-paced world. The rich flavors and textures, born from centuries of experimentation and adaptation, offer a comforting connection to the past while inspiring culinary creativity for the future.
The journey through these regional breads has revealed not only diverse baking methods but also the profound social and cultural significance embedded within each loaf. These aren't just recipes; they are stories, reflecting the landscapes, histories, and communities that shaped them. Bread is the staff of life,
a common saying across cultures, truly resonates here, highlighting the fundamental role these breads have played in sustaining families and fostering community bonds. The subtle variations in ingredients and techniques, from the rye heavy breads of Poland to the caraway-studded loaves of Hungary, speak volumes about the unique character of each region.
Consider the legacy of these recipes. You, the reader, now hold the power to continue this tradition. Will you bake a loaf, sharing the experience with friends and family, and perhaps even adapting a recipe to reflect your own unique culinary journey? Embrace the challenge, the satisfaction of kneading dough, the aroma of baking bread filling your home. By carrying the torch of these ancient traditions, you become a part of a rich culinary history, ensuring that the hearty and flavorful breads of Eastern Europe continue to nourish and inspire for generations to come.
Unlock the Secrets of Eastern European Baking!
Thanks for joining us on this delicious journey through the hearty breads of Eastern Europe! We hope you've gained a new appreciation for the rich flavors and traditions behind these culinary gems. Now it's time to put your newfound knowledge to the test!
- Bake your own masterpiece! Choose a recipe that sparked your interest and get baking. Don't be afraid to experiment with different flours or fillings – that's where the real fun begins!
- Share your baking adventures! Post pictures of your creations on social media and tag us – we'd love to see what you’ve made!
- Explore the regional variations: Dive deeper into the history and techniques of a specific bread that caught your eye. You might be surprised by what you discover!
What unique twist will you add to your next loaf of Eastern European bread? Let us know in the comments below!