
Your StepbyStep Guide to Perfect Homemade Pizza Dough

Welcome to BakeWithEase, your kitchen companion on the journey to baking brilliance! Ever dreamt of creating that perfect, crispy-crusted pizza at home? Get ready to ditch the takeout menus! We're diving deep into a step-by-step guide that will unlock the secrets to a truly perfect homemade pizza dough recipe. But that's just the beginning... Curious about what makes this dough different and how to achieve pizza perfection? Let's get started!
- Your Step-by-Step Guide to Perfect Neapolitan Pizza Dough
- Introduction: Mastering Neapolitan Pizza Dough at Home
- Essential Ingredients for the Best Pizza Dough Recipe
-
Step-by-Step Instructions: Crafting Your Perfect Pizza Dough
- Step 1: Dissolving the Yeast in Water
- Step 2: Combining Flour and Salt
- Step 3: Gradually Adding Water and Forming the Dough
- Step 4: Kneading the Dough: The Importance of Autolyse
- Step 5: First Rise: Bulk Fermentation for Flavor Development (Preferment Option)
- Step 6: Dividing and Shaping the Dough Balls (Pizzaiolo Technique)
- Step 7: Second Rise: Proofing the Dough Balls (Controlled Temperature)
- Tips and Tricks for Troubleshooting Pizza Dough
- Baking Your Pizza: From Dough to Delicious
- Beyond the Basics: Pizza Dough Variations & Enhancements
- Storing Your Homemade Pizza Dough
- Conclusion: Enjoying Your Perfect Homemade Pizza
- Frequently Asked Questions
- Final Reflection: The Timeless Allure of Perfect Dough
- Unleash Your Inner Pizzaiolo!
Your Step-by-Step Guide to Perfect Neapolitan Pizza Dough
Introduction: Mastering Neapolitan Pizza Dough at Home
Why Homemade Neapolitan Pizza Dough is Worth the Effort
Crafting your own Neapolitan pizza dough at home unlocks a level of flavor and texture simply unattainable with store-bought options. The process, while requiring patience and attention to detail, rewards you with a crust that is light, airy, and has that characteristic chewy interior and slightly crisp exterior with beautiful leopard spotting when baked correctly. Unlike many commercial doughs that rely on rapid fermentation and additives, a true Neapolitan dough benefits from a slow, cold fermentation process, allowing complex flavors to develop. This dedication to process is what elevates your pizza from good to truly exceptional.
Beyond the superior quality, making your own perfect homemade pizza dough recipe offers immense satisfaction. It connects you to the rich tradition of Italian baking and gives you complete control over the ingredients. You know exactly what's going into your dough, ensuring a pure, authentic taste. Plus, the aroma of fresh dough rising in your kitchen is an experience in itself, setting the stage for a delightful pizza night. This journey into making perfect pizza dough at home is not just about the end product; it's about embracing the craft of baking.
A Detailed Approach to Authentic Neapolitan Pizza Dough
This guide provides a meticulous, step-by-step approach to creating an authentic Neapolitan pizza dough recipe, adhering closely to traditional methods. We'll delve into the specific types of ingredients required, the precise hydration levels typically used in Naples, and the critical stages of mixing, kneading, and fermentation. Understanding these elements is crucial because each one plays a significant role in developing the gluten structure, flavor, and texture that define a classic Neapolitan crust. We won't just tell you how to do it, but why each step is important.
We will cover everything from selecting the right flour, specifically the fine 00 grade favored by Neapolitan pizzaiolos, to mastering the art of stretching the dough without a rolling pin. This detailed exploration ensures that even if you're new to baking, you can successfully create a perfect homemade pizza dough recipe that rivals those from the best pizzerias. By following these instructions carefully, you'll gain the skills and confidence needed to consistently produce delicious, authentic Neapolitan pizzas right in your own kitchen.
Essential Ingredients for the Best Pizza Dough Recipe
00 Flour: The Foundation of Great Neapolitan Pizza
The cornerstone of an authentic perfect homemade pizza dough recipe is 00 flour. This specific type of flour, milled from soft wheat, is ground incredibly fine ("00" refers to the fineness of the grind in the Italian classification system) and has a relatively low protein content, typically ranging from 10% to 12.5%. This combination results in a dough that is extensible, easy to work with, and produces a light, airy crust with a delicate crumb structure, characteristic of true Neapolitan pizza. Using all-purpose flour, which has a higher protein content (around 12-14%) and coarser grind, will result in a chewier, denser crust, deviating from the desired Neapolitan texture.
When selecting 00 flour, look for brands specifically labeled for pizza or breadmaking, such as Caputo Pizzeria or Antimo Caputo Chef's Flour. These flours are designed to handle the high temperatures and short baking times of Neapolitan pizza ovens (often exceeding 800°F or 420°C). While you can technically make pizza dough with other flours, using 00 flour is essential for achieving the authentic texture and handling properties required for stretching and baking a perfect Neapolitan crust. Approximately 500g of 00 flour is a standard amount for a batch yielding about 3-4 pizzas.
Fresh Yeast: Activating the Flavor and Rise
Fresh yeast is often preferred by traditional pizzaiolos for its subtle flavor contribution and predictable activity compared to dry yeasts. It is a living organism responsible for fermentation, producing carbon dioxide gas that causes the dough to rise, and alcohol and organic acids that contribute to the dough's flavor profile. Fresh yeast has a shorter shelf life than dry yeast and should be stored in the refrigerator, ideally used within a couple of weeks of purchase.
A typical usage rate for fresh yeast in a slow-fermented Neapolitan dough recipe is quite low, often around 0.5% to 1% relative to the weight of the flour. For 500g of flour, this would be about 2.5g to 5g of fresh yeast.
If fresh yeast is unavailable, you can substitute active dry yeast or instant dry yeast, adjusting the quantity accordingly. Active dry yeast requires activation in warm water before use (typically 2.2 times the weight of fresh yeast), while instant dry yeast can be mixed directly with the flour (typically 1/3 the weight of fresh yeast). While dry yeasts are more convenient and shelf-stable, many purists argue that fresh yeast imparts a slightly cleaner flavor.
Whichever yeast you choose, ensuring it is active is paramount for a successful rise and a perfect homemade pizza dough recipe. You can test fresh yeast by crumbling a small piece in warm water with a pinch of sugar; it should start to bubble within 5-10 minutes.
Water: The Key to Dough Hydration
Water is the second most abundant ingredient in a perfect homemade pizza dough recipe, and its quantity dictates the dough's hydration level – the ratio of water to flour by weight. For traditional Neapolitan pizza dough, hydration typically ranges from 55% to 65%. Lower hydration doughs (around 55-58%) are generally easier to handle, especially for beginners, while higher hydration doughs (60-65%) produce a more open crumb structure and a lighter, airier crust, though they can be stickier and more challenging to work with. Using 60% hydration with 500g of flour means you would use 300g (or 300ml) of water.
The temperature of the water is also important as it affects the rate of yeast activity. For a long, slow fermentation (like the 24-hour cold proof often used for Neapolitan dough), using cool water (around 50-60°F or 10-15°C) helps to slow down the initial fermentation, giving more time for flavor development before the dough goes into the refrigerator. For shorter fermentation times at room temperature, warmer water (around 70-80°F or 21-27°C) might be used to kickstart yeast activity more quickly. Using filtered water is also recommended to avoid chlorine, which can inhibit yeast.
Sea Salt: Enhancing Flavor and Controlling Yeast
Salt is a crucial, yet often underestimated, ingredient in a perfect homemade pizza dough recipe. It does far more than just add flavor; it strengthens the gluten network, making the dough more elastic and easier to handle, and it helps regulate yeast activity, preventing it from fermenting too quickly. Without salt, the dough would be slack, difficult to stretch, and the yeast would run wild, potentially leading to an over-proofed dough with poor structure and flavor. Fine sea salt or kosher salt is preferred over iodized table salt, as iodine can sometimes interfere with yeast function.
The amount of salt typically used in Neapolitan pizza dough is around 2.5% to 3% of the flour weight. For 500g of flour, this translates to approximately 12.5g to 15g of salt. It's important not to add salt directly on top of the yeast when initially combining ingredients, as salt can kill yeast cells. Instead, dissolve the salt in the water before adding the yeast, or add it to the flour mixture separately from the yeast. Proper salt inclusion is key to achieving both the desired taste and the structural integrity of your perfect homemade pizza dough recipe.
Step-by-Step Instructions: Crafting Your Perfect Pizza Dough
Step 1: Dissolving the Yeast in Water
Begin by measuring out the precise amount of cool water (around 55-60°F or 13-15°C is ideal for a long fermentation) required for your dough's hydration level. For a typical batch using 500g of flour at 60% hydration, you'll need 300g (or ml) of water. Crumble the fresh yeast directly into this water or sprinkle in active dry yeast (if using, ensure the water is slightly warmer, around 80-85°F or 27-29°C, and let it sit for 5-10 minutes until foamy).
If using instant dry yeast, you can skip this step and add it directly to the flour. Gently stir the water and yeast mixture with your fingers or a spoon until the yeast is mostly dissolved. Avoid vigorously whisking, which can introduce too much air.
Allow the mixture to sit for a few minutes. If using fresh or active dry yeast, you should see some signs of life – small bubbles forming or a slight cloudiness. This confirms your yeast is active and ready to go. This step is crucial for ensuring even distribution of the yeast throughout the dough, leading to a more consistent and predictable rise for your perfect homemade pizza dough recipe.
Step 2: Combining Flour and Salt
While the yeast is dissolving, measure your 00 flour accurately, preferably using a kitchen scale. For 500g of flour, add 12.5g to 15g of fine sea salt. Whisk the flour and salt together in a large mixing bowl. This initial mixing ensures the salt is evenly distributed throughout the dry ingredients before it comes into contact with the yeast, preventing the salt from potentially inhibiting yeast activity. Using a whisk also helps to aerate the flour slightly.
Ensure your mixing bowl is large enough to accommodate the dough as it develops. A bowl with at least a 4-5 liter capacity is usually sufficient for 500g of flour. Combining the dry ingredients thoroughly at this stage is a simple yet important step in preparing for the hydration process that follows, laying the groundwork for a well-structured and perfectly seasoned perfect homemade pizza dough recipe.
Step 3: Gradually Adding Water and Forming the Dough
Create a well in the center of the flour and salt mixture. Pour about three-quarters of the yeast-water mixture into the well. Begin incorporating the flour from the sides into the liquid using your hands or a wooden spoon. Continue mixing, gradually adding the remaining water, until all the flour is hydrated and a shaggy, wet dough forms. At this stage, the dough will be quite sticky and uneven.
Avoid the temptation to add more flour at this point, even if it seems too wet. The hydration level is key to the final texture. Scrape down the sides of the bowl to ensure all the dry bits are incorporated. You should have a rough mass of dough that is just starting to come together. This initial mixing phase is about bringing the ingredients into contact and starting the gluten development process for your perfect homemade pizza dough recipe.
Step 4: Kneading the Dough: The Importance of Autolyse
Once the shaggy dough has formed, cover the bowl and let it rest for 20-30 minutes. This resting period is known as the autolyse. During autolyse, the water hydrates the flour proteins (glutenin and gliadin), allowing them to start forming gluten networks on their own without the need for intense mechanical kneading. This makes the subsequent kneading much easier and more efficient, resulting in a smoother, more extensible dough. The enzymes in the flour also begin to break down starches, contributing to flavor.
After the autolyse, turn the dough out onto a lightly floured surface. Knead the dough using your preferred method – by hand or with a stand mixer fitted with a dough hook. Kneading develops the gluten structure, transforming the rough mass into a smooth, elastic dough.
Knead by hand for about 10-15 minutes, or with a mixer on low speed for 5-8 minutes, until the dough passes the windowpane test (you can gently stretch a small piece thin enough to see light through without tearing). The final dough should be smooth, elastic, and slightly tacky but not overly sticky. This diligent kneading is vital for achieving the desired texture in your perfect homemade pizza dough recipe.
Step 5: First Rise: Bulk Fermentation for Flavor Development (Preferment Option)
Place the kneaded dough in a lightly oiled bowl, turning it to coat. Cover the bowl tightly with plastic wrap or a damp towel. This is the bulk fermentation stage, where the dough undergoes its first rise.
For an authentic Neapolitan perfect homemade pizza dough recipe, this stage is typically done in a controlled environment to allow for slow flavor development. A common method is to perform a short initial rise at room temperature (1-2 hours, depending on room temperature) followed by a long, cold fermentation in the refrigerator for 24-48 hours. The cold temperature significantly slows yeast activity but allows enzymes to work, creating complex flavors.
Alternatively, you can perform the entire bulk fermentation at cool room temperature (around 65-70°F or 18-21°C) for 8-12 hours, or until the dough has roughly doubled in size. During bulk fermentation, you can perform one or two sets of stretch and folds in the first hour or two to further strengthen the gluten. This involves gently stretching the dough from one side and folding it over, repeating from all four sides. This long fermentation is key to the digestibility and flavor of a perfect homemade pizza dough recipe.
Step 6: Dividing and Shaping the Dough Balls (Pizzaiolo Technique)
After the bulk fermentation (especially after cold fermentation), gently turn the dough out onto a lightly floured surface. The dough will be airy and potentially bubbly. Avoid degassing it completely. Using a dough scraper or knife, divide the dough into equal portions. For typical Neapolitan pizzas, each dough ball weighs between 200g and 280g, yielding individual pizzas about 10-12 inches in diameter. A 500g batch of dough will yield 2-3 dough balls of this size.
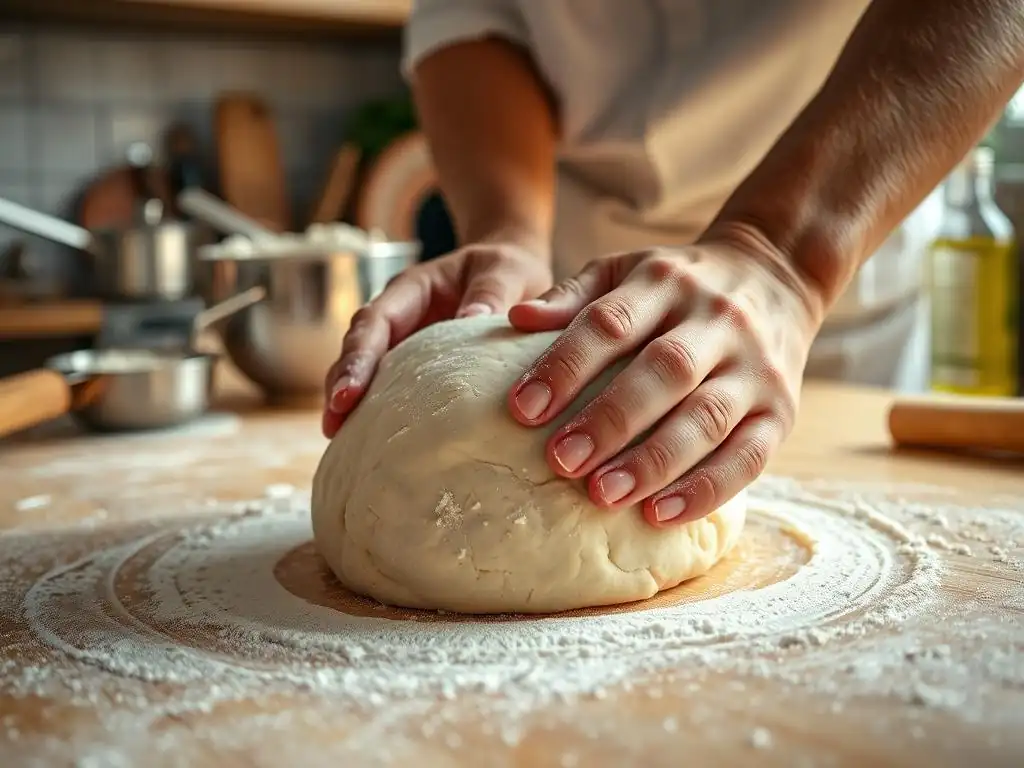
Shape each portion into a taut ball. The traditional Neapolitan method involves taking a piece of dough, tucking the edges underneath while rotating it between your hands and the work surface, creating surface tension. Another method is to cup your hand over the dough and rotate it against the surface, pulling it towards you slightly to create tension.
Place the shaped dough balls onto a lightly floured or oiled tray, leaving space between them. Cover them loosely with plastic wrap or a damp towel to prevent drying. Proper shaping is crucial for the final structure and rise of your perfect homemade pizza dough recipe.
Step 7: Second Rise: Proofing the Dough Balls (Controlled Temperature)
The shaped dough balls now need to proof, which is their second rise. This stage allows the dough balls to relax and become airy, making them easy to stretch and resulting in a light, open crust. The proofing temperature significantly impacts the proofing time. Traditional Neapolitan proofing often occurs at room temperature (around 70-75°F or 21-24°C) for 4-8 hours, or until the dough balls are visibly larger, puffy, and soft to the touch. They should feel light and airy when gently lifted.
If you performed a long cold fermentation, you might take the dough balls out of the refrigerator 2-3 hours before baking to allow them to come to room temperature and finish proofing. Over-proofing can lead to a dough that is difficult to stretch and results in a dense crust, while under-proofing means the dough won't be extensible and the crust will be tough. Learning to gauge the readiness of the dough balls by feel is key to successfully using your perfect homemade pizza dough recipe.
Tips and Tricks for Troubleshooting Pizza Dough
Dough is Too Sticky: Adjusting Hydration Levels and Flour Type
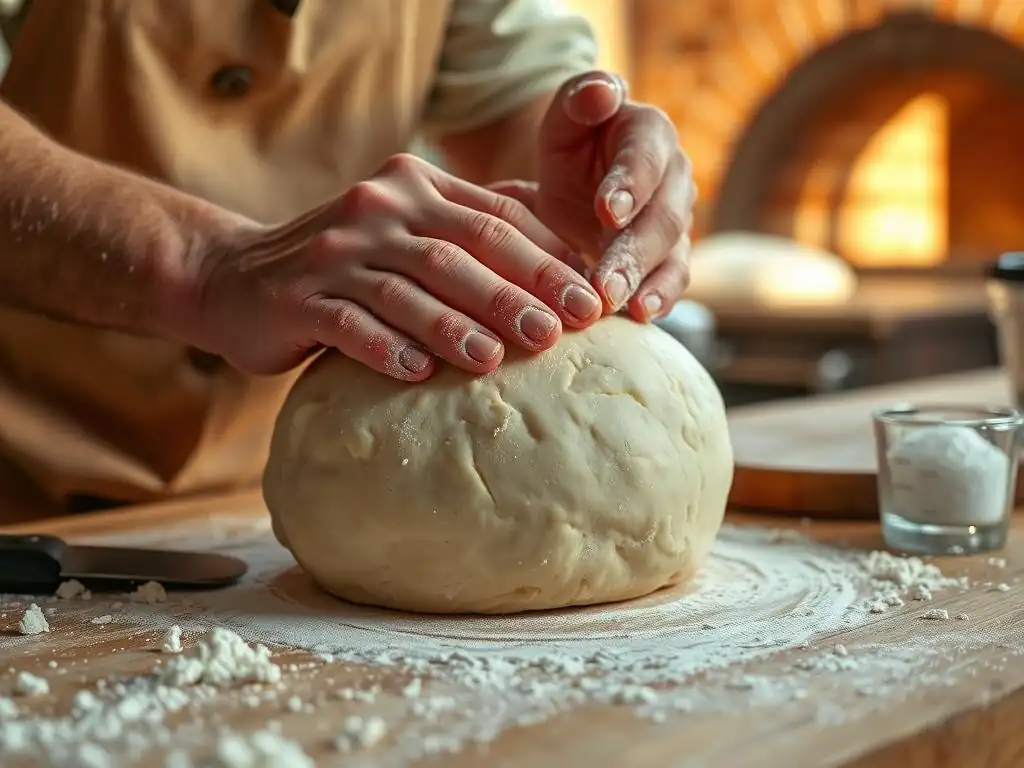
If your perfect homemade pizza dough recipe is excessively sticky and difficult to handle, even after proper kneading, the hydration level might be too high for the type of flour used or your comfort level. Different flours absorb water differently; even within the 00 category, brands vary. If you're using a very high hydration (e.g., 65%) and finding it unmanageable, try reducing the water slightly in your next batch, perhaps down to 60% or even 58%. Remember that higher hydration doughs inherently require more practice and a gentler touch.
Ensure you are using 00 flour specifically designed for pizza or bread. All-purpose flour, with its different protein structure, can behave differently at high hydration levels. Also, consider the humidity in your environment; high humidity can make dough feel stickier. When handling sticky dough, resist the urge to add large amounts of flour to your work surface or hands, as this can change the dough's hydration ratio and make the final crust tough. Instead, use minimal flour on your surface and hands, or work with slightly damp hands. Techniques like "stretch and fold" performed during bulk fermentation can also help build structure in wetter doughs.
Dough is Too Dry: Adding Moisture Gradually
Conversely, if your dough feels stiff, crumbly, and doesn't come together easily during mixing or is hard to knead and stretch, it's likely too dry. This is usually due to too little water for the amount of flour, or potentially very dry air conditions. While kneading, if the dough feels very stiff, you can add a small amount of water, a teaspoon at a time, kneading it in completely before adding more. Be patient, as it takes time for the dough to absorb additional liquid.
Adding water gradually prevents you from accidentally making the dough too wet. If the dough was too dry during the initial mix, it will be difficult to develop gluten properly, resulting in a dense, tough crust. Ensuring accurate measurements, particularly of the water using a scale, is the best way to avoid this issue from the start of your perfect homemade pizza dough recipe journey.
Dough Isn't Rising: Addressing Yeast Activity and Temperature
A lack of rise in your perfect homemade pizza dough recipe can be frustrating, but it's usually attributable to a few common factors related to yeast activity or temperature. First, check the viability of your yeast. If using fresh or active dry yeast, did you proof it in water first?
Did it get foamy? If not, your yeast might be dead or inactive, possibly due to age, improper storage, or being killed by hot water or direct contact with salt. Always check the expiration date and store yeast properly (fresh in the fridge, dry in a cool, dark place or freezer).
Second, consider the temperature. Yeast is highly sensitive to temperature. If your kitchen is too cold (below 65°F or 18°C), fermentation will be very slow. Conversely, if it's too hot (above 85°F or 30°C), the yeast can become overactive initially and then exhaust itself, or the dough can over-proof quickly leading to collapse. Ensure your proofing environment is within the recommended temperature range for the desired fermentation time. For long, cold fermentation, the refrigerator temperature should be consistently between 38-40°F (3-4°C).
Achieving a Leopard Spotted Crust: Oven Temperature and Baking Techniques
The coveted "leopard spotting" – those beautiful dark brown or black blisters on the edge of the crust – is a hallmark of authentic Neapolitan pizza. Achieving this requires extremely high temperatures, typically 800-900°F (420-480°C), which causes rapid expansion of air pockets in the crust and intense caramelization and charring of the dough's surface (the Maillard reaction). Traditional wood-fired ovens reach these temperatures easily.
While most home ovens cannot reach 900°F, you can maximize your chances of getting some spotting by using the highest temperature your oven allows (usually 500-550°F or 260-290°C) and using a pizza steel or stone that has been preheated for at least 45-60 minutes on the top rack. This creates a very hot surface for the bottom of the pizza, mimicking some of the effect of a professional oven.
Baking directly on a preheated stone or steel at maximum temperature for a short time (often 5-8 minutes in a home oven) is the best way to get closer to that Neapolitan crust texture and spotting with your perfect homemade pizza dough recipe.
Baking Your Pizza: From Dough to Delicious
Preheating Your Oven to 900°F (Wood-Fired or Home Oven Hack)
Achieving the signature blistered crust of a perfect homemade pizza dough recipe, Neapolitan style, hinges on extremely high baking temperatures. A traditional Neapolitan wood-fired oven reaches temperatures between 800°F and 900°F (420-480°C). At these temperatures, a pizza bakes in a mere 60-90 seconds, resulting in a crust that is simultaneously crispy on the outside, airy and soft within, and beautifully charred.
For home bakers, replicating this heat is challenging. Standard home ovens typically max out at 500-550°F (260-290°C). However, you can significantly improve your results by using a pizza steel or stone placed on the top rack of your oven and preheating it for at least 45-60 minutes at the highest possible temperature.
This stores a significant amount of heat, which is rapidly transferred to the dough when the pizza is launched, mimicking the intense heat of a professional oven floor. While you won't achieve a true 900°F, this method provides the best chance for a quick bake and a crust with some desirable charring and rise for your perfect homemade pizza dough recipe.
Stretching and Shaping the Pizza Dough (Neapolitan Style)
Once your dough balls are perfectly proofed (light, airy, and relaxed), it's time to stretch them. This is a key skill in making a perfect homemade pizza dough recipe. The Neapolitan technique avoids rolling pins, which can push air out of the crust and make it dense. Instead, work on a lightly floured surface. Start by gently pressing down on the center of the dough ball with your fingertips, pushing the air towards the edges to create the cornicione (the puffy rim).
Then, lift the dough and let gravity assist, rotating the dough circle while gently stretching the edges with your hands. You can also drape the dough over your fists and gently stretch it outwards, rotating as you go. The goal is to achieve a circle about 10-12 inches in diameter, leaving the outer rim slightly thicker. Handle the dough gently to preserve the air bubbles created during fermentation. Practice makes perfect with this technique!
Adding Toppings: San Marzano Tomatoes, Mozzarella di Bufala, Basil
For an authentic Neapolitan pizza using your perfect homemade pizza dough recipe, simplicity is key. The classic Pizza Margherita features three core toppings, representing the colors of the Italian flag: San Marzano tomatoes, fresh mozzarella (ideally Mozzarella di Bufala Campana), and fresh basil. San Marzano tomatoes, grown in the volcanic soil around Mount Vesuvius, are known for their sweet, low-acid flavor. Crush them by hand or use a simple passata (strained tomato puree), seasoned minimally with salt.
Use fresh mozzarella, torn into pieces rather than sliced. Mozzarella di Bufala has a higher moisture content and richer flavor than cow's milk mozzarella. Arrange the toppings sparingly – too many toppings will weigh down the delicate dough and prevent it from cooking properly in the short bake time. A drizzle of good quality extra virgin olive oil over the toppings before baking enhances the flavor and helps the crust crisp slightly.
Baking Time and Temperature: Achieving the Perfect Bake (60-90 Seconds)
In a true 900°F (480°C) wood-fired oven, a Neapolitan pizza bakes incredibly fast – typically in just 60 to 90 seconds. The intense heat causes the crust to puff up dramatically, develop leopard spots on the bottom and edge, and melts the cheese rapidly.
When baking on a preheated pizza steel or stone in a home oven at 500-550°F (260-290°C), the baking time will be longer, usually between 5 and 8 minutes. Keep a close eye on the pizza; the edges should be puffed and golden brown with some charring, and the cheese should be melted and bubbly. You might need to rotate the pizza halfway through baking for even cooking.
The exact time will vary depending on your oven and stone/steel setup, so watch for visual cues. A perfectly baked pizza using your perfect homemade pizza dough recipe will have a light, airy crust that is cooked through but still soft inside.
Beyond the Basics: Pizza Dough Variations & Enhancements
Poolish Pizza Dough: A Flavorful Alternative
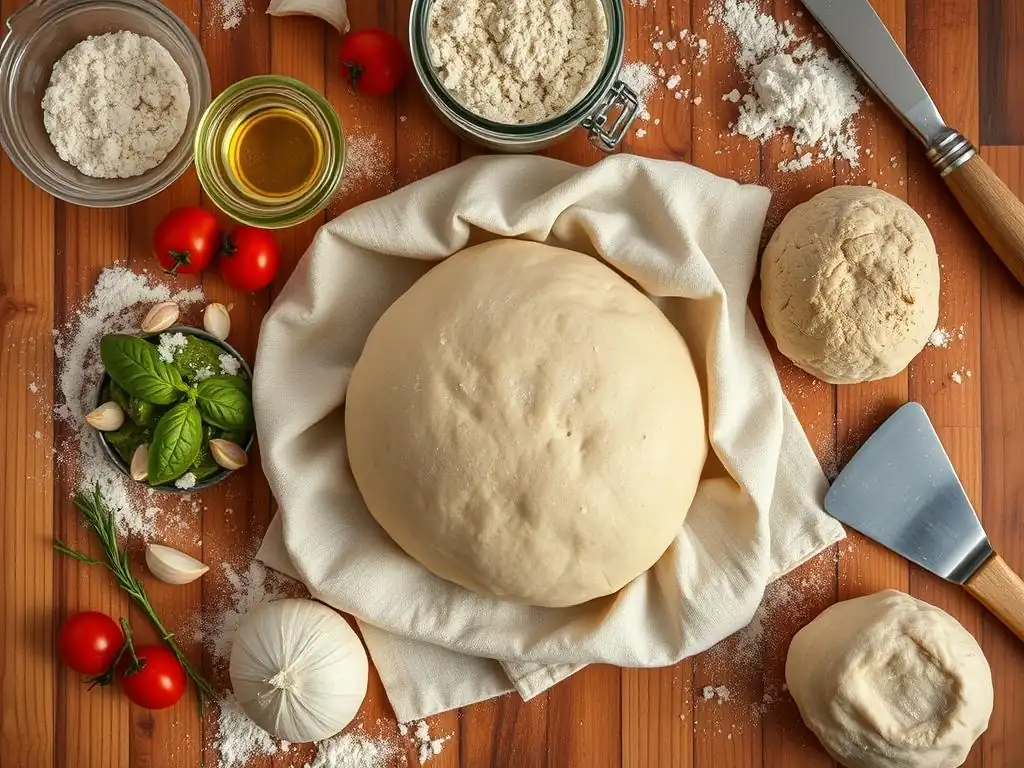
Exploring variations can add new dimensions to your perfect homemade pizza dough recipe. One popular technique is using a poolish, which is a type of preferment. A poolish is made by mixing equal weights of flour and water with a tiny amount of yeast (often just a pinch) and letting it ferment at room temperature for several hours, typically 12-16 hours, or until it is bubbly and slightly collapsed. This creates a highly active, flavorful starter.
When you're ready to make your final dough, you incorporate the poolish along with the rest of the flour, water, salt, and yeast. Using a poolish contributes a more complex flavor profile to the dough, resulting in a crust with more depth and aroma. It also aids in gluten development and can lead to a more open crumb structure. While adding an extra step, the enhanced flavor is well worth the effort for those looking to elevate their perfect homemade pizza dough recipe.
High Hydration Pizza Dough: Achieving an Airy Crust
For bakers looking to push the boundaries of texture, experimenting with high hydration doughs (65% water or more relative to flour weight) can result in an exceptionally light and airy crust. While traditional Neapolitan dough is often around 60-62% hydration, increasing the water content yields a wetter, stickier dough that requires different handling techniques, such as stretch and folds and minimal kneading.
High hydration doughs ferment differently and develop a very open internal structure with large air pockets. When baked at high temperatures, this results in an incredibly light, almost cloud-like crust. However, working with dough at 65%+ hydration requires practice; it can be challenging to handle and stretch without tearing. Using strong 00 flour designed for long fermentation (like Caputo Chef's Flour) is recommended for high hydration doughs to ensure the gluten structure can support the extra water. Mastering high hydration is a rewarding step in perfecting your perfect homemade pizza dough recipe.
Adding Herbs to Your Dough: Subtle Flavor Enhancements
While classic Neapolitan perfect homemade pizza dough recipe focuses on the pure flavor of fermented dough, you can subtly enhance your crust by incorporating dried herbs directly into the dough mixture. Herbs like dried oregano, basil, or a blend of Italian herbs can add an aromatic note that complements the pizza toppings.
Add dried herbs along with the flour and salt in Step 2, ensuring they are evenly distributed. A typical amount might be 1-2 teaspoons of dried herbs per 500g of flour. Be mindful that adding too many herbs can sometimes interfere with gluten development. This simple addition allows you to customize your perfect homemade pizza dough recipe and add a layer of flavor directly into the crust itself.
Storing Your Homemade Pizza Dough
Refrigerating Pizza Dough: Extending Shelf Life
One of the greatest benefits of making a perfect homemade pizza dough recipe is the ability to store it for later use. Refrigeration is an excellent way to extend the life of your dough while also enhancing its flavor through slow, cold fermentation. After the bulk fermentation (Step 5), you can place the entire dough ball (or individual dough balls after Step 6) in an airtight container or a bowl tightly covered with plastic wrap and refrigerate it for 2-4 days. Some sources even suggest up to 5 days for maximum flavor development.
The cold temperature slows down the yeast activity significantly, but doesn't stop it entirely. The dough will continue to ferment slowly, producing more complex flavors and aromas. When you're ready to use the refrigerated dough, take the individual dough balls out of the refrigerator 2-3 hours before baking to allow them to come to room temperature and relax. Cold dough is stiff and difficult to stretch properly. Ensure the dough balls are covered while warming up to prevent a skin from forming.
Freezing Pizza Dough: Long-Term Storage Solutions (Not Recommended for Best Quality)
While technically possible, freezing your perfect homemade pizza dough recipe is generally not recommended if you are striving for the absolute best quality Neapolitan crust. Freezing can damage the yeast cells and the gluten structure, potentially resulting in a dough that doesn't rise as well, is harder to stretch, and produces a denser, less airy crust upon baking.
If you must freeze dough, it's best to do so after the bulk fermentation (Step 5) but before dividing and shaping into balls. Wrap the large dough ball tightly in plastic wrap, then place it in a freezer-safe bag, pressing out as much air as possible. It can be frozen for up to 1-2 months.
To thaw, transfer the dough to the refrigerator the day before you plan to use it, then let it come to room temperature for several hours before dividing, shaping, proofing (Step 6 & 7), and baking. Be prepared for a potentially less optimal result compared to fresh or refrigerated dough.
Conclusion: Enjoying Your Perfect Homemade Pizza
Celebrate Your Baking Success
You've done it! By following this detailed guide, you have successfully created a perfect homemade pizza dough recipe and transformed it into delicious, authentic Neapolitan pizza. Take a moment to appreciate the journey – from measuring flour and water to mastering the stretch and achieving that beautiful crust. Baking is a craft that rewards patience and practice, and each pizza you make will teach you something new. The aroma filling your kitchen and the first bite of your homemade pizza are the ultimate rewards for your effort.
The satisfaction of pulling a hot pizza with a perfectly blistered crust from your oven, knowing you made the dough from scratch, is immense. This perfect homemade pizza dough recipe is now a skill in your repertoire, ready to be used whenever the craving strikes. Share your creations with friends and family, and savor the moments gathered around delicious food made with your own hands.
Don't keep your perfect homemade pizza dough recipe success to yourself! Share photos of your pizzas, your dough, and your baking process. Connecting with other home bakers can provide inspiration, tips, and a sense of community. Many online forums, social media groups, and websites are dedicated to pizza enthusiasts who love to see and discuss homemade creations.
By sharing your experiences, you also contribute to the collective knowledge of home pizza making. Whether you nailed the leopard spotting, achieved a super airy crust, or overcame a challenge, your journey can inspire others. Keep baking, keep experimenting, and keep sharing the joy of making perfect pizza dough at home!
Frequently Asked Questions
How long does it take to make homemade pizza dough?
Making homemade pizza dough typically takes around 2-3 hours, including proving time. The active time is usually only about 20-30 minutes.
What is the best type of flour to use for pizza dough?
For a classic pizza dough, bread flour is recommended. It has a higher protein content, which helps create a chewy and elastic crust.
Can I freeze homemade pizza dough?
Yes, you can freeze homemade pizza dough. Wrap it tightly in plastic wrap and place it in a freezer bag. It can last for up to 3 months in the freezer.
What is the ideal oven temperature for baking pizza?
The ideal oven temperature for baking pizza is usually between 450-500°F (232-260°C). This high heat helps create a crispy crust and melt the cheese evenly.
What are some common mistakes to avoid when making pizza dough?
Over-kneading the dough can result in a tough crust. Also, ensure your yeast is active before adding it to the flour mixture. Finally, allow sufficient proofing time for optimal results.
Final Reflection: The Timeless Allure of Perfect Dough
The pursuit of the perfect homemade pizza dough is more than just a culinary quest; it's a journey into the heart of culinary tradition and the joy of creation. From the simple act of kneading to the satisfying aroma of rising yeast, the process itself offers a profound connection to food and its origins. This connection, in a world increasingly dominated by convenience, is more vital than ever.
The impact of homemade food, and specifically the satisfaction of crafting something as fundamental as pizza dough, resonates deeply within our culture. It's a rebellion against the homogenization of taste and a celebration of individual expression. The simple act of making your own dough allows for customization, experimentation, and a level of control rarely found in pre-made alternatives. The best things in life are homemade,
a sentiment echoed across generations, speaks volumes about the enduring appeal of this simple yet profound act.
Now, I invite you to take what you've learned and embark on your own pizza-making adventure. Don't be afraid to experiment, to adjust the recipe to your preferences, and to savor the process as much as the final product. The journey towards the perfect dough is as rewarding as the destination itself. The next time you crave pizza, remember the power you hold to create something truly special, something uniquely yours, from the ground up. Let the aroma of freshly baked pizza fill your home, a testament to your own culinary prowess and the enduring magic of homemade goodness.
Unleash Your Inner Pizzaiolo!
Thanks for taking the time to explore the world of homemade pizza dough! We hope you now feel confident in creating delicious, authentic pizza from scratch. Ready to take your pizza game to the next level?
- Craft your masterpiece: Use today's recipe to make your own pizza tonight! Experiment with different toppings and share your creations with us.
- Share your pizza journey: Post a picture of your finished pizza on social media using #BakeWithEasePizza and tag us! Let's build a community of pizza lovers.
- Discover more baking adventures: Explore our website for more delicious recipes and baking tips! You might even find your next favorite treat.
What unique topping combination will you try first? Let us know in the comments below!