
Baking Sourdough Rye at High Altitude: Tips and Tricks

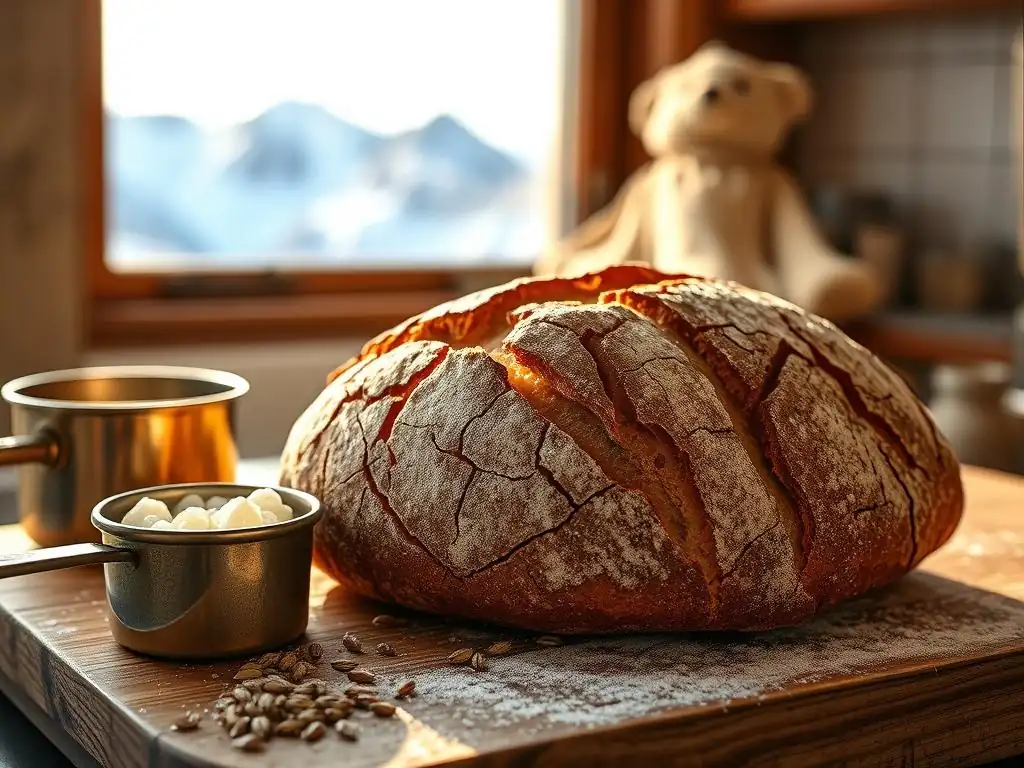
Welcome to BakeWithEase, your trusted guide to baking brilliance! Ever wondered how to conquer the challenges of high altitude sourdough rye? The secret lies in understanding the science and adapting your techniques. Prepare to unlock the secrets to creating perfectly risen, flavorful loaves, even when the air is thin. Dive in to discover our expert tips and tricks, and let's elevate your bread baking game together!
- Baking Sourdough Rye Bread at High Altitude: A BakeWithEase Guide
- Understanding High Altitude Baking Challenges for Sourdough Rye
- Key Adjustments for Successful High Altitude Sourdough Rye
- Essential Ingredients for High Altitude Sourdough Rye
- Step-by-Step Guide: High Altitude Sourdough Rye Recipe
- Troubleshooting Common High Altitude Sourdough Rye Issues
- High Altitude Sourdough Rye: Recipe Variations and Tips
- Enjoying Your Homemade High Altitude Sourdough Rye Bread
-
Frequently Asked Questions
- What makes baking sourdough rye at high altitude challenging?
- How do I adjust the liquid in my sourdough rye recipe for high altitude?
- Should I adjust the baking temperature or time when baking sourdough rye at high altitude?
- What kind of flour is best for high altitude sourdough rye?
- How does proofing time differ for sourdough rye at high altitude?
- Final Reflection: The Unexpected Joys of High-Altitude Sourdough Rye
- Unlock Your High-Altitude Sourdough Rye Secrets!
Baking Sourdough Rye Bread at High Altitude: A BakeWithEase Guide
Welcome, fellow bakers, to the wonderful world of baking sourdough rye, specifically tailored for the unique challenges of higher elevations! If you've ever attempted baking bread above 3,000 feet (or roughly 900 meters) and found your usual recipes behaving strangely, you're not alone. The thinner air, lower atmospheric pressure, and reduced humidity all play a role in how dough rises, hydrates, and bakes.
But don't worry – with a few simple adjustments and a little understanding of the science, you can achieve beautiful, flavorful high altitude sourdough rye loaves right in your kitchen. This guide from BakeWithEase will walk you through the necessary tweaks to make your high altitude sourdough rye baking a success.
Mastering high altitude sourdough rye requires patience and observation. Unlike baking at sea level, where recipes often work predictably, the variables introduced by elevation demand a more intuitive approach. We'll cover everything from adjusting ingredient ratios to understanding how proofing times change. Whether you're a seasoned sourdough baker or just starting your journey with rye, these tips will help you overcome the hurdles and enjoy the rich, earthy taste of homemade high altitude sourdough rye bread.
Understanding High Altitude Baking Challenges for Sourdough Rye
Baking at high altitude presents a distinct set of challenges compared to baking at sea level. The primary culprit is the lower atmospheric pressure. As you ascend, the air pressure decreases, which has several direct impacts on your baking process, especially when working with fermented doughs like sourdough rye. This pressure difference causes gases within the dough to expand more rapidly and with less external resistance, leading to potential issues if not properly managed.
Think of it like a balloon: at sea level, air pressure keeps it relatively contained. At high altitude, the external pressure is lower, allowing the balloon to expand more easily. Similarly, the carbon dioxide produced by your sourdough starter works harder and faster to inflate your dough. This accelerated expansion is the root cause of many high altitude baking woes, requiring careful adjustments to your standard sourdough rye recipe.
Why High Altitude Affects Sourdough Rye Baking
The reduced atmospheric pressure at high altitude means that leavening gases (like the CO2 produced by your sourdough starter) expand more quickly and significantly during fermentation and baking. This can cause dough to over-proof rapidly or collapse in the oven. For instance, a dough that might take 4 hours to bulk ferment at sea level could be ready in just 2.5 to 3 hours at 5,000 feet (approx.
1,500 meters). The lower boiling point of water at altitude (around 202°F or 94.4°C at 5,000 feet, compared to 212°F or 100°C at sea level) also affects how moisture behaves in the dough and during baking, potentially leading to drier results or requiring longer bake times to achieve a set structure.
Furthermore, the air at higher elevations is often drier. This lack of humidity can cause your dough to dry out faster during mixing, bulk fermentation, and proofing, leading to a tough crust or inhibited rise. Rye flour, known for its stickiness and unique gluten structure (or lack thereof, compared to wheat), reacts differently to hydration and fermentation changes than pure wheat doughs. Combining the unique properties of rye with the demands of high altitude baking means that standard sourdough rye recipes require thoughtful adaptation.
Common Problems with Sourdough Rye at Altitude
One of the most frequent issues encountered when baking high altitude sourdough rye is over-proofing. Because the dough rises faster, it can easily exceed its peak potential before you're ready to bake, leading to a loaf that collapses in the oven or has a dense, gummy texture. Imagine a loaf that looks great after shaping but then deflates significantly when you score it or put it in the oven – a classic sign of over-proofing at altitude. This rapid fermentation means you need to be highly attentive to visual cues rather than strictly relying on timeframes from sea-level recipes.
Another common problem is a dry or crumbly texture. The drier air can pull moisture from the dough's surface, hindering gluten development (even in rye, which has limited gluten) and leading to poor oven spring. You might also find that your crust forms too quickly during baking, preventing the interior from expanding fully. Additionally, the accelerated rise can sometimes lead to large, irregular holes (tunneling) or a weak structure that can't support itself, resulting in a flatter loaf than desired. Successfully baking high altitude sourdough rye involves counteracting these tendencies through careful adjustments to hydration, timing, and temperature.
Key Adjustments for Successful High Altitude Sourdough Rye
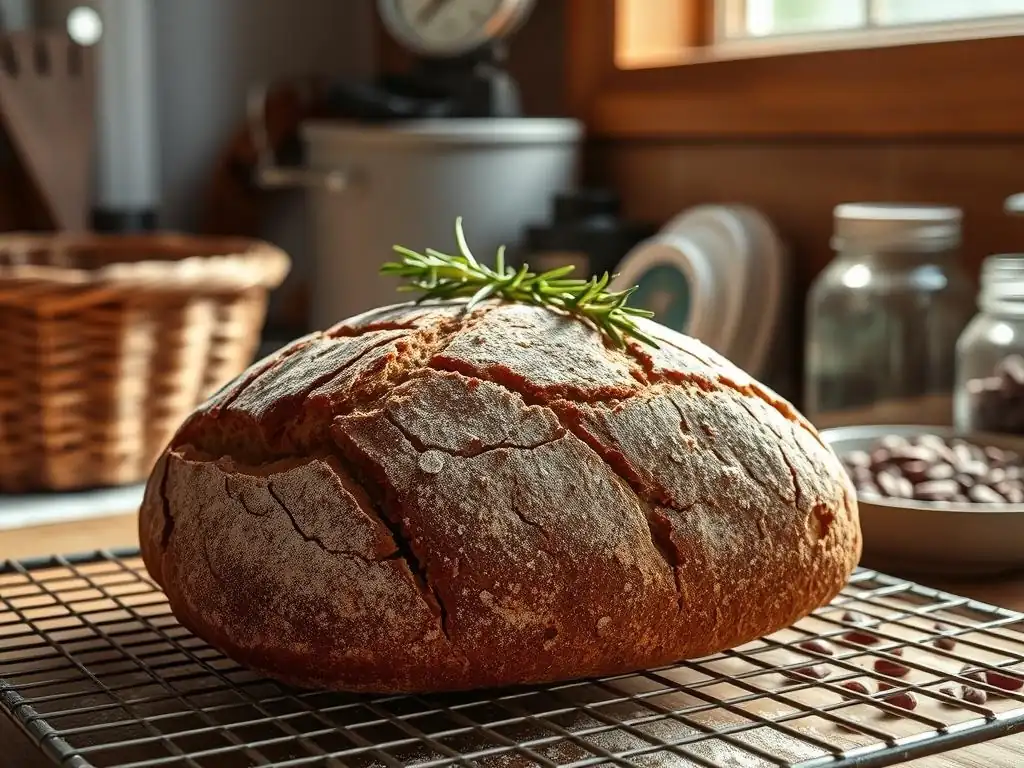
Baking excellent high altitude sourdough rye requires making specific, calculated changes to your process and ingredients. These adjustments are designed to slow down the rapid fermentation, manage moisture loss, and ensure the dough develops adequate structure despite the lower atmospheric pressure. Approaching your recipe with flexibility and a willingness to experiment is crucial, as the exact adjustments needed can vary depending on your specific elevation and even the microclimate in your kitchen.
The goal is to rebalance the forces at play: the internal pressure of the expanding gas versus the external atmospheric pressure and the dough's structural integrity. By modifying flour-to-liquid ratios, adjusting proofing times, and tweaking baking temperatures, you can create an environment where your high altitude sourdough rye dough behaves more predictably and yields a superior loaf. These aren't one-size-fits-all rules, but rather starting points for you to refine based on your own baking experiences at elevation.
Adjusting Flour and Liquid Ratios for High Altitude Rye
At high altitude, the drier air and faster evaporation mean your dough can lose moisture more readily. While conventional high-altitude baking advice often suggests reducing liquid, for sourdough rye, which already handles hydration differently than wheat, the opposite can sometimes be true, or at least, careful management is needed. Rye flour absorbs water more slowly and holds onto it differently due to pentosans rather than gluten structure.
A common strategy is to increase the hydration slightly, perhaps by 1-3% relative to a sea-level recipe, to compensate for the drier environment and potential evaporation during the long fermentation. For a recipe that calls for 75% hydration at sea level, you might start testing at 76% or 77% hydration for your high altitude sourdough rye.
Alternatively, some bakers find success by keeping hydration similar but being very careful about covering the dough tightly during all stages of rising to prevent surface drying. A practical approach is to start with the recipe's recommended hydration and add a tablespoon or two extra water only if the dough feels too stiff or dry after the initial mix, especially common when using a significant percentage of whole rye flour. The goal is a dough that is moist but still manageable, accounting for the unique stickiness of rye.
Modifying Proofing Times for Sourdough Rye in Thin Air
The most significant adjustment for high altitude sourdough rye is managing fermentation speed. Due to lower pressure, the dough will rise much faster than at sea level. Bulk fermentation, the first rise, might be cut by 25-40%. If a recipe suggests 4 hours at 75°F (approx.
24°C), you might find your dough is ready in 2.5 to 3 hours at 5,000 feet. The key is to watch the dough, not the clock. Look for a significant increase in volume (often 50-75% for rye-heavy doughs, less than pure wheat), signs of activity like bubbles, and a slightly domed surface. The poke test (dough slowly springs back partway) is still relevant, but the speed of the spring back might be faster.
Similarly, the final proof (after shaping) will also be shorter. If proofing at room temperature, it could take 30-60 minutes instead of 1-2 hours. Many high-altitude bakers use cold proofing in the refrigerator extensively for high altitude sourdough rye. Refrigerating the shaped loaf slows fermentation dramatically, allowing for a more controlled rise and development of flavor over 12-24 hours. This is often the most reliable way to prevent over-proofing in a high-altitude environment.
Temperature Adjustments for High Altitude Rye Baking
Baking temperature and time also need consideration for high altitude sourdough rye. Because water boils at a lower temperature, the internal temperature of your bread won't reach 212°F (100°C) during baking. This can mean the interior takes longer to set, while the exterior might brown too quickly. A common adjustment is to increase the oven temperature slightly, perhaps by 15-25°F (around 8-14°C), to help the loaf set faster and achieve better oven spring before the crust hardens. So, if a recipe calls for 450°F (232°C), try 465°F or 475°F (approx. 240-246°C).
However, be mindful that rye doughs can brown quickly due to their sugar content. If you increase the temperature, you might need to reduce the overall baking time or shield the crust later in the bake. Baking in a Dutch oven is highly recommended for high altitude sourdough rye. The enclosed environment traps steam, promoting better oven spring and preventing the crust from setting too early. After removing the lid (typically after 15-20 minutes), you might lower the oven temperature slightly to ensure the interior bakes through without the crust burning.
Essential Ingredients for High Altitude Sourdough Rye
The quality and type of ingredients you use are always important in baking, but they can become even more critical when attempting high altitude sourdough rye. The unique conditions demand ingredients that perform reliably and contribute positively to the dough's structure and fermentation under pressure. From the foundational flour to the leavening power of your starter and even the water you use, each component plays a vital role in the success of your high altitude bake.
Choosing ingredients wisely can help mitigate some of the challenges posed by the environment. For example, a robust starter can handle the faster fermentation, while the right flour can provide better structure. Understanding how these essential elements interact in the high-altitude context is key to consistently producing delicious high altitude sourdough rye bread.
Choosing the Right Rye Flour for High Altitude Baking
Rye flour is the star of high altitude sourdough rye, but its properties differ significantly from wheat. It contains less gluten-forming protein and more water-absorbing pentosans, which contribute to its characteristic stickiness and dense crumb potential. When baking at altitude, where dough dries out faster, the water absorption of your flour becomes even more important. Different types of rye flour (light, medium, dark, pumpernickel, whole grain) absorb water differently. Whole grain rye, for instance, typically requires more water than light rye.
For high altitude baking, using a good quality rye flour that has consistent absorption properties is beneficial. While specific brands can vary, focusing on the type of rye (e.g., organic whole rye) and adjusting hydration based on how that specific flour feels is more important than strict ratios. If you are using a recipe developed at sea level, be prepared to slightly increase the hydration or adjust based on the dough's feel after mixing, as different rye flours may behave unexpectedly in the drier, lower-pressure environment.
The Importance of Water Quality at High Altitude
Water is a crucial ingredient in sourdough rye, making up a significant portion of the dough's weight and playing a key role in hydration and fermentation. At high altitude, where the air is often drier and water boils at a lower temperature, the quality and even temperature of your water can influence the outcome. Hard water (high mineral content) can sometimes strengthen gluten (less relevant for rye, but still a factor if mixing with wheat) and slightly slow fermentation, while soft water can accelerate it. Knowing your local water source can be helpful.
Furthermore, using filtered water is generally recommended to avoid chlorine, which can inhibit yeast and bacterial activity in your sourdough starter. The temperature of your water is also a tool for controlling dough temperature, which directly impacts fermentation speed. In a warm, high-altitude kitchen where dough rises quickly, using cooler water (perhaps 65-70°F or 18-21°C) can help slow down the initial fermentation phase, giving you more control over your high altitude sourdough rye dough.
Using a Strong Sourdough Starter at Higher Elevations
A vigorous, active sourdough starter is absolutely essential for successful high altitude sourdough rye. Because the dough ferments faster in the lower pressure, your starter needs to be strong enough to provide sufficient leavening power before the dough over-proofs or loses structure. A weak starter simply won't produce enough gas quickly enough to give your loaf a good rise in this accelerated environment.
Ensure your starter is regularly fed and reliably doubles or triples in volume within 4-8 hours after feeding, depending on its hydration and ambient temperature. Using it at its peak activity, when it's bubbly and smells pleasantly tangy, is crucial. If your starter seems sluggish at high altitude, try adjusting its feeding schedule or hydration slightly to boost its activity before incorporating it into your high altitude sourdough rye dough. A healthy starter is your best defense against a dense, flat loaf at elevation.
Step-by-Step Guide: High Altitude Sourdough Rye Recipe
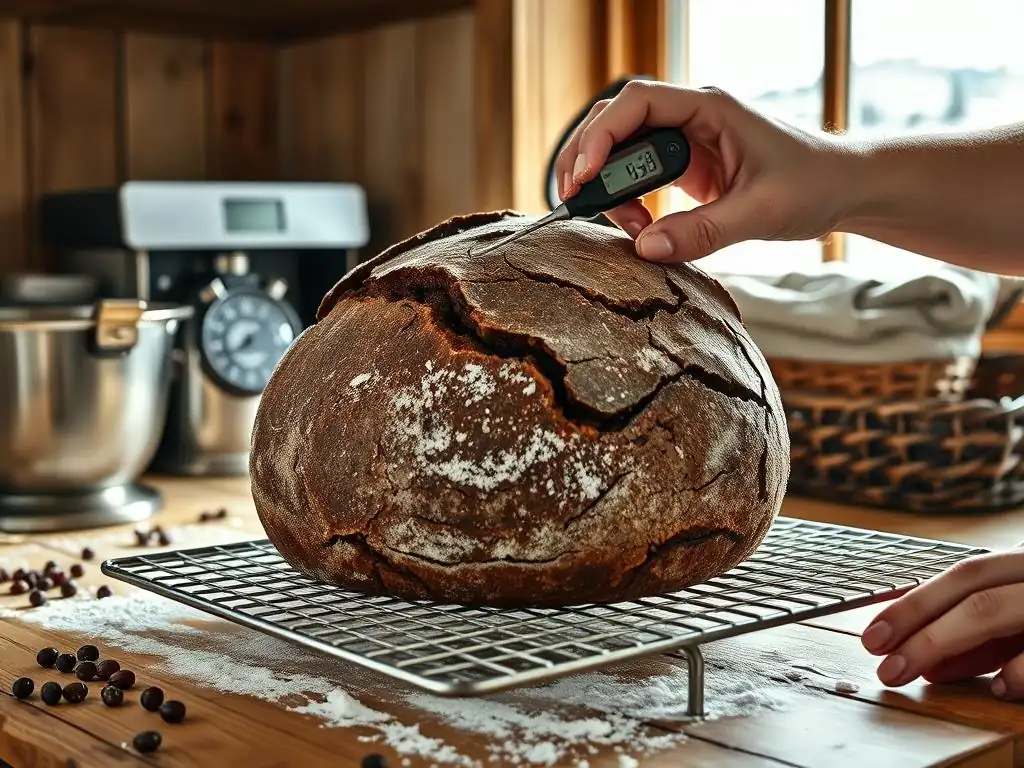
Now that we understand the challenges and necessary adjustments, let's walk through a general process for baking high altitude sourdough rye. This isn't a specific recipe with exact weights (as those need to be adapted), but rather a framework incorporating the high-altitude considerations discussed. Remember to adapt your favorite sourdough rye recipe using the principles of adjusted hydration, shorter proofing times, and modified baking temperatures.
Following a structured approach, while remaining flexible and observant of the dough's behavior, is key to mastering high altitude sourdough rye. This guide breaks down the process into manageable steps, highlighting where high-altitude modifications are most critical.
Mixing and Autolysing the Dough for Optimal Hydration
Begin by accurately weighing your ingredients, including your active sourdough starter, water, rye flour, and salt. Remember the potential need for slightly increased hydration for high altitude sourdough rye – if your recipe calls for 75% hydration, consider starting at 76% or 77%. Mix the flours and most of the water in a bowl until just combined, forming a shaggy dough.
This is the autolyse step. Cover the bowl tightly to prevent the dry high-altitude air from forming a skin on the dough and let it rest for 20-60 minutes. This allows the flour to hydrate fully before the starter and salt are added.
After the autolyse, add your active sourdough starter and salt. Mix thoroughly to incorporate them into the dough. Rye dough can be quite sticky, and you might find it helpful to use wet hands or a dough scraper. Kneading requirements for rye are minimal compared to wheat; focus on getting the ingredients evenly distributed. The goal is a cohesive, sticky mass. Cover it well again to prevent drying during the next stage.
Bulk Fermentation: Mastering the First Rise at Altitude
Bulk fermentation is where your high altitude sourdough rye dough develops flavor and structure, and it's significantly faster at elevation. Place the mixed dough in a lightly oiled container large enough to accommodate its growth, and cover it tightly. Instead of relying on a specific time (like 4 hours), monitor the dough's volume increase and texture. For a rye-heavy dough, you might look for a 50-75% increase in volume, rather than the doubling often sought with pure wheat doughs. This could take anywhere from 2 to 4 hours depending on your kitchen temperature and altitude.
Perform a few sets of stretch and folds during the first 1-2 hours of bulk fermentation (e.g., 2-4 sets spaced 30 minutes apart). This helps build strength in the dough, which is particularly beneficial for high altitude sourdough rye where structure can be a challenge. Watch for signs of activity: bubbles on the surface and along the sides of the container. The dough should feel lighter and slightly airy. Do not wait for it to double, as it will likely over-proof.
Shaping and Proofing Your Sourdough Rye Loaf
Once bulk fermentation is complete (remembering the shorter times for high altitude sourdough rye), gently turn the dough out onto a lightly floured surface. Rye dough is sticky, so minimal flour is best. Preshape the dough into a rough ball or log and let it rest for a short period, 10-20 minutes, covered. This helps the dough relax before the final shape.
For the final shape, work quickly and confidently. Aim to build tension on the surface of the loaf. Place the shaped loaf seam-side up in a floured banneton or proofing basket. This is where cold proofing becomes a great tool for high altitude sourdough rye.
Cover the banneton and place it in the refrigerator for 12-24 hours. This slow, cold proof develops flavor and, critically, slows down the leavening, preventing over-proofing and making the dough easier to handle and score before baking. If you choose a shorter room-temperature proof, it will be very quick, potentially only 30-60 minutes, and requires constant vigilance.
Baking Your High Altitude Sourdough Rye to Perfection
Preheat your oven with a Dutch oven or baking stone inside to a higher temperature than a sea-level recipe might suggest, perhaps 465-475°F (approx. 240-246°C). A high temperature helps achieve good oven spring quickly. Carefully transfer your cold-proofed high altitude sourdough rye loaf from the banneton onto parchment paper. Score the loaf with a sharp razor blade or knife.
If using a Dutch oven, carefully lower the loaf (using the parchment paper as handles) into the preheated pot. Cover with the lid and bake for 15-20 minutes. The trapped steam creates a humid environment, crucial for initial expansion. After this time, remove the lid.
If the crust is browning too quickly, you might lower the oven temperature slightly (e.g., to 425-450°F or 220-230°C) for the remainder of the bake. Continue baking uncovered for another 20-30 minutes, or until the crust is a deep golden brown and the internal temperature reaches around 205-210°F (approx. 96-99°C). The lower boiling point of water at altitude means the internal temperature might stabilize slightly lower than at sea level, but aiming for 205°F+ ensures it's fully baked.
Troubleshooting Common High Altitude Sourdough Rye Issues
Even with adjustments, baking high altitude sourdough rye can sometimes present challenges. Understanding the potential problems and their likely causes is the first step to fixing them. Many issues stem from the accelerated fermentation and moisture dynamics at altitude. Don't be discouraged if your first high-altitude rye loaf isn't perfect; baking is a learning process, especially when adapting to a new environment.
Here, we address some of the most common complaints faced by high altitude sourdough rye bakers and offer practical solutions based on the principles we've discussed. By identifying the symptoms, you can pinpoint the cause and adjust your process for future bakes.
Dense or Gummy Texture: Causes and Solutions
A dense or gummy interior is a common frustration with high altitude sourdough rye. This can be caused by several factors: insufficient fermentation (under-proofing), excessive hydration without adequate structure, or not baking the loaf thoroughly enough. At altitude, under-proofing can happen if you shorten the fermentation too much out of fear of over-proofing, not allowing enough gas to develop. Alternatively, if the dough over-proofs, the structure weakens and collapses, resulting in a dense crumb.
To address this, first ensure your starter is active and you are allowing sufficient, but not excessive, bulk fermentation (watching the dough, not the clock!). If your dough feels overly wet and slack, slightly reduce hydration in the next bake or perform more stretch and folds to build strength. If the loaf seems underbaked internally (gummy), increase the total baking time or ensure your oven temperature is accurate. Baking to an internal temperature of 205°F (96°C) or slightly higher is a good indicator of doneness for high altitude sourdough rye.
Poor Rise: Getting Your Rye Bread to Rise Properly
If your high altitude sourdough rye loaf is flat or has poor oven spring, the issue usually relates to leavening or structure. Possible causes include a weak sourdough starter, under-proofing during bulk fermentation (not enough gas produced), over-proofing (dough structure collapsed), or insufficient tension created during shaping. The rapid fermentation at altitude means these stages happen quickly, and timing is everything.
- Task List for Improving Rise:
- [ ] Verify your starter's activity – is it doubling reliably?
- [ ] Monitor bulk fermentation closely; aim for a significant volume increase (50-75%) and signs of activity.
- [ ] Avoid over-proofing; use the poke test and visual cues, or switch to cold proofing.
- [ ] Practice shaping techniques to build good surface tension on the loaf.
- [ ] Ensure your oven is fully preheated and use a Dutch oven for better initial spring.
Over-Proofing Concerns at High Altitudes
Over-proofing is perhaps the most prevalent issue for high altitude sourdough rye bakers. The lower pressure allows the dough to expand so quickly that it can exhaust its leavening potential and its structural integrity before baking. Signs include a dough that looks very bubbly and expanded but then deflates upon touching, scoring, or loading into the oven, resulting in a flat loaf with a dense crumb or large tunnels.
The most effective strategy to combat over-proofing at high altitude is cold proofing in the refrigerator. This dramatically slows down fermentation, giving you a much wider window of time (12-24 hours) to bake the loaf at its peak. If you must proof at room temperature, be extremely vigilant. The final proof might only take 30-60 minutes. Watch for the dough to look airy and slightly expanded, but not doubled, and pass the poke test where it springs back slowly. Err on the side of slightly under-proofed rather than over-proofed when baking high altitude sourdough rye at room temperature.
High Altitude Sourdough Rye: Recipe Variations and Tips
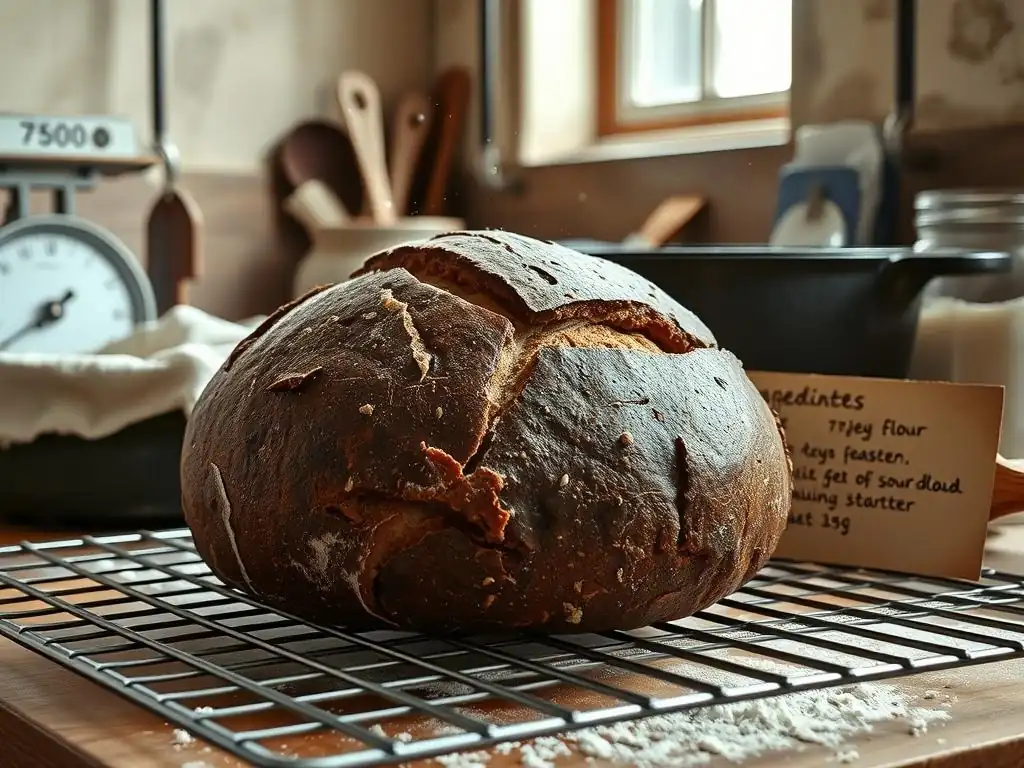
Once you've mastered the basics of baking a standard high altitude sourdough rye loaf, you can begin to experiment with variations. Rye bread is incredibly versatile and pairs well with various additions and different types of rye flour. Adapting these variations for high altitude conditions involves applying the same principles you've learned: managing hydration, fermentation speed, and baking temperature.
Exploring different ingredients and techniques can add new dimensions of flavor and texture to your high altitude sourdough rye repertoire. Don't be afraid to try new things, always keeping in mind how the high-altitude environment might influence the outcome.
Adding Seeds and Grains to Your High Altitude Rye
Incorporating seeds and grains is a popular way to enhance sourdough rye, adding texture, flavor, and nutritional value. Think caraway seeds, sunflower seeds, pumpkin seeds, flax seeds, or even cooked grains like rye berries or cracked wheat. When adding these to your high altitude sourdough rye dough, consider their impact on hydration. Seeds and grains absorb moisture, so you might need to slightly increase the overall hydration (add a little more water) to compensate, ensuring the dough doesn't become too stiff.
If using larger grains or seeds, soaking them in water for a few hours or overnight before adding them to the dough can help them soften and prevent them from stealing moisture from your dough during fermentation and baking. Mix them in during the initial mixing phase or during the first set of stretch and folds. Adding these elements doesn't typically require significant changes to proofing times beyond accounting for the slight change in dough mass, but always observe your high altitude sourdough rye dough's behavior.
Experimenting with Different Rye Flours
The world of rye flour is diverse, offering everything from finely sifted light rye to coarse pumpernickel. Each type behaves differently due to varying levels of bran and germ. Baking high altitude sourdough rye with different rye percentages (e.g., 40% rye, 60% wheat; or 80% rye, 20% wheat; or even 100% rye) will significantly affect the dough's handling and the final loaf's texture. Higher percentages of rye result in stickier doughs with less gluten development and denser crumbs.
When experimenting with different rye flours or percentages at high altitude, pay close attention to hydration. A dough with more whole rye will likely need more water than one with primarily light rye. Start with a hydration level you're comfortable with and adjust based on how the dough feels. Remember that the fermentation speed will still be accelerated, so continue to rely on visual cues and dough feel rather than prescribed times, regardless of the rye type used in your high altitude sourdough rye.
Tips for Achieving a Perfect Crust on Your High Altitude Rye Loaf
Achieving a beautiful, dark, and chewy crust on high altitude sourdough rye can be tricky. The drier air and faster baking can sometimes lead to a crust that forms too quickly or is too hard. Using a Dutch oven is highly effective as the trapped steam keeps the surface moist during the initial crucial phase of oven spring, allowing the dough to expand fully before the crust sets.
-
Horizontal Line: Crust Tips
-
Block Quote: Steam is your friend at altitude!
Trapping steam early in the bake helps your high altitude sourdough rye expand fully and develop a thin, crisp crust.
After removing the Dutch oven lid (typically 15-20 minutes in), you can increase the temperature slightly or continue baking at the initial temperature to encourage browning. If the crust starts to get too dark before the interior is done, loosely tent the loaf with aluminum foil. For a darker, more caramelized crust, you can also include a small amount of diastatic malt powder (perhaps 0.5-1% of the total flour weight) in your recipe, which provides sugars for the yeast and improves crust color.
Enjoying Your Homemade High Altitude Sourdough Rye Bread
Congratulations! You've navigated the unique challenges of baking high altitude sourdough rye and hopefully produced a delicious loaf. The process requires attention to detail and adaptation, but the reward of a flavorful, homemade rye bread baked at elevation is truly satisfying. Take a moment to appreciate the crumb structure, the aroma, and the beautiful crust you've achieved.
Sharing your creation is part of the joy, but understanding how to best serve and store your high altitude sourdough rye will ensure you enjoy it to the fullest. This bread is versatile and pairs wonderfully with a variety of foods, making it a staple for many meals.
Serving Suggestions and Storage Tips
High altitude sourdough rye is fantastic simply sliced and served with butter. Its robust flavor stands up well to strong accompaniments. Consider serving it with:
- Cheese and charcuterie boards
- Smoked salmon or other cured fish
- Hearty soups and stews
- Open-faced sandwiches with savory spreads or pickled vegetables
- Toasted with cream cheese and jam
To keep your high altitude sourdough rye fresh, allow it to cool completely on a wire rack before slicing. Storing it cut-side down on a cutting board or in a breathable bread bag (like linen) at room temperature is best for the first day or two. Avoid airtight plastic bags if the crust is still hard, as this can trap moisture and make the crust soft.
For longer storage, slice the cooled loaf and freeze the slices in an airtight container or freezer bag. They can be toasted directly from frozen, providing convenient access to delicious high altitude sourdough rye whenever you like.
Frequently Asked Questions
What makes baking sourdough rye at high altitude challenging?
High altitude baking poses challenges due to lower air pressure, causing dough to rise faster and dry out more quickly. This requires adjustments to recipes and techniques to achieve optimal results.
How do I adjust the liquid in my sourdough rye recipe for high altitude?
Typically, you'll need to increase the liquid by a tablespoon or two. This compensates for the faster evaporation and prevents the dough from becoming too dry, ensuring a properly hydrated loaf.
Should I adjust the baking temperature or time when baking sourdough rye at high altitude?
Yes, you'll generally want to increase the baking temperature by about 25°F (15°C) and potentially decrease the baking time slightly. This helps the bread set properly before it dries out.
What kind of flour is best for high altitude sourdough rye?
Using a strong bread flour with a high protein content is recommended. This provides the necessary structure to support the rise and prevents the loaf from collapsing due to the weaker gluten development at higher altitudes.
How does proofing time differ for sourdough rye at high altitude?
Proofing times are typically shorter at high altitude due to the accelerated yeast activity. Monitor the dough closely and adjust the proofing time to prevent over-proofing, which can lead to a collapsed and dense loaf.
Final Reflection: The Unexpected Joys of High-Altitude Sourdough Rye
Baking sourdough rye at high altitude presents unique challenges, but the rewards—a deeply flavorful, complex loaf—are well worth the effort. This isn't just about achieving a perfect rise; it's about mastering a process that demands patience, precision, and a deep understanding of your environment. The journey itself, filled with adjustments and experimentation, is as rewarding as the final product.
The quest to perfect high-altitude sourdough rye has connected me to a rich history of baking, a tradition passed down through generations, adapted and refined to suit diverse climates and conditions. This process isn't simply about following a recipe; it's about understanding the "why" behind each step, the subtle interplay of flour, water, and time. Bread is the staff of life,
they say, and in this pursuit, I've found a deeper appreciation for the simple act of transforming humble ingredients into something truly nourishing and beautiful.
Now, it's your turn. Don't be intimidated by the altitude; embrace the challenge. Experiment with hydration levels, adjust your proofing times, and don't be afraid to fail—each failed loaf is a lesson learned, bringing you closer to that perfect, crusty, tangy loaf. The journey of baking high-altitude sourdough rye is a journey of discovery, a testament to human ingenuity and our enduring connection to the earth. So, gather your ingredients, embrace the process, and discover the unexpected joys that await you.
Unlock Your High-Altitude Sourdough Rye Secrets!
Thanks for taking the time to explore the art of baking sourdough rye at high altitude with us! We hope you gained valuable insights and newfound confidence in your baking abilities. Now it's time to put your knowledge into practice.
- Bake your perfect loaf: Experiment with the adjusted recipe and techniques outlined in the article. Don't be afraid to tweak it to your taste—that's part of the fun! This is your chance to create a truly exceptional loaf.
- Share your success (or challenges!): We'd love to see your creations – and learn from your experiences! Post a picture of your high-altitude rye on social media using #BakeWithEaseHighAltitude.
- Explore other high-altitude recipes: Discover more of our tips and tricks for conquering altitude challenges in the BakeWithEase recipe library.
Ready to transform your baking game? What unique ingredient will you try in your next high-altitude sourdough rye adventure?