
Can You Bake Croissants Fast? Exploring Quicker Methods

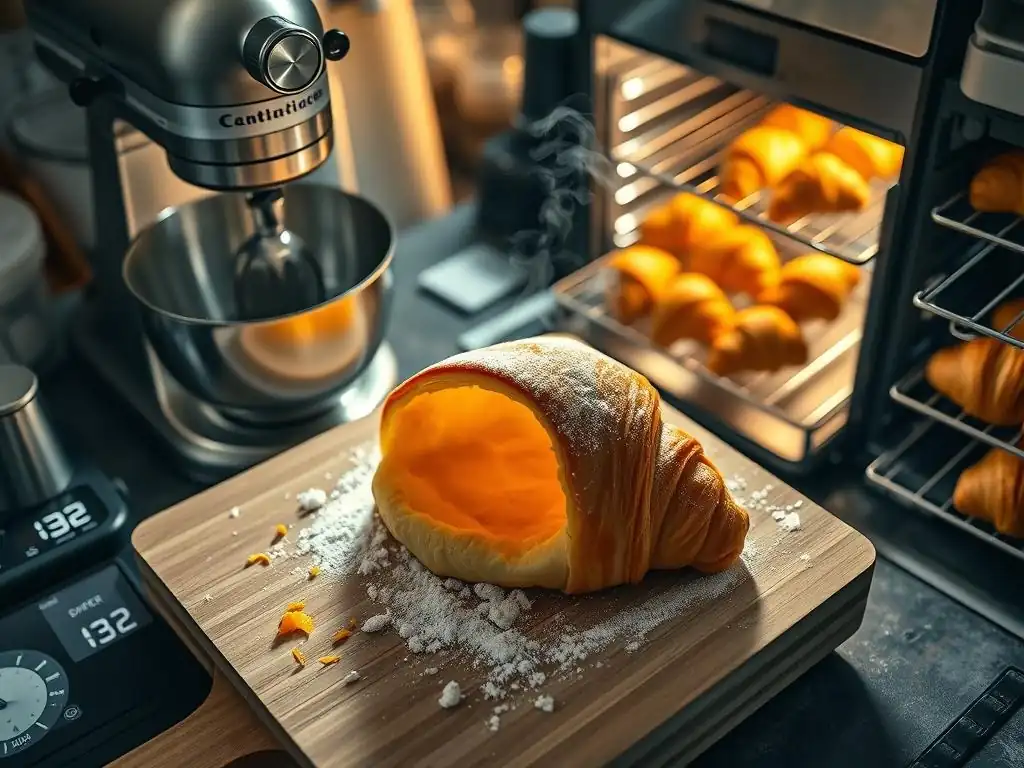
Welcome to BakeWithEase, where we believe everyone can create delicious baked goods! Ever dreamed of enjoying fresh, flaky croissants without spending days in the kitchen? In this article, we're diving into the world of fast croissant baking techniques, exploring methods that drastically cut down prep time without sacrificing that signature buttery flavor. Intrigued? Discover how to enjoy homemade croissants sooner than you ever thought possible!
- Mastering Croissants at Home: Exploring Efficient Techniques
- Introduction: The Appeal of Streamlined Croissant Baking
- The Reality of Efficient Croissants: Balancing Speed and Quality
- Streamlined Croissant Recipes: Techniques for Efficiency
- Efficient Croissant Baking: Step-by-Step Recipe
- Troubleshooting Common Issues in Efficient Croissant Baking
- Comparing Traditional vs. Efficient Croissant Baking Methods
- Optimizing Your Baking Environment for Efficiency
- Conclusion: Balancing Efficiency and Quality in Croissant Baking
-
Frequently Asked Questions
- How can I speed up the lamination process when making croissants?
- Are there any shortcuts for making croissant dough?
- What are some easy-to-find ingredients I can substitute to bake croissants faster?
- Can I bake croissants in a convection oven for faster results?
- What's the most important tip for faster croissant baking without compromising quality?
- Final Reflection: The Pursuit of Flaky Perfection: Speed and the Soul of the Croissant
- Unlock the Flaky Goodness: Faster Croissant Baking Awaits!
Mastering Croissants at Home: Exploring Efficient Techniques
Introduction: The Appeal of Streamlined Croissant Baking
Understanding the Time Investment of Traditional Croissant Baking
Crafting traditional croissants is a labor of love, renowned for its multi-day process. Typically, the journey begins with preparing the dough, followed by an initial overnight rest in the refrigerator. This cold period allows the gluten to relax and flavors to develop. The next day (or sometimes two days later), the crucial lamination process begins.
This involves enclosing a block of cold butter within the dough and performing multiple "turns" – folding and rolling the dough repeatedly with chilling periods in between. A standard recipe might call for three to four turns, with each turn requiring 30-60 minutes of chilling. This meticulous process is essential for creating the hundreds of paper-thin layers that define a croissant's flaky texture.
Following the lamination, the dough is typically chilled again before being shaped. The shaped croissants then undergo a lengthy proofing period, often taking 2-4 hours at room temperature or slightly warmer. This slow rise allows the yeast to produce gases, expanding the dough and creating the internal structure. Finally, they are baked at a high temperature. When you tally the mixing, resting, lamination with chilling, shaping, and proofing, a traditional batch of croissants can easily span two to three days from start to finish, demanding significant passive time and intermittent active effort.
Why Explore Efficient Croissant Methods? Time Constraints and Home Baking
For many home bakers, the extensive time commitment of traditional croissant making is the biggest barrier. Juggling work, family, and other commitments makes it challenging to dedicate multiple days to a single baking project, no matter how rewarding the result. Traditional methods require being available at specific intervals for chilling and turning, which can be difficult to schedule. This is where exploring fast croissant baking techniques becomes incredibly appealing.
The desire for quicker methods stems from a need for flexibility and accessibility. Home bakers want to experience the joy of baking fresh croissants without the multi-day investment. Efficient techniques aim to compress the timeline, often reducing the process to a single day or incorporating longer, less active rest periods like an overnight cold ferment, minimizing the need for constant attention. By exploring these fast croissant baking techniques, home bakers can fit this delightful pastry into their busy lives, making it a more realistic and frequent treat.
The Reality of Efficient Croissants: Balancing Speed and Quality
Defining "Efficient": Realistic Time Savings in Each Step
When we talk about efficient or fast croissant baking techniques, it's crucial to set realistic expectations. "Fast" in the context of croissants doesn't mean instant; it means reducing the overall timeline significantly compared to the traditional 2-3 day method. True efficiency focuses on streamlining the steps without completely compromising the essential elements. For example, an overnight cold ferment might still be included, but it replaces multiple shorter chilling periods during lamination. Proofing time might be accelerated from 3-4 hours to 1-2 hours using controlled warmth.
Realistic time savings can be found in several areas. Reducing the number of lamination turns from four to three, or even two with a specific technique like the "blitz" method, can cut down active rolling and folding time, plus the associated chilling periods. Accelerating proofing by using a warm, humid environment can shave off an hour or two. While a traditional method might take 48-72 hours including long rests, an efficient method might target a timeline closer to 24 hours, with perhaps 2-4 hours of active work spread throughout. It's about smart time management within the process.
The Impact of Techniques on Croissant Texture and Flavor
Modifying traditional croissant techniques for speed inevitably impacts the final product's texture and flavor. The long, cold fermentation phase in traditional methods is vital for developing complex flavors as enzymes break down starches into sugars and yeast produces aromatic compounds. Shortening this phase can result in a less nuanced, more one-dimensional flavor profile. The extensive lamination with multiple chilling steps is the cornerstone of the flaky, airy texture. Each turn helps create hundreds of distinct layers of dough separated by butter.
Reducing the number of turns or using faster lamination methods can result in fewer layers, potentially leading to a less dramatic rise and a denser crumb structure. The butter layers might not be as thin or evenly distributed, impacting the signature crispness and flakiness.
Accelerated proofing, while saving time, carries the risk of melting the butter if the temperature is too high, or leading to an uneven rise if humidity isn't controlled. Therefore, fast croissant baking techniques require careful balancing to achieve a good result that is still recognizably a croissant, even if it differs slightly from its traditional counterpart.
Streamlined Croissant Recipes: Techniques for Efficiency

Overnight Cold Ferment Croissant Dough: Flavor Development with Reduced Active Time
Utilizing an overnight cold ferment is one of the most effective fast croissant baking techniques because it shifts passive flavor development to a less active period. Instead of mixing the dough and immediately starting lamination the same day after a short chill, the dough is mixed and then refrigerated for 12 to 24 hours before the butter block is even introduced.
This extended cold rest allows enzymes in the flour to begin breaking down starches into simpler sugars, which provides more food for the yeast during proofing and contributes to a richer, more complex flavor profile similar to that achieved in traditional methods.
This technique also benefits the dough's structure. The long cold rest allows the gluten to relax thoroughly, making the dough easier to roll out thinly for lamination without excessive resistance or tearing. This is particularly helpful when attempting fast croissant baking techniques that might involve fewer, but more impactful, rolling steps later. While it doesn't shorten the total elapsed time significantly compared to some multi-day methods, it consolidates the inactive chilling time at the beginning, allowing the baker to perform the active steps (lamination, shaping, proofing, baking) within a more manageable single-day window after the initial rest.
Accelerated Proofing Methods for Quicker Rise Times
Proofing is the final rise before baking, where shaped croissants double or nearly triple in size. Traditionally, this takes 2-4 hours at a moderate room temperature (around 70-75°F). Accelerated proofing aims to speed this up, typically targeting 1-2 hours, by providing a warmer environment. However, this step is delicate, as melting the butter layers will ruin the structure.
Warm Environment Proofing: Maintaining Dough Temperature
A common accelerated method involves placing the shaped croissants in a slightly warmer environment, around 75-80°F (24-27°C). This temperature range encourages yeast activity, speeding up gas production. To maintain this temperature and prevent the surface of the dough from drying out (which inhibits rising), bakers often create a makeshift proofing box.
This could involve placing the baking sheet of croissants in a turned-off oven with the light on (which often provides enough warmth), or placing them in a slightly warm, steamy environment created by putting a tray of hot water on a rack below them in the oven. Monitoring the temperature is critical; exceeding 80°F can cause the butter to soften too much or even melt, leading to greasy croissants with poor lift.
Using a warm environment requires vigilance. The goal is to gently encourage the yeast, not melt the butter. Checking the croissants frequently is necessary to ensure they are proofing evenly and that the butter isn't leaking out. While this technique can save significant time compared to a cool room proof, it demands attention to maintain the ideal temperature range. A reliable thermometer is essential to ensure the environment stays within the safe zone for butter (which melts around 85-90°F, but starts softening significantly lower).
Using a Proofer or Oven with Proofing Setting: Controlled Humidity and Temperature
For more consistent and reliable accelerated proofing, dedicated proofing boxes or ovens equipped with a "proofing" setting offer precise control over both temperature and humidity. These appliances are designed to maintain an optimal environment, typically around 78-82°F (26-28°C) with relatively high humidity (around 70-80%). This controlled environment provides ideal conditions for yeast activity while the humidity prevents a skin from forming on the dough, allowing it to expand freely.
Using a proofer or oven with a proofing setting can dramatically reduce proofing time, often allowing croissants to reach full proof in 60-90 minutes, compared to 3-4 hours at standard room temperature. This level of control minimizes the risk of butter melting compared to improvising a warm environment. While not every home baker has access to this equipment, for those serious about efficient croissant baking techniques, it provides a significant advantage in achieving a faster, more consistent rise with less risk of structural issues.
Simplified Lamination Techniques for Faster Croissant Dough
Lamination, the process of creating layers of dough and butter, is the most time-consuming part of traditional croissant making due to the multiple turns and chilling periods. Simplified techniques aim to reduce the number of steps or combine them.
The "Blitz" Pastry Method: Combining Lamination Steps
The "blitz" method, sometimes adapted for croissants (though more commonly associated with puff pastry), is a significantly faster approach to lamination. Instead of creating a separate butter block and enclosing it, cold chunks of butter are mixed directly into the dough ingredients until they are roughly pea-sized or slightly larger. The dough is then folded and rolled immediately, without the extensive chilling required to handle a large butter block.
While incredibly fast – potentially reducing lamination time to under an hour – the "blitz" method typically results in fewer, less uniform layers compared to traditional methods. The butter pieces are not as evenly distributed, and achieving hundreds of perfect, thin layers is difficult. This technique is a true fast croissant baking technique but sacrifices some of the signature fine flakiness for speed. Croissants made with a blitz method will still be layered and buttery, but the rise might be less dramatic, and the texture more rustic or bread-like in parts.
Fewer Turns: Minimizing Lamination while Maximizing Flakiness
A less drastic simplification than the blitz method is simply reducing the number of traditional turns. A classic croissant recipe often calls for four single turns or three double turns. Each turn involves rolling, folding, and chilling. Reducing this to three single turns or two double turns significantly cuts down on active rolling time and, more importantly, the total chilling time required between turns. For example, reducing from four turns (with 30-60 min chill between each) to three turns saves at least an hour of chilling time plus the time spent rolling.
While fewer turns mean fewer layers overall, performing the turns carefully can still yield a good number of layers, often sufficient for a satisfyingly flaky croissant. For instance, three single turns create 27 theoretical layers (3^3), which is substantial. Two double turns create 81 theoretical layers (3^4). Compared to four single turns (81 layers) or three double turns (243 layers), this is a reduction, but still provides significant flakiness. This is one of the most popular fast croissant baking techniques as it balances efficiency with maintaining a reasonable level of quality and texture.
Efficient Croissant Baking: Step-by-Step Recipe
Ingredients for Efficient Croissant Dough
An efficient croissant dough still requires the core ingredients: strong bread flour for structure, cold water or milk, yeast (active dry or instant), sugar for flavor and yeast food, salt for flavor and controlling yeast activity, and of course, a significant amount of cold butter (typically unsalted, with a high fat content) for the lamination. The specific ratios might vary slightly depending on the chosen efficient technique, but the fundamentals remain the same.
For example, a typical ratio might be around 500g flour, 300g liquid, 50-60g sugar, 10g salt, 10g yeast, and 250-300g butter for the lamination block. Using high-quality, cold butter is non-negotiable, regardless of the speed of the technique.
Instructions: From Dough to Oven in Approximately 24 Hours
This timeline focuses on an overnight cold ferment and simplified lamination.
Preparing the Dough: Mixing and Initial Cold Ferment
Begin by mixing the dough ingredients (flour, sugar, salt, yeast, and cold liquid) until just combined. Knead briefly until a shaggy dough forms. Avoid developing too much gluten at this stage. Cover and refrigerate for 12-24 hours. This long, cold rest is step one in our fast croissant baking techniques approach, building flavor passively. Meanwhile, prepare the butter block by shaping cold butter into a rectangle (e.g., 6x8 inches) using parchment paper and a rolling pin or bench scraper. Ensure the butter is cold and pliable, not hard or soft.
Efficient Lamination: Achieving Layers with Fewer Folds
After the overnight rest, the dough should be cold and relaxed. Roll the dough into a rectangle double the size of your butter block. Place the cold butter block on one half of the dough rectangle, leaving a small border. Fold the other half of the dough over the butter, sealing the edges. This is the first enclosure.
Now, perform your first fold (a single or double turn, depending on your chosen method). For an efficient approach, aim for 2-3 turns total, chilling for 30-45 minutes between each turn to keep the butter cold and firm. Roll and fold carefully, ensuring seams are straight and dough thickness is even. This reduced number of turns is a core fast croissant baking technique.
Shaping and Proofing the Croissants
After the final turn and a final chill (at least 30 minutes), roll the dough out to the required thickness (usually about 1/8 inch or 3-4 mm). Cut the dough into triangles using a sharp knife or pastry wheel. Make a small notch in the base of each triangle and gently stretch it before rolling tightly from the base to the tip to form the croissant shape.
Place shaped croissants on a baking sheet lined with parchment paper. Now, proof using an accelerated method: place in a warm, humid environment (75-80°F / 24-27°C) for 1-2 hours, or until significantly puffed and jiggly. They should nearly double in size.
Baking to Golden Perfection
Preheat your oven to a high temperature, typically 400-425°F (200-220°C). An egg wash (beaten egg with a splash of milk or water) can be applied gently to the proofed croissants for a golden finish. Bake for 15-25 minutes, depending on size and oven, until deeply golden brown and flaky. The high initial temperature helps the butter create steam and puff up the layers, while the duration ensures the interior is cooked through. Monitor closely to prevent burning, adjusting temperature down slightly if needed after the initial rise.
Troubleshooting Common Issues in Efficient Croissant Baking
Dough Too Tough or Elastic
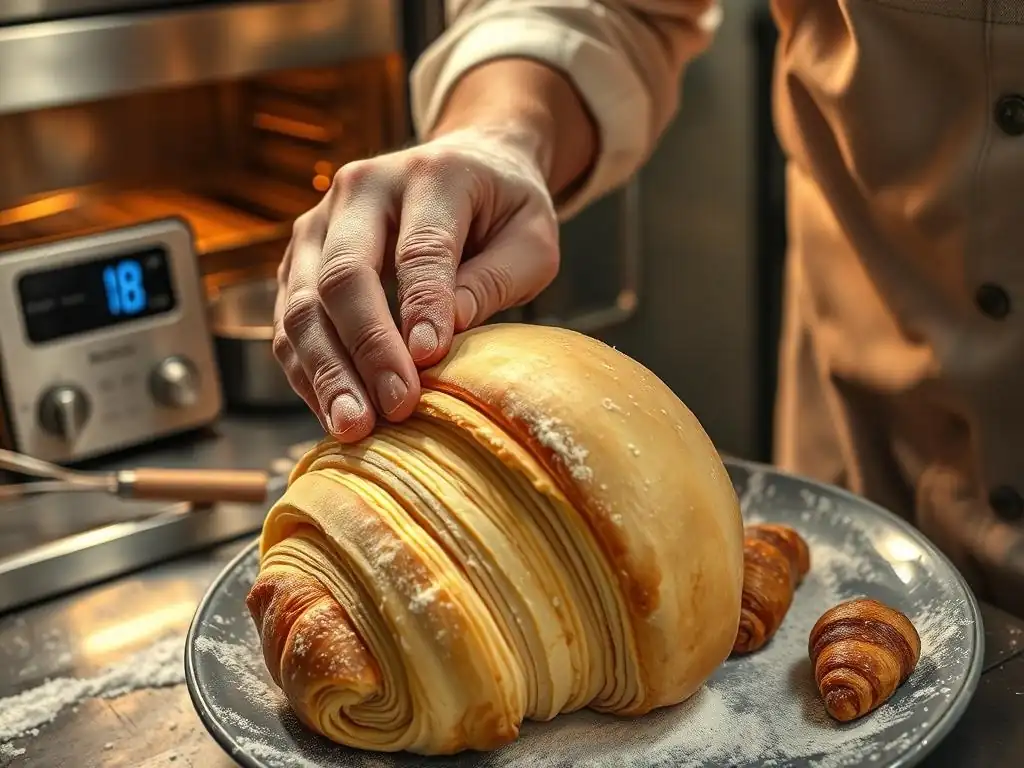
If your dough is tough and springs back excessively when rolling, it likely hasn't had enough time to relax. This can happen in efficient methods if the chilling periods between turns are too short, or if the initial cold ferment wasn't long enough, or if the dough was overworked during initial mixing. Gluten needs time to relax after manipulation (mixing and rolling).
- Ensure your initial cold ferment is at least 12-15 hours.
- Increase chilling time between lamination turns to 45-60 minutes if the dough resists rolling.
- Handle the dough gently during mixing and lamination, avoiding unnecessary force.
Inadequate Lamination and Poor Flakiness
Poor flakiness is often a result of issues during lamination or proofing. If the butter layers aren't distinct or the layers fuse, it could be because the butter was too soft during lamination (melting into the dough), the chilling between turns was insufficient, or the rolling wasn't even. During proofing, if the environment is too warm, the butter can melt before baking, destroying the layers.
- Always work with cold dough and butter. If the butter feels soft, stop and chill immediately.
- Ensure your chilling periods are adequate to re-firm the butter between turns.
- Roll the dough evenly to maintain consistent layer thickness.
- Monitor proofing temperature carefully to prevent butter melt (stay below 80-82°F / 28°C).
Uneven Baking and Darkening Too Quickly
Uneven baking can result in some croissants being perfectly golden while others are pale or burnt. This is often due to hot spots in the oven or overcrowding the baking sheet. If croissants darken too quickly, the oven temperature might be too high or the bake time too long for their size.
- Rotate the baking sheet halfway through the baking time to ensure even browning.
- Avoid overcrowding the baking sheet; leave space for air circulation.
- Verify your oven temperature with an oven thermometer, as oven thermostats can be inaccurate.
- If the tops brown too fast but they aren't cooked inside, you can loosely tent them with foil for the remainder of the baking time and potentially reduce the oven temperature slightly.
Comparing Traditional vs. Efficient Croissant Baking Methods
Time Investment: A Detailed Comparison
The primary difference lies in the total elapsed time and the distribution of active vs. passive time. A traditional method typically spans 2-3 days (48-72 hours), with significant chunks of passive chilling time (e.g., overnight initial rest, 30-60 min between 3-4 turns, 2-4 hours proofing) interspersed with active rolling and folding. The active work might add up to 3-5 hours total over these days.
Efficient or fast croissant baking techniques aim to compress this. A typical efficient method might take around 24 hours total elapsed time. This is achieved by consolidating passive time (e.g., a single 12-24 hour cold ferment) and reducing active lamination time (e.g., 2-3 turns with shorter chilling periods) and proofing time (e.g., 1-2 hours). The active work might be similar or slightly less total, but it's often concentrated into a single day after the initial long rest. This makes scheduling much easier for a home baker.
Texture and Flavor Profiles: Nuances to Expect
Traditional methods, with their long cold fermentation and extensive lamination, generally produce croissants with the most complex flavor development and the most dramatic, airy, and numerous layers. The crumb is incredibly open, and the exterior is exceptionally crisp and flaky.
Efficient methods, while aiming for speed, may result in slight differences. Flavor might be less complex if the initial cold ferment is shortened or omitted entirely (though the 24-hour model includes this). The texture might have fewer, slightly thicker layers compared to a perfect traditional croissant, leading to a slightly less airy crumb or less delicate flakiness, especially with techniques like the "blitz" method. However, a well-executed efficient method using reduced turns can still produce a delicious croissant with good layering and flavor – it's a compromise between speed and achieving the absolute peak of traditional quality.
Skill Level Required: Accessibility for Home Bakers
Traditional croissant baking requires a high degree of precision, patience, and experience to manage the dough and butter correctly over multiple steps and days. Temperature control throughout the multi-day process is critical and requires careful planning.
Fast croissant baking techniques can sometimes be more accessible to home bakers, depending on the specific technique. Methods involving fewer turns are simpler to execute in terms of rolling and folding. The "blitz" method simplifies the butter incorporation significantly. However, accelerated proofing methods, while faster, can be trickier to manage regarding temperature and humidity to avoid melting butter. Overall, while still requiring attention to detail, efficient methods can lower the barrier to entry for bakers intimidated by the multi-day commitment and intricate handling of traditional methods, making the process feel less daunting.
Optimizing Your Baking Environment for Efficiency
Temperature Control for Consistent Proofing
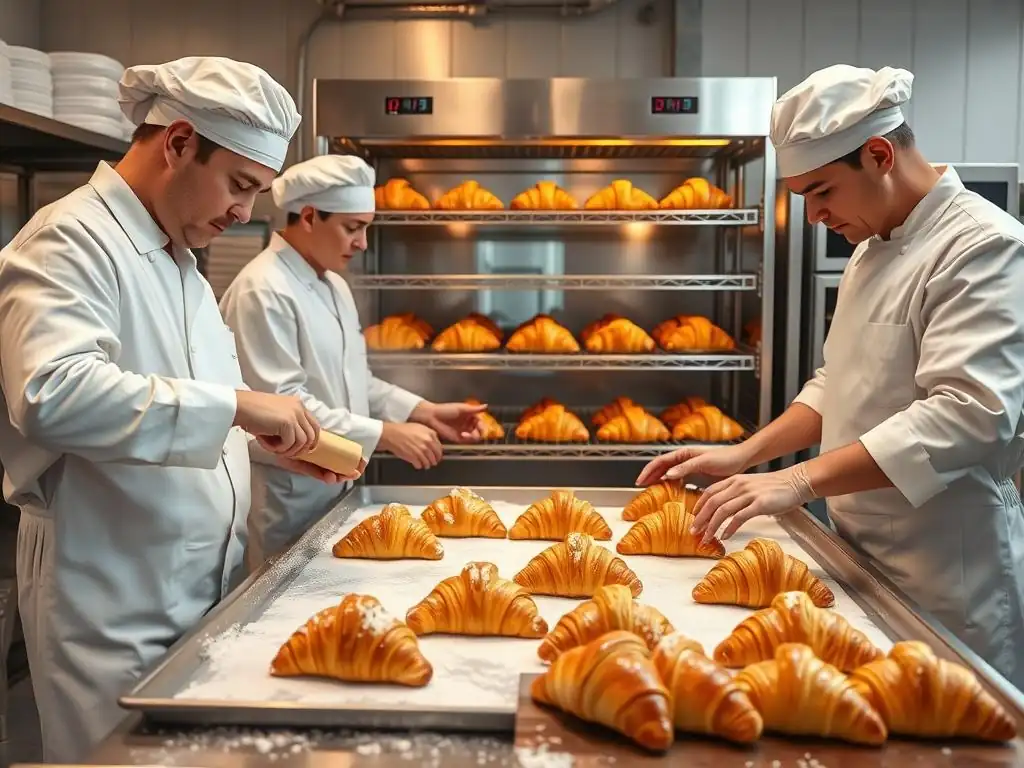
Precise temperature control is paramount when using accelerated proofing methods as part of your fast croissant baking techniques. Yeast is most active in a warm, humid environment, but butter melts relatively easily. The ideal proofing temperature range is typically 75-80°F (24-27°C). Going much higher risks butter leakage and a collapsed structure.
To achieve this consistently without a dedicated proofer, you can use your oven with the light on (check the temperature it reaches), or place a pan of hot water on the bottom rack of your oven to create warmth and steam. Monitor the temperature with an oven thermometer to ensure it stays within the safe range. Consistency is key; fluctuating temperatures can lead to uneven proofing. Aim for a stable warm environment for the entire proofing duration.
Oven Calibration for Even Baking
An accurately calibrated oven is crucial for any baking, but especially when dealing with laminated doughs like croissants. Croissants require a high initial temperature to create steam and puff, followed by sustained heat to cook through and brown the layers. An oven that runs too hot can burn the exterior before the interior is cooked, while one that runs too cool won't provide the necessary lift or browning.
Use an oven thermometer to check the actual temperature inside your oven at the temperature setting you plan to use. If your oven is significantly off (more than 10-15°F), you may need to adjust the recipe's recommended temperature accordingly. For example, if your oven runs 25°F hot, set it 25°F lower than the recipe suggests. Understanding your oven's quirks helps ensure your efficiently proofed croissants bake up perfectly golden and flaky.
Conclusion: Balancing Efficiency and Quality in Croissant Baking
Is Efficient Croissant Baking Right for You?
Exploring fast croissant baking techniques is an excellent option if you love the idea of fresh, homemade croissants but find the multi-day process of traditional methods prohibitive. If your schedule makes it difficult to perform multiple lamination steps with chilling periods spread over two or three days, an efficient method that consolidates active work into a single day after an initial long rest might be a perfect fit.
However, if your primary goal is to achieve the absolute pinnacle of traditional croissant perfection – the most complex flavor and the maximum number of ultra-thin layers – then the full, multi-day traditional method is likely still the gold standard. Efficient methods involve trade-offs, primarily in the nuances of texture and flavor compared to the classic benchmark. Consider your priorities: is speed and accessibility more important, or is achieving the most traditional result the ultimate goal?
Tips for Successful Efficient Croissant Baking at Home
Mastering fast croissant baking techniques requires attention to the details that remain critical even when streamlining.
- Keep ingredients cold: This is non-negotiable. Cold dough and cold butter are essential for successful lamination, regardless of the technique's speed.
- Work quickly and confidently: The less time the dough and butter spend warming up, the better. Plan your steps and execute them efficiently.
- Monitor temperatures: Pay close attention to dough temperature during lamination and, critically, to the proofing environment temperature. Use thermometers.
- Don't skip the initial cold rest: While some steps are shortened, an overnight cold ferment (12-24 hours) is invaluable for flavor and dough handling.
- Be realistic: Understand that an efficient croissant may differ slightly from a traditional one. Appreciate the result you achieve within the reduced timeline.
- Practice: Like any baking skill, practice improves results. Don't be discouraged if your first attempt isn't perfect. Each bake is a learning opportunity.
Frequently Asked Questions
How can I speed up the lamination process when making croissants?
Lamination is the core of croissant baking. You can reduce resting time between turns by chilling the dough thoroughly and working in a cool environment. Using a slightly higher percentage of butter can also improve the dough's extensibility.
Are there any shortcuts for making croissant dough?
While there are no true shortcuts, you can use a food processor to quickly combine the initial dough ingredients. Consider a "rough puff" pastry method, which simplifies the lamination process while sacrificing some flakiness.
What are some easy-to-find ingredients I can substitute to bake croissants faster?
While traditional croissant ingredients are best, using store-bought puff pastry is the fastest option, although it won't be a true croissant. Consider instant yeast for a faster rise, but be aware it can affect the flavor slightly.
Can I bake croissants in a convection oven for faster results?
Yes, a convection oven can bake croissants faster and more evenly. Remember to reduce the temperature slightly to prevent burning. Monitor the croissants closely for optimal browning.
What's the most important tip for faster croissant baking without compromising quality?
The most important thing is proper temperature control. Ensure your dough and butter are consistently cold throughout the process. This prevents butter from melting and being absorbed into the dough, which is crucial for achieving flaky layers.
Final Reflection: The Pursuit of Flaky Perfection: Speed and the Soul of the Croissant
The quest for the fast croissant is not merely a culinary shortcut; it's a reflection of our increasingly time-constrained lives. The desire for immediate gratification, coupled with the enduring allure of this iconic pastry, has fueled innovation in croissant baking, pushing the boundaries of traditional techniques. This pursuit, however, shouldn't diminish the artistry and patience inherent in the process.
The impact of quick croissant methods extends beyond the kitchen; it speaks to our broader cultural obsession with efficiency and instant results. We're constantly seeking ways to optimize our time, and the culinary world is no exception. This desire for speed, however, shouldn't overshadow the satisfaction derived from mastering a challenging technique. As Julia Child wisely stated, >“People who love to eat are always the best people.” And while speed can be a factor, true appreciation comes from understanding the process, even if it takes a little longer.
Now, consider your own baking journey. Will you embrace the challenge of traditional methods, savoring the slow rise and the delicate layering? Or will you opt for a quicker approach, prioritizing speed over the nuanced flavors and textures? Regardless of your choice, remember that the heart of baking lies in the joy of creation and the sharing of delicious results. Embrace the process, experiment with different techniques, and most importantly, enjoy the journey to flaky, buttery perfection.
Unlock the Flaky Goodness: Faster Croissant Baking Awaits!
Thanks for joining us on this croissant journey! We hope you discovered some surprisingly simple ways to achieve that perfect, buttery texture without spending all day in the kitchen. Ready to take your baking skills to the next level?
- Master the Quick-Rise Technique: Try out the accelerated proofing method we outlined today – it’s a game-changer!
- Share Your Success (or Challenges!): Post a picture of your freshly baked croissants on social media and tag us – we’d love to see them!
- Explore More Speedy Recipes: Dive into our other time-saving baking recipes on BakeWithEase.com for even more delicious, quick-to-make treats.
What's your favorite time-saving baking tip? Share it with us in the comments below!