
Day by Day: Visual Guide to Your Sourdough Starter's Development

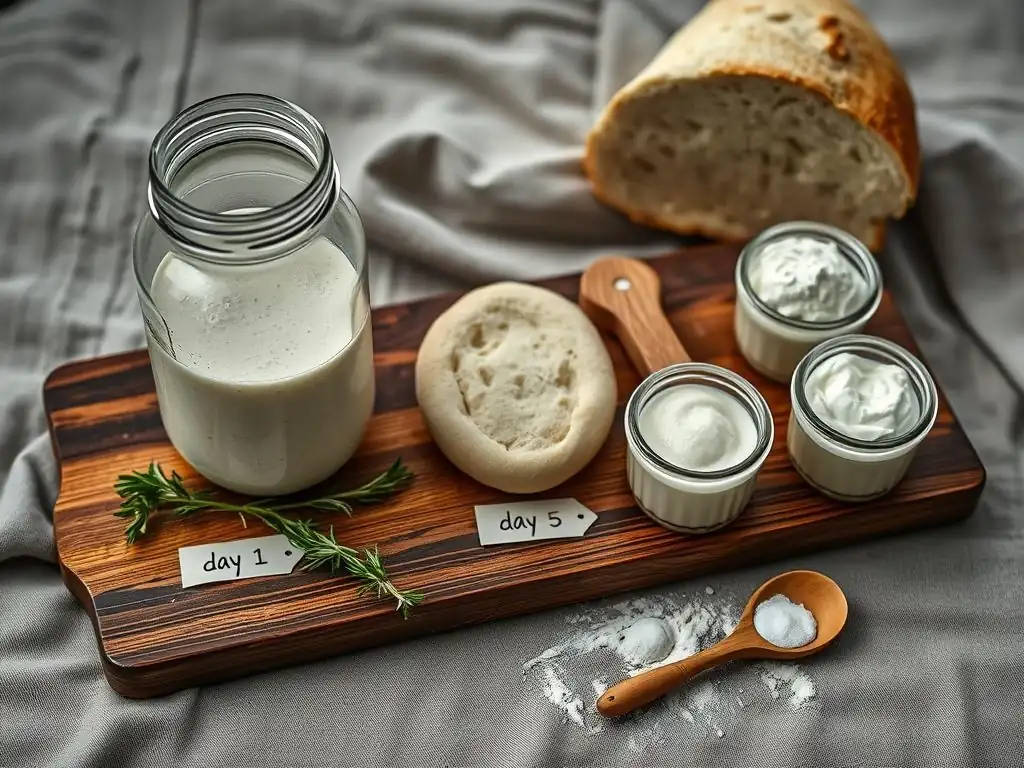
Welcome to BakeWithEase, your companion in the delightful world of baking! Ever wondered how to truly master sourdough? This guide unveils the secrets behind a thriving sourdough starter, demystifying the often-confusing sourdough starter feeding schedule. But there's more than just a schedule – we'll show you, visually, exactly what to look for, day by day. Ready to watch your starter blossom and unlock the true potential of your sourdough bakes? Let's begin!
- Understanding Sourdough Starter Development: A Visual Journey
- Day 1-3: The Initial Stages of Sourdough Starter Activity
- Day 4-7: Establishing a Consistent Feeding Schedule
- Day 8-14: Refining Your Feeding Routine
- Visual Cues for a Healthy and Active Starter
- Maintaining Your Mature Starter
- Using Your Starter: From Starter to Bread
-
Frequently Asked Questions
- What exactly is a sourdough starter and why is a feeding schedule important?
- How often should I feed my sourdough starter according to the BakeWithEase schedule?
- What ratios of flour and water should I use when feeding my sourdough starter?
- How can I tell if my sourdough starter is ready to be used for baking bread?
- What happens if I miss a feeding on the BakeWithEase sourdough starter feeding schedule?
- Final Reflection: The Living Art of Sourdough
- Unleash Your Inner Baker: Nurture Your Sourdough!
Understanding Sourdough Starter Development: A Visual Journey
Creating and maintaining a sourdough starter is a rewarding journey into the world of natural leavening. It's essentially cultivating a living ecosystem of wild yeasts and bacteria that are naturally present in flour and the environment. This mixture of flour and water, when fed regularly, becomes a potent leavening agent, replacing commercial yeast in many recipes. The process isn't always linear, but by following a consistent sourdough starter feeding schedule and paying close attention to visual cues, you can successfully nurture a healthy and active starter ready for baking.
Understanding the stages of development is key. Initially, you'll see a burst of activity from various microorganisms, some beneficial, some not. Over several days, the beneficial lactic acid bacteria and wild yeasts will outcompete the others, establishing a stable, symbiotic relationship. This is when your starter begins to show consistent rising and falling patterns, develop a pleasant tangy aroma, and gain the strength needed to leaven bread. Patience and observation are your best tools during this period, especially in the first week, as the microbial population stabilizes.
Why Follow a Sourdough Starter Feeding Schedule?
A consistent sourdough starter feeding schedule is fundamental to building a strong, active, and reliable culture. When you feed your starter, you are providing fresh flour (food) and water, which dilutes the acidic waste products produced by the microorganisms and encourages them to reproduce and ferment vigorously. Without regular feeding, the yeast and bacteria deplete their food source, acidity levels become too high, and the culture weakens or can even die.
Think of the sourdough starter feeding schedule as providing regular meals for your tiny ecosystem. A typical schedule involves discarding a portion of the starter and then feeding the remainder with equal parts flour and water (often a 1:1:1 ratio by weight: 1 part starter, 1 part flour, 1 part water). This regular feeding, usually once every 24 hours in the initial stages, ensures a continuous supply of nutrients, keeps the pH balanced, promotes the growth of desirable microbes, and helps manage the volume of your starter, preventing it from overflowing its container.
The Importance of Visual Cues in Sourdough Starter Growth
Visual cues are your primary indicators of your sourdough starter's health and activity, especially in the early days. Unlike using commercial yeast where you often just wait for dough to double, a starter's development is a dynamic process with visible changes happening daily, sometimes even hourly. Observing these changes – the formation of bubbles, the rise and fall of the starter level, the texture, and the appearance of liquid on top (hooch) – tells you what's happening inside the jar.
Learning to interpret these visual signals helps you understand if your sourdough starter feeding schedule is working effectively or if adjustments are needed. For example, consistent doubling or tripling in volume within a predictable timeframe after feeding, coupled with a bubbly texture, indicates a healthy and active starter. Conversely, minimal activity or a thin, watery consistency might suggest the need for more frequent feeding or warmer temperatures. Your eyes will become your most valuable tool in determining when your starter is ready to use for baking or needs attention.
Day 1-3: The Initial Stages of Sourdough Starter Activity
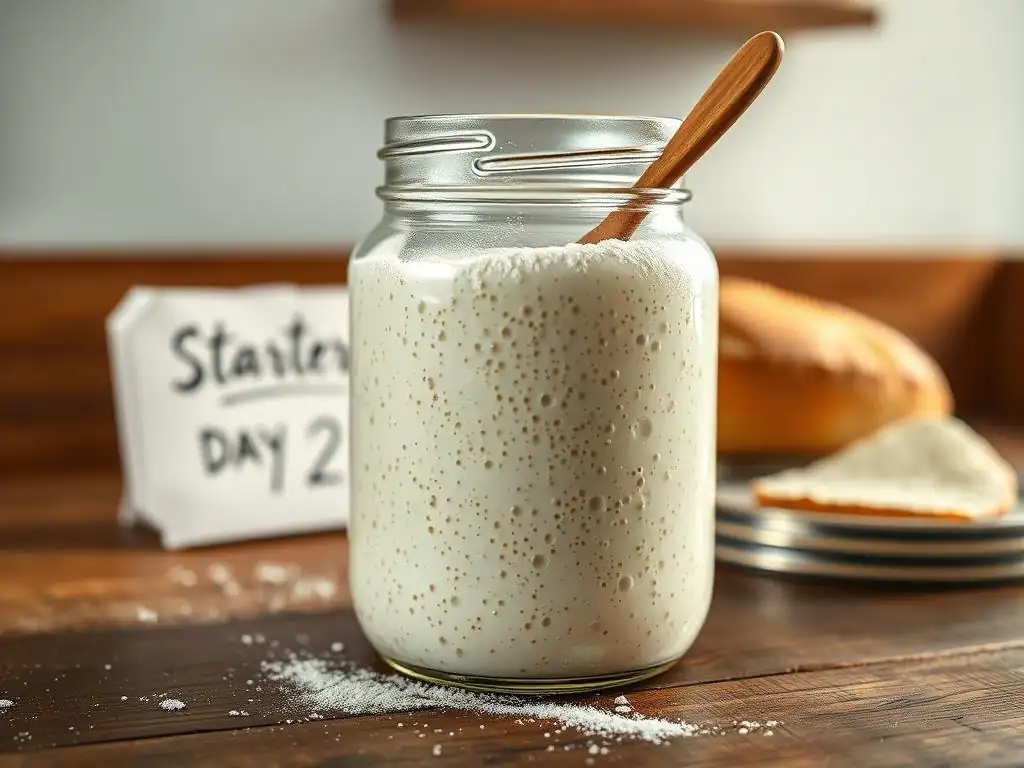
Day 1: Mixing Flour and Water - The Foundation
On Day 1, you simply combine flour and water in a jar. A common starting point is using 50 grams of all-purpose or bread flour and 50 grams of lukewarm water (around 70-75°F or 21-24°C). Mix them thoroughly until no dry flour remains, achieving a thick, paste-like consistency similar to pancake batter. Cover the jar loosely to allow air exchange but prevent contamination, and leave it at room temperature. At this stage, there won't be much visible activity, perhaps just a few tiny bubbles from mixing.
This initial mixture provides the environment for wild yeasts and bacteria present in the flour and surrounding air to begin multiplying. While it may look like just paste, microscopic processes are already starting. Don't expect dramatic changes immediately; the first day is about setting the stage and allowing the natural fermentation process to begin. The consistency should be smooth but thick enough that it doesn't pour easily.
Day 2: Observing Initial Fermentation - Bubbles and Early Aromas
By Day 2, you might start noticing some very subtle changes. Look closely for tiny bubbles forming on the surface or along the sides of the jar. These are early signs of microbial activity, primarily bacteria initially. You might also detect a faint smell, possibly slightly cheesy, yeasty, or even slightly unpleasant. This is normal as different types of microbes begin to proliferate.
The volume of the starter might increase slightly, but don't expect it to double yet. The texture might appear a little lighter or fluffier in spots where bubbles are trapped. Continue to keep the starter covered loosely at room temperature. This stage is often characterized by transient microbial populations starting their work before the more robust, beneficial ones take over.
Day 3: Early Signs of Activity - What to Expect and What Not To
Day 3 can be a bit of a rollercoaster. You might see increased bubble activity, possibly even some visible rise in the jar. The smell might become more distinctly yeasty or tangy. This initial burst of activity is often from bacteria like Lactobacillus, which produce gases. It's a positive sign that fermentation is happening.
However, it's also common to see activity peak around Day 3 or 4 and then seem to die down. This is normal; it signifies that the initial, less stable microbial populations are fading, making way for the more resilient wild yeasts and lactic acid bacteria that will form your mature starter. Don't be discouraged if activity slows; it's a natural part of the selection process. Avoid feeding on these early days unless specifically following a very accelerated schedule; letting it sit allows the stronger microbes to establish dominance.
Day 4-7: Establishing a Consistent Feeding Schedule
Day 4: The First Feeding - Nourishing Your Developing Starter
Around Day 4, especially if you've seen some initial activity, it's time for the first proper feeding following a sourdough starter feeding schedule. Discard about half of your starter (e.g., if you have 100g, discard 50g). This removes waste products and manages volume. Then, feed the remaining starter with fresh flour and water, typically in a 1:1:1 ratio (e.g., add 50g flour and 50g water to the remaining 50g starter). Mix thoroughly.
After this first feeding, mark the level of the starter in the jar. This will help you track its rise. Place it back at room temperature, covered loosely. The feeding provides fresh nutrients, which should encourage the increasingly dominant wild yeasts and bacteria to become more active. You may notice more significant bubbling and perhaps a modest rise over the next 12-24 hours.
Day 5: Increased Activity - Monitoring Gas Production
By Day 5, with a consistent sourdough starter feeding schedule now in place, you should observe more consistent signs of life. The starter should show noticeable gas production, indicated by numerous bubbles throughout the mixture, not just on the surface. You might see it rise within the jar after feeding, perhaps increasing by 25% to 50% in volume before slowly falling back down.
The aroma should be developing into a more pleasant, tangy smell, moving away from any off-putting initial odors. Continue discarding about half and feeding daily with fresh flour and water. Monitoring the rise and fall helps you understand the starter's peak activity time, which is useful information later for baking.
Day 6: Discarding and Feeding - Maintaining Volume and Preventing Acidity Buildup
Daily discarding and feeding are crucial parts of the sourdough starter feeding schedule during this development phase. On Day 6, discard about half the starter again before feeding it with fresh flour and water. This process serves multiple purposes: it keeps the amount of starter manageable, removes accumulated acidic byproducts that can inhibit growth, and ensures the microbes always have access to fresh food, promoting vigorous activity.
Visually, you should see a clear pattern of rising after feeding and falling as the food is consumed. The texture should be becoming lighter and more airy. If you see a layer of liquid (hooch) forming on top, it's a sign the starter is hungry and needs more frequent feeding or a different feeding ratio, but it's not necessarily a problem at this stage – just mix it back in before discarding and feeding.
Day 7: The Starter Begins to Mature - Consistency and Texture Changes
Around Day 7, many starters begin to show signs of approaching maturity. A healthy starter by this time should be consistently doubling or even tripling in volume within 6-12 hours after feeding when kept at warm room temperature (around 75°F or 24°C). The texture should be light, airy, and full of bubbles.
The smell should be pleasantly tangy, like yogurt or ripe fruit, without strong off-putting odors. While not fully mature for baking yet (which often requires more consistent strength), Day 7 marks a significant milestone. Continue the daily sourdough starter feeding schedule of discarding and feeding. If your starter isn't showing this level of activity, it might need more time, a warmer spot, or a slight adjustment to the feeding ratio (e.g., slightly more flour).
Day 8-14: Refining Your Feeding Routine

Day 8-10: Consistent Feeding - Building Strength and Acidity
During Days 8 through 10, the focus remains on consistency in your sourdough starter feeding schedule to build strength and establish the characteristic sourdough tang. Continue discarding about half and feeding once every 24 hours with your chosen ratio (typically 1:1:1). At this stage, you should be observing reliable doubling or tripling within a predictable timeframe after each feeding.
The starter's rise-and-fall cycle should become more pronounced. It will reach its peak volume and then slowly deflate as the yeast consume the available sugars. The aroma should be consistently pleasant and tangy. If activity is sluggish, ensure your room temperature is warm enough (ideally 70-80°F or 21-27°C) and that you are using unbleached flour.
Day 11-14: Evaluating Starter Performance - Float Test and Rise Time
By Days 11-14, your starter should be showing consistent, predictable behavior. This is when you can start evaluating its readiness for baking. A key test is the float test: take a small spoonful of starter at its peak activity (when it's light and bubbly, usually 6-8 hours after feeding if kept warm) and gently drop it into a glass of water. If it floats, it's generally considered ready to leaven bread. If it sinks, it needs more time to develop strength.
Another evaluation is tracking its rise time. Does it consistently double in volume within a reasonable timeframe (e.g., 4-8 hours) after feeding? If yes, it has the necessary enzymatic activity and yeast population. Continue the daily sourdough starter feeding schedule until the float test is consistently passed and the rise is predictable. Some starters may take longer than 14 days, especially in cooler environments.
Troubleshooting Common Issues: Slow Activity, Hooch, or Unusual Smells
- Slow Activity:
- Ensure your room temperature is warm enough. Below 70°F (21°C) significantly slows fermentation. Find a warmer spot or use a proofing box.
- Are you using filtered water? Chlorine in tap water can inhibit microbial growth.
- Try a different type of flour. Sometimes a switch to rye or whole wheat for a few feedings can boost activity due to higher nutrient content.
- Consider increasing the feeding ratio temporarily, e.g., 1:2:2 (1 part starter, 2 parts flour, 2 parts water), to provide more food.
- Hooch (Liquid Layer):
- Hooch is alcohol produced by yeast when they run out of food. It signals the starter is hungry.
- Mix it back in or pour it off before discarding and feeding.
- Adjust your sourdough starter feeding schedule to feed more frequently (e.g., every 12 hours if feeding daily) or use a higher feeding ratio (e.g., 1:2:2 instead of 1:1:1).
- Unusual Smells (Cheesy, Rotten):
- Some off smells are normal in the very early stages (Days 1-3) as different bacteria compete.
- If persistent after Day 4-5, it might indicate undesirable bacteria. Continue the consistent discarding and feeding schedule. The beneficial lactic acid bacteria should eventually outcompete the others, leading to a pleasant tangy smell.
- Ensure your jar and utensils are clean.
Task List: Troubleshooting Steps
- Check room temperature (Aim for 70-80°F / 21-27°C)
- Switch to filtered water
- Experiment with flour type (Rye or Whole Wheat boost)
- Increase feeding ratio (e.g., 1:2:2)
- Increase feeding frequency (e.g., every 12 hours)
- Ensure cleanliness of equipment
Visual Cues for a Healthy and Active Starter
Identifying the Ideal Texture and Consistency
A healthy, active sourdough starter at its peak should have a light, airy, and bubbly texture. It won't be a smooth, uniform paste like it was on Day 1. Instead, look for numerous small and large bubbles trapped throughout the mixture, giving it a spongy or mousse-like appearance. When you stir it, it should feel lighter and less dense than a newly fed or inactive starter.
The consistency should resemble a thick, bubbly batter or a very loose sponge. If you drop a spoonful, it shouldn't pour like liquid but rather dollop or slowly spread. If your starter is consistently thin and watery with few bubbles, it likely needs more time, warmer temperatures, or adjustments to its sourdough starter feeding schedule, perhaps requiring more flour relative to water in the feeding ratio.
Recognizing the Characteristic Sourdough Aroma
The aroma of a healthy, mature sourdough starter is a key indicator of its microbial balance. It should have a pleasant, tangy, slightly acidic smell, often described as similar to yogurt, ripe fruit, or vinegar, but not overwhelmingly sharp or unpleasant. This aroma comes primarily from the lactic acid bacteria.
Avoid smells that are overly pungent, like rotten eggs, strong cheese (beyond the first few days), or acetone/nail polish remover (which can indicate excessive alcohol production from hungry yeast, often accompanied by hooch). A clean, tangy scent confirms that the desired fermentation is occurring and the starter is developing correctly according to your sourdough starter feeding schedule.
Understanding the Importance of Bubble Formation and Structure
Bubble formation is perhaps the most obvious visual cue of activity in your starter. These bubbles are carbon dioxide gas produced by the yeast and bacteria as they ferment sugars in the flour. A healthy starter should produce abundant bubbles throughout the mixture, not just on the surface.
As the starter rises after feeding, the network of gluten developed from the flour traps these bubbles, creating a light, airy structure. Observing how high your starter rises (doubling, tripling) and the density of the bubble structure within the jar tells you about the strength and vitality of your culture. A starter that consistently rises significantly and holds a bubbly structure before falling is ready to leaven bread effectively.
Maintaining Your Mature Starter
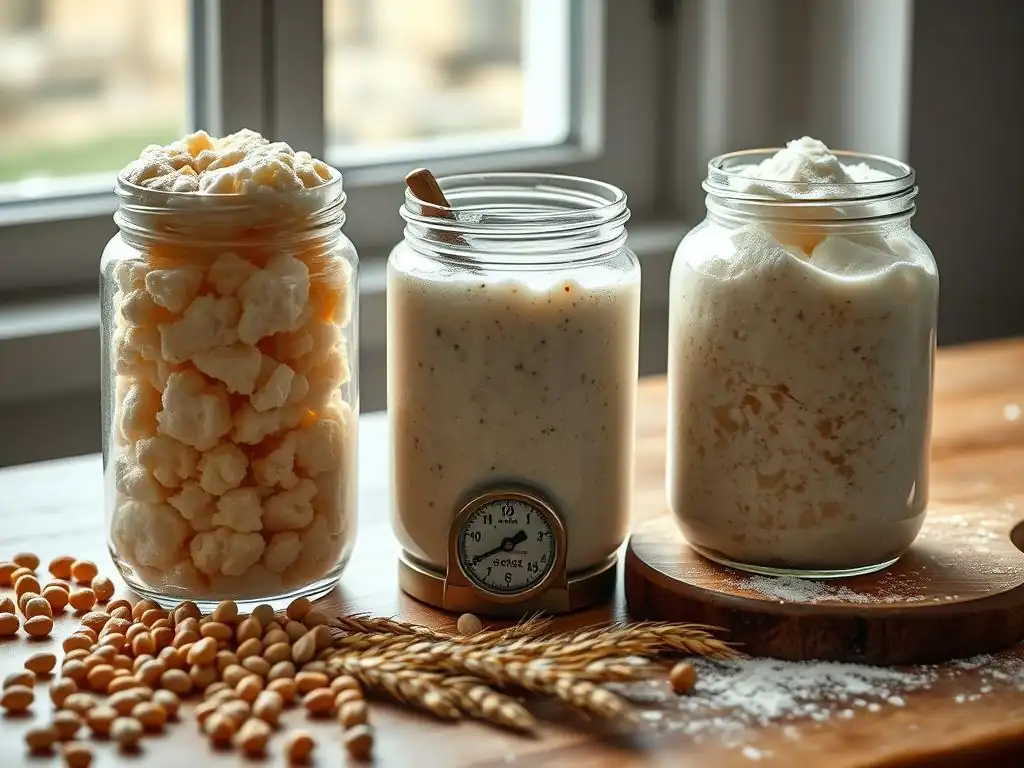
Long-Term Storage Options: Refrigerator Storage
Once your sourdough starter is consistently doubling or tripling within a predictable timeframe (e.g., 4-8 hours after feeding) and passes the float test, it's considered mature and ready for regular use. If you don't plan to bake daily, storing your starter in the refrigerator is an excellent option to slow down microbial activity and reduce the frequency of feeding.
To refrigerate, feed your starter as usual, let it sit at room temperature for 1-2 hours to kickstart activity, and then place it in the refrigerator. In the fridge, a healthy starter can typically be stored for 1-2 weeks, sometimes even longer, between feedings. This significantly reduces the amount of flour needed for maintenance compared to daily feeding at room temperature. When storing, ensure the container is large enough to accommodate some potential rise, even in the cold.
Reviving a Cold Starter: Bringing It Back to Life
When you're ready to bake after storing your starter in the refrigerator, you'll need to revive it. Take the starter out of the fridge and let it come to room temperature for an hour or two. Discard most of it, leaving only a small amount (e.g., 20-30 grams). Feed this small amount with fresh flour and water according to your regular sourdough starter feeding schedule (e.g., 1:1:1 ratio, so add 20-30g flour and 20-30g water).
Mix well and let it sit at room temperature. Depending on how long it was refrigerated, it might take one or two feedings for the starter to become fully active and bubbly again, doubling predictably within 4-8 hours and passing the float test. Once it's consistently active, it's ready to be used in your baking recipes.
Using Your Starter: From Starter to Bread
Converting Your Starter to a Levain for Baking
Many sourdough bread recipes call for a "levain" or "preferment" rather than using the starter directly from the jar. A levain is essentially a smaller, specifically built culture using a portion of your mature starter, fed at a particular ratio and temperature to be ready at a specific time for your dough mix. For example, a recipe might instruct you to take 20g of your mature starter, feed it with 100g flour and 100g water (a 1:5:5 ratio), and let it ferment until peak activity, which might take 6-10 hours depending on temperature.
Building a levain allows you to control the amount of starter you use in your bread, the hydration level of the preferment, and ensure you're using the starter at its peak strength for optimal leavening. It also helps preserve your main starter culture in the jar, as you only use a small amount to build the levain needed for a single bake. This is a common practice in advanced sourdough baking to achieve consistent results.
[Link to a Basic Sourdough Bread Recipe]
Once your sourdough starter is mature, consistently active, and passes the float test, you are ready to embark on the rewarding journey of baking your first loaf of sourdough bread. A mature starter provides the necessary lift and contributes to the characteristic tangy flavor and open crumb structure that sourdough is known for.
Using your own active starter is the fundamental step in creating authentic sourdough bread. A basic recipe typically involves combining your active starter (or a levain built from it) with flour, water, and salt, followed by stages of mixing, fermentation (bulk fermentation), shaping, and baking. Successfully cultivating your starter is the key achievement that unlocks the ability to bake a wide variety of sourdough goods.
Frequently Asked Questions
What exactly is a sourdough starter and why is a feeding schedule important?
A sourdough starter is a living culture of wild yeasts and bacteria used to leaven bread. A feeding schedule is important to maintain a healthy and active starter for reliable baking results.
How often should I feed my sourdough starter according to the BakeWithEase schedule?
The BakeWithEase schedule emphasizes a consistent feeding routine, generally once or twice a day, depending on the starter's activity and the ambient temperature. More frequent feedings may be needed when the starter is actively rising and falling.
What ratios of flour and water should I use when feeding my sourdough starter?
A common ratio is 1:1:1, meaning equal parts starter, flour, and water by weight. The BakeWithEase guide may suggest variations depending on desired consistency and strength, but it's important to maintain consistency for reliable results.
How can I tell if my sourdough starter is ready to be used for baking bread?
A ready starter will have doubled or tripled in size after feeding, display visible bubbles, and have a slightly tangy aroma. The BakeWithEase visual guide provides examples of these signs.
What happens if I miss a feeding on the BakeWithEase sourdough starter feeding schedule?
Missing a feeding occasionally won't necessarily ruin your starter, but it may become weaker. Simply resume the regular feeding schedule and monitor its activity. Severely neglected starters might require multiple feedings to re-establish their strength.
Final Reflection: The Living Art of Sourdough
The meticulous process of nurturing a sourdough starter is more than just baking; it's a testament to patience, observation, and the symbiotic relationship between human and microbe. Understanding the nuances of a sourdough starter's feeding schedule, as detailed in this visual guide, unlocks a deeper appreciation for the living organism at the heart of this ancient baking tradition. This isn't just about creating bread; it's about cultivating life.
The journey of my sourdough starter, captured in this guide, has been a profound lesson in the interconnectedness of nature and human endeavor. It's a constant reminder that even the smallest of organisms can hold immense power and beauty. The best bread is made with love, and a little bit of patience.
This simple quote encapsulates the essence of the sourdough journey, highlighting the emotional investment and the rewarding outcome that comes from consistent care and attention to detail. The subtle shifts in the starter's activity, its bubbly effervescence, and the ever-changing aroma, all contribute to a unique and deeply personal experience.
Now, consider your own journey. Will you embark on the adventure of cultivating your own sourdough starter? I invite you to embrace the challenge, to observe the subtle changes, and to savor the rewards of this living, breathing process. The knowledge gained from understanding your starter's feeding schedule is not just about baking delicious bread; it's about connecting with a timeless tradition, fostering a deeper understanding of the natural world, and discovering the joy of creating something truly special with your own two hands. Let the journey begin.
Unleash Your Inner Baker: Nurture Your Sourdough!
Thanks for joining us on this sourdough journey! We hope you now feel confident in understanding the fascinating evolution of your starter. Ready to take the next step and bake amazing bread?
- Bake your first loaf! Use your thriving starter to create a delicious sourdough bread – the ultimate reward for your dedication. We have plenty of recipes on BakeWithEase.com (though this CTA won't have links in it).
- Share your starter's progress: Show off your bubbly, active starter on social media using #BakeWithEaseSourdough and inspire others!
- Explore advanced techniques: Once you've mastered the basics, delve into shaping, scoring, and different baking methods to elevate your sourdough game.
What unique flavor profile are you hoping to achieve with your next sourdough creation? Let's discuss in the comments!