
The Science of Layers: Understanding Lamination for Flaky Croissants

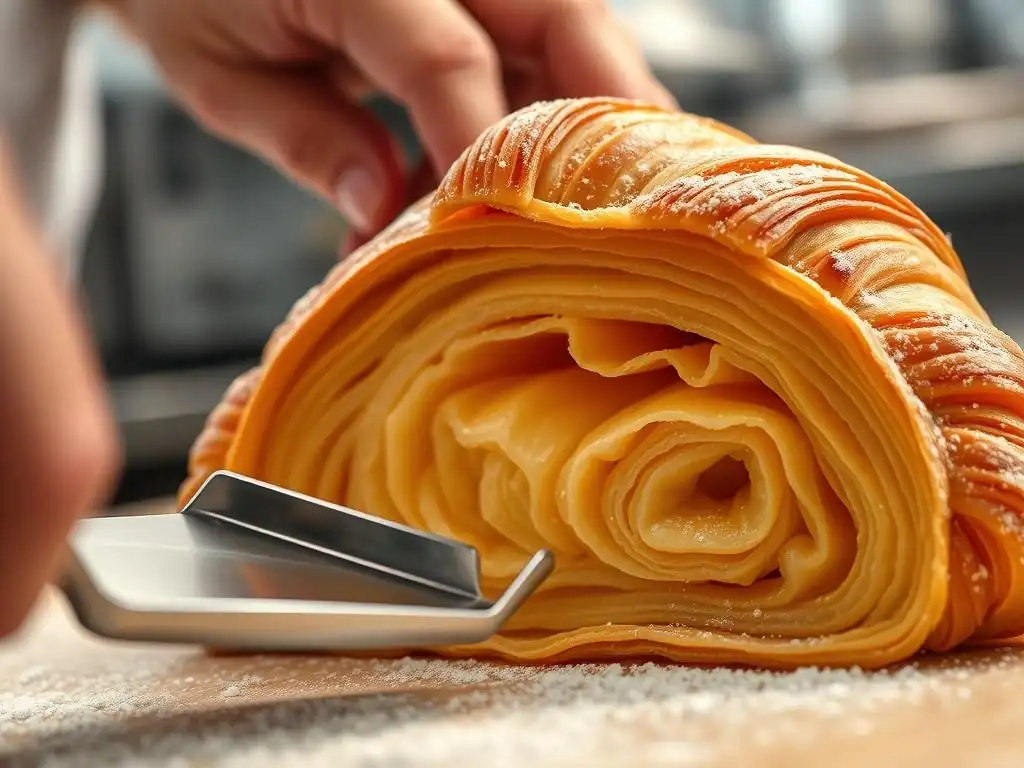
Welcome to BakeWithEase, where we unlock the secrets to baking success! Ever wondered what really creates those impossibly light and airy layers in a perfect croissant? Get ready to delve into the fascinating world of flaky croissant lamination techniques, because we're breaking down the science behind the perfect lamination. Discover the tips and tricks to achieve bakery-worthy results right in your own kitchen! Let's get baking!
- Introduction to Lamination in Croissant Baking
- The Science Behind Flaky Layers: How Lamination Works
- Flaky Croissant Lamination Techniques: A Step-by-Step Guide
- Troubleshooting Common Lamination Problems
- Advanced Lamination Techniques for Expert Croissant Bakers
- Tips for Perfect Flaky Croissant Lamination
- Conclusion: Mastering Flaky Croissant Lamination at Home
-
Frequently Asked Questions
- What is lamination in the context of croissant baking?
- Why is temperature so crucial for successful croissant lamination?
- What's the best type of butter to use for croissant lamination?
- How many folds are typically required for optimal croissant lamination?
- What are some common mistakes to avoid during croissant lamination?
- Final Reflection: The Enduring Allure of the Flaky Croissant
- Unleash Your Inner Croissant Master!
Introduction to Lamination in Croissant Baking
What is Lamination and Why is it Crucial for Flaky Croissants?
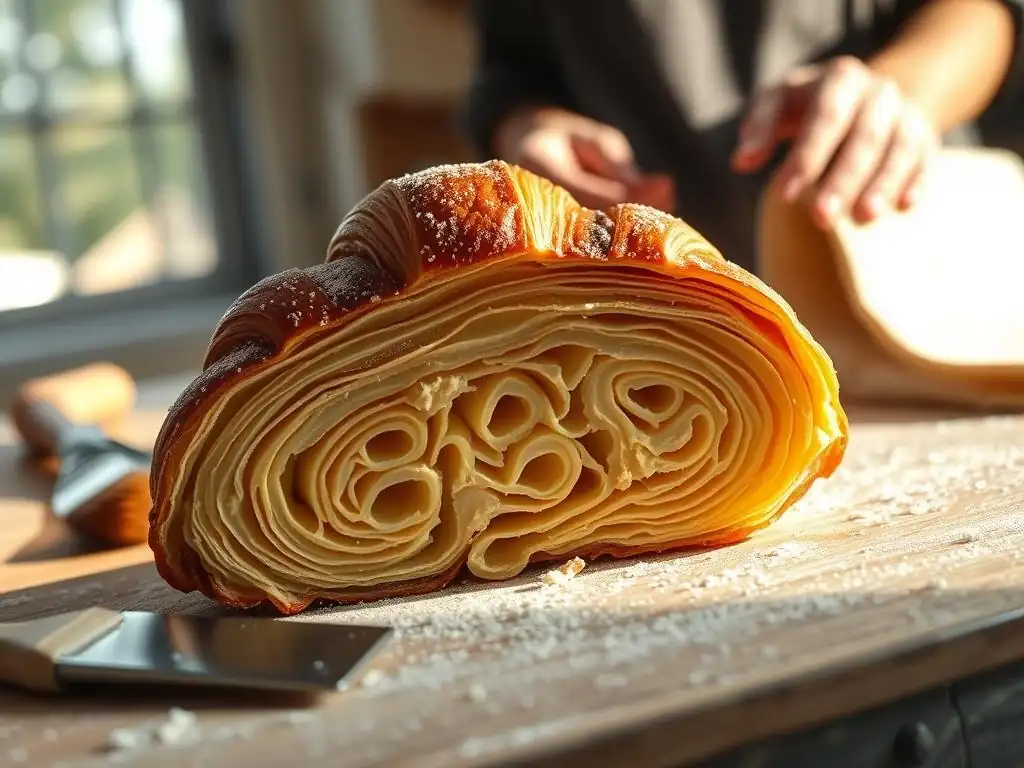
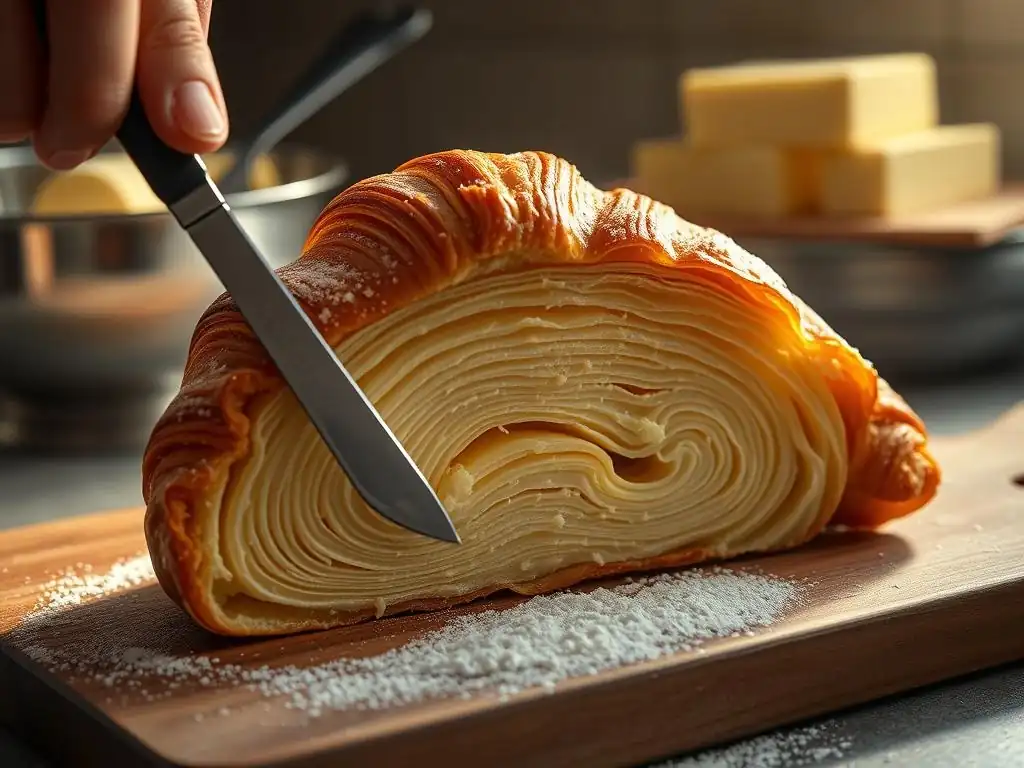
Lamination is a fundamental technique in pastry making, particularly essential for creating those iconic, airy, and flaky layers found in croissants. It involves repeatedly folding and rolling a butter block into a dough sheet, creating alternating thin layers of dough and butter. Think of it as building a delicate stack: dough, butter, dough, butter, over and over. This intricate layering process, often referred to when discussing flaky croissant lamination techniques, is what distinguishes a truly excellent croissant from a simple bread roll. Without proper lamination, the signature texture and lightness would be impossible to achieve.
The magic happens during baking. As the croissant bakes, the water in the butter turns into steam. This steam is trapped between the thin layers of dough, forcing them apart and causing them to puff up.
Simultaneously, the butter melts and coats the dough layers, preventing them from sticking together and contributing to the rich flavor and golden-brown crust. A well-executed lamination can result in dozens of distinct layers, sometimes exceeding 50 or 60, each contributing to the final flaky, shatteringly crisp texture that is the hallmark of a perfectly baked croissant. Mastering this technique is key to unlocking the secrets of flaky croissant lamination techniques.
The Role of Butter in Achieving Perfect Croissant Lamination
Butter is not just an ingredient in croissant lamination; it is a co-star alongside the dough. The quality, temperature, and consistency of the butter are paramount for successful flaky croissant lamination techniques.
European-style butter, typically containing a higher fat content (around 82-84%) compared to American butter (around 80%), is often preferred because its lower water content produces more steam and a richer flavor. The butter must be pliable but cold – ideally around 50-55°F (10-13°C) – firm enough to be rolled into a thin sheet without melting into the dough, yet soft enough not to tear the dough during rolling.
Preparing the butter block correctly is the first critical step. It should be rolled into a rectangle or square shape that is smooth, even in thickness, and proportional to the detrempe (the initial dough). Some bakers enclose the butter in parchment paper and roll it to the desired dimensions, then chill it until it reaches the ideal temperature.
If the butter is too cold and hard, it will break into pieces during rolling, leading to uneven layers. If it's too warm and soft, it will melt into the dough, resulting in a greasy, dense product rather than the desired flaky layers. Precision with butter temperature is a cornerstone of effective flaky croissant lamination techniques.
The Science Behind Flaky Layers: How Lamination Works
Understanding Gluten Development in Croissant Dough
Gluten development is a critical factor in croissant dough, but it's a delicate balance. Croissant dough requires enough gluten structure to be elastic and strong enough to withstand repeated rolling and folding without tearing, yet not so much that it becomes tough. The initial mixing of the dough (detrempe) develops some gluten, but over-mixing is avoided. A typical recipe might call for mixing just until the ingredients are combined and a shaggy dough forms, followed by a bulk fermentation period (often cold) which allows enzymes to naturally break down some proteins, relaxing the gluten structure.
The subsequent resting and chilling periods between lamination steps are crucial for relaxing the gluten. Each time the dough is rolled, the gluten network is stretched and aligned. If the dough is not allowed to rest, the gluten will be too tense, making the dough spring back excessively and difficult to roll thinly without tearing. Proper resting allows the gluten strands to relax, making the dough pliable and ready for the next fold. This controlled gluten development and relaxation cycle is fundamental to successful flaky croissant lamination techniques.
The Impact of Temperature on Butter and Dough Layers
Temperature control is arguably the most critical variable in achieving perfect flaky croissant lamination techniques. Both the dough and the butter must be kept cold, typically between 40-45°F (4-7°C) for the dough and 50-55°F (10-13°C) for the butter, throughout the lamination process. If the dough gets too warm, the gluten becomes too relaxed and sticky, making it hard to handle and prone to tearing. More importantly, if the butter gets too warm, it melts and integrates with the dough layers instead of remaining as distinct sheets.
Working in a cool environment is highly recommended. If the kitchen is warm, the butter will soften quickly. Professional bakeries often have temperature-controlled rooms specifically for lamination. At home, this means working quickly, using a cool surface (like marble or granite if available), and frequently returning the dough to the refrigerator or freezer for short periods to bring the temperature back down. Maintaining this cold temperature differential between the firm butter and the pliable dough is essential for keeping the layers separate and ensuring the steam separation during baking that creates flakiness.
The Importance of Resting the Dough During Lamination
Resting the dough between each fold is not just a suggestion; it's a non-negotiable step in effective flaky croissant lamination techniques. After each rolling and folding step, the gluten network in the dough is stretched and becomes tense. Attempting to roll the dough immediately after folding will result in it resisting the rolling pin, springing back, and potentially tearing, especially at the edges.
A typical rest period is 30-60 minutes in the refrigerator, tightly wrapped to prevent drying. This chilling time allows the gluten to relax, making the dough more extensible and easier to roll thinly and evenly in the subsequent step. It also ensures the butter remains cold and firm, preventing it from melting into the dough. Skipping or shortening rest periods is one of the most common mistakes home bakers make, leading to uneven layers, butter leakage, and ultimately, a less flaky croissant. Patience during the resting phase is a virtue that pays off in the final texture.
Flaky Croissant Lamination Techniques: A Step-by-Step Guide
Preparing Your Dough for Lamination: Initial Dough Handling
Before you even think about folding, the initial dough, or detrempe, needs careful preparation. After its initial mix and often a bulk fermentation (which might include an overnight cold rest), the dough should be gently punched down, shaped into a rectangle, and thoroughly chilled. The goal is to have a dough that is cold, firm, and relaxed. Some recipes call for rolling the dough into a rough rectangle or square before chilling, making it easier to enclose the butter block later.
The butter block also needs preparation. It should be pounded or rolled into a rectangle that is exactly half the width of your dough rectangle and slightly shorter in length. This ensures the butter fits neatly inside the dough package. Both the dough and butter should be at their ideal temperatures – dough around 40-45°F (4-7°C) and butter around 50-55°F (10-13°C) – before you begin the lamination process. This temperature control is fundamental to all flaky croissant lamination techniques.
The Book Fold Technique: Achieving Even Butter Distribution
The book fold, also known as a single fold, is a common technique used in flaky croissant lamination techniques. It's called a "book fold" because, when completed, the folded dough resembles a closed book. This fold increases the number of layers significantly with each turn. For example, starting with one layer of dough and one layer of butter, the first single fold creates 3 layers of butter and 4 layers of dough.
Step 1: The First Single Fold (Book Fold)
Begin with your chilled dough rectangle rolled out to the specified dimensions (e.g., about 1/4 inch thick), and your butter block prepared to half the width of the dough. Place the butter block neatly on one half of the dough, leaving a small margin around the edges. Fold the other half of the dough over the butter, carefully aligning the edges and pinching them to seal the butter inside. You now have a dough package with butter enclosed.
Rotate the dough 90 degrees so the seam is on your right. Gently roll the dough out again into a long rectangle, maintaining even thickness. Fold one end of the rectangle about two-thirds of the way down, then fold the remaining one-third over the first fold, aligning the edges neatly. This completes the single or book fold.
Step 2: Resting the Dough After the First Fold
Immediately after completing the first single fold, wrap the dough tightly in plastic wrap. Ensure it's well-sealed to prevent drying. Place the wrapped dough in the refrigerator for a mandatory rest period. This rest allows the gluten, which has been stretched during rolling, to relax, making the dough pliable for the next step.
It also allows the butter to firm up again, ensuring it remains a distinct layer. A typical rest time after the first fold is 45-60 minutes, though some recipes may call for longer, especially if the kitchen is warm. Do not skip this step if you want to achieve excellent flaky croissant lamination techniques.
The Double Fold Technique: Creating Multiple Layers
The double fold, or letter fold, is another key method in flaky croissant lamination techniques. It's called a "double fold" or "letter fold" because it involves folding the dough like a letter. This technique multiplies the layers even faster than a single fold.
Starting with the butter enclosed dough, a double fold creates 5 layers of butter and 6 layers of dough. If performed after a single fold, the layer count increases dramatically. For example, after one single fold (which yields 4 dough/3 butter layers), a double fold would result in (4 2+2) dough layers and (32+1) butter layers, or 10 dough and 7 butter layers (this calculation is slightly simplified, the actual count after subsequent folds becomes complex, leading to the common target of 55-81 layers after 3-4 turns).
Step 1: Performing the Double Fold
After the required rest period from the previous fold (single or double), remove the dough from the refrigerator. Unwrap it and place it on a lightly floured surface with the seam on your right (if you just did a single fold) or oriented correctly according to your recipe. Gently roll the dough into a long, even rectangle. Imagine dividing the rectangle into four equal sections visually. Fold one end of the dough to meet the center line.
Fold the other end of the dough to meet the first folded edge. You now have a rectangle that is four layers thick. Fold this rectangle in half along the center line. This completes the double fold.
Step 2: Resting and Chilling the Dough Again
Just like after the single fold, the dough must rest and chill after a double fold. Tightly wrap the folded dough in plastic wrap, ensuring no air pockets that could dry the surface. Return the dough to the refrigerator for another rest period, typically 45-60 minutes.
This rest is crucial for allowing the gluten to relax after being intensely stretched during the rolling and double-folding process. It also ensures the butter remains cold and distinct from the dough. Proper chilling between folds is paramount for preventing butter leakage and ensuring even layer distribution, which are hallmarks of successful flaky croissant lamination techniques.
Mastering the Single Fold: A Detailed Look
While seemingly simpler than the double fold, mastering the single fold is essential for achieving uniform layers in flaky croissant lamination techniques. The key is to ensure the butter block is fully and evenly enclosed, and that the subsequent rolling maintains an even thickness across the entire dough rectangle before folding. In the initial step, placing the butter on one half and folding the other half over requires careful alignment and sealing of the edges to prevent butter escaping during rolling.
Achieving Uniform Butter Thickness During Single Folds
During the subsequent rolling after the butter is enclosed, the goal is to roll the dough into a long, even rectangle without pushing the butter out or creating thin spots in the dough. Start rolling from the center and work outwards, applying even pressure. Lift and rotate the dough frequently to prevent sticking and ensure even expansion.
If you feel resistance, stop and let the dough rest for a few minutes at room temperature before continuing, or even pop it back in the fridge for 10 minutes if it feels warm. An unevenly rolled sheet before folding will result in some areas having more layers or thicker layers than others, leading to an inconsistent crumb structure in the baked croissant.
Aim for a consistent thickness, often around 1/4 inch (6-7 mm), before performing the single fold. This attention to detail is what separates good flaky croissant lamination techniques from great ones.
Alternative Lamination Methods for Croissants
While the traditional method involves enclosing a butter block in the detrempe and performing folds, there are alternative flaky croissant lamination techniques used by some bakers, each with its own advantages and challenges. These methods often aim to simplify the process or yield slightly different results.
The Reverse Lamination Technique: An Overview
Reverse lamination flips the traditional method. Instead of enclosing butter in dough, the dough is enclosed in butter. A cold, pliable butter block is rolled out, and the detrempe (often rolled very thin) is placed on top of the butter. This stack is then folded and rolled like in traditional methods.
The key difference is that the butter is on the outside during the initial stages. Proponents claim this method can help keep the butter colder during rolling, potentially reducing the risk of melting and leading to even sharper layer separation and flakiness. It can be slightly trickier to handle initially as the butter is more exposed.
The Scottish Fold Technique: An Overview
The Scottish Fold is less a lamination technique and more a method of incorporating the butter directly into the dough before traditional folds. Softened butter is often kneaded directly into the detrempe until just combined, or the detrempe is rolled out, softened butter is spread over it, and then it is folded and rolled. This is a simplified approach compared to creating a distinct butter block and enclosing it.
While it can produce a buttery pastry, it typically does not yield the same number of distinct, separated layers or the extreme flakiness characteristic of croissants made with traditional flaky croissant lamination techniques involving a firm butter block. It's more akin to methods used for puff pastry or rough puff pastry.
Troubleshooting Common Lamination Problems
Butter Leaking During Lamination: Causes and Solutions
Butter leaking, or "butter blow-out," is a frustrating but common issue when practicing flaky croissant lamination techniques. It typically happens when the butter gets too warm and soft, or when the dough tears, allowing the melted butter to escape during rolling or proofing. The primary cause is insufficient chilling of either the dough or the butter, or working too slowly in a warm environment.
If you notice butter starting to ooze during rolling, stop immediately. Wrap the dough tightly and return it to the refrigerator (or even the freezer for 10-15 minutes) until both the dough and butter are firm again. When you resume rolling, apply gentle, even pressure and work quickly. Ensure your rolling surface and tools are lightly floured but not excessively so, as too much flour can dry out the dough surface and make it prone to tearing. Preventing the dough from tearing in the first place is key, which brings us to the next point.
Dough Tearing During Lamination: Prevention and Repair
Dough tearing is another setback that affects flaky croissant lamination techniques. Tears most often occur when the dough is not sufficiently rested between folds, causing the gluten to be too tense and resistant to stretching. Rolling too aggressively or unevenly can also cause weak spots that tear. Working with dough that is too cold and stiff can also lead to tears.
Prevention is the best approach: ensure the dough is adequately rested and pliable before each rolling step (typically 45-60 minutes chilling per fold). Roll gently and evenly, working from the center outwards. If a small tear occurs, you can try to patch it by pressing the edges together or using a small piece of scrap dough if available, then continue rolling carefully.
For larger tears, it's best to gently fold the dough as planned, then give it an extended rest in the refrigerator (90 minutes or more) to allow the gluten to relax and the dough to recover before attempting the next step. Sometimes, a significant tear might compromise the final layer structure.
Uneven Layers in the Finished Croissant: Identifying the Root Cause
If your baked croissants show uneven layers – some areas are very flaky while others are dense or thick – the issue likely stems from inconsistency during the flaky croissant lamination techniques. This can be caused by several factors during the folding and rolling process.
One common cause is uneven rolling of the dough before each fold. If the dough sheet is thicker in some areas than others, the resulting stack of layers will also be unevenly distributed. Another cause is the butter block itself being unevenly thick or not properly enclosed, leading to areas with too much or too little butter.
Allowing the butter to melt into the dough during lamination due to insufficient chilling will also result in a loss of distinct layers. Finally, improper shaping or proofing can also impact how evenly the layers separate during baking. Reviewing your process for consistent temperature, gentle and even rolling, and adequate resting periods is key to improving layer uniformity.
Advanced Lamination Techniques for Expert Croissant Bakers
For bakers who have mastered the fundamentals of flaky croissant lamination techniques, there are ways to refine the process and add complexity or flavor. These often involve experimenting with ingredients or adjusting the process based on environmental factors.
Incorporating Cultured Butter for Varied Flavors
Cultured butter, made from cream that has been fermented with bacterial cultures, offers a tangier flavor profile and often a higher fat content than sweet cream butter. Using cultured butter in lamination can impart a more complex, slightly nutty, and pronounced buttery flavor to the finished croissant. The higher fat content (often 84-86%) can also contribute to even greater flakiness due to less water content turning to steam.
However, working with cultured butter requires the same precision regarding temperature as standard butter. Its properties might differ slightly in pliability at certain temperatures compared to non-cultured butter. Experimenting with small batches to understand how a specific brand of cultured butter behaves during rolling and folding is recommended before committing to a large batch. The nuanced flavor it adds can elevate a standard croissant into something truly special.
Exploring Lamination with Ghee
Ghee, or clarified butter, is butter that has been simmered to remove the water and milk solids, leaving behind pure butterfat. Lamination with ghee is less common but possible. Since ghee is pure fat (nearly 100%), it behaves very differently from whole butter, which contains water and milk solids. Ghee is typically liquid at warmer room temperatures and hard and brittle when cold.
Using ghee for lamination would involve chilling it until it's solid but pliable, perhaps mixed with a small amount of flour or a harder fat to give it structure similar to a butter block. The resulting pastry would likely be extremely rich and potentially very flaky due to the lack of water, but it would also lack the nuanced flavor contributed by the milk solids in whole butter. This is a more experimental approach to flaky croissant lamination techniques and requires significant adjustments to traditional methods.
Adjusting Lamination Based on Ambient Temperature and Humidity
Experienced bakers learn to adapt their flaky croissant lamination techniques based on the conditions in their kitchen. High ambient temperature is the enemy of lamination, as it causes the butter to soften too quickly. In warm conditions, the dough may need more frequent and longer rest periods in the refrigerator. Working early in the morning or late in the evening when temperatures are cooler can help. Using a cooler surface, like a marble slab, can also draw heat away from the dough.
High humidity can make the dough surface sticky, requiring more flour on the rolling surface, which can potentially toughen the dough if excessive. In humid conditions, ensuring the dough is well-wrapped during chilling is even more critical to prevent condensation from forming on the surface. Conversely, in very dry conditions, the dough can dry out quickly, making it less extensible and prone to tearing; ensuring adequate hydration in the initial dough and proper wrapping are key. Mastering these environmental adjustments is a sign of advanced flaky croissant lamination techniques.
Tips for Perfect Flaky Croissant Lamination
Maintaining Consistent Dough Temperature
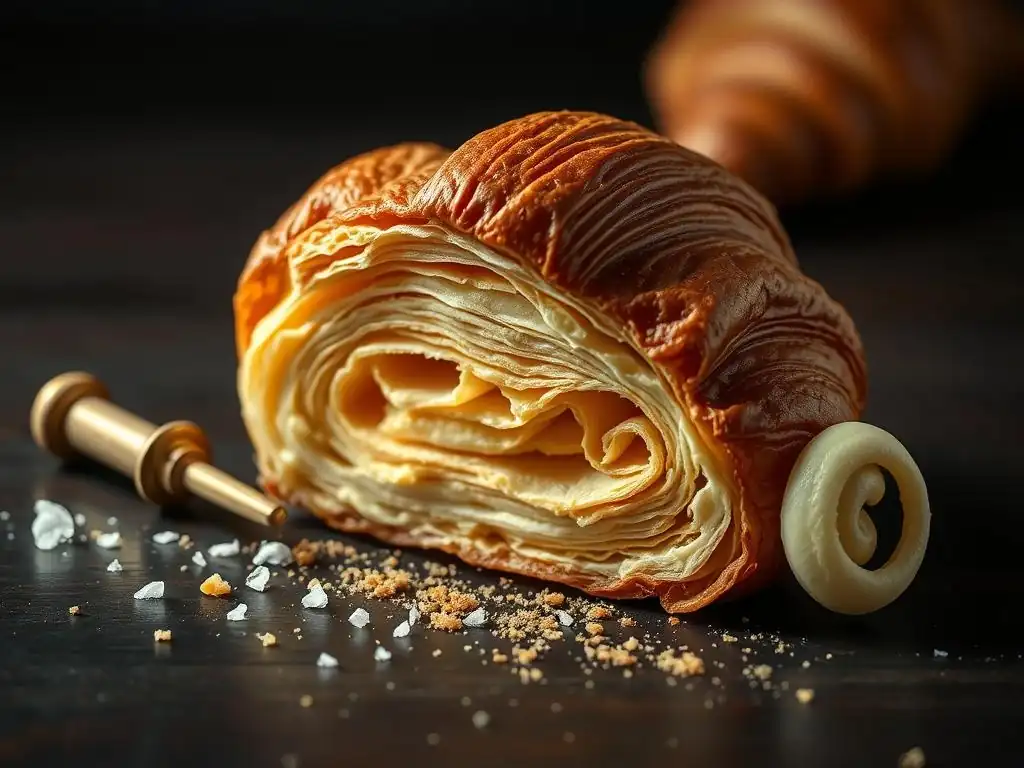
As highlighted throughout, maintaining a consistent, cold temperature for the dough is paramount for successful flaky croissant lamination techniques. The ideal temperature range is typically 40-45°F (4-7°C). Use a digital thermometer to check the dough's internal temperature, especially after rolling and before returning it to the fridge.
If the dough feels warm to the touch or exceeds this temperature range, extend the chilling time. Working quickly during rolling and folding minimizes the time the dough spends warming up at room temperature. Having all your tools and workspace prepared before you start helps reduce downtime. Consistent temperature ensures the butter remains distinct layers and the dough remains pliable but firm enough to handle without tearing.
Choosing the Right Flour for Lamination
The type of flour used impacts the gluten development, which in turn affects how the dough handles during flaky croissant lamination techniques. Medium-protein bread flour (around 11-12.5% protein) is often recommended for croissants. It provides enough gluten structure to withstand the repeated rolling and folding without tearing, but not so much that the dough becomes tough.
Using a very high-protein flour might result in a dough that is too strong and resistant, making it difficult to roll thinly. A very low-protein all-purpose flour might not provide enough strength, leading to tears. Some bakers even use a blend of bread flour and all-purpose flour to strike the perfect balance of strength and extensibility. The goal is a dough that is elastic and resilient, capable of stretching thinly without excessive spring-back.
The Importance of Precise Measurements in Croissant Dough
Baking is a science, and precision in measurements is particularly crucial for complex pastries like croissants using flaky croissant lamination techniques. The ratio of flour to water, yeast, sugar, salt, and especially butter, significantly impacts the dough's consistency, hydration, and ultimately, how it laminates.
Using a digital scale to weigh all ingredients, including water and butter, is highly recommended over volume measurements (cups and spoons). Even small variations in the hydration level can affect gluten development and dough handling. The ratio of butter to detrempe weight is critical for achieving the desired number and thickness of layers. Typically, the butter block weight is 40-50% of the detrempe weight. Precise measurements ensure consistent results and are a foundational element of successful lamination.
Conclusion: Mastering Flaky Croissant Lamination at Home
Recap of Key Lamination Techniques
Mastering flaky croissant lamination techniques is a journey that requires patience, practice, and attention to detail. We've explored the essential steps: creating a pliable detrempe, preparing a firm butter block, and repeatedly folding and rolling the dough using techniques like the single (book) fold and the double (letter) fold. Each fold increases the number of butter and dough layers, setting the stage for that signature flakiness. Crucially, adequate chilling and resting periods between every fold are non-negotiable steps that allow gluten relaxation and keep the butter firm, preventing tears and butter leakage.
Understanding the science behind lamination – how gluten behaves, the critical role of temperature in keeping butter layers distinct, and how steam creates separation during baking – is key to troubleshooting and refining your process. While challenges like butter leakage or tearing can occur, they are often solvable with careful temperature management and gentle handling. With dedication to these core flaky croissant lamination techniques, you can achieve beautiful, flaky layers right in your own kitchen.
Further Practice and Resources for Croissant Baking at Home
Achieving perfect flaky croissant lamination techniques takes practice. Don't be discouraged if your first attempts aren't flawless. Each batch is a learning opportunity. Pay attention to how the dough feels, how the butter behaves, and how your kitchen's temperature affects the process. Consider keeping a baking journal to note temperatures, timings, and observations.
Explore different recipes, but stick to one method (like a specific sequence of single and double folds) until you feel comfortable. Many resources offer detailed step-by-step guides and visual tutorials. As you gain confidence, you can experiment with variations like cultured butter or adjust timings based on your environment. The reward for mastering these flaky croissant lamination techniques is the incredible satisfaction of biting into a warm, buttery, shatteringly flaky croissant baked by your own hands. Keep practicing, and happy baking!
Frequently Asked Questions
What is lamination in the context of croissant baking?
Lamination is the process of creating alternating layers of dough and butter in a pastry. This creates a flaky texture when baked as the butter melts and steams.
Why is temperature so crucial for successful croissant lamination?
Maintaining a cold temperature for both the dough and butter is essential. Warm butter will melt into the dough, preventing the distinct layers needed for a flaky final product.
What's the best type of butter to use for croissant lamination?
European-style butter with a high butterfat content is generally recommended. This type of butter has less water, resulting in a more distinct separation between dough layers and better flakiness.
How many folds are typically required for optimal croissant lamination?
While there isn't one definitive answer, generally, 3-4 single or double folds are sufficient. Too many folds can lead to overworked dough, resulting in a tough rather than flaky croissant.
What are some common mistakes to avoid during croissant lamination?
Avoid overworking the dough, letting the butter get too warm, and using too much flour during rolling. These can all negatively impact the final flakiness and texture of your croissants.
Final Reflection: The Enduring Allure of the Flaky Croissant
The pursuit of the perfect flaky croissant is not merely a culinary quest; it's a testament to the power of scientific understanding applied to artistic creation. The meticulous layering techniques detailed in this article, from the initial butter block preparation to the final bake, highlight the crucial role of precise lamination in achieving that iconic, shatteringly delicate texture. This isn't just about making a delicious pastry; it's about mastering a process that demands patience, precision, and a deep appreciation for the interplay of ingredients and technique.
The impact of lamination extends far beyond the croissant itself. It represents a broader principle of careful construction and attention to detail, applicable to countless aspects of life. The beauty of a perfectly laminated croissant lies in its seemingly effortless complexity, a reflection of the dedication and skill required to achieve it. As the renowned pastry chef, Dominique Ansel, once said, Baking is a science, but it's also an art. It's about understanding the science, but also letting your creativity flow.
This sentiment perfectly encapsulates the spirit of this exploration into croissant lamination.
Now, consider your own endeavors. What seemingly insurmountable challenges can be approached with the same methodical precision and understanding of fundamental principles as demonstrated in the art of croissant lamination? Perhaps it's a complex project at work, a challenging personal goal, or even a seemingly simple task that requires a deeper level of attention. Embrace the science, appreciate the artistry, and discover the transformative power of meticulous layering in your own life. The journey to mastery, like the journey to the perfect flaky croissant, is a rewarding one.
Unleash Your Inner Croissant Master!
Thanks for diving into the world of flaky croissants! We hope you now have a deeper understanding of the science behind those perfectly layered pastries. Ready to put your new knowledge into action?
- Master the Art of Lamination: Practice your lamination techniques – the more you do it, the better you'll become at creating those delicate, buttery layers. Try making a simple puff pastry first to build confidence!
- Share Your Success (or Challenges!): We'd love to see your croissant creations (or hear about your lamination adventures!). Share your photos and experiences on our BakeWithEase community forum.
- Experiment with Flavors: Take your newfound knowledge and experiment! Try adding different types of butter, incorporating herbs or spices into your dough, or creating unique fillings.
Ready to bake your best croissant yet? What flavor combination will you try first?