
Is Your Bread Undercooked Inside? How to Check for Perfect Doneness

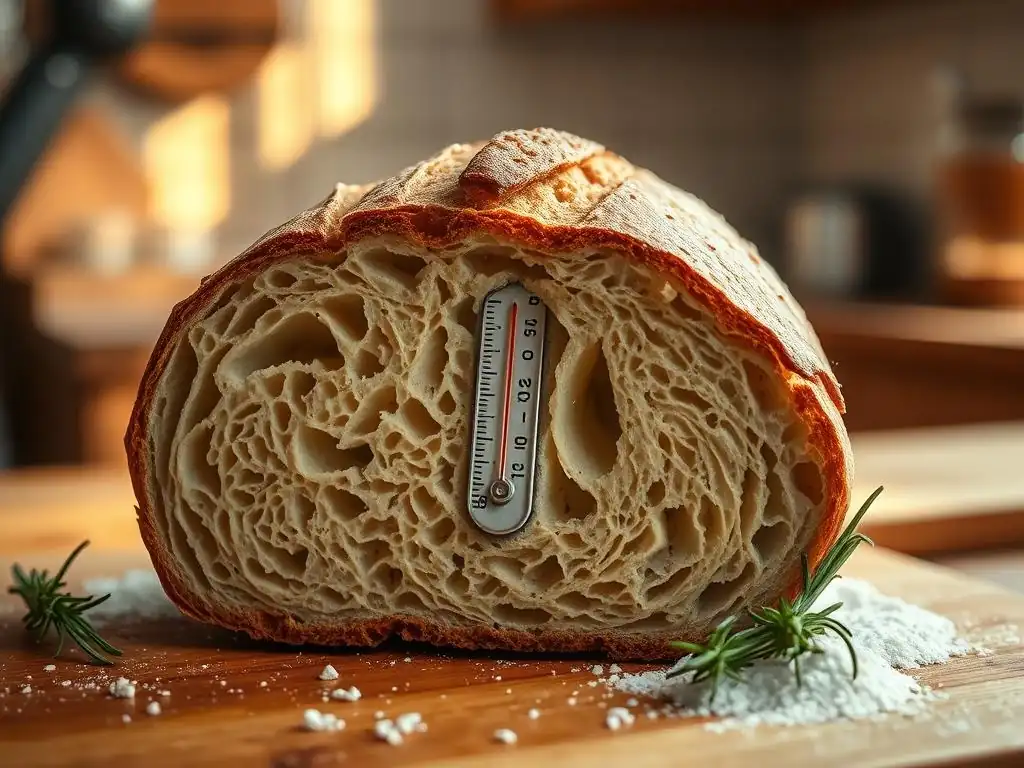
Welcome to BakeWithEase, your partner in creating delicious baked goods! Ever wondered if your bread is truly done, or just pretending? This article dives deep into perfect bread doneness troubleshooting, offering practical tips and tricks to banish that dreaded doughy center forever. Ready to unlock the secrets to perfectly baked bread, every single time? Let's get started!
- Is Your Sourdough Undercooked Inside? How to Check for Perfect Doneness
- Understanding Perfect Sourdough Doneness: A Guide
- Troubleshooting Undercooked Sourdough: Simple Checks for Perfect Results
- Tips for Avoiding Undercooked Sourdough
- Rescue Techniques: What to Do with Undercooked Sourdough
- Achieving Perfect Sourdough Doneness: Final Thoughts
-
Frequently Asked Questions
- How can I tell if my bread is really done, even if it looks golden brown on the outside?
- My bread is browning too quickly on top, but the inside is still doughy. What should I do?
- What are some visual cues to look for besides browning to determine bread doneness?
- What causes bread to be undercooked in the middle, even when following the recipe exactly?
- What if I don't have a thermometer? Are there any other reliable methods to check for bread doneness?
- Final Reflection: The Art and Science of Perfectly Baked Bread
- Unleash Your Inner Baker: Perfect Bread, Every Time!
Is Your Sourdough Undercooked Inside? How to Check for Perfect Doneness
Understanding Perfect Sourdough Doneness: A Guide
Why is My Sourdough Undercooked Inside? Common Causes
Achieving that perfect sourdough doneness can sometimes feel like a mystery, and finding your loaf undercooked inside is a common frustration. Several factors contribute to this issue, often stemming from the baking process itself. One primary culprit is insufficient baking time or temperature.
If your oven isn't calibrated correctly and runs cooler than the set temperature (even by 25°F or 15°C), or if you pull the loaf out too early based on crust color alone, the interior won't have enough time to reach the necessary temperature for starches to gelatinize and set properly. This is a frequent challenge in bread doneness troubleshooting.
Another significant factor is related to the dough itself, specifically hydration and loaf size. High-hydration sourdoughs (doughs with a high ratio of water to flour, say above 75%) often take longer to bake through because there's more moisture to evaporate. Similarly, a very large loaf requires a significantly longer baking time than smaller ones.
Attempting to bake a large, high-hydration loaf for the same duration as a smaller, lower-hydration one almost guarantees an undercooked center. Furthermore, issues with fermentation, such as under-proofing or over-proofing, can also impact how the dough bakes, sometimes leading to a dense, gummy interior that appears undercooked.
The Importance of Achieving Perfect Sourdough Doneness
Ensuring perfect sourdough doneness isn't just about avoiding a sticky, raw center; it's fundamental to the bread's overall quality, texture, flavor, and even digestibility. A properly baked sourdough loaf boasts a complex flavor profile, developed through the Maillard reaction in the crust and the full setting of the crumb. When the interior is undercooked, these flavor compounds don't fully develop, leaving the bread tasting flat or overly sour.
The texture is also compromised; instead of an open, airy crumb with a satisfying chew, you get a dense, gummy, or even wet interior that collapses when sliced. This sticky texture is a hallmark of poor sourdough doneness.
Beyond taste and texture, achieving proper sourdough doneness is crucial for shelf life and structure. A well-baked loaf holds its shape, slices cleanly, and stays fresh longer because sufficient moisture has evaporated from the interior, leaving a drier, more stable crumb. Undercooked bread, conversely, tends to become stale quickly, can grow mold faster due to excess moisture, and often tears or squishes when cut. Mastering the art of getting that perfect sourdough doneness is a key milestone in any baker's journey, preventing common bread doneness troubleshooting headaches down the line.
Troubleshooting Undercooked Sourdough: Simple Checks for Perfect Results
Visual Cues: Recognizing an Undercooked Loaf
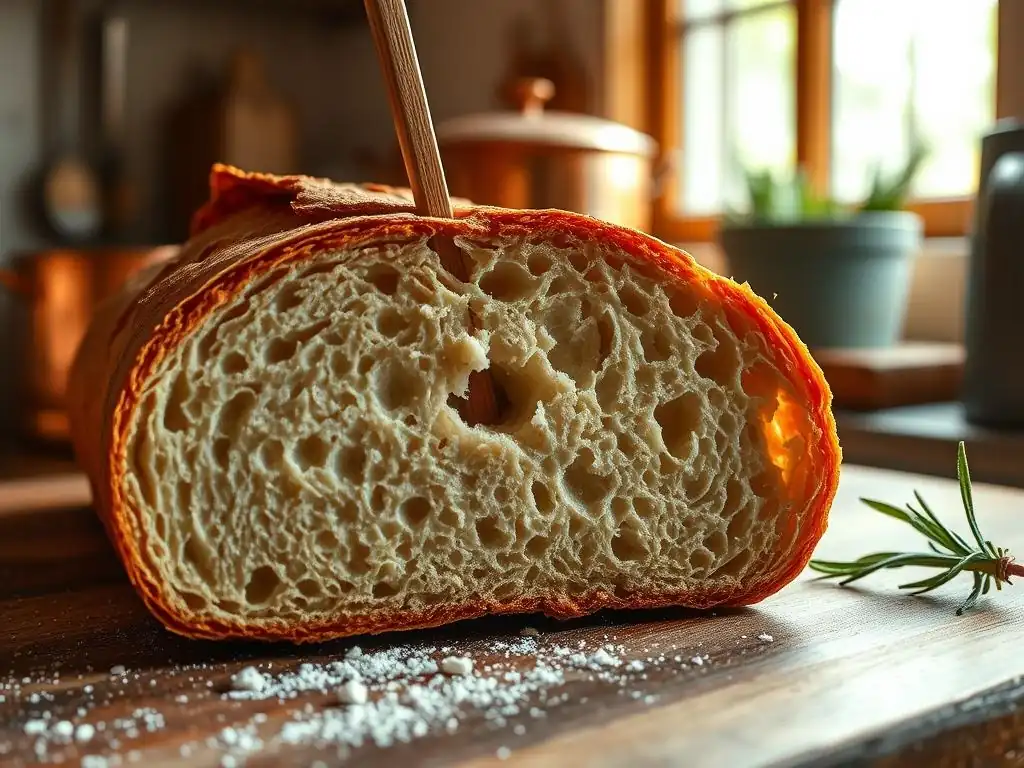
Identifying an undercooked sourdough loaf often starts with simple visual inspection. While a beautiful, deeply colored crust is a good sign, it's not the only indicator and can sometimes be misleading. A loaf might look perfectly golden brown on the outside but still be raw within, especially if the oven temperature was too high initially, causing the crust to set prematurely before the heat penetrated the interior. Learning to spot the subtle visual cues associated with underbaking is a vital part of effective perfect bread doneness troubleshooting.
Look closely at the crust color, particularly the bottom crust. A very pale or light-colored crust, especially on the bottom, is a strong visual indicator that the loaf hasn't spent enough time in the oven. While different flours and baking methods result in varying crust shades, a truly pale crust often signals insufficient heat exposure.
Inside, once you slice into the loaf (preferably after it has cooled slightly), examine the crumb structure. An undercooked interior will appear dense, compressed, and possibly wet or sticky, lacking the open, airy texture characteristic of well-baked sourdough. You might even see distinct layers or areas that look particularly gummy or raw.
Pale Crust: A Sign of Insufficient Baking Time
A pale crust, lacking the rich, caramelized brown hues typically associated with well-baked sourdough, is a common symptom of underbaking. This happens when the loaf is removed from the oven before the Maillard reaction and caramelization processes on the exterior are complete. These reactions occur at higher temperatures than those needed to set the interior crumb. If your crust is barely golden or still looks quite light, it's highly probable that the interior hasn't reached the optimal temperature for perfect sourdough doneness.
Gummy Crumb: Identifying Raw Spots
The most definitive visual sign of an undercooked sourdough interior is a gummy or sticky crumb. Instead of a resilient, airy structure that springs back when gently pressed, the crumb will feel dense, wet, and may stick to your fingers or knife. In severe cases, you might see pockets of dough that appear almost raw or translucent.
This texture indicates that the starches in the flour haven't fully gelatinized and set, a process that requires the internal temperature to reach a specific range. A gummy crumb is a clear signal that you need to work on your perfect sourdough doneness technique.
The Internal Temperature Test: The Key to Perfect Sourdough Doneness
While visual cues are helpful, the most reliable method for determining perfect sourdough doneness is measuring the internal temperature. This test provides an objective, quantifiable answer to whether the bread has baked through. Just as you wouldn't judge a roast chicken solely by its skin color, relying only on the crust of bread can be misleading. An instant-read thermometer is an indispensable tool for any serious baker tackling bread doneness troubleshooting.
To perform the test, insert the thermometer probe into the thickest part of the loaf, avoiding any large air pockets. Ensure the probe reaches the center. The reading you get tells you the core temperature of the crumb, which is the true indicator of whether it has cooked sufficiently. This method eliminates guesswork and is far more accurate than relying solely on sight or feel, guiding you directly to achieving perfect sourdough doneness consistently.
Using a Thermometer for Accurate Sourdough Doneness Measurement
Using a reliable instant-read thermometer is straightforward. Towards the end of the estimated baking time, carefully remove the loaf from the oven. Insert the probe horizontally into the side of the loaf, pushing it deep into the center. Avoid inserting it from the top, as this can damage the crust structure. Hold the thermometer steady and wait a few seconds for the reading to stabilize. Compare this temperature to the recommended range for perfect sourdough doneness.
Recommended Internal Temperature for Sourdough Bread
For most standard sourdough loaves made with wheat flour, the ideal internal temperature indicating perfect sourdough doneness is between 200°F and 210°F (approximately 93°C to 99°C). Some bakers aim for the lower end (200°F) for a slightly softer crumb, while others prefer the upper end (210°F) for a drier, more structured crumb that stays fresh longer.
Reaching this temperature range ensures that the starches are fully gelatinized, the gluten structure is set, and sufficient moisture has evaporated from the interior, resulting in a well-baked loaf with a proper texture and structure. Pulling the loaf before it reaches at least 200°F significantly increases the likelihood of an undercooked, gummy interior.
The Tap Test: A Classic Method for Checking Sourdough Doneness
The tap test is a traditional method used by bakers for generations to assess bread doneness. While not as precise as a thermometer, it's a quick and easy check that can be used in conjunction with other indicators as part of your bread doneness troubleshooting routine. It relies on the principle that a properly baked loaf becomes hollow inside as moisture evaporates, creating an internal cavity that resonates sound.
To perform the tap test, carefully remove the loaf from the oven and turn it upside down. With a firm but gentle tap, strike the bottom crust with your knuckles. Listen to the sound produced. A well-baked loaf that has achieved perfect sourdough doneness will produce a distinct hollow sound, similar to tapping on a drum. This indicates that the crumb is set and sufficient moisture has been driven out.
Interpreting the Sound: Hollow vs. Dull
The key to the tap test lies in distinguishing between a hollow sound and a dull thud. A hollow sound signifies that the interior is cooked through, airy, and has the desired structure. It resonates and is easily audible. Conversely, a dull sound indicates that the interior is still dense, possibly wet, and undercooked. It sounds heavy and doesn't echo or resonate. If your loaf produces a dull thud, it likely needs more time in the oven to achieve perfect sourdough doneness.
Tips for Avoiding Undercooked Sourdough
Adjusting Baking Time for Perfect Sourdough Doneness
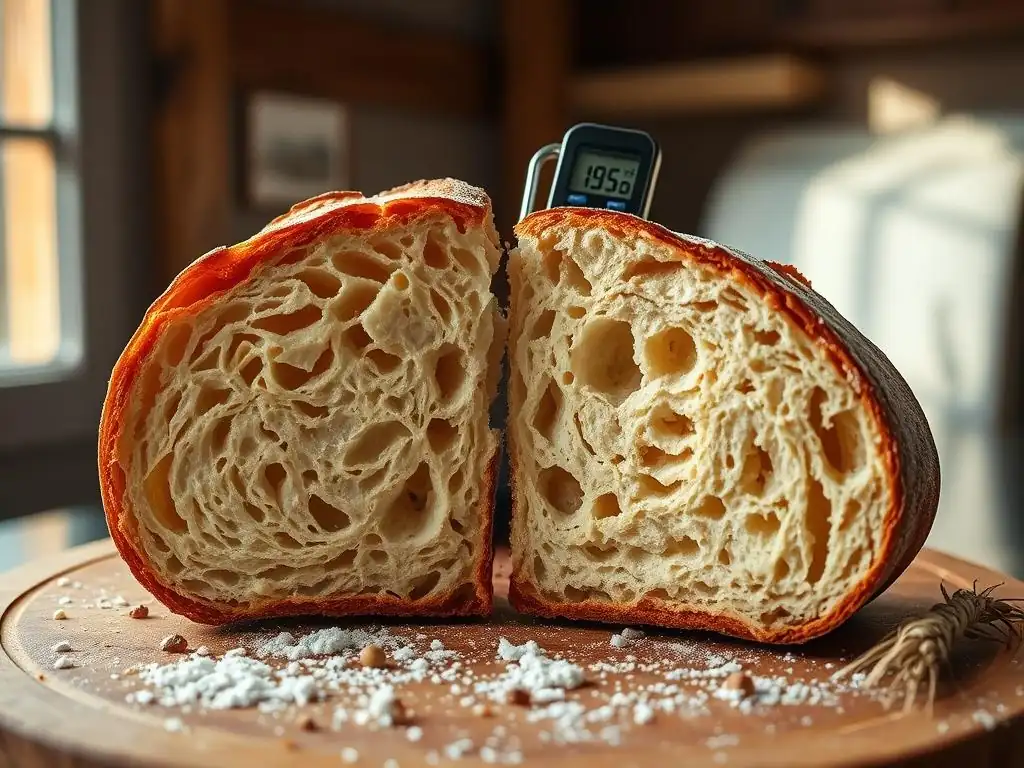
One of the most direct ways to prevent undercooked sourdough is by adjusting your baking time. Recipes provide estimates, but they are just that – estimates. Actual baking time varies significantly based on several factors specific to your kitchen and loaf. Don't be afraid to extend the bake time if your temperature checks or visual cues suggest the loaf isn't ready. Often, an extra 5-15 minutes can make the difference between a gummy mess and perfect sourdough doneness.
If you consistently find your loaves undercooked, consider slightly increasing the overall baking duration in your standard routine. For example, if a recipe calls for 40 minutes at 450°F (230°C), try baking for 45-50 minutes, checking the internal temperature towards the end. Paying attention to the clock in conjunction with reliable doneness tests is crucial for effective bread doneness troubleshooting.
Factors Affecting Baking Time: Oven Calibration, Dough Hydration, and Loaf Size
Understanding how various factors influence baking time is essential for consistently achieving perfect sourdough doneness. Oven calibration is paramount; many home ovens run hot or cold, sometimes by as much as 50°F (28°C). Using an oven thermometer can help you verify your oven's true temperature and adjust accordingly, perhaps setting it slightly higher or lower than the recipe specifies.
Dough hydration plays a significant role – higher hydration doughs require longer baking times to evaporate the excess water. A loaf made with 80% hydration will need more time than one at 65% hydration. Similarly, the size and shape of your loaf matter. A large boule (round loaf) or bâtard (oval loaf) will take longer to bake through than smaller rolls or baguettes. A 1kg loaf might need 50-60 minutes, while a 500g loaf might only require 30-40 minutes at the same temperature. Adjusting time based on these variables is key to successful perfect sourdough doneness.
Ensuring Even Baking: Techniques for Consistent Results
Even baking is critical for preventing hot spots and ensuring the entire loaf reaches the necessary internal temperature for perfect sourdough doneness. Uneven heat distribution in the oven can lead to parts of the loaf being done while others remain undercooked. Implementing techniques that promote even heat transfer can significantly improve your results.
Preheating your oven adequately is a non-negotiable first step. Allow at least 30-60 minutes for your oven and any baking surfaces (like stones or Dutch ovens) to come up to the correct temperature and stabilize. Rotating your loaf halfway through the bake can also help, especially in ovens with known hot or cold spots. If one side is browning faster than the other, a quick turn can help even things out and promote uniform perfect sourdough doneness.
Baking with a Dutch Oven
Using a Dutch oven is a highly effective technique for achieving even baking and promoting perfect sourdough doneness, especially in home ovens. The lidded pot traps steam released from the dough during the initial phase of baking. This steam keeps the crust soft and pliable, allowing the loaf to expand fully (oven spring) before the crust sets.
After the lid is removed, typically halfway through the bake, the direct heat from the pot's walls and bottom, combined with the dry heat of the oven, creates a thick, crisp crust and ensures the interior bakes through evenly. Baking a standard 1kg loaf in a preheated Dutch oven (e.g., 20 minutes with the lid on at 450°F/230°C, then 20-25 minutes with the lid off) is a common method for consistent perfect sourdough doneness.
Using a Baking Stone
A baking stone or steel is another excellent tool for promoting even baking and achieving beautiful perfect sourdough doneness. Placed in the oven during the preheat cycle, the stone absorbs and retains heat. When the dough is placed directly on the hot stone, it provides a burst of intense heat to the bottom of the loaf.
This helps the bottom crust develop properly and ensures heat penetrates the base of the loaf quickly and evenly, preventing a pale or undercooked bottom crust, a common issue in bread doneness troubleshooting. Combining a baking stone with steam created by placing a tray of hot water at the bottom of the oven can further enhance crust development and help the loaf bake through evenly.
Recipe Adjustments for Achieving Perfect Sourdough Doneness
Sometimes, the solution to undercooked sourdough lies not just in baking technique but in slight adjustments to your recipe or process before the loaf even hits the oven. Subtle changes in how you handle the starter or dough can impact fermentation and, consequently, how the bread bakes. These are nuanced aspects of achieving perfect sourdough doneness.
Consider the hydration level of your dough. While high hydration can yield a beautiful open crumb, it also increases the risk of underbaking if not managed correctly. If you're consistently struggling with a gummy interior, especially with very wet doughs (above 80% hydration), try slightly reducing the hydration by a few percentage points (e.g., from 85% to 80%). This small adjustment can make a difference in baking time and ease of handling, making it easier to achieve perfect sourdough doneness.
Adjusting Starter Activity
The activity level of your sourdough starter significantly impacts the fermentation process and the dough's structure. An active, vigorous starter produces a well-fermented dough with a strong gluten network capable of trapping gases effectively. This robust structure helps the loaf achieve good oven spring and allows heat to penetrate the crumb more efficiently during baking.
If your starter is sluggish or used past its peak, the dough might be under-fermented, resulting in a dense structure that bakes unevenly and is prone to being undercooked. Ensure your starter is bubbly, active, and doubles in volume within a few hours after feeding before mixing your dough to promote better perfect sourdough doneness.
Autolyse Technique
The autolyse technique, where flour and water are mixed and left to rest before adding the starter and salt, can influence dough development. This resting period allows the flour to fully hydrate and enzymes to start breaking down proteins, which helps with gluten development.
While beneficial for dough handling and structure, some bakers believe a very long autolyse (several hours) can sometimes lead to a slightly stickier crumb that might require a minute or two extra baking time to achieve perfect sourdough doneness. Experimenting with the length of your autolyse (e.g., 30 minutes vs. 2 hours) might be a subtle way to fine-tune your baking process if underbaking is a persistent issue.
Rescue Techniques: What to Do with Undercooked Sourdough
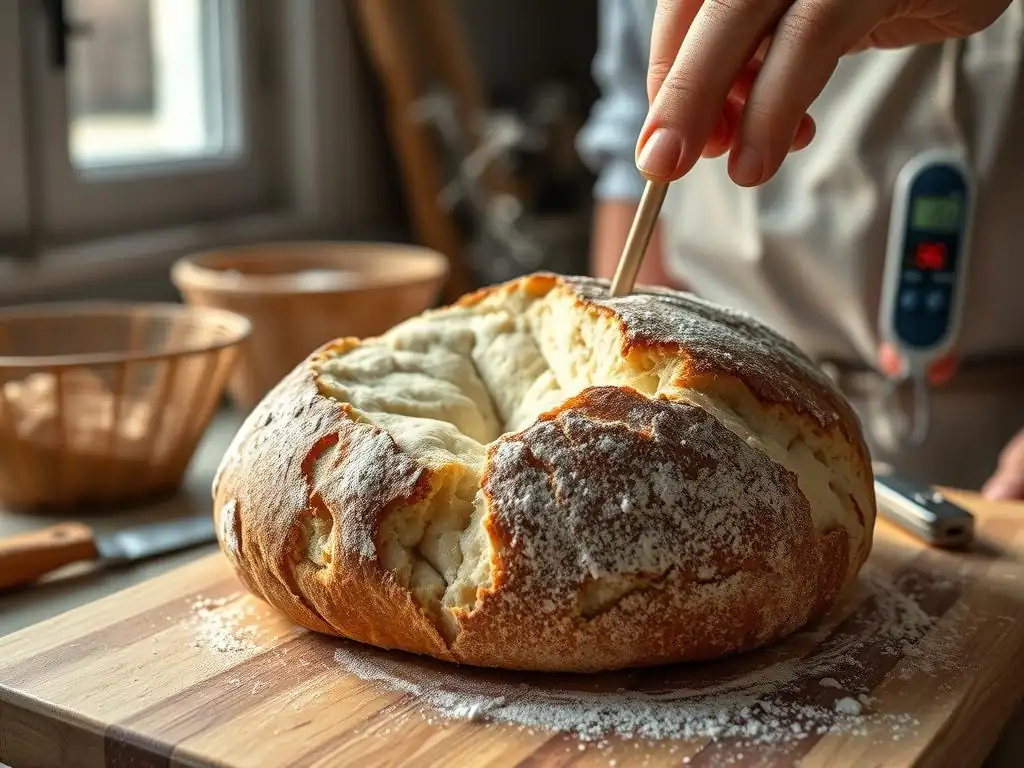
Even with the best intentions, sometimes a loaf comes out of the oven undercooked. Don't despair! There are several ways to salvage an underdone sourdough loaf, depending on the severity of the issue. These rescue techniques are part of the broader scope of bread doneness troubleshooting.
The best approach depends on how undercooked the loaf is. If it's only slightly underdone, with a gummy center but otherwise decent structure, you might be able to finish baking it. If it's significantly undercooked, with large raw areas, it might be better repurposed into other delicious forms. Identifying the degree of undercooking is the first step in deciding on a rescue strategy for perfect sourdough doneness.
Returning the Loaf to the Oven: A Second Chance for Perfect Doneness
If your sourdough loaf is only slightly undercooked – perhaps the internal temperature was just below 200°F (93°C) or the crumb is slightly dense but not outright raw – you can often return it to the oven to finish baking. This works best if you catch it relatively soon after the initial bake. Preheat your oven to a slightly lower temperature than you used initially, perhaps around 350°F to 375°F (175°C to 190°C).
Place the loaf directly on the oven rack or on a baking stone. You might want to tent it loosely with foil if the crust is already quite dark to prevent it from burning. Bake for an additional 10-20 minutes, checking the internal temperature periodically. Aim for that target 200-210°F (93-99°C) range. This second bake allows heat to penetrate the center without excessively browning the crust further, often correcting the perfect sourdough doneness issue.
Slicing and Toasting: Salvaging Slightly Undercooked Sourdough
For loaves that are only marginally undercooked – perhaps the crumb is just a little too moist or slightly gummy in a few spots – slicing and toasting is a fantastic way to salvage them. The heat from toasting will dry out and firm up the crumb, improving the texture and making it perfectly edible and enjoyable.
Slice the slightly undercooked loaf into uniform pieces, about 1/2 to 3/4 inch thick. You can then toast these slices in a toaster, under a broiler, or on a griddle until they are golden brown and firm. Toasted sourdough is wonderful for bruschetta, avocado toast, or simply served with butter. While not achieving perfect sourdough doneness in the original loaf form, this method ensures you don't waste your baking effort.
Using Undercooked Sourdough in Other Recipes: Creative Solutions
If your sourdough loaf is significantly undercooked, with large portions of the interior remaining dense and raw, attempting to re-bake it might result in an overly hard crust before the inside is done. In such cases, repurposing the loaf into other recipes is the most practical and creative solution. This is a common strategy in bread doneness troubleshooting when a loaf is beyond simple re-baking.
Undercooked sourdough is excellent for making breadcrumbs or croutons. Cut or tear the bread into small pieces, spread them on a baking sheet, and bake at a low temperature (around 250°F/120°C) until completely dried out and crisp. Once dry, you can pulse them in a food processor for breadcrumbs or toss them with oil and herbs before baking for croutons. The dense texture of the undercooked crumb works well for these applications. You can also use denser, undercooked sourdough in recipes like bread pudding or Panzanella salad, where the bread is meant to soak up liquid anyway.
Achieving Perfect Sourdough Doneness: Final Thoughts
Mastering the art of perfect sourdough doneness is a journey that involves understanding your ingredients, your process, and your oven. It's a key skill in effective bread doneness troubleshooting. By paying attention to visual cues like crust color and crumb texture, and especially by utilizing the reliable internal temperature test (aiming for 200-210°F or 93-99°C), you can confidently determine when your loaf is truly baked through. Don't solely rely on the clock; listen to the bread and use your tools.
Preventing undercooked sourdough is easier than fixing it. Ensure your oven is accurately calibrated, adjust baking times based on loaf size and hydration, and consider using techniques like baking in a Dutch oven or on a stone to promote even heat distribution. While occasional underbaking is a common experience for bakers, understanding the causes and employing these checks and techniques will significantly increase your success rate, leading to consistently well-baked loaves with that coveted perfect sourdough doneness. And remember, even an undercooked loaf can often be salvaged and enjoyed in a different form!
Frequently Asked Questions
How can I tell if my bread is really done, even if it looks golden brown on the outside?
The best way is to use a thermometer. Insert it into the center of the loaf. The internal temperature should be between 190-210°F (88-99°C), depending on the type of bread.
My bread is browning too quickly on top, but the inside is still doughy. What should I do?
This usually means the oven temperature is too high. Try lowering the oven temperature by 25°F (15°C) and covering the top of the bread loosely with foil to prevent further browning.
What are some visual cues to look for besides browning to determine bread doneness?
A hollow sound when you tap the bottom of the loaf is a good indicator. Also, the sides of the bread should be pulling away slightly from the pan.
What causes bread to be undercooked in the middle, even when following the recipe exactly?
Oven variations are common. Your oven may run cooler than indicated. It's important to trust your thermometer and not just the baking time listed in the recipe.
What if I don't have a thermometer? Are there any other reliable methods to check for bread doneness?
While a thermometer is best, you can try the "toothpick test". Insert a toothpick into the center; if it comes out clean or with just a few moist crumbs, it's likely done. However, this is less accurate than a thermometer.
Final Reflection: The Art and Science of Perfectly Baked Bread
The quest for perfectly baked bread transcends mere culinary skill; it's a journey into understanding the delicate balance between science and artistry. Achieving that golden-brown crust with a fluffy, tender interior is a rewarding experience, but troubleshooting underbaked loaves is a common hurdle for even experienced bakers. This article has explored various methods to check for doneness, from the simple thump test to the internal temperature check, highlighting the importance of understanding your oven and recipe.
The pursuit of perfect bread speaks to a deeper human desire for connection – to tradition, to comfort, and to the simple satisfaction of creating something delicious from scratch. The act of baking, and the subsequent enjoyment of the finished product, fosters a sense of accomplishment and shared experience. Bread is the staff of life,
a common saying reminds us of its fundamental role in human sustenance and culture, a role that extends far beyond mere nutrition. This simple act of baking, and the knowledge to avoid underbaking, connects us to this rich history.
Now, consider your own baking journey. What methods have you used to check for bread doneness? What adjustments will you make based on the information presented here? Don't be afraid to experiment, to learn from your mistakes, and to savor the process. Each loaf, whether perfectly baked or slightly underdone, represents a step forward in your culinary journey. Embrace the challenge, and may your next loaf be the most perfect one yet!
Unleash Your Inner Baker: Perfect Bread, Every Time!
Thanks for taking the time to learn how to bake bread with confidence! You've just unlocked the secret to perfectly baked loaves – no more soggy centers or burnt crusts. Ready to put your new skills to the test?
- Bake a loaf today! Use your newfound knowledge to create a masterpiece. Experiment with different recipes and techniques.
- Share your baking triumphs (or even your funny fails!) on social media using #BakeWithEase. Let's inspire each other!
- Explore our other baking guides on BakeWithEase.com for more tips and tricks to elevate your baking game.
What delicious bread will you create next?