
Pizza Dough Hydration Explained: High vs. Low

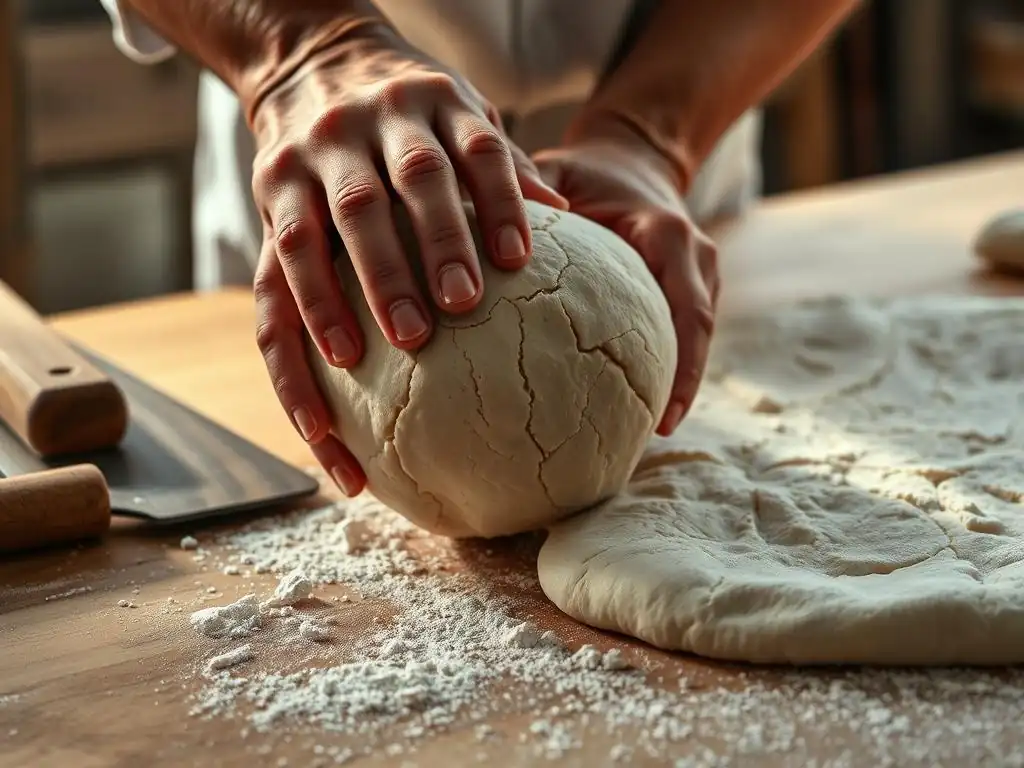
Welcome to BakeWithEase, your trusted companion in the world of baking! Ever wondered how a simple tweak in hydration can drastically transform your pizza? Dive into our latest exploration and unlock the secrets of low hydration pizza dough. Discover the techniques that separate a beginner's bake from a masterpiece, and prepare to elevate your pizza game with insights designed for intermediate bakers and beyond!
- Pizza Dough Hydration Explained: High vs. Low - BakeWithEase
- Understanding Pizza Dough Hydration: An Intermediate Baking Guide
- What is Pizza Dough Hydration and Why Does It Matter?
- Low Hydration Pizza Dough: Characteristics and Benefits
- High Hydration Pizza Dough: Achieving a Light and Airy Crust
- High Hydration vs. Low Hydration Pizza Dough: A Detailed Comparison
- Choosing the Right Hydration Level for Your Pizza
- Tips and Tricks for Working with High and Low Hydration Doughs
- Troubleshooting Common Pizza Dough Hydration Problems
- Conclusion: Finding Your Perfect Pizza Dough Hydration Balance
-
Frequently Asked Questions
- What exactly is pizza dough hydration?
- What are the key differences between high and low hydration pizza dough?
- Why would I choose a low hydration pizza dough recipe?
- How does hydration level impact the baking time and temperature of pizza?
- Where can I find simple and reliable recipes for low hydration pizza dough?
- Final Reflection: The Perfect Slice: Unveiling the Hydration Mystery
- Unlock Your Perfect Pizza Crust: Master Hydration Today!
Pizza Dough Hydration Explained: High vs. Low - BakeWithEase
Understanding Pizza Dough Hydration: An Intermediate Baking Guide
Welcome back to BakeWithEase! Today, we're diving deep into a crucial concept for crafting the perfect homemade pizza: dough hydration. Hydration is a fundamental aspect of bread and dough making, influencing everything from how easy the dough is to work with to the final texture and flavor of your crust. Understanding hydration levels is key to elevating your pizza game, whether you're aiming for a crispy New York slice or a light, airy Neapolitan masterpiece.
Navigating the world of pizza dough can feel complex, but breaking it down into core components like hydration makes it much more approachable. This guide is designed for intermediate bakers ready to refine their techniques and understand the science behind their favorite recipes. By the end, you'll have a clear picture of what hydration means and how to use it to consistently produce fantastic pizza dough.
What is Pizza Dough Hydration and Why Does It Matter?
Defining Hydration in Pizza Dough
Pizza dough hydration refers to the ratio of water to flour used in a recipe, expressed as a percentage of the flour weight. For instance, if a recipe calls for 1000 grams of flour and 600 grams of water, the hydration level is 60% (600g water / 1000g flour * 100%). This percentage is calculated based only on the flour weight, making it a standard way to compare different dough recipes regardless of the batch size.
Understanding this simple ratio is powerful because it directly impacts the gluten development, dough handling, and ultimately, the final texture and structure of the baked crust. A higher percentage means more water relative to flour, resulting in a wetter dough, while a lower percentage yields a drier, stiffer dough. This foundational concept is the starting point for controlling your pizza crust's characteristics.
The Impact of Hydration on Pizza Dough Texture and Flavor
The amount of water in your pizza dough significantly influences its texture and structure. Higher hydration allows for greater gluten development and creates a more open crumb structure with larger air pockets, leading to a lighter, airier crust. Think of a classic Neapolitan pizza with its puffy, bubbly cornicione (edge). This is often achieved with higher hydration levels.
Conversely, lower hydration results in a denser crumb and a crispier texture. A lower hydration pizza dough, typically used for styles like New York or Roman al taglio, produces a crust that holds its shape well and develops a satisfying crunch when baked. The water content also affects fermentation; higher hydration doughs can sometimes ferment faster, contributing to more complex flavors, while lower hydration doughs might require longer fermentation times to develop similar depth.
Hydration Levels: From Low to High
Pizza dough hydration exists on a spectrum, generally ranging from around 50% to over 80%. Doughs with 50-60% hydration are considered low hydration. These doughs are typically easier to handle and result in a crispier crust. A common example is a cracker-thin crust dough, which might be at the lower end of this range.
Medium hydration doughs fall between 60% and 70%. This range offers a balance, providing good handling characteristics while still allowing for some openness in the crumb. Doughs above 70% are considered high hydration. These doughs are stickier and more challenging to work with but can produce incredibly light, airy, and flavorful crusts, characteristic of artisan breads and high-quality Neapolitan pizza.
Low Hydration Pizza Dough: Characteristics and Benefits
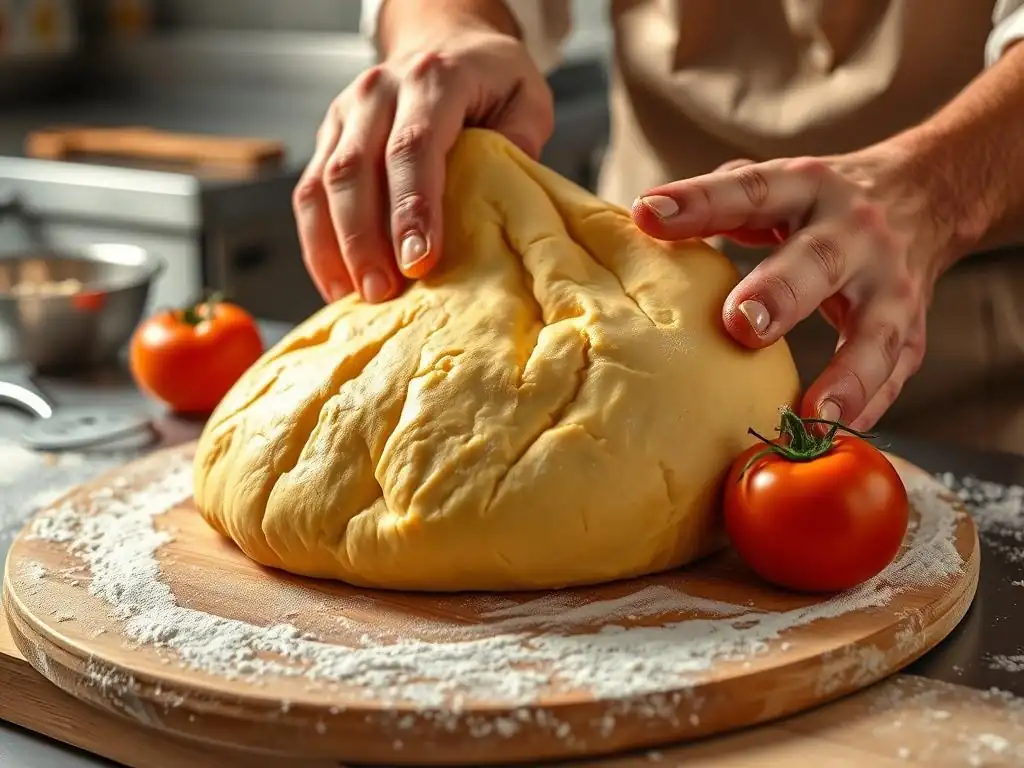
Defining Low Hydration Pizza Dough (50-60% Hydration)
Low hydration pizza dough typically contains between 50% and 60% water relative to the flour weight. This means that for every 1000 grams of flour, you would use between 500 and 600 grams of water. This ratio results in a dough that feels relatively dry and firm compared to higher hydration doughs. It requires less water for the flour proteins to absorb and form gluten, leading to a different structural outcome.
A classic example of a recipe using low hydration pizza dough is one designed for a thin and crispy crust, often baked on a stone or steel at moderate temperatures. The limited water content means less steam is produced during baking, which contributes directly to that desired crispiness. Understanding this range helps you predict the dough's behavior and the final crust outcome.
Characteristics of Low Hydration Dough:
Stiffer Dough, Easier Handling
One of the most noticeable characteristics of low hydration pizza dough is its stiffness. Because there is less water, the dough is less sticky and much easier to manage by hand or machine. It holds its shape well during kneading and stretching, making it forgiving for beginners.
For example, a 55% hydration dough will feel significantly firmer and less prone to tearing than a 75% hydration dough. This ease of handling makes low hydration pizza dough a popular choice for home bakers who might not have specialized tools or extensive experience working with very wet doughs. You can confidently knead it, shape it, and transfer it without it sticking excessively to surfaces or your hands.
Crispier Crust and Chewier Interior
Baking low hydration pizza dough typically results in a crust that is distinctly crispier. The lower water content means less steam is generated internally during baking, allowing the crust to dry out and crisp up more effectively in the oven. This is particularly true for thinner crusts made with this dough type.
Despite the crisp exterior, a properly made low hydration pizza dough can still have a satisfying chewiness, especially in the thicker parts like the edge. The balance between crispiness and chew is a hallmark of styles like New York pizza, where the crust is sturdy enough to fold yet still offers a pleasant bite. Achieving this balance requires careful attention to kneading and baking temperature.
Longer Shelf Life
Doughs with lower water content tend to have a slightly longer shelf life in the refrigerator compared to their higher hydration counterparts. The reduced water activity makes it a less hospitable environment for microbial growth, slowing down fermentation and spoilage.
While refrigeration primarily slows fermentation, the lower hydration contributes to the dough's stability over several days. A low hydration pizza dough stored correctly in the fridge at around 4°C (39°F) can often remain usable for 3-5 days, sometimes even longer, depending on the yeast amount and flour type. This makes it convenient for preparing dough in advance for multiple pizza nights.
Benefits of Using Low Hydration for Pizza Dough
Beginner-Friendly Dough Recipe
For those new to making pizza dough from scratch, starting with a low hydration pizza dough recipe is highly recommended. The dough's stiffness makes it much easier to knead, handle, and shape without frustration. You're less likely to end up with a sticky mess clinging to your hands and surfaces.
Learning the basics of dough development, kneading, and fermentation is more straightforward when the dough is cooperative. A 58% hydration dough, for instance, is far more forgiving when practicing stretching techniques than a 78% dough. This ease of use builds confidence and allows beginners to focus on fundamental techniques before tackling more challenging, wetter doughs.
Easier to Stretch and Shape
The lower water content in low hydration pizza dough provides more structure and less elasticity compared to high hydration doughs. This makes it significantly easier to stretch and shape into your desired pizza form, whether round, square, or freeform. The dough resists tearing and springs back less aggressively.
Imagine stretching a 55% hydration dough compared to an 80% dough. The lower hydration dough stretches smoothly and holds its shape as you work it, while the higher hydration dough will likely feel very slack and want to retract. This ease of stretching makes low hydration pizza dough ideal for achieving consistently thin crusts without specialized skills or tools.
Ideal for New York Style Pizza
The characteristics of low hydration pizza dough make it perfectly suited for classic New York style pizza. This style is known for its large, foldable slices with a crust that is both crispy and chewy. The lower hydration contributes directly to this desired texture profile.
A typical New York style dough might be around 58-62% hydration. This level allows the dough to be stretched thin enough to achieve crispiness while retaining enough structure to be foldable. Baking this dough, often on a deck oven or pizza stone at around 260-300°C (500-570°F), further enhances the crisp bottom and slightly chewy edge, embodying the iconic New York slice.
High Hydration Pizza Dough: Achieving a Light and Airy Crust
Defining High Hydration Pizza Dough (70-80% Hydration or Higher)
High hydration pizza dough refers to doughs with 70% water or more relative to the flour weight. This means for every 1000 grams of flour, you would use 700 grams of water or more. Some artisan doughs push hydration levels even higher, sometimes exceeding 85% or 90%, though these are significantly more challenging to work with.
This high water content drastically changes the dough's consistency, making it very wet, slack, and sticky. While more demanding to handle, this extra water is key to achieving a highly developed gluten network and a very open crumb structure in the final baked crust. It requires specific techniques to manage effectively.
Characteristics of High Hydration Dough:
Stickier Dough, Requires More Skill
The most immediate characteristic of high hydration dough is its stickiness. With so much water relative to the flour, the dough feels very wet and will readily stick to hands and surfaces. This requires different handling techniques, such as using wet hands, bench scrapers, or the stretch and fold method, rather than traditional kneading.
Working with a 75% hydration dough, for example, feels dramatically different from a 55% dough. It will be loose, jiggly, and difficult to form into a smooth ball initially. Mastering high hydration dough requires patience and practice to learn how to manage its slackness and develop its strength without adding excessive flour.
Open Crumb Structure and Air Bubbles
High hydration doughs are renowned for producing a crust with a very open crumb structure. The high water content allows for significant steam production during baking, which helps to inflate the dough and create large, irregular air pockets. This is often visible as large bubbles or 'alveoli' in the crust.
This open structure contributes to a lighter, less dense crust. Think of the airy, bubbly edges of a Neapolitan pizza. This texture is a direct result of using a high hydration dough, typically fermented slowly to build structure and flavor, and then baked quickly at very high temperatures to maximize oven spring and bubble formation.
Softer, More Delicate Crust
Due to the higher water content and open crumb, high hydration pizza dough generally results in a softer, more delicate crust compared to low hydration dough. The crumb is less dense, almost melt-in-your-mouth in some areas, especially in the puffy edges.
While the very high baking temperatures used for some high hydration pizzas (like Neapolitan) can create some char and crispness on the exterior, the interior structure remains soft and pillowy. This delicate texture is a key characteristic of artisan pizzas and contrasts sharply with the sturdy crispness of a low hydration crust.
Benefits of Using High Hydration for Pizza Dough
Improved Flavor Development
High hydration doughs often benefit from longer fermentation times, which are easier to manage due to the dough's structure. This extended fermentation allows for more complex flavor compounds to develop, resulting in a more nuanced and delicious crust. The higher water content also facilitates enzymatic activity, further contributing to flavor.
For instance, a 72% hydration dough left to cold ferment in the refrigerator for 2-3 days will develop significantly more depth of flavor than a 58% dough fermented for only a few hours at room temperature. The subtle tang and complexity achieved through long, slow fermentation with high hydration are highly prized in artisan pizza making.
Creates a Lighter, More Digestible Crust
The open, airy structure of high hydration pizza dough makes the resulting crust feel lighter and often more digestible. The large air pockets mean less dense dough per bite. This is a common observation among those who prefer Neapolitan-style pizza – they often find they can eat more slices without feeling as heavy as they might after eating a denser, lower hydration crust.
The combination of high hydration, proper fermentation, and high-temperature, quick baking results in a crust that is incredibly light and satisfying. The rapid cooking time also contributes to digestibility by setting the structure quickly.
Ideal for Neapolitan Pizza
High hydration dough is the cornerstone of authentic Neapolitan pizza. The strict rules of the Associazione Verace Pizza Napoletana (AVPN) don't specify a precise hydration percentage, but the traditional method using weak flour (Tipo 00) and minimal yeast naturally leads to a dough that performs best at higher hydration levels, typically ranging from 60% to 65% based on the specific flour absorption, but modern interpretations and flours often push this higher, into the 70s and beyond for a more pronounced open crumb.
Achieving the signature puffy, charred cornicione and soft, elastic crumb of Neapolitan pizza requires a dough with enough water to create significant steam and oven spring when baked in a very hot oven (450-500°C / 850-950°F). High hydration provides the necessary flexibility and structure for this rapid expansion and setting.
High Hydration vs. Low Hydration Pizza Dough: A Detailed Comparison
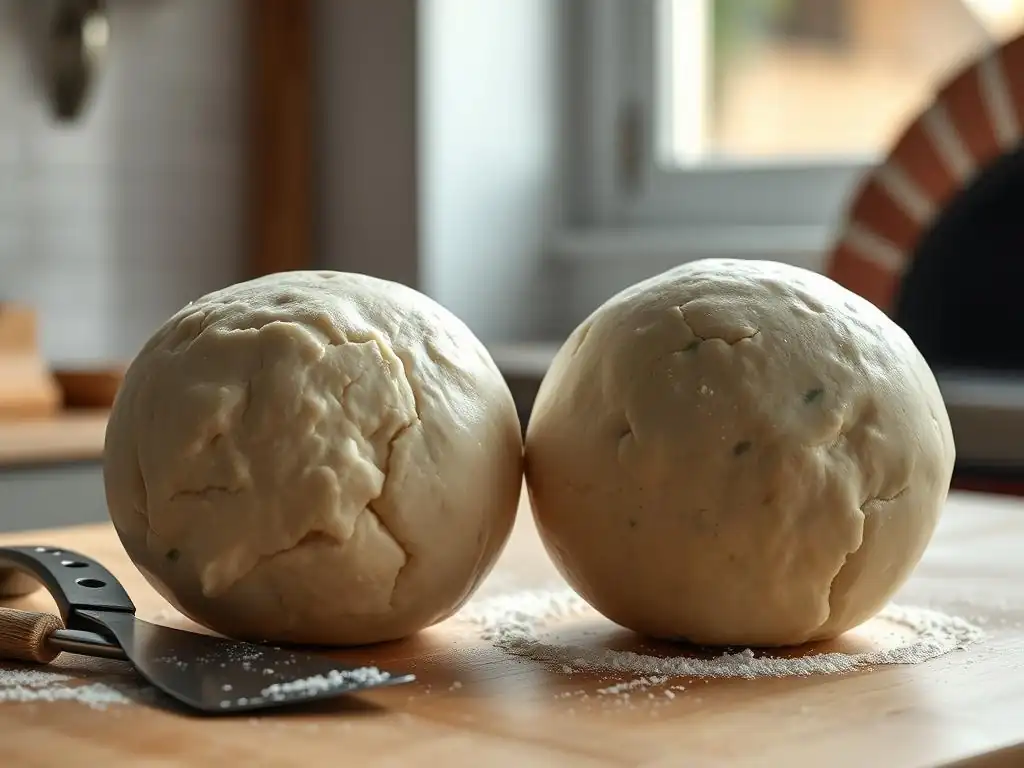
| Feature | Low Hydration Pizza Dough (50-60%) | High Hydration Pizza Dough (70%+) |
|---|---|---|
| Dough Handling | Stiff, easy to knead, shape, and transfer. Less sticky. | Wet, slack, sticky. Requires practice and specific techniques (stretch & fold). |
| Crust Texture | Crispier, denser crumb, often chewy. Good structure for folding. | Softer, very open crumb, airy, often delicate. Puffy, bubbly edges. |
| Flavor Profile | Can be simple or complex depending on fermentation time. | Develops more complex flavors with longer fermentation. |
| Best For | New York style, Roman al taglio, Thin & Crispy. | Neapolitan, Artisan, Baker's Choice for airy crust. |
| Baking Conditions | Wider range of oven types, often slightly longer bake time. | Requires very high heat for best results (pizza oven). |
Dough Handling and Workability
The difference in handling between high and low hydration pizza dough is perhaps the most significant practical distinction for the home baker. A 55% hydration dough is firm and manageable, easily kneaded by hand or machine, and stretches with minimal resistance. It's forgiving and holds its shape well.
In contrast, a 75% hydration dough is loose, sticky, and challenging to handle without proper technique. Traditional kneading is often difficult; methods like stretch and fold or no-knead techniques are more effective for developing gluten in such wet doughs. Transferring the shaped dough to the oven also requires care due to its slackness and tendency to stick.
Crust Texture and Appearance
The final crust texture is a direct result of the hydration level. Low hydration pizza dough produces a crispier, often sturdier crust with a relatively dense crumb. Think of the satisfying crunch when you bite into a slice made with this dough. The appearance is typically more uniform, with smaller, more even air pockets.
High hydration dough yields a crust with a very open, airy structure and large, irregular bubbles (alveoli). The texture is soft and often delicate, particularly in the puffy edges. While the exterior can achieve some crispness or char at high temperatures, the dominant characteristic is lightness and airiness.
Flavor Profile and Overall Taste
While many factors influence flavor (flour type, fermentation time, yeast), hydration plays a role. High hydration doughs, often subjected to longer fermentation, tend to develop more complex flavors – a subtle tang, nutty notes, and a richer aroma. The increased water facilitates enzymatic breakdown of starches into sugars, contributing to better browning and flavor development.
Low hydration pizza dough, while capable of good flavor with proper fermentation, can sometimes produce a simpler, more bread-like taste if not given sufficient time to develop. However, when cold-fermented for several days, even a low hydration pizza dough can achieve significant depth of flavor, offering a balance that some prefer.
Baking Time and Temperature Considerations
The optimal baking conditions often differ for high and low hydration pizza dough. High hydration doughs are typically baked at very high temperatures (400-500°C / 750-950°F) for a very short time (60-90 seconds for Neapolitan) to maximize oven spring and set the delicate structure before it collapses. This requires specialized pizza ovens.
Low hydration pizza dough is more versatile and can be successfully baked in standard home ovens, often at temperatures ranging from 230-275°C (450-525°F) for slightly longer periods (8-15 minutes, depending on thickness and oven). The lower water content is less dependent on extremely high heat for steam production to achieve a good crust.
Choosing the Right Hydration Level for Your Pizza
Factors to Consider When Selecting Hydration:
Skill Level and Experience
Your experience level is a major factor in choosing hydration. If you are a beginner, starting with a low hydration pizza dough (around 55-60%) will make the process much more enjoyable and successful. The ease of handling reduces frustration and allows you to focus on other fundamental techniques like kneading and shaping.
As you gain confidence, you can gradually increase the hydration percentage, perhaps moving to 65% or 70%, to challenge yourself and experiment with different crust textures. High hydration doughs require more advanced techniques to manage stickiness and build dough strength effectively.
Desired Crust Characteristics
What kind of pizza crust are you aiming for? If you want a crispy, sturdy crust that's easy to slice and hold, low hydration pizza dough is likely your best bet. Think of the classic slice shop experience.
If you prefer a light, airy crust with a soft, chewy interior and dramatic, bubbly edges, then a higher hydration dough is necessary. This is the path to achieving Neapolitan or other artisan-style pizzas known for their delicate structure.
Oven Type and Baking Conditions
The type of oven you have access to significantly impacts which hydration level will perform best. If you have a standard home oven that reaches around 250-275°C (475-525°F), both low hydration pizza dough and medium hydration doughs will work well. You can achieve excellent crispness and good structure.
However, if you want to fully realize the potential of high hydration doughs, especially those above 70-75%, a very hot oven (like a dedicated pizza oven reaching 400°C+ or a home oven with a reliable pizza steel/stone preheated for an hour+) is essential. Lower temperatures won't provide the necessary initial burst of heat to properly inflate and set the high hydration dough, potentially resulting in a dense or gummy crust.
Recipe Adjustments for Different Hydration Levels
Adjusting hydration in a recipe is straightforward once you understand the percentage concept. To increase hydration, simply add more water relative to the flour weight while keeping the flour constant. For example, if a recipe uses 500g flour and 300g water (60% hydration), to reach 65% hydration, you would use 500g flour and 325g water (500 * 0.65 = 325).
Conversely, to decrease hydration and create a low hydration pizza dough, reduce the amount of water. Using the same example, to get to 55% hydration, you would use 500g flour and 275g water (500 * 0.55 = 275). Remember that even small adjustments (5-10%) can significantly change the dough's feel and behavior. Always measure your ingredients by weight for accuracy when adjusting hydration.
Tips and Tricks for Working with High and Low Hydration Doughs
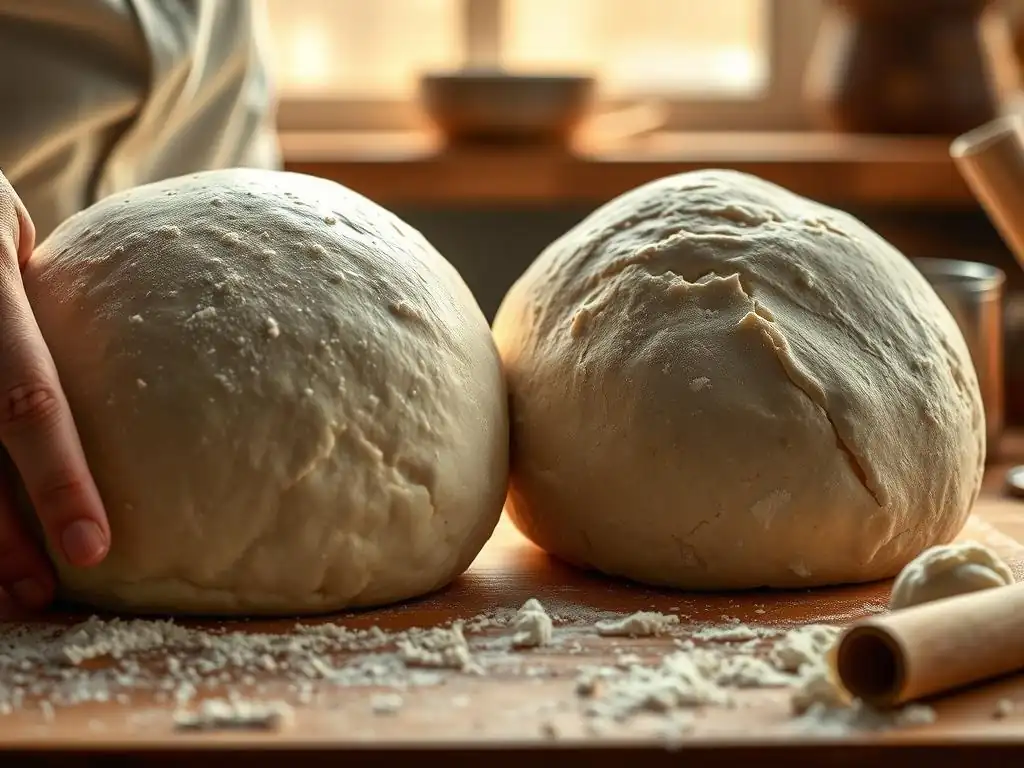
Mastering Low Hydration Techniques
Proper Kneading for Low Hydration Dough
Low hydration pizza dough requires thorough kneading to develop sufficient gluten structure. Because the dough is stiffer, it needs mechanical action to align the gluten strands. You can knead it vigorously by hand using methods like the French fold or standard push-and-pull techniques, or use a stand mixer with a dough hook.
Aim for a dough that is smooth, elastic, and passes the windowpane test (you can stretch a small piece thin enough to see light through without tearing). This typically takes 8-12 minutes in a stand mixer or 15-20 minutes by hand, depending on the flour. Proper kneading ensures the dough has the strength to rise and hold its shape during baking, contributing to the desired crisp-chewy texture of low hydration pizza dough.
Achieving the Right Dough Consistency
Even within the low hydration pizza dough range (50-60%), consistency can vary slightly based on flour type and environmental factors. The goal is a dough that is not sticky but is still pliable and smooth. If your dough feels too dry and crumbly, add a tiny bit more water (a teaspoon at a time) during kneading until it comes together.
If it feels slightly too wet or sticky for the low hydration range you're targeting, you can add a small amount of flour (a tablespoon at a time) during the final stages of kneading. Trust your tactile sense; the dough should feel firm but alive and elastic, not tough or dry.
Taming High Hydration Dough
Using the Stretch and Fold Technique
Traditional kneading is less effective and more frustrating with high hydration dough due to its stickiness and slackness. The stretch and fold technique is ideal for developing gluten in these wet doughs. After the initial mixing, let the dough rest for 20-30 minutes (autolyse). Then, every 20-30 minutes over the next 1-2 hours, gently stretch a section of the dough up and fold it over itself, rotating the bowl each time.
This process builds dough strength without the need for vigorous kneading. By the end of several rounds of stretch and folds, a very slack 75% hydration dough will transform into a cohesive, elastic mass with visible air bubbles, ready for bulk fermentation.
Managing Stickiness and Dough Strength
Working with sticky, high hydration dough requires a few tricks. Keep your hands slightly wet or lightly oiled to prevent the dough from sticking. Use a bench scraper to handle the dough on the counter. Avoid adding excessive flour, as this will change the hydration level you're trying to achieve.
Developing sufficient dough strength through proper mixing, autolyse, and stretch and folds is crucial. A strong high hydration dough, even if sticky, will have tension and structure. If your dough feels like a completely slack puddle, it likely needs more gluten development or time to rest and build strength. Patience is key when working with these wetter doughs.
Troubleshooting Common Pizza Dough Hydration Problems
Dealing with a Dough That is Too Dry
If you've mixed your dough and it feels too dry, crumbly, or isn't coming together into a cohesive mass, it's likely under-hydrated for the recipe or flour type. This can happen if you measured inaccurately or if your flour is particularly absorbent.
- Solution: Gradually add very small amounts of water (a teaspoon at a time) while kneading. Work the water in completely before adding more. Continue adding water until the dough reaches the desired consistency – cohesive, smooth, and elastic, not dry or tearing easily. For a low hydration pizza dough, you still want it to feel pliable, not like biscuit dough.
Addressing a Dough That is Too Sticky
Conversely, if your dough is excessively sticky and difficult to handle, it's likely over-hydrated or hasn't developed enough gluten strength yet. This is more common with attempts at high hydration or if you added too much water.
- Solution: If it's only slightly too sticky for your target hydration, try kneading it longer; sometimes, gluten development helps manage stickiness. If it's significantly too wet, you can carefully knead in very small amounts of flour (a tablespoon at a time) until the dough reaches a manageable consistency. Be cautious not to add too much, as this changes the hydration. For high hydration doughs that are supposed to be sticky, focus on using techniques like wet hands or a bench scraper instead of adding flour.
Adjusting Hydration Levels in Your Favorite Pizza Dough Recipe
Want to tweak your go-to recipe? It's easy to adjust the hydration once you know the base percentage. First, calculate the current hydration (Water weight / Flour weight * 100).
- To increase hydration: Decide on your new target percentage. Calculate the new water amount needed (Flour weight * New target hydration percentage). Add the difference in water to your recipe. You might need to adjust yeast slightly and potentially use different mixing/kneading techniques if making a big jump towards high hydration.
- To decrease hydration (create a low hydration pizza dough): Decide on your lower target percentage. Calculate the new water amount (Flour weight * New target hydration percentage). Reduce the water in your recipe accordingly. The dough will be stiffer and easier to handle, requiring standard kneading.
Always make adjustments gradually (e.g., 5-10% at a time) and note the changes so you can replicate successful results.
Conclusion: Finding Your Perfect Pizza Dough Hydration Balance
Understanding pizza dough hydration opens up a world of possibilities in your home baking. Whether you prefer the ease of handling and crispy crust of low hydration pizza dough or the airy lightness and complex flavor of high hydration dough, knowing how water interacts with flour empowers you to control your results.
There's no single "right" hydration level; the best choice depends on your skill level, your equipment (especially your oven), and the type of pizza you dream of creating. Don't be afraid to start simple, master one hydration level, and then gradually experiment.
Experimenting with Different Hydration Levels
The most fun part is trying it yourself! Start with a reliable low hydration pizza dough recipe (like 58-60%) and see how it behaves. Once you're comfortable, try the same recipe but increase the water slightly to reach 65%, then 70%. Observe how the dough feels, how it stretches, and how the final crust turns out.
Keep a baking journal to track your experiments: note the hydration percentage, flour type, fermentation time, baking temperature, and your observations on dough handling and crust texture. This systematic approach will quickly teach you how different hydration levels impact your specific setup.
Developing Your Own Signature Pizza Dough Recipe.
As you experiment, you'll begin to understand how to tweak recipes to suit your preferences. Maybe you love the ease of low hydration pizza dough but want a touch more airiness – try bumping up the hydration to 62%. Perhaps you admire high hydration crusts but find 80% too difficult – settle into a comfortable 72% and perfect your technique there.
Your signature pizza dough recipe will be a reflection of your favorite crust characteristics and your baking style. It's a journey of learning and delicious discovery, guided by the simple yet powerful concept of hydration. So, measure your water and flour by weight, choose your hydration adventure, and get ready to bake some amazing pizza!
Frequently Asked Questions
What exactly is pizza dough hydration?
Hydration refers to the ratio of water to flour in a pizza dough recipe. It's a crucial factor affecting the dough's texture and final product.
What are the key differences between high and low hydration pizza dough?
High hydration doughs are often stretchier and yield airier crusts. Low hydration doughs are easier to handle and produce crispier crusts.
Why would I choose a low hydration pizza dough recipe?
Low hydration dough is generally easier for beginners to work with. It's less sticky and more manageable, leading to a more predictable result.
How does hydration level impact the baking time and temperature of pizza?
Low hydration dough typically requires slightly longer baking times at slightly lower temperatures than high hydration dough, to ensure proper cooking without burning.
Where can I find simple and reliable recipes for low hydration pizza dough?
BakeWithEase.com offers a range of step-by-step guides and recipes specifically designed for low hydration pizza dough, using easy-to-find ingredients.
Final Reflection: The Perfect Slice: Unveiling the Hydration Mystery
Understanding pizza dough hydration is not just about achieving the perfect crust; it's about unlocking a deeper understanding of the baking process itself. The seemingly simple act of mixing flour and water transforms into a complex interplay of gluten development, fermentation, and ultimately, flavor. Mastering hydration, as we've explored, is the key to unlocking the full potential of your pizza dough.
The quest for the ideal pizza dough has captivated home bakers and professional pizzaiolos for generations. This exploration into high versus low hydration techniques reveals a fascinating spectrum of textures and flavors, each with its own unique charm. The beauty of pizza lies not only in its simplicity but in the infinite possibilities it offers.
This quote, though not directly about hydration, perfectly encapsulates the journey we've undertaken. The subtle shifts in hydration levels profoundly impact the final product, influencing everything from the chewiness of the crust to the overall taste experience. This journey has been a personal one, refining my own understanding and appreciation for the artistry of pizza making.
Now, it's your turn. Consider the nuances of hydration we've discussed. Experiment! Don't be afraid to adjust your hydration levels, to explore the different textures and flavors that emerge. The perfect slice isn't a destination, but a journey of discovery. Embrace the process, learn from your mistakes, and most importantly, enjoy the delicious rewards of your efforts. The world of pizza dough awaits your exploration.
Unlock Your Perfect Pizza Crust: Master Hydration Today!
Thanks for taking the time to explore the world of pizza dough hydration with us! We hope you now feel more confident in understanding how hydration affects your crust. Ready to put this knowledge into practice?
- Bake a test pizza: Try making two small pizzas—one with high hydration dough, and one with low—and compare the results! Note the differences in texture, chewiness, and overall taste. This hands-on approach is the best way to solidify your understanding.
- Share your results: Post a picture of your pizza creations on social media and tag us! Let's build a community of pizza-making enthusiasts. Use #BakeWithEaseHydration.
- Experiment with different flours: Challenge yourself to try different types of flour to see how hydration interacts with various grains and proteins. What new textures and flavors can you unveil?
What exciting crust variations will you create with your newfound hydration expertise?