
The Baker's Secret Weapon: Mastering Perfect Chocolate Tempering.

Welcome to BakeWithEase, your haven for unlocking the secrets of exceptional baking! Ever dreamed of achieving that flawlessly glossy, perfectly snappy chocolate finish? Dive into our comprehensive guide and discover the baker's secret weapon: mastering perfect chocolate tempering techniques. Intrigued? Prepare to elevate your creations with this essential skill and watch your desserts transform into culinary masterpieces. Let's get started!
- Understanding Chocolate Tempering: A Comprehensive Guide
- Achieving Perfect Chocolate Tempering: Step-by-Step Techniques
- Troubleshooting Common Chocolate Tempering Problems
- Choosing the Right Chocolate for Tempering: A Guide
- Applications of Perfectly Tempered Chocolate
- Maintaining Your Tempered Chocolate: Tips and Tricks
-
Frequently Asked Questions
- How important is tempering chocolate for baking projects?
- What are the main techniques for tempering chocolate described in this guide?
- What equipment is essential for successfully tempering chocolate at home?
- What happens if I overheat the chocolate during the tempering process?
- Where can I find reliable recipes and further guidance after reading this article?
- Final Reflection: The Enduring Allure of Perfectly Tempered Chocolate
- Unlock Your Inner Chocolatier: Perfect Tempering Awaits!
Understanding Chocolate Tempering: A Comprehensive Guide
What is Chocolate Tempering and Why is it Essential?
Chocolate tempering is a precise process of heating and cooling chocolate to stabilize the cocoa butter crystals within it. This isn't just a fancy step for professional chocolatiers; it's absolutely essential for achieving high-quality results in many baking and confectionery applications. When chocolate is simply melted and allowed to cool, the cocoa butter crystals form in an unstable structure, resulting in a dull finish, a crumbly or soft texture, and susceptibility to melting easily at room temperature. Think of that white, streaky surface sometimes seen on old chocolate bars – that's bloom, a direct result of untempered chocolate.
Achieving perfect chocolate tempering ensures several desirable characteristics: a beautiful, glossy sheen; a firm texture with a satisfying snap when broken; and resistance to melting unless heated significantly. For any baker looking to elevate their confections, from dipped strawberries and molded bonbons to chocolate decorations and coatings, mastering this process is key. It transforms chocolate from a simple ingredient into a professional-grade finishing touch. This perfect chocolate tempering techniques guide will walk you through the methods to achieve these results reliably every time.
The Science Behind Tempering: Polymorphism and Crystal Formation
The magic behind perfect chocolate tempering lies in the unique properties of cocoa butter. Cocoa butter is polymorphic, meaning its fat molecules can crystallize in several different forms, each with a distinct melting point and structure. There are six known crystal forms, labeled I through VI. When chocolate is melted and cooled without control, the cocoa butter forms a mix of unstable crystal forms (I, II, III, IV). These forms are weak, melt easily, and lead to bloom.
The goal of tempering is to encourage the formation of only the stable Form V crystal. This crystal form melts at a relatively high temperature (around 31-34°C, depending on the chocolate type), provides the desired snap and shine, and is resistant to bloom.
By carefully controlling the temperature during the cooling process, we guide the cocoa butter molecules to align into this specific, stable structure. For instance, dark chocolate typically needs to be heated to around 45-50°C to melt all crystal forms, cooled down to approximately 27-29°C to encourage Form V formation, and then slightly reheated to a working temperature of 31-32°C to melt out any remaining unstable crystals, leaving only the stable ones.
Achieving Perfect Chocolate Tempering: Step-by-Step Techniques
Technique 1: Seeding Method for Controlled Tempering
Step 1: Melting the Chocolate
The first step in this perfect chocolate tempering technique is to melt your chocolate properly. It's crucial to start with high-quality couverture chocolate, ideally in small pieces or callets, as this melts more evenly. Gently melt about 80-90% of your total chocolate over a double boiler or carefully in a microwave at 50% power, stirring frequently. For dark chocolate, aim to reach a temperature of 45-50°C (113-122°F).
For milk or white chocolate, a slightly lower temperature of 40-45°C (104-113°F) is sufficient. Avoid overheating, as this can burn the chocolate or make it difficult to temper. Ensure no water comes into contact with the chocolate, as even a single drop can cause it to seize and become unusable for tempering.
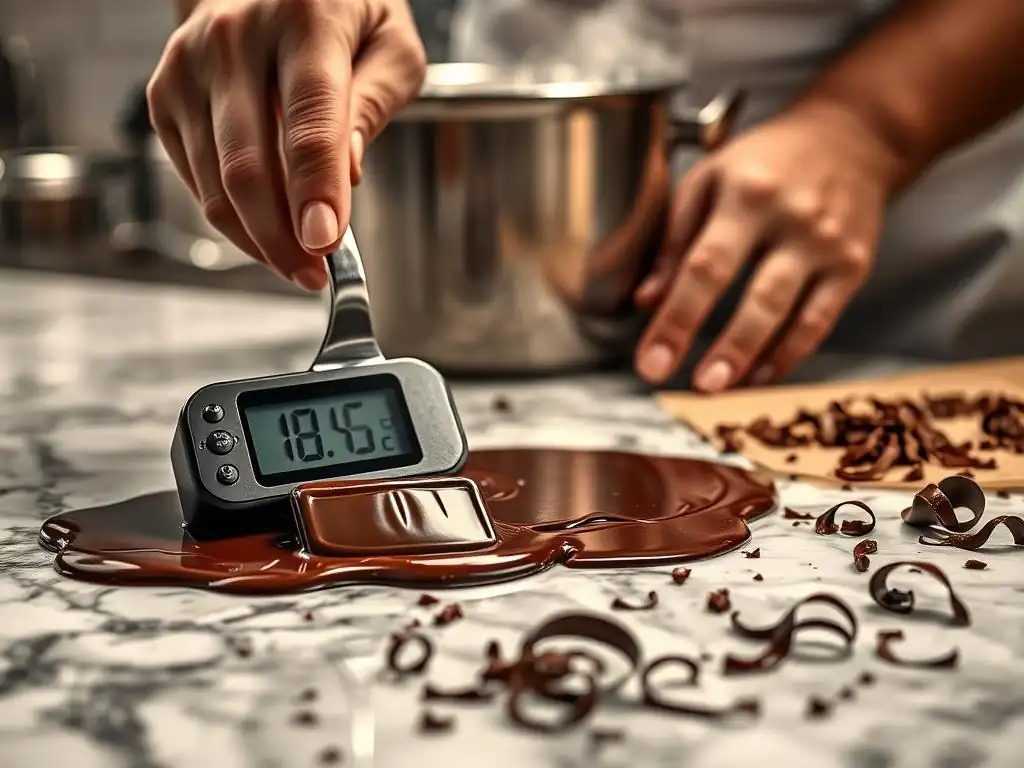
Once the majority of the chocolate is melted and has reached the target temperature, remove it from the heat source. The goal here is to have a smooth, liquid chocolate mass where all the cocoa butter crystals have been melted away. Having a reliable digital thermometer is indispensable at this stage to ensure you hit the correct temperature targets precisely. This initial melting phase is about eliminating all previous crystal memory before introducing the stable Form V crystals via the seeding material in the next step of this chocolate tempering guide.
Step 2: Adding Seed Chocolate
Now comes the 'seeding' part of this perfect chocolate tempering technique. Add the remaining 10-20% of your finely chopped, untempered chocolate (the 'seed') into the melted chocolate. Stir continuously and gently with a rubber spatula. The purpose of adding untempered chocolate is twofold: it helps to cool down the melted chocolate, and more importantly, the untempered chocolate contains stable Form V crystals that act as templates, encouraging the crystals in the melted chocolate to form the same stable structure as it cools.
Keep stirring until the added chocolate is completely melted and the overall temperature of the mixture drops. For dark chocolate, you are aiming for a working temperature of approximately 31-32°C (88-90°F). For milk chocolate, target 30-31°C (86-88°F), and for white chocolate, aim for 28-29°C (82-84°F). The amount of seed chocolate and the speed at which it melts will depend on the initial temperature of your melted chocolate and the ambient room temperature. Patience and continuous stirring are key to distributing the seed crystals evenly and ensuring smooth cooling.
Step 3: Monitoring Temperature and Assessing Temper
As you stir in the seed chocolate and the temperature drops towards the target working range, you need to monitor closely. Once the chocolate reaches the desired temperature (e.g., 31-32°C for dark), remove any remaining unmelted seed chocolate if necessary (though ideally, it should all melt if finely chopped and enough time/stirring is given). The chocolate should be smooth and fluid. To confirm you have achieved perfect chocolate tempering, perform a temper test. Dip the tip of a clean knife, a spoon, or a piece of parchment paper into the chocolate.
Place the test strip at room temperature (ideally around 20-22°C or 68-72°F). Perfectly tempered chocolate should begin to set within 2-5 minutes and harden completely within 5-10 minutes, developing a glossy, streak-free finish. If it sets slowly, looks dull, or develops streaks, the chocolate is not in temper, and you'll need to gently reheat it slightly (perhaps by 1-2°C) or add a little more seed chocolate and stir, then test again. If it sets too quickly and becomes thick or grainy, it might be over-tempered, requiring gentle reheating to melt some excess crystals before retesting.
Technique 2: Tablier Method (Marble Slab Tempering) for a Smooth Finish
Step 1: Preparing the Marble Slab
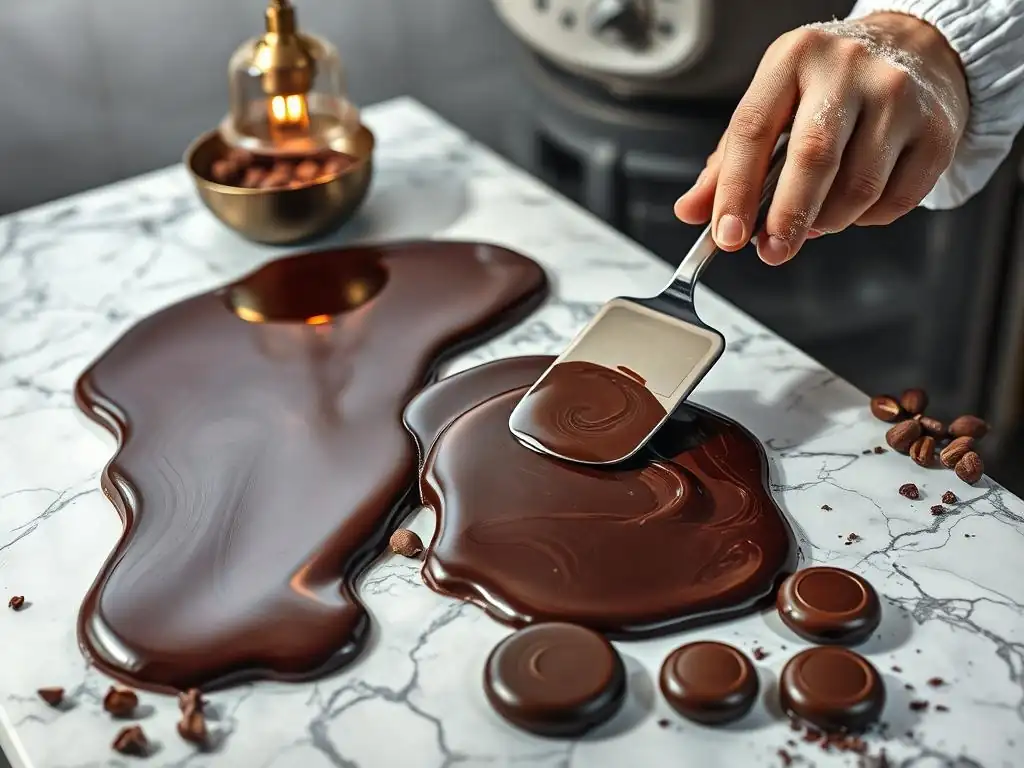
The tablier method, also known as the marble slab method, is a classic perfect chocolate tempering technique favored by many professionals for its visual control over the crystallization process. It requires a clean, cool surface, traditionally a marble or granite slab. Ensure the slab is perfectly clean and dry before you begin; any moisture or debris can ruin the temper. Have your tools ready: a metal scraper or palette knife and a spatula are essential for working the chocolate on the cold surface.
Before starting, melt your chocolate just as you would for the seeding method, heating it to the appropriate temperature to melt all crystals (45-50°C for dark, 40-45°C for milk/white). Once melted, remove the chocolate from the heat source. The marble slab acts as a rapid cooling surface that quickly brings the temperature down, encouraging the formation of stable Form V crystals through movement and surface contact. The coolness of the slab is critical for this technique to work effectively.
Step 2: Spreading and Cooling the Chocolate
Carefully pour about two-thirds of the melted chocolate onto the prepared marble slab. Immediately begin to spread and work the chocolate back and forth across the cool surface using your scraper and spatula. The goal is to cool the chocolate down quickly while constantly moving it to prevent it from setting into a solid mass. As you work it, the chocolate will thicken slightly and become less fluid.
Monitor the temperature of the chocolate on the slab. You are aiming to cool it significantly, down to approximately 27-28°C (81-82°F) for dark chocolate, or even slightly lower for milk and white chocolate (around 26-27°C or 79-81°F). This temperature range is where the stable Form V crystals preferentially form. You might notice the chocolate starting to look slightly thicker or matte in spots – this is a visual cue that crystals are forming. The speed at which the chocolate cools will depend on the temperature of the slab and the room.
Step 3: Returning the Chocolate and Testing for Temper
Once the chocolate on the slab has cooled to the target temperature and shows signs of thickening, quickly scrape it up using your scraper and return it to the bowl containing the remaining one-third of the warm, melted chocolate. Stir the mixture together thoroughly. The warmer chocolate in the bowl will gently raise the temperature of the cooled, seeded chocolate from the slab, bringing the entire batch up to the ideal working temperature (31-32°C for dark, 30-31°C for milk, 28-29°C for white).
Stir until the chocolate is smooth and uniform in temperature. Now, perform the same temper test as described in the seeding method: dip a knife or parchment strip into the chocolate and observe how it sets at room temperature. It should harden quickly (within minutes) with a beautiful shine and no streaks.
If it's too thick or sets instantly, it's likely over-tempered and needs gentle reheating. If it remains liquid or sets slowly and dully, it needs more cooling and working on the slab or perhaps a little more seed chocolate added and stirred in the bowl. This manual chocolate tempering guide method gives great control but requires practice.
Technique 3: Using a Chocolate Tempering Machine for Automation
Understanding Chocolate Tempering Machine Settings
For those working with larger quantities of chocolate regularly, a chocolate tempering machine can be a significant investment and a fantastic tool for achieving perfect chocolate tempering with minimal effort. These machines automate the process by precisely controlling temperature through melting, cooling, and holding phases.
Most tempering machines allow you to set specific temperature profiles tailored to different types of chocolate: dark, milk, and white. You typically load the chocolate into the machine, select the chocolate type, and the machine handles the rest, melting the chocolate to the correct initial temperature, cooling it down to encourage crystal formation, and then maintaining it at the ideal working temperature for dipping, molding, or enrobing.
Understanding your machine's settings is crucial. Some machines use a 'seeding' method internally, while others use a cooling plate or other mechanism to achieve temper. You'll need to refer to your machine's manual for specific operating instructions and recommended temperatures. For example, a machine might melt dark chocolate at 48°C, cool it to 28°C, and then hold it at 32°C. Familiarize yourself with its capacity, warm-up time, and cleaning procedures. While automated, monitoring the chocolate's fluidity and performing occasional temper tests is still advisable to ensure consistent, high-quality results.
Maintaining Optimal Temperature for Different Chocolate Types
One of the primary benefits of using a chocolate tempering machine is its ability to maintain the chocolate at its optimal working temperature for extended periods. This is vital for continuous work, such as enrobing hundreds of truffles or molding dozens of chocolate bars. The machine's thermostat keeps the tempered chocolate within the narrow, ideal range needed to keep the stable Form V crystals in suspension, preventing the chocolate from cooling too much and losing its temper or overheating and melting the desirable crystals.
Typical holding temperatures in a tempering machine are: dark chocolate 31-32°C (88-90°F), milk chocolate 30-31°C (86-88°F), and white chocolate 28-29°C (82-84°F). These temperatures are slightly above the melting point of the Form V crystals but below the melting point of the unstable forms. This delicate balance keeps the chocolate fluid and tempered. If the chocolate thickens in the machine, it might need a slight temperature adjustment or re-tempering cycle. Referencing a perfect chocolate tempering techniques guide specific to your machine model can help optimize its use.
Troubleshooting Common Chocolate Tempering Problems
Identifying and Correcting Chocolate Bloom (Fat and Sugar Bloom)
Chocolate bloom is a common issue that diminishes the appearance and texture of chocolate, appearing as grayish streaks, spots, or a powdery coating on the surface. There are two main types: fat bloom and sugar bloom. Fat bloom occurs when the unstable cocoa butter crystals separate and recrystallize on the surface, often due to improper tempering or storage temperature fluctuations (like moving chocolate from a cool room to a warm one).
It looks dull and streaky. Sugar bloom happens when moisture condenses on the chocolate surface, dissolving sugar crystals which then reform as larger, visible crystals when the moisture evaporates. It looks like a dry, powdery or gritty layer.
Identifying the type of bloom is the first step to correcting it. Fat bloom is a sign that the chocolate was either not tempered correctly initially or lost its temper during storage. The good news is that chocolate affected by fat bloom can often be remelted and properly re-tempered to restore its shine and snap.
Sugar bloom, however, is much harder to fix. Since the sugar has recrystallized on the surface, simply re-tempering won't fix it. Chocolate with significant sugar bloom might be best used in applications where appearance doesn't matter, like baking brownies or hot chocolate, rather than for coating or molding where a perfect chocolate tempering finish is desired.
Dealing with Over-Tempered Chocolate: Solutions and Prevention
Over-tempered chocolate is another frustration for bakers. This happens when the chocolate cools too much during the tempering process, resulting in an excessive number of Form V crystals forming. The chocolate will become thick, sludgy, and may even start setting prematurely in the bowl, making it difficult or impossible to work with for dipping or molding. It might look dull or grainy right away. This is a common pitfall when trying to achieve perfect chocolate tempering quickly, especially with the seeding or tablier methods if the chocolate cools too rapidly or too far.
If your chocolate becomes over-tempered, don't despair. The solution is usually quite simple: gently reheat the chocolate just slightly. The goal is to melt some of the excess Form V crystals without melting them all.
For dark chocolate, you might warm it back up to 33-34°C (91-93°F) momentarily, stirring constantly, and then let it cool back down to the working temperature of 31-32°C (88-90°F) while stirring. Test the temper again. Prevention is better than cure: monitor your temperature closely, stir continuously while cooling, and avoid adding too much seed chocolate at once or letting the chocolate cool excessively on the marble slab.
Achieving the Right Viscosity for Coating and Molding
Viscosity refers to how fluid or thick melted chocolate is. Achieving the right viscosity is crucial for different applications, even when the chocolate is perfectly tempered. A very fluid chocolate (low viscosity) is ideal for creating thin, even coatings on truffles or for use in a chocolate fountain.
A thicker chocolate (higher viscosity) is better for molding hollow figures or bonbon shells, as it builds a thicker wall more easily. The primary factor determining chocolate viscosity is its cocoa butter content; higher cocoa butter means lower viscosity (more fluid). Couverture chocolate, designed for tempering, typically has a higher cocoa butter percentage (often 32-39%) than standard eating chocolate.
While tempering ensures the correct crystal structure for snap and shine, viscosity dictates its flow properties. If your perfectly tempered chocolate is too thick for coating, adding a small amount of extra melted cocoa butter (already tempered or added before the final tempering stage) can help, though this can be tricky. Conversely, if it's too thin for molding, there's not much you can do other than choosing a chocolate with naturally higher viscosity (lower cocoa butter percentage) next time. Understanding the viscosity of your chosen chocolate is part of mastering the perfect chocolate tempering techniques guide for specific uses.
Choosing the Right Chocolate for Tempering: A Guide
Understanding Different Types of Chocolate: Dark, Milk, and White
The type of chocolate you choose significantly impacts the tempering process and the final result. Dark chocolate is made from cocoa solids, cocoa butter, and sugar, sometimes with vanilla and lecithin. It has the highest percentage of cocoa solids and cocoa butter. Milk chocolate adds milk solids (powdered milk, condensed milk, etc.) to the mix, which lowers the relative percentage of cocoa solids and butter and adds lactose and milk fat. White chocolate is unique as it contains no cocoa solids, only cocoa butter, sugar, milk solids, vanilla, and lecithin.
These compositional differences mean each type has different melting points and requires slightly different temperature ranges for perfect chocolate tempering. Dark chocolate, with its higher cocoa solid and butter content, generally melts at a higher temperature and tempers at a slightly higher temperature range than milk or white chocolate. Milk chocolate's milk fat content lowers its melting point and tempering range. White chocolate, being primarily cocoa butter and milk fat, has the lowest melting and tempering temperature requirements. Using the correct temperatures for the specific type of chocolate is fundamental to any perfect chocolate tempering techniques guide.
Cocoa Percentage and its Impact on Tempering
Within the category of dark chocolate, the cocoa percentage (the total percentage of cocoa solids and cocoa butter) is a key indicator of its composition and flavor profile. A 70% dark chocolate has a higher proportion of cocoa solids and potentially cocoa butter than a 55% dark chocolate.
While the overall method of tempering remains the same, the specific temperature points may need slight adjustments based on the cocoa percentage. Chocolates with a very high cocoa percentage (e.g., 70%+) might have a slightly different melting curve or require a fractionally higher working temperature within the typical dark chocolate range compared to those with lower percentages (e.g., 55%).
Furthermore, the amount of cocoa butter within that percentage affects the chocolate's viscosity, as discussed earlier. Chocolates labeled as "couverture" are specifically formulated for coating and molding because they contain a higher percentage of cocoa butter (often 32-39% or more) compared to standard eating chocolate (which might be around 28-30% cocoa butter). This higher cocoa butter content makes couverture more fluid when melted, which is essential for achieving a thin, even, glossy coating and allows for easier release from molds. Always opt for couverture chocolate when aiming for perfect chocolate tempering results in confectionery.
Recommended Chocolate Brands for Tempering: Valrhona, Callebaut, Guittard
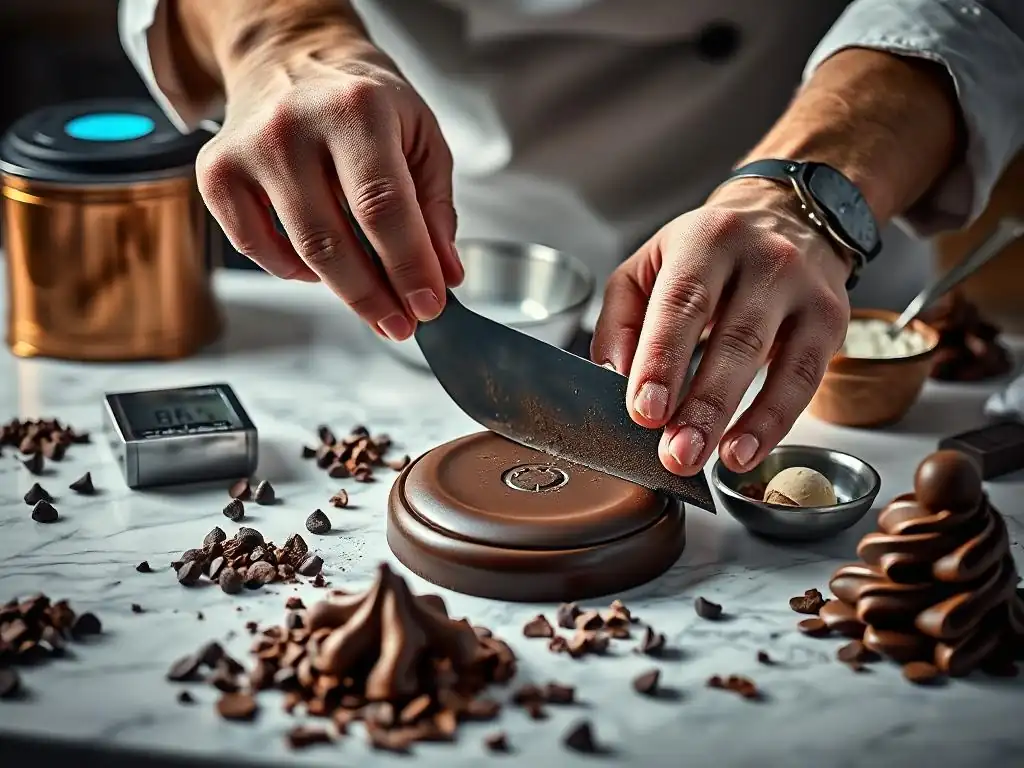
Choosing a high-quality chocolate is paramount for successful tempering. Couverture chocolates from reputable manufacturers are formulated for consistent melting and tempering properties due to their high cocoa butter content and fine processing. While many excellent brands exist, some widely recommended ones known for reliability and quality include Valrhona, Callebaut, and Guittard. Valrhona, a French manufacturer, offers a range of couverture chocolates often celebrated for their distinct flavor profiles from specific cocoa origins, such as their Guanaja 70% or Manjari 64%.
Callebaut, a Belgian brand, is incredibly popular among professional bakers and chocolatiers worldwide. Their callets (small drops) are particularly convenient for melting and seeding, and they offer a wide range of dark, milk, and white couverture with consistent tempering behavior. Their 811 dark, 823 milk, and W2 white are standard choices.
Guittard, an American company, also produces high-quality couverture chocolates favored by many for their flavor and performance. Brands like these invest heavily in the quality and consistency of their chocolate, which makes the process of achieving perfect chocolate tempering significantly easier and more predictable compared to using lower-grade or non-couverture chocolates.
Applications of Perfectly Tempered Chocolate
Creating Shiny Chocolate Coatings and Enrobing
One of the most common applications for perfectly tempered chocolate is creating beautiful, shiny coatings on various confections. Think of the crisp, glossy shell on a chocolate truffle, a petit four, or a candy bar. Untempered chocolate would result in a dull, streaky, and soft coating that melts on contact. Perfect chocolate tempering ensures that when the chocolate sets, the stable Form V crystals reflect light uniformly, producing that desirable high-gloss finish.
Whether you are dipping individual pieces by hand, using dipping forks, or employing a small enrobing machine, maintaining the chocolate in temper throughout the process is key. The chocolate needs to be kept at its working temperature (e.g., 31-32°C for dark) while you work. The fluidity achieved through proper tempering and the right viscosity allows excess chocolate to drip off cleanly, leaving a thin, even layer that sets quickly with a satisfying snap. This perfect chocolate tempering techniques guide prepares you for these elegant finishing touches.
Molding Chocolate Decorations and Bonbons
Perfectly tempered chocolate is essential for creating molded chocolate items, from intricate decorative pieces to hollow figures and filled bonbons. When tempered correctly, chocolate shrinks slightly as it cools and solidifies. This shrinkage allows the set chocolate to pull away from the sides of the mold, making it easy to release the finished piece without breakage. This is particularly important for detailed or delicate molds.
Furthermore, tempered chocolate sets firmly and holds sharp details, resulting in professional-looking molded chocolates with defined edges and a smooth, glossy surface. Using high-quality polycarbonate molds, which conduct heat efficiently and are rigid, further enhances the results of perfect chocolate tempering in molding applications. Whether making simple chocolate squares or complex multi-part bonbons, ensuring the chocolate is in temper is the first step to a successful release and a flawless finish.
Making Chocolate Bars and Confections
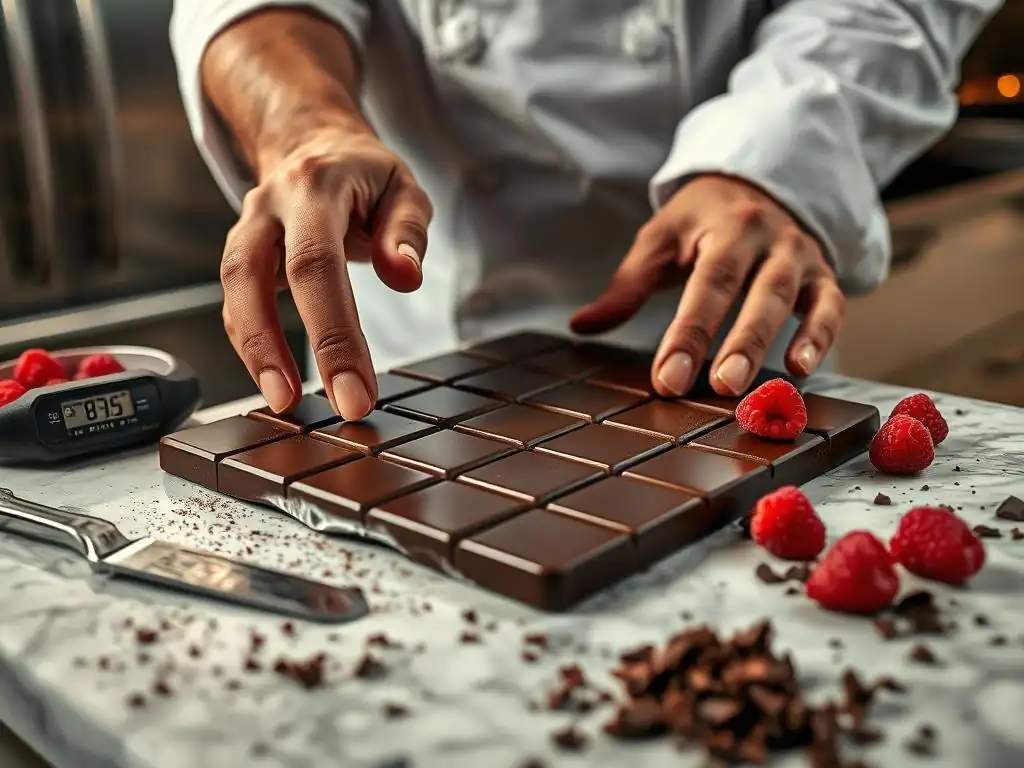
Beyond coatings and molded items, perfect chocolate tempering is fundamental to making solid chocolate bars and various confections that are expected to be firm at room temperature and have a good snap. A homemade chocolate bar poured with untempered chocolate would likely be soft, easily melted, and prone to bloom, resembling the texture of fudge rather than a crisp chocolate bar.
Tempering gives the chocolate its structural integrity. When you break a well-tempered chocolate bar, you hear a distinct snap – a hallmark of stable cocoa butter crystal formation. This property is crucial for chocolate bars, inclusion bars (with nuts, fruit, etc. ), and other solid confections like mendiants or barks. The resistance to melting at typical room temperatures also makes these items easier to handle and store. Following a perfect chocolate tempering techniques guide ensures your homemade chocolate creations have the same desirable qualities as commercial fine chocolates.
Maintaining Your Tempered Chocolate: Tips and Tricks
Keeping Tempered Chocolate at the Ideal Working Temperature
Once you've gone through the process of achieving perfect chocolate tempering, maintaining that temper while you work is crucial. Tempered chocolate has a narrow working temperature range (e.g., 31-32°C for dark). If it cools too much, it will start to thicken and eventually lose its temper as too many crystals form. If it gets too hot, the stable Form V crystals will melt, also causing it to lose its temper.
The best way to keep tempered chocolate ready for use is to hold it at the correct working temperature. For small amounts, you can periodically place the bowl over a very gentle heat source (like a warming pad on a low setting) or a warm water bath (ensuring no water enters the chocolate), stirring frequently. For larger batches, a chocolate tempering machine excels at holding the temperature precisely.
Stirring is also important even when holding temperature, as it keeps the crystals evenly suspended and maintains fluidity. Aim for a working area that is not too cold, ideally around 20-22°C (68-72°F).
Re-Tempering Chocolate When Necessary
Despite your best efforts, sometimes tempered chocolate cools down too much, thickens, or otherwise falls out of temper during use. This is a common occurrence, especially when working in cooler environments or taking breaks. If your chocolate starts to lose its fluidity and gloss and a temper test fails, it needs to be re-tempered. You cannot simply reheat it slightly and expect it to regain temper; you must take it through the tempering process again from the start.
To re-temper, gently reheat the chocolate back up to its initial melting temperature (45-50°C for dark, 40-45°C for milk/white) to melt all existing crystal structures. Then, choose your preferred method – seeding or tablier – and carefully cool it back down to the working temperature while encouraging the formation of stable crystals, following the steps in this perfect chocolate tempering techniques guide. It's often helpful to have a bit of extra untempered chocolate on hand for the seeding method if you anticipate needing to re-temper.
Storing Tempered Chocolate for Future Use
What about leftover tempered chocolate? If you have chocolate remaining after your project, it can be saved and reused. Allow the chocolate to set completely at room temperature. Once solid, wrap it tightly in plastic wrap and store it in a cool, dry place, ideally between 18-20°C (64-68°F). Avoid refrigeration unless absolutely necessary, and if you do refrigerate, ensure it is perfectly sealed to prevent condensation, which can cause sugar bloom.
When you are ready to use the stored chocolate, you can gently remelt it. If the chocolate was properly tempered and stored, it should technically still be in temper once melted to its working temperature (e.g., 31-32°C for dark) without needing to go through the full cooling/seeding process again. However, melting it too hot will break the temper. For guaranteed perfect chocolate tempering results, it is often safest to remelt the chocolate back to its initial melting temperature (45-50°C) and fully re-temper it using one of the methods described in this guide before use.
Frequently Asked Questions
How important is tempering chocolate for baking projects?
Tempering is crucial for chocolate's appearance and texture. Improperly tempered chocolate can look dull and have a crumbly or streaky texture.
What are the main techniques for tempering chocolate described in this guide?
The guide likely covers techniques like seeding, tabliering, and using a water bath. These methods ensure proper crystal formation in the chocolate.
What equipment is essential for successfully tempering chocolate at home?
You'll typically need a double boiler or heat-safe bowl, a thermometer (crucial for accuracy), and a spatula for stirring.
What happens if I overheat the chocolate during the tempering process?
Overheating can cause the chocolate to burn or seize, making it unusable for tempering. Precise temperature control is key.
Where can I find reliable recipes and further guidance after reading this article?
BakeWithEase.com provides simple recipes, techniques, and tips for bakers of all levels, covering various baking projects.
Final Reflection: The Enduring Allure of Perfectly Tempered Chocolate
The pursuit of flawlessly tempered chocolate isn't merely a culinary pursuit; it's a testament to the power of precision and patience in achieving culinary excellence. From the humble home baker to the most celebrated chocolatier, the quest for that signature snap, that irresistible sheen, and that melt-in-your-mouth texture remains a constant challenge and a source of immense satisfaction. This journey into the heart of chocolate tempering techniques highlights the surprising depth and artistry involved in this seemingly simple process.
The impact of mastering chocolate tempering extends far beyond the individual creation; it speaks to a broader appreciation for detail and the transformative power of technique. It's a skill that elevates the ordinary into the extraordinary, transforming a simple chocolate bar into a work of art. As renowned pastry chef, Pierre Hermé, once said, Pastry is a science, but it's also an art. It's about precision, but it's also about passion.
This perfectly encapsulates the essence of perfect chocolate tempering – a harmonious blend of scientific understanding and artistic flair.
Now, consider your own culinary journey. What seemingly small detail, what seemingly insignificant technique, holds the key to unlocking your own potential? I encourage you to embrace the spirit of precision and patience demonstrated in mastering chocolate tempering and apply it to your own passions. Whether it's baking, painting, writing, or any other endeavor, the pursuit of excellence, the attention to detail, and the unwavering dedication to perfecting your craft will ultimately yield the most rewarding results. Embrace the challenge, savor the process, and discover the magic that lies within the pursuit of perfection.
Unlock Your Inner Chocolatier: Perfect Tempering Awaits!
Thanks for joining us on this delicious journey into the world of chocolate tempering! You've now learned the secrets to creating flawlessly shiny, melt-in-your-mouth chocolate. Ready to put your new skills to the test?
- Master the Technique: Try tempering a batch of your favorite chocolate today. Even a small project will help solidify your understanding!
- Share Your Success: Post a picture of your perfectly tempered chocolate creation on social media and tag us – we’d love to see your results!
- Experiment with Flavors: Take your newly acquired skill and try infusing your chocolate with different extracts or spices. What exciting flavor combinations will you create?
What unique chocolate treat will you craft using your newfound tempering expertise?