
NoKnead Basic Sourdough: The Easiest Way to Start

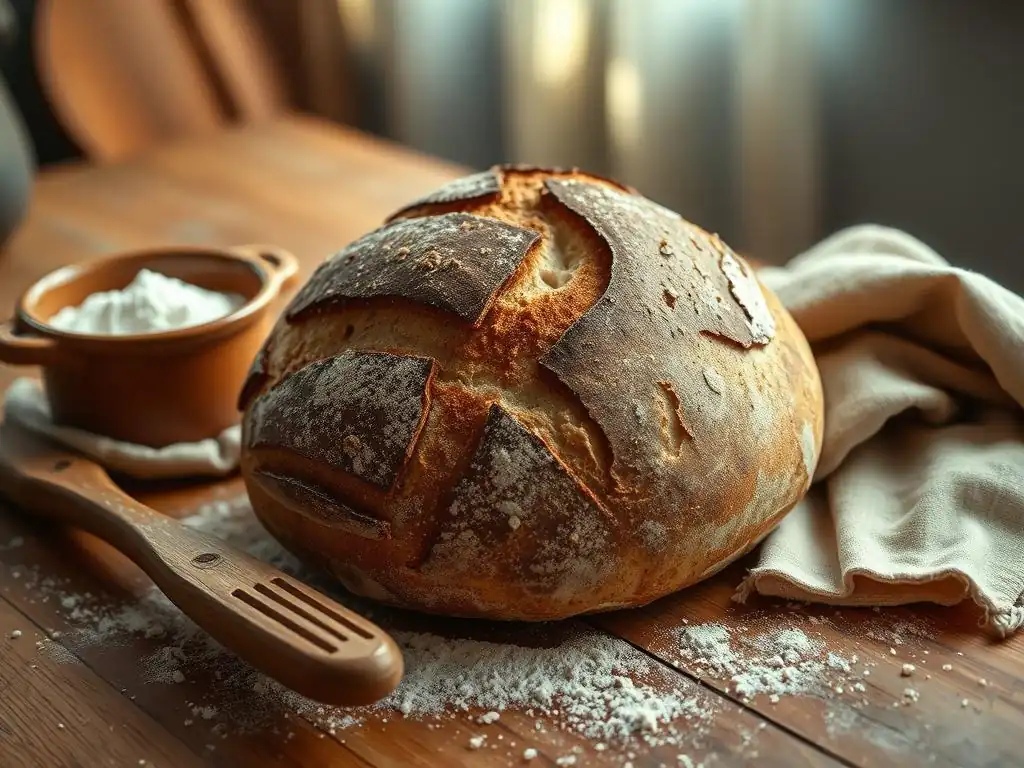
Welcome to BakeWithEase, your trusted guide to unlocking baking brilliance! Ever dream of effortlessly crafting artisan bread? This is where that dream begins. Delve into our Easy NoKnead Sourdough Recipe and discover how to create that tangy, crusty loaf you've always admired, with minimal effort. But that's just the start! What makes this sourdough so easy? Find out as we guide you step-by-step...
- No-Knead Sourdough: A Beginner's Guide
- Why Choose No-Knead Sourdough?
- Mastering No-Knead Sourdough: A Step-by-Step Guide
- Tips and Tricks
- Sourdough Variations
- Enjoying Your Homemade Sourdough Bread
- Conclusion: Embrace No-Knead Sourdough.
- Frequently Asked Questions
- Final Reflection: The Humble Loaf, a Testament to Patience
- Unleash Your Inner Baker: Start Your Sourdough Journey Today!
No-Knead Sourdough: A Beginner's Guide
Why Choose No-Knead Sourdough?
Effortless Sourdough: Perfect for Beginners
Starting your sourdough journey can feel daunting, with talk of rigorous kneading techniques and precise gluten development. However, the no-knead method revolutionizes this process, making it incredibly accessible for anyone new to the world of sourdough baking. This approach minimizes the physical effort required, relying instead on time and the natural activity of your sourdough starter to develop the gluten network needed for a beautiful loaf. It's truly an easy no-knead sourdough recipe method designed to build confidence from your very first bake.
Unlike traditional bread making that demands significant upper body strength and specific hand motions for kneading, the no-knead technique requires just a simple mix of ingredients. You combine your active starter, flour, water, and salt, give it a quick stir until just combined, and then let time do the rest. This low-intervention method means you spend less time actively working the dough and more time observing its transformation through fermentation, a crucial learning experience for any new sourdough baker.
Minimal Effort, Maximum Flavor
The beauty of the no-knead method isn't just in its simplicity; it also excels at developing deep, complex flavors. The long fermentation period, often involving an overnight rest, allows the sourdough starter to work its magic on the starches and proteins in the flour. This slow process breaks down complex compounds, resulting in a bread with a more nuanced, slightly tangy flavor profile that is characteristic of artisan sourdough.
This extended fermentation also contributes significantly to the texture of the final loaf. While you aren't manually developing gluten through kneading, the enzymes in the flour and the activity of the starter naturally build a strong network over time. This leads to a well-aerated crumb structure, often with those desirable irregular holes, and a wonderfully crisp crust. It's a testament to the fact that an easy no-knead sourdough recipe can yield results comparable to much more labor-intensive methods.
Time-Saving Baking
While the overall process from start to baked loaf might span 12-24 hours due to the fermentation time, the active time you spend on a no-knead sourdough is surprisingly minimal. Once the initial ingredients are mixed (which takes perhaps 5-10 minutes), the dough largely manages itself during the bulk fermentation and proofing stages. This hands-off approach makes it perfect for fitting into a busy schedule.
You can mix the dough in the evening, let it ferment overnight while you sleep, shape it quickly in the morning, and then either proof it at room temperature for a few hours or pop it in the fridge for a cold proof until you're ready to bake later that day or the next. This flexibility is a major advantage of the easy no-knead sourdough recipe approach. You don't need to be tied to your kitchen for hours on end, making it a practical option for regular baking.
Mastering No-Knead Sourdough: A Step-by-Step Guide
Ingredients
Sourdough Starter
The heart of any sourdough bread is a healthy, active sourdough starter. For this easy no-knead sourdough recipe, you'll need a starter that is bubbly, has roughly doubled in size since its last feeding (typically 4-12 hours prior, depending on temperature), and passes the float test (a small dollop floats in water). Using a starter that is past its peak or sluggish will result in a flat, dense loaf because it won't have the strength to leaven the dough effectively during the long fermentation.
Aim for a starter that is fed at a 1:1:1 ratio (starter:water:flour by weight) about 4-8 hours before you plan to mix your dough. For instance, feeding 25g starter with 25g water and 25g flour will give you 75g of active starter, more than enough for a standard loaf. The specific amount of starter needed for a recipe can vary, but generally ranges from 50g to 150g for a loaf using 500g of flour.
Flour: Bread Flour vs. All-Purpose
For a robust no-knead sourdough, bread flour is often recommended due to its higher protein content (typically 12-14%). This higher protein level translates to more gluten development, which is beneficial in a no-knead method where mechanical kneading is absent. The strong gluten network helps trap the gases produced by the starter, giving the bread structure and a good rise.
However, you can absolutely make a delicious easy no-knead sourdough recipe using good quality all-purpose flour (typically 10-12% protein). The result might be a slightly less voluminous loaf or a slightly tighter crumb compared to using bread flour, but it will still be flavorful and enjoyable. Many bakers successfully use a blend of bread flour and all-purpose flour, or even incorporate some whole wheat or rye flour for added flavor and nutrition.
Water Temperature
The temperature of your water plays a surprisingly significant role in sourdough baking, especially in cooler environments. Warm water (around 75-85°F or 24-30°C) helps to activate the starter and encourage fermentation. Using water that is too cold can slow down the starter's activity considerably, leading to extended fermentation times or a less active dough.
Conversely, water that is too hot can actually kill the beneficial bacteria and yeast in your starter, rendering it ineffective. Avoid using water hotter than 90°F (32°C). For consistency, especially if you live in a cold climate, using a kitchen thermometer to check your water temperature can be very helpful in ensuring your starter gets off to a good start in the dough.
Salt
Salt is a critical ingredient in bread making, and it serves several purposes beyond just flavor. It helps to control the rate of fermentation, slowing down the activity of the yeast and bacteria so the dough doesn't overproof too quickly. Salt also strengthens the gluten network, contributing to a better crumb structure and oven spring.
Standard fine sea salt or kosher salt are excellent choices. Avoid using iodized table salt, as the iodine can sometimes interfere with fermentation. Typically, salt is added at 1.8% to 2.2% of the total flour weight in a sourdough recipe. For a recipe using 500g of flour, this would be about 9-11 grams of salt. Ensure the salt is fully dissolved or well-distributed during the initial mixing phase.
Equipment
Essential Tools
You don't need a professional bakery setup to make an easy no-knead sourdough recipe, but a few essential tools will make the process much smoother. A large mixing bowl (at least 4-5 quarts) is necessary to contain the dough as it ferments and expands. A sturdy spatula or Danish dough whisk is useful for the initial mixing, as the dough will be quite wet and sticky.
Other key tools include a digital kitchen scale for accurate measurement of ingredients (this is highly recommended for consistent results), a dough scraper for handling and shaping the sticky dough, and a proofing basket (banneton) or a bowl lined with a floured tea towel to hold the dough during its final proof. A Dutch oven is often used for baking, but alternative methods are also possible.
Step-by-Step: The Process
Mixing the Dough
The initial mixing for an easy no-knead sourdough recipe is straightforward. In your large mixing bowl, combine the warm water and active sourdough starter, stirring briefly to disperse the starter. Then, add the flour and salt. Using your spatula or dough whisk, mix until all the flour is hydrated and there are no dry pockets remaining. The dough will be shaggy and sticky – this is perfectly normal for a high-hydration no-knead dough.
Do not attempt to knead it vigorously. The goal is just to bring everything together into a cohesive mass. Scrape down the sides of the bowl to incorporate any stray flour. Cover the bowl with a damp tea towel or plastic wrap to prevent the surface from drying out during the bulk fermentation phase.
Bulk Fermentation
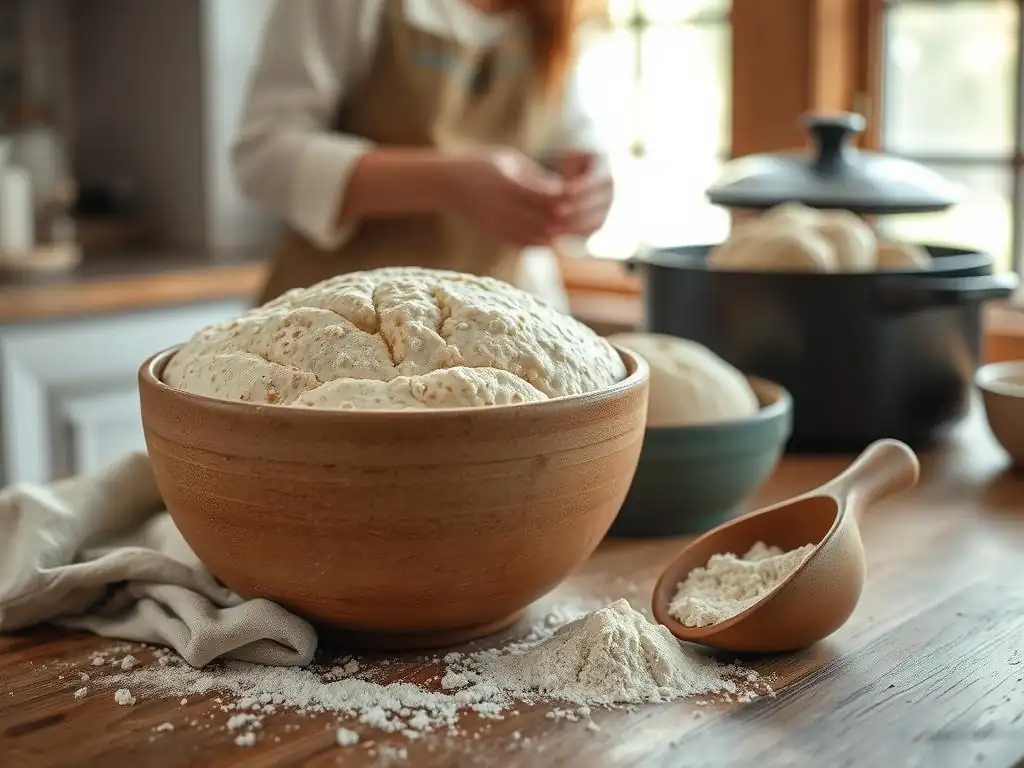
Bulk fermentation is the crucial period where the dough sits at room temperature, allowing the starter to leaven the dough and develop flavor. This is the most hands-off part of the easy no-knead sourdough recipe. During this time, the dough will expand and become visibly bubbly and airy. The duration of bulk fermentation is highly dependent on the temperature of your kitchen.
Time and Temperature
At a typical room temperature of 70-75°F (21-24°C), bulk fermentation usually takes between 6 to 12 hours. In warmer kitchens (above 75°F), it might be shorter, perhaps 4-6 hours. In cooler kitchens (below 70°F), it could take 12-18 hours or even longer. Look for visual cues: the dough should increase in volume by about 50-100%, have bubbles on the surface, and feel lighter and airy when gently prodded. Over-fermenting can lead to a slack, difficult-to-handle dough.
Shaping the Dough
After bulk fermentation, gently scrape the dough out onto a lightly floured surface. Avoid degassing it too much; you want to preserve the trapped air. Using a dough scraper, shape the dough into a round or oval. For a round loaf, gently pull the edges into the center, then flip the dough over and use the scraper to create tension by pulling the dough towards you while rotating it slightly. For an oval loaf (batard), fold the sides into the center, then roll it up from one end, sealing the seam.
The goal of shaping is to create surface tension, which helps the loaf hold its shape during proofing and baking and contributes to good oven spring. Don't worry if your first few attempts aren't perfect; shaping takes practice. The key is to be gentle but firm enough to build tension without tearing the dough.
Proofing
Proofing is the final rise before baking. The shaped dough is placed in a proofing basket or prepared bowl. Dust the basket generously with rice flour (which is less likely to stick than wheat flour) or a mix of rice and bread flour. Carefully transfer the shaped dough into the basket, seam-side up if you plan to score the top, or seam-side down if you want the seams to burst naturally.
Cold Proofing
Cold proofing in the refrigerator (typically 4-12 hours, but can be up to 24 hours) is highly recommended for an easy no-knead sourdough recipe. The cold temperature significantly slows down fermentation, allowing the dough to develop more complex flavors. It also firms up the dough, making it much easier to score and handle before baking. Proofing at room temperature (1-3 hours) is an option if you're in a hurry, but cold proofing often yields superior results in terms of flavor, texture, and handling.
Baking
Baking sourdough at a high temperature is crucial for achieving a great crust and oven spring. The most common method for home bakers is using a Dutch oven, which traps steam around the loaf initially, mimicking the conditions of a professional bread oven.
Dutch Oven Baking
Preheat your oven with the Dutch oven inside to a high temperature, typically 450-500°F (230-260°C), for at least 30-60 minutes. Carefully turn the cold-proofed dough out of its basket onto parchment paper. Score the top of the loaf using a sharp razor blade or knife. Carefully lower the dough (using the parchment paper as handles) into the hot Dutch oven. Bake covered for 20-25 minutes, then remove the lid and bake for another 20-30 minutes, or until the crust is deep golden brown and the internal temperature reaches around 205-210°F (96-99°C).
Baking Without a Dutch Oven
If you don't have a Dutch oven, you can still bake a fantastic loaf. Preheat your oven with a baking stone or heavy baking sheet inside. To create steam, place a pan on the bottom rack of your oven while preheating. Once the oven is hot, carefully slide the scored dough onto the hot stone or sheet. Immediately pour a cup of hot water into the steam pan and quickly close the oven door. Bake at the same high temperature, following similar timings, adding more water to the steam pan halfway through the covered portion if needed.
Troubleshooting
Dense Sourdough
A dense, heavy crumb is a common issue for beginners attempting an easy no-knead sourdough recipe. This is often caused by an inactive or weak starter that didn't produce enough gas to properly leaven the dough. Ensure your starter is bubbly and active, doubling in size after feeding, before you mix your dough.
Another reason for density can be insufficient fermentation time during the bulk phase. The dough needs enough time at room temperature to build structure and volume. If your kitchen is cool, allow more time for this stage. Finally, over-handling the dough during shaping or degassing it too much can knock out the air bubbles, leading to a tighter crumb.
Sticky Dough
No-knead dough is inherently sticky due to its high hydration, but excessively sticky dough can be frustrating. This might happen if your starter is too active and the dough is slightly over-fermented, causing the gluten structure to start breaking down.
Using too much water relative to your flour's absorption capacity can also lead to very sticky dough. If you find your dough consistently too sticky to handle, try reducing the water by 20-30 grams in your next batch. Using a little flour on your hands and dough scraper, and working quickly on a lightly floured surface during shaping, will also help manage sticky dough.
Weak Starter
A weak starter is the root of many sourdough problems. It might be slow to rise, not double in size, or fail the float test. This often indicates it hasn't been fed consistently or frequently enough, or it's being stored in conditions that aren't ideal.
To strengthen a weak starter, give it several consistent feedings (every 12-24 hours, depending on temperature) at a ratio that encourages activity, like 1:1:1 or 1:2:2 (starter:water:flour). Ensure you're using unbleached flour and filtered water. Keeping the starter in a warm spot (75-80°F or 24-27°C) can also boost its activity quickly.
Tips and Tricks
Enhancing Flavor: Adding Inclusions
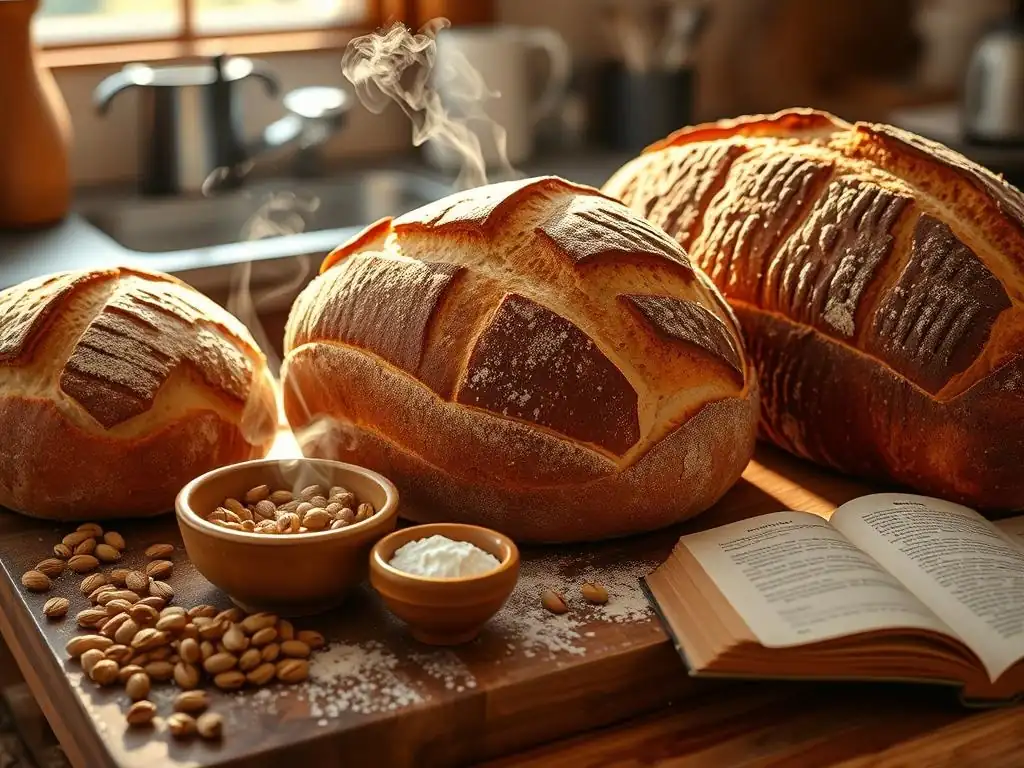
Once you've mastered the basic easy no-knead sourdough recipe, you can experiment with adding various inclusions to enhance flavor and texture. Seeds like sesame, poppy, sunflower, or pumpkin seeds can be mixed into the dough during the initial mixing or folded in during the first stretch and fold (if you choose to do any). For a 500g flour recipe, starting with 25-50g of mixed seeds is a good point.
Other popular additions include dried fruits (like cranberries or raisins), nuts (walnuts or pecans work well), or even cheese and herbs for a savory twist. Add these towards the end of the bulk fermentation or during shaping. Remember that wet inclusions like olives or sun-dried tomatoes can affect the dough's hydration, so you might need to adjust your water slightly.
Achieving a Perfect Crust: Scoring Techniques
Scoring the dough before baking isn't just for aesthetics; it serves a critical function. It provides weak points on the surface of the dough, directing where the loaf expands during oven spring. Without scoring, the crust can rupture unpredictably, leading to a less attractive loaf and potentially a less open crumb.
Use a sharp razor blade (called a lame) or a very sharp knife. For a simple score, make one long slash down the length of an oval loaf or a cross shape on a round loaf. For more intricate designs, make shallow, overlapping cuts. Practice different angles and depths; a deep, confident cut is usually best for directing expansion, while shallow cuts are more for decorative purposes. Cold dough is much easier to score cleanly than dough at room temperature.
Storing Your Sourdough Loaf
Proper storage is key to keeping your homemade sourdough fresh. Once the loaf has cooled completely on a wire rack (this is crucial to prevent a gummy interior), store it at room temperature. The best way to store sourdough is often debated, but popular methods include placing the cut side down on a cutting board, wrapping it in a clean linen or cotton tea towel, or storing it in a paper bag.
Avoid storing sourdough in plastic wrap or airtight containers at room temperature for more than a day or two, as this can trap moisture and soften the crust prematurely. For longer storage, sourdough freezes exceptionally well. Slice the cooled loaf and freeze the slices in a freezer bag or airtight container. You can then toast slices directly from frozen. A whole loaf can also be frozen; just wrap it tightly in plastic wrap followed by foil.
Sourdough Variations
Whole Wheat Sourdough
Incorporating whole wheat flour into your easy no-knead sourdough recipe adds nutty flavor and increased nutritional value. Whole wheat flour absorbs more water than white flour due to the presence of the bran and germ, so you may need to increase the hydration slightly (add a bit more water) when substituting.
A good starting point is to substitute 10-30% of the bread flour with whole wheat flour. For example, using 400g bread flour and 100g whole wheat flour. Whole wheat can sometimes make the dough a bit denser and fermentation times might vary slightly. Be patient and observe the dough's volume increase rather than sticking strictly to time limits.
Rye Sourdough
Rye flour brings a distinct tang and earthy flavor to sourdough. It also behaves differently than wheat flour because it contains less gluten-forming protein. Substituting a large percentage of rye flour can result in a denser loaf.
For beginners, start by substituting 10-20% of the white flour with dark or light rye flour. This adds flavor without drastically changing the dough's structure. A recipe using 450g bread flour and 50g rye flour would be a gentle introduction. Rye ferments relatively quickly, so keep an eye on your bulk fermentation time when using it.
Country-Style Sourdough
Country-style sourdough typically refers to a blend of white bread flour and a smaller percentage of whole wheat or rye flour, often resulting in a loaf with a slightly darker crust and a more rustic flavor profile than pure white sourdough. This blend offers a balance between the easy handling and open crumb of white flour and the flavor and nutrition of darker flours.
An easy no-knead sourdough recipe can easily be adapted to a country style by using a mix like 80% bread flour and 20% whole wheat or rye flour. This combination often provides a beautiful balance of flavor, texture, and ease of handling, making it a popular choice for home bakers.
Enjoying Your Homemade Sourdough Bread
Serving Suggestions
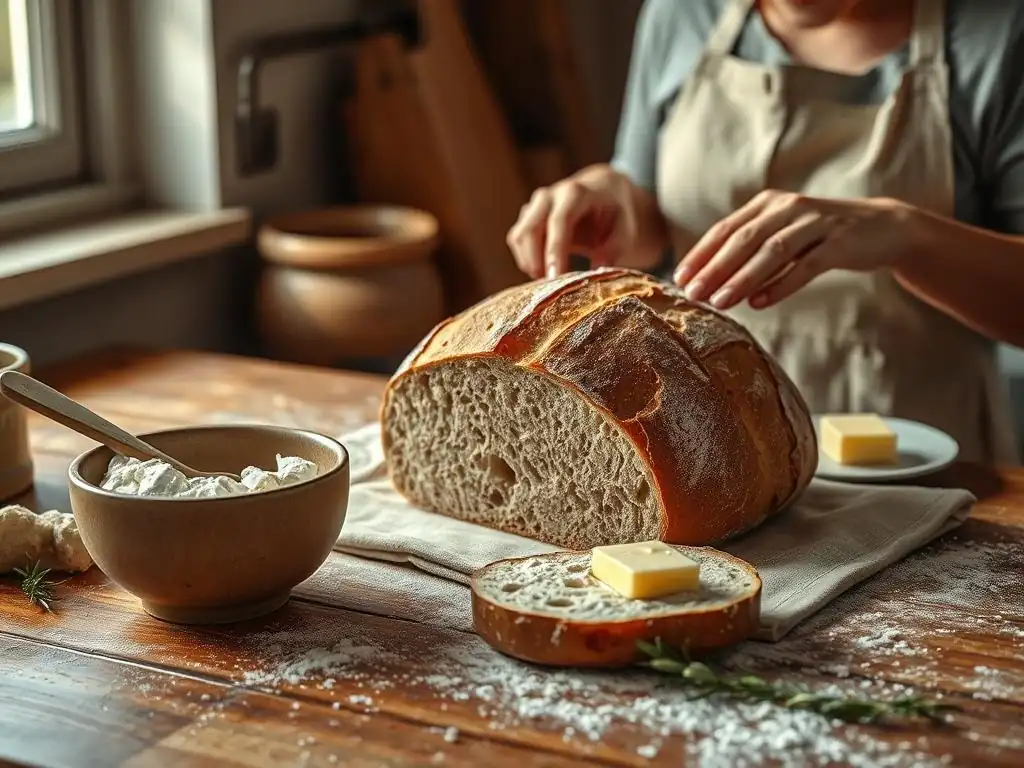
Once your easy no-knead sourdough loaf has cooled (allow at least 1-2 hours for a standard size loaf), it's ready to be enjoyed! The simplest way is often the best: sliced and served with good quality butter. Its robust flavor also makes it perfect for dipping in olive oil with balsamic vinegar, or alongside soups and stews.
Consider using your fresh sourdough for incredible sandwiches or toasting slices for avocado toast. Bruschetta, topped with fresh tomatoes, basil, and garlic, is another fantastic way to showcase the bread's flavor and texture. Don't forget the classic pairing of sourdough and cheese – whether it's a grilled cheese sandwich or served on a cheese board.
Sourdough Discard Recipes: Crackers and Pancakes
Baking sourdough bread means you'll likely have sourdough discard – the portion of your starter that is removed before feeding. Don't throw it away! There are numerous delicious ways to use discard, turning it into a valuable ingredient.
One popular option is sourdough discard crackers. These are incredibly easy to make: mix discard with a bit of melted butter or olive oil, salt, and any herbs or seeds you like. Roll it out thinly and bake until crispy. Another favorite is sourdough discard pancakes or waffles, which have a lovely tang and light texture thanks to the discard. These recipes are quick and easy ways to use up discard and reduce waste from your sourdough baking routine.
Conclusion: Embrace No-Knead Sourdough.
Embarking on the journey of baking sourdough bread doesn't have to be complicated. The easy no-knead sourdough recipe method demystifies the process, allowing beginners to achieve impressive results with minimal effort. By understanding the role of time, temperature, and your active starter, you can consistently bake delicious, flavorful loaves right in your own kitchen.
This simple technique proves that you don't need advanced skills or special equipment to create beautiful artisan-style bread. From the initial mix to the satisfying crackle of the crust as it cools, the easy no-knead sourdough recipe is a rewarding process that yields truly exceptional bread. So gather your ingredients, feed your starter, and get ready to enjoy the incredible taste of your very own homemade sourdough.
Frequently Asked Questions
What makes this sourdough recipe "no-knead"?
This recipe eliminates the traditional kneading process by utilizing a long fermentation period. Hydration and time replace the need for physical manipulation of the dough.
Is this recipe suitable for beginner bakers?
Yes! The recipe is designed to be beginner-friendly, focusing on simplicity and minimal effort. The easy-to-follow instructions and no-knead technique make it perfect for those new to sourdough baking.
What kind of flour should I use for this no-knead sourdough?
We recommend using a combination of bread flour for structure and whole wheat flour for flavor and texture. However, you can experiment with different types based on your preference.
How long does the fermentation process take?
The fermentation process typically takes between 12 to 18 hours at room temperature. This long, slow fermentation is crucial for developing the characteristic sourdough flavor and texture.
Can I adjust the recipe for different oven types or altitude?
Yes, baking times and temperatures may need slight adjustments depending on your oven and altitude. Monitor your bread closely during baking and make changes as needed to achieve the desired crust and crumb.
Final Reflection: The Humble Loaf, a Testament to Patience
The simplicity of no-knead sourdough belies its profound impact; it's not just about bread, it's about connecting with a process older than recorded history. This seemingly straightforward recipe unlocks a world of flavor and texture, proving that extraordinary results can emerge from surprisingly simple beginnings. The ease of the method democratizes sourdough baking, making it accessible to everyone, regardless of prior experience.
The journey of making sourdough, with its unpredictable rises and the subtle shifts in flavor from batch to batch, mirrors life itself. It teaches patience, observation, and the acceptance of imperfection. The unique character of each loaf reflects the nuances of the environment, the subtle variations in flour and water, and even the baker's own mood. Bread making is a metaphor for life. You put in the effort, you nurture it, and you reap the rewards.
This resonates deeply with me, as each loaf becomes a tangible representation of time, effort, and the satisfaction of creation.
Now, I invite you to embark on your own sourdough journey. Don't be intimidated by the seemingly complex nature of sourdough; embrace the simplicity of this no-knead method. Let the rhythmic process of feeding your starter and shaping the dough become a meditative practice, a moment of calm amidst the chaos of daily life. The reward? Not just delicious bread, but a deeper connection to the ancient art of baking and a newfound appreciation for the simple things in life. Start small, be patient, and enjoy the journey. Your first perfect loaf awaits.
Unleash Your Inner Baker: Start Your Sourdough Journey Today!
Thanks for taking the time to explore the world of no-knead sourdough with us! We hope you now feel confident and excited to embark on this delicious baking adventure. Ready to transform your kitchen into a fragrant bakery?
- Bake your first sourdough loaf: Don't delay – grab your ingredients and follow the recipe! The satisfaction of creating something so delicious from scratch is truly rewarding.
- Share your baking triumphs (and tribulations!): We'd love to see your sourdough creations! Post a picture on social media using #BakeWithEaseSourdough and tag us. Let's build a community of passionate sourdough bakers.
- Experiment with different flours and additions: Once you've mastered the basics, get creative! Try adding nuts, seeds, or even different types of flour to your recipe for unique flavor combinations.
What unique flavor or addition will you try in your first sourdough loaf?