
The Ultimate Guide to Baking Basic Sourdough Bread (Recipe Included)

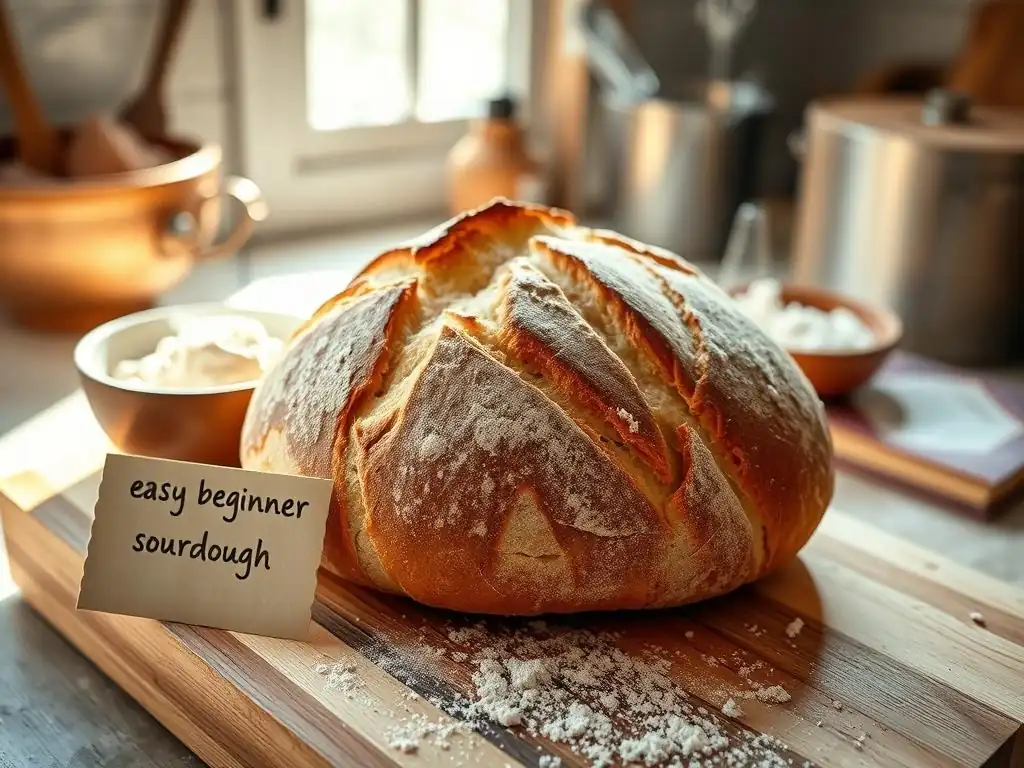
Welcome to BakeWithEase, your companion on a delicious journey into the world of baking! Ever dreamed of crafting a perfect loaf of sourdough? It’s easier than you think. Dive into our guide and discover a surprisingly simple approach to baking your very own easy beginner sourdough bread recipe. Unlock the secrets to a tangy, crusty masterpiece and let the aroma of homemade bread fill your kitchen. Ready to get baking? Let's begin!
- Introduction to Beginner Sourdough Bread Baking
- Understanding Sourdough: Ingredients and Equipment
- Beginner Sourdough Bread Recipe: Step-by-Step
- Troubleshooting Your Beginner Sourdough Bread
- Advanced Sourdough Techniques
- Sourdough Bread Recipe Variations
- Storing Your Homemade Sourdough Bread
- Conclusion: Mastering Easy Sourdough Bread Baking
-
Frequently Asked Questions
- What makes this sourdough recipe "easy" for beginners?
- How long does it typically take to make this sourdough bread from start to finish?
- What if I don't have a Dutch oven? Can I still bake this sourdough bread?
- What should I do if my sourdough starter isn't very active?
- Can I substitute different types of flour in this recipe?
- Final Reflection: The Humble Loaf and the Journey Within
- Unleash Your Inner Baker: Start Your Sourdough Journey Today!
Introduction to Beginner Sourdough Bread Baking
Embarking on the sourdough journey might seem daunting at first glance, but mastering an easy beginner sourdough bread recipe is entirely within reach. This guide is designed to simplify the process, breaking down each step so you can confidently bake your first delicious loaf right in your own kitchen. Forget complex techniques and intimidating jargon; we're here to make baking basic sourdough an accessible and rewarding experience for everyone.
Why Sourdough? Exploring the Benefits
Sourdough bread offers a unique depth of flavor that's hard to replicate with commercial yeast. The natural fermentation process, driven by wild yeast and bacteria in the starter, produces a distinct tangy taste and complex aroma. Beyond flavor, many people find sourdough easier to digest compared to conventional bread, as the long fermentation can help break down gluten and phytic acid, making nutrients more available.
Furthermore, the natural acidity developed during fermentation acts as a natural preservative, giving sourdough a longer shelf life than many other types of bread. A well-baked loaf can stay fresh and enjoyable for several days at room temperature. Learning this easy beginner sourdough bread recipe not only unlocks incredible flavor but also introduces you to a healthier, more traditional way of baking bread.
Simple Sourdough for Everyone
You don't need to be a professional baker to create wonderful sourdough bread. The core process, especially for a basic recipe, involves just a few simple ingredients and a bit of patience. Our focus is on an easy beginner sourdough bread recipe that minimizes complexity while maximizing your chances of success. We'll guide you through each stage, from understanding your starter to achieving that perfect crust and crumb.
This approach demystifies common sourdough challenges, making it approachable even if you've never baked bread before. We'll cover the fundamental techniques that form the basis of all sourdough baking, ensuring you build a strong foundation. With this easy beginner sourdough bread recipe, you'll quickly discover the satisfaction of pulling a warm, fragrant loaf from your oven.
Understanding Sourdough: Ingredients and Equipment
Before diving into the baking process, it's crucial to understand the fundamental elements required. Unlike commercial bread, sourdough relies on a living culture and specific tools that facilitate its unique fermentation and baking process. Getting these basics right is the first step towards a successful easy beginner sourdough bread recipe.
Demystifying Sourdough Starter
A sourdough starter is the heart of your bread. It's a living culture of wild yeasts and lactic acid bacteria, typically created and maintained by feeding it a mixture of flour and water. These microorganisms consume the flour, producing carbon dioxide (which makes the bread rise) and organic acids (which give sourdough its characteristic flavor). A healthy, active starter is paramount for any easy beginner sourdough bread recipe.
Maintaining your starter involves regular "feedings," where you discard a portion and replenish it with fresh flour and water. An active starter will show visible signs of life: bubbles, a pleasant tangy smell, and it will double in size within a few hours after feeding. Using a strong, active starter is key to achieving good rise and flavor in your easy beginner sourdough bread.
Essential Baking Tools
While you can start with minimal tools, certain pieces of equipment significantly improve the outcome of your easy beginner sourdough bread recipe. A digital kitchen scale is perhaps the most critical tool, as accurate measurements by weight (not volume) are essential in baking chemistry. For example, 500g of flour is a precise amount, while a "cup" can vary wildly.
Another highly recommended tool, especially for beginners, is a Dutch oven. Baking sourdough in a preheated Dutch oven creates a steamy environment around the dough initially, mimicking professional bread ovens. This steam allows the crust to expand fully before hardening, resulting in better oven spring and a thinner, crispier crust – a hallmark of great sourdough and a secret weapon for your easy beginner sourdough bread. Other helpful tools include a bench scraper, a proofing basket (banneton), and parchment paper.
Beginner Sourdough Bread Recipe: Step-by-Step
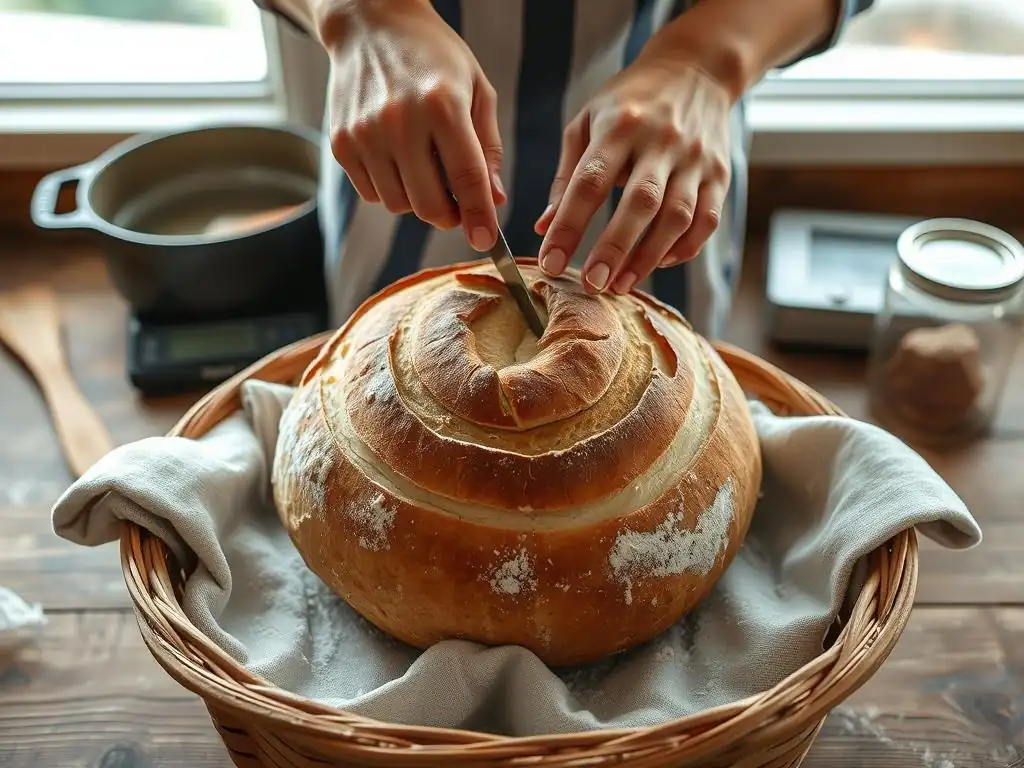
Here is a straightforward easy beginner sourdough bread recipe designed for success. This recipe uses common ingredients and techniques that are fundamental to sourdough baking.
Preparing Your Sourdough Starter
Ensure your sourdough starter is active and ready to bake. This typically means feeding it 4-12 hours before you plan to mix your dough, so it's bubbly, doubled in size, and passes the "float test" (a small dollop floats in water). For this easy beginner sourdough bread recipe, having a vigorous starter is the most important variable.
Measure out the required amount of active starter accurately using your digital scale. An example might be using 100 grams of active starter for a loaf. This starter should be at its peak activity to provide sufficient leavening power for the dough.
Mixing the Dough
Combine the active sourdough starter with the measured warm water in a large mixing bowl. Whisk briefly to disperse the starter. Then, add the flour. A typical ratio for an easy beginner sourdough bread recipe might use 500 grams of strong bread flour. Mix with your hands or a wooden spoon until no dry flour remains and a shaggy dough forms. This initial mix doesn't need to be smooth.
Cover the bowl and let the dough rest for 30 minutes to an hour. This resting period, known as autolyse, allows the flour to fully hydrate and gluten development to begin, making the dough easier to work with later. After the autolyse, add the salt (e.g., 10 grams). Knead or fold the salt into the dough until it's evenly distributed.
Bulk Fermentation
Bulk fermentation is the first rise, where the dough develops strength and flavor. This typically takes 4-6 hours at room temperature (ideally around 75-80°F or 24-27°C), but timing is more about how the dough looks and feels than strictly the clock. During this time, perform a series of "stretch and folds." Every 30-60 minutes for the first 2-3 hours, wet your hand, grab one side of the dough, stretch it up, and fold it over the center. Rotate the bowl and repeat 3-4 times.
These stretch and folds build gluten structure and evenly distribute the yeast and bacteria. By the end of bulk fermentation, the dough should feel lighter, puffier, and show visible bubbles. It might increase in volume by 50-75%. Learning to read the dough's readiness is key to this easy beginner sourdough bread recipe.
Shaping Your Loaf
Once the bulk fermentation is complete, gently turn the dough out onto a lightly floured surface. Avoid degassing it too much. Shape the dough into your desired form (a round boule or an oval batard). The goal of shaping is to create tension on the surface of the dough, which helps it hold its shape and provides structure for oven spring.
There are many shaping techniques, but for an easy beginner sourdough bread recipe, a simple method is to gently preshape it into a round and let it rest for 20 minutes, then perform a final shape, tucking the edges under to create a taut surface. Place the shaped dough seam-side up into a floured banneton or a bowl lined with a floured tea towel.
Proofing Your Sourdough
Proofing is the final rise before baking. For an easy beginner sourdough bread recipe, cold proofing in the refrigerator is often recommended. Place the banneton with the shaped dough into the refrigerator for 8-12 hours (or even up to 24 hours). Cold proofing slows down fermentation, allowing flavors to deepen and making the dough easier to handle and score.
Alternatively, you can proof at room temperature for 1-3 hours, but this requires more careful monitoring as it happens quickly. The dough should look visibly risen but not overly puffy or fragile. Gently poke the dough; if it springs back slowly, it's ready. If it springs back immediately, it needs more time. If the indent remains, it's likely over-proofed.
Baking Your Sourdough: Temperature and Time
Preheat your oven with the Dutch oven inside to a high temperature, typically 450-475°F ( 230-245°C), for at least 30-60 minutes. A very hot oven and pot are crucial for achieving good oven spring and a great crust. Carefully transfer the cold dough from the banneton onto parchment paper (this makes lowering it into the hot pot easier). Score the top of the dough with a sharp razor or knife.
Carefully lower the dough (on the parchment) into the preheated Dutch oven. Place the lid on tightly and bake for 20-25 minutes. This initial covered bake traps steam, allowing the dough to expand. After this time, remove the lid and continue baking for another 20-30 minutes uncovered, until the crust is deep golden brown and the internal temperature reaches 200-210°F ( 93-99°C).
Cooling and Enjoying
Once baked, carefully remove the loaf from the Dutch oven and place it on a wire rack to cool completely. This is a critical step in any easy beginner sourdough bread recipe! The internal structure of the bread is still setting, and slicing it too early can result in a gummy texture.
Allow the loaf to cool for at least 1-2 hours, ideally longer, before slicing and enjoying your homemade easy beginner sourdough bread. The aroma as it cools is part of the reward for your patience!
Troubleshooting Your Beginner Sourdough Bread
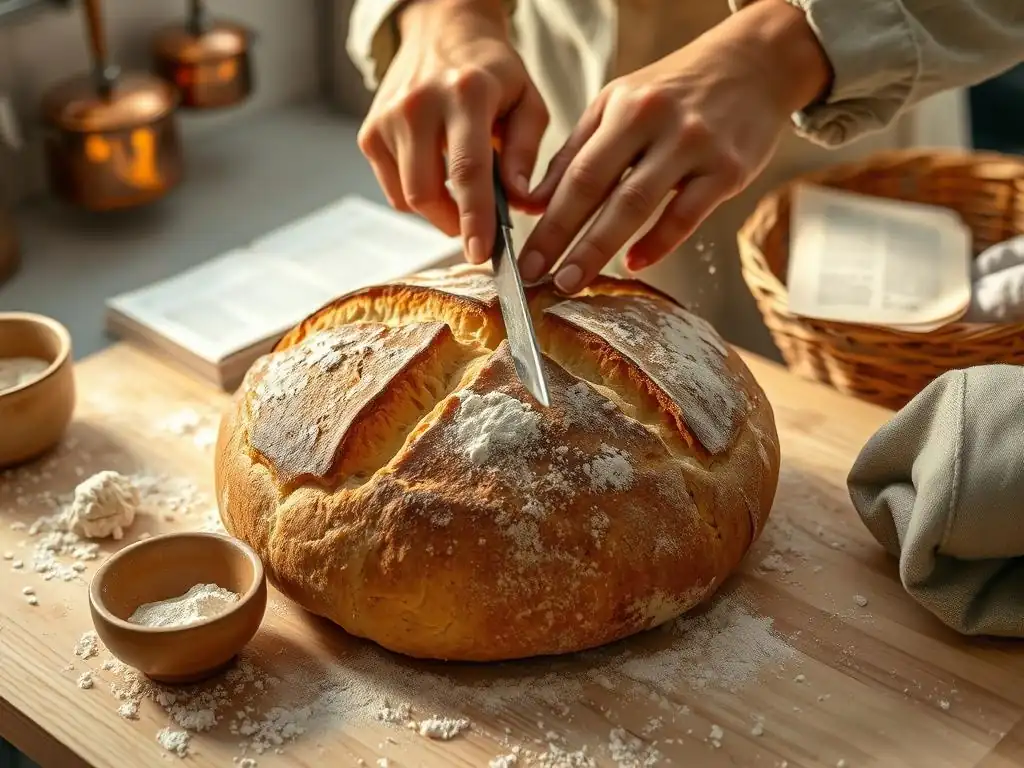
Even with an easy beginner sourdough bread recipe, challenges can arise. Understanding common issues helps you identify what went wrong and improve for your next bake. Don't get discouraged; troubleshooting is a natural part of the learning process!
Dense Sourdough: Causes and Solutions
A dense crumb, often lacking those desirable open air pockets, is a common issue for beginners. One primary cause is an inactive or weak sourdough starter. If your starter isn't doubling reliably or doesn't pass the float test, it may not have enough leavening power to lift the dough properly during fermentation and baking. Ensure your starter is vigorous by regular, consistent feeding.
Another frequent reason for dense sourdough is under-proofing. If the dough hasn't had enough time during bulk fermentation or final proofing, the yeast and bacteria haven't produced sufficient carbon dioxide to create an airy structure. Try extending your fermentation times slightly, paying attention to the dough's visual cues (like increased volume and bubbles) rather than just the clock, especially when following an easy beginner sourdough bread recipe.
Flat Sourdough: Improving Oven Spring
A loaf that spreads wide instead of rising upwards in the oven indicates poor oven spring. This can be caused by insufficient dough strength, often due to inadequate gluten development during mixing and bulk fermentation. Ensure you are performing enough stretch and folds or kneading to build a strong gluten network capable of holding the dough's shape.
Shaping technique also plays a significant role. If the dough isn't shaped with enough surface tension, it lacks the structure to push upwards in the heat. Practice creating a taut surface during the final shape. Lastly, baking technique matters – ensure your oven and Dutch oven are fully preheated to the high temperature specified in the easy beginner sourdough bread recipe; intense initial heat provides the burst of steam and heat needed for maximum expansion.
Sour or Bitter Sourdough: Balancing Flavors
While a pleasant tang is characteristic of sourdough, an overly sour or even bitter taste can occur. This is often related to the starter's feeding schedule and fermentation temperatures. An unfed starter left too long at room temperature can develop excessive acidity as the bacteria produce more acetic acid.
To mitigate excessive sourness in your easy beginner sourdough bread, try feeding your starter more frequently or storing it in the refrigerator to slow down fermentation. Using the starter when it's just peaked (rather than when it's started to fall) can also result in a milder flavor. Adjusting fermentation times and temperatures during bulk and final proofing can also impact the final flavor profile.
Common Sourdough Baking Issues & Solutions
- Crust too thick/hard: Often due to not enough steam during the initial bake. Using a Dutch oven with a lid for the first portion of baking is the best way to ensure sufficient steam for an easy beginner sourdough bread.
- Crust not browning: Could be oven temperature too low or not baking uncovered for long enough. Ensure your oven is calibrated and preheated properly.
- Dough sticking to banneton: Use plenty of rice flour (or a mix of rice and wheat flour) to dust your banneton or proofing cloth. Rice flour doesn't absorb moisture like wheat flour, preventing sticking.
- Difficulty scoring: Dough might be over-proofed and lacks tension, or your scoring tool isn't sharp enough. Cold-proofing makes the dough firmer and easier to score cleanly. Use a sharp razor blade (lame).
Advanced Sourdough Techniques
Once you've mastered the easy beginner sourdough bread recipe, you might be curious about how to elevate your baking. These techniques build upon the basics and allow for greater creativity and control over your loaves.
Experimenting with Different Flours
The type of flour you use significantly impacts the texture, flavor, and hydration needs of your sourdough. While an easy beginner sourdough bread recipe typically uses strong bread flour, you can introduce other flours like whole wheat, rye, or spelt. Whole wheat and rye flours absorb more water and ferment faster due to their higher nutrient content, adding complex flavors and denser textures.
Incorporating different flours requires adjusting hydration levels and potentially fermentation times. For example, substituting 10-20% of the bread flour with whole wheat will likely require a little more water and may shorten the bulk fermentation time slightly. Experimenting with small percentages first, say 10-15%, in your easy beginner sourdough bread recipe is a good way to learn how different flours behave.
Adding Inclusions
Adding ingredients like seeds, nuts, dried fruits, or cheese can transform your basic sourdough loaf into something special. Inclusions add flavor, texture, and visual appeal. For instance, adding toasted seeds (like sesame, poppy, sunflower, and flax) provides a delightful crunch and nutty flavor that pairs wonderfully with the tang of sourdough.
Inclusions are typically added during the mixing or early bulk fermentation stage. Be mindful that adding a large volume of heavy inclusions can sometimes impact the dough's rise. A good starting point for an easy beginner sourdough bread recipe variation is to add 10-20% of the total flour weight in inclusions, ensuring they are evenly distributed throughout the dough during folding.
Scoring Techniques
Scoring, the cuts made on the surface of the loaf before baking, serves both functional and aesthetic purposes. Functionally, scores act as vents, directing the dough's expansion during oven spring and preventing uncontrolled cracking. Aesthetically, scoring allows you to create beautiful patterns on your crust.
For an easy beginner sourdough bread recipe, a simple single slash or a cross is sufficient and effective. As you gain confidence, you can explore more intricate patterns using a sharp razor blade (lame). Practice controlling the depth and angle of your cuts – typically about a half-inch deep – to achieve the desired oven spring and visual design.
Sourdough Bread Recipe Variations

Once you're comfortable with the basic process, adapting your easy beginner sourdough bread recipe to create variations is simple and fun. These variations introduce new flavors and textures by changing the flour composition.
Whole Wheat Sourdough Bread
Creating a whole wheat sourdough involves substituting a portion of the white bread flour with whole wheat flour. A good starting point for a variation of the easy beginner sourdough bread recipe is to use 20-30% whole wheat flour, with the rest being white bread flour. This adds a nuttier flavor and increases the fiber content.
Remember that whole wheat flour absorbs more water, so you might need to increase the hydration slightly (perhaps by 1-2%) compared to a purely white loaf. The fermentation might also be a bit faster, so keep a close eye on the dough during bulk fermentation.
Rye Sourdough Bread
Adding rye flour introduces a distinctive, earthy flavor and can result in a slightly denser crumb, depending on the percentage used. For a beginner variation, try substituting 10-15% of the white bread flour with rye flour. Rye flour has different gluten-forming properties than wheat flour, so using too high a percentage initially can make the dough harder to handle.
Like whole wheat, rye flour is very absorbent. You will likely need to add a bit more water to achieve a similar dough consistency as your base easy beginner sourdough bread recipe. Start with a small percentage of rye to get a feel for how it changes the dough's behavior and the final bread's texture and taste.
Seeded Sourdough Bread
Adding seeds is a popular variation. You can toast a mix of seeds like sunflower, pumpkin, flax, and sesame and incorporate them into your dough. A good ratio for a seeded easy beginner sourdough bread recipe is around 15-20% of the total flour weight in seeds.
Soaking some of the seeds overnight (e.g., flax and chia) can prevent them from absorbing moisture from the dough during fermentation, which helps maintain crumb structure. Mix the soaked or dry seeds into the dough during the second or third set of stretch and folds in the bulk fermentation stage.
Storing Your Homemade Sourdough Bread
Proper storage is key to keeping your delicious homemade sourdough fresh and enjoyable for as long as possible after putting effort into your easy beginner sourdough bread recipe.
Best Practices for Storage
Once your sourdough loaf has cooled completely on a wire rack (this is crucial! ), the best way to store it depends on how quickly you plan to eat it. For consumption within 1-2 days, simply storing it cut-side down on a cutting board works well. The cut surface can dry out, but the rest of the loaf stays relatively fresh.
For slightly longer storage (3-4 days), wrapping the loaf in a linen bread bag or a clean tea towel allows the crust to remain somewhat crisp while protecting the crumb. Avoid plastic bags at room temperature, as they trap moisture and can make the crust soft and potentially lead to mold.
Freezing Sourdough Bread
If you won't finish your loaf within a few days, freezing is an excellent option to preserve its quality. Ensure the loaf is completely cool before freezing. You can freeze a whole loaf or slice it first.
Wrap the loaf or slices tightly in plastic wrap, then place it in a freezer-safe bag or aluminum foil. Frozen sourdough can last for several months. To thaw, remove from the freezer and let it sit at room temperature. For a whole loaf, refreshing it in a 350°F ( 175°C) oven for 10-15 minutes can help revive the crust.
Conclusion: Mastering Easy Sourdough Bread Baking
Congratulations on taking the steps towards baking your own easy beginner sourdough bread! This guide has covered the essential ingredients, equipment, step-by-step process, and common troubleshooting for a basic recipe. Remember that sourdough baking is a skill that improves with practice. Don't worry if your first few loaves aren't perfect; each bake is a valuable learning experience.
Final Thoughts on Your Sourdough Journey
Embrace the process and enjoy the journey of working with your sourdough starter and dough. Pay attention to how the dough feels and looks at each stage – these are often better indicators of readiness than strict adherence to timing, especially as variables like room temperature change. This easy beginner sourdough bread recipe is just the beginning; there's a whole world of sourdough possibilities to explore with different flours, hydration levels, and techniques. Happy baking!
Frequently Asked Questions
What makes this sourdough recipe "easy" for beginners?
This recipe emphasizes simple techniques and readily available ingredients, minimizing complexities often associated with traditional sourdough. The step-by-step instructions also make it easier to follow.
How long does it typically take to make this sourdough bread from start to finish?
The entire process, including starter feeding, mixing, bulk fermentation, shaping, proofing, and baking, usually takes around 24-36 hours. Most of this time is hands-off, waiting for the dough to ferment.
What if I don't have a Dutch oven? Can I still bake this sourdough bread?
Yes, you can bake it on a baking stone or sheet pan with a tray of water underneath for steam. This helps create a crispy crust.
What should I do if my sourdough starter isn't very active?
Ensure you are feeding your starter regularly with equal parts flour and water. It may take several days of consistent feeding to achieve optimal activity and doubling in size.
Can I substitute different types of flour in this recipe?
While all-purpose flour works well, you can experiment with bread flour for a chewier texture or whole wheat flour for a nuttier flavor. Be aware that substitutions may affect the final texture and rise of the bread.
Final Reflection: The Humble Loaf and the Journey Within
The enduring appeal of sourdough bread lies not just in its tangy flavor and satisfying chew, but in the process itself. It's a testament to the power of simple ingredients, patience, and the surprisingly profound connection between human effort and nature's subtle alchemy. This seemingly simple act of baking becomes a meditative practice, a reminder of the slow rhythms of life often overlooked in our fast-paced world.
The journey of making sourdough, from nurturing the starter to shaping the loaf, mirrors the personal growth we all experience. It's a process of trial and error, of learning to trust the process even when things don't go exactly as planned. The imperfections, the slightly uneven rise, the unique character of each loaf – these are not flaws, but rather testaments to the handmade nature of the craft. As the poet Mary Oliver so eloquently put it: Instructions for living a life: Pay attention. Be astonished. Tell about it.
Baking sourdough, in its own quiet way, embodies this sentiment perfectly.
Now, I invite you to embrace the challenge. Don't be intimidated by the seemingly complex process; the reward is far greater than the effort. Try your hand at this recipe, embrace the imperfections, and savor the journey. Let the rhythmic kneading, the anticipation of the rise, and the aroma of freshly baked bread fill your home with warmth and a sense of accomplishment. The ultimate reward isn't just a delicious loaf; it's the connection to a tradition, a process, and ultimately, to yourself.
Unleash Your Inner Baker: Start Your Sourdough Journey Today!
Thanks for taking the time to explore the world of sourdough with us! We hope you gained valuable insights and a newfound appreciation for this ancient baking technique. Ready to put your knowledge into practice?
Here's how you can take the next step:
- Bake your first sourdough loaf! Use the recipe provided in the article as your starting point. Don't be afraid to experiment – even small adjustments can lead to delicious discoveries!
- Share your baking experience! Post a picture of your creation on social media and tag #BakeWithEaseSourdough – we'd love to see your results!
- Consider joining our online sourdough community forum (link to forum would go here if it existed on the site) to connect with other bakers, share tips, and get inspired.
What unique twist will you add to your first sourdough loaf? Let us know in the comments!