
Bread Flour Explained: Get That Perfect Crust and Crumb

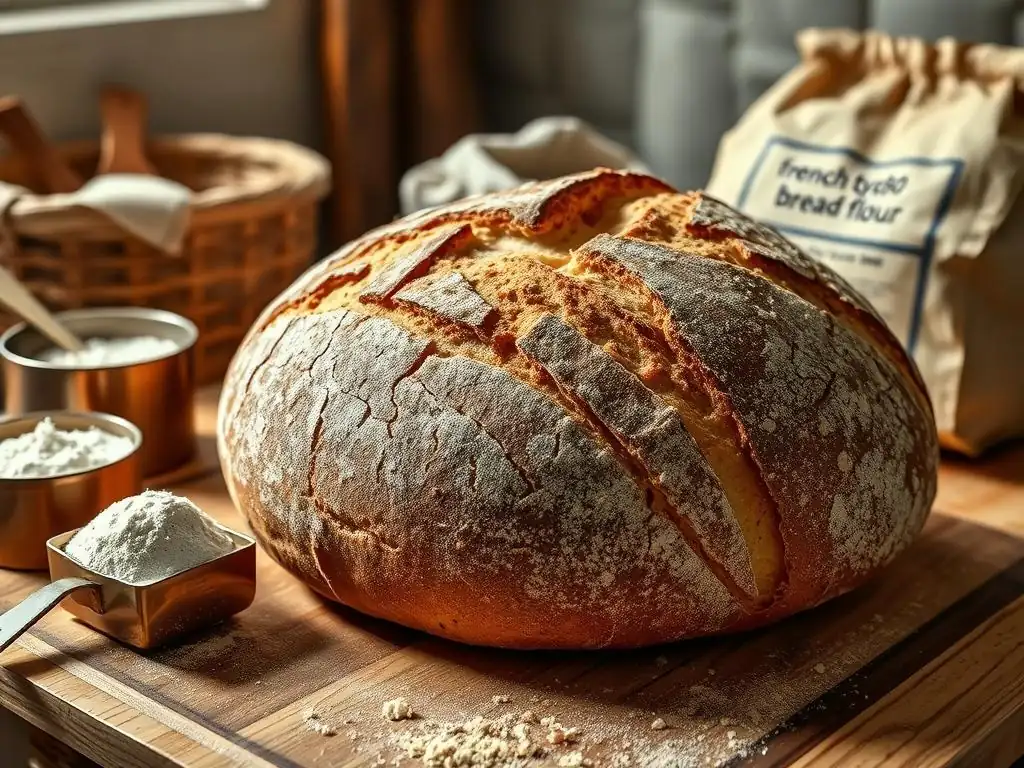
Welcome to BakeWithEase, your trusted guide to unlocking baking brilliance! Are you ready to achieve that perfect, artisanal sourdough you've always dreamed of? This week, we dive deep into the secrets of bread flour, revealing the crucial tips and tricks you need to finally master that elusive crust and airy crumb. Curious about choosing the right flour for your next loaf? Let's get started!
- Introduction to Bread Flour for Baking Excellence
- The Science Behind Bread Flour: Gluten Development
- Choosing the Right Bread Flour: A Baker's Guide
- Achieving the Perfect Sourdough: Bread Flour Tips and Techniques
- Bread Flour for Different Types of Bread: Recipes and Applications
- Troubleshooting with Bread Flour: Common Baking Problems
- Storing Bread Flour Properly: Maintaining Freshness and Quality
- Beyond the Basics: Advanced Bread Flour Techniques
- Conclusion: Mastering Bread Baking with the Right Flour
-
Frequently Asked Questions
- What exactly is bread flour, and how does it differ from all-purpose flour when making sourdough?
- Why is bread flour recommended for sourdough bread, as opposed to other types of flour?
- Can I substitute all-purpose flour for bread flour in a sourdough recipe if I don't have bread flour on hand?
- What are some specific tips for using bread flour to achieve a perfect sourdough crust?
- Besides the protein content, what other factors should I consider when choosing bread flour for my sourdough?
- Final Reflection: The Enduring Quest for the Perfect Loaf
- Unleash Your Inner Baker: Craft the Perfect Loaf!
Introduction to Bread Flour for Baking Excellence
What is Bread Flour and Why It Matters?
Bread flour is a type of wheat flour specifically milled to contain a higher protein content compared to other flours like all-purpose flour or cake flour. This higher protein level, typically ranging from 12% to 14%, is crucial for developing strong gluten networks when mixed with water. When you knead dough made with bread flour, the proteins gliadin and glutenin bond together to form gluten, which is like a stretchy, elastic web.
This web traps the gases produced by yeast or sourdough starter, allowing the dough to rise and create that desirable airy structure in your finished loaf. Without sufficient protein and subsequent gluten development, bread would be flat and dense.
The unique properties of bread flour make it the go-to choice for yeast-leavened breads, especially those requiring significant structure and chew, like artisan loaves, bagels, and pizza crusts. While you can make bread with all-purpose flour, bread flour consistently delivers superior results, contributing significantly to both the crust's chewiness and the crumb's open, airy texture.
It provides the necessary strength to support long fermentation periods, which are common in sourdough and other slow-rise bread recipes, leading to deeper flavor development. Using the right flour is arguably the most critical step in achieving baking excellence, especially when aiming for that perfect sourdough bread flour result.
Understanding Flour Types for Baking
Baking relies heavily on the specific properties of different flour types, each milled from various parts of the wheat kernel (endosperm, bran, germ) and containing varying protein levels. All-purpose flour, the most common type, has a moderate protein content (around 10-12%) making it versatile for everything from cookies and cakes to quick breads and some yeast breads.
Cake flour has a very low protein content (around 7-9%) and is finely milled, resulting in tender, delicate baked goods like sponge cakes. Pastry flour falls between cake and all-purpose flour in protein (around 9-10%) and is ideal for pie crusts, biscuits, and pastries.
In contrast, bread flour stands out with its high protein concentration (12-14%), primarily derived from hard wheat varieties like hard red spring or hard red winter wheat. This higher protein is the secret weapon for developing strong gluten, which is essential for the structure, volume, and texture of yeasted breads.
Whole wheat flour, which includes the bran and germ along with the endosperm, also has a high protein content, often similar to or higher than bread flour, but the presence of bran can interfere slightly with gluten development, sometimes resulting in a denser loaf unless combined with white flour. Understanding these differences is key to selecting the best flour for your specific baking project and achieving the desired outcome, whether it's a light cake or a crusty loaf of perfect sourdough bread.
The Science Behind Bread Flour: Gluten Development
High Protein Content: The Key to Strong Gluten
The distinguishing feature of bread flour is its elevated protein content, typically ranging from 12% to 14%. This is significantly higher than the 10-12% found in most all-purpose flours or the mere 7-9% in cake flour. These proteins, primarily gliadin and glutenin, are the building blocks of gluten. When bread flour is hydrated with water and then kneaded or mixed, these two proteins link together and align to form a complex, elastic network – the gluten structure. The higher concentration of these proteins in bread flour means a more robust and resilient gluten network can be developed.
This strong gluten network is vital for bread making. It provides the dough with elasticity and extensibility, allowing it to be stretched and shaped without tearing. More importantly, it creates a framework that can effectively trap the carbon dioxide gas produced by yeast or sourdough starter during fermentation.
As the dough rises, the gluten network expands like a balloon, holding the shape and volume. During baking, this structure solidifies, giving the bread its final form, texture, and the characteristic chewiness associated with artisanal loaves and the perfect sourdough bread crumb. A flour with insufficient protein simply cannot build this strong framework, leading to poor rise and a dense, flat loaf.
Understanding Gluten's Role in Bread Structure
Gluten plays several critical roles in forming the structure of bread. First, it provides the dough with its viscoelastic properties – it's both elastic (snaps back when stretched) and viscous (can be stretched and shaped). This combination is essential for handling the dough during mixing, kneading, and shaping. As yeast produces gas, the gluten network stretches, allowing the dough to expand. This expansion is what gives bread its volume and open crumb structure. Imagine the gluten network as tiny, interconnected balloons inflating within the dough.
Second, gluten contributes to the texture of the baked bread. During baking, the heat causes the gluten proteins to coagulate and set, creating the stable structure of the crumb. The strength of the gluten network developed during mixing and fermentation directly impacts the chewiness of the final loaf.
A strong network, facilitated by high-protein bread flour, results in a chewier crust and a more open, airy interior crumb – hallmarks of great bread, especially perfect sourdough bread. Conversely, a weak gluten network leads to a tighter, denser crumb and a less satisfying texture. Understanding and manipulating gluten development through hydration, kneading, and fermentation is fundamental to mastering bread baking.
Choosing the Right Bread Flour: A Baker's Guide
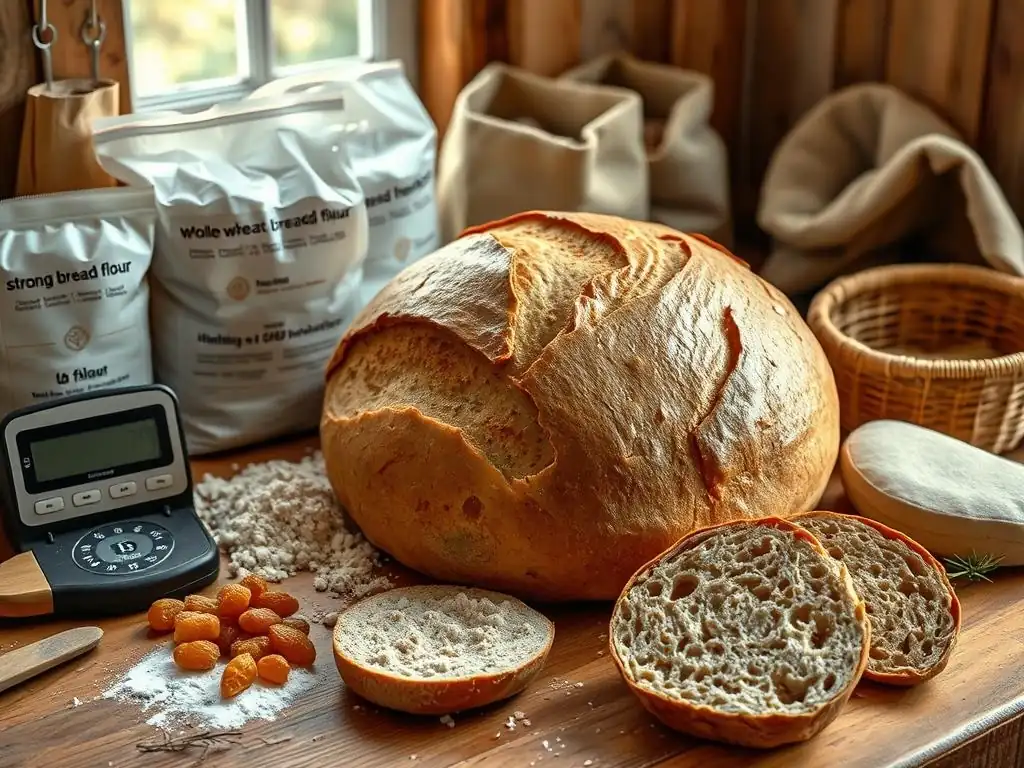
Bread Flour vs. All-Purpose Flour: Key Differences
The primary difference between bread flour and all-purpose flour lies in their protein content and the type of wheat used. Bread flour is milled from hard wheat varieties (like hard red spring or winter) which are naturally higher in protein, typically 12-14%. All-purpose flour is often a blend of hard and soft wheats, resulting in a lower, more moderate protein content, usually 10-12%. This difference in protein directly impacts gluten development; bread flour yields a stronger, more elastic dough capable of producing higher volume and a chewier texture in yeasted breads.
While all-purpose flour is versatile for many baking tasks, including some simple bread recipes, it won't provide the same structural support or chewiness as bread flour. For recipes where a strong rise, open crumb, and substantial crust are desired, such as artisan loaves, bagels, or pizza dough, bread flour is the superior choice.
Using all-purpose flour in these recipes might result in a flatter loaf with a tighter crumb. For achieving that perfect sourdough bread with its characteristic rise and texture, bread flour is highly recommended due to its ability to build a robust gluten network that can handle the long fermentation process.
Exploring Different Brands of Bread Flour
The quality and protein content of bread flour can vary somewhat between brands, and even within the same brand depending on the specific product line (e.g., standard bread flour vs. high-gluten flour). Most standard bread flours in the US range from 12% to 13% protein. Some specialty flours, sometimes labeled "high-gluten flour," can reach 14% protein or even higher, offering even greater dough strength, ideal for items like bagels or very chewy pizza crusts.
European flours, often labeled by 'Type' numbers (like Type 55 or Type 65 in France, or Type 00 in Italy), have different classifications based on ash content (mineral content) and protein, with higher numbers generally indicating higher protein suitable for bread. For example, Italian Type 00 flour specifically for pizza might have lower protein but is milled very finely, affecting texture differently.
When choosing a brand, consider the protein percentage listed on the nutrition label if available. For general bread baking and achieving a good perfect sourdough bread texture, a standard bread flour around 12.5-13% protein is an excellent starting point. Experimenting with different brands or types can help you discover which one performs best in your specific recipes and baking environment, as factors like milling process and wheat source also play a role. Reading reviews from other bakers or checking online resources can also offer insights into a brand's performance for bread making.
Organic vs. Unbleached Bread Flour: What to Consider
When selecting bread flour, you might encounter options labeled "organic" or "unbleached." Organic bread flour is produced from wheat grown without synthetic pesticides, herbicides, or fertilizers, following specific organic farming standards. Choosing organic supports sustainable farming practices and avoids potential chemical residues. The protein content of organic bread flour can be similar to conventional bread flour, but quality may vary between producers. Some bakers feel organic flours offer a slightly different flavor profile.
Unbleached bread flour means the flour has not undergone chemical bleaching agents (like chlorine or benzoyl peroxide) that are sometimes used to whiten flour and accelerate the aging process. Bleaching can slightly alter the protein structure. Unbleached flour naturally whitens over a short period as it ages.
Many bakers prefer unbleached flour, believing it has better baking properties and a more natural flavor profile, particularly for complex flavors like those in perfect sourdough bread. Unbleached flour often has a slightly off-white or creamy color compared to bright white bleached flour. Both organic and unbleached options are widely available and perform well for bread baking; the choice often comes down to personal preference, health considerations, and desired flavor nuances.
Achieving the Perfect Sourdough: Bread Flour Tips and Techniques
Bread Flour Tips for Sourdough: A Detailed Guide
Achieving perfect sourdough bread relies heavily on the quality of your flour and how you handle it. Bread flour is the preferred choice for most sourdough loaves due to its high protein content (12-14%), which enables the development of a strong gluten network essential for trapping the gases produced by the slow-acting sourdough starter. One key tip is to understand hydration: sourdough recipes often use high hydration (water percentage relative to flour weight), sometimes 70% or even 80%.
Bread flour's strong gluten can handle these higher hydration levels, resulting in a more open, airy crumb. Using a weaker flour at high hydration can lead to a slack, difficult-to-handle dough.
Another crucial tip for perfect sourdough bread flour usage is proper development of the gluten structure through techniques like stretching and folding or coil folds during the bulk fermentation. Because bread flour is high in protein, it requires adequate working to fully develop the gluten. A typical sourdough process might involve 3-5 sets of folds over 2-3 hours.
This builds strength and structure in the dough, allowing it to hold its shape and achieve good oven spring. Paying attention to the dough's feel – it should become progressively smoother, more elastic, and hold tension – is a key indicator of successful gluten development with bread flour. Using high-quality bread flour designed for baking, like a reputable unbleached variety, can significantly impact the final texture and flavor of your perfect sourdough bread.
The Importance of Bread Flour in Sourdough Starters
While some bakers maintain their sourdough starters with a mix of flours, using bread flour (or at least including a significant portion of it) can be beneficial. A starter's health and vigor depend on the availability of protein and starches for the wild yeast and bacteria to feed on. Bread flour, with its higher protein content and robust structure, can help create a stronger, more active starter. The gluten network developed even in the starter mixture provides structure, helping the starter trap gases and visibly rise and fall, indicating its activity.
Many successful sourdough bakers use a 50/50 mix of bread flour and whole wheat or rye flour for feeding their starters, leveraging the nutrients in the whole grain flours while benefiting from the strength bread flour provides. A starter fed consistently with good quality bread flour tends to be more resilient and produce predictable results, which is vital for successful sourdough baking. Observing your starter's behavior when fed with different flours, including bread flour, can help you understand its needs and maintain its peak activity for reliably leavening your perfect sourdough bread dough.
Sourdough Bread Flour: Hydration and Dough Strength
The interaction between sourdough bread flour and water (hydration) is fundamental to dough strength and structure. Hydration level is expressed as the percentage of water weight relative to the flour weight. For example, 500g flour with 375g water is 75% hydration (375/500 = 0.75). Bread flour's high protein allows it to absorb more water than lower-protein flours while still forming a manageable dough. Higher hydration levels (e.g., 75-85% or even higher) are often used in artisanal sourdough recipes to achieve a very open, airy crumb.
However, higher hydration requires a strong gluten network to support the extra water and prevent the dough from collapsing. This is where bread flour excels. Its proteins form a robust network that can hold the increased amount of water, leading to a more extensible dough that stretches easily without tearing.
As you develop the dough through mixing and folding, the gluten structure tightens, building tension and strength. This strength is what gives the loaf its shape and allows for significant oven spring. Mastering the balance of hydration, flour type (especially bread flour), and dough development is key to achieving the desired structure and texture in your perfect sourdough bread.
Bread Flour for Different Types of Bread: Recipes and Applications
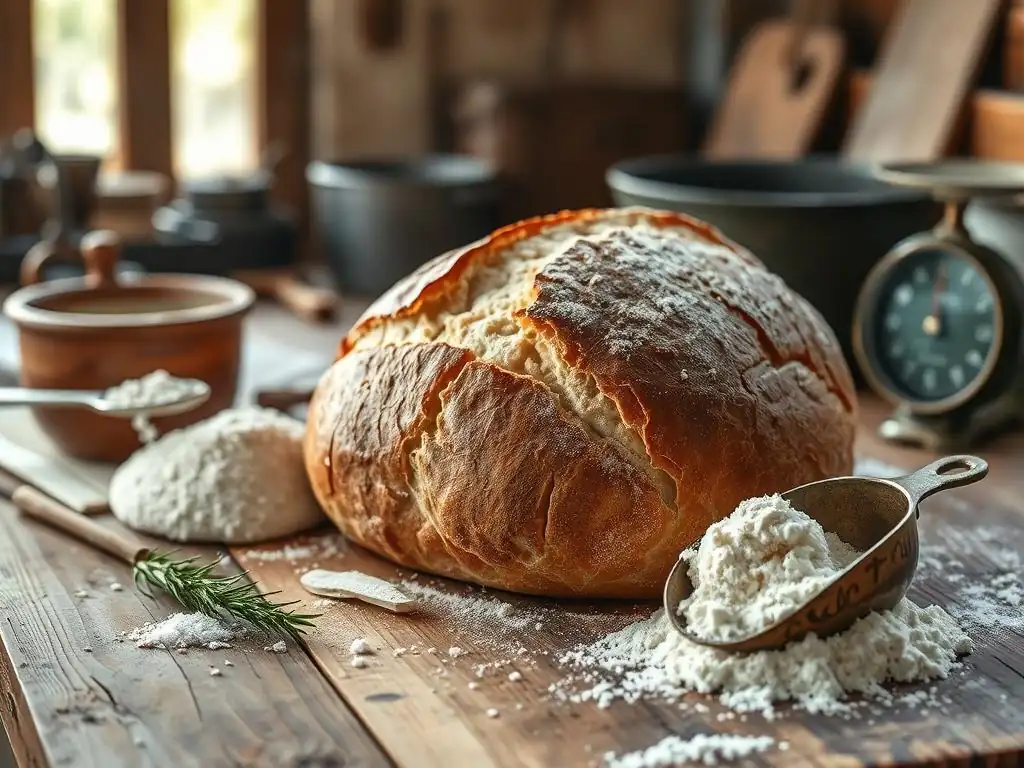
Using Bread Flour for Crusty Artisan Breads
Bread flour is the cornerstone for creating those beautiful, crusty artisan loaves like baguettes, boules, and bâtards, often baked in a Dutch oven or on a baking stone with steam. These breads are characterized by a thick, chewy crust and an open, irregular crumb structure. The high protein content (12-14%) in bread flour is essential for developing the strong gluten network needed to achieve this. This strong network allows the dough to handle high hydration levels (often 70-80% or more), which contributes significantly to the open crumb.
Furthermore, the robust gluten structure provides the necessary support for the dough during long fermentation periods, common in artisan bread recipes. This long, slow fermentation develops complex flavors. During baking at high temperatures (often 450-500°F or 230-260°C), the strong gluten network allows for significant oven spring, where the dough expands rapidly in the initial minutes.
This expansion, combined with steam, helps create the thin, crisp, and ultimately chewy crust. A typical recipe might use 500g of bread flour, 375g water (75% hydration), a small amount of salt, and yeast or starter, undergoing a bulk fermentation of several hours followed by shaping and baking. The result, when using quality bread flour and proper technique, is a loaf with a satisfyingly crackly crust and a beautifully aerated interior.
Bread Flour in Sandwich Bread: Achieving a Soft Crumb
While artisan breads showcase bread flour's ability to create chewiness and an open crumb, it can also be used effectively to achieve a soft, yet structured, crumb in sandwich bread. Unlike crusty loaves, sandwich bread often has lower hydration (typically 60-70%) and may include enrichments like milk, butter, eggs, or sugar, which tenderize the dough. However, bread flour's higher protein still provides essential structure, preventing the loaf from collapsing and giving it a pleasant chewiness without being overly dense.
Using bread flour in sandwich bread ensures the loaf has good volume and a fine, even crumb structure that holds together well when sliced. The strong gluten developed from bread flour helps the dough rise evenly in the pan and provides enough support to create a tall, square loaf. While all-purpose flour can be used for sandwich bread, bread flour generally yields a loaf with better texture and keeping quality.
A standard sandwich loaf recipe might call for 400g bread flour, 240g milk (60% hydration), 30g butter, 20g sugar, 7g salt, and 7g active dry yeast. The bread flour ensures the dough has the strength to rise into a well-shaped loaf with a consistently soft interior.
Bread Flour for Pizza Dough: A Chewy and Flavorful Base
Bread flour is an excellent choice for pizza dough, contributing to a chewy texture and a crust that develops a good structure during baking. The high protein content (12-14%) allows for the development of a strong, elastic dough that can be stretched thin without tearing, which is crucial for many pizza styles. The gluten network also helps trap air bubbles, creating those desirable pockets of char and chewiness in the crust when baked at high temperatures.
Many classic pizza dough recipes, especially those aiming for a Neapolitan-style or New York-style crust, rely on bread flour or a similar high-protein flour like Italian Type 00 (though Type 00 has lower protein, its fine milling creates a unique texture). A typical pizza dough recipe using bread flour might use 500g bread flour, 325g water (65% hydration), 10g salt, and 2g instant yeast, often undergoing a long, slow fermentation in the refrigerator (24-72 hours) to develop flavor.
The bread flour provides the necessary strength to withstand this long fermentation and achieve the perfect balance of crispness and chewiness in the baked crust.
Troubleshooting with Bread Flour: Common Baking Problems
Over-Proofing and Bread Flour: How to Prevent It
Even with the strength of bread flour, over-proofing is a common issue that can lead to a collapsed or dense loaf. Over-proofing occurs when the dough ferments for too long, and the yeast or starter exhausts its food source (sugars in the flour) and the gluten structure begins to break down.
With high-protein bread flour, the gluten network is strong and can handle longer fermentation times than weaker flours, but it's not indestructible. Signs of over-proofing include a dough that has risen significantly but then starts to sag or flatten, feels very airy and fragile, and may even smell overly alcoholic.
To prevent over-proofing when using bread flour, especially in recipes like perfect sourdough bread which often have long fermentation times, it's crucial to monitor the dough's progress rather than strictly following time guidelines, as ambient temperature greatly affects fermentation speed. Learn to assess the dough's feel and appearance.
A well-proofed dough should be visibly risen, feel airy but still have some structure, and pass the "poke test" – when gently poked, the indentation should spring back slowly, not immediately (under-proofed) or stay completely indented (over-proofed). Using cooler temperatures for bulk fermentation (like refrigerating) can also help slow down the process and provide a larger window of time before over-proofing occurs.
Dense Bread: Is Your Bread Flour the Problem?
A dense crumb can be frustrating, and while many factors contribute, sometimes it relates to how the bread flour was handled. If you're using high-quality bread flour but consistently getting dense loaves, it's usually not the flour's presence but rather how its potential was utilized. Common culprits include:
- Insufficient Gluten Development: The high protein in bread flour needs to be properly hydrated and worked (kneaded or folded) to form a strong gluten network. If the dough wasn't developed enough, the network won't be strong enough to trap gases, resulting in a dense crumb.
- Under-Proofing: If the dough didn't ferment long enough, the yeast/starter hasn't produced enough gas to inflate the gluten network, leading to a heavy, dense loaf.
- Too Low Hydration: While bread flour can handle higher hydration, using too little water for the amount of flour can create a stiff dough that's difficult to develop gluten in and restricts expansion during fermentation and baking, resulting in a dense texture.
- Improper Shaping: Poor shaping can degas the dough too much or not create enough surface tension to support the loaf's structure, leading to a dense base or uneven crumb.
To combat density with bread flour, ensure you are adequately developing the dough (aim for a smooth, elastic texture), giving it sufficient time to ferment and proof (look for significant volume increase and pass the poke test), and using an appropriate hydration level for your flour and recipe (often 65-80% for many yeasted breads). For perfect sourdough bread flour techniques, pay close attention to the stretch and folds to build strength.
Achieving a Light and Airy Crumb with Bread Flour
The goal for many bakers, especially with artisan loaves and perfect sourdough bread, is a light and airy crumb with large, irregular holes. Bread flour is key to achieving this due to its ability to form a strong, elastic gluten network. Several factors, when combined with quality bread flour, contribute to an open crumb:
- High Hydration: As discussed, higher water content (75%+) makes the dough more extensible, allowing larger gas pockets to form and expand.
- Proper Gluten Development: Through effective kneading, stretching, and folding, you build a robust gluten network capable of trapping large amounts of gas.
- Sufficient Fermentation: Allowing the dough adequate time to ferment (especially bulk fermentation) allows the yeast/starter to produce ample gas and enzymes to condition the dough, leading to a more extensible network. Long, slow fermentation often enhances flavor too.
- Gentle Handling: After bulk fermentation, handle the dough gently during shaping to preserve the trapped gases. Avoid excessive degassing.
- High Baking Temperature and Steam: Baking at high temperatures (450-500°F) with steam creates a strong initial oven spring. The heat causes rapid expansion of gases, and the steam keeps the crust pliable, allowing the dough to expand fully before the crust sets, resulting in a larger, more open crumb.
By focusing on these techniques while using high-protein bread flour, you maximize the flour's potential to create a light, airy structure and that coveted open crumb in your baked goods, particularly in perfect sourdough bread.
Storing Bread Flour Properly: Maintaining Freshness and Quality
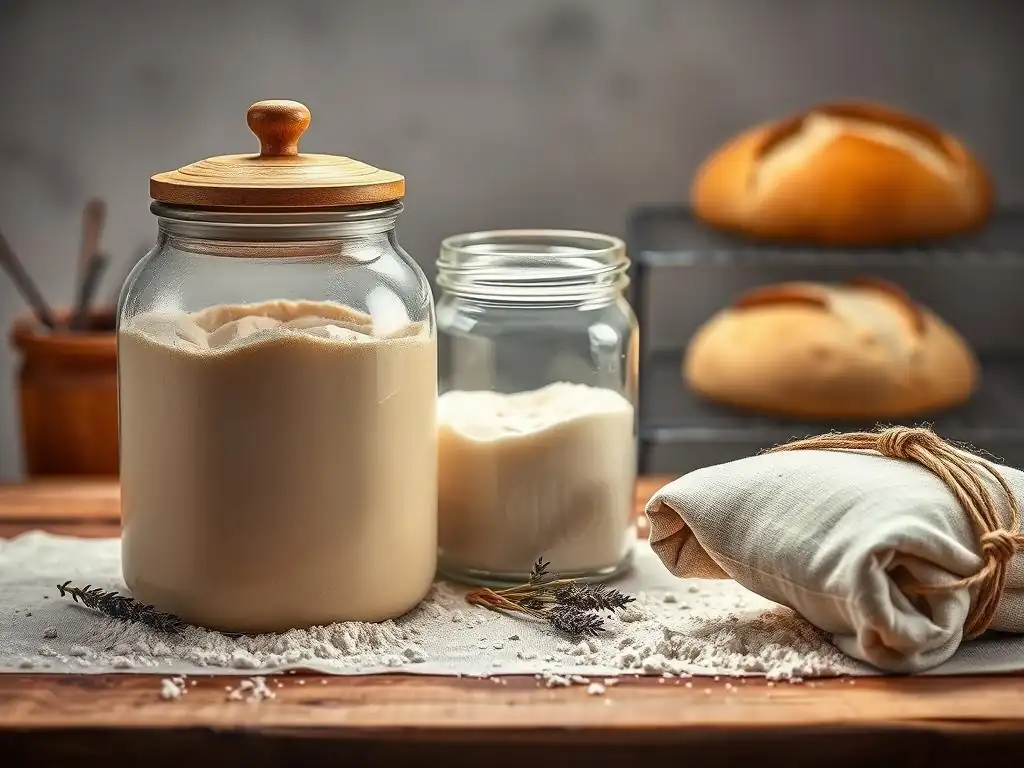
Best Practices for Bread Flour Storage
Proper storage is essential to keep your bread flour fresh and prevent it from going rancid or developing off-flavors, which can negatively impact your baking results, including the flavor of your perfect sourdough bread. Flour is susceptible to moisture, heat, light, and pests. The ideal storage environment is cool, dark, and dry. An airtight container is crucial to protect the flour from moisture absorption, odors from other foods, and pantry pests like weevils.
For short-term storage (a few weeks to a couple of months), a clean, airtight container (like a plastic or glass container with a tight-fitting lid) stored in a cool pantry is usually sufficient. For longer-term storage, especially if you buy in bulk, the freezer is your best friend. Flour can be stored in the freezer for up to a year in an airtight container or heavy-duty freezer bag.
Freezing prevents the fats in the germ (even in refined flour, there are trace amounts) from oxidizing and turning rancid, and it also prevents insect eggs from hatching. Just be sure to let the flour come to room temperature before using it, as cold flour can affect dough temperature and hydration.
Determining Bread Flour Freshness
Knowing how to tell if your bread flour is still fresh is important for consistent baking results. Fresh bread flour should have a neutral, slightly sweet, wheaty smell and a fine, powdery texture. As flour ages or goes bad, it can develop an unpleasant odor – often described as musty, stale, or even slightly chemical or paint-like due to rancidity. The color might also become duller.
Taste is another indicator, though less common to check directly. Rancid flour will have a bitter or unpleasant taste. If you're unsure, compare the smell of your flour to a fresh bag.
While white bread flour has a longer shelf life than whole wheat flour (because the bran and germ, which contain more oils, are removed), it can still go stale or rancid, especially if not stored properly. Using stale flour, particularly for delicate recipes like perfect sourdough bread where flavor is paramount, can lead to disappointing results. Always store flour properly and check its freshness if you haven't used it in a while.
Beyond the Basics: Advanced Bread Flour Techniques
Autolyse and Bread Flour: Enhancing Flavor and Texture
Autolyse is a simple yet powerful technique that involves mixing just the flour and water from a recipe and letting it rest before adding other ingredients like salt and yeast/starter. This resting period, typically 20 minutes to an hour (or even longer), allows the flour to fully hydrate and enzymes naturally present in the flour to start breaking down starches and proteins. For bread flour, autolyse offers several benefits:
- Improved Hydration: Ensures the high-protein flour is thoroughly hydrated, essential for optimal gluten development.
- Easier Kneading/Folding: The resting period allows gluten to start forming on its own, making the dough less sticky and easier to handle and develop later.
- Enhanced Extensibility: The enzymatic activity during autolyse helps relax the dough and makes the gluten network more extensible, contributing to a more open crumb.
- Potentially Enhanced Flavor: Some bakers believe autolyse contributes to better flavor development.
Using autolyse with bread flour, especially for perfect sourdough bread, leverages the flour's potential for structure and texture. It's a technique worth incorporating once you're comfortable with basic bread-making steps. For example, you might mix 500g bread flour with 375g water (75% hydration) and let it sit for 30 minutes before adding your sourdough starter and salt and proceeding with kneading or folding.
Using Bread Flour with Other Flours: Experimenting with Blends
While bread flour is excellent on its own, blending it with other flours can add complexity, flavor, and different textures to your bread. Common blends include:
- Bread Flour and Whole Wheat Flour: A popular combination (e.g., 70% bread flour, 30% whole wheat) that adds the nutritional benefits and nutty flavor of whole wheat while the bread flour provides sufficient gluten strength for a good rise and structure. This is common in many perfect sourdough bread recipes.
- Bread Flour and Rye Flour: Rye flour contains less gluten-forming protein, so blending it with bread flour (e.g., 80% bread flour, 20% rye) provides enough structure to support the rye's unique flavor and moisture-retaining properties, resulting in a denser but flavorful loaf.
- Bread Flour and Spelt Flour: Spelt is an ancient grain with a different type of gluten that is more fragile than modern wheat. Blending with bread flour (e.g., 50-70% bread flour) adds the nutritional and flavor benefits of spelt while the bread flour provides necessary dough strength.
- Bread Flour and All-Purpose Flour: While bread flour is often preferred, blending a small amount of AP flour can sometimes slightly tenderize the crumb in certain recipes without significantly compromising structure.
Experimenting with different ratios and types of flour alongside bread flour allows you to customize your loaves, creating unique textures and flavor profiles beyond what's possible with a single flour type.
Conclusion: Mastering Bread Baking with the Right Flour
Bread Flour Tips: Recap and Next Steps
Understanding and utilizing bread flour is a fundamental step towards mastering bread baking, especially when aiming for that perfect sourdough bread with its signature crust and crumb. We've covered how its high protein content builds the strong gluten network necessary for structure, volume, and chewiness. Remember these key bread flour tips:
- Choose bread flour with 12-14% protein for best results in yeasted breads.
- Adequately hydrate and develop the dough through kneading or folding to build a strong gluten network.
- Pay attention to fermentation and proofing times; bread flour can handle longer ferments but watch for signs of over-proofing.
- Use bread flour for recipes where structure, chewiness, and an open crumb are desired, like artisan loaves, bagels, and pizza.
- Properly store your bread flour in a cool, dark, airtight container to maintain freshness.
- Consider advanced techniques like autolyse or blending bread flour with other flours to enhance your results.
By focusing on the quality of your bread flour and applying proper techniques, you unlock its potential to create truly exceptional bread.
Continue Your Baking Journey
Equipped with a deeper understanding of bread flour and specific perfect sourdough bread flour tips, you're ready to elevate your baking. Don't be afraid to experiment with different recipes, hydration levels, and techniques. Practice makes perfect, and each loaf you bake is a learning opportunity.
Consider trying a classic sourdough recipe using high-quality bread flour, focusing on building dough strength through stretch and folds. Or perhaps experiment with a blend of bread flour and whole wheat for a more rustic loaf. The world of bread baking is vast and rewarding. Keep exploring, keep baking, and enjoy the delicious results of your efforts. Happy baking!
Frequently Asked Questions
What exactly is bread flour, and how does it differ from all-purpose flour when making sourdough?
Bread flour has a higher protein content than all-purpose flour, typically ranging from 12-14%. This higher protein content develops more gluten during kneading, leading to a chewier texture and a stronger structure ideal for sourdough.
Why is bread flour recommended for sourdough bread, as opposed to other types of flour?
The strong gluten development in bread flour helps the sourdough dough hold its shape during the long fermentation process. This is crucial for achieving the desired open crumb and characteristic tang.
Can I substitute all-purpose flour for bread flour in a sourdough recipe if I don't have bread flour on hand?
While possible, the result will likely be different. All-purpose flour has less protein, resulting in less gluten development. Your loaf might be flatter and the texture less chewy. Consider adding vital wheat gluten to all-purpose flour to boost the protein content.
What are some specific tips for using bread flour to achieve a perfect sourdough crust?
Ensure you're using the right amount of water for your bread flour. Proper hydration is crucial for a crispy crust. Also, steaming the oven during the initial baking period will contribute to a shiny, crackled crust.
Besides the protein content, what other factors should I consider when choosing bread flour for my sourdough?
Consider the milling process and whether it's unbleached or bleached. Unbleached is generally preferred for its natural flavor and better gluten development. Also, check the freshness of the flour, as older flour can affect the dough's performance.
Final Reflection: The Enduring Quest for the Perfect Loaf
The pursuit of the perfect sourdough loaf is more than just a culinary endeavor; it's a journey of understanding, patience, and ultimately, connection. From the careful selection of flour to the nuanced dance of hydration and fermentation, each step reveals the intricate relationship between ingredients, process, and the final product. This understanding, as we've explored, is deeply intertwined with achieving that coveted crust and crumb.
The impact of sourdough baking extends far beyond the kitchen table. It represents a return to traditional methods, a celebration of slow food, and a mindful engagement with the natural world. The simple act of nurturing a starter, feeding it, and watching it thrive mirrors the cyclical nature of life itself. Bread is the staff of life,
a simple phrase, yet it encapsulates the profound connection between sustenance, culture, and the very essence of human existence. This connection, fostered through the process of baking, enriches our lives in ways that extend beyond the delicious result.
Now, consider your own baking journey. What have you learned about patience, precision, and the rewards of dedication? Perhaps this exploration of bread flour has sparked a new appreciation for the ingredients you use, or ignited a desire to experiment further. Don't be afraid to embrace the imperfections; they are part of the learning process. The quest for the perfect loaf is ongoing, a continuous exploration of flavor, texture, and the enduring magic of sourdough. So, gather your ingredients, embrace the process, and embark on your own journey towards baking perfection.
Unleash Your Inner Baker: Craft the Perfect Loaf!
Thanks for diving into the world of bread flour with us! We hope you've gained a deeper understanding of how this special flour contributes to amazing crusts and airy crumbs. Ready to put your new knowledge into action?
- Bake your dream loaf: Try a recipe using bread flour—we recommend starting with a simple rustic loaf to master the technique. You'll be surprised by the difference!
- Share your baking journey: Post a picture of your creation on social media and tag us – we'd love to see your results! Use #BakeWithEaseBreadFlour.
- Explore different bread flour varieties: There's a whole world of bread flours out there! Research different protein levels to discover which best suits your baking style.
Ready to transform your baking game? What bread will you bake first?