
Precision Baking: A StepbyStep Guide to Calibrating Your Kitchen Scale

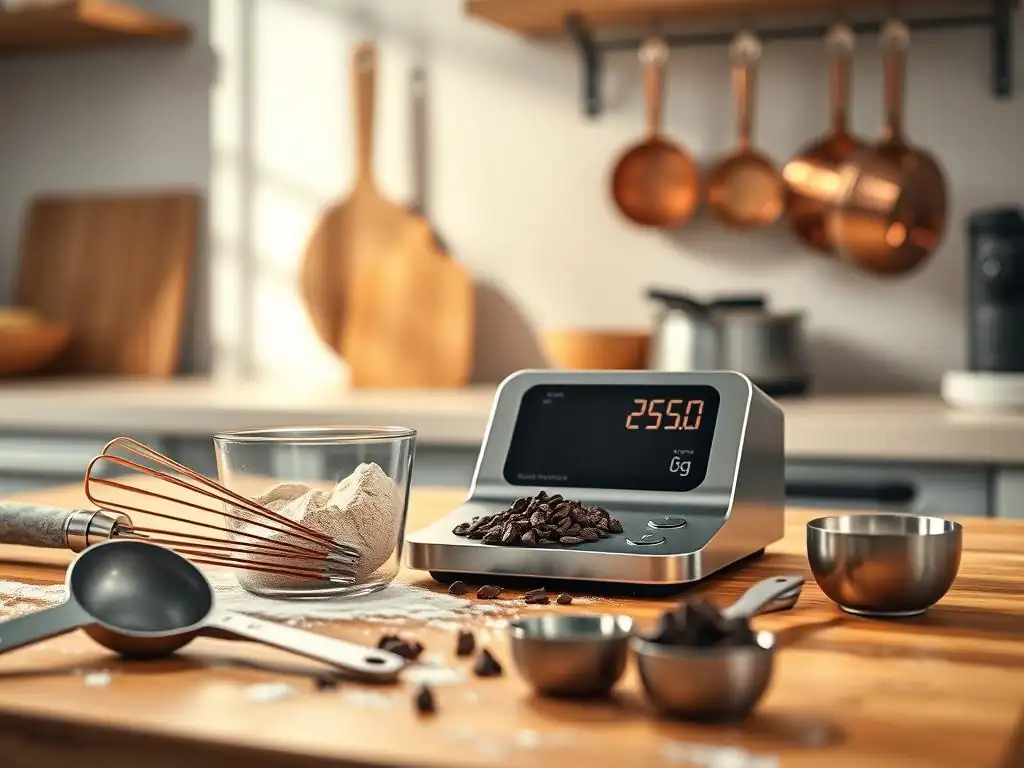
Welcome to BakeWithEase, your trusted companion in the world of baking! Are you ready to unlock the secrets to consistently perfect results? Before you dive into your next masterpiece, let's explore a critical, often overlooked, element: properly calibrating your kitchen scale. Discover why mastering this seemingly small step can be the key to avoiding baking disasters and achieving true precision baking by learning how to calibrate kitchen scale baking. Curious to find out how? Let's get started!
- Why Calibrating Your Kitchen Scale is Crucial for Baking Success
- Understanding Your Kitchen Scale: A Pre-Calibration Check
- Step-by-Step Guide: How to Calibrate Your Kitchen Scale for Baking
- Troubleshooting Common Calibration Issues
- Maintaining Calibration for Long-Term Baking Accuracy
- Beyond Calibration: Tips for Accurate Baking Measurements
- Conclusion: Embrace Precision Baking with a Calibrated Scale
-
Frequently Asked Questions
- What is the importance of calibrating my kitchen scale for baking?
- How often should I calibrate my kitchen scale for baking?
- What do I need to calibrate my kitchen scale?
- What are some common signs that my kitchen scale needs calibration?
- Where can I find more detailed instructions on calibrating my specific kitchen scale model?
- Final Reflection: The Sweet Science of Precision Baking
- Unlock Baking Perfection: Master Your Kitchen Scale Today!
Why Calibrating Your Kitchen Scale is Crucial for Baking Success
The Importance of Accurate Measurements in Baking
In the world of baking, precision isn't just a buzzword; it's the foundation of consistent, delicious results. Unlike cooking, where a pinch more salt or a splash of liquid can often be adjusted on the fly, baking relies on chemical reactions triggered by specific ratios of ingredients. Imagine a cookie recipe calling for 200 grams of flour.
If your scale is off by just 15 grams, you might end up with either too much flour, resulting in dry, dense cookies, or too little, leading to flat, greasy ones. This slight inaccuracy can drastically alter the texture, rise, and overall success of your baked goods, from delicate macarons to sturdy loaves of bread.
Using a kitchen scale provides far greater accuracy than volume measurements (like cups and spoons), which can vary based on how ingredients are packed. For example, a cup of flour can weigh anywhere from 120 to 150 grams depending on whether it's sifted or packed. By weighing ingredients, you ensure that you're using the exact amount specified in the recipe every single time.
This level of detail is particularly critical for recipes with sensitive balances, such as those involving leavening agents like baking powder or yeast, where even a small deviation can prevent proper rising or cause an undesirable texture. Mastering how to calibrate kitchen scale for baking is the first step towards this essential precision.
How an Uncalibrated Scale Affects Your Baking Results
An uncalibrated kitchen scale is a silent saboteur in your baking adventures. It might consistently measure ingredients heavier or lighter than their true weight, leading to a cascade of issues in your recipes. For instance, if your scale consistently reads 10 grams lighter than the actual weight, a recipe requiring 100 grams of butter will receive 110 grams. This excess fat can cause cakes to collapse or cookies to spread excessively. Conversely, if the scale reads heavier, you might undermeasure sugar, resulting in a less sweet product or impacting caramelization.
Consider a delicate sponge cake that relies on the precise balance of eggs, sugar, and flour. If your scale is even slightly off, the ratio can be skewed, preventing the batter from aerating properly or causing it to sink during baking. This isn't just a minor inconvenience; it can mean the difference between a light, airy cake and a rubbery, disappointing one.
An uncalibrated scale introduces an unpredictable variable into your process, making it difficult to replicate successful bakes and frustrating when trying to diagnose why a recipe failed. Learning how to calibrate kitchen scale for baking eliminates this variable, bringing predictability back to your kitchen.
Maintaining Baking Consistency Through Calibration
Consistency is the hallmark of a great baker. Whether you're perfecting your signature sourdough loaf or ensuring every batch of cupcakes is identical for a special occasion, being able to replicate results is key. Calibrating your kitchen scale is a fundamental practice that underpins this consistency. By ensuring your scale provides accurate readings, you eliminate one of the most significant sources of variation in your ingredient measurements. This means that when you follow a recipe, you can be confident that the quantities of flour, sugar, butter, and other components are exactly as intended by the recipe creator.
Regular calibration allows you to trust your equipment implicitly. This trust is vital when you're experimenting with new recipes or scaling up existing ones. If you know your scale is accurate, you can confidently troubleshoot other variables like oven temperature, mixing technique, or ingredient quality if a bake doesn't turn out as expected.
Think of it like tuning a musical instrument; a well-tuned instrument produces predictable notes, allowing the musician to focus on the performance. Similarly, a calibrated kitchen scale allows the baker to focus on the artistry and technique, knowing the measurements are spot on. This simple act of learning to calibrate kitchen scale for baking empowers you to achieve reliable, repeatable excellence.
Understanding Your Kitchen Scale: A Pre-Calibration Check
Identifying Your Scale's Calibration Mode
Before you can calibrate your kitchen scale, you need to understand its specific features and how to access its calibration function. Most digital kitchen scales have a calibration mode, but the method to enter it varies significantly by manufacturer and model. Common methods include pressing and holding a specific button (like "UNIT", "TARE", or "ON/OFF") while the scale is off, or pressing a sequence of buttons. Some scales require you to turn them on and then quickly press a combination. Often, the scale's display will show something like "CAL", "0.00", or a specific weight value when in calibration mode.
Consulting your scale's user manual is the most reliable way to find instructions specific to your model. If you've misplaced the manual, search online using your scale's brand and model number (e.g., "OXO kitchen scale calibration", "Etekcity scale calibration mode"). Online forums or the manufacturer's website can often provide the necessary steps. Understanding how to initiate this mode is the crucial first step in learning to calibrate kitchen scale for baking accurately.
Checking Your Scale's Battery Level: A Simple Fix for Inaccurate Readings
Surprisingly, one of the most common causes of inaccurate or unstable readings on a digital kitchen scale is a low battery. As batteries drain, the scale's sensors may not receive consistent power, leading to fluctuating measurements or the inability to hold a stable zero point. Before attempting to calibrate, always ensure your scale has fresh batteries. This is a quick and easy check that can solve many issues without needing to go through the full calibration process.
If your scale uses standard AA or AAA batteries, replace them with new ones from a reliable source. For scales with internal rechargeable batteries, ensure they are fully charged. A dying battery can also prevent the scale from entering calibration mode correctly or completing the process successfully. Replacing the batteries is a simple yet essential pre-calibration step that ensures your device is operating with stable power before you attempt to calibrate kitchen scale for baking.
Ensuring a Level Surface for Accurate Calibration
A kitchen scale, whether digital or mechanical, relies on gravity and a stable base to provide accurate measurements. Placing your scale on an uneven or unstable surface can lead to readings that are consistently off or fluctuate unexpectedly. Imagine trying to balance something on a wobbly table; the measurement would be unreliable. The same principle applies to your scale.
Before you begin the calibration process, find a solid, flat, and level surface. Kitchen countertops are usually suitable, but avoid placing the scale near vibrations (like a running dishwasher) or drafts (from an open window) that could affect the reading. Use a small spirit level if necessary to confirm the surface is perfectly horizontal. A level surface ensures the weight placed on the scale is distributed correctly across its sensors, which is critical both for accurate calibration and for obtaining precise measurements during actual baking. This simple check is vital before you calibrate kitchen scale for baking.
Step-by-Step Guide: How to Calibrate Your Kitchen Scale for Baking
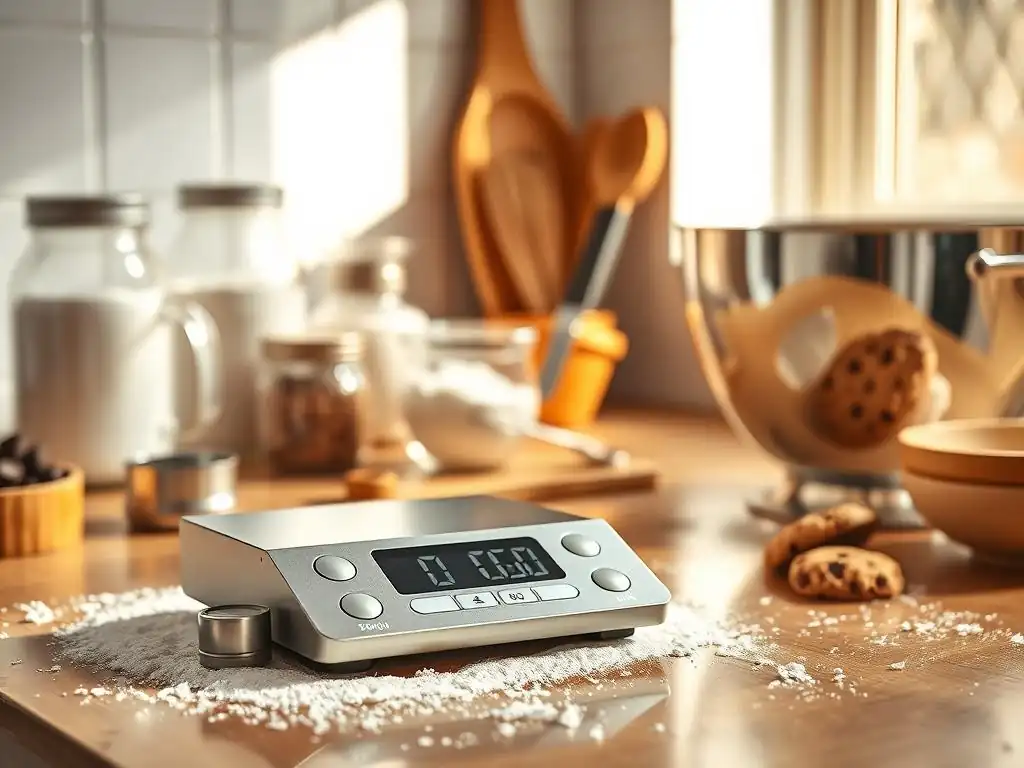
Step 1: Gather Your Calibration Weight(s) [500g Weight Recommended]
To calibrate your kitchen scale, you'll need a known, accurate weight. While some scales can be calibrated with common items like coins or specific household objects, the most reliable method is to use certified calibration weights. These weights are manufactured to precise tolerances and are readily available for purchase online or at specialized stores. For most kitchen scales used in baking, a single calibration weight of 500 grams is commonly recommended and sufficient for scales with capacities up to 5-10 kg.
Ensure your calibration weight is clean and free of any debris that could alter its mass. If your scale requires multiple points for calibration (e.g., 100g, 500g, 1000g), have all the necessary weights ready. Using a certified weight ensures you are setting your scale against a true standard, which is fundamental to achieving accurate measurements when you calibrate kitchen scale for baking. Avoid using random objects whose exact weight you are unsure of.
Step 2: Accessing the Calibration Mode on Your Kitchen Scale
With fresh batteries and the scale on a level surface, it's time to enter the calibration mode. As mentioned earlier, this process varies by scale. Typically, you will turn the scale off, then press and hold a specific button or combination of buttons (refer to your manual if unsure). For many common kitchen scales, this involves pressing and holding the "UNIT" or "MODE" button while turning the scale on.
Watch the display carefully. It should change from the standard weighing mode to indicate it's ready for calibration. This might be a flashing "CAL", "0.00", or a request for the first calibration weight (e.g., "500g"). If the display shows an error or just turns on normally, turn it off and try the button sequence again, perhaps adjusting the timing of the button press relative to turning the scale on. Successfully entering this mode is the gateway to learning how to calibrate kitchen scale for baking precision.
Step 3: Setting the Calibration Weight on Your Scale
Once the scale's display indicates it's ready for calibration and possibly specifies the required weight (often flashing), gently place the corresponding calibration weight onto the center of the weighing platform. Be careful not to drop the weight or place it off-center, as this can affect the calibration process. The scale's display should recognize the weight.
For a scale requiring a 500g calibration, place your 500g weight squarely in the middle of the platform. The display might flash the required weight, then show the actual weight it detects, and finally stabilize on the correct calibration value (e.g., "500.0g") or a confirmation message (like "PASS" or "CAL").
If the scale requires multiple weights, it will likely prompt you to add the next weight in sequence after the first one is detected and confirmed. This step is where the scale learns to associate a known mass with its sensor readings, a critical part of how to calibrate kitchen scale for baking accuracy.
Step 4: Confirming and Saving the Calibration Settings
After the scale has registered the calibration weight(s), it needs to confirm and save these new settings. This step is often automatic once the scale detects the correct weight and stabilizes. The display might show a confirmation message like "END", "CAL OK", "PASS", or simply return to the standard weighing mode showing "0.00". Some scales might require you to press a button (like "ON/OFF" or "TARE") to finalize the calibration and exit the mode.
Referencing your scale's manual is crucial here to ensure you complete this step correctly. Failing to properly save the calibration can mean the scale reverts to its previous, potentially inaccurate settings. Once the scale is back in normal weighing mode and shows "0.00", the calibration process is complete. You have successfully taught your scale how to calibrate kitchen scale for baking!
Step 5: Testing Your Newly Calibrated Kitchen Scale
The final step is to test your newly calibrated kitchen scale to ensure the process was successful and the readings are accurate. With the scale in normal weighing mode and showing "0.00", place your calibration weight (or another item with a known weight) onto the platform. The reading should match the known weight exactly or be within the scale's specified tolerance (e.g., within ±0.1g for a sensitive scale).
You can also test with common baking ingredients if you have a separate, verified accurate scale to compare against, though using the calibration weight is the most direct verification. Weigh a standard amount of flour, sugar, or water (1 ml of water weighs approximately 1 gram) and check if the reading is consistent. If the readings are significantly off or unstable, you may need to repeat the calibration process, double-checking each step and ensuring your surface and weight are correct. This testing confirms that you have successfully performed the steps to calibrate kitchen scale for baking with precision.
Troubleshooting Common Calibration Issues
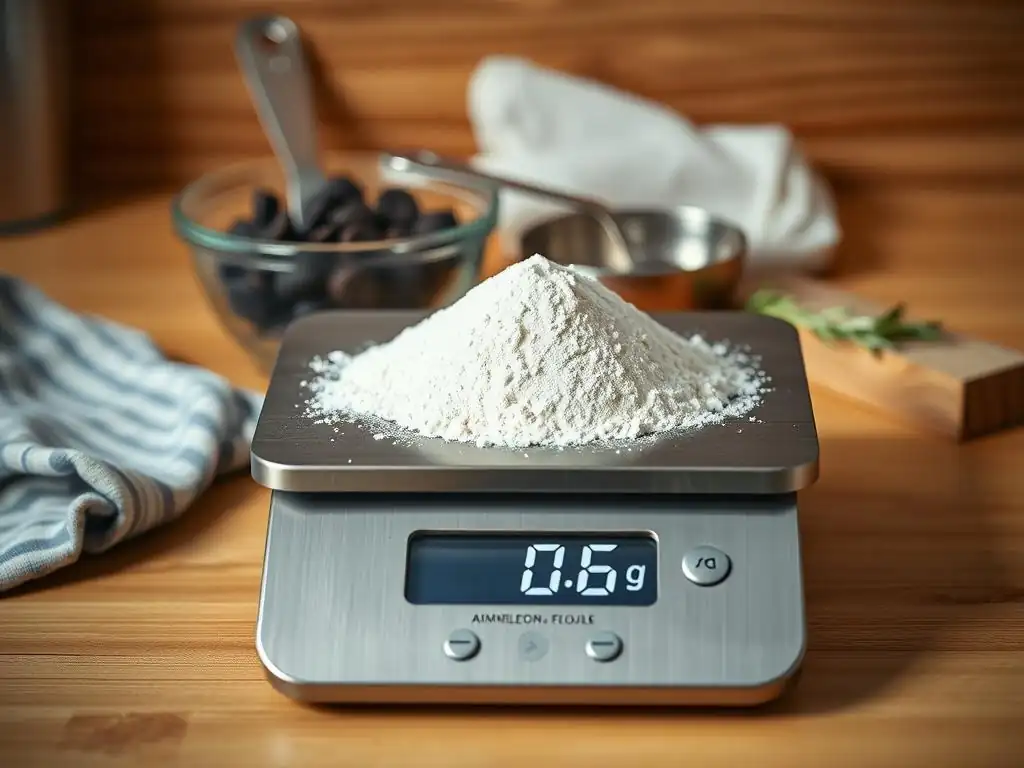
Scale Not Entering Calibration Mode? Here's What to Do.
One of the most frustrating issues is when your scale simply won't enter calibration mode despite following the instructions. First, double-check the specific button sequence and timing required for your model, as this is the most common error. Ensure the scale is completely off before attempting the sequence. Sometimes, removing the batteries for a few minutes (a "hard reset") can resolve temporary electronic glitches that prevent mode entry.
If you're certain you're using the correct method and the scale still won't cooperate, consult the manufacturer's online support or troubleshooting guides. Some models have hidden reset buttons or require a very specific environment (like being perfectly level) to enter calibration. In rare cases, the scale's internal electronics might be faulty, preventing it from accessing calibration mode altogether. If troubleshooting fails, it might indicate a need to contact customer support or consider replacing the scale if it's older or a budget model. Persisting through this ensures you can eventually calibrate kitchen scale for baking accurately.
Inconsistent Readings After Calibration? Check These Factors.
You've calibrated, but your scale still gives inconsistent readings, perhaps jumping between values or showing different weights for the same item placed on it multiple times. This can be disheartening but is often fixable. First, re-verify that the scale is on a perfectly level and stable surface, away from drafts or vibrations. Even a slight wobble can cause readings to fluctuate.
Ensure the item being weighed is placed centrally on the platform and isn't touching anything else. Check for any debris or moisture on the weighing surface or underneath the scale. If the problem persists, the issue might lie with the calibration weight itself (is it certified and accurate?) or internal sensor problems.
Try recalibrating again, following the steps precisely. If inconsistent readings continue, especially after ensuring external factors aren't the cause, the scale's load cell (the sensor that measures weight) might be damaged or failing, suggesting a potential need for repair or replacement. Diagnosing this helps you understand if you need to recalibrate kitchen scale for baking or if the issue is hardware-related.
Dealing with a Drifting Scale: Recalibration or Replacement?
A "drifting" scale is one whose displayed weight slowly changes over time, even with a stable item placed on it, or whose zero point wanders. This is a sign of instability and can be caused by environmental factors (temperature changes, drafts), low battery, or a failing load cell. If the scale drifts immediately after placing a weight, check for drafts and stability. If it drifts slowly over several seconds or minutes, it's more likely an internal issue.
First, try replacing the batteries and ensuring a stable environment. If drifting persists, attempt recalibration using a certified weight. A successful recalibration might stabilize the readings if the drifting was due to the scale losing its previous calibration parameters.
However, if the drifting continues even after recalibration, it often indicates a more serious hardware problem, likely with the load cell itself. At this point, especially if the scale is older or heavily used, replacing the scale is usually the most practical solution, as internal repairs can be costly and may not guarantee long-term accuracy. Knowing when to replace versus when to recalibrate kitchen scale for baking saves time and frustration.
Maintaining Calibration for Long-Term Baking Accuracy
How Often Should You Calibrate Your Kitchen Scale?
The frequency with which you should calibrate your kitchen scale depends on several factors: how often you use it, the environment it's kept in, and the scale's quality. For home bakers who use their scale regularly, calibrating every few months is a good practice. If you bake professionally or use the scale multiple times daily, consider calibrating monthly.
Additionally, calibrate your scale any time you suspect inaccurate readings, if it has been dropped or subjected to shock, if you change its location significantly, or after replacing the batteries. Even seemingly minor events can sometimes affect calibration. Think of it like tuning an instrument before a performance; regular checks ensure optimal performance. Making a habit to calibrate kitchen scale for baking periodically is key to maintaining precision.
Best Practices for Storing and Handling Your Kitchen Scale
Proper storage and handling significantly impact your kitchen scale's longevity and calibration accuracy. Always store your scale on a flat surface where it won't be bumped or have heavy objects placed on it accidentally. Avoid storing it in areas with extreme temperature fluctuations or high humidity, such as directly next to a stove or sink, as these conditions can affect electronic components and sensors.
When not in use, consider keeping the weighing platform clear of any items. Avoid dropping the scale or subjecting it to impact, as this can damage the sensitive load cell. Clean the scale gently with a damp cloth, avoiding excessive moisture which can seep into the electronics. By treating your scale with care, you reduce the likelihood of it losing calibration or developing mechanical issues, ensuring it remains accurate for longer, reducing the need to frequently calibrate kitchen scale for baking.
Choosing the Right Calibration Weights for Optimal Accuracy
Using the correct calibration weight is crucial for a successful calibration. Most kitchen scales are calibrated using specific OIML (International Organization of Legal Metrology) or ASTM (American Society for Testing and Materials) class weights, typically Class F1 or F2. These classes denote the weight's tolerance or how close it is to its stated value. For kitchen use, a Class F2 weight provides sufficient accuracy.
Ensure the weight you purchase matches the requirement specified in your scale's manual (e.g., 500g, 1000g). Using a weight of the wrong value or a non-certified item will result in an incorrect calibration, leading to inaccurate measurements. While using a certified calibration weight is an initial investment, it's essential for anyone serious about precision baking and wanting to confidently calibrate kitchen scale for baking.
Beyond Calibration: Tips for Accurate Baking Measurements
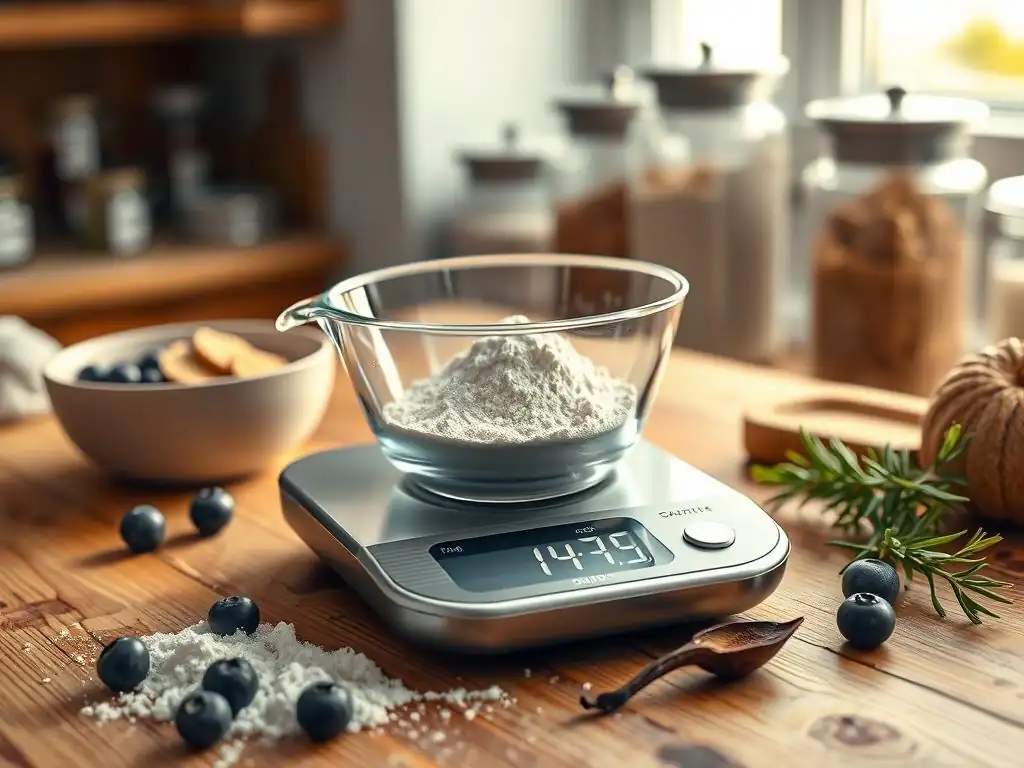
Tare Function Mastery: Zeroing Out Containers for Precise Ingredient Weight
One of the most useful features on a digital kitchen scale is the tare function. This allows you to place a container on the scale and then reset the display to zero. You can then add your ingredient to the container, and the scale will only show the weight of the ingredient itself, excluding the container's weight. This is invaluable for measuring multiple ingredients into the same bowl or weighing liquids or messy items in a suitable container.
To use the tare function, place your empty bowl, jar, or cup on the scale. Wait for the reading to stabilize, then press the "TARE" or "ZERO" button. The display should reset to 0.00. Now, add your flour, sugar, milk, etc., directly into the container. The displayed weight is the accurate weight of just the ingredient. Mastering the tare function, in conjunction with learning how to calibrate kitchen scale for baking, is fundamental to precise measurement.
Converting Measurements: From Volume to Weight for Better Results
Many older recipes or those from regions where volume measurements are standard might list ingredients in cups, tablespoons, or teaspoons. While convenient, these measurements are inherently less accurate than weighing, as the density and packing of ingredients vary. For best results in baking, it's highly recommended to convert volume measurements to weight whenever possible.
Numerous online resources and baking books provide weight equivalents for common baking ingredients. For example, a cup of all-purpose flour is typically approximated as 120-125 grams, granulated sugar as 200-220 grams, and liquid (like milk or water) as approximately 240 grams (since 1ml ≈ 1g, and 1 cup ≈ 240ml). Using a calibrated kitchen scale and weighing these conversions ensures you're using the precise amount, eliminating the variability of scooping or packing. This practice, alongside knowing how to calibrate kitchen scale for baking, dramatically improves recipe reliability.
Avoiding Common Measurement Mistakes in Baking
Beyond calibration and using the tare function, several common mistakes can still lead to inaccurate measurements. One is not setting the scale to zero before adding the first ingredient (if not using the tare function with a container). Another is adding ingredients too quickly; allow the scale reading to stabilize before adding more, especially with sensitive ingredients. Ensure the scale is on a stable surface, as discussed earlier, and away from drafts or vibrations.
Finally, pay attention to the unit of measurement specified in the recipe (grams, ounces, kilograms, pounds) and ensure your scale is set to the correct unit. Accidentally measuring in ounces instead of grams, for instance, can lead to wildly incorrect quantities. By being mindful of these details, using the tare function effectively, converting volume to weight, and ensuring you calibrate kitchen scale for baking regularly, you minimize errors and maximize your chances of baking success.
Conclusion: Embrace Precision Baking with a Calibrated Scale
Precision is the secret ingredient in consistently successful baking. While the art of baking involves creativity and intuition, the science relies on accurate ratios and measurements. Your kitchen scale is one of the most powerful tools in your baking arsenal, bridging the gap between recipe instructions and real-world results. However, its effectiveness is entirely dependent on its accuracy.
By understanding why calibration is essential, performing regular checks, and following the step-by-step process to calibrate kitchen scale for baking, you eliminate a major source of potential error. This simple maintenance task ensures that every gram of flour, sugar, or butter you weigh is exactly as intended, leading to predictable textures, reliable rise, and consistently delicious outcomes. Embrace the power of precision; calibrate your scale, master accurate measurement techniques, and elevate your baking from good to consistently great.
Frequently Asked Questions
What is the importance of calibrating my kitchen scale for baking?
Calibrating your kitchen scale ensures accurate measurements of ingredients. This is crucial for achieving the desired results in baking, as even slight deviations can affect the final product.
How often should I calibrate my kitchen scale for baking?
It's recommended to calibrate your kitchen scale regularly, especially after moving it or if you suspect it's giving incorrect readings. Ideally, calibrate it every few months or before important baking projects.
What do I need to calibrate my kitchen scale?
You'll need a known weight or object of a specific weight (e.g., a calibrated weight, a coin, or a sealed bag of sugar). The weight should be within the scale's capacity for accurate calibration.
What are some common signs that my kitchen scale needs calibration?
Inconsistent readings, fluctuating measurements, or a significant difference between the scale's reading and the known weight are signs. Also, if you have recently moved the scale.
Where can I find more detailed instructions on calibrating my specific kitchen scale model?
Refer to the manufacturer's instructions or the BakeWithEase.com website for specific calibration guides. Different scales may have slightly different calibration procedures.
Final Reflection: The Sweet Science of Precision Baking
The pursuit of perfect baked goods hinges on accuracy, and that accuracy begins with a properly calibrated kitchen scale. In a world increasingly focused on mindful consumption and the appreciation of artisanal craftsmanship, the seemingly small act of calibrating your scale becomes a powerful statement about your commitment to quality and the transformative potential of precise measurement.
The impact of precise baking extends far beyond the individual kitchen; it speaks to a broader cultural shift towards valuing process and detail. We are witnessing a renaissance in home baking, fueled by a desire for connection, creativity, and control over what we consume. This renewed interest demands a deeper understanding of the tools we use, and the kitchen scale, often overlooked, emerges as a crucial instrument in this pursuit. Baking is a science, but it's also an art. The precision of measurement allows the art to truly shine.
- (This would be replaced with a real quote from a baker or baking expert).
Now, consider your own baking journey. Are you ready to elevate your skills and unlock a new level of consistency and flavor in your creations? Take the time to calibrate your scale; it's a small investment that yields significant rewards. Embrace the precision, savor the process, and discover the joy of truly mastering the art and science of baking. The perfectly calibrated scale is your key to unlocking a world of culinary possibilities.
Unlock Baking Perfection: Master Your Kitchen Scale Today!
Thanks for taking the time to level up your baking game! You've just learned the secrets to consistently accurate and delicious results. Ready to put your newfound knowledge into practice?
- Start baking with confidence: Immediately recalibrate your scale using the methods outlined above and bake your favorite recipe—you'll notice the difference!
- Share your baking triumph: Post a photo of your perfectly baked creation on social media and tag us @BakeWithEase! Let's celebrate your success together.
- Challenge a friend: Nominate a fellow baker to join you on this precision baking journey. Share this article and encourage them to calibrate their scale too!
What delicious treat will you bake with perfect precision today?