
Yeast Not Active? Your Guide to Troubleshooting Yeast Issues

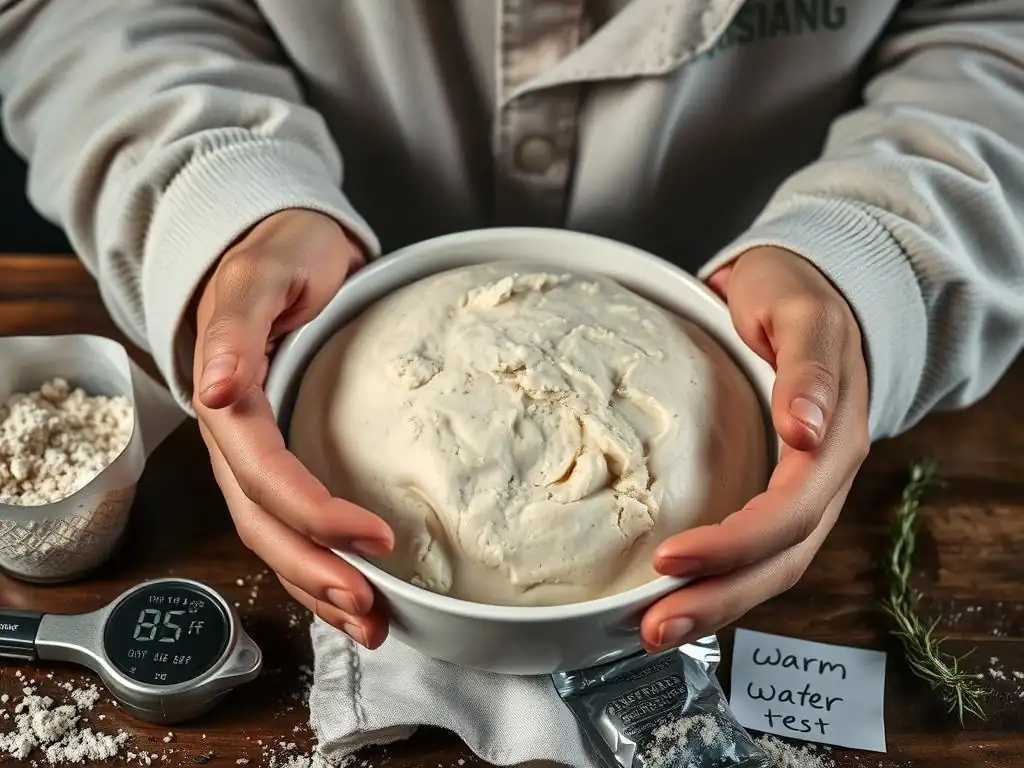
Welcome to BakeWithEase, where baking becomes a joy, not a chore! Ever stared into a bowl of seemingly lifeless yeast, wondering what went wrong? This guide dives deep into yeast proofing problems solved, offering practical solutions to revive your dough and unlock your baking potential. Discover the secrets to perfect proofing and say goodbye to baking fails! Intrigued? Let's get started.
- Troubleshooting Common Baking Issues with SAF Instant Yeast
- Baking Success: Solving Your Dough Problems
- Understanding Yeast Activity and Its Importance in Baking
- Common Dough Problems Solved with SAF Instant Yeast
- Step-by-Step Dough Troubleshooting Guide with SAF Instant Yeast
- Solutions for Common Yeast Issues in Baking
- Preventing Future Baking Failures with SAF Instant Yeast
- Mastering Dough: Baking Tips and Tricks with SAF Instant Yeast
- Frequently Asked Questions
- Final Reflection: The Unexpected Joys of a Successful Rise
- Unleash Your Inner Baker: Get Baking Today!
Troubleshooting Common Baking Issues with SAF Instant Yeast
Baking Success: Solving Your Dough Problems
Welcome, fellow bakers! There's little more satisfying than a perfectly risen loaf of bread or a batch of fluffy rolls. But sometimes, despite following a recipe to the letter, your dough just doesn't cooperate. One of the most common culprits behind baking woes is yeast activity. Specifically, understanding and troubleshooting yeast proofing problems solved can transform your baking results from flat disappointments to soaring successes. This guide focuses on using SAF Instant Yeast, a favorite among many bakers for its reliability, and walks you through identifying and fixing common dough issues.
Achieving consistent results in baking yeast-leavened goods hinges significantly on the health and activity of your yeast. When your dough doesn't rise as expected, or the texture is off, it's often a sign that your yeast isn't performing its vital job. Learning to diagnose these issues, from inactive yeast to poor fermentation, is key to tackling yeast proofing problems solved and elevating your baking game. We'll explore step-by-step how to identify what went wrong and how to fix it, ensuring your next bake is a triumph.
Understanding Yeast Activity and Its Importance in Baking
The Role of SAF Instant Yeast in Dough
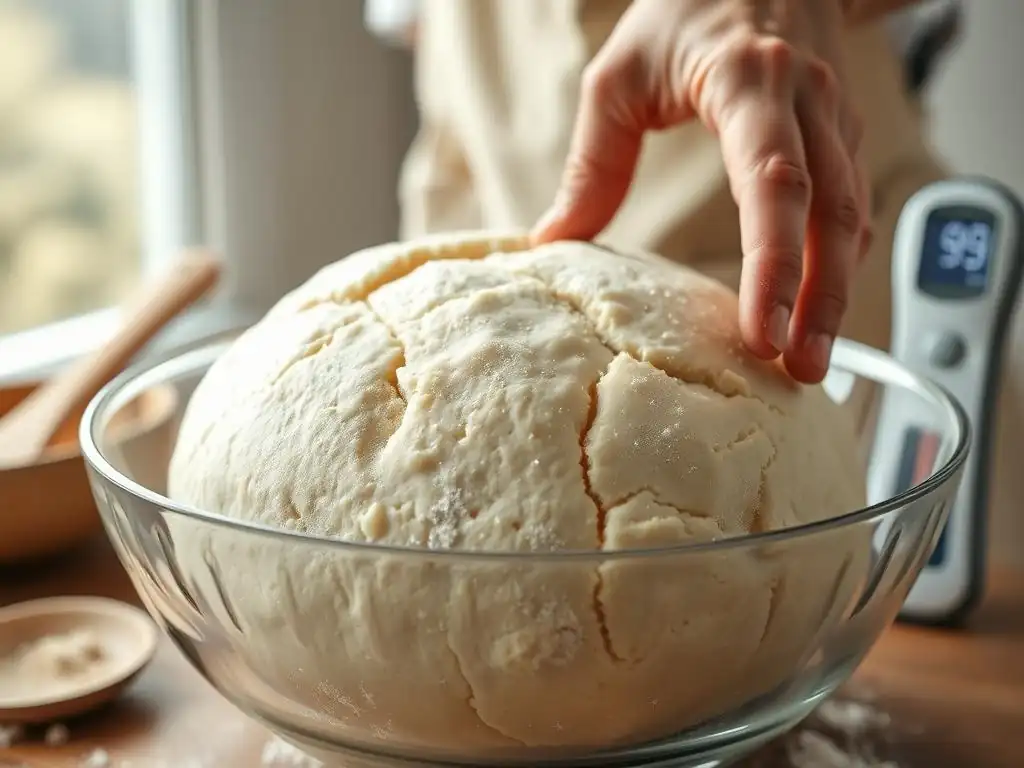
SAF Instant Yeast is a popular choice for many bakers, known for its convenience and consistent performance. Unlike active dry yeast, instant yeast has smaller granules and a porous structure, allowing it to be mixed directly into the dry ingredients without prior hydration. This speeds up the process and makes it incredibly user-friendly.
Once mixed with water and flour, the dormant yeast cells in SAF Instant Yeast become active. They begin to consume the sugars present in the flour (or added sugar) and produce carbon dioxide gas and alcohol through a process called fermentation. This gas gets trapped by the gluten network developed during kneading, causing the dough to rise and expand. A typical bag of SAF Instant Yeast, stored properly, can maintain viability for up to two years unopened, offering reliable leavening power for numerous baking projects.
Why Active Yeast is Crucial for Dough Rise and Texture
Active yeast is the engine that drives the leavening process in bread and other yeast-raised baked goods. Without sufficient yeast activity, the dough simply won't produce enough carbon dioxide to rise properly. Imagine trying to inflate a balloon with barely any air – that's what baking with inactive yeast is like.
The carbon dioxide bubbles created by the yeast are what give bread its airy, open crumb structure. As the dough rises, the gluten network stretches and traps these bubbles, creating the characteristic texture we love in well-baked bread. If the yeast is sluggish or inactive, the dough will remain dense and heavy, resulting in a final product that is flat, compact, and lacks the desirable light texture. Effective yeast activity is paramount for successfully tackling yeast proofing problems solved.
Identifying Signs of Inactive Yeast in Dough
Recognizing when your yeast isn't active is the first step in troubleshooting yeast proofing problems solved. The most obvious sign is a lack of dough rise. After the initial mixing and kneading, dough made with active yeast should visibly increase in volume during the first proofing stage, often doubling in size within 60 to 90 minutes at a warm room temperature (around 75-85°F or 24-29°C).
If your dough shows little to no growth after the expected proofing time, it's a strong indicator that your yeast is inactive or dead. Other signs might include a dense, heavy feel to the dough that doesn't become lighter or airy as it sits. While environmental factors can slow the rise (like a cold kitchen), a complete lack of activity almost always points to an issue with the yeast itself or the conditions provided for it.
Common Dough Problems Solved with SAF Instant Yeast
Problem 1: Dough Not Rising - Is My Yeast Inactive?
A dough that refuses to rise is perhaps the most frustrating baking problem. When using SAF Instant Yeast, the lack of rise often stems from issues related to the yeast's viability or the environment it's in. This is a core aspect of addressing yeast proofing problems solved.
Troubleshooting: Checking Yeast Storage and Handling
SAF Instant Yeast is quite stable, but improper storage can kill the yeast cells. Once opened, it should be stored in an airtight container in a cool, dry place. Refrigeration or freezing is ideal for long-term storage after opening, helping to maintain viability for several months or even a year. Exposure to moisture, heat, or air can rapidly degrade the yeast.
If your yeast has been sitting in an open packet in a warm pantry for months, it's likely dead. A simple test involves hydrating a small amount in warm water (105-115°F / 40-46°C) with a pinch of sugar; it should become foamy within 5-10 minutes if still viable. If it doesn't, your yeast is the problem.
Troubleshooting: Water Temperature for Hydration
While SAF Instant Yeast can be added directly to dry ingredients, the temperature of the liquid used in the dough is critical. Water that is too hot will kill the yeast instantly. Temperatures above 130°F (54°C) are generally lethal to yeast.
Conversely, water that is too cold (below 70°F / 21°C) will significantly slow down yeast activity, leading to a very sluggish or stalled rise. The ideal temperature range for the liquid when using instant yeast is typically between 105°F and 115°F (40-46°C). Using a thermometer to check your water temperature is a simple yet crucial step in solving yeast proofing problems solved.
Troubleshooting: Sugar and Food for Yeast Activation
Yeast feeds on simple sugars. While flour contains starches that yeast can eventually break down into sugars, adding a small amount of sugar (like a teaspoon) to the warm liquid or mixing it into the dry ingredients can give the yeast a quick energy boost and help kickstart fermentation, especially if you're testing the yeast's activity.
However, too much salt can inhibit or even kill yeast activity. Ensure salt is measured accurately and is typically added with the dry ingredients, separate from the yeast until mixing begins. Avoid dissolving large amounts of salt directly into the warm liquid with the yeast during activation testing. An imbalance in sugar or salt levels is a common factor in yeast proofing problems solved.
Problem 2: Poor Dough Structure Even With Active Yeast
Sometimes, the yeast is active, showing bubbles in the proofing test and initial signs of life in the dough, but the final bread still turns out dense or lacks structure. This indicates issues beyond just yeast viability, often related to gluten development or proofing conditions.
Troubleshooting: Gluten Development Issues in Dough
Gluten is the protein network formed when flour (specifically wheat flour) is mixed with water and kneaded. This network is elastic and strong, capable of trapping the carbon dioxide gas produced by the yeast. If the dough is not kneaded enough, the gluten network won't be sufficiently developed to hold the gas, resulting in a dense loaf even if the yeast is actively producing gas.
Different doughs require different amounts of kneading. A lean bread dough (flour, water, yeast, salt) often needs 8-10 minutes of kneading in a stand mixer or 15-20 minutes by hand to develop sufficient gluten. Enriched doughs (containing fats, sugar, eggs) may require slightly less but still need adequate development. You can check for sufficient gluten development using the "windowpane test" – carefully stretch a small piece of dough; if you can stretch it thin enough to see light through it without it tearing, the gluten is well-developed. Addressing gluten issues is crucial for comprehensive yeast proofing problems solved.
Troubleshooting: Inadequate Mixing Techniques
Beyond just kneading time, the technique matters. Ensuring all ingredients, especially the yeast, are evenly distributed throughout the dough during the initial mixing is important. Inadequate mixing can lead to pockets where yeast is concentrated or areas where it hasn't been properly hydrated, resulting in uneven fermentation and poor structure.
Using a stand mixer with a dough hook on medium speed is an efficient way to ensure thorough mixing and kneading. If mixing by hand, ensure you are using proper kneading techniques, folding and pressing the dough repeatedly to build that gluten network. Poor mixing is a subtle but significant contributor to yeast proofing problems solved.
Troubleshooting: Room Temperature Affecting Dough Rise
Even with active yeast and good gluten development, the ambient temperature plays a significant role in the rate of fermentation and rise. Yeast activity is optimal within a certain temperature range, typically 75-85°F (24-29°C). If your kitchen is too cold (below 70°F / 21°C), the yeast will work very slowly, and the dough may take much longer than expected to rise, or appear not to rise at all within the recipe's timeframe.
Conversely, if the temperature is too warm (above 90°F / 32°C), the yeast can become too active, rising too quickly and potentially leading to over-proofing or the development of off-flavors. Finding a consistent, warm, draft-free spot for proofing is key. Using your oven with just the light on or placing the dough in a microwave with a cup of hot water can create an ideal proofing environment. Controlling temperature is vital for mastering yeast proofing problems solved.
Problem 3: Off Flavors Developing During Proofing
Sometimes the dough rises, but it develops an unpleasant, overly yeasty, or alcoholic smell and taste. This is often a sign of fermentation issues, particularly over-proofing.
Troubleshooting: Over-Proofing Dough
Over-proofing occurs when dough is allowed to rise for too long or at too warm a temperature. The yeast consumes all available sugars and starts producing more alcohol and other byproducts, leading to strong, sometimes unpleasant flavors. Visually, over-proofed dough often looks overly puffy, may have large, irregular bubbles on the surface, and can even start to deflate or collapse slightly when poked.
Once dough is significantly over-proofed, it's difficult to salvage for a light, airy loaf. The gluten structure weakens, making it unable to hold gas during baking. Monitoring your dough and proofing it until it's just doubled in size (or until it passes the "poke test" - a gentle poke leaves an indentation that slowly springs back halfway) is crucial. Time is a guideline, but visual cues and the poke test are better indicators. Avoiding over-proofing is key to preventing a specific type of yeast proofing problems solved.
Troubleshooting: Fermentation Issues in Dough
Beyond simple over-proofing, other fermentation issues can arise. An imbalance of ingredients (too much yeast for the amount of flour, not enough sugar for the yeast to feed on) or fluctuating temperatures during proofing can also affect the fermentation process and flavor development.
Using the correct amount of SAF Instant Yeast specified in a reliable recipe is important (typically 1-2% of the flour weight). Ensuring a consistent proofing temperature helps the yeast ferment at a steady rate. While some recipes call for long, slow fermentation in the refrigerator to develop complex flavors, rapid fermentation at high temperatures for extended periods is more likely to produce undesirable strong, alcoholic, or sour notes. Understanding the nuances of fermentation is part of truly mastering yeast proofing problems solved.
Step-by-Step Dough Troubleshooting Guide with SAF Instant Yeast
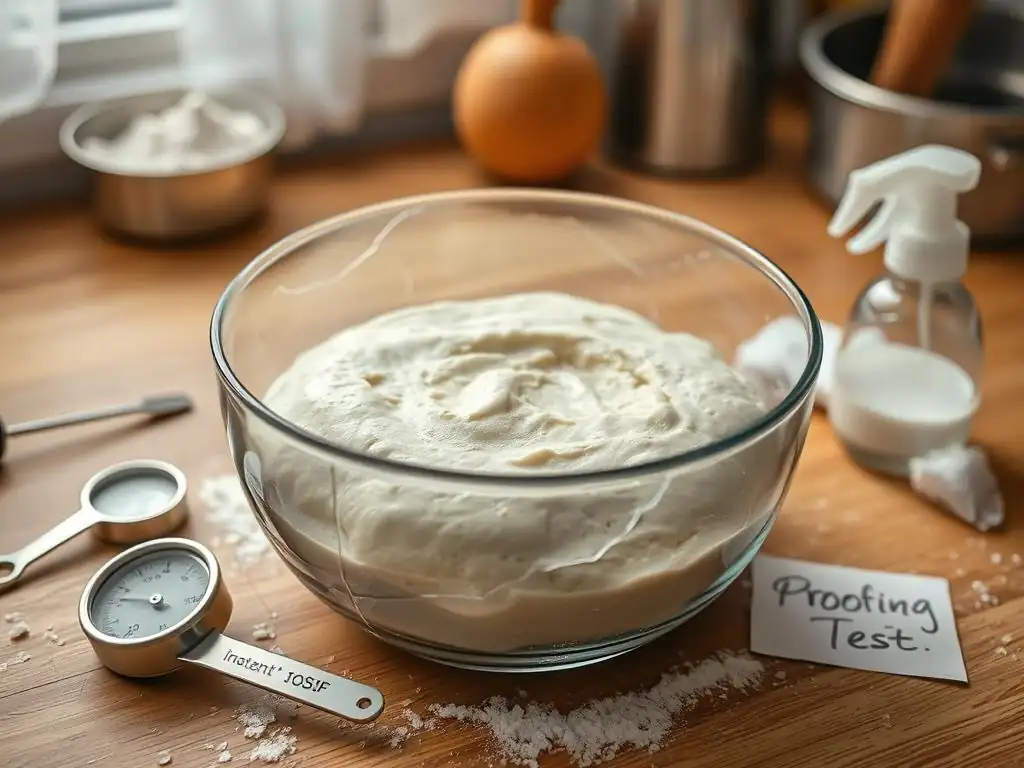
When faced with a dough that isn't behaving, a systematic approach can help pinpoint the issue. This guide focuses on common yeast proofing problems solved with SAF Instant Yeast.
Step 1: Verifying Yeast Activity - The Hydration Test
If your dough isn't rising, the very first step is to check if your SAF Instant Yeast is still alive. This is a fundamental step in addressing yeast proofing problems solved.
- Gather: 1/2 cup warm water (105-115°F / 40-46°C), 1 teaspoon SAF Instant Yeast, pinch of sugar (optional).
- Combine: Pour the warm water into a small bowl or cup. Stir in the pinch of sugar (if using). Sprinkle the yeast over the water.
- Observe: Let sit for 5-10 minutes.
- Result: If the yeast is active, it should dissolve and the surface of the water should become foamy or bubbly. A thick, creamy foam indicates healthy, active yeast. If there's little to no activity, your yeast is likely dead or inactive.
Step 2: Optimizing the Proofing Environment - Temperature and Humidity
Assuming your yeast is active, the next most common issue is the proofing environment.
- Check Ambient Temperature: Is your kitchen cold? Yeast prefers warmth, ideally 75-85°F (24-29°C).
- Find a Warm Spot:
- Use your oven with only the light on. This often creates a perfect warm environment.
- Place the dough in a microwave with a cup of freshly boiled hot water (do not turn on the microwave). The hot water creates warmth and humidity.
- Use a dedicated proofing box if you have one.
- Ensure Humidity: Cover your dough loosely with plastic wrap or a damp cloth to prevent the surface from drying out and forming a crust, which can restrict rise.
Step 3: Adjusting Recipe Based on Dough Activity - Adapting Hydration Levels
Sometimes, the issue isn't the yeast itself, but the dough's consistency impacting its ability to rise and develop structure. This relates to addressing complex yeast proofing problems solved.
- Assess Dough Feel: Is your dough too dry (stiff, hard to knead, tearing easily)? Is it too wet (very sticky, slack, won't hold shape)?
- Adjust Hydration During Kneading:
- If too dry: Add water, 1 teaspoon at a time, kneading fully after each addition, until the dough is pliable and slightly tacky but not overly sticky.
- If too wet: Add flour, 1 tablespoon at a time, kneading fully after each addition, until the dough is manageable and tacky but not sticking excessively to your hands or the work surface.
- Understand Hydration %: Recipes often specify hydration (water weight / flour weight). High hydration doughs (>70%) are stickier and require different handling techniques (like stretch and folds) but can yield a more open crumb. Lower hydration doughs (<60%) are easier to handle but result in a denser crumb. Ensure your dough feels appropriate for the type of bread you are making.
Solutions for Common Yeast Issues in Baking
Beyond troubleshooting, knowing how to potentially rescue a sluggish dough or adapt your plan is valuable for tackling yeast proofing problems solved.
Solution 1: Reviving Sluggish Yeast - Adjusting Water Temperature
If your initial yeast hydration test showed some activity but wasn't as vigorous as expected, or if your dough is rising very slowly in a warm environment, you might be able to give the yeast a boost.
Carefully assess the dough temperature. If it feels cool, the yeast is likely dormant. You can try placing the dough in a warmer spot (see Step 2 above). If your initial liquid temperature was on the lower end of the recommended range (closer to 105°F / 40°C), ensure subsequent liquid additions (if any) or the proofing environment are closer to the optimal 80-85°F (27-29°C) range to encourage activity. Be cautious not to overheat the dough directly, as this can kill the yeast. Gentle, consistent warmth is best.
Solution 2: Adjusting Baking Time for Under-Proofed Dough - Lowering Oven Temperature
Ideally, yeast proofing problems solved are fixed before the dough goes into the oven. However, if you realize your dough is under-proofed just before baking, or if you bake it and the resulting loaf is dense and flat, adjusting baking isn't a perfect fix but can sometimes help slightly.
An under-proofed loaf baked at a standard high temperature (like 450°F / 230°C) will develop a crust quickly, preventing much 'oven spring' (the final rise in the oven). Baking at a slightly lower temperature (e.g., 400-425°F / 200-220°C) for a bit longer can potentially allow the dough internal temperature to rise more gradually, giving the yeast a final burst of activity and a little more time to expand before the crust fully sets. This is a limited solution, and the best approach is always proper proofing beforehand.
Solution 3: Using a Poolish or Biga for Enhanced Flavor and Rise
If you consistently struggle with yeast activity or want to add depth of flavor, incorporating a pre-ferment like a poolish or biga can be a great solution. These are mixtures of flour, water, and a small amount of yeast that ferment for several hours or overnight before being added to the final dough.
- Poolish: A wet pre-ferment, typically equal parts flour and water by weight, with a tiny amount of yeast. It ferments until bubbly and slightly collapsed.
- Biga: A stiffer pre-ferment, with less water than flour, also containing a small amount of yeast. It ferments until slightly risen and bubbly on the surface.
Using a pre-ferment gives the yeast a head start, develops flavor compounds, and can contribute to a stronger, more reliable rise in the final dough, helping circumvent potential yeast proofing problems solved in the main mix.
Preventing Future Baking Failures with SAF Instant Yeast
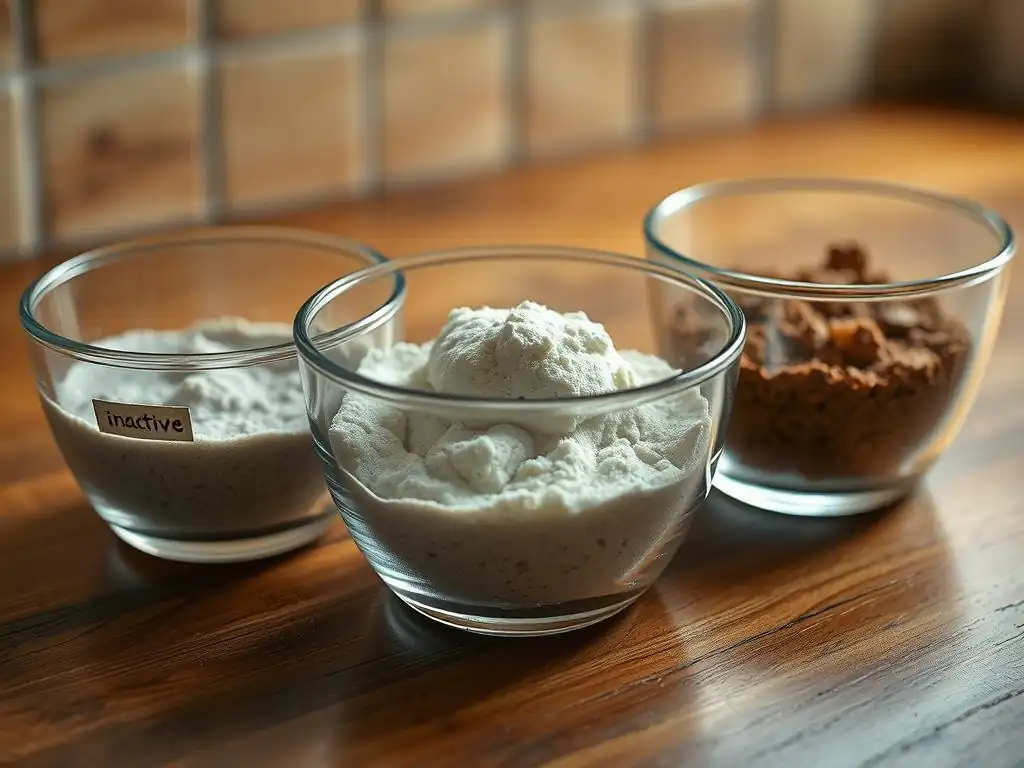
Consistent success comes from proactive measures. By implementing a few best practices, you can significantly reduce the likelihood of encountering yeast proofing problems solved in the future.
Tip 1: Proper Yeast Storage for Long-Term Viability
How you store your SAF Instant Yeast after opening is paramount. Oxygen and moisture are the enemies of yeast viability.
- Transfer opened yeast to an airtight container (a small jar or plastic container with a tight-fitting lid works well).
- Store the airtight container in the refrigerator or freezer. The cold temperatures significantly slow down the rate at which yeast cells die.
- When using yeast from the fridge or freezer, measure out the amount needed and allow it to come closer to room temperature for a few minutes before adding it to your ingredients, though it's often fine to use directly from the cold.
- Always check the expiration date on the package before opening. Even unopened, yeast has a shelf life, typically around 2 years for instant yeast.
Tip 2: Accurate Measurement of Ingredients for Dough Hydration
Baking is a science, and accuracy matters, especially when it comes to flour and water ratios (hydration). Small errors in measurement can significantly impact dough consistency and, consequently, yeast activity and rise.
Using a digital kitchen scale to weigh your flour and water is highly recommended for consistent results. Volume measurements (cups) can vary wildly depending on how the flour is scooped and leveled. For example, a cup of flour can weigh anywhere from 120g to 150g. This difference can change the hydration percentage of your dough by several points, making it too dry or too wet, which hinders proper gluten development and yeast fermentation. Precise measurement is a foundational step in preventing yeast proofing problems solved.
Tip 3: Understanding Hydration Levels and Their Impact on Dough
Beyond just accurate measurement, understanding what your recipe's hydration level means for the dough's feel and handling is key.
- Low Hydration (e.g., 55-60%): Dough is stiff, easy to handle and knead, results in a dense crumb (like bagels or some standard loaves). Yeast activity might be slightly slower due to less available water.
- Medium Hydration (e.g., 60-70%): Most common bread doughs fall here. Dough is pliable, somewhat tacky, good balance of ease of handling and open crumb. Yeast activity is typically strong.
- High Hydration (e.g., 70-80%+): Dough is very wet and sticky, difficult to handle, requires techniques like stretch and folds instead of traditional kneading. Yields a very open, airy crumb (like ciabatta or some artisan loaves). Yeast activity can be very vigorous in this environment.
Knowing the expected feel for the hydration level in your recipe helps you identify if your dough consistency is correct, which directly impacts how well your yeast can perform and contributes to yeast proofing problems solved effectively.
Mastering Dough: Baking Tips and Tricks with SAF Instant Yeast
Moving from troubleshooting to consistent success involves mastering the nuances of dough handling and understanding how SAF Instant Yeast interacts within various recipes.
Advanced Techniques for Perfect Dough
Once you've got the basics down and can troubleshoot yeast proofing problems solved, you can explore techniques that further enhance dough structure and flavor.
- Autolyse: Mixing just the flour and water from the recipe and letting it rest for 20-60 minutes before adding yeast and salt. This allows gluten to start forming without kneading, making the dough easier to work with and potentially improving structure.
- Stretch and Folds: For higher hydration doughs, instead of traditional kneading, gentle stretching and folding the dough at intervals during the first proof helps build strength and structure without degassing it completely.
- Cold Fermentation: After the initial rise, refrigerating the dough for 12-48 hours slows fermentation significantly, allowing enzymes to break down starches into sugars, resulting in more complex flavors and improving the dough's structure for shaping and baking. SAF Instant Yeast performs well in cold fermentation environments.
Troubleshooting Specific Recipes: Pizza Dough, Bread Rolls, etc.
While the principles are universal, different types of dough have specific considerations for yeast activity and proofing.
- Pizza Dough: Often uses a relatively low amount of yeast and benefits from a long, slow cold fermentation in the fridge (24-72 hours) for best flavor and texture. If your pizza dough isn't bubbly or airy, check yeast viability and fridge temperature.
- Bread Rolls: Typically require a shorter proofing time than a large loaf. Ensure they double in size before baking. Over-proofing can lead to rolls that collapse or have a poor shape. Yeast proofing problems solved for rolls often involve timing and temperature control.
- Enriched Doughs (Brioche, Challah): The presence of butter, sugar, and eggs can slow down yeast activity. These doughs often require a bit more yeast or a longer proofing time, possibly with a cold fermentation step to manage the richness. Ensure ingredients aren't too cold when added initially.
Conclusion: Confidently Baking with Yeast - Overcoming Dough Challenges
Mastering yeast-leavened baking is incredibly rewarding. While encountering yeast proofing problems solved might seem daunting at first, understanding the role of SAF Instant Yeast, the conditions it needs to thrive, and how to troubleshoot common issues empowers you to bake with confidence.
By paying attention to yeast storage, water temperature, proper kneading, and the proofing environment, you can prevent most problems. And when issues do arise, you now have the tools to diagnose whether it's inactive yeast, poor gluten, or fermentation gone awry. Armed with this knowledge, you're well on your way to consistently baking delicious, perfectly risen bread and pastries. Happy baking!
Frequently Asked Questions
What is yeast proofing and why is it important?
Yeast proofing is the process of testing yeast viability by mixing it with warm water and sugar. It's important because it ensures your yeast is alive and active before you use it in a recipe, preventing dough from failing to rise.
What are common signs that my yeast has not been properly proofed?
The most common sign is a lack of bubbling or foaming in the yeast mixture after 5-10 minutes. Other signs include a flat or dense dough that doesn't rise as expected.
What water temperature is ideal for proofing yeast?
The ideal water temperature for proofing yeast is between 105°F and 115°F (40°C and 46°C). Temperatures that are too hot can kill the yeast, while temperatures that are too cold may not activate it properly.
Can I use sugar substitutes instead of regular sugar when proofing yeast?
While some sugar substitutes might work, regular granulated sugar provides the best food source for the yeast during proofing. Using other types of sugar may not give you a reliable result.
What should I do if my yeast doesn't proof properly?
If your yeast doesn't proof, the best course of action is to discard it and start again with fresh yeast. Using inactive yeast will likely result in a failed baking attempt and wasted ingredients.
Final Reflection: The Unexpected Joys of a Successful Rise
The seemingly simple act of proofing yeast holds a surprising power; it's a microcosm of patience, precision, and the rewarding magic of transformation. A perfectly risen loaf isn't just about fluffy bread; it's a testament to understanding the delicate balance of nature, a small victory in a world often demanding immediate gratification. This understanding, as detailed in this guide, is crucial for bakers of all levels, from novice to expert.
The journey of troubleshooting yeast issues has profoundly impacted my own baking, teaching me the importance of observation and attention to detail. It's a lesson that extends far beyond the kitchen; the meticulous care required for a successful rise mirrors the dedication needed in many aspects of life. The best bread is made with love,
a phrase often heard, truly encapsulates the heart of the process. It's not just about following instructions, but about understanding the living organism you're working with and respecting its needs.
Now, I invite you to reflect on your own baking experiences. Have you encountered the frustration of a dough that refuses to rise? Remember the feeling of accomplishment when you finally cracked the code? Let this guide serve as a springboard for your future baking endeavors. Don't be afraid to experiment, to learn from your mistakes, and to savor the sweet reward of a perfectly risen loaf – a testament to your patience, your skill, and the incredible power of a tiny organism.
Unleash Your Inner Baker: Get Baking Today!
Thanks for taking the time to explore the world of yeast troubleshooting with us! We hope you now feel more confident in tackling those pesky yeast issues. Ready to put your newfound knowledge to the test?
- Bake something amazing! Try out a new recipe – you’ve got the yeast expertise now!
- Share your baking triumphs (and challenges!) Let us know how it goes in the comments below. We love to hear your stories!
- Explore our recipe collection for inspiration. You might discover your new favorite bread!
What delicious creation will you bake first? Let's hear your plans!